Welcome to this tutorial about using previews in Lightroom Classic CC. If you work regularly with Lightroom, you will quickly realize how important previews are for your workflow and the speed of photo viewing. In this tutorial, I will show you how to effectively create, manage, and use previews to improve your workflow in Lightroom. We will go through the process step by step, and I will provide you with practical tips to save storage space and improve performance.
Main Takeaways
- Previews are essential for working in Lightroom.
- Standard previews are necessary for the Library view, and 1:1 previews are required for the Develop module.
- Smart previews allow editing without the original RAW files.
Previews in Lightroom - Step-by-Step Guide
1. Overview of the Library Module and Standard Previews
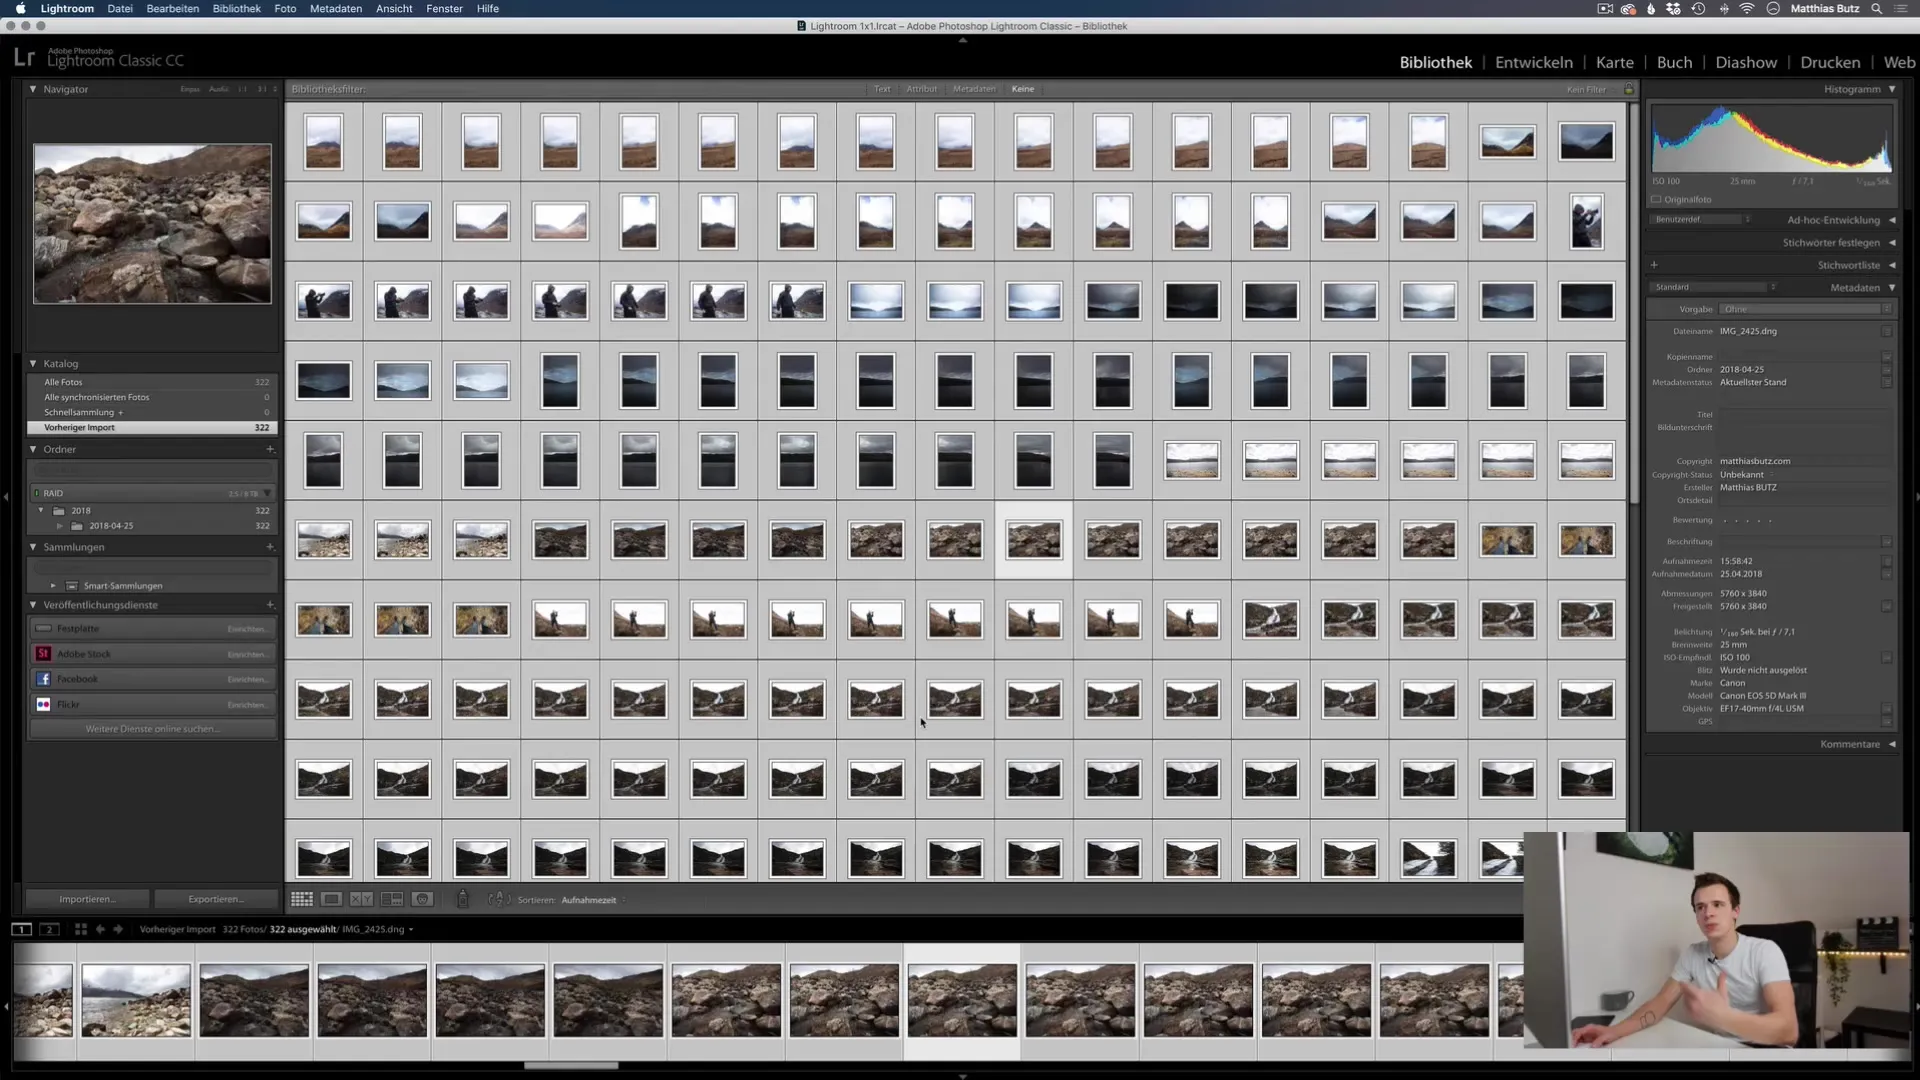
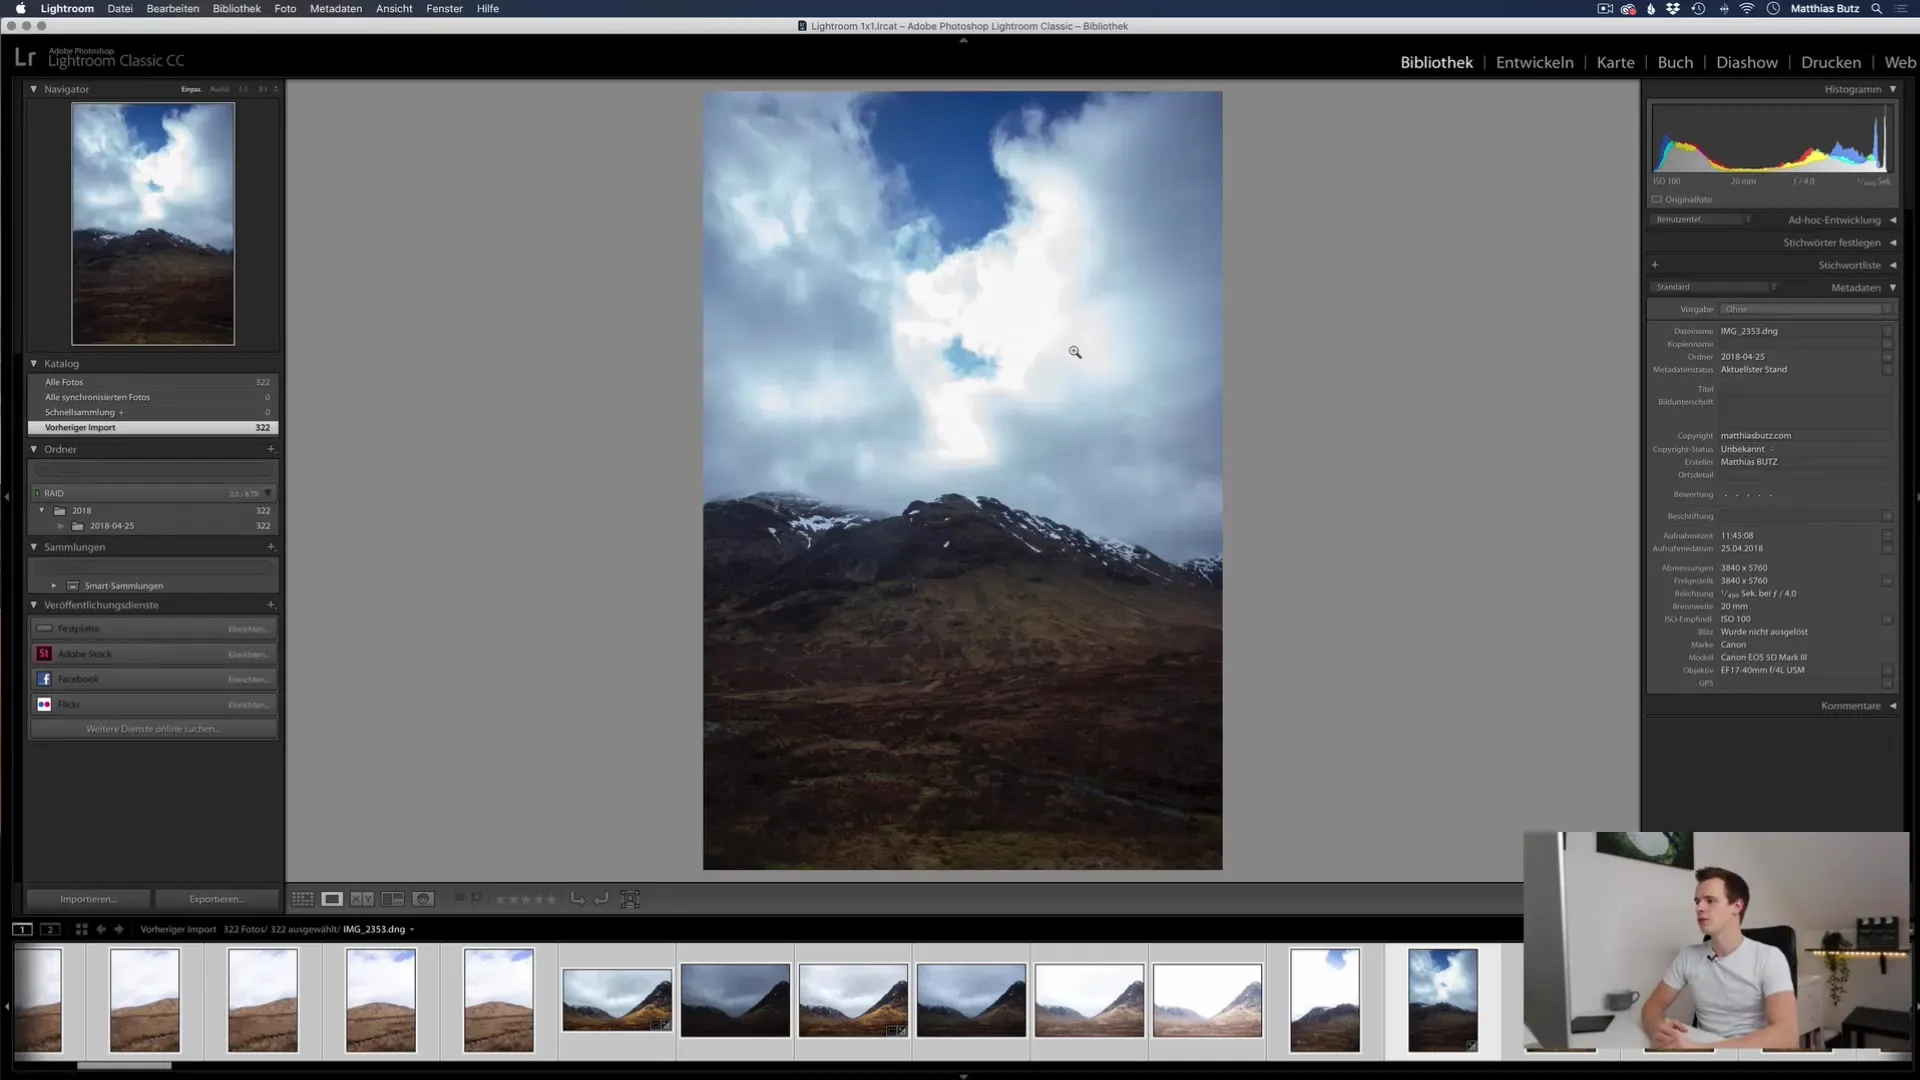
To get started, open the Library module in Lightroom. Here you will see your imported photos displayed based on standard previews. These previews are necessary to load the images quickly and efficiently. You can explore the details of the interface and the various views later on.

2. Adjusting Catalog Settings
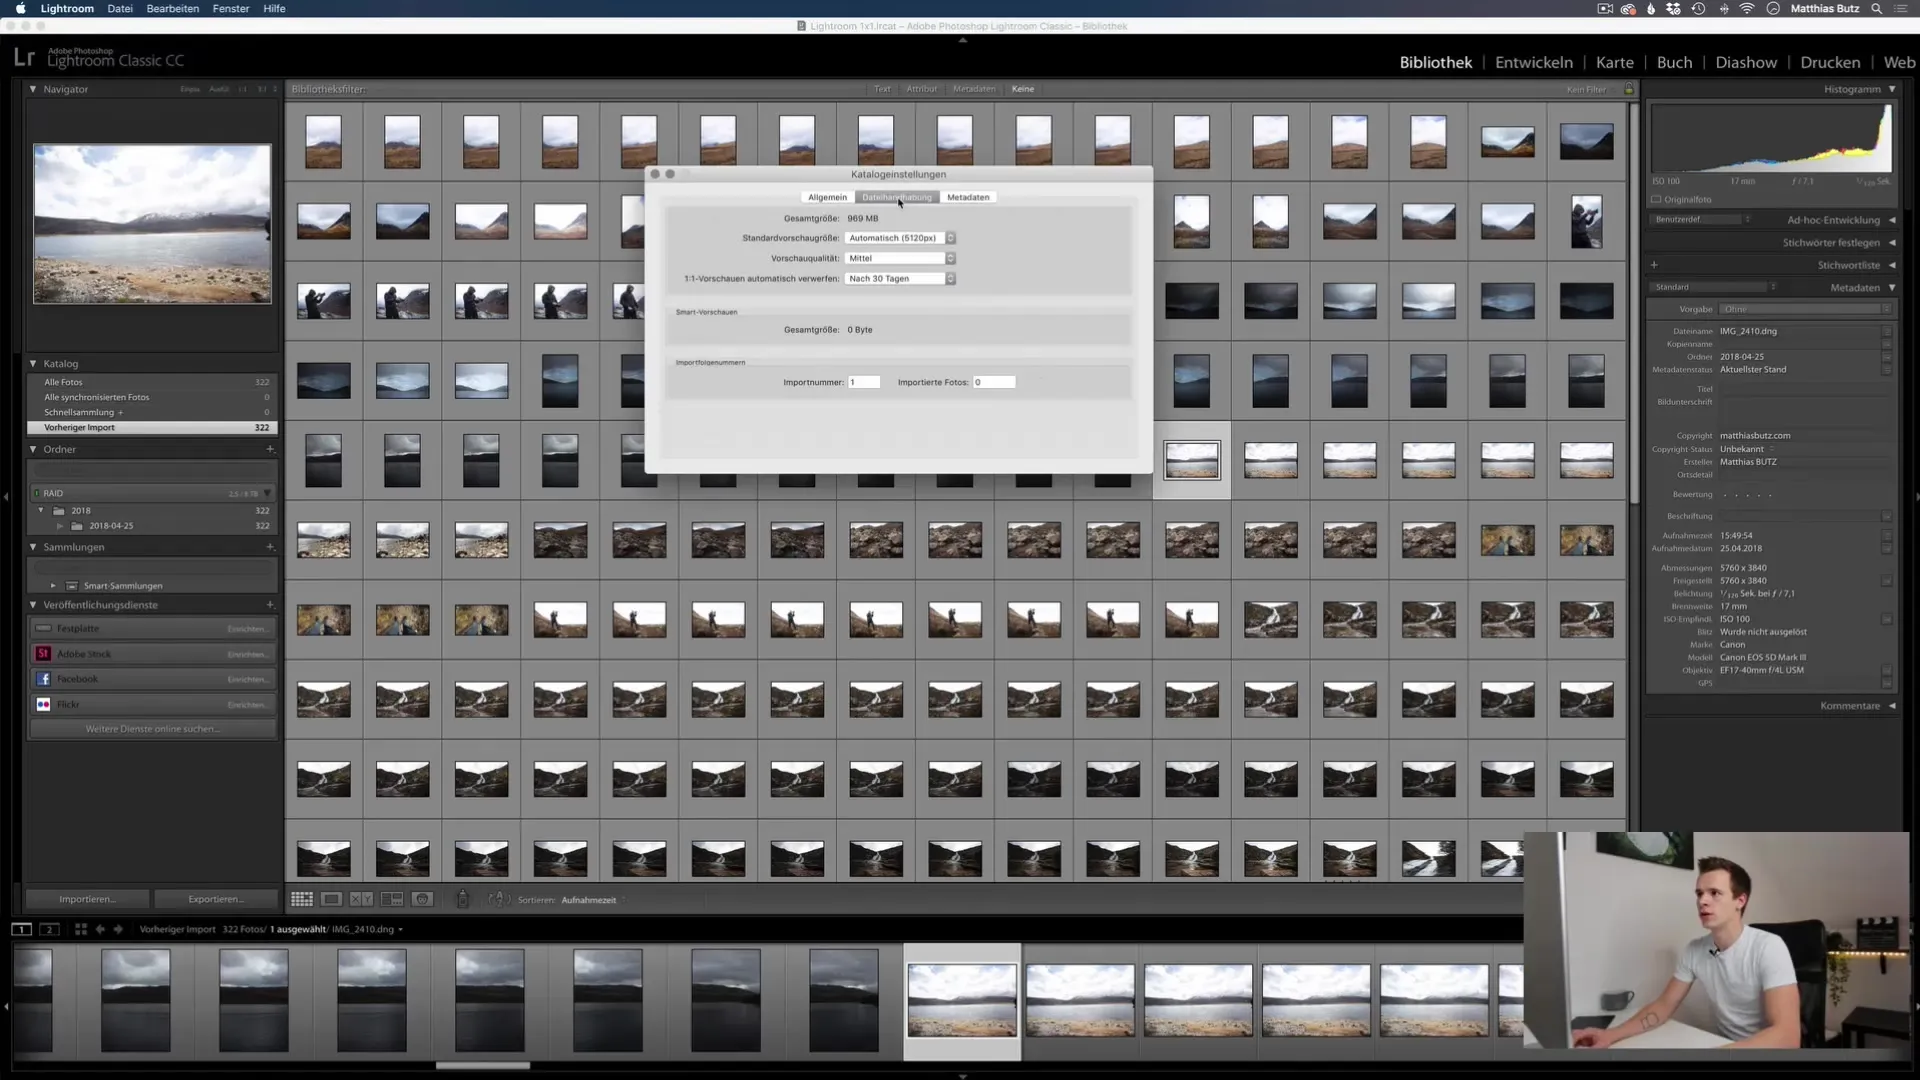
An important point is adjusting your catalog settings. You can adjust the resolution of standard previews to optimize performance. Go to the catalog settings and select the desired resolution. You can change this to enable faster preview generation as you navigate through your images.
3. Creating Full-Resolution Previews
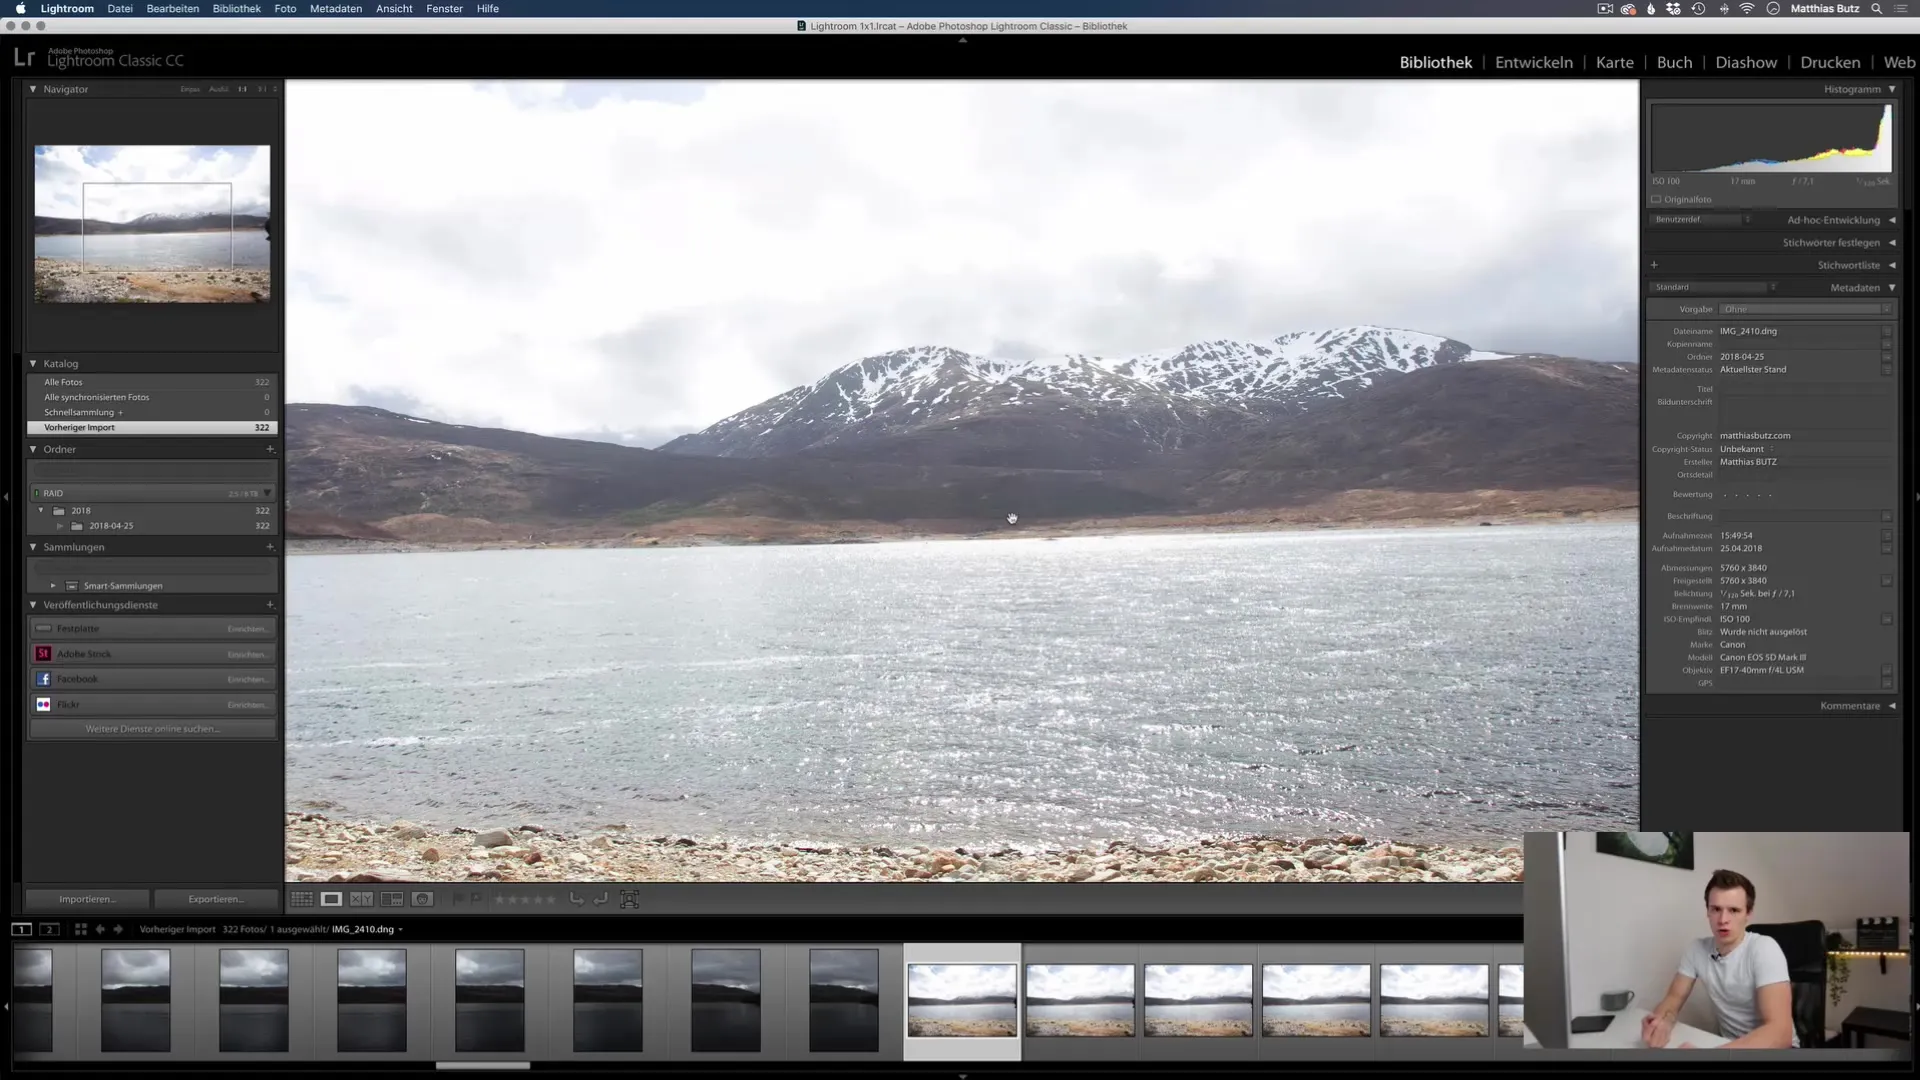
When zooming into an image, Lightroom is forced to create a full-resolution preview. These previews are particularly important when working in the Develop module. Be careful not to switch between images unnecessarily while these previews are being generated, as it can take time.
4. Discarding Unnecessary Previews
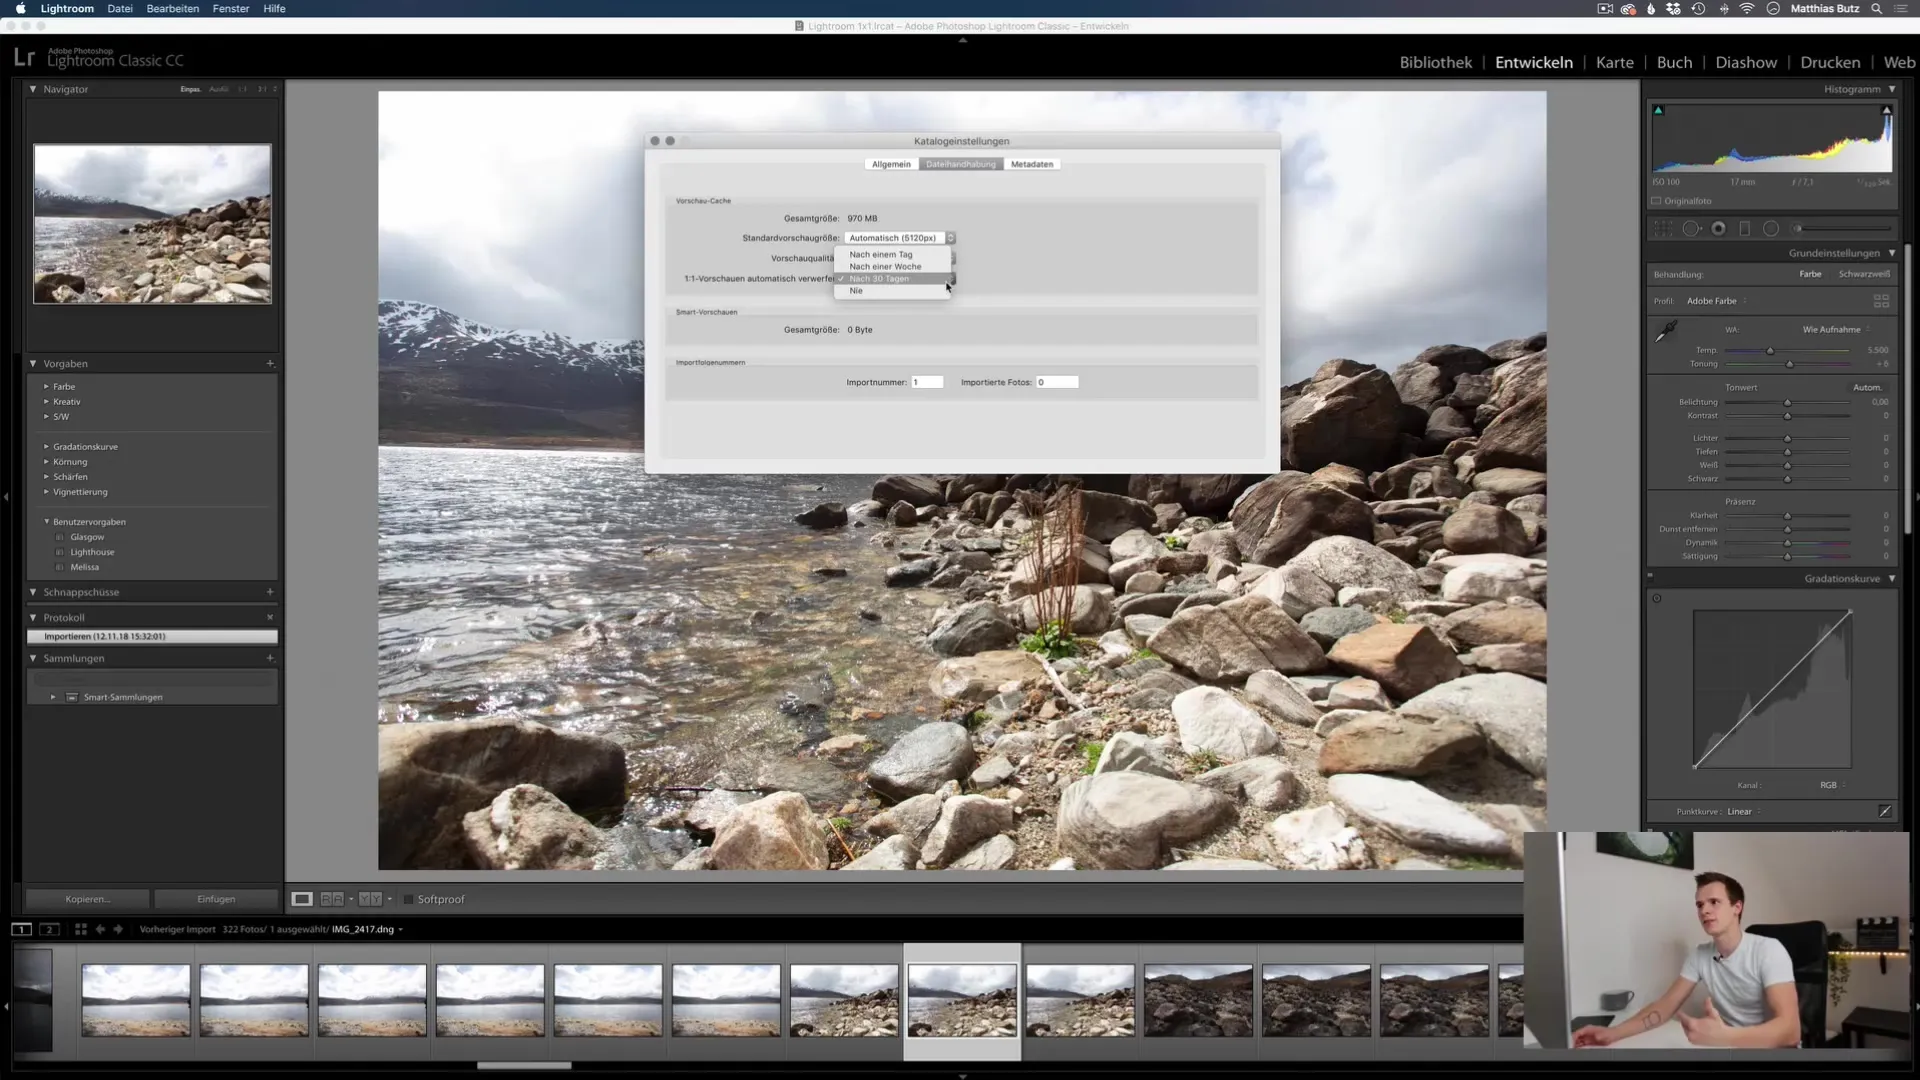
Over time, previews can take up a lot of storage space. After your initial projects, it is advisable to discard unnecessary previews. You can set in the catalog settings when these previews should be automatically deleted (e.g., after 30 days). This will help optimize storage space on your computer.
5. Working in the Library Module
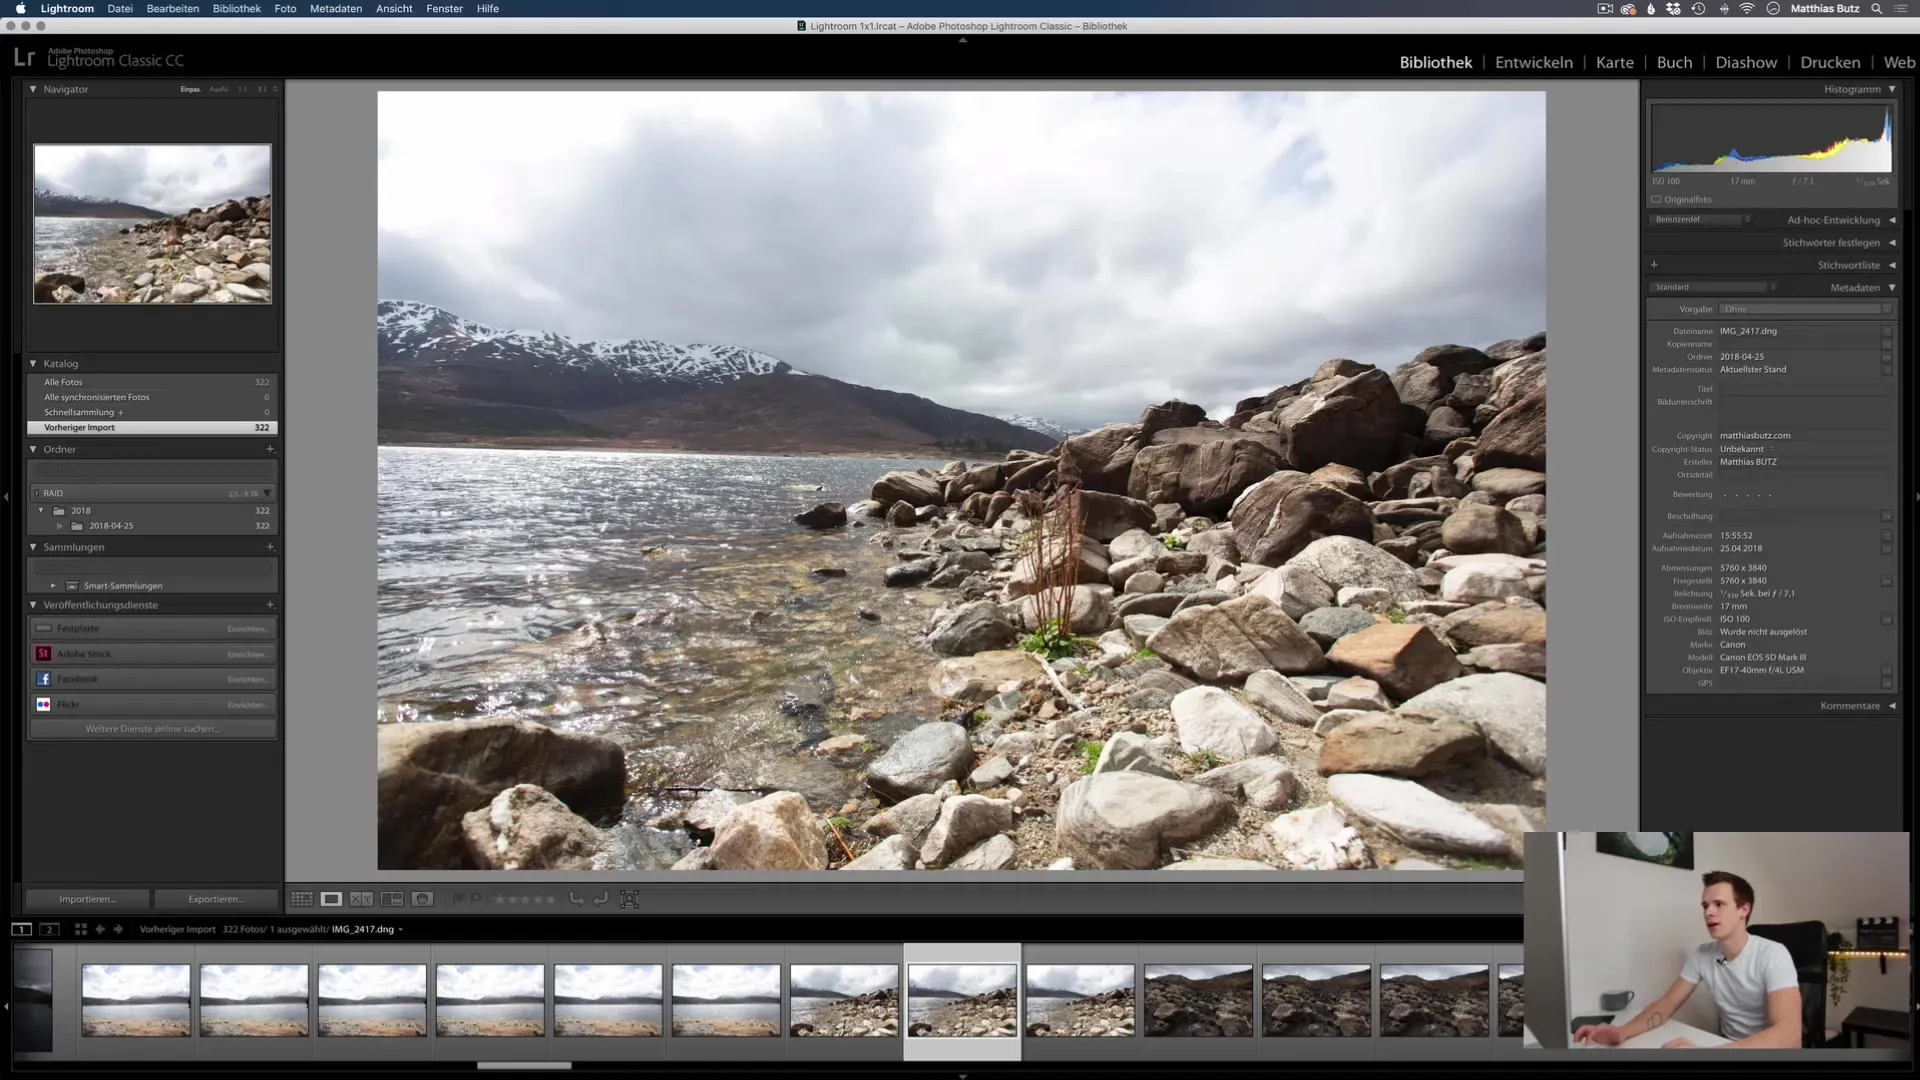
When viewing photos, it is important to stay in the Library module. Navigating faster here is much easier since you are working with standard previews only. This makes everything much smoother and faster.
6. Creating 1:1 Previews
Once you start editing in the Develop module, it is important to create full-resolution 1:1 previews. This can be done through the "Library" menu and then "Previews". Select all images for which you want to generate these previews. This significantly speeds up your workflow as you can access them directly without delays.
7. Using Smart Previews
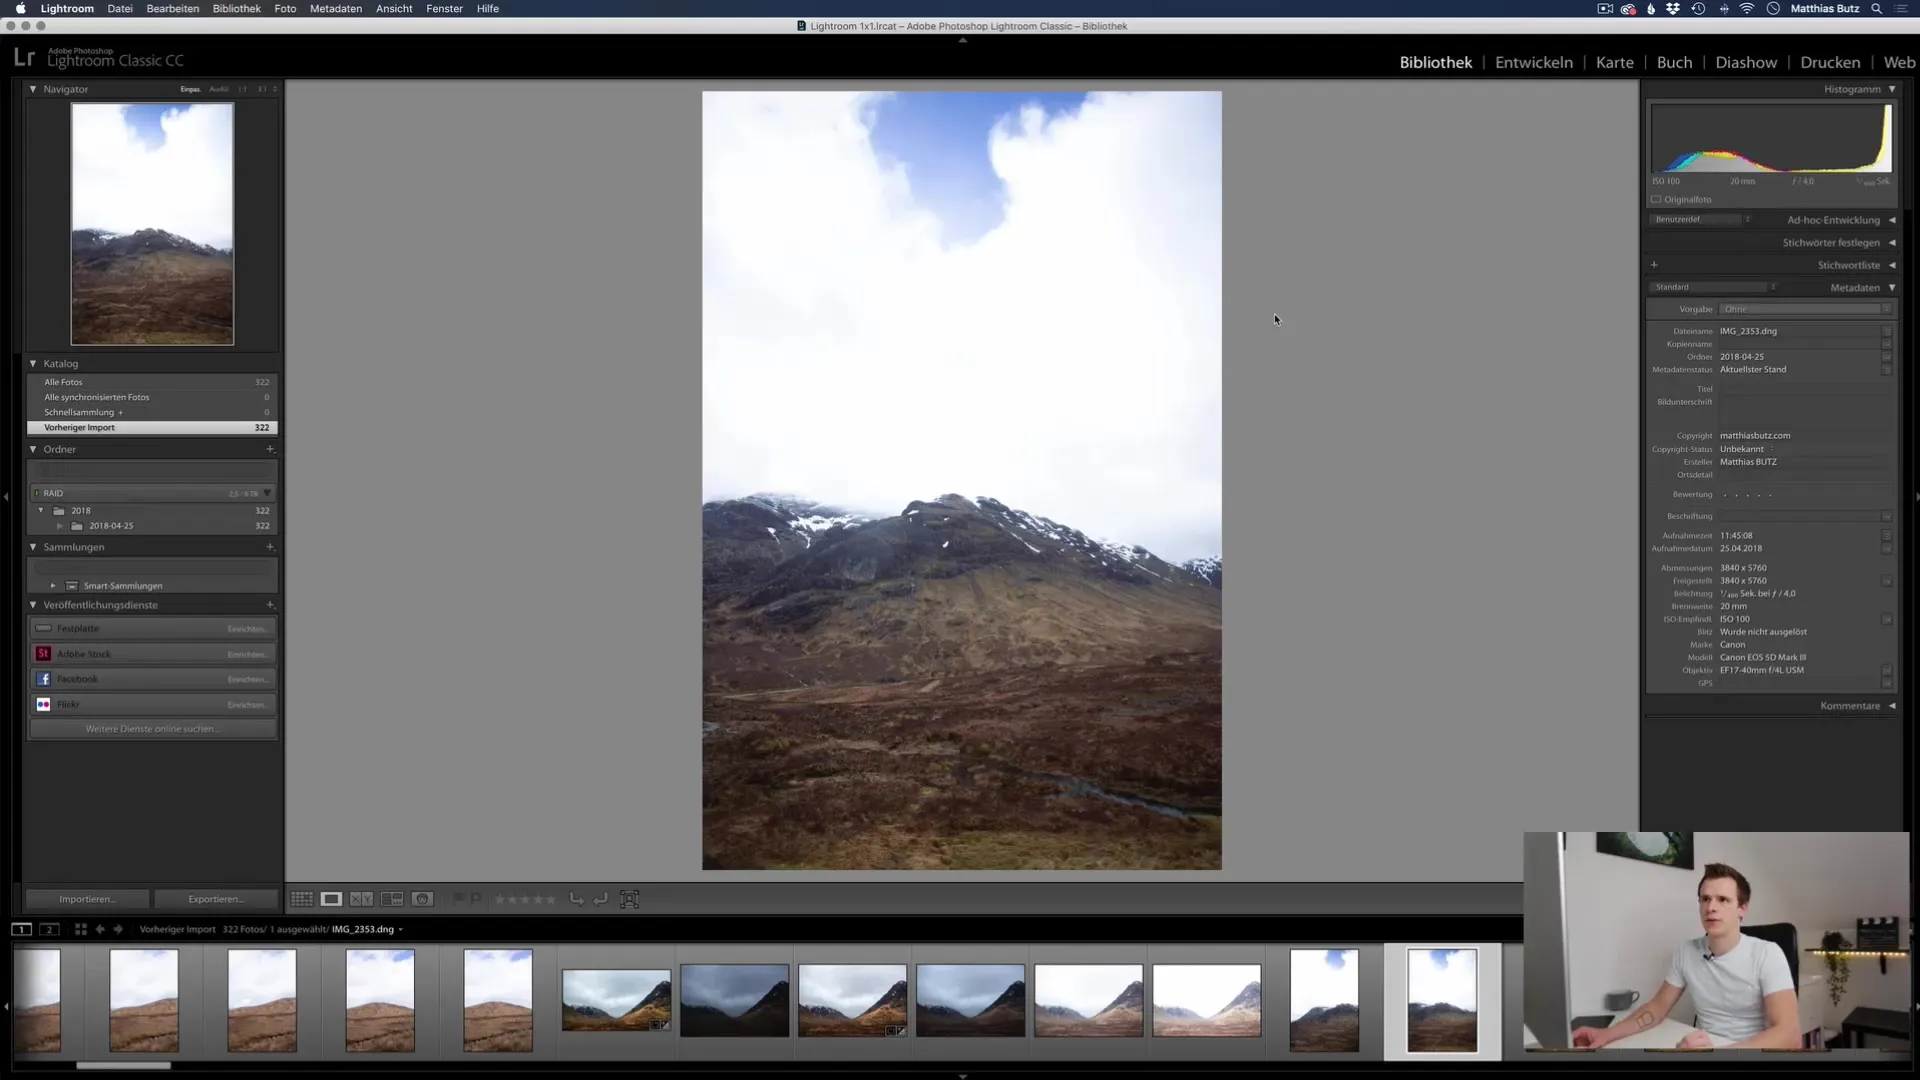
If you often work with external hard drives, consider using the Smart Previews feature. Smart previews are smaller files that allow you to edit without needing the original data. This is especially useful when working on the go without access to the original files.
8. Editing without Original Files
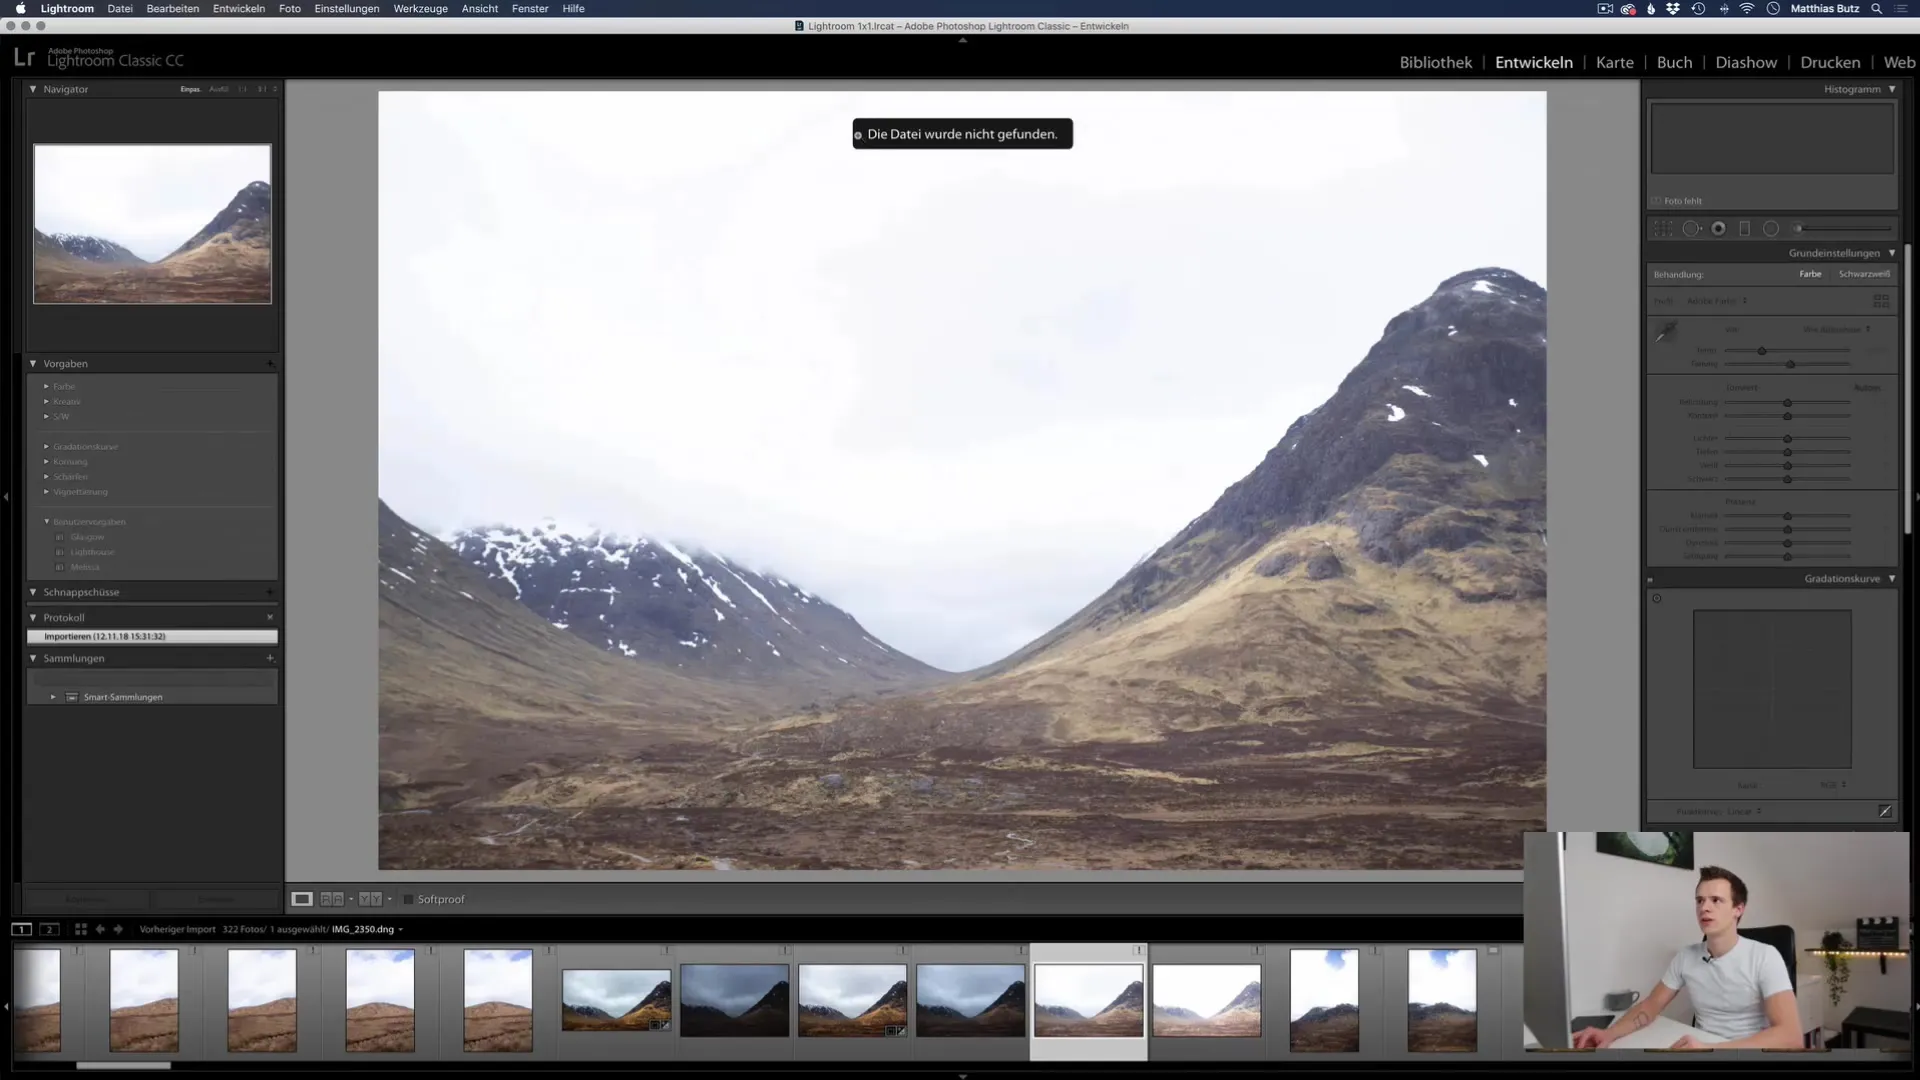
If you use Smart Previews and disconnect your hard drive, you can still edit the images even if the original files are not available. A message will appear indicating that the original file cannot be found, but you can continue editing your image.
9. Exporting after reconnecting the hard drive
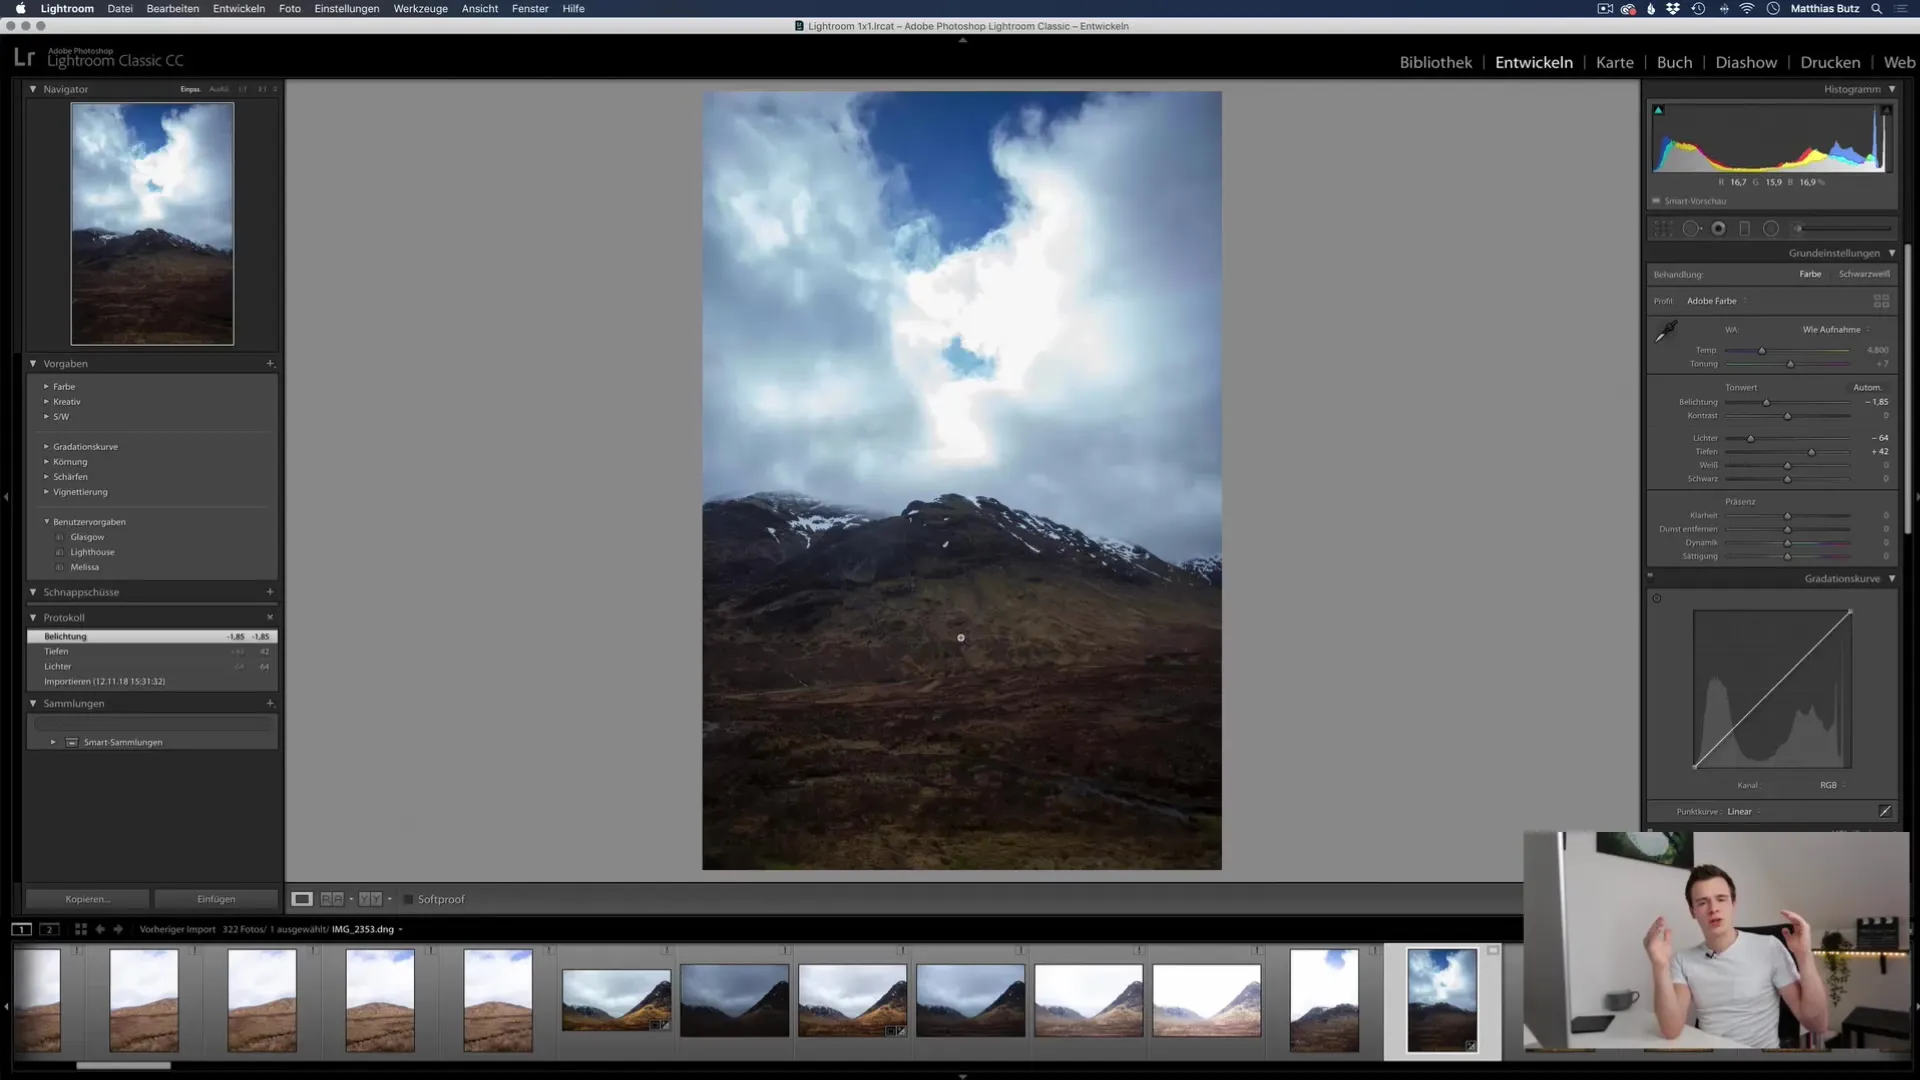
Once you reconnect the hard drive, the original file will reappear in the catalog. You can now export your edited images in full resolution. This is a useful strategy for editing if you work from different locations often.
10. Managing Smart Previews
It is important to manage smart previews efficiently. Creating too many smart previews can take up a lot of storage space. You can always go back and manage the smart previews by discarding them when they are no longer needed.
Summary
In this tutorial, you have learned how important previews are in Lightroom Classic CC and how you can effectively use them. You now know how to create, manage, and optimize standard previews, 1:1 previews, and smart previews. By regularly keeping track of your previews, you can significantly improve Lightroom's performance and efficiently utilize storage capacities.
Frequently Asked Questions
How often should I discard my previews?It is recommended to discard previews every few weeks or after completing a project to save storage space.
What are the benefits of smart previews?Smart previews allow you to edit images even when the original files are not available and save storage space.
Can I create previews manually?Yes, you can manually create previews for selected images in the Library module.


