In this tutorial, you will learn how to import your photos into Lightroom Classic CC in a targeted way. The import process is more than just adding images. With the right settings, you can optimize the organization of your photos, create previews, and even set important metadata. Whether you want to import just a few images or create a large collection, in this guide, I will show you step by step how to proceed.
Key Takeaways
- The import dialog in Lightroom offers numerous options for efficient image management.
- You can customize settings for previews and metadata.
- It is advisable to create backup copies of your images during import to prevent data loss.
- The function to detect and avoid duplicates helps you avoid unnecessary repetitions.
- Use keywords to better organize and locate your photos.
Step-by-step Guide
1. Click on the Import Button
First, open Lightroom Classic CC and navigate to the Library module. The Import button is located in the bottom left corner of the screen. Click on "Import" to open the import dialog.

2. Choose the Source
In the import dialog, you will now see the options to select the source of your photos. Here you can see your memory cards and hard drives. If you are using a memory card, it will be displayed here. Search and select the memory card from which you want to import the images.

3. Include Subfolders
If you only want to import specific folders from the memory card, you can activate the "Include subfolders" option. This helps to selectively import only the desired images. If you do not select this option, only the images in the main folder will be displayed.

4. Set Preview
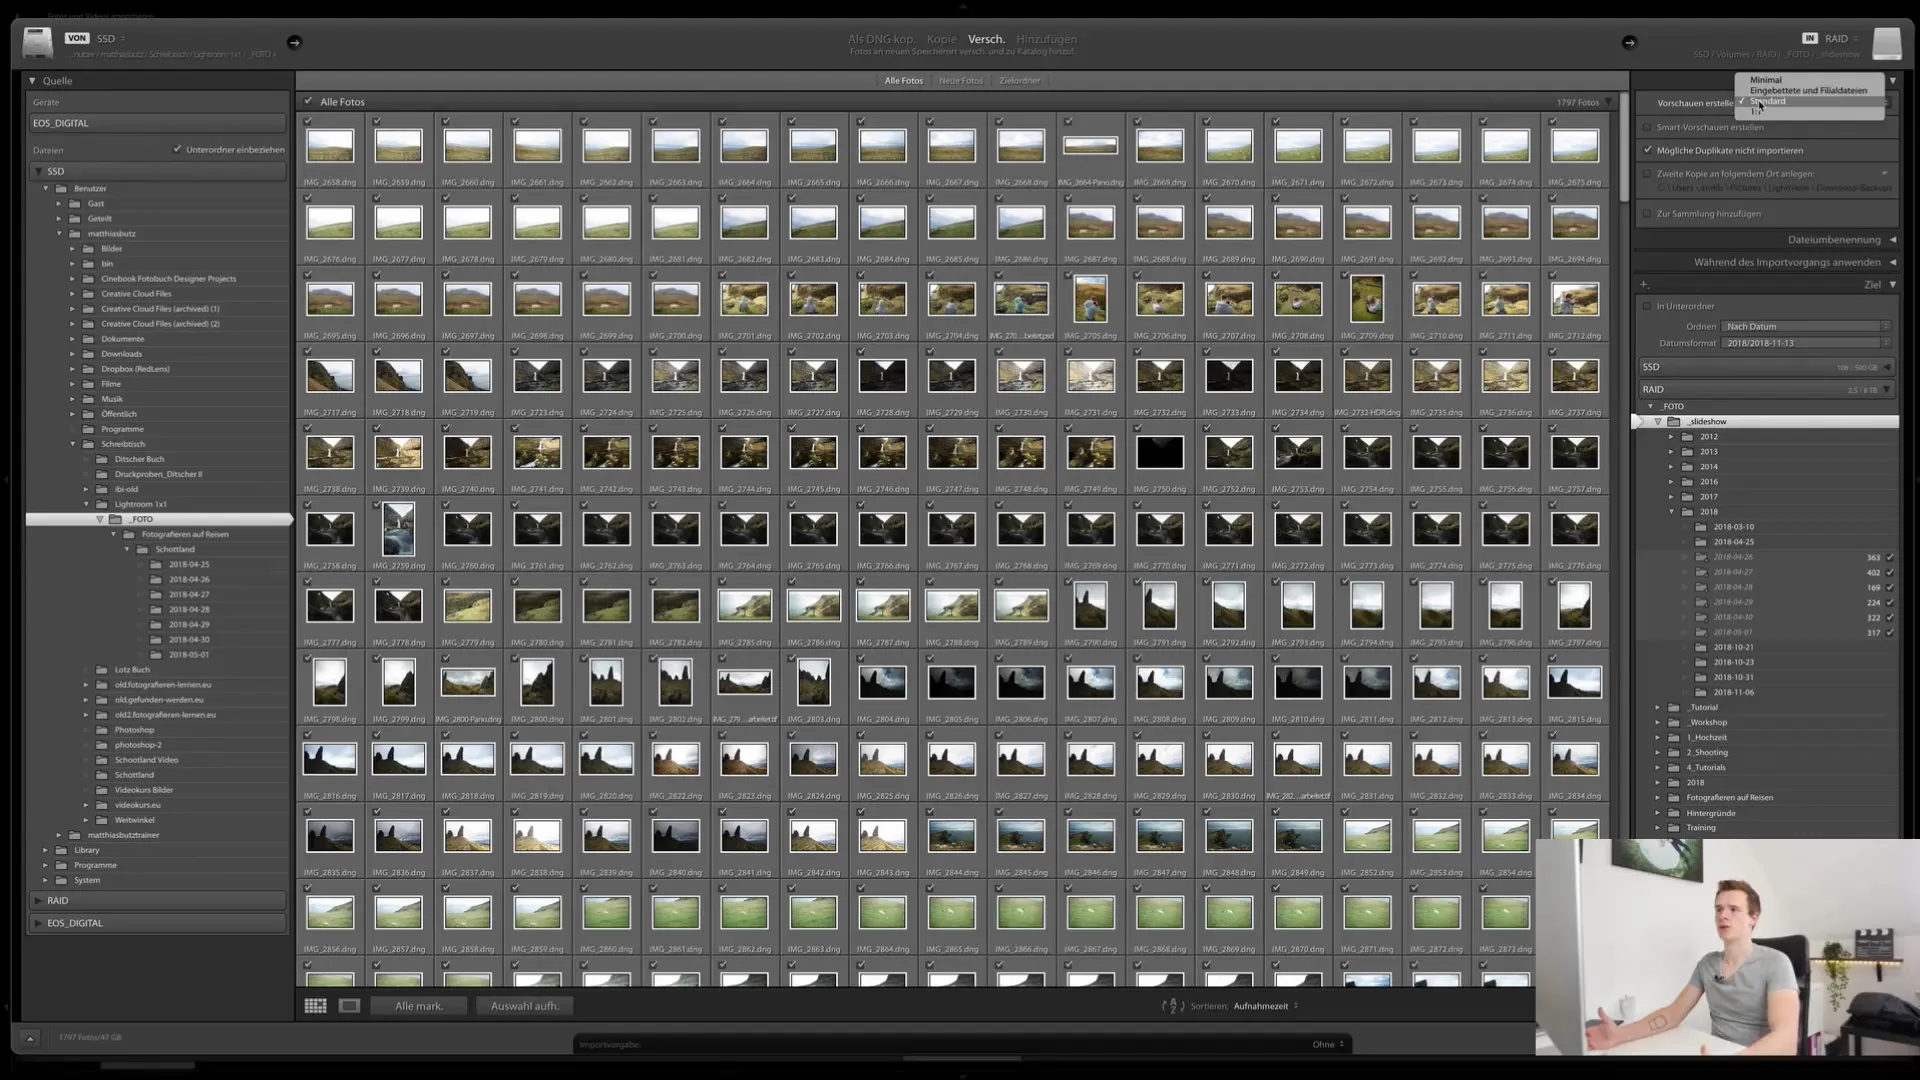
On the right side of the import dialog, you can set the type of previews. You have different options: Minimal preview, embedded preview, or standard preview. The standard preview is usually the fastest and sufficient for effective image editing.
5. Avoid Duplicates
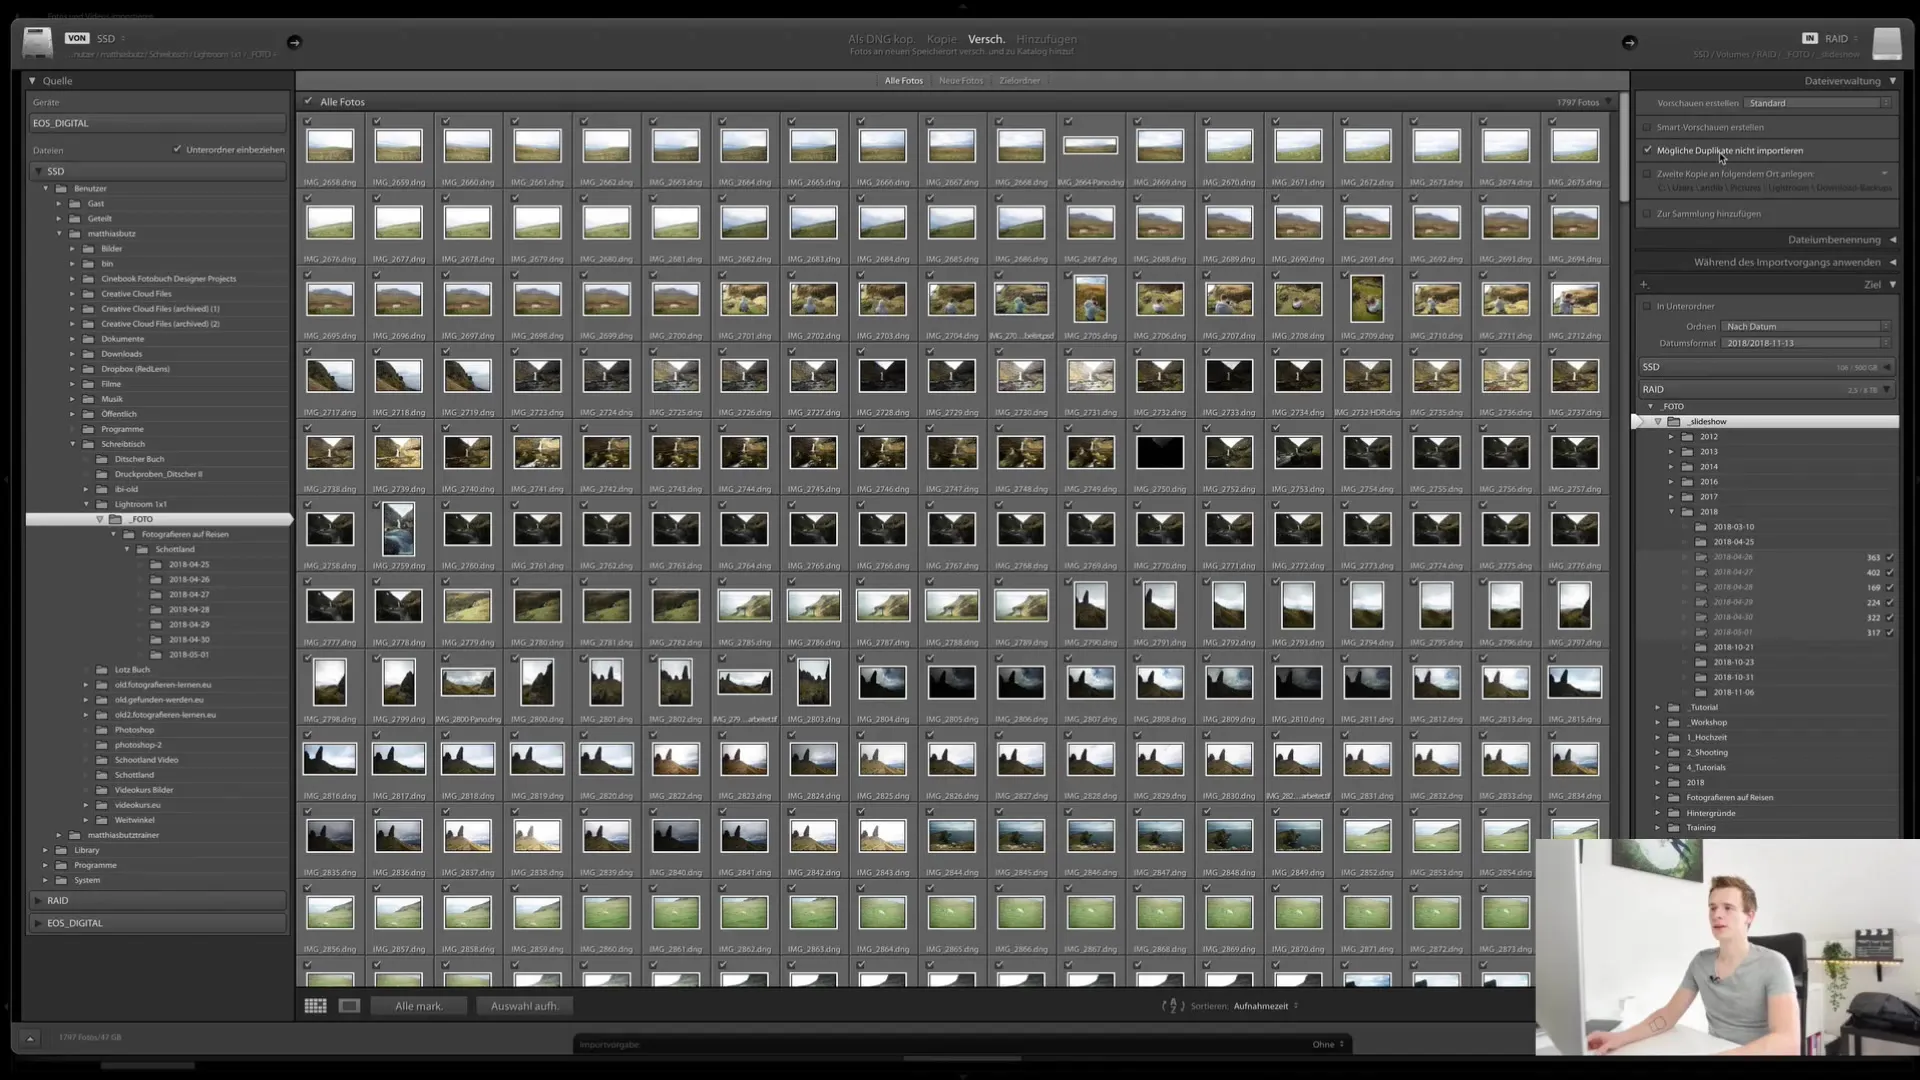
A very useful option is the "Don't import suspected duplicates" checkbox. This function detects if the images are already in the catalog and prevents you from accidentally importing them again.
6. Create Second Copy
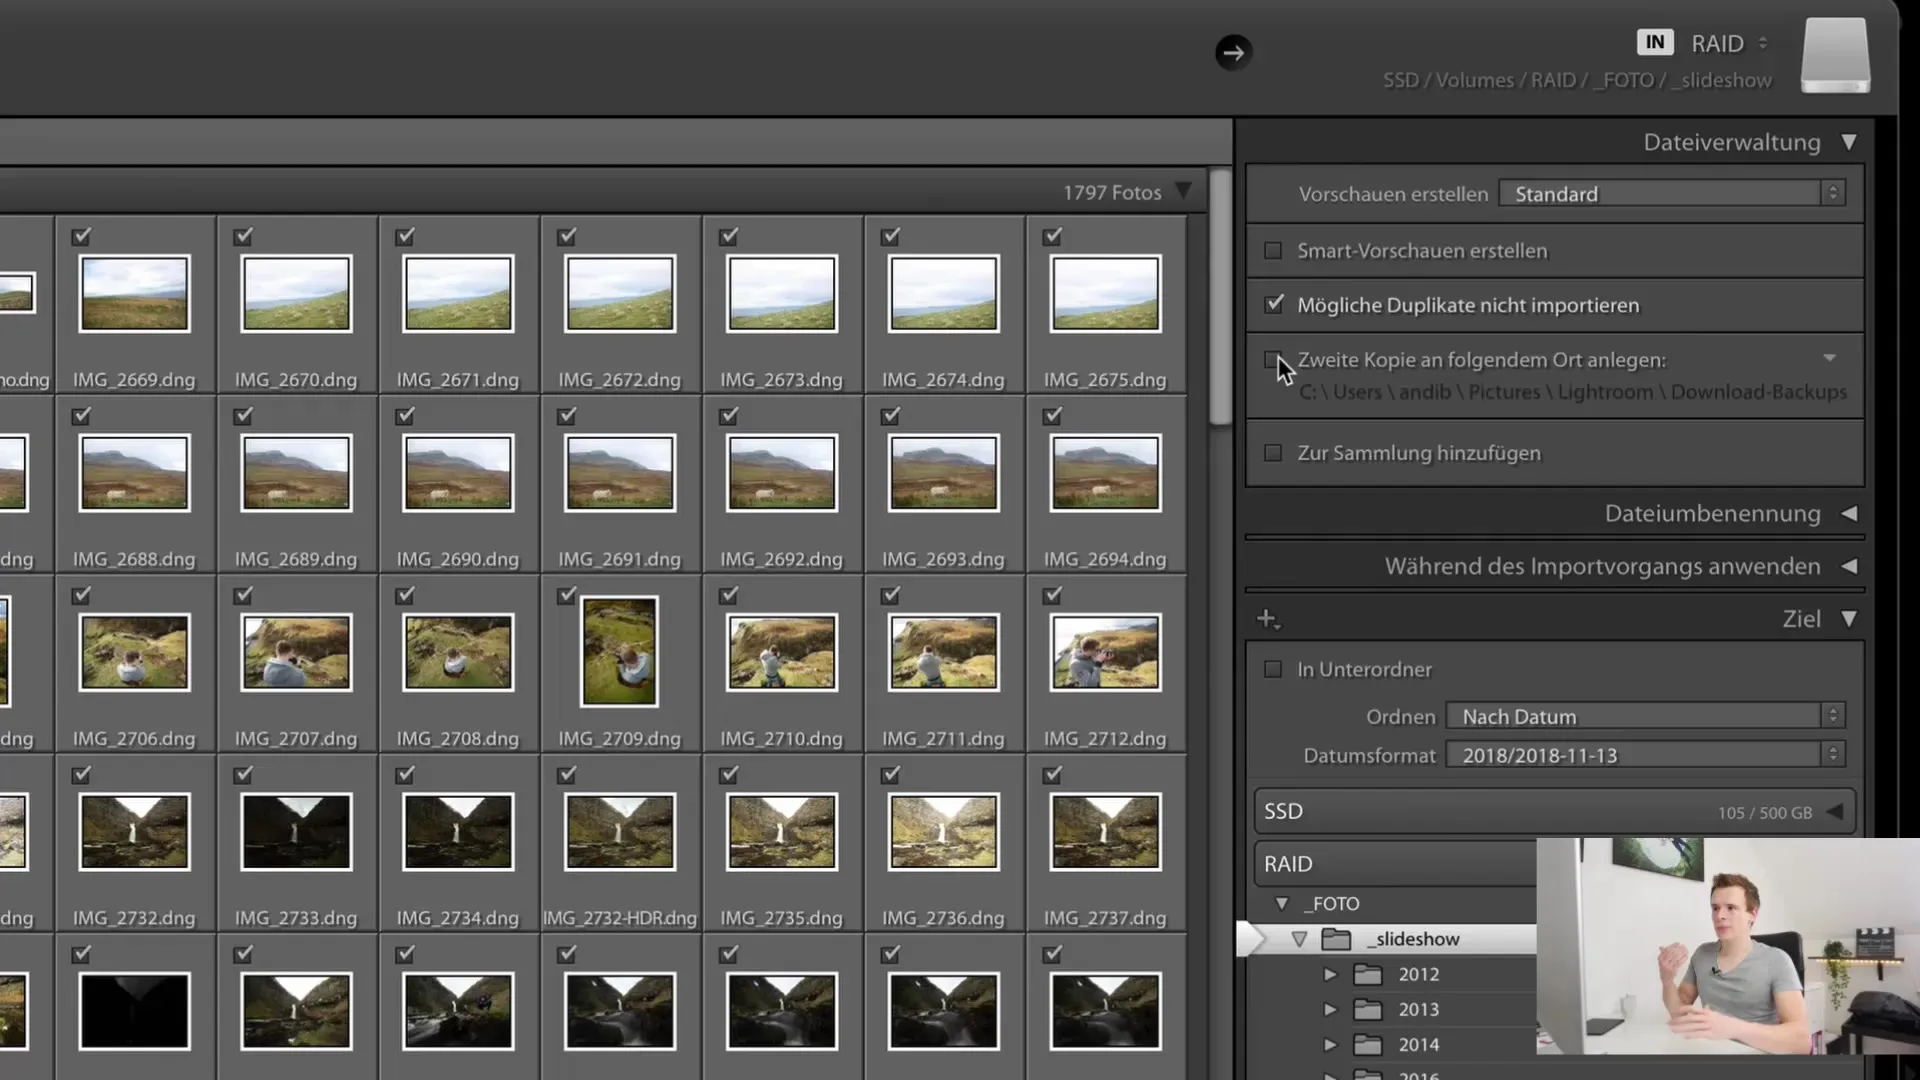
To minimize the risk of data loss, you can save a second copy of the images in another location. Activate the option "Create second copy in the following folder". Here you can choose the location where the second copy should be stored.
7. Set Metadata and Keywords
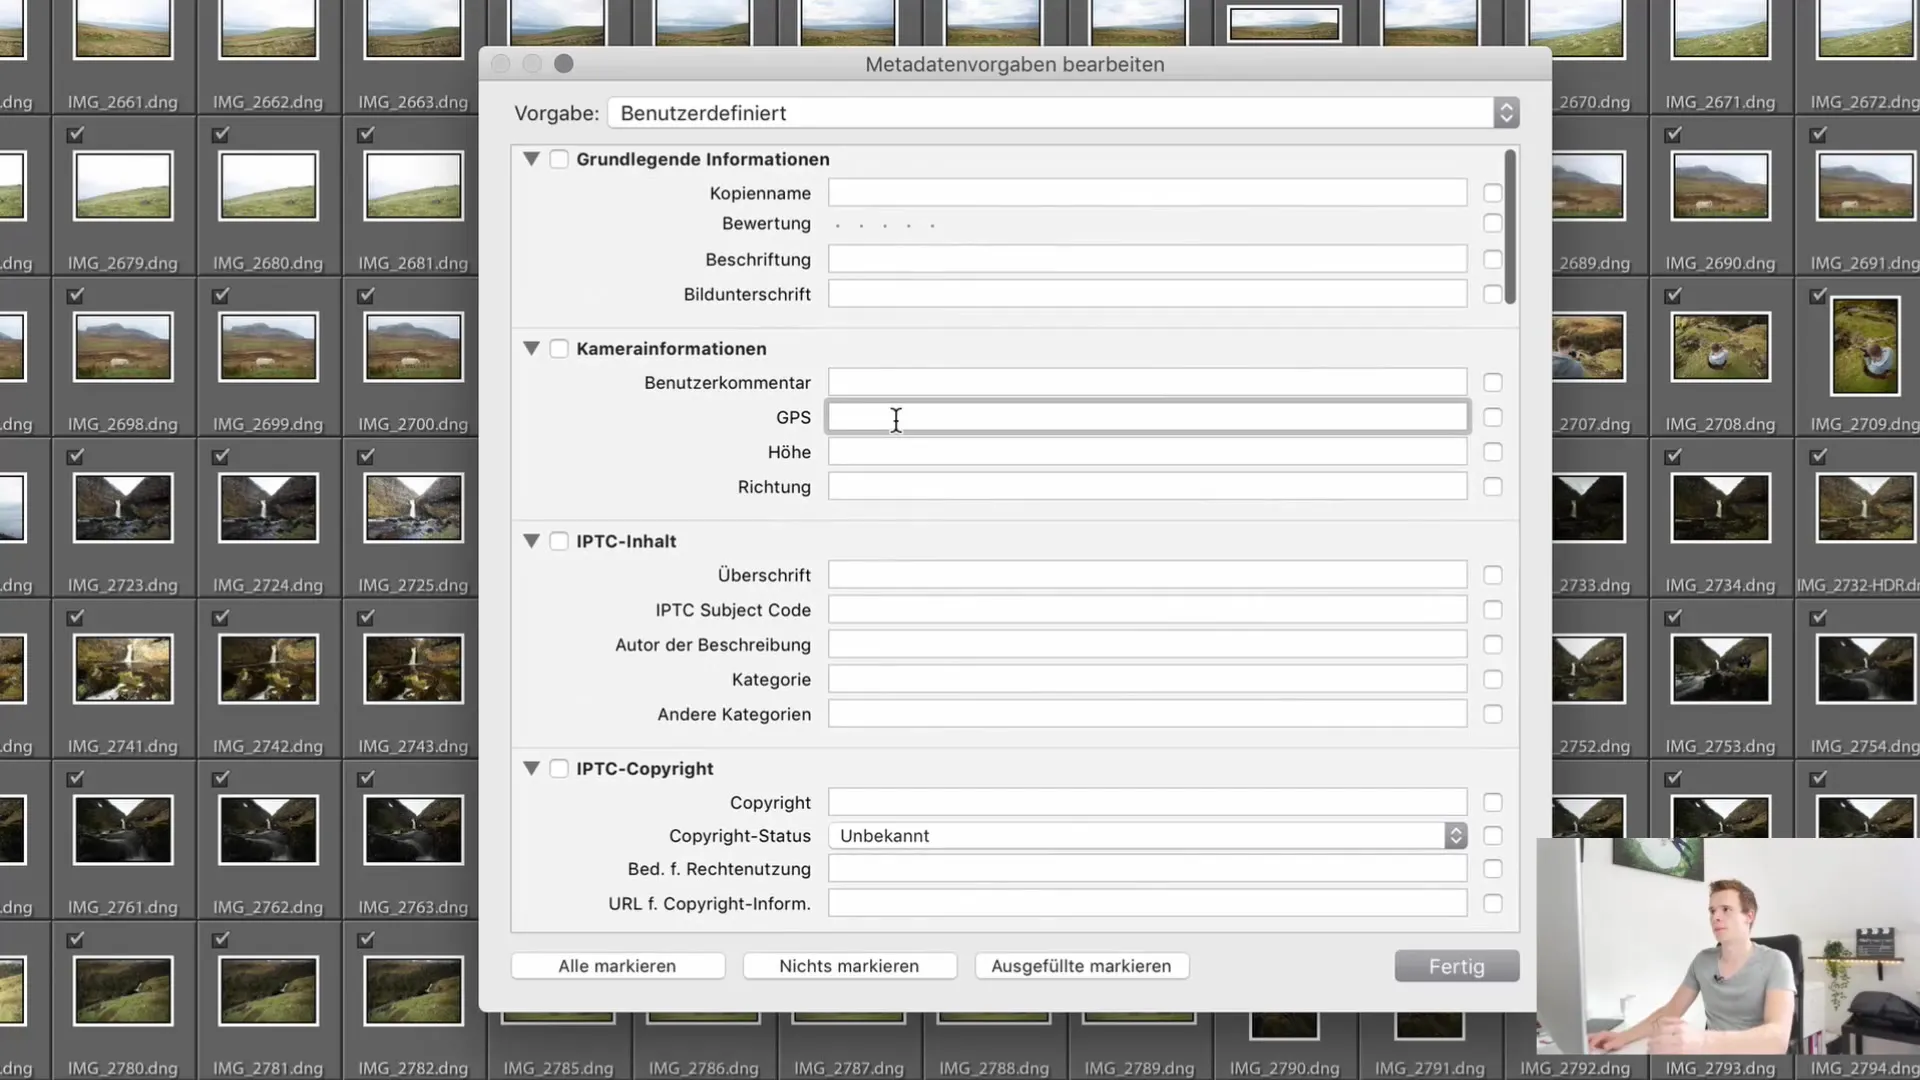
Another important option during import is setting metadata and keywords. Here you can enter important information such as the capture date or the location where the photos were taken. You can also add keywords to make it easier to find the images later.
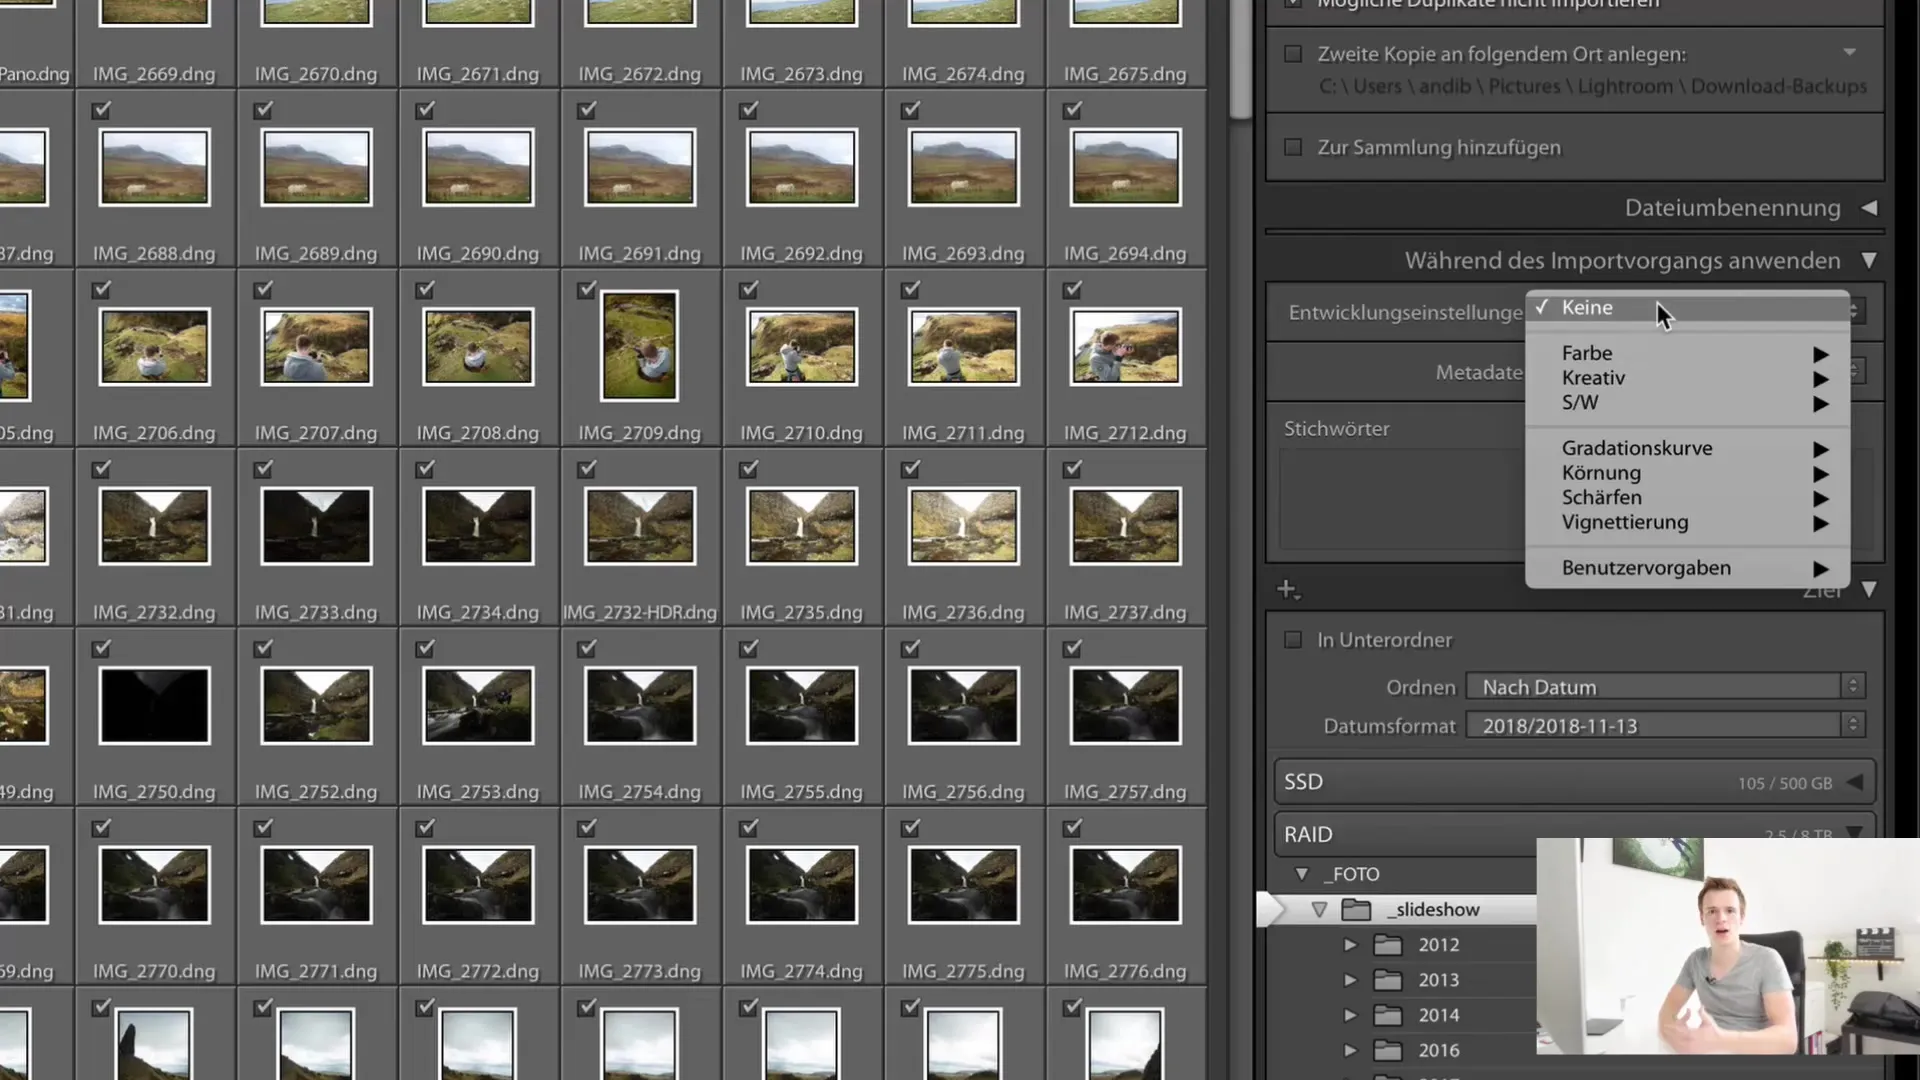
8. Apply Development Settings
You can also select development settings to be applied to the imported images. This saves time as you can already apply certain effects or adjustments in the import process.
9. Choose Destination Folder
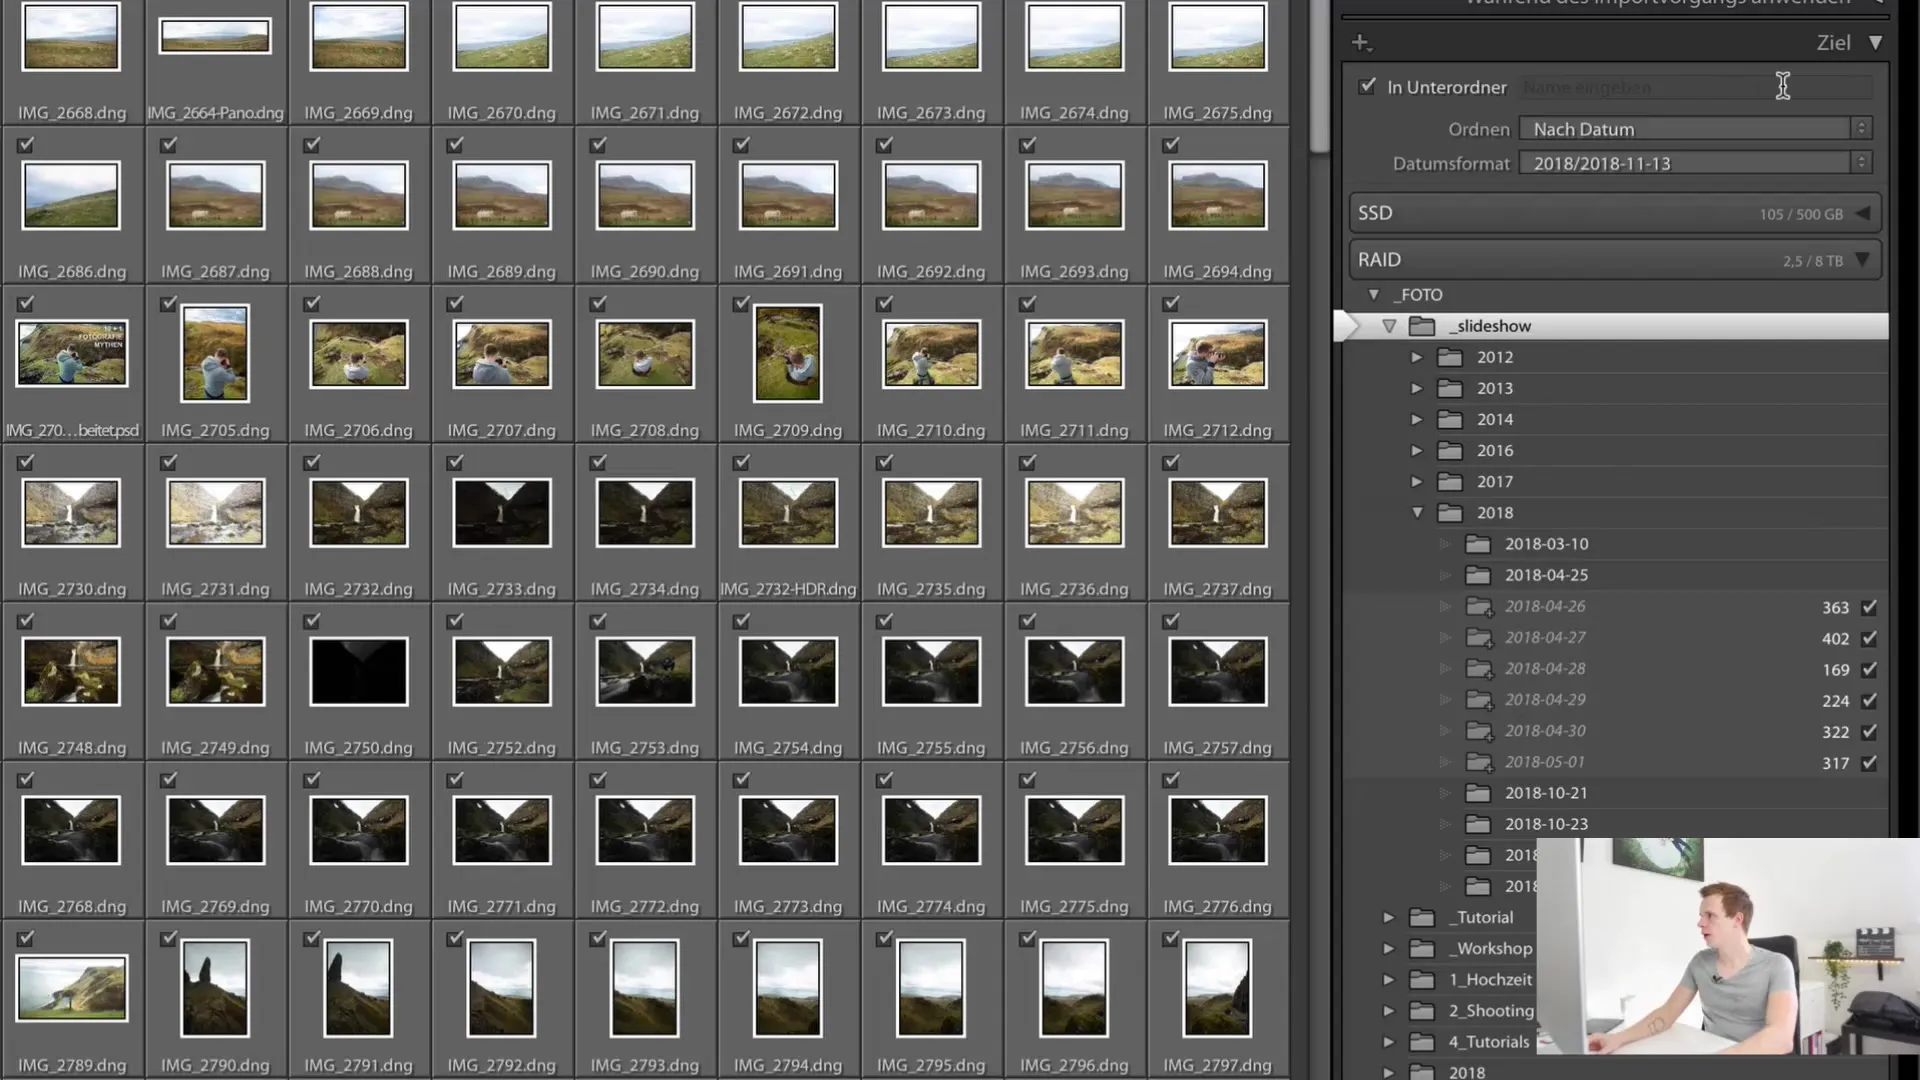
Now select the destination folder for the imported images. You can import them into a new or existing folder on your hard drive. You also have the option to create subfolders by date, further improving the organization of the photos.
10. Start the import
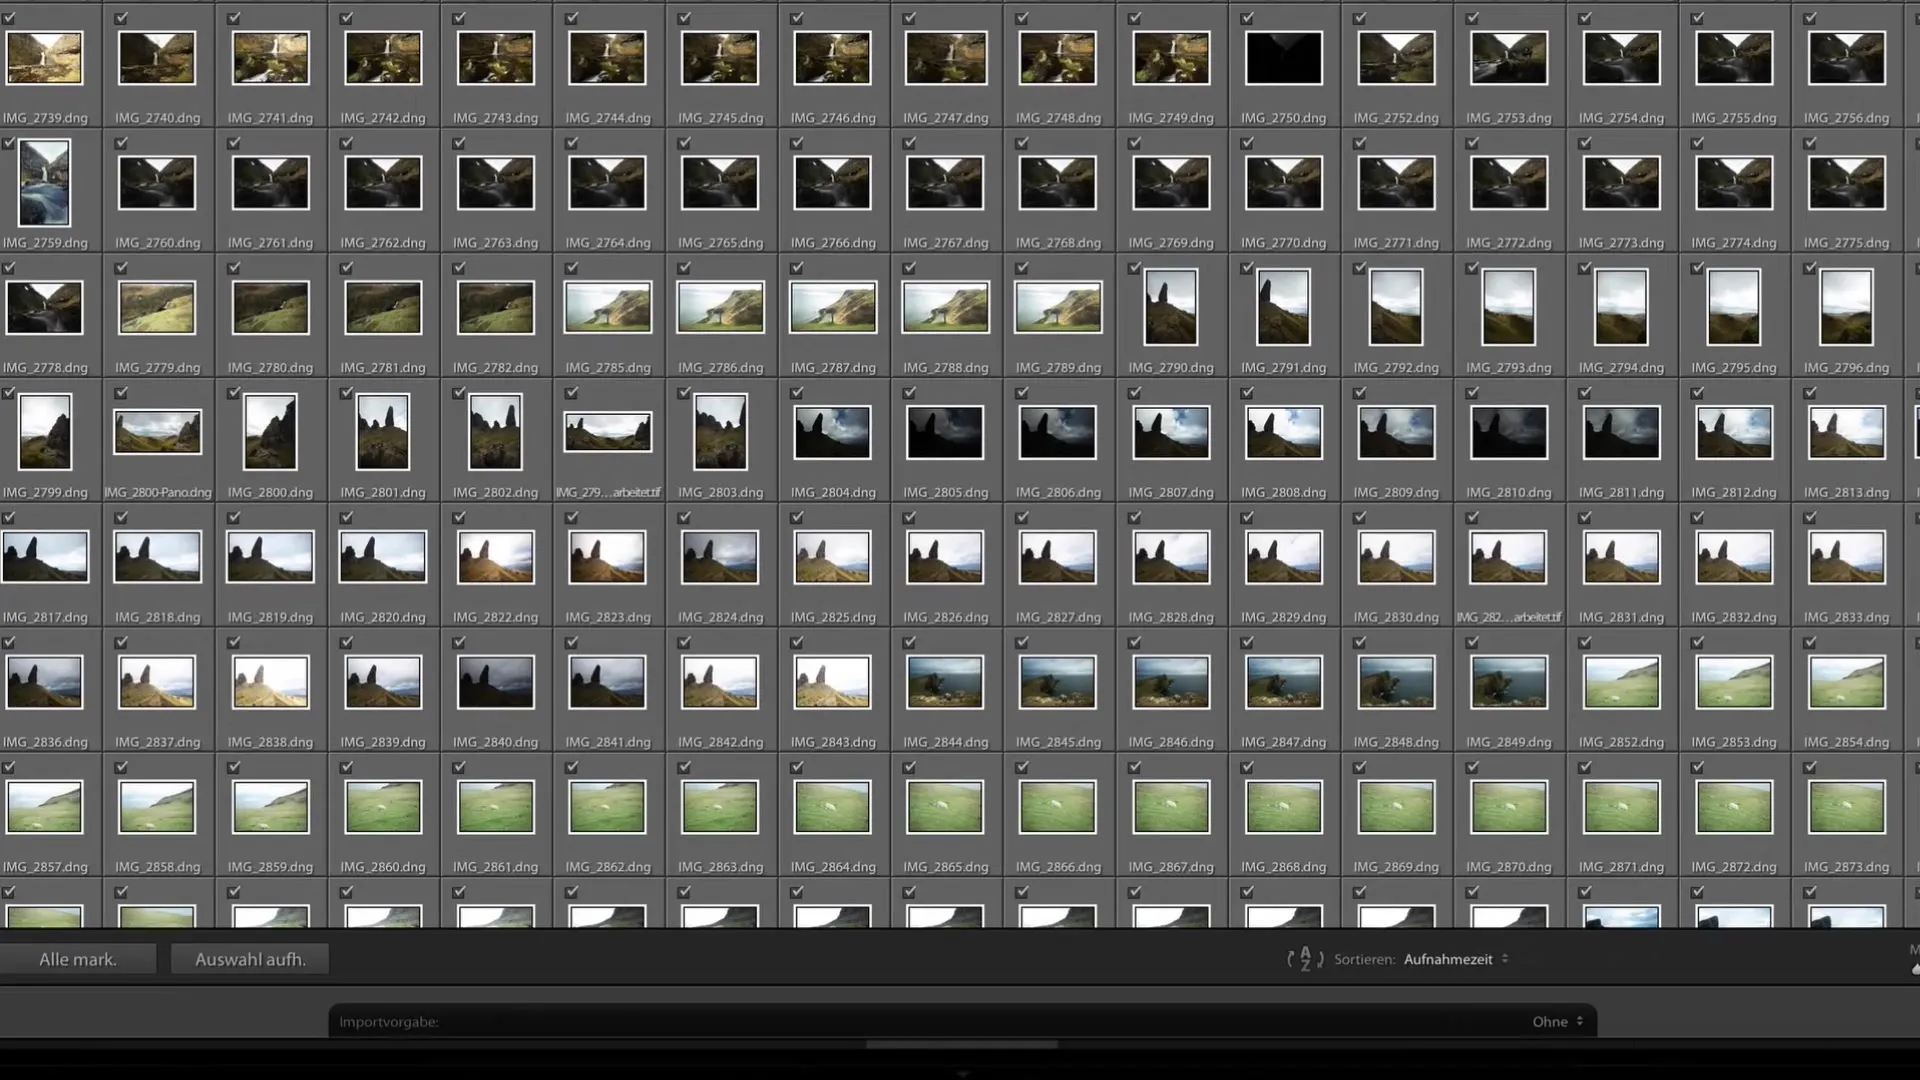
Everything is ready for the import now. Click on "Import" and Lightroom will start importing the selected images into the corresponding destination folder. Previews will be generated during this process, allowing you to start editing immediately once the import is completed.
Summary
In this tutorial, you have learned how to efficiently import images into Lightroom Classic CC and what settings are available to optimize image management. From selecting the source to setting up previews to backup options - with these tips and tricks, you are well-equipped to improve your workflow.
Frequently Asked Questions
How can I back up my images during the import process?Activate the option "Create a second copy in the following folder" to create a backup copy of your images during the import process.
How can I prevent duplicate images from being imported?Activate the option "Do not import suspected duplicates" so that Lightroom can recognize already imported images and avoid adding them again.
How can I add metadata during import?In the import dialog, you can directly enter relevant metadata such as location, capture date, and credit information.
Can I apply development settings during import?Yes, you can select development settings to be automatically applied to the imported images.
How do I choose the destination folder for import?In the import dialog, you can choose an existing or new destination folder for the imported images and even create subfolders based on date.


