Welcome to your Lightroom Classic CC tutorial on the Navigator! In this guide, you will learn how to use the navigation functions in Lightroom to keep track of your photos while editing and zooming. The Navigator is a powerful tool that allows you to effectively switch between different zoom levels and precisely edit specific areas of an image. Let's get started!
Key Takeaways
The Navigator in Lightroom gives you the ability to navigate through different zoom levels, quickly locate specific areas in an image, and analyze your images more efficiently. A good understanding of the Navigator features can significantly enhance your image editing.
Step-by-Step Guide
The first step to finding the Navigator in your Lightroom interface. You should see the Navigator in the top left corner of your screen. If it is not visible, you can easily show it by simply clicking on it. Clicking again will hide it.

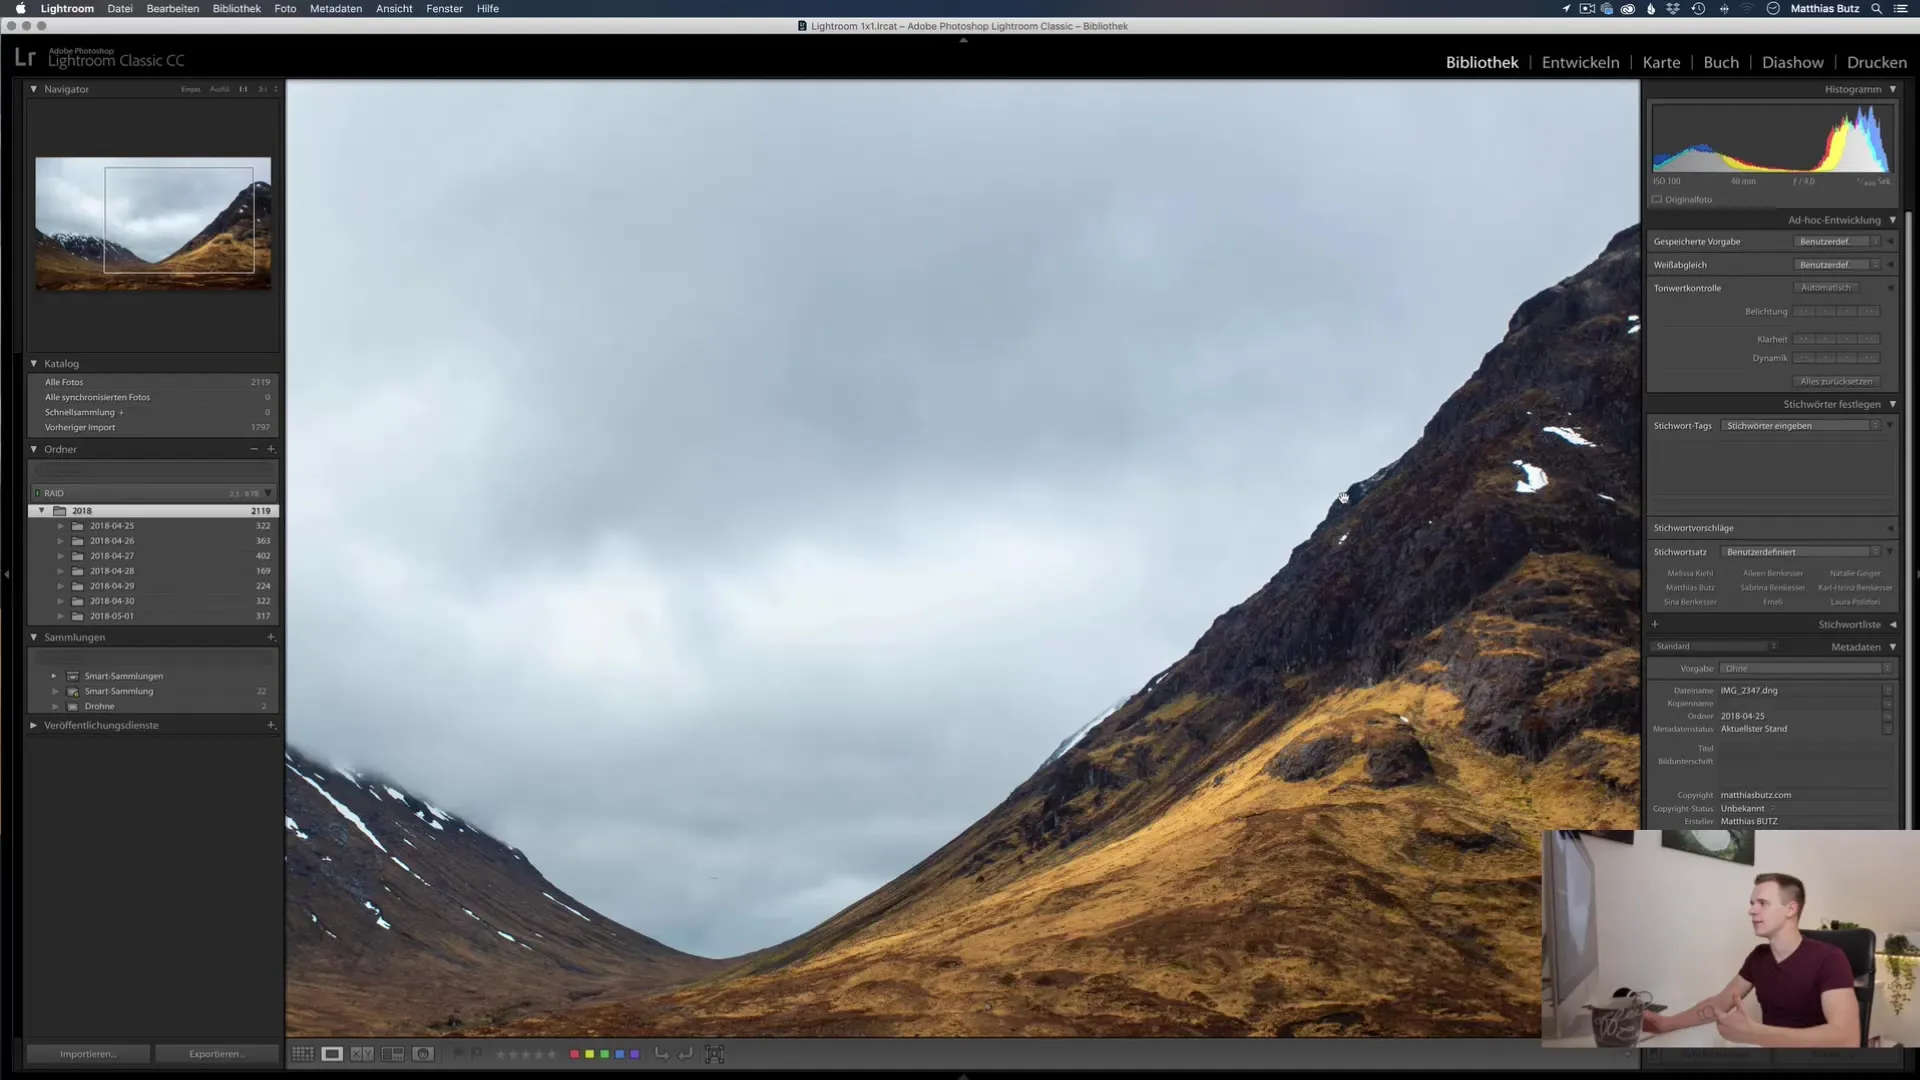
Once the Navigator is visible, you have a great way to zoom into your images while still maintaining orientation. The default behavior when clicking on the image leads to a 1:1 zoom. This means that the pixels on your image are displayed according to the size on your monitor. If your image has a side length of 3000 pixels and your monitor also measures 3000 pixels, the image will be the same size as the monitor.
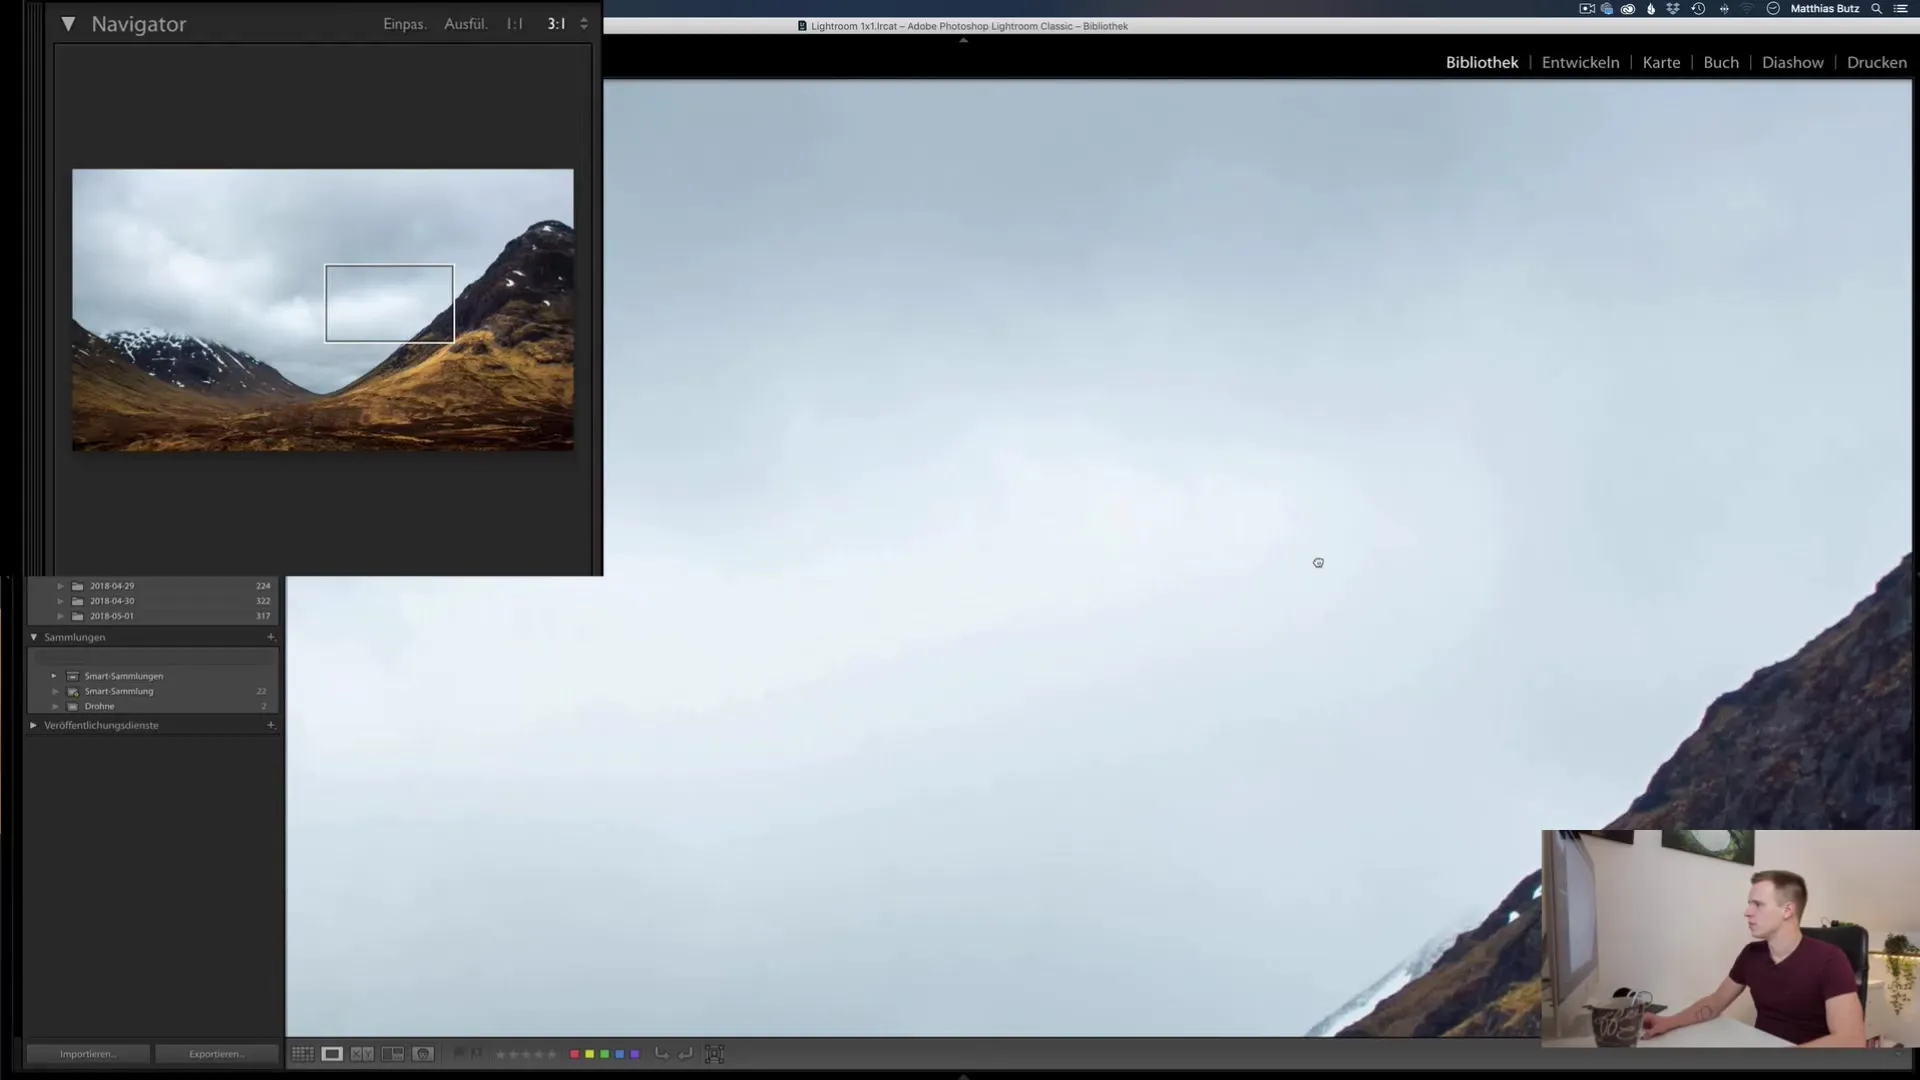
If you want an even clearer image, you can click on the 3:1 button. This allows you to zoom in three times closer, enabling you to see details better. Keep in mind that a single click zooms in and another click zooms out.
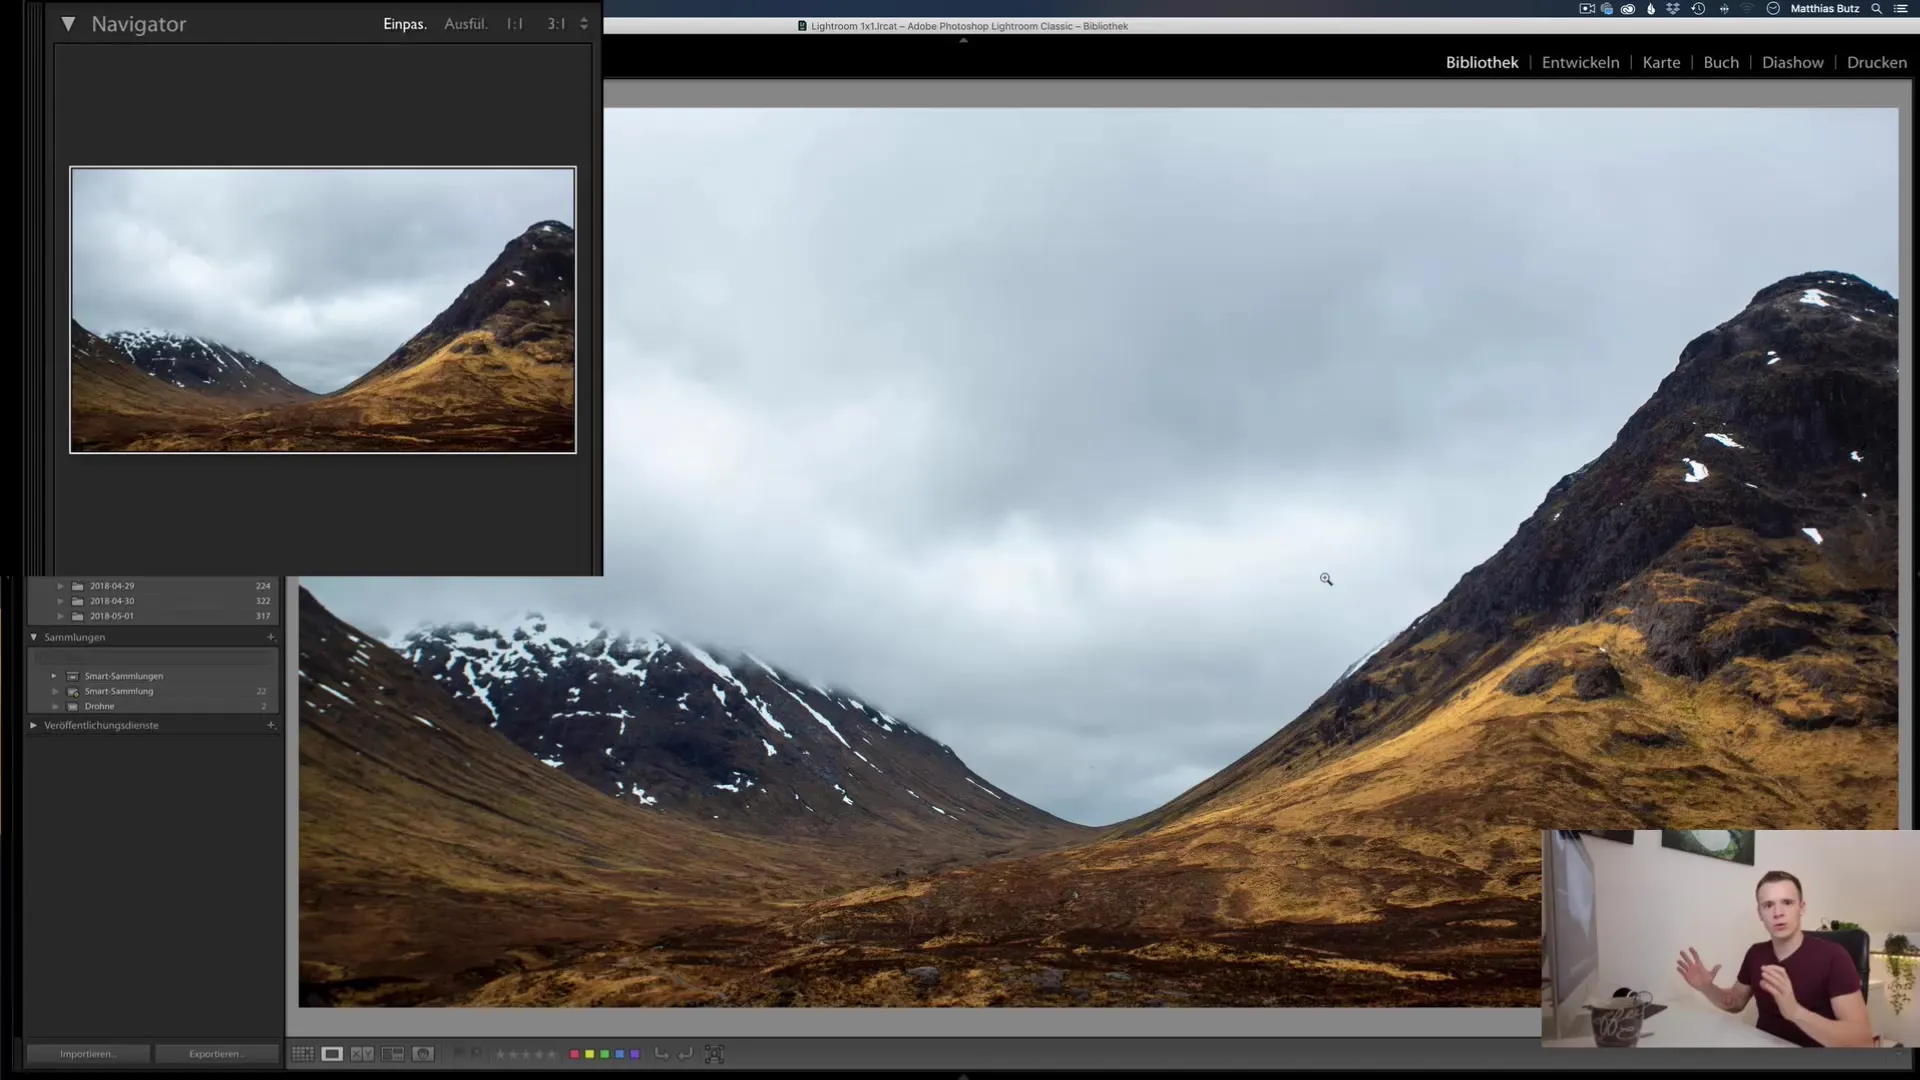
In most cases, you will use the "Fit" default view. This function ensures that the image fits optimally into your window. Alternatively, you can click on "Fill" to ensure no borders are shown. However, note that in this case, you may lose parts of the image if your display's aspect ratio does not match your image's aspect ratio.
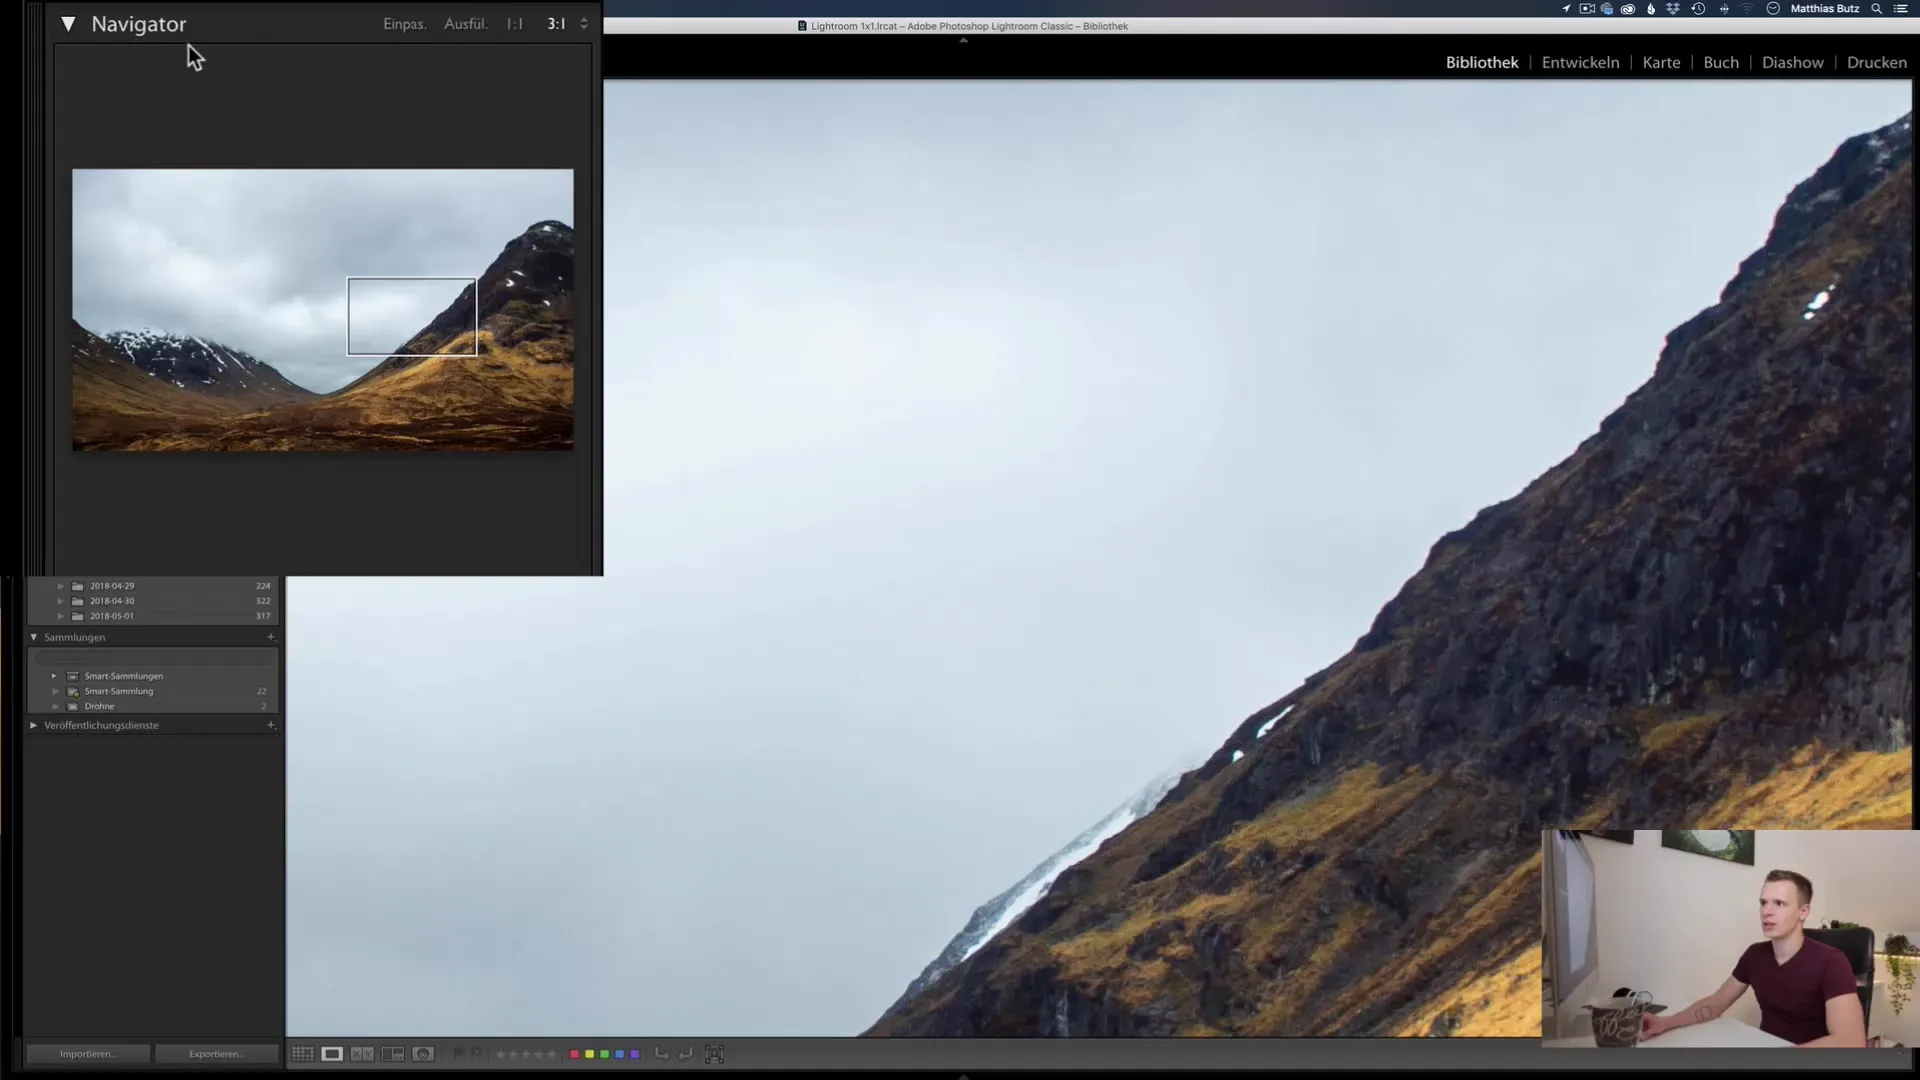
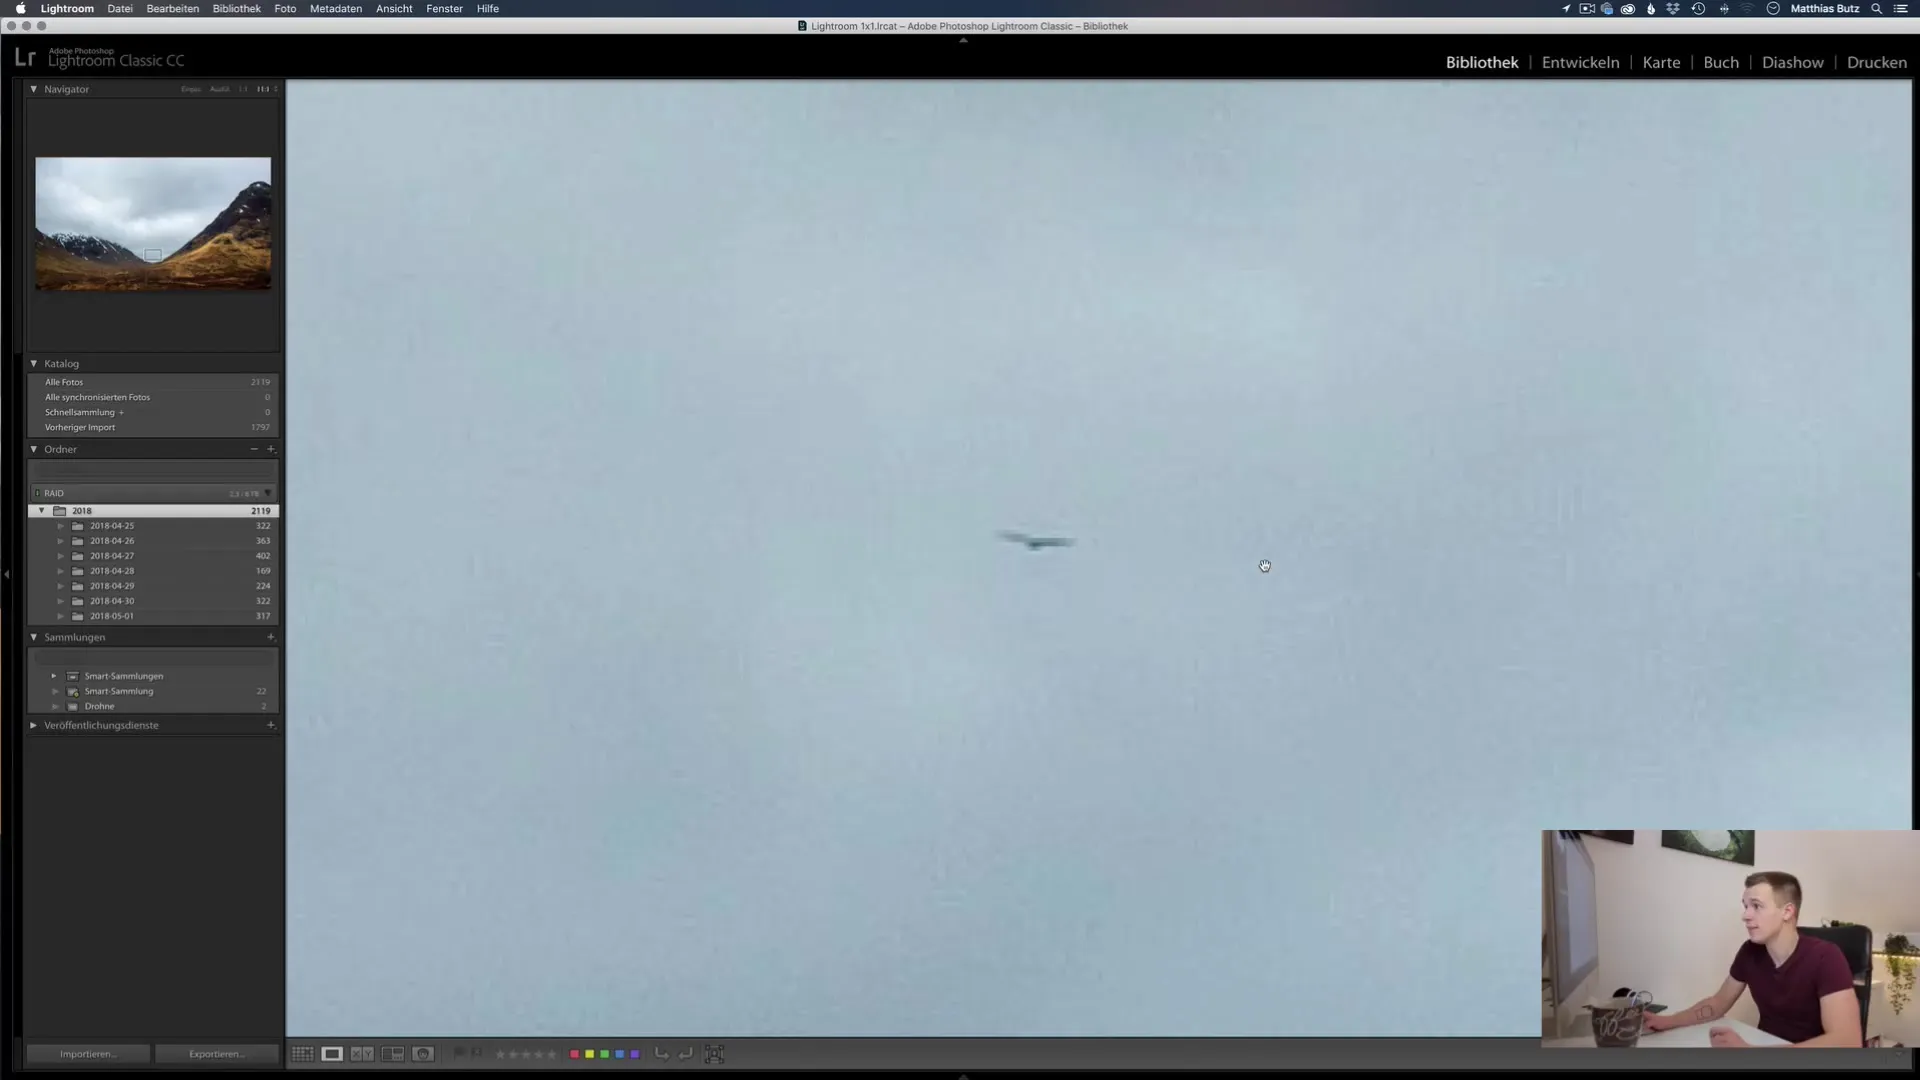
The Navigator is particularly useful for high-resolution images. It shows you exactly which part of your image you are currently viewing. For example, if you want to zoom in on a bird in your image, you can use the Navigator to navigate quickly and easily to that specific area.
In addition to the zoom levels, you will also find two small arrows to the right of the Navigator that allow you to further adjust the zoom factor. Here, you can choose different zoom levels, which is especially important as they depend on your image and monitor.
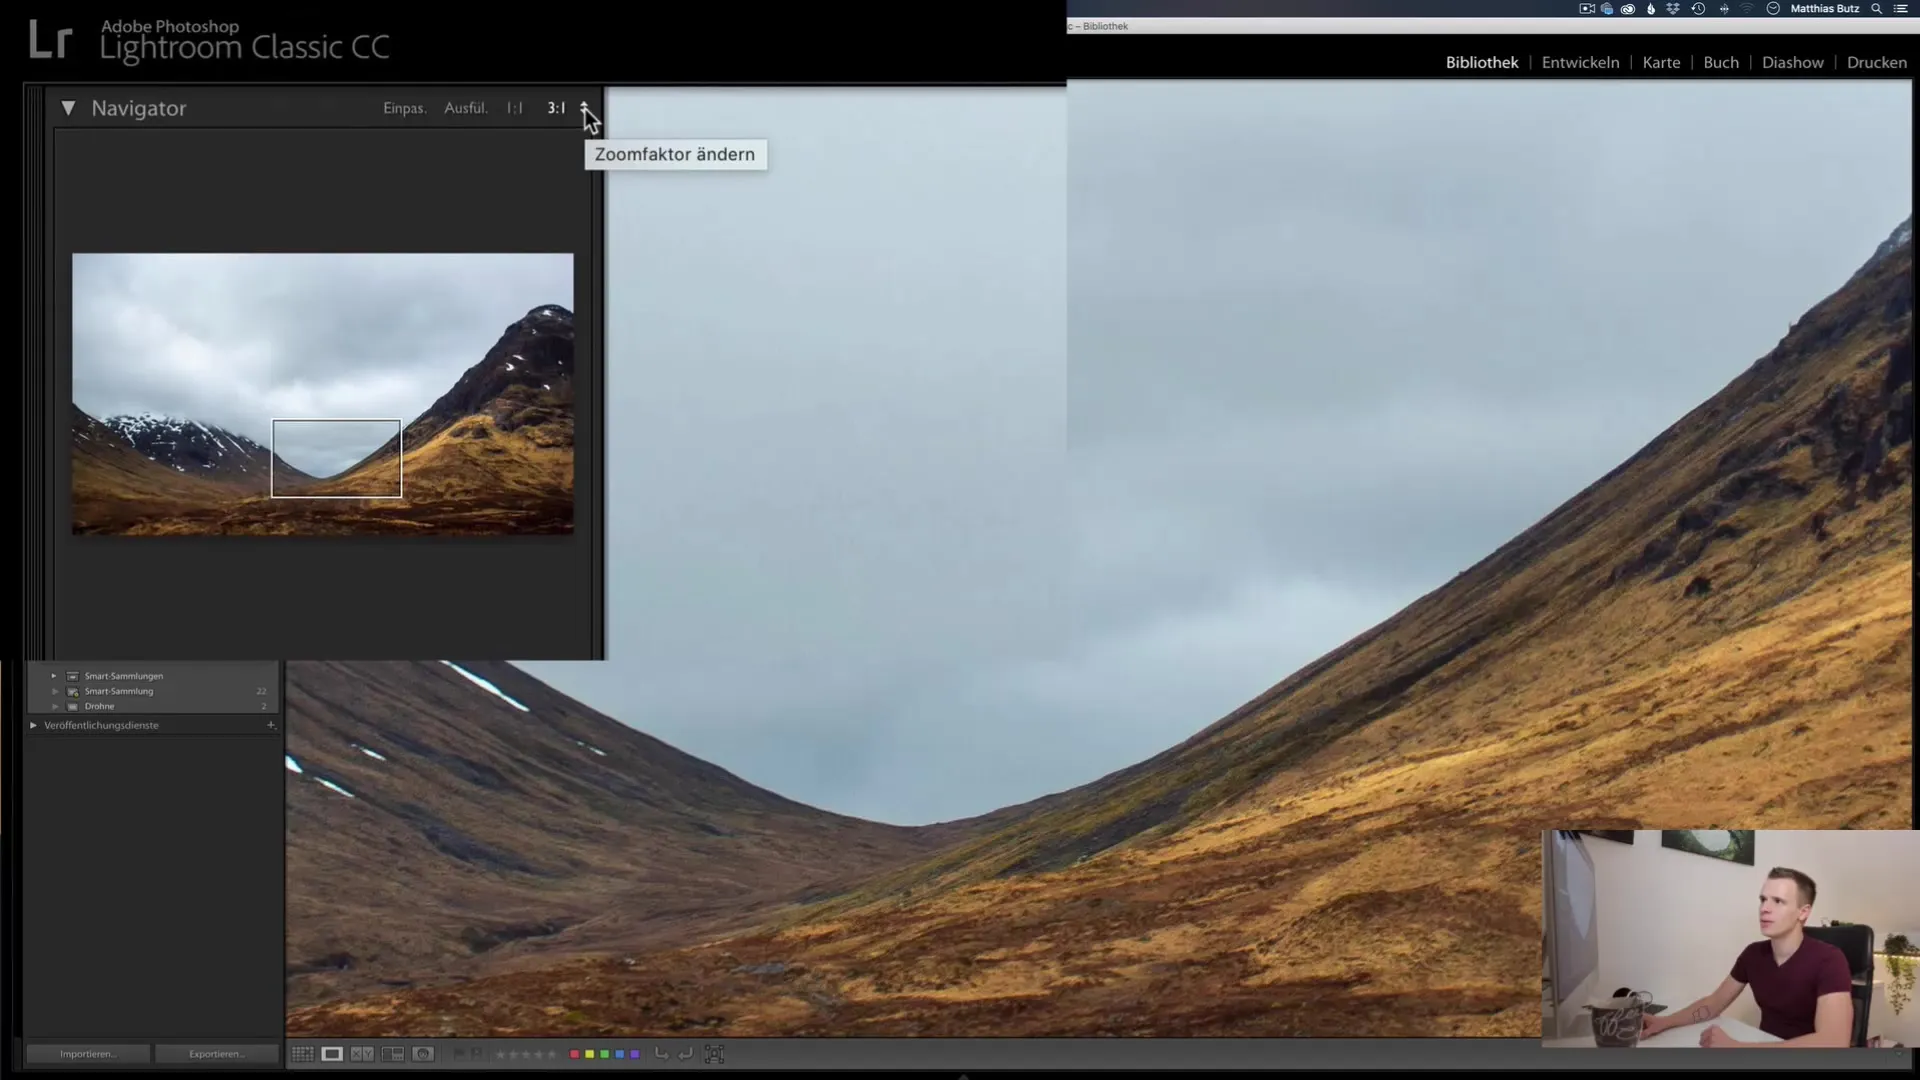
Selecting a zoom level of 1:1 allows you to count each pixel, enabling you to make precise adjustments. However, zooming in too close can result in the image appearing pixelated, especially on large monitors or images with low resolution.
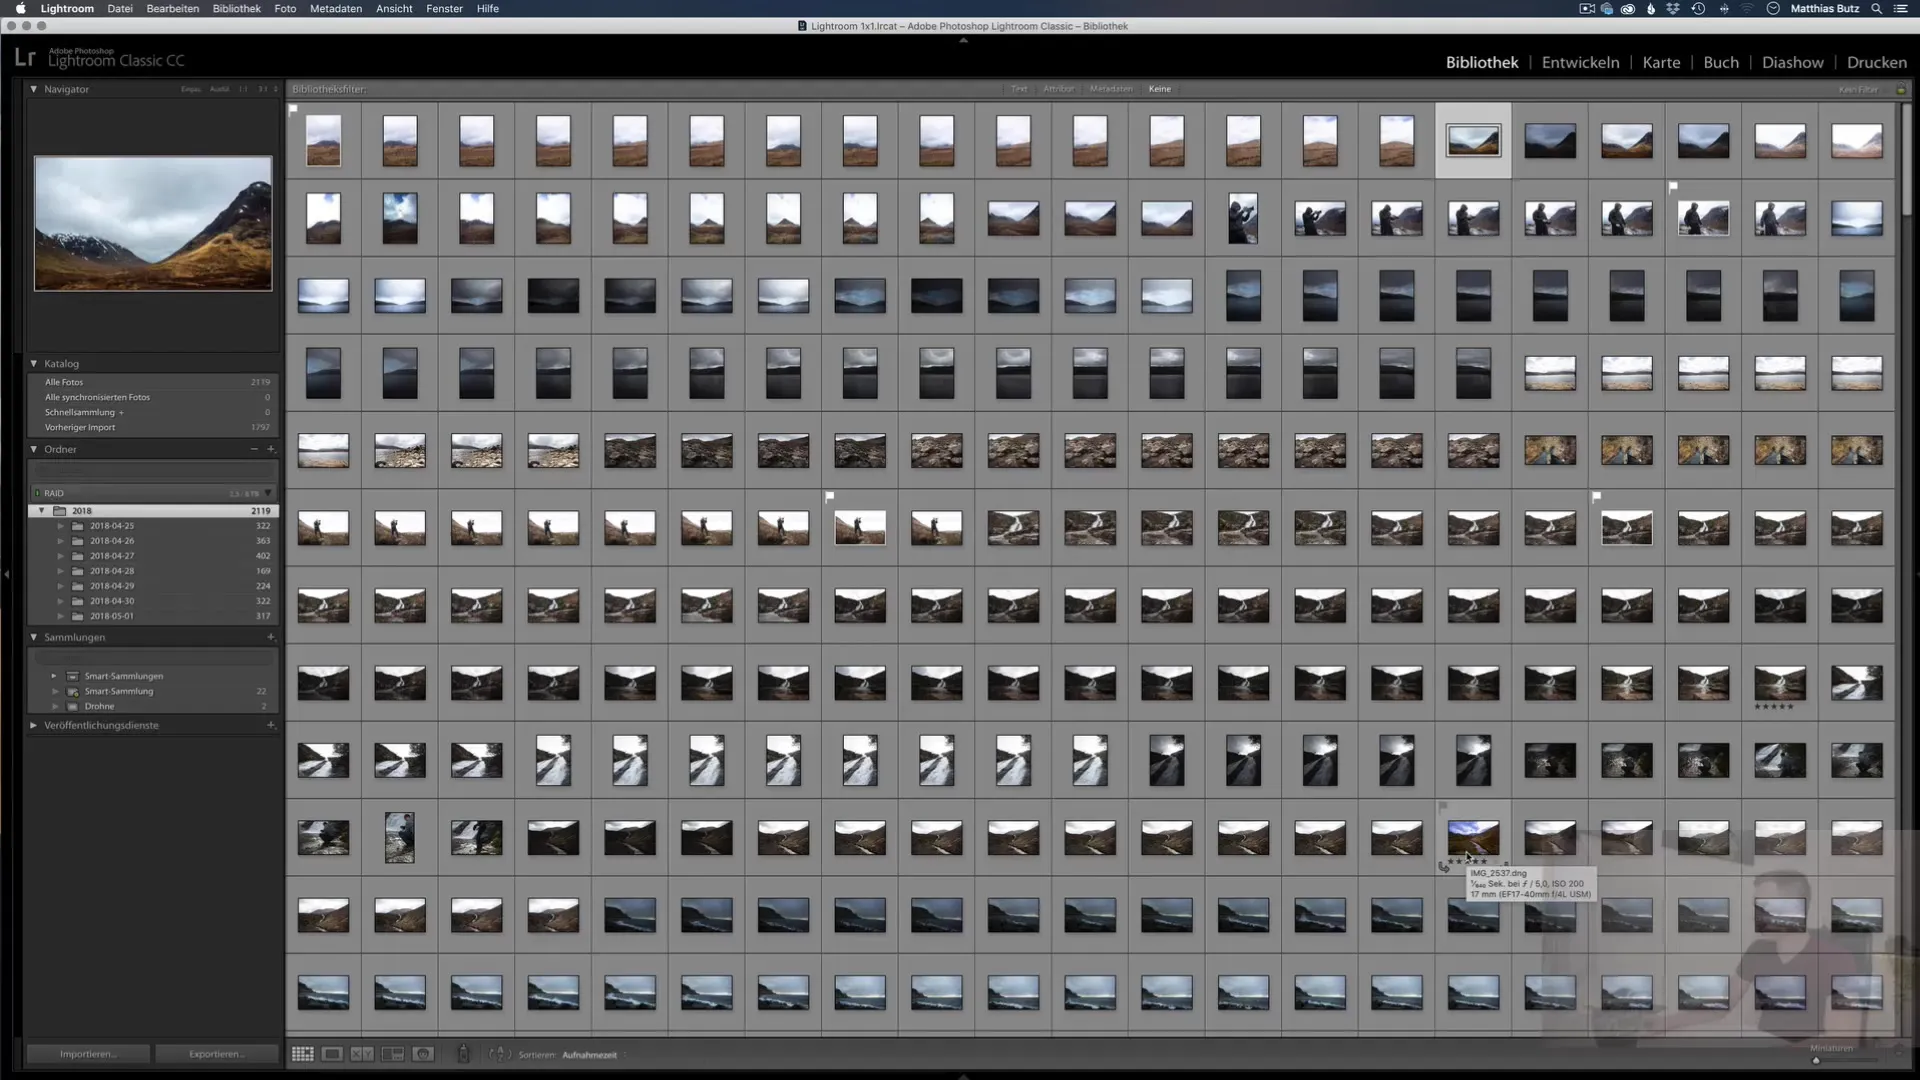
In addition to the zoom levels, you can also use the Navigator in Grid view to display all your images. By using the slider at the bottom right, you can adjust the size of the thumbnails, which is helpful for recognizing the photos and evaluating exposure and sharpness.
To view an image in full size, simply click on it and press the space bar. Pressing it again will return you to the previous zoom level, or zoom in once more to 3:1 or 1:1, depending on your last input.
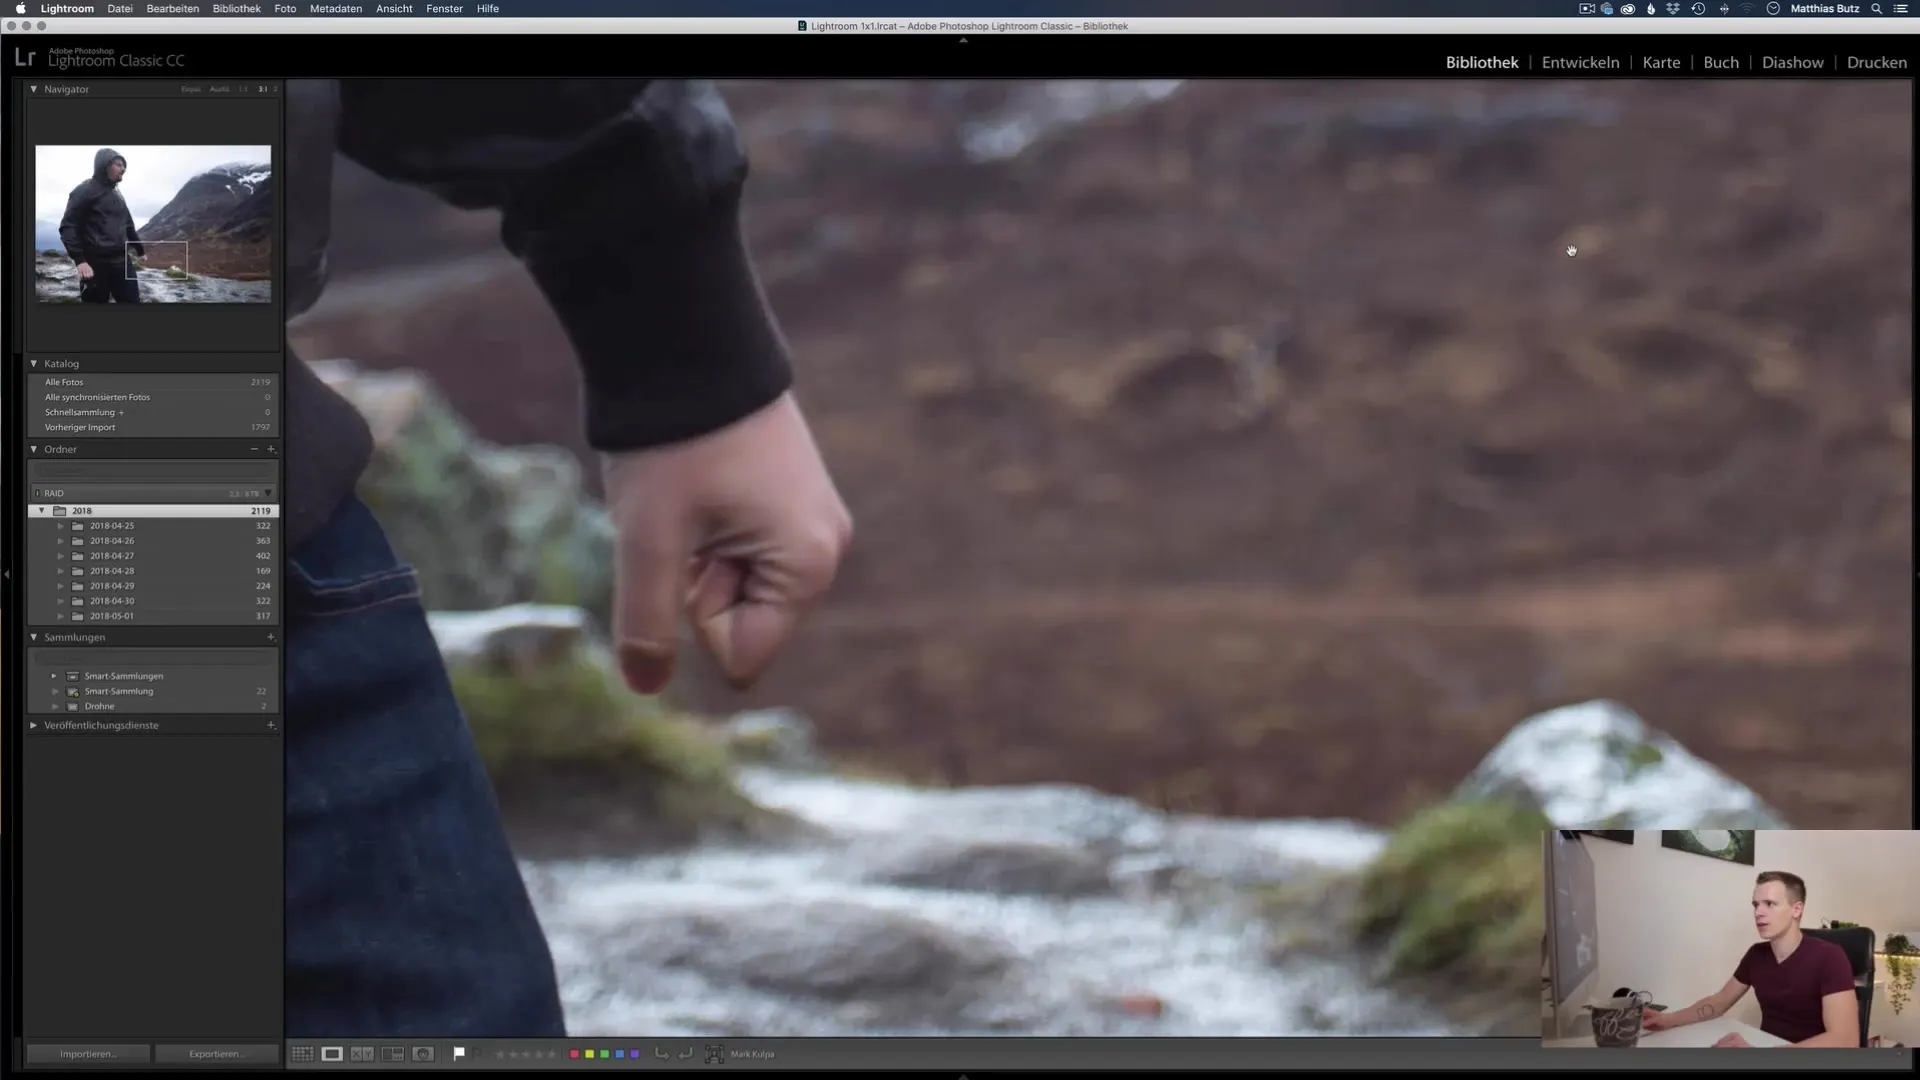
If you prefer, you can also double-click on an image to view it in full size. Use the same zooming functions as before to zoom in and out of your images.
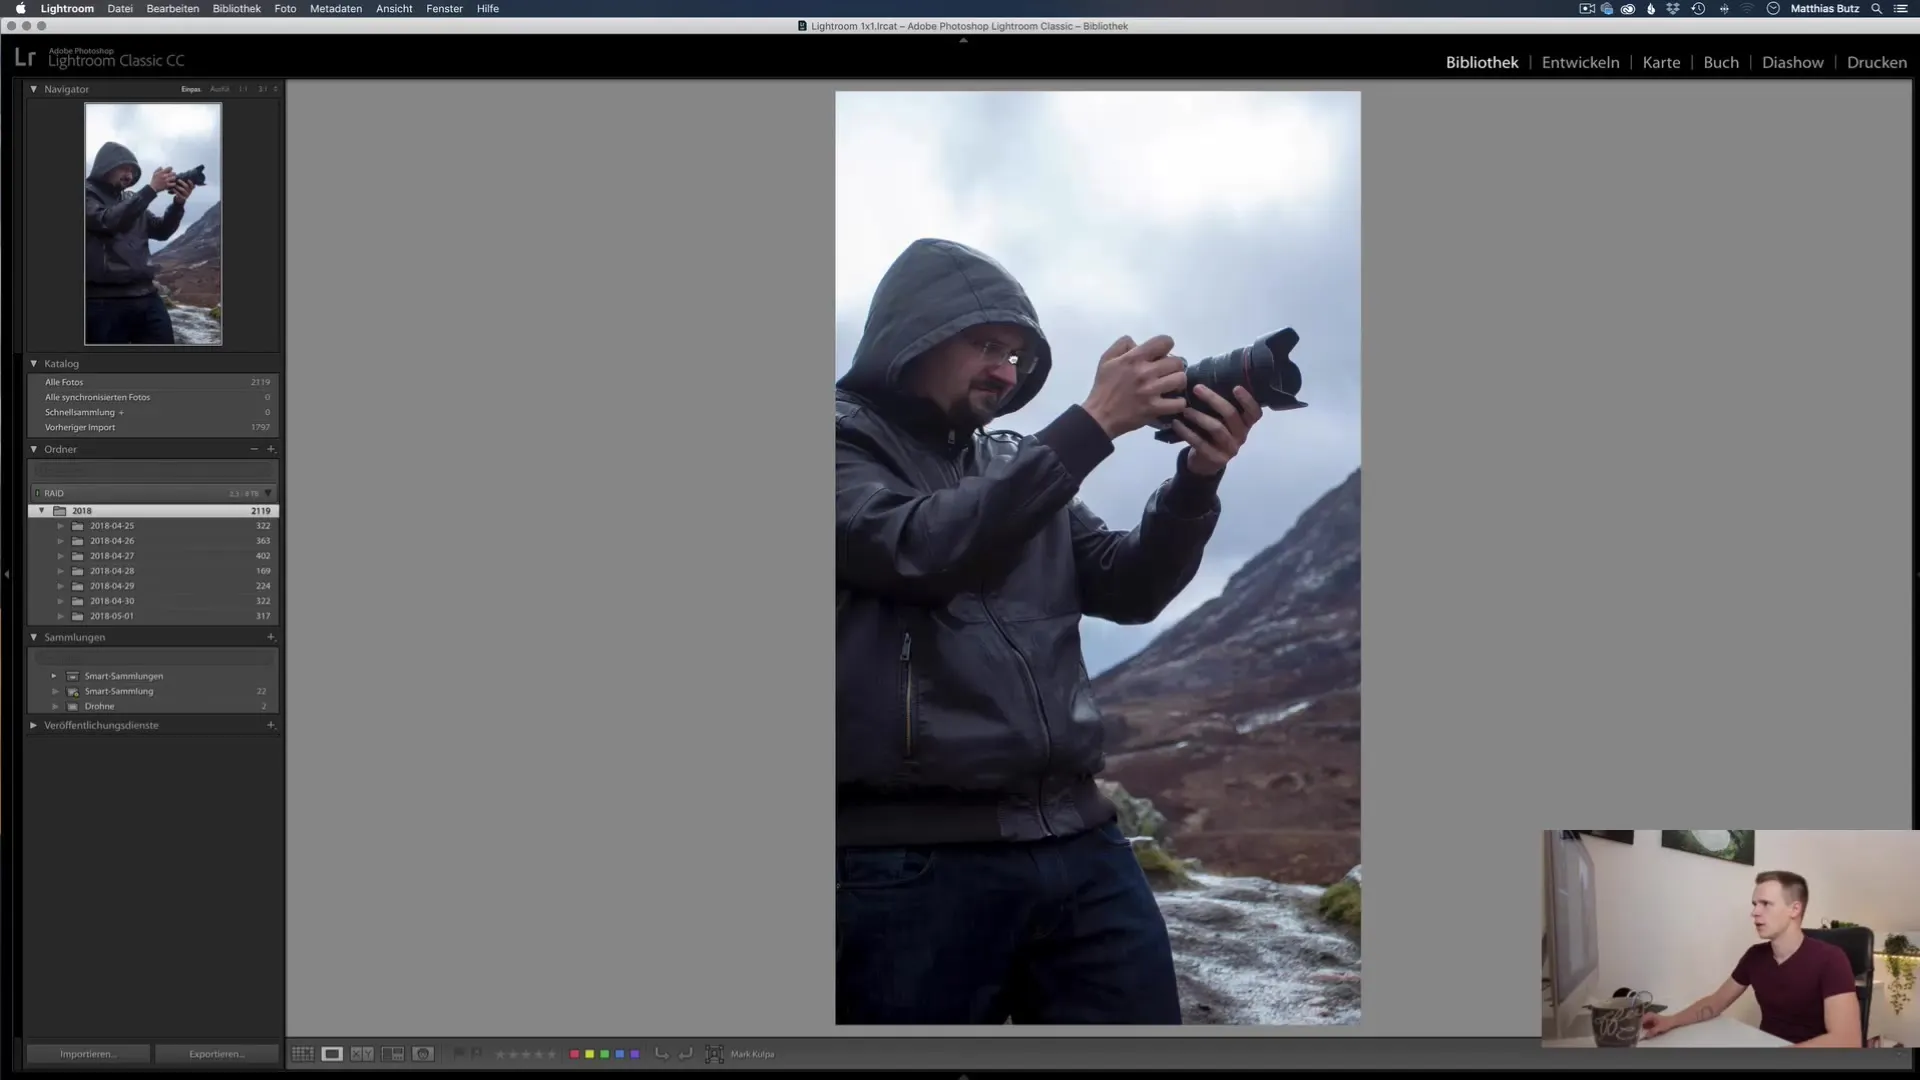
When switching between views, such as between the photo mode and the develop module, the navigator will not only be visible in the library module, but also while editing, where you may be able to select multiple images at once. When editing, you synchronize the settings, allowing you to work efficiently.
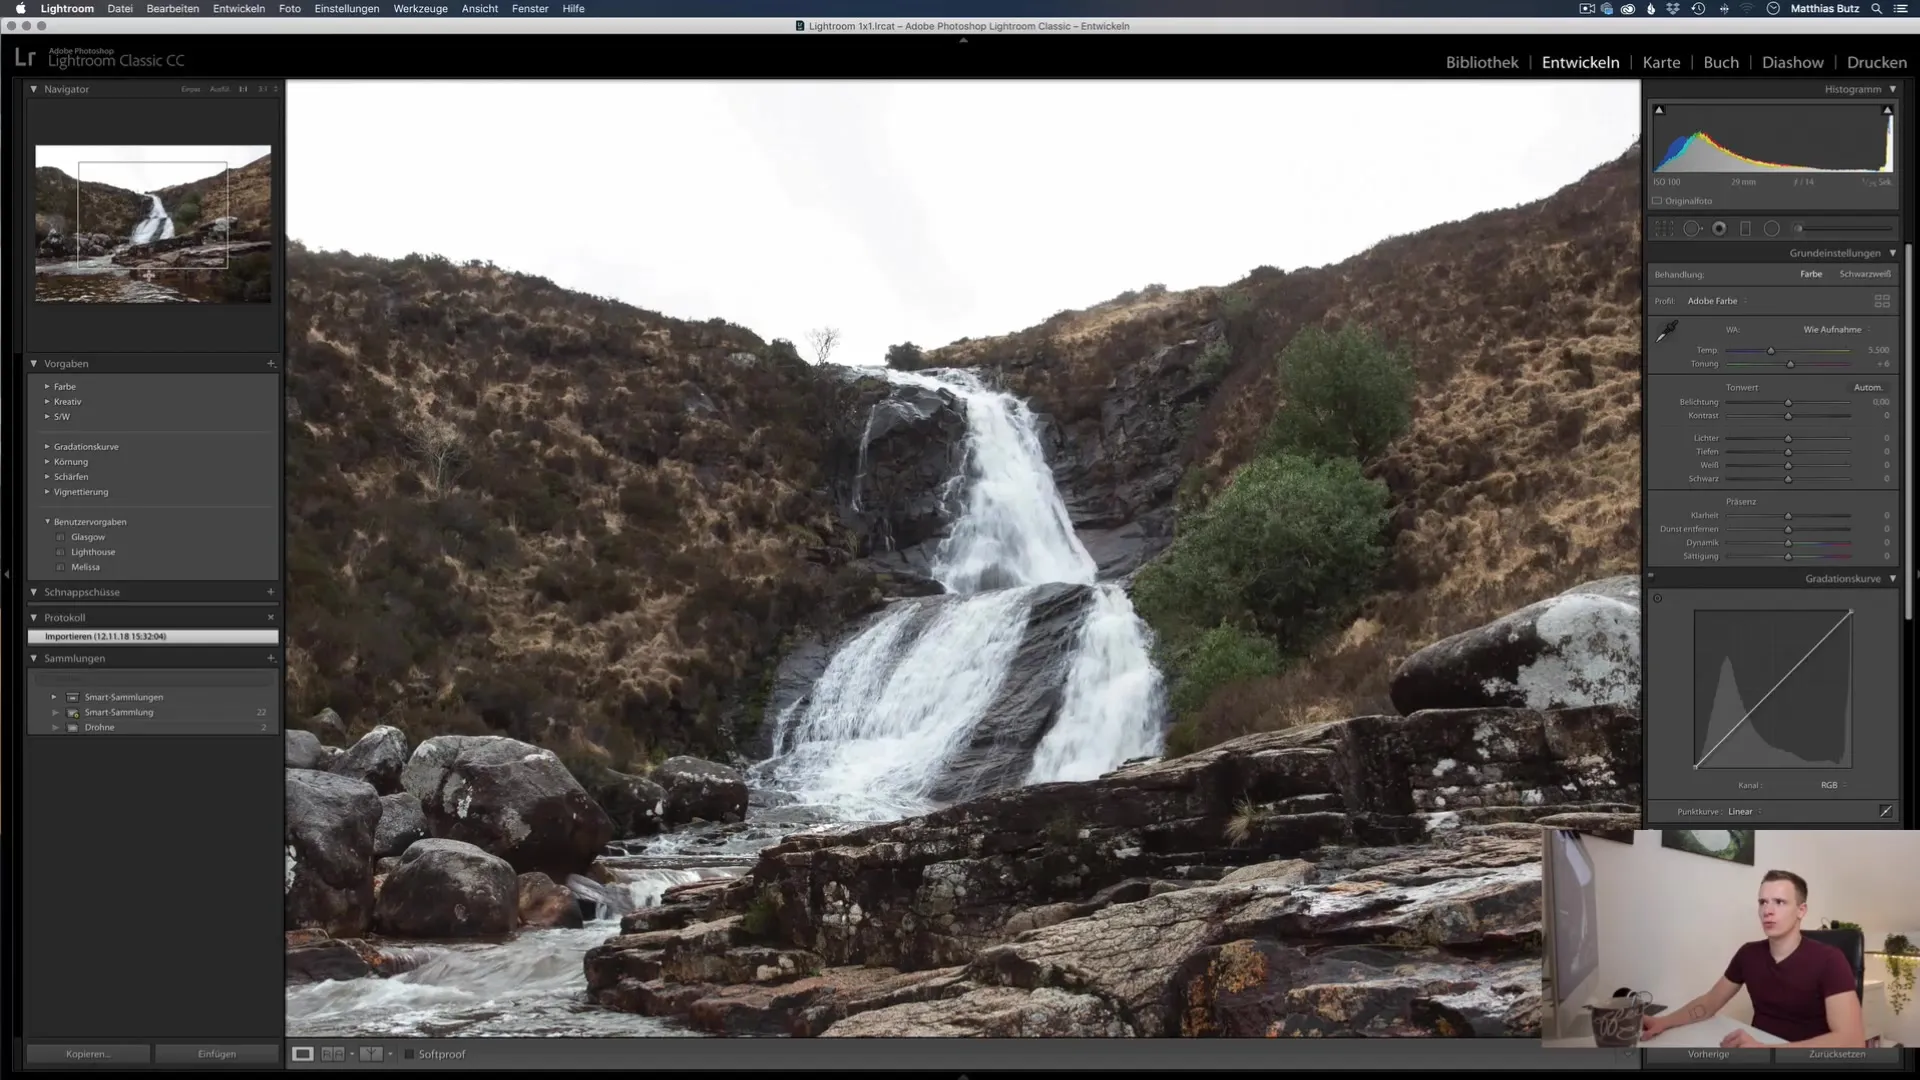
Finally, remember to try out the different views and zoom levels in the navigator to find the one that best suits your working style.

Summary
The navigator in Lightroom Classic CC is an essential tool for any photographer. It facilitates precise work with images and provides visual assistance to inspect and edit image content in detail.
Frequently Asked Questions
What functions does the navigator have in Lightroom?The navigator gives you an overview of your image and allows you to switch between different zoom levels to highlight specific details.
How can I show or hide the navigator?Simply click on the navigator in the upper left corner of the screen to show or hide it.
Can I customize the zoom levels in the navigator?Yes, you can choose and adjust different zoom levels to get the exact view you need.
Where can I find the grid view in Lightroom?The grid view is available when you go to the library module and shows you an overview of your photos in thumbnail view.
How do I synchronize settings when editing multiple images?Select the images you want to edit, and the settings will be synchronized between the images.


