Welcome to this guide on the Develop module in Lightroom Classic CC. In this module, you will learn how to effectively edit and adjust your photos. Editing images is a crucial step in your workflow as a photographer, and it is important to know the right tools and techniques. Here you will be guided through the basics of developing to get the most out of your images.
Key Takeaways
- The Develop module in Lightroom is specifically designed for image editing.
- It is important to have a clear workflow and focus on specific modules.
- The user interface in the Develop module offers many helpful tools that can be customized to your needs.
- You can edit images selectively to make targeted adjustments.
Step-by-Step Guide
Start by completely exiting the Library module and switching to the Develop module. Be sure to keep the differences between the individual modules in mind, as not all functions are available in every module. Therefore, you should focus on specific modules to optimize your workflow.

Before you start editing, it is advisable to first mark all the images you want to edit. This will help you develop a structured approach. With a clear selection of images, you can make the editing process more efficient.

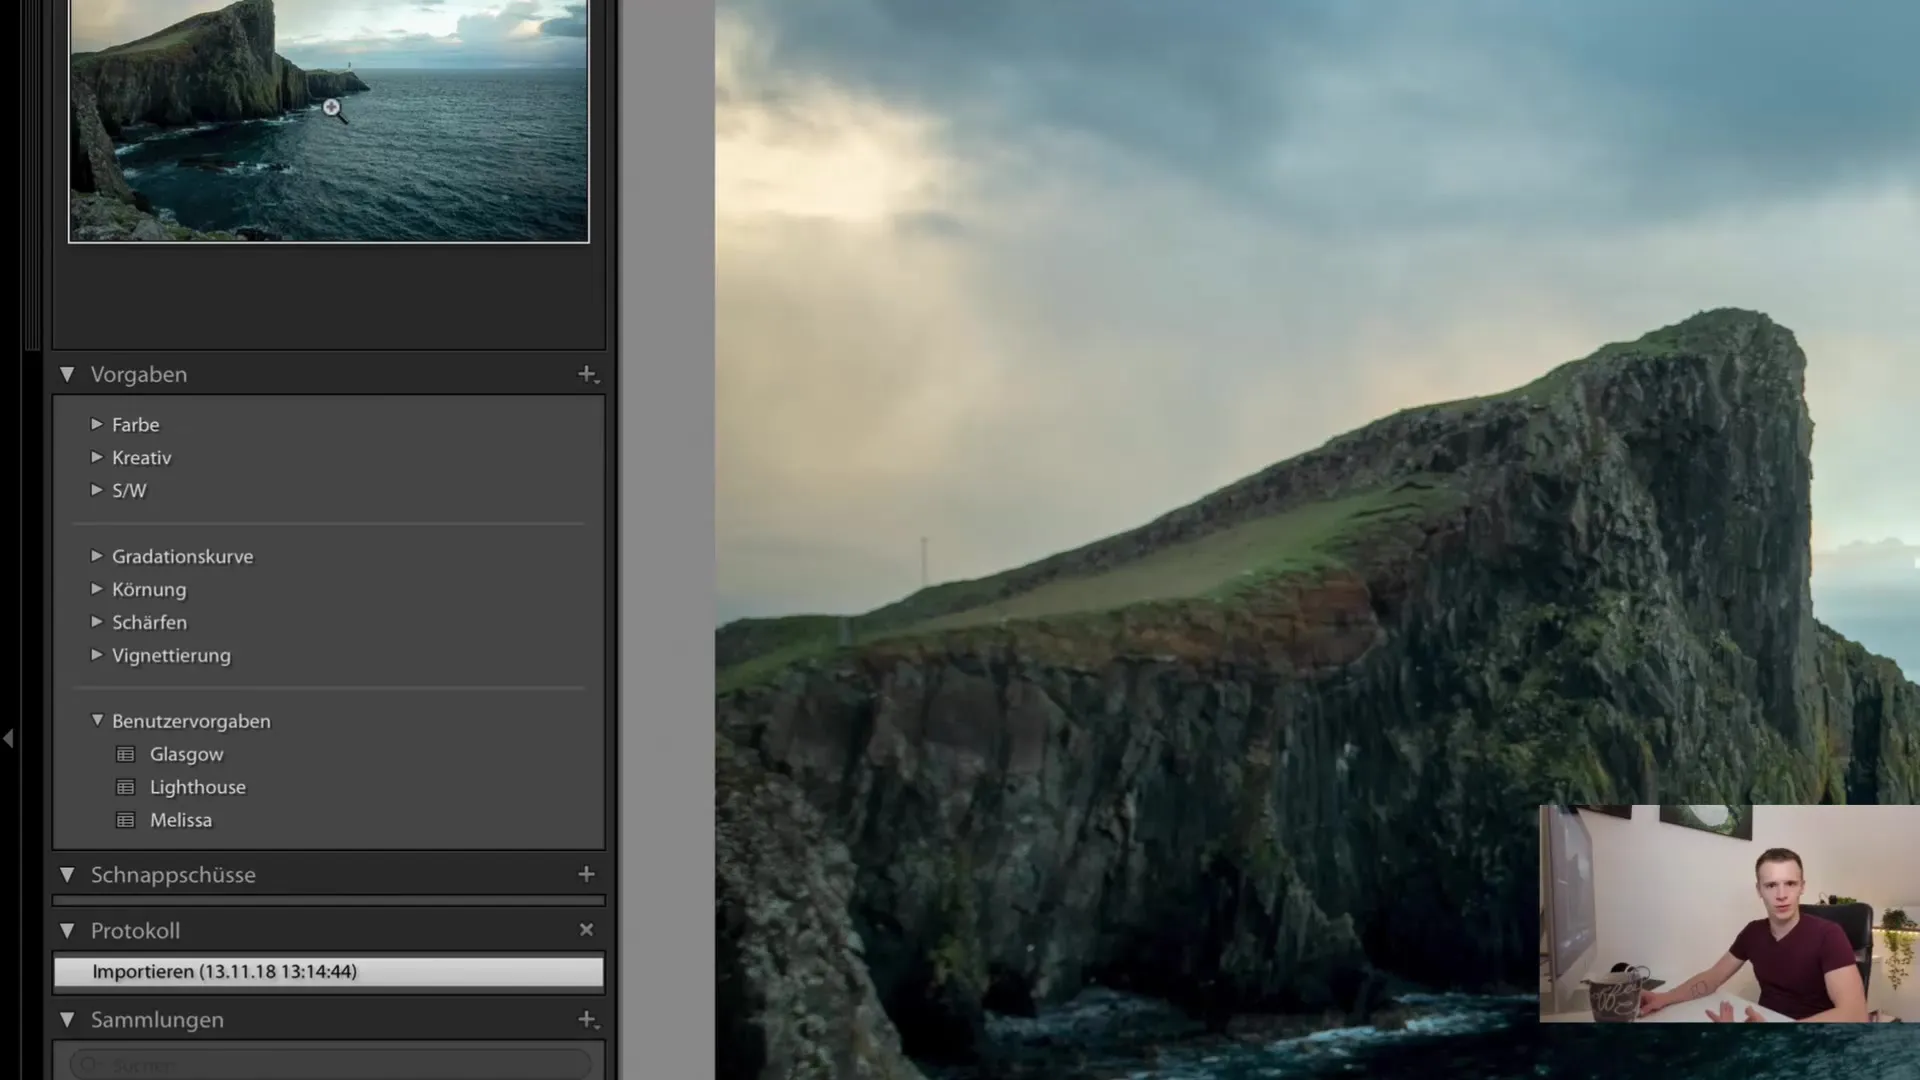
Now that you have switched to the Develop module, let's look at the layout. On the left side, you will find your presets and the navigator, which you may be familiar with from previous lessons. You also have the option to use snapshots and logs, as well as access your collections. However, for this lesson, we will not focus on the exposure options that will become important later.
Now, turn your attention to the right sidebar. It contains many important information that you will need for editing your images. Don't worry, I will go through each section. However, it is important to emphasize that not every user needs every piece of information. Many functions are intended for specific edits.
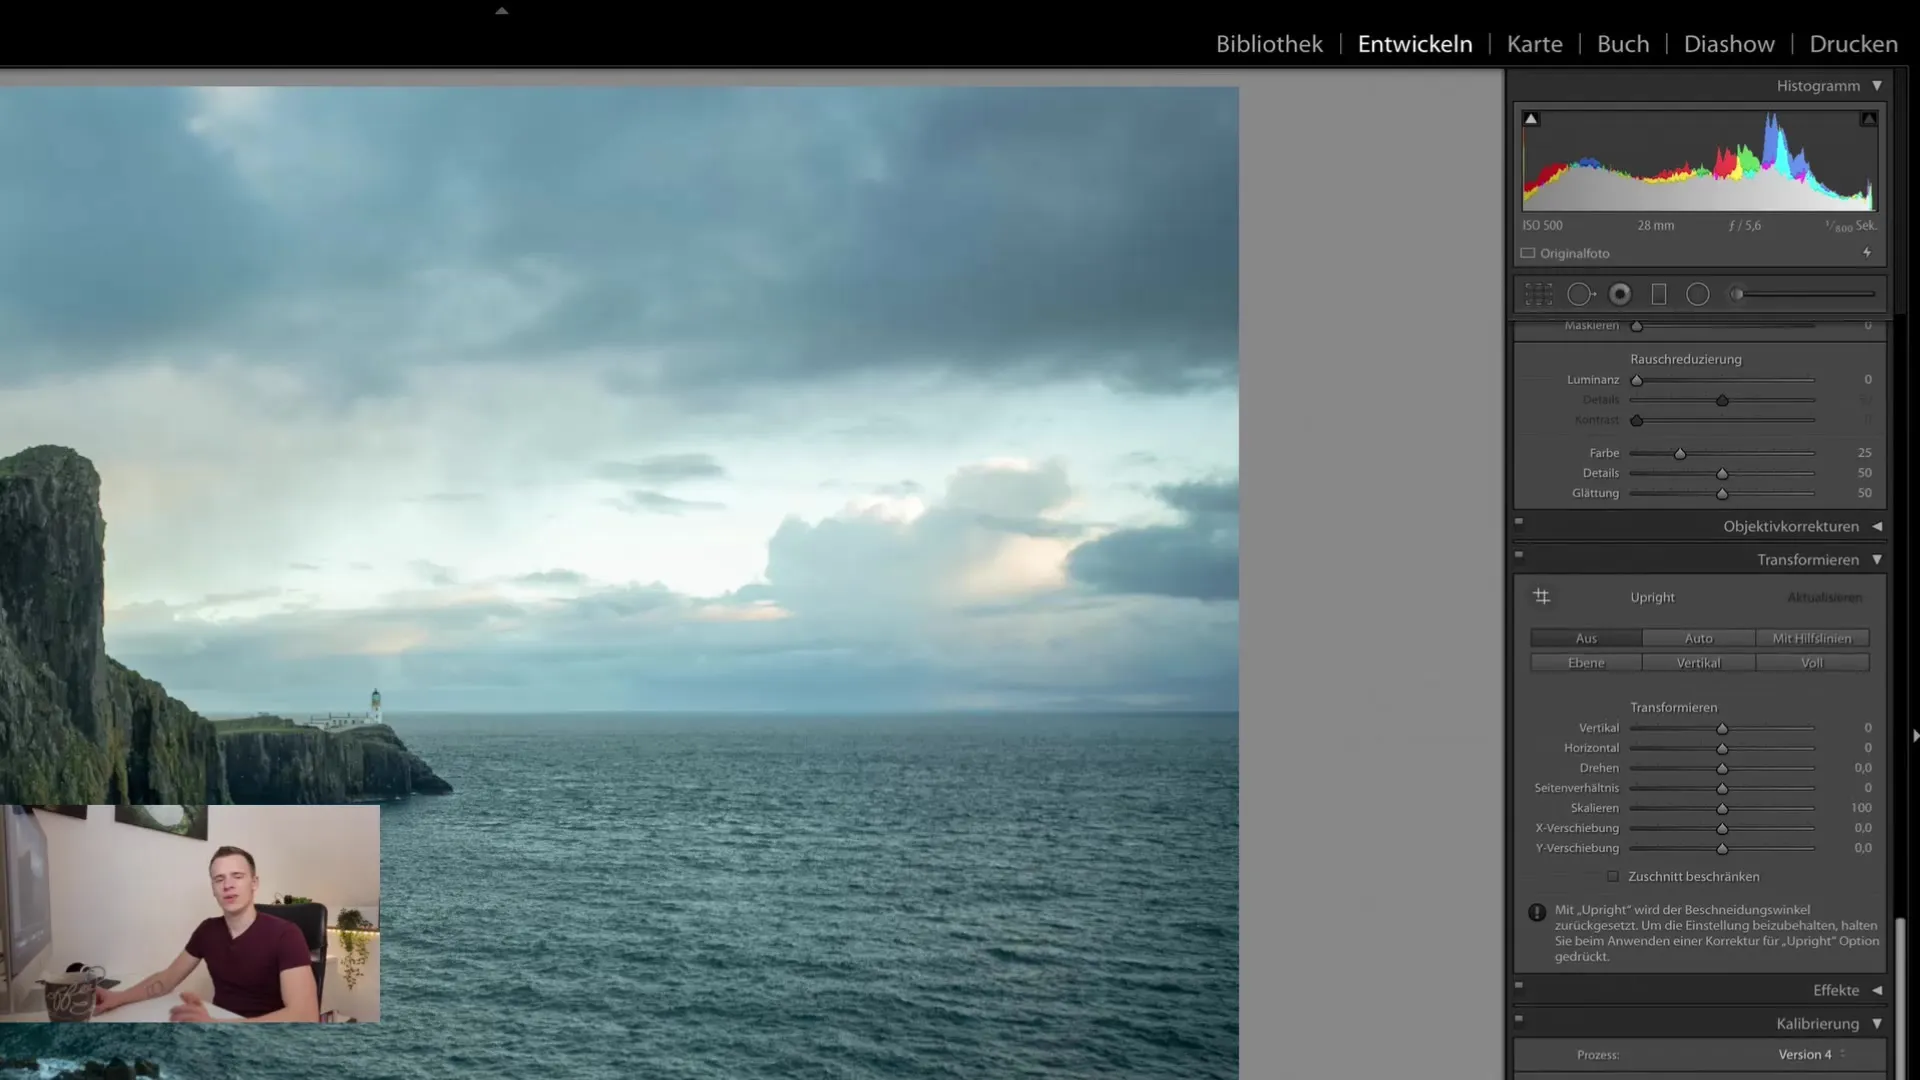
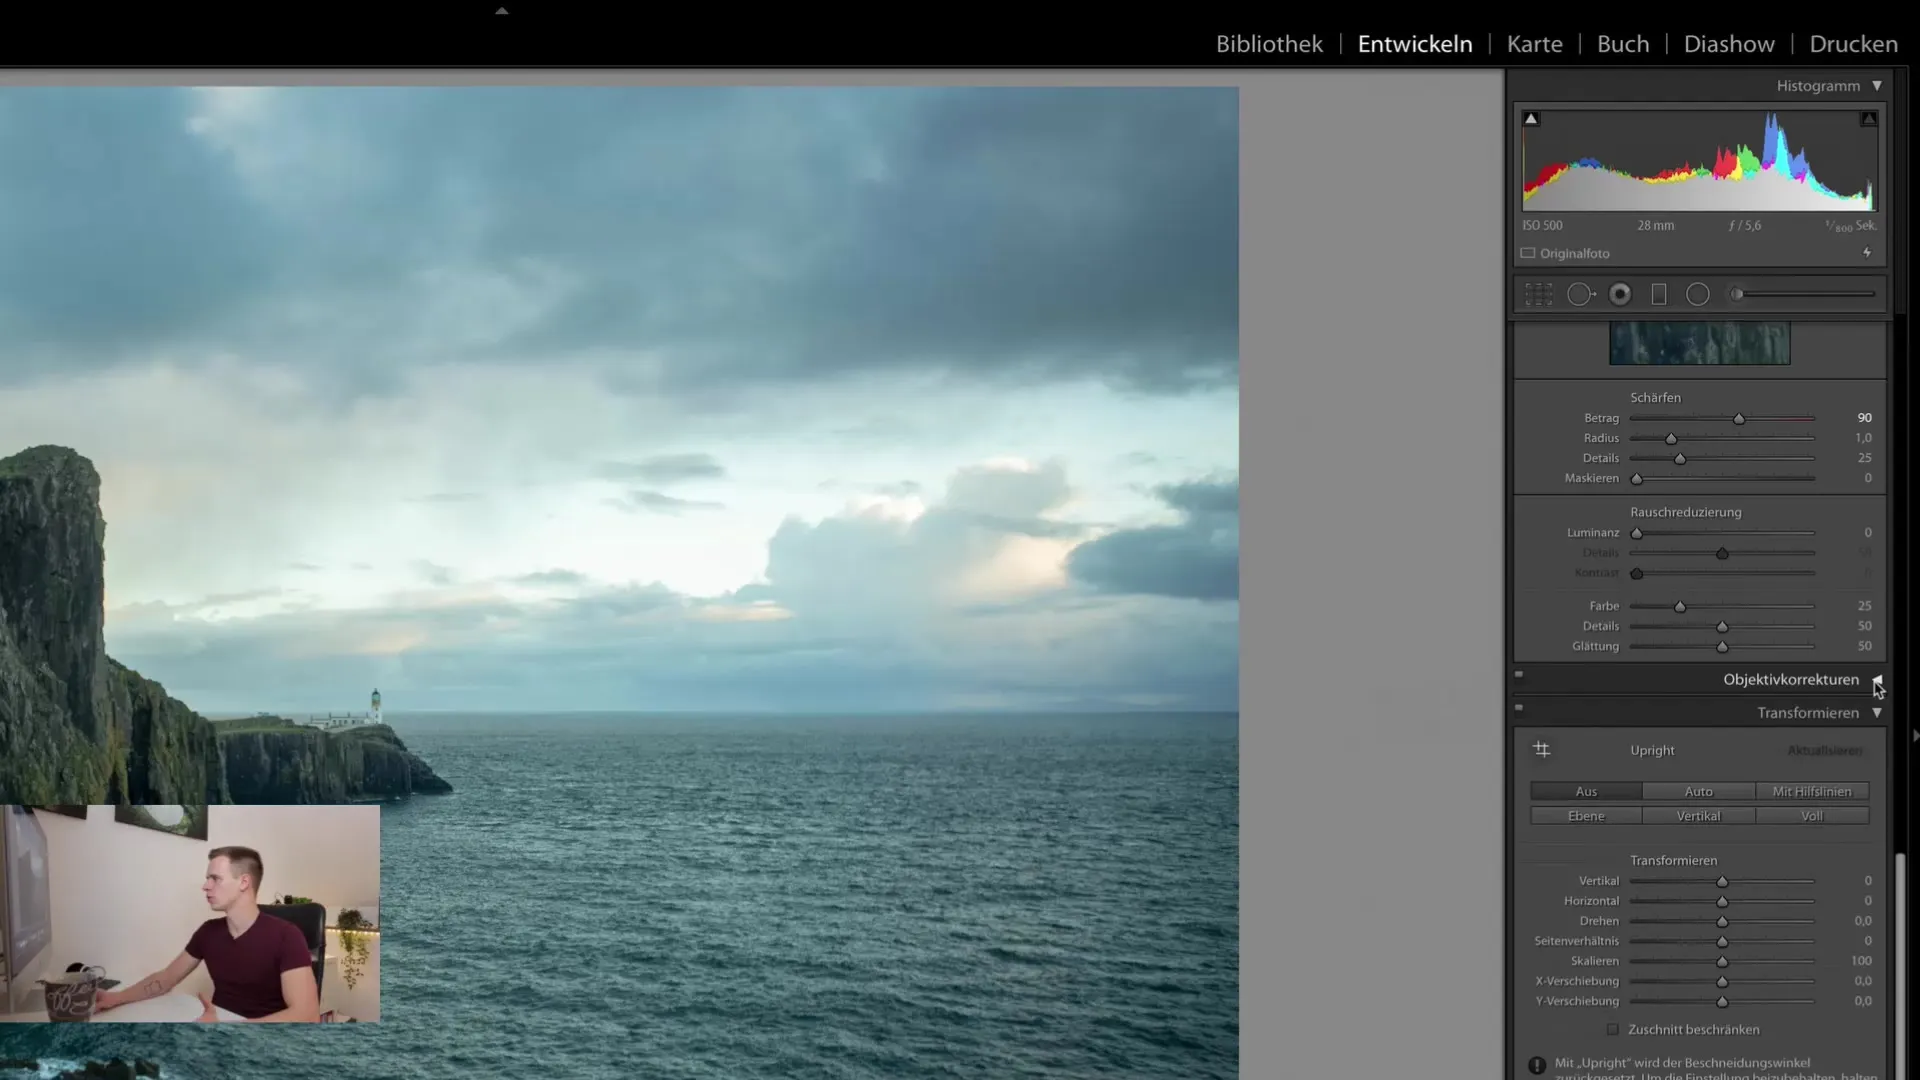
If you do not need some of the features, you can simply hide them. To hide a section, simply click on the small arrow to the right of the section. This allows you to customize the user interface and only display the tools you actually need, making the work much clearer.
At the top of the Develop module, you will find the histogram. Understanding how the histogram works and is used is also important for editing. A detailed explanation will follow in a later lesson, but for now, let's focus on image editing.
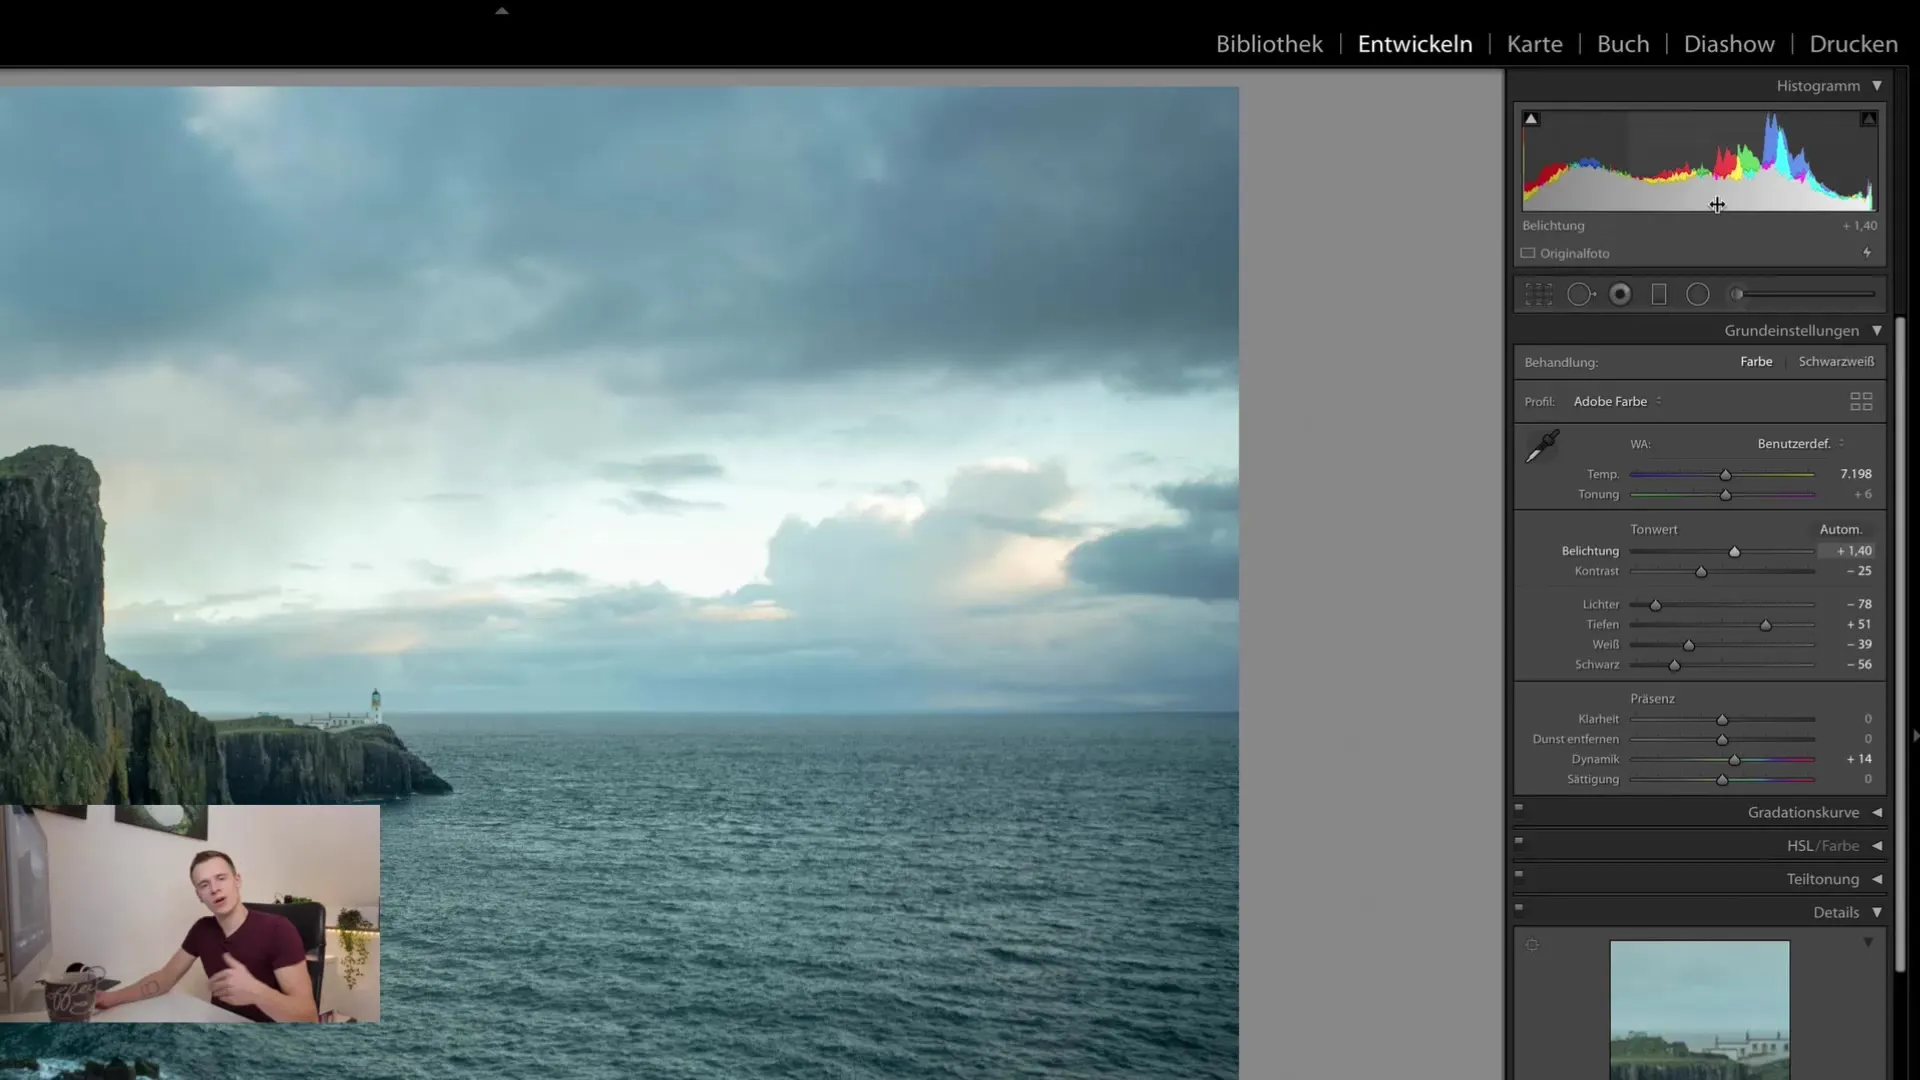
Along with the histogram, you will also find the editing bar with the selective editing steps. This feature allows you to make changes only in specific areas of the image. This is particularly helpful if you want to adjust the brightness in a specific area without affecting the entire image.
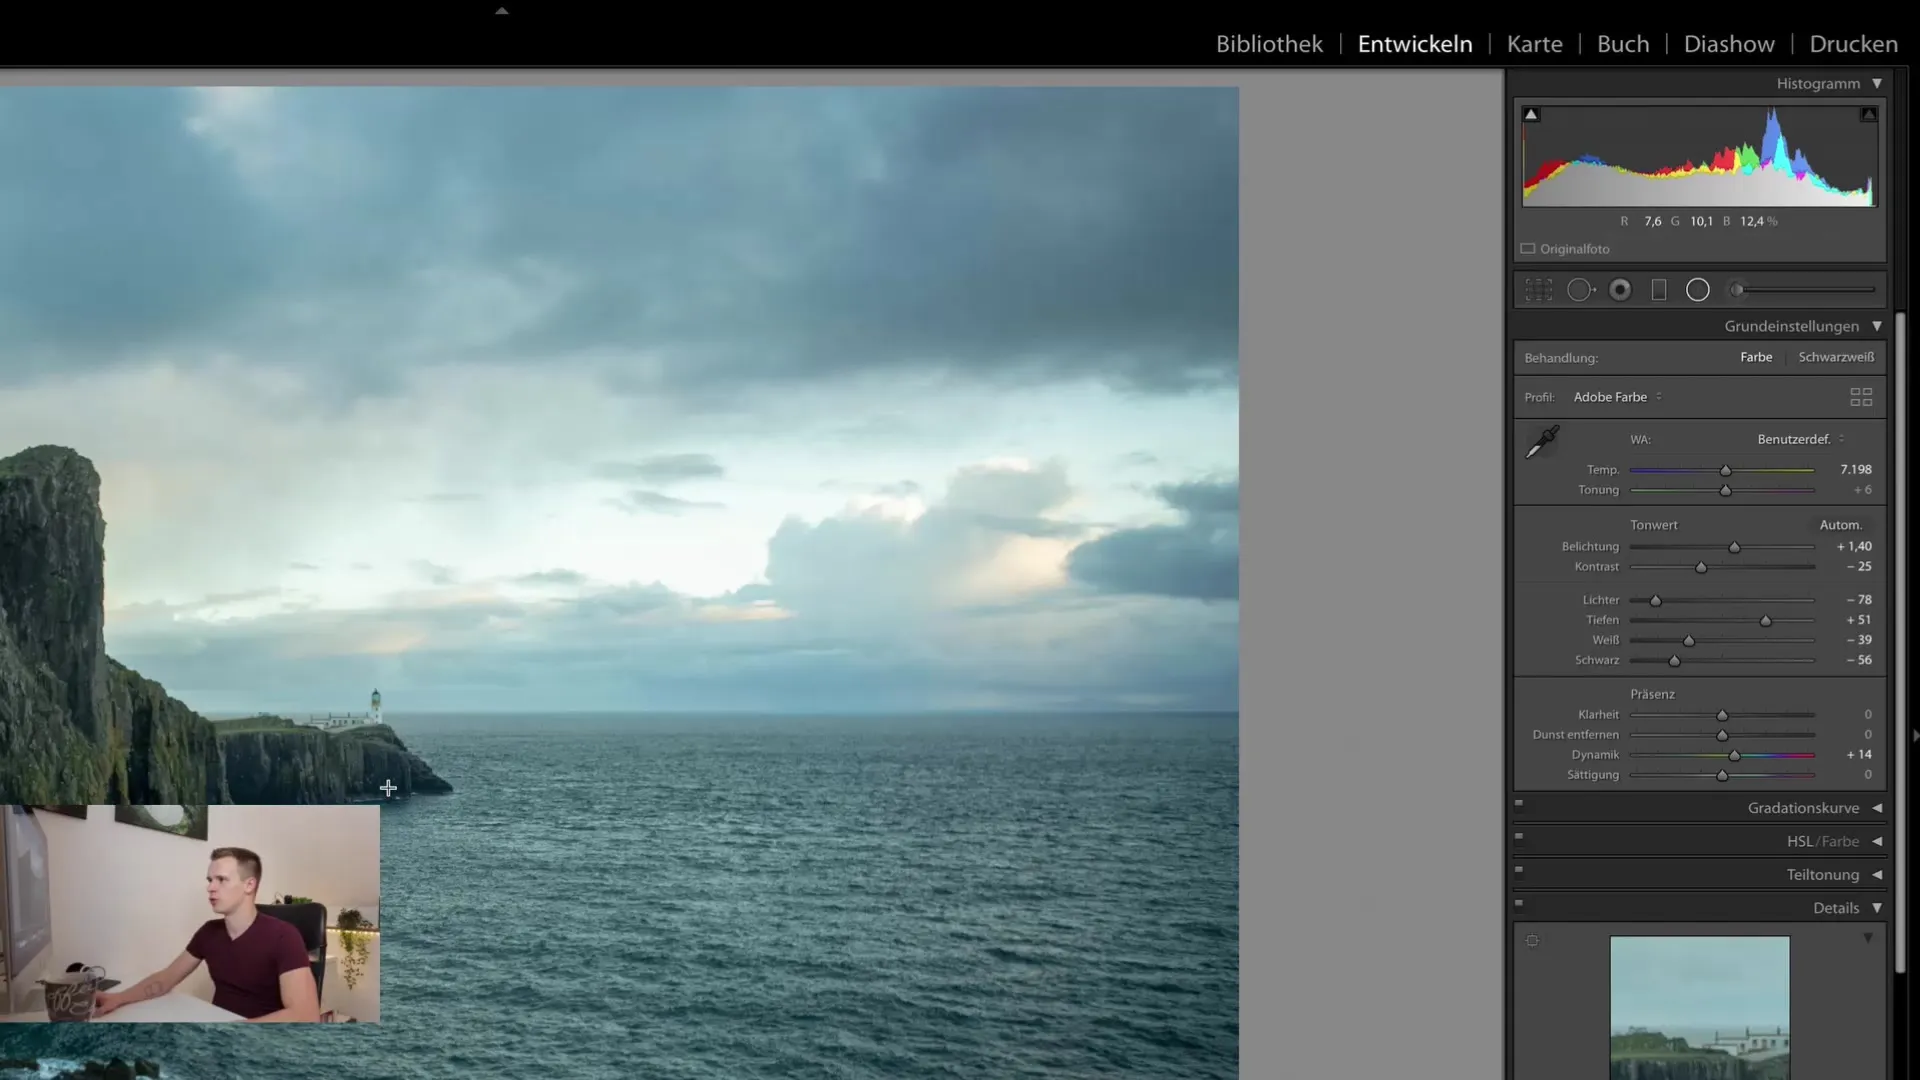
In the lower section, you will see the general editing steps that affect the basic settings of your image. These steps are fundamental and will form the basis of further image editing in Lightroom.

Summary
In this guide, you have learned the key aspects of the Develop module in Lightroom Classic CC. You now know the importance of establishing a clear workflow and the tools available to you to effectively edit your images.
FAQ
How do I exit the Library module?To exit the Library module, simply click on the Develop module in the top menu bar.
What are the benefits of a clear workflow?A clear workflow helps you edit your images in an organized way and keep track of everything.
Can I hide features in the Develop module?Yes, you can hide features you don't use to simplify the user interface.
What is the histogram?The histogram is a graphical tool that shows the distribution of brightness values in your image.
What options do I have for selective editing?Selective editing allows you to change specific areas of an image without affecting the entire image.


