In this tutorial, you will learn how and why it is important to calibrate your monitor. Every monitor can display colors differently, which can lead to unexpected results in image editing. Calibration ensures that you have a precise reference when editing and publishing your images. Here we show you step by step how to calibrate your screen to ensure that your colors are displayed as they should be.
Main takeaways
- Screen calibration enables precise color representation.
- Differences in monitor display can lead to distortions in image editing.
- Correctly calibrated display is crucial to ensure that your edited images look good on other displays.
Step-by-Step Guide to Screen Calibration
Step 1: Get a Screen Calibration Device
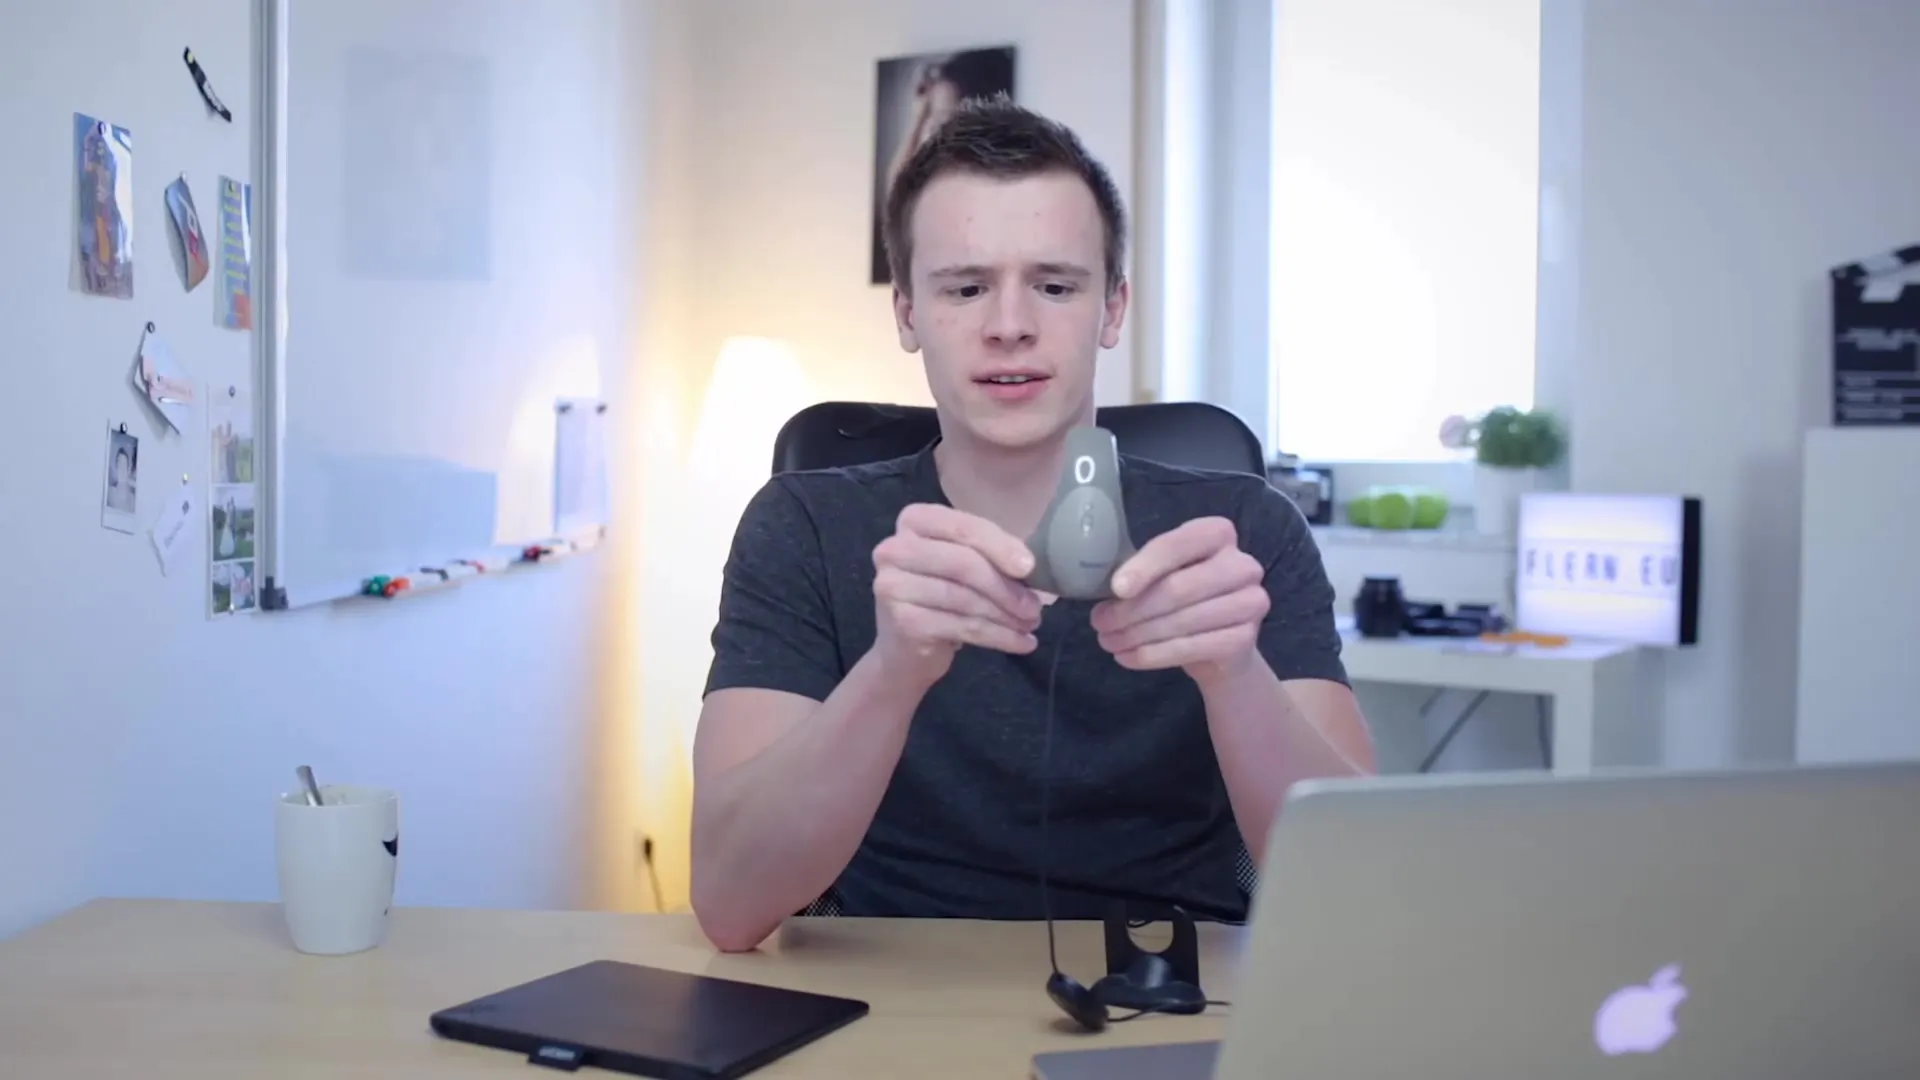
The first thing you need is a screen calibration device. This is a device that checks if the monitor looks as it should. There are different models, and one of them is the Spider 3, which still delivers good results.
Step 2: Prepare for Calibration
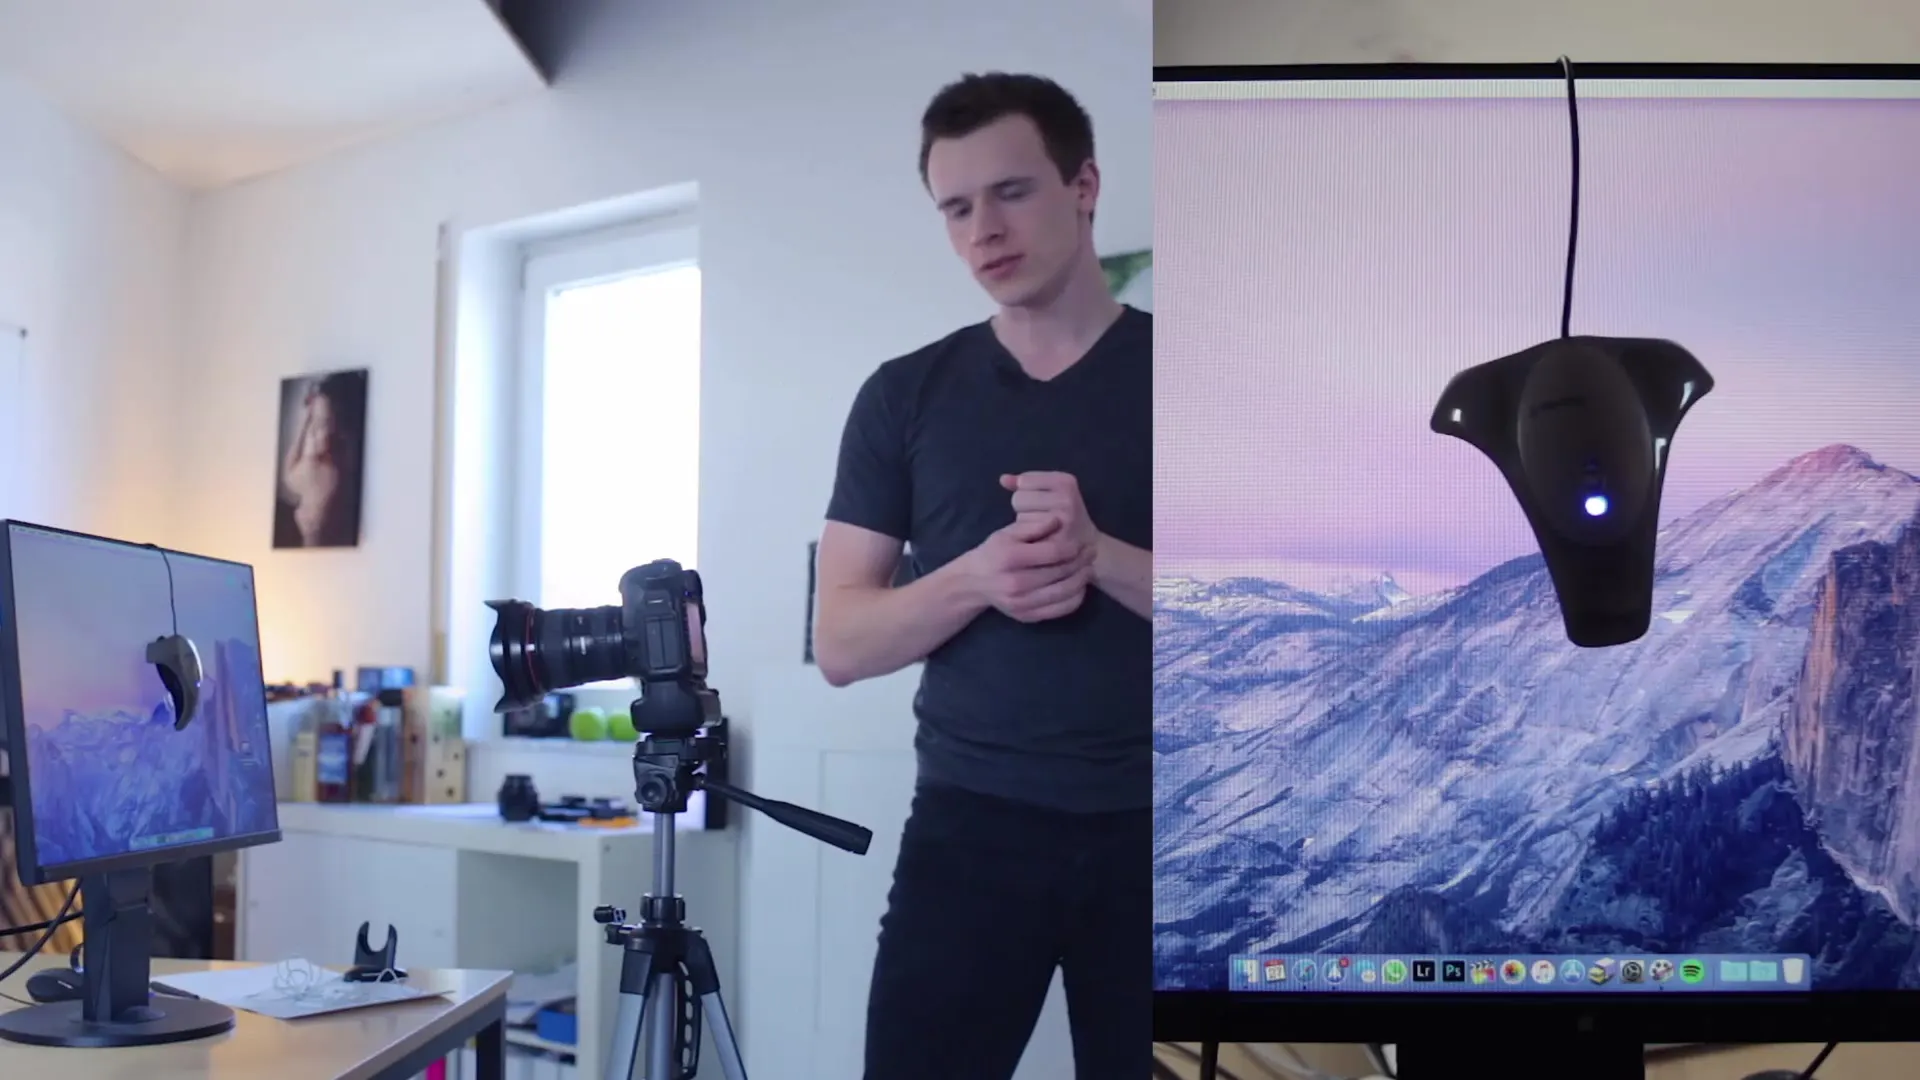
Before you start calibration, some preparations should be made. The monitor should be set up and turned on for at least a few minutes to ensure it is at operating temperature. This is important because newly turned on monitors may not display the correct colors.
Step 3: Start the Calibration Software
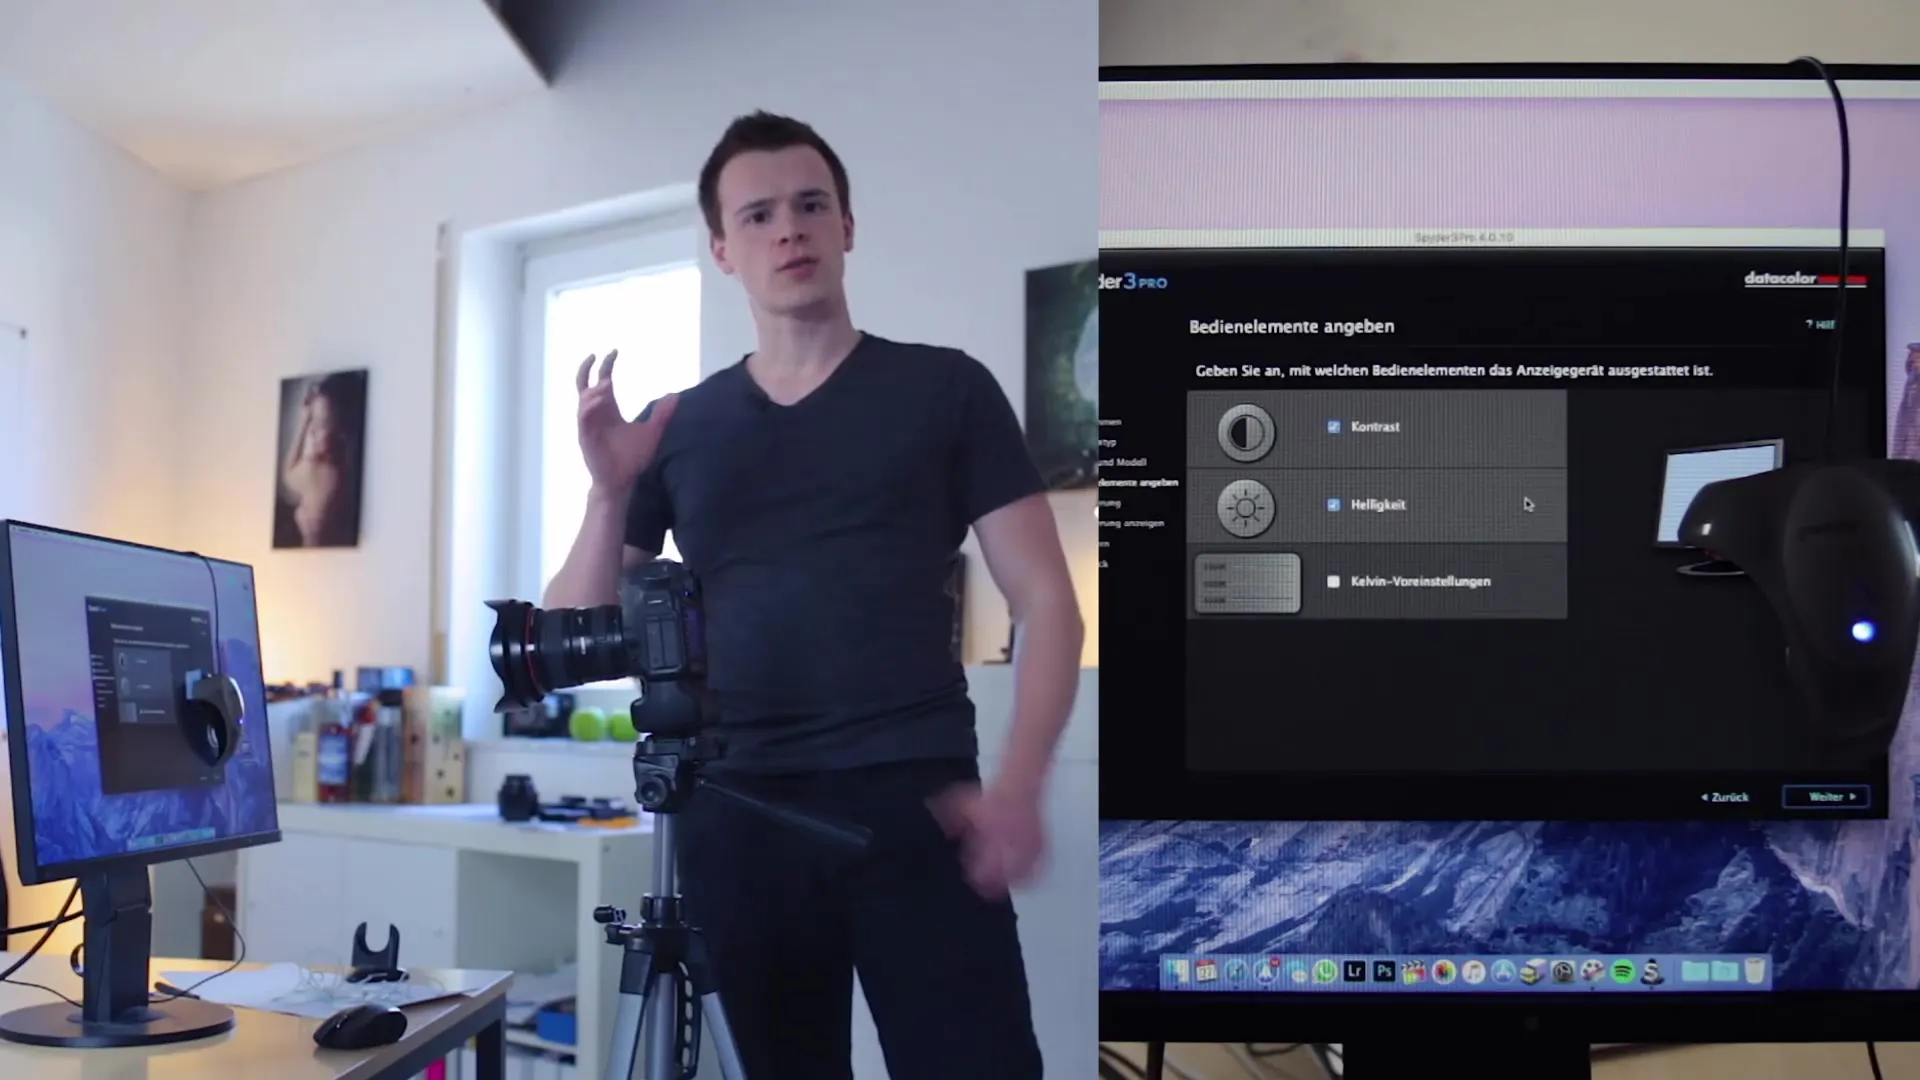
Once you have the calibration device ready, you need to start the corresponding software. This software is usually available on the Internet and will guide you through the calibration process. Choose your monitor manufacturer and answer relevant preset questions.
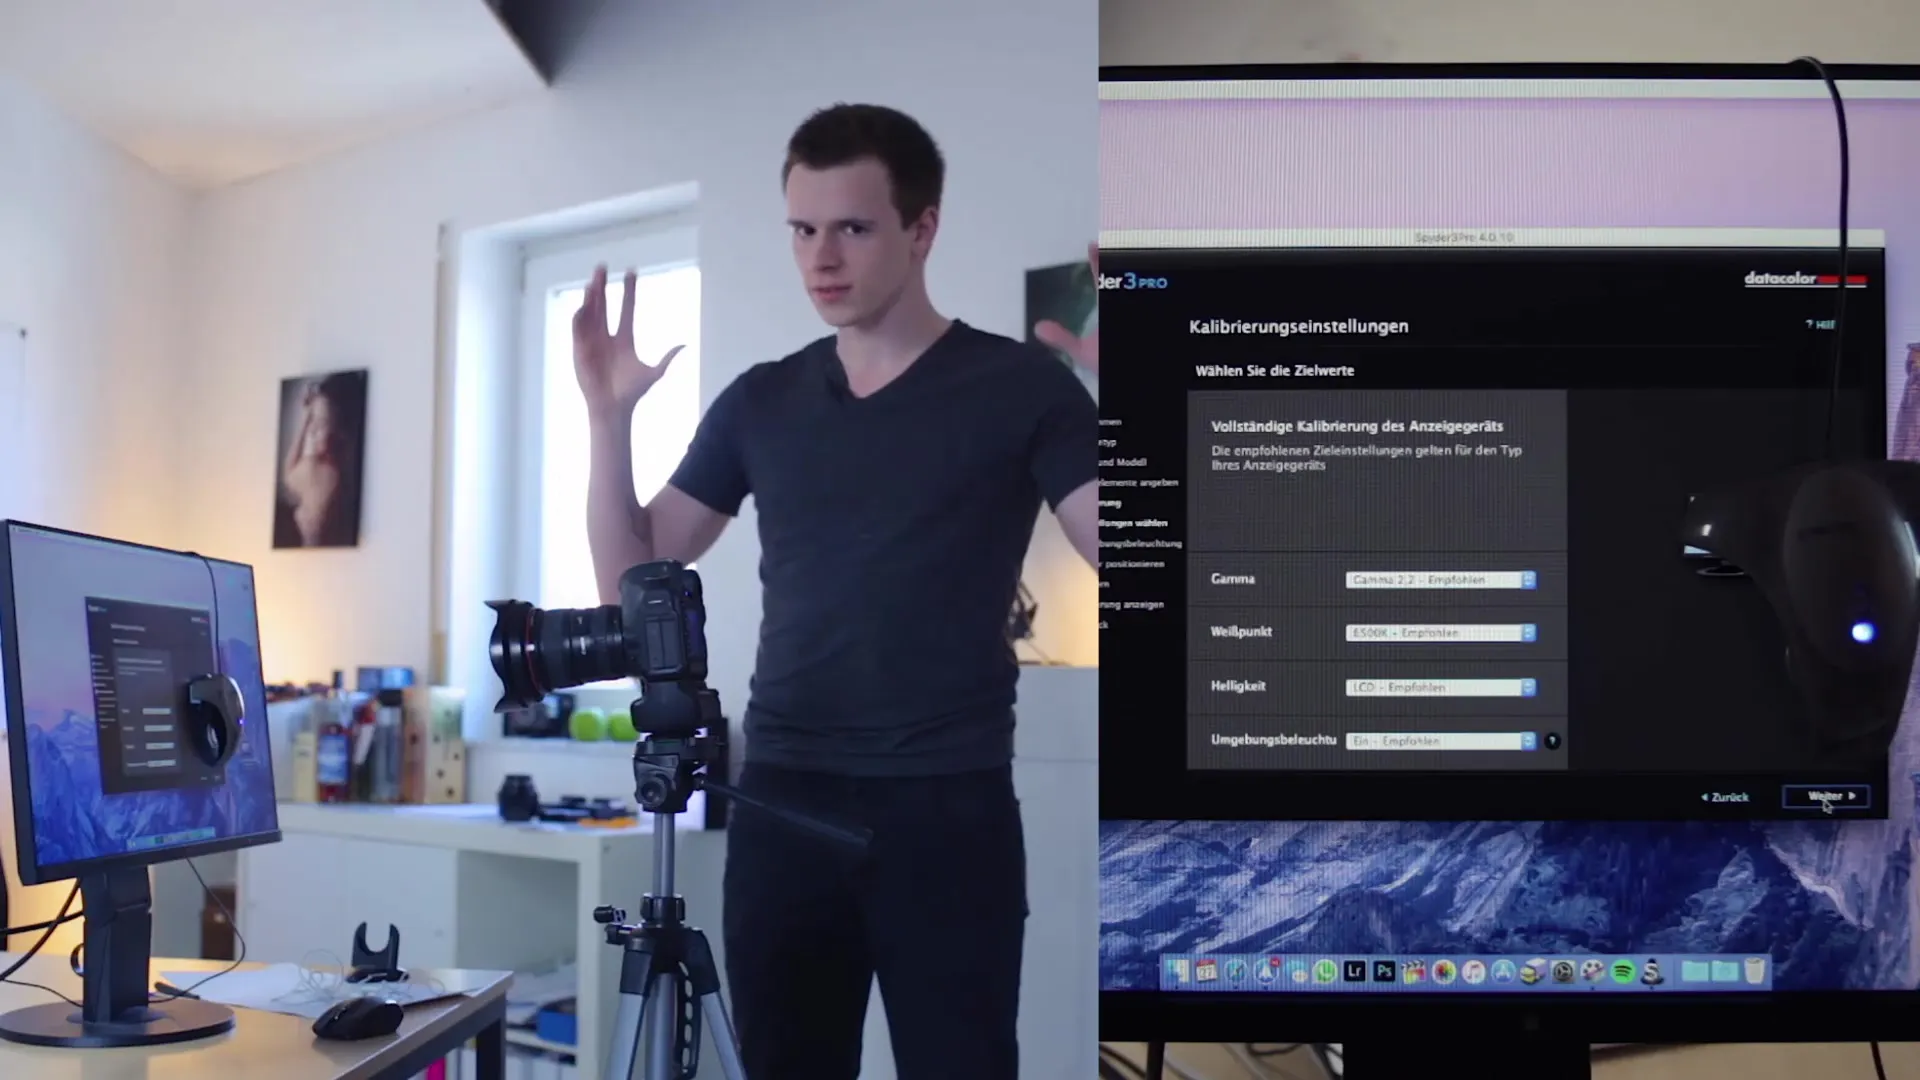
Step 4: Adjust Settings
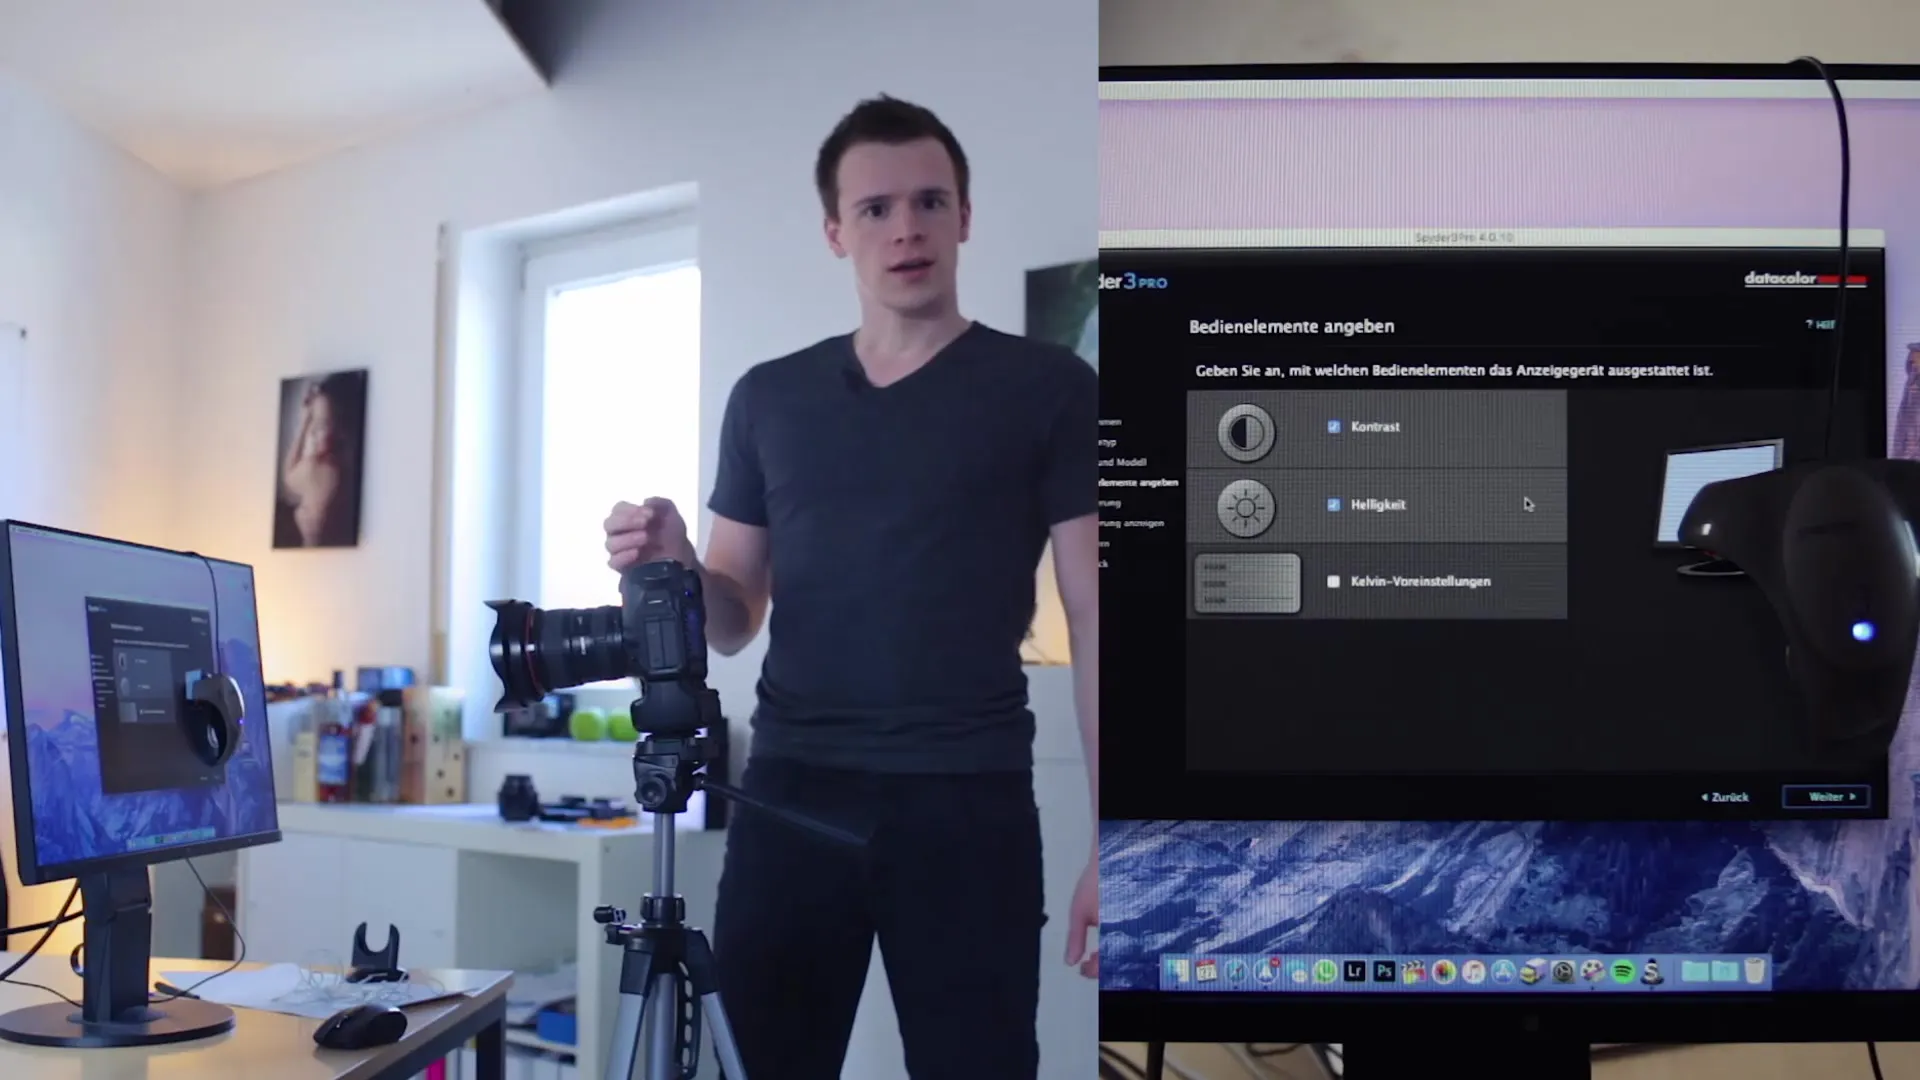
The software may ask if the monitor has been calibrated before and provide tips for achieving optimal results. Configure the software to gather the correct information about your monitor to perform the upcoming measurements.
Step 5: Adjust Ambient Lighting
Another important factor in calibration is the ambient light in the room. Ensure that no direct sunlight is shining on the monitor, as this can negatively affect calibration. The software will prompt you to measure the ambient light and may also provide recommendations.
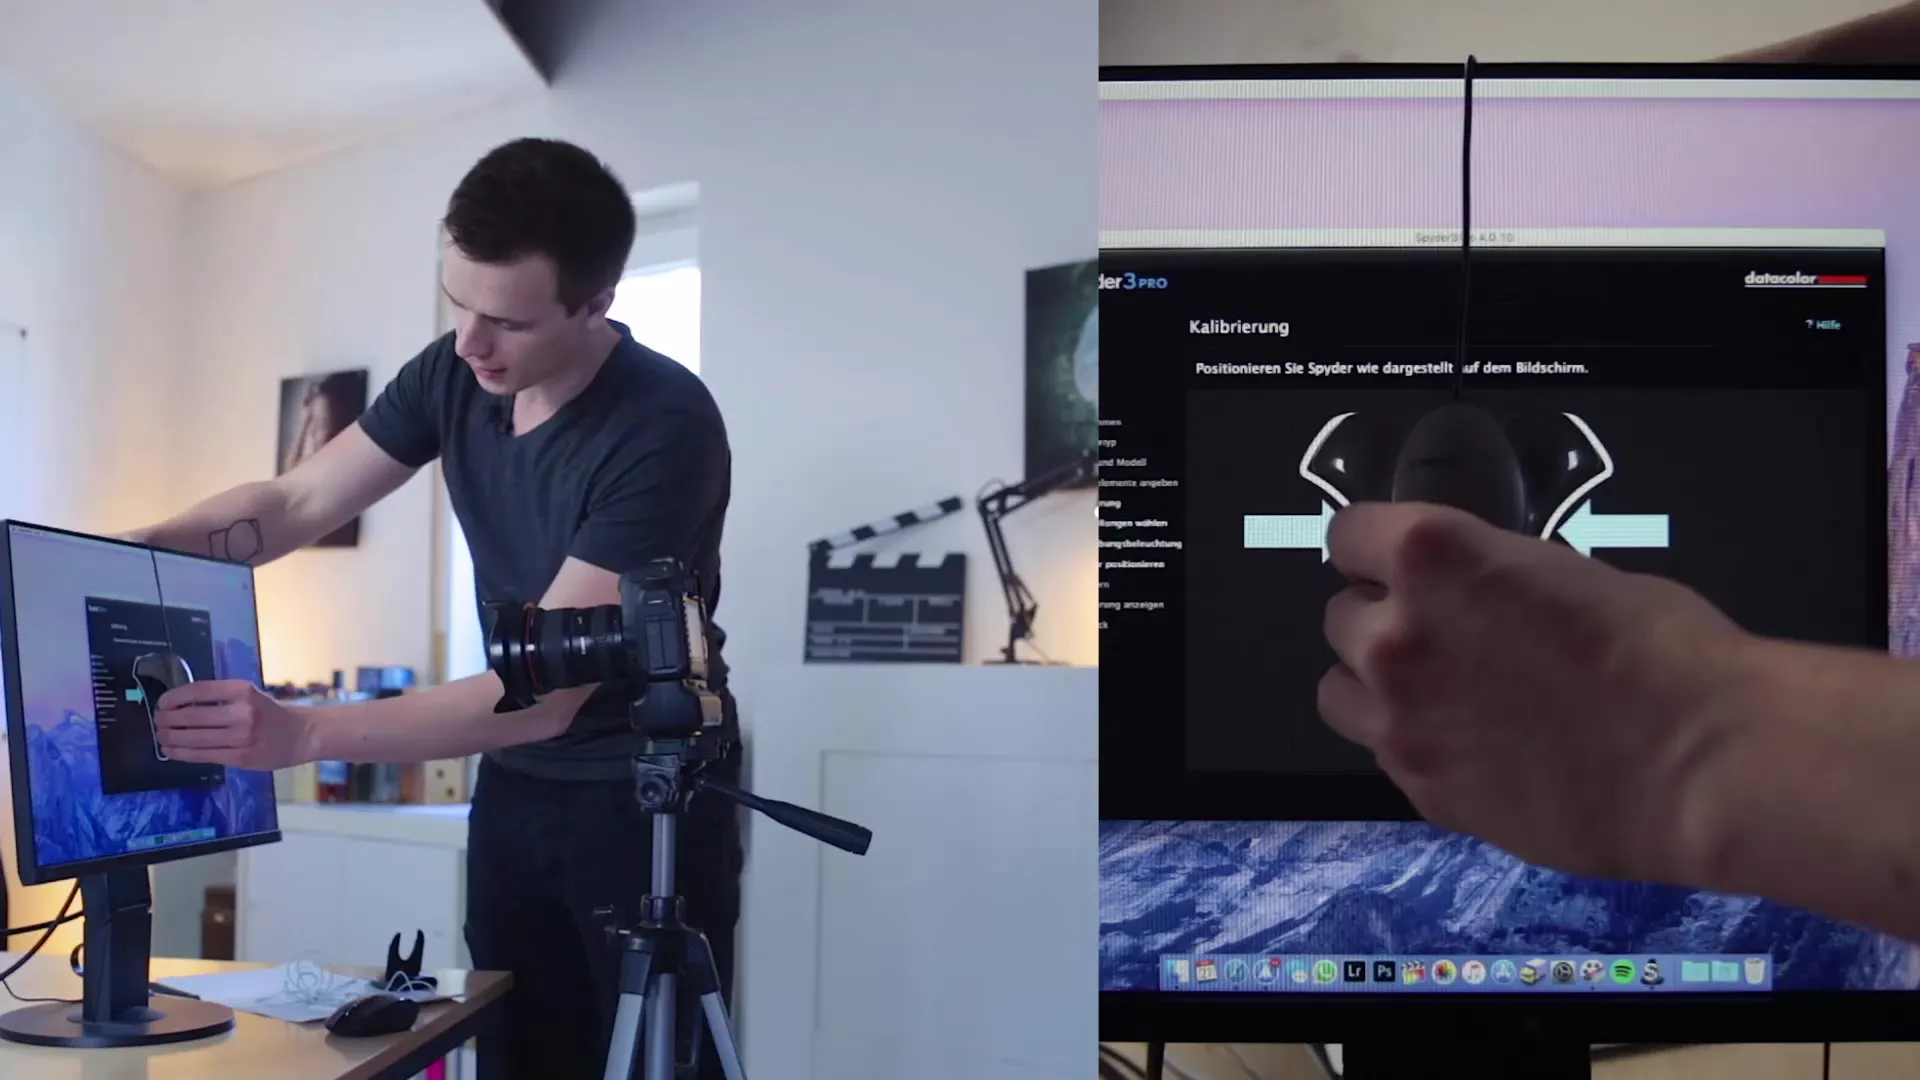
Step 6: Attach the Calibration Device
Now it's time to attach the calibration device to the monitor. Make sure it is securely in place and covers all necessary "measurement areas." The device will now detect and adjust different colors to achieve the best monitor calibration.
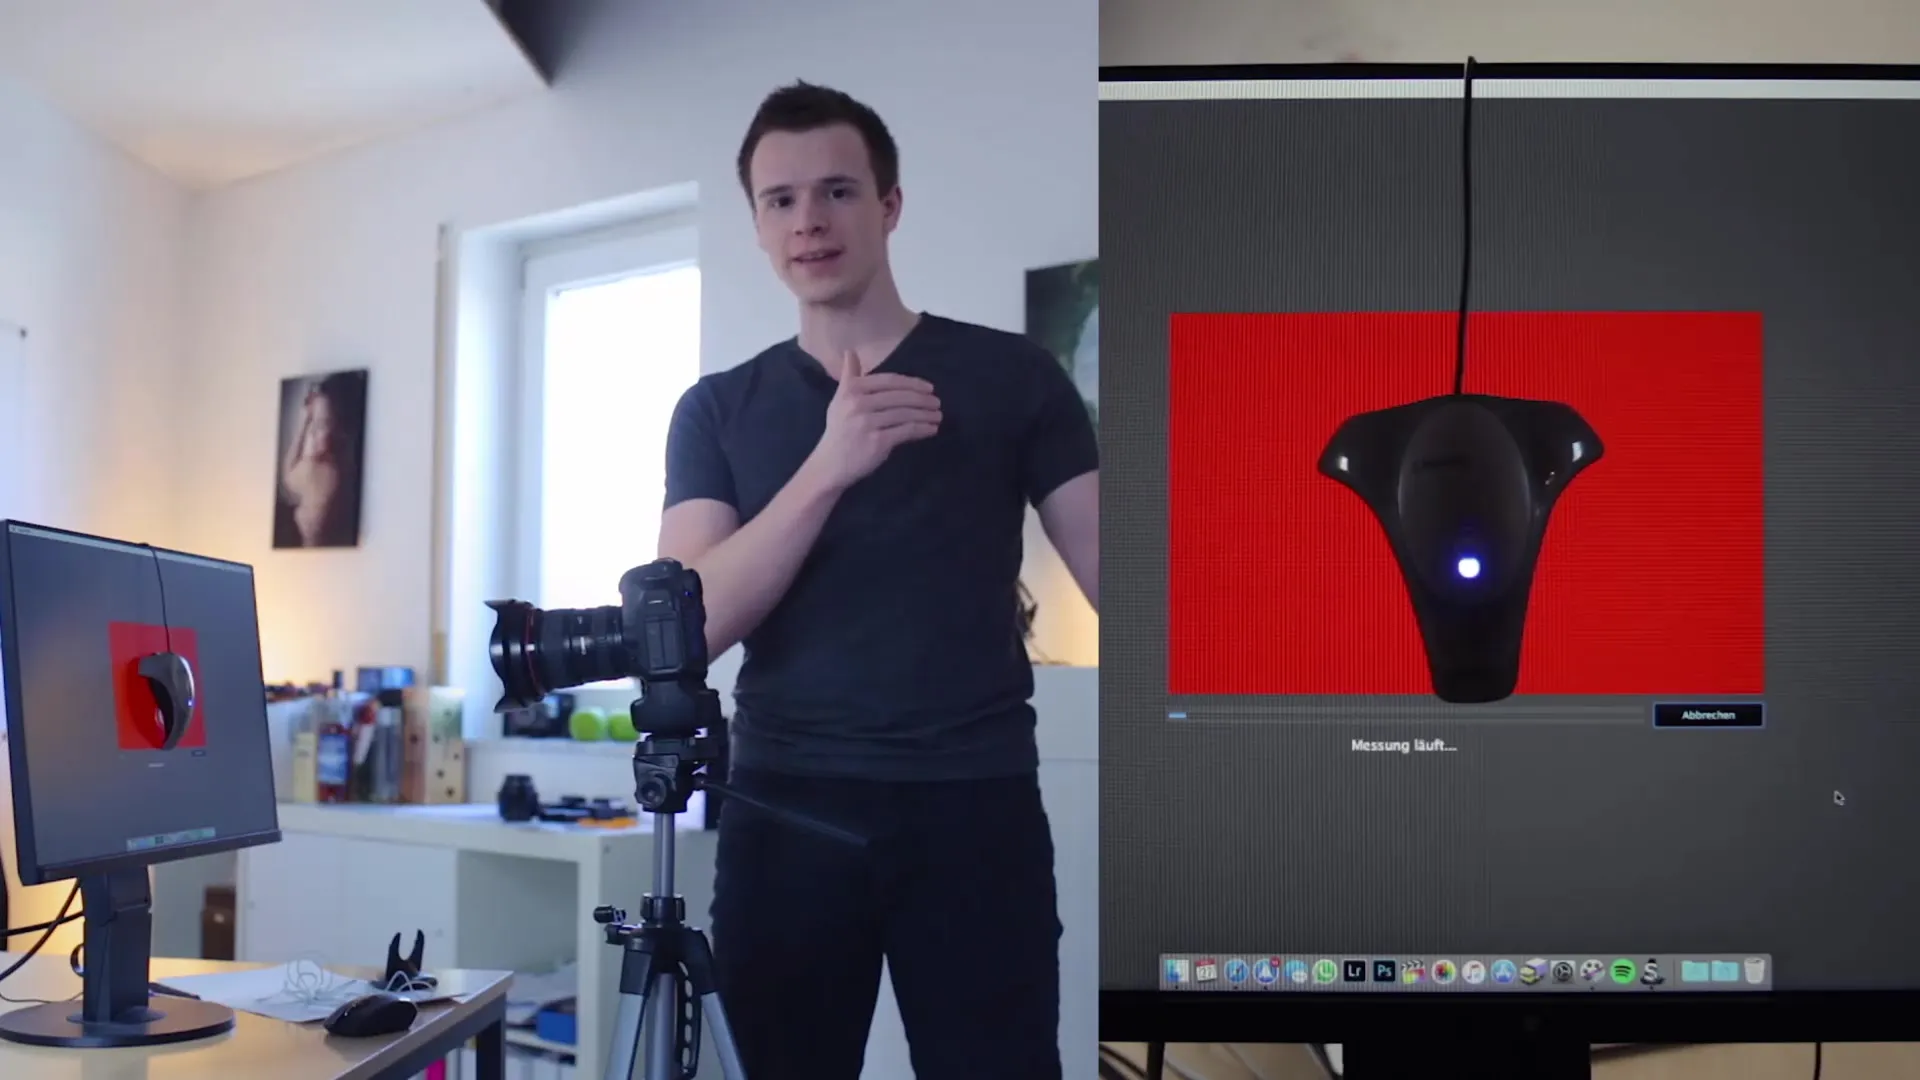
Step 7: Perform Calibration
The software will now perform the calibration process by displaying different colors and the calibration device will measure color representation. This process may take a few minutes as the software makes adjustments to achieve the most accurate results.
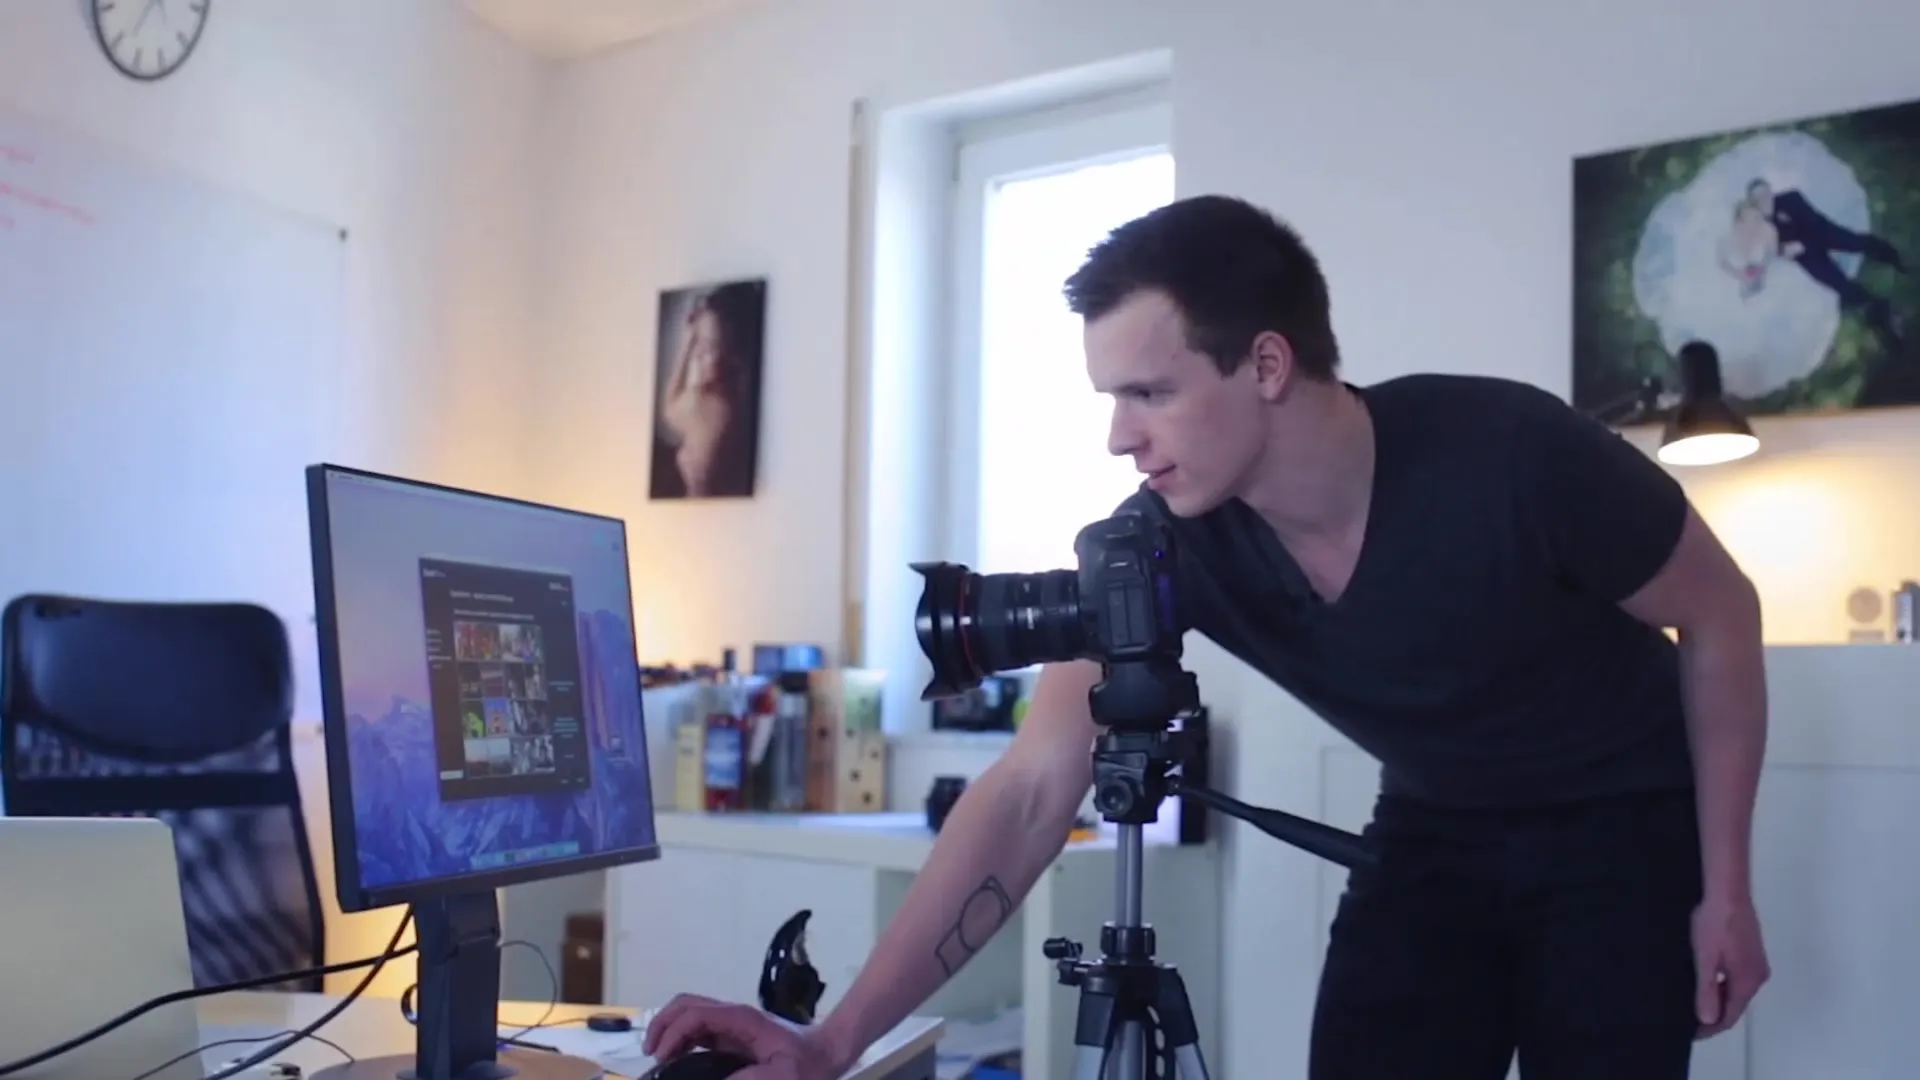
Step 8: Check Calibration
After the calibration is complete, there is an option to switch between the calibrated and uncalibrated version of your screen. This will help you visually perceive the difference and ensure that the monitor is correctly calibrated.
Step 9: Save and Set Reminders
Save the calibration and set yourself a reminder to regularly check the monitor in the future. It is possible to update the calibration regularly depending on the environment, especially if the lighting conditions often change.
Step 10: Using Without Calibration Device
If you currently do not have a calibration device, there is no need to worry. You can still work with software like Photoshop. However, note that the image you are editing may look different on other monitors. Calibrating later will help improve your results.
Summary
Professional calibration of your monitor is crucial for precise color representation in image editing. With the right technique and a calibration device, you will notice a significant improvement in the quality and consistency of your edited images.
Frequently Asked Questions
How often should I calibrate my monitor?You should calibrate your monitor at least once a month depending on the environment.
Which calibration device do you recommend?The Spider 3 is a good device, but there are many other models available on the market.
Can I work without a calibration device?Yes, but the color representation may vary, and you risk undesired results in your images.
Does every display support calibration?Not every display is equally suitable, but most modern monitors offer sufficiently good quality for reliable calibration.


