In this tutorial, you will learn how to add an endpoint for the chat service to your Node.js application. Our goal is to create a simple GET endpoint for the URL /api/chat that will then return a response to the client. This endpoint will later be connected to the OpenAI API to generate chat completions. Let's dive right in and go through the necessary steps.
Key Takeaways
- Creating a GET endpoint in a Node.js application
- Using JSON for data transmission
- Integration with the OpenAI API for chat completions
Step-by-Step Guide
Step 1: Creating the API Folder
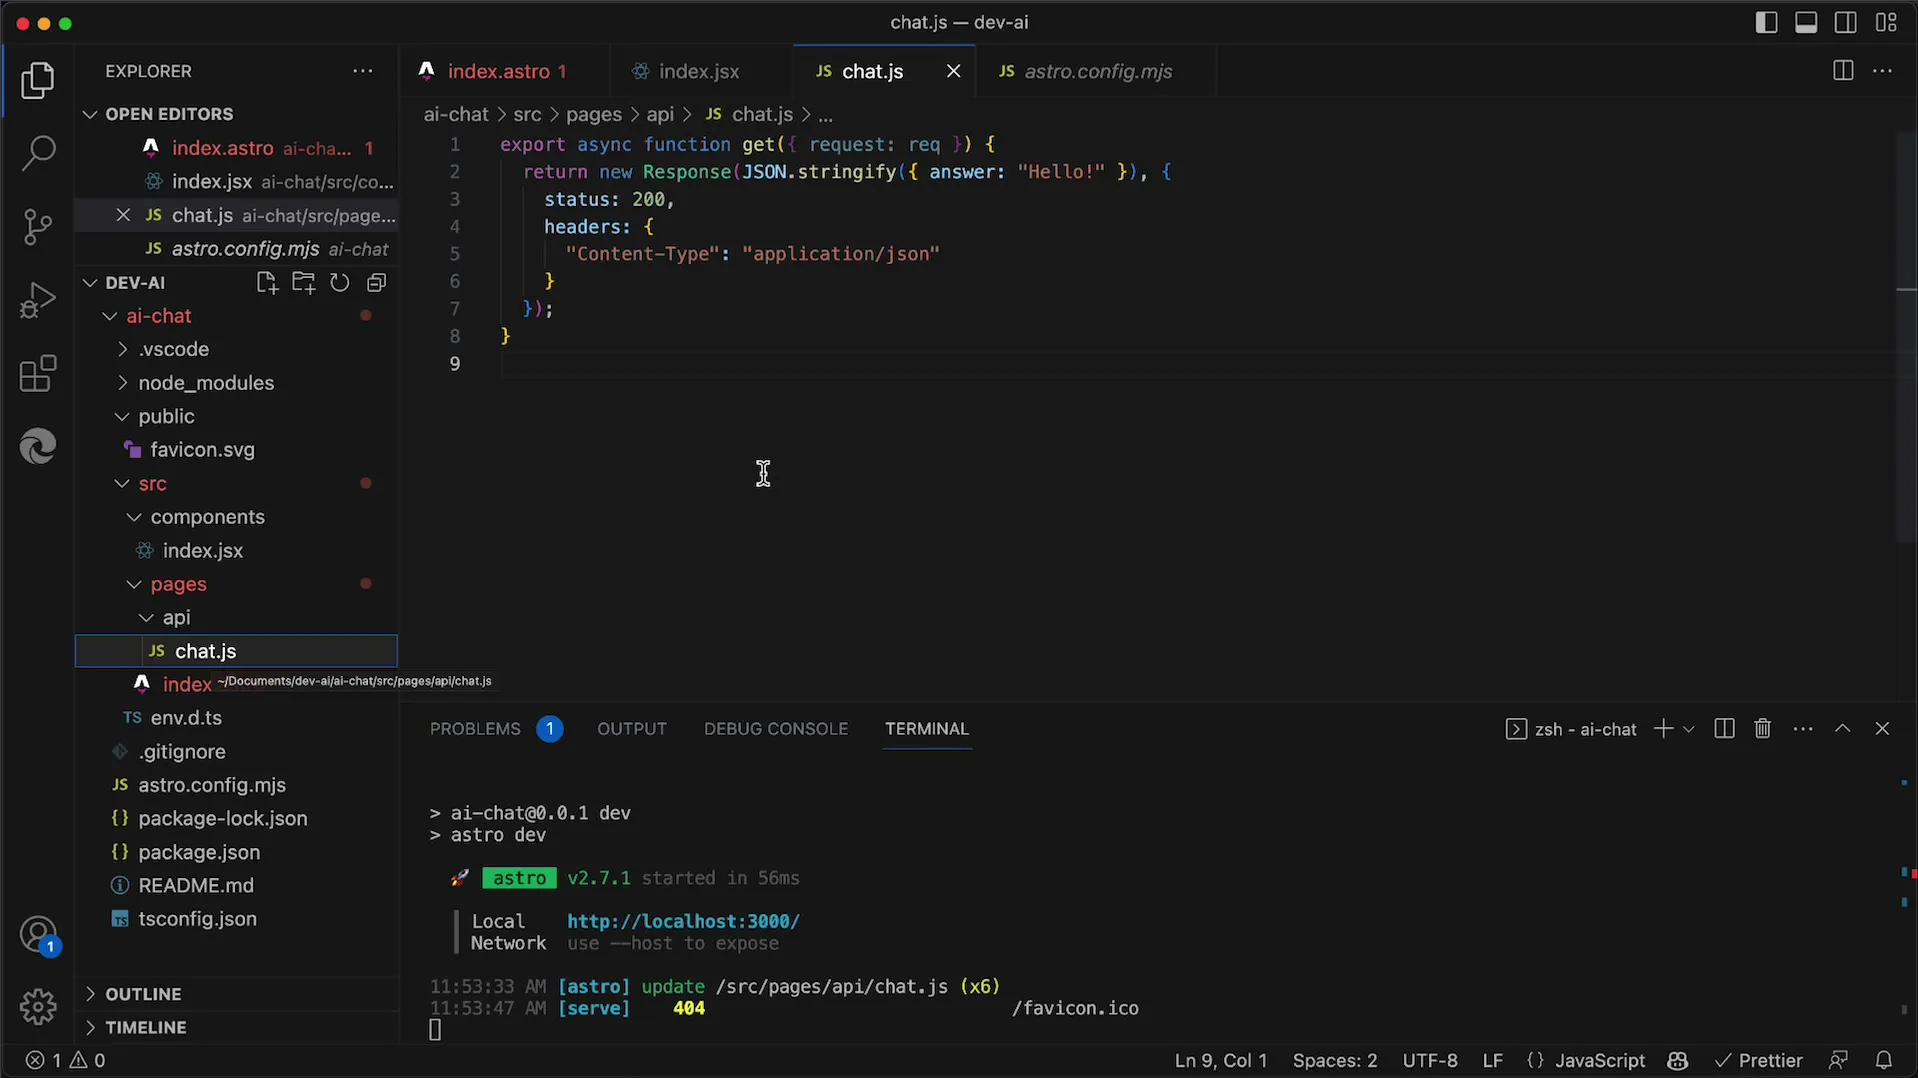
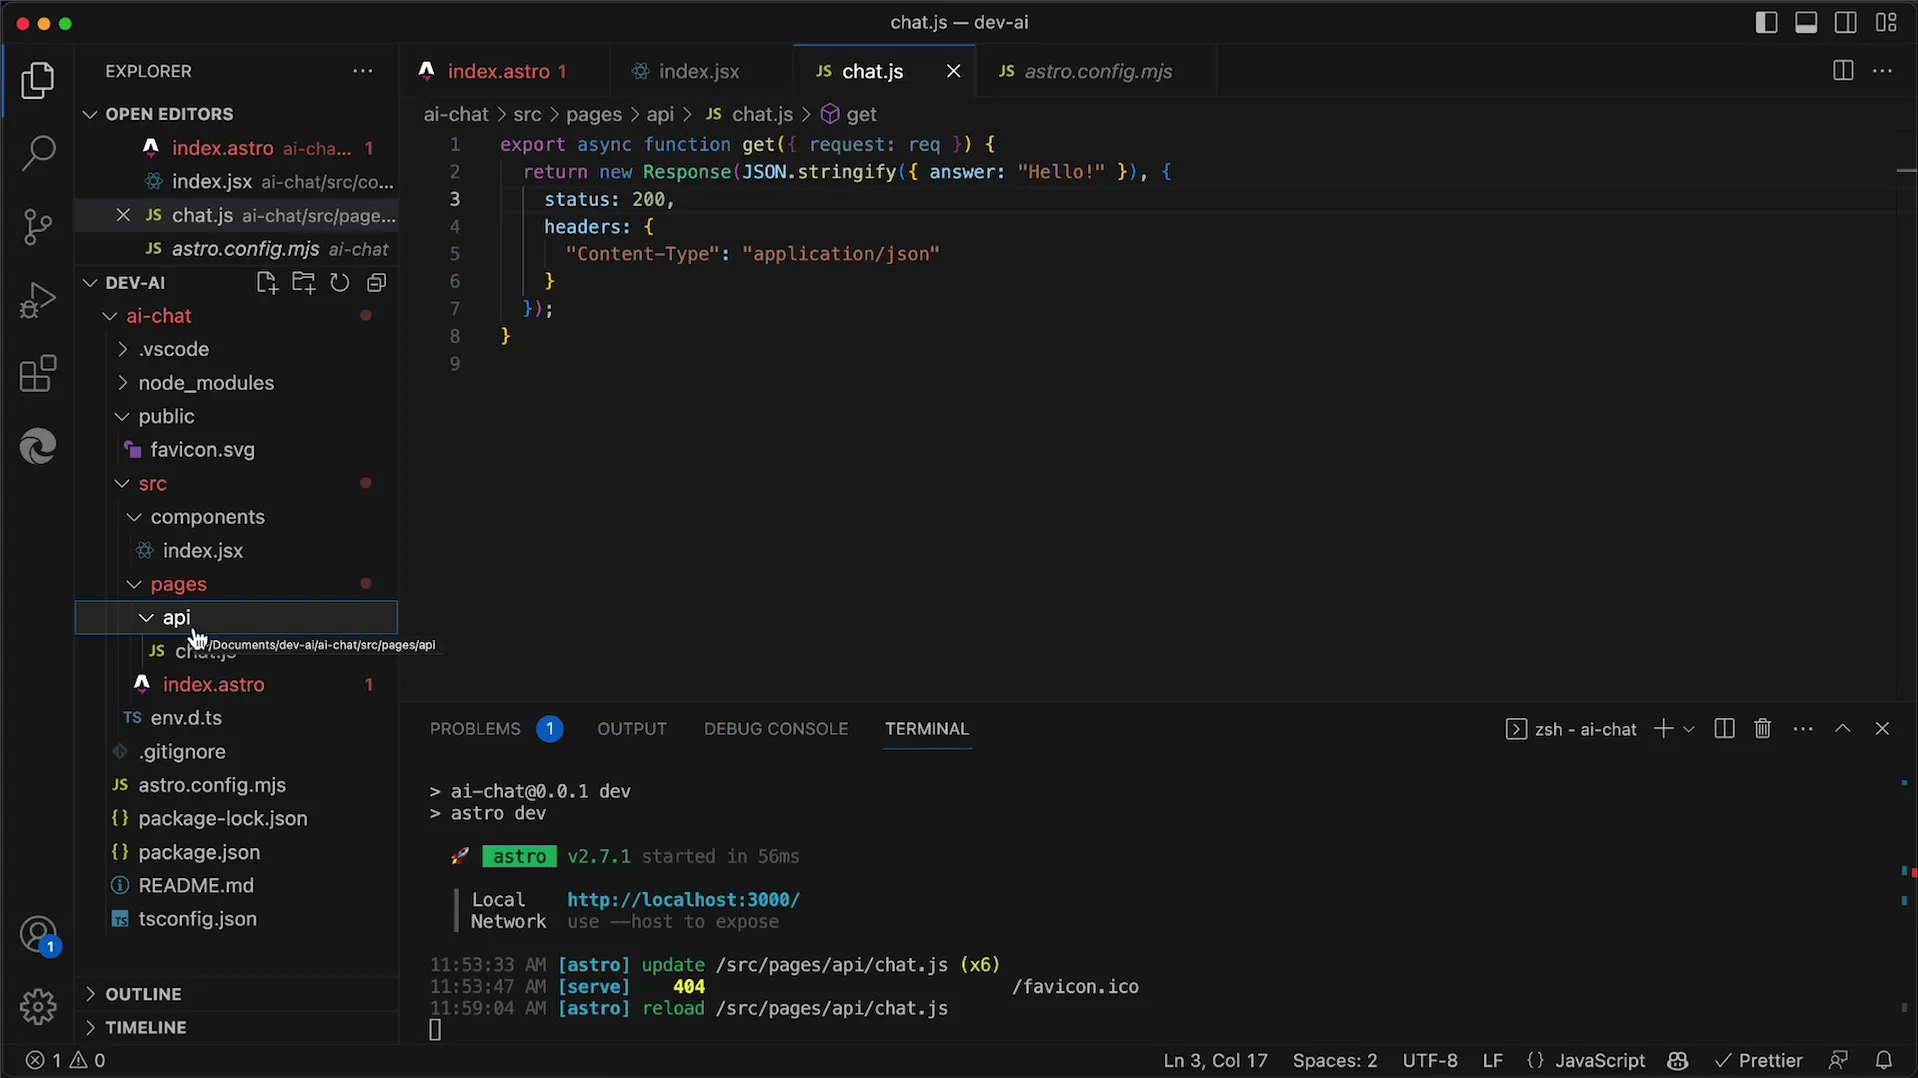
To ensure clean code, you should create a specific folder for your API endpoints. In your React project, create a new subfolder named API under the pages directory.
Step 2: Creating the chat.js File
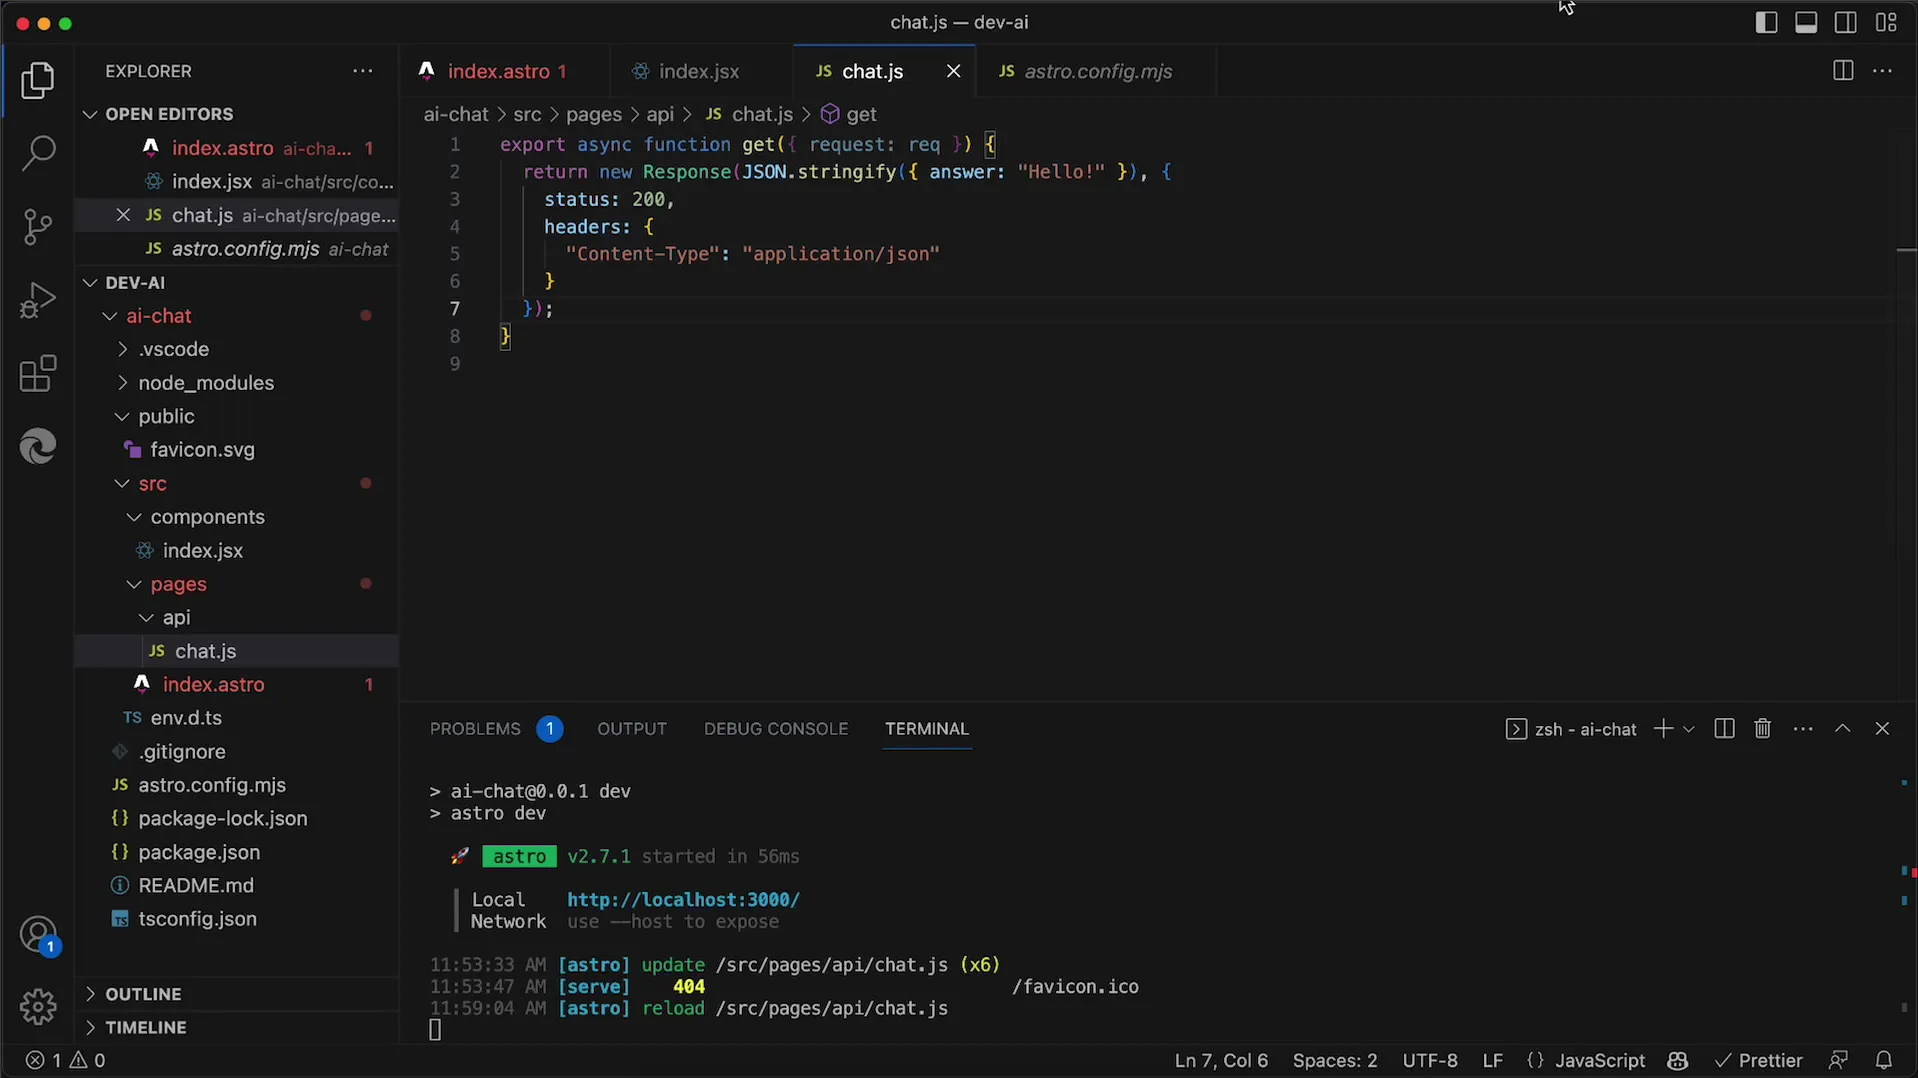
In the newly created API folder, create a new file named chat.js. This file will contain the Node.js code that handles the GET request.
Step 3: Implementing the GET Handler
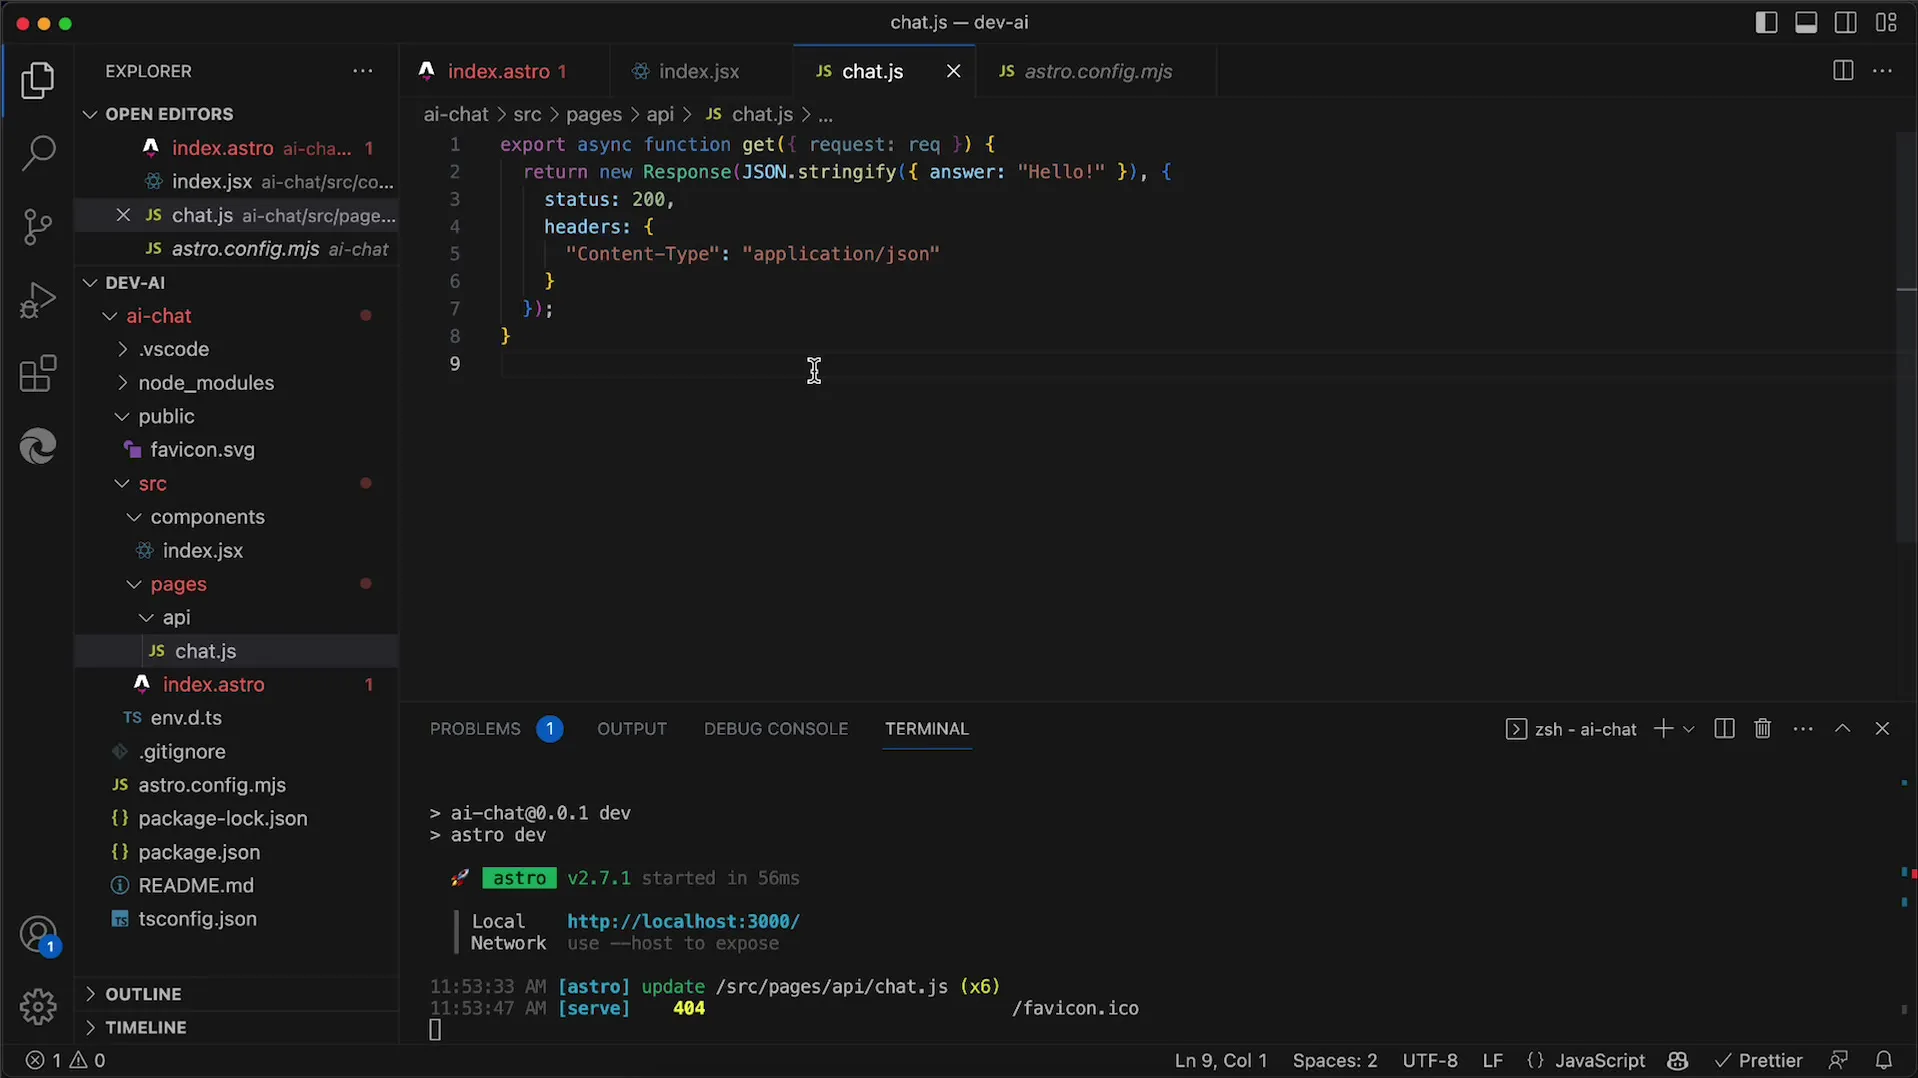
You need to define a GET handler in the chat.js file. This handler will process incoming requests to the URL /api/chat. It is important that the function be named get, as this is a requirement for it to be recognized as a GET handler in Astro.
Step 4: Returning a Simple Response
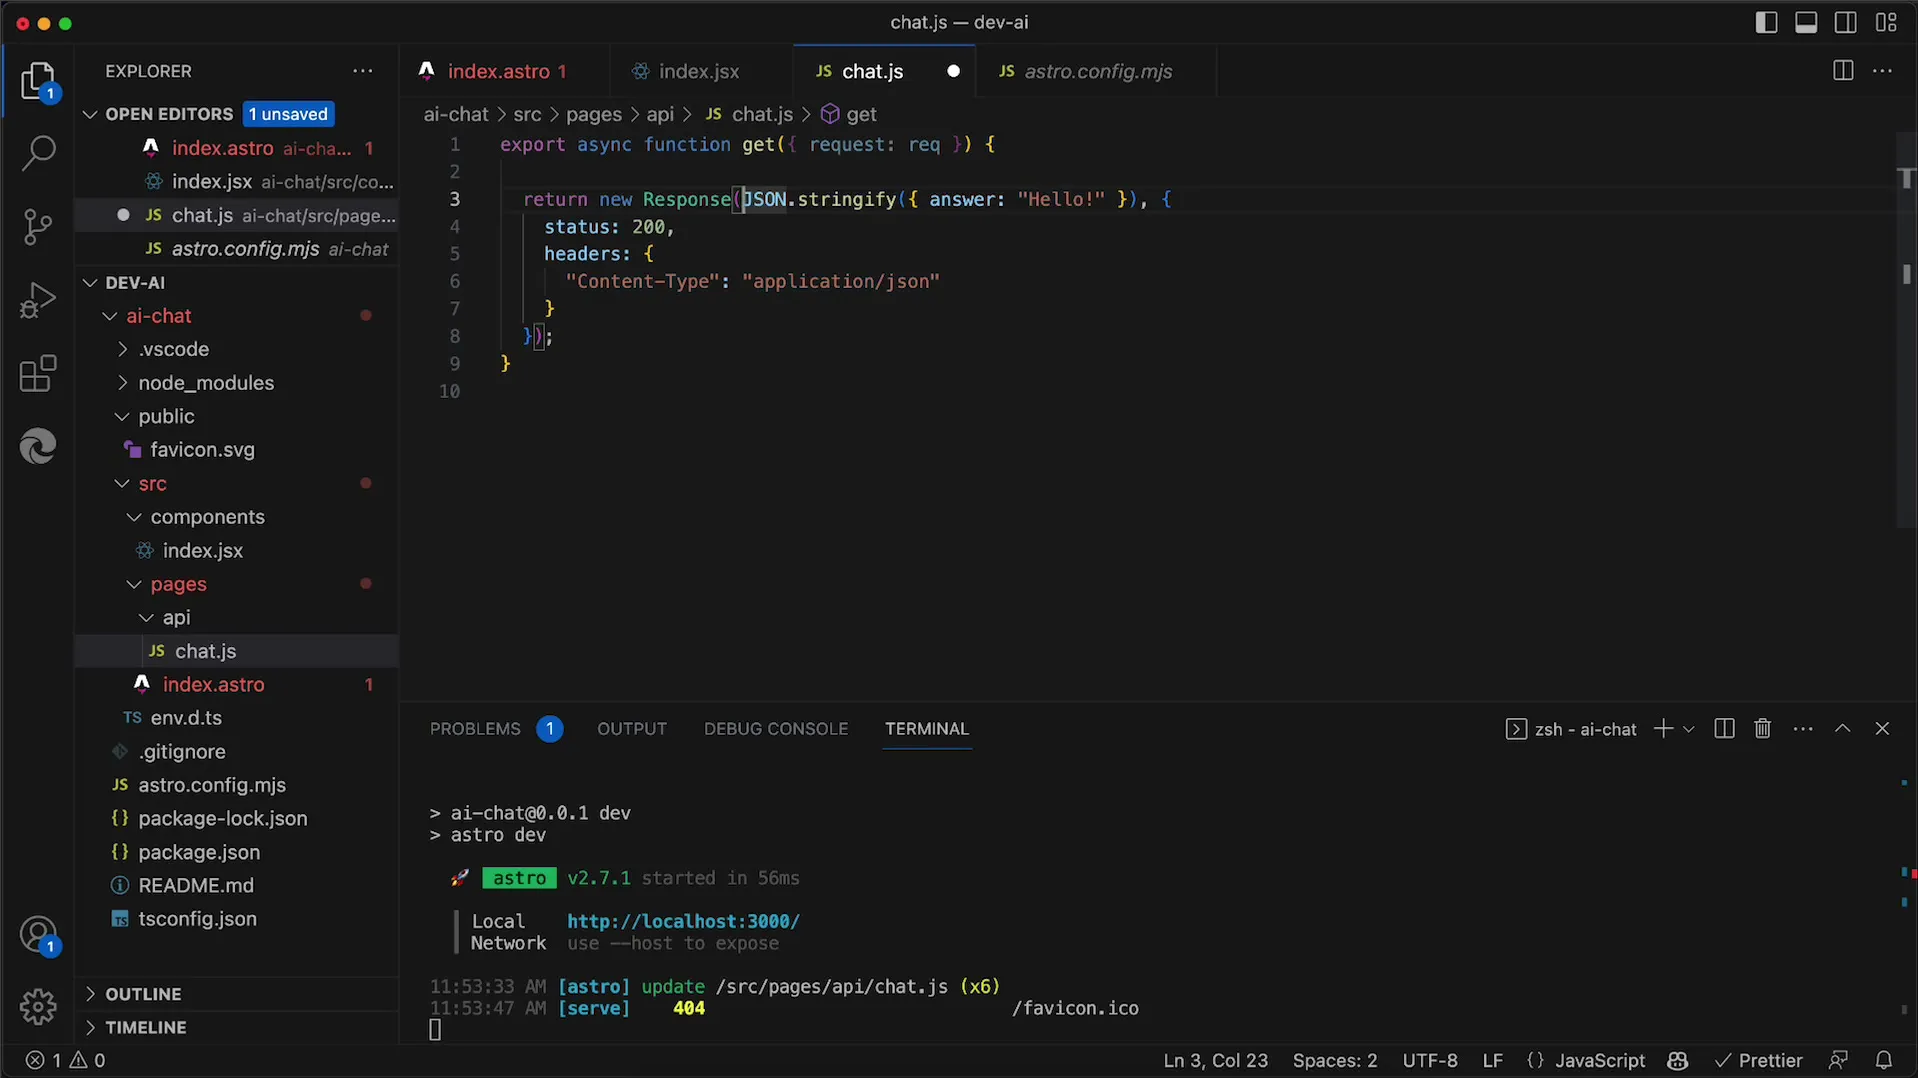
For now, you can return a simple JSON response. Use new Response() and initialize the response with JSON.stringify() to serialize an object that contains an answer property. For this initial test response, you can simply set it to "Hello".
Step 5: Setting the Status and Headers
In addition to returning the body of the response, you can also add the status code and headers. Set the status to 200, indicating that the request was successful, and define the Content-Type as application/json to ensure that the client recognizes the response as JSON.
Step 6: Testing the Endpoint in the Browser
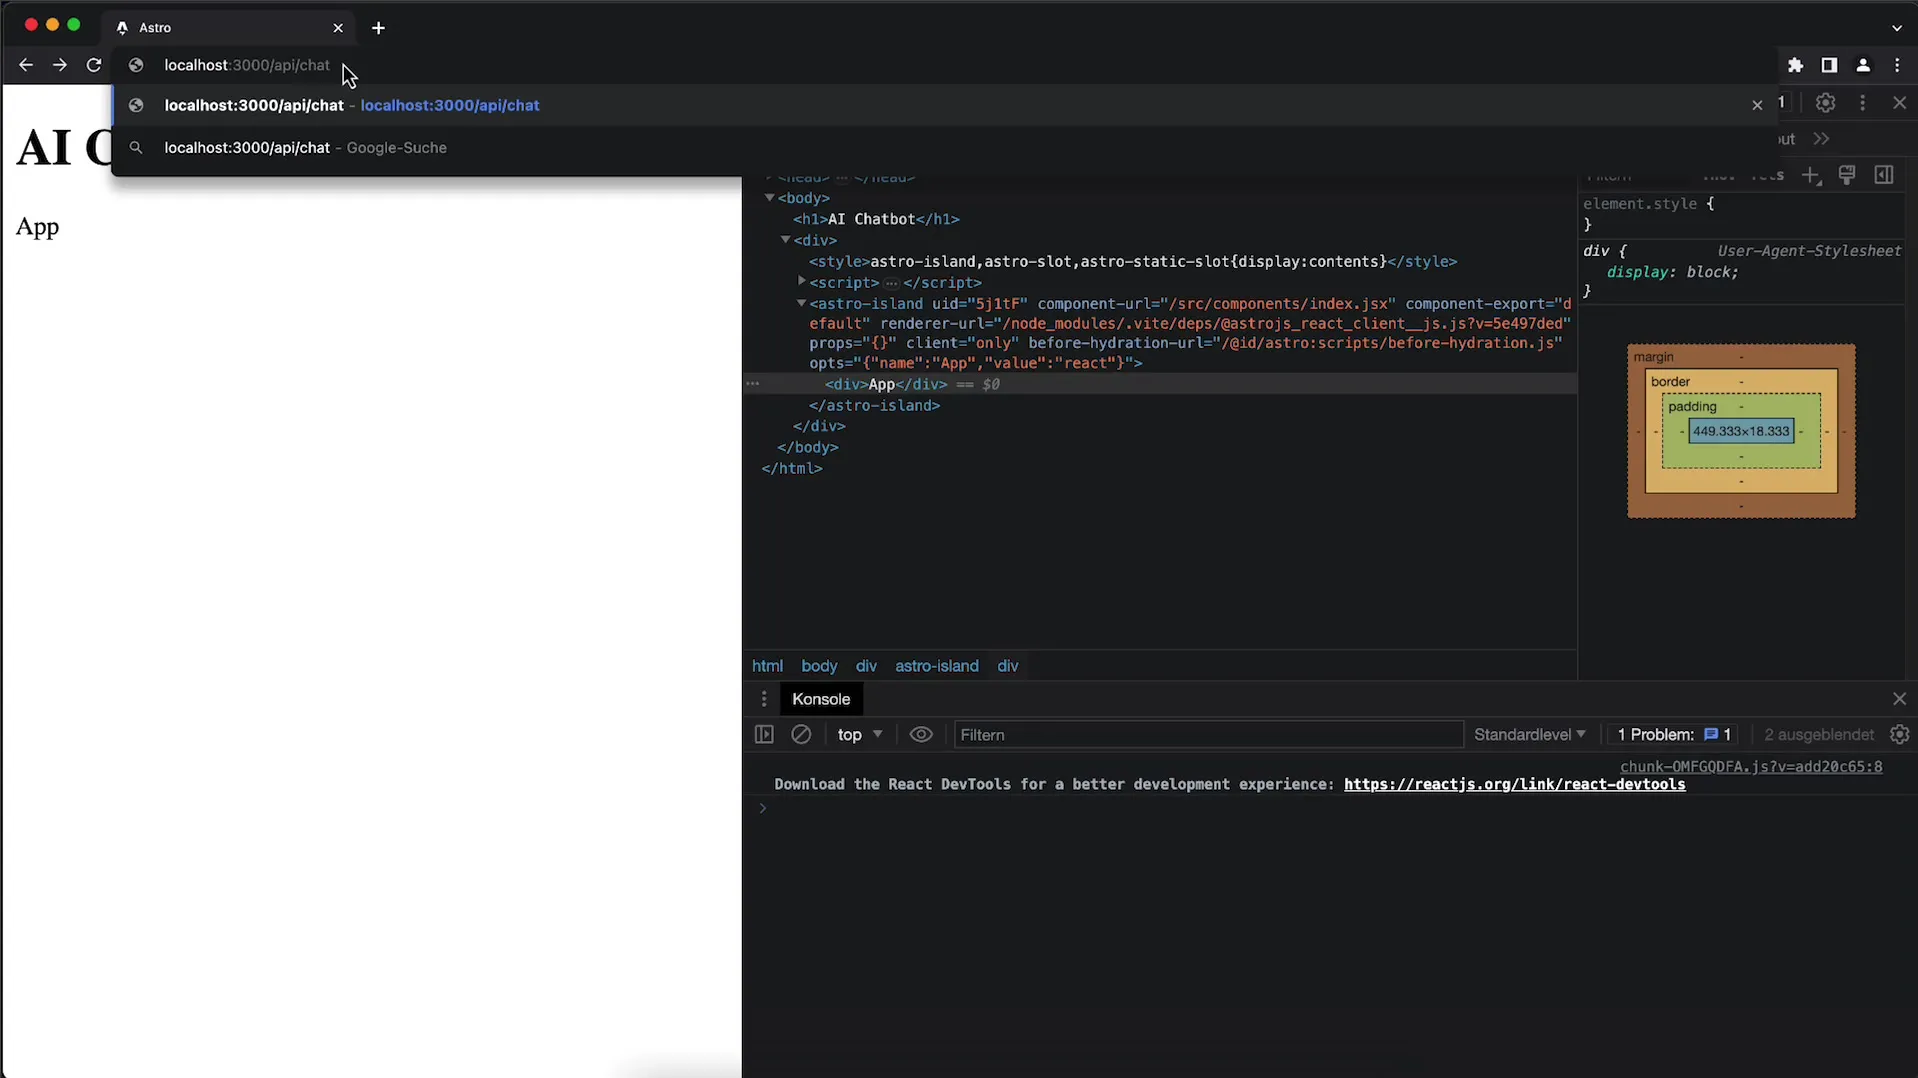
Once everything is set up, you can test the endpoint. Open your browser and go to your local development environment by entering the URL http://localhost:3000/api/chat. You should see the response you defined in the previous phase.
Step 7: Verifying the Correct Response
If you enter the URL and see the correct JSON response in the browser, it means your GET handler is working. This simple implementation will serve as the foundation for future expansion, where you will integrate the OpenAI API for chat completions.
Step 8: Expanding to OpenAI API
In a future session, we will expand the already implemented endpoint to fetch chat completions from the OpenAI API. However, the current endpoint will already give you the necessary basic understanding of HTTP interactions over the API.
Summary
In this tutorial, you have learned how to create a simple GET endpoint for your Node.js application that returns JSON responses. This basic implementation will form the foundation for future expansions, especially for integrating the OpenAI API, which we will cover in the next video.
Frequently Asked Questions
How do I create a subfolder in my project?You can create a subfolder in your project by creating a new folder named API under the pages directory.
Why is it important for my GET handler to be named get?In Astro, the name of the handler is crucial for recognizing the corresponding HTTP request.
How can I test my new endpoint?Enter the URL http://localhost:3000/api/chat in your browser to check the response from your GET handler.
What will be covered in the next video?In the next video, we will expand the current endpoint to fetch chat completions from the OpenAI API.
