In this tutorial, we show you how to use the OpenAI API to process user messages. In the previous video, we used a fixed text ("hello"), but now we want to introduce the possibility of passing a text provided by the user via URL. It is important that you understand the basics of extracting URL parameters and passing them to the API to enable personalized interactions with the AI.
Key Takeaways
- You will learn how to pass the user text as a query parameter in the URL and communicate with the OpenAI API.
- You will also learn what configurations are necessary in your project to support this functionality.
Step-by-Step Guide
To carry out the implementation, follow this step-by-step guide.
Step 1: Preparations
First, you need to ensure that you have correctly set up the OpenAI API. In our previous video, we showed how to make the API call and use a fixed string. You should have already completed the basic configuration of your project.
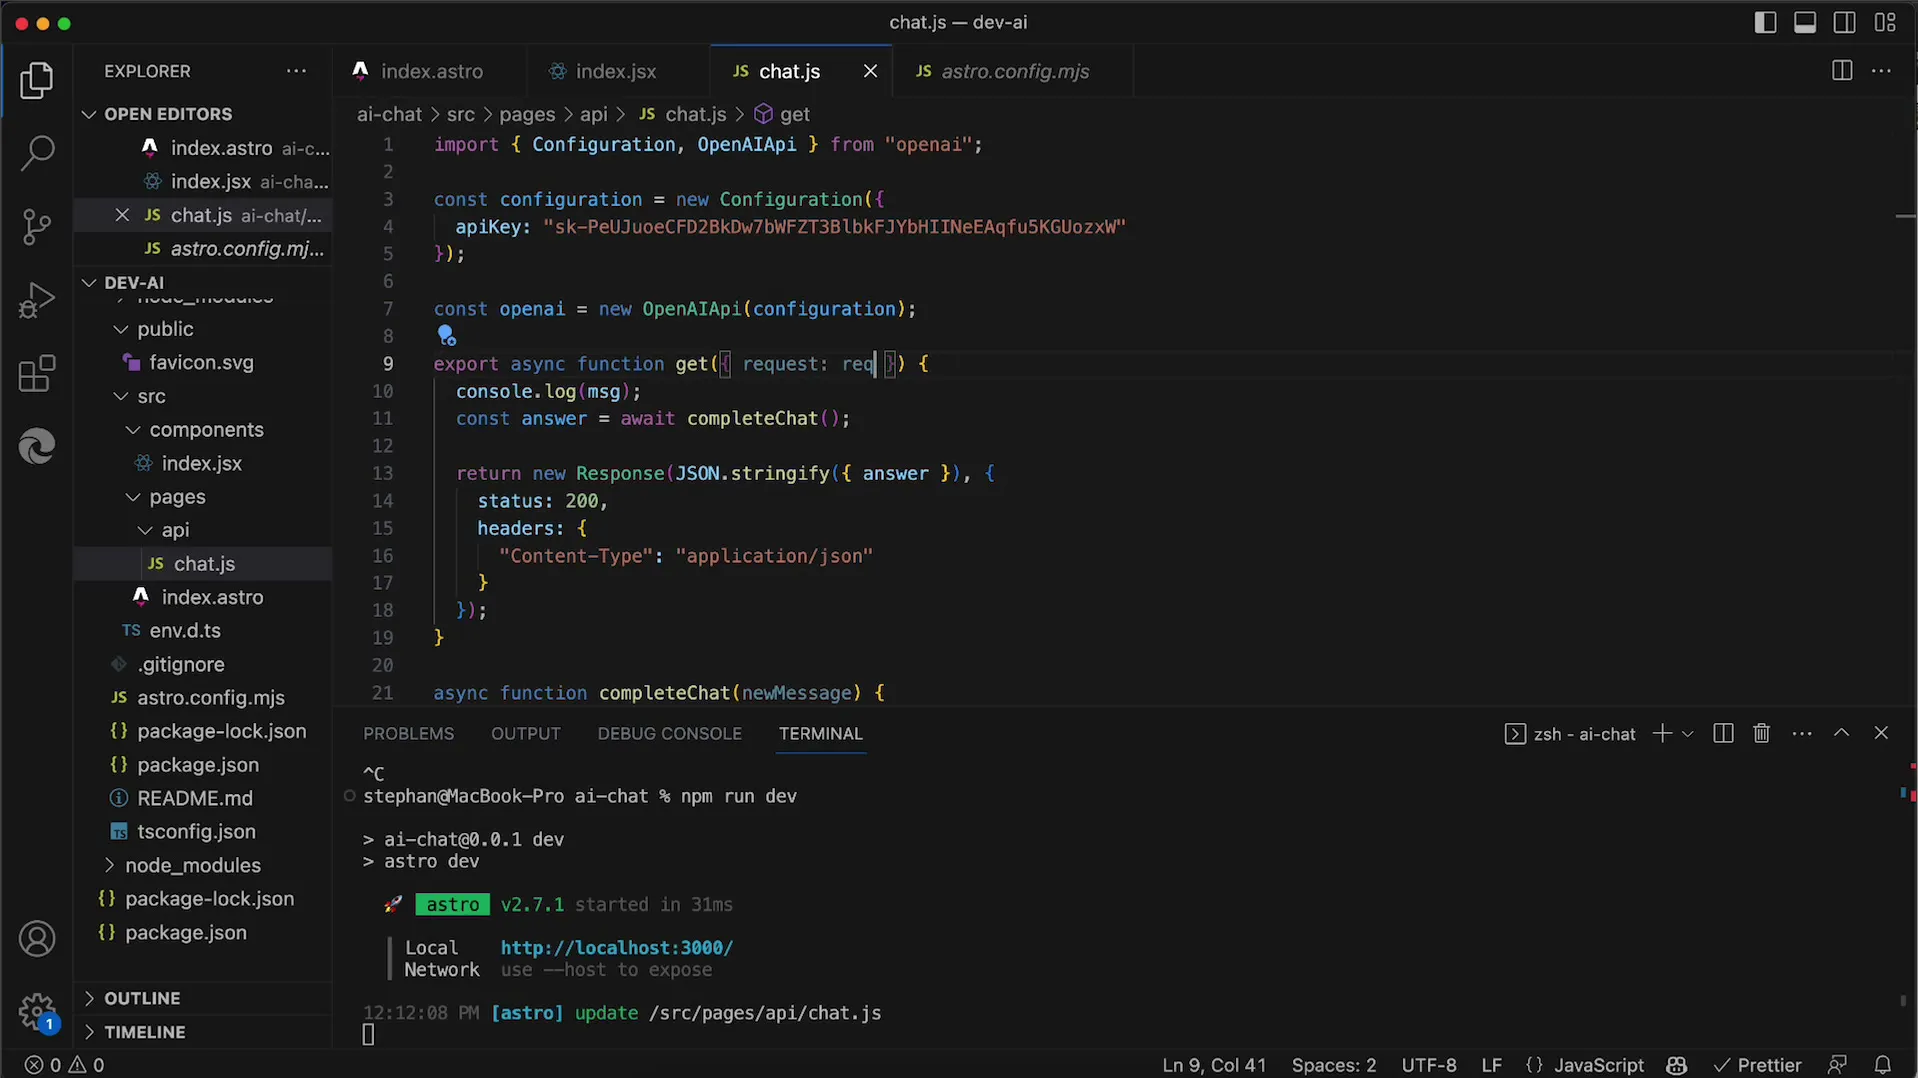
Step 2: Passing User Text via URL
Now we want to enable passing a dynamic text. This will be transmitted to our application via the URL as a query parameter. The parameters that come after the question mark in the URL are crucial for this method.
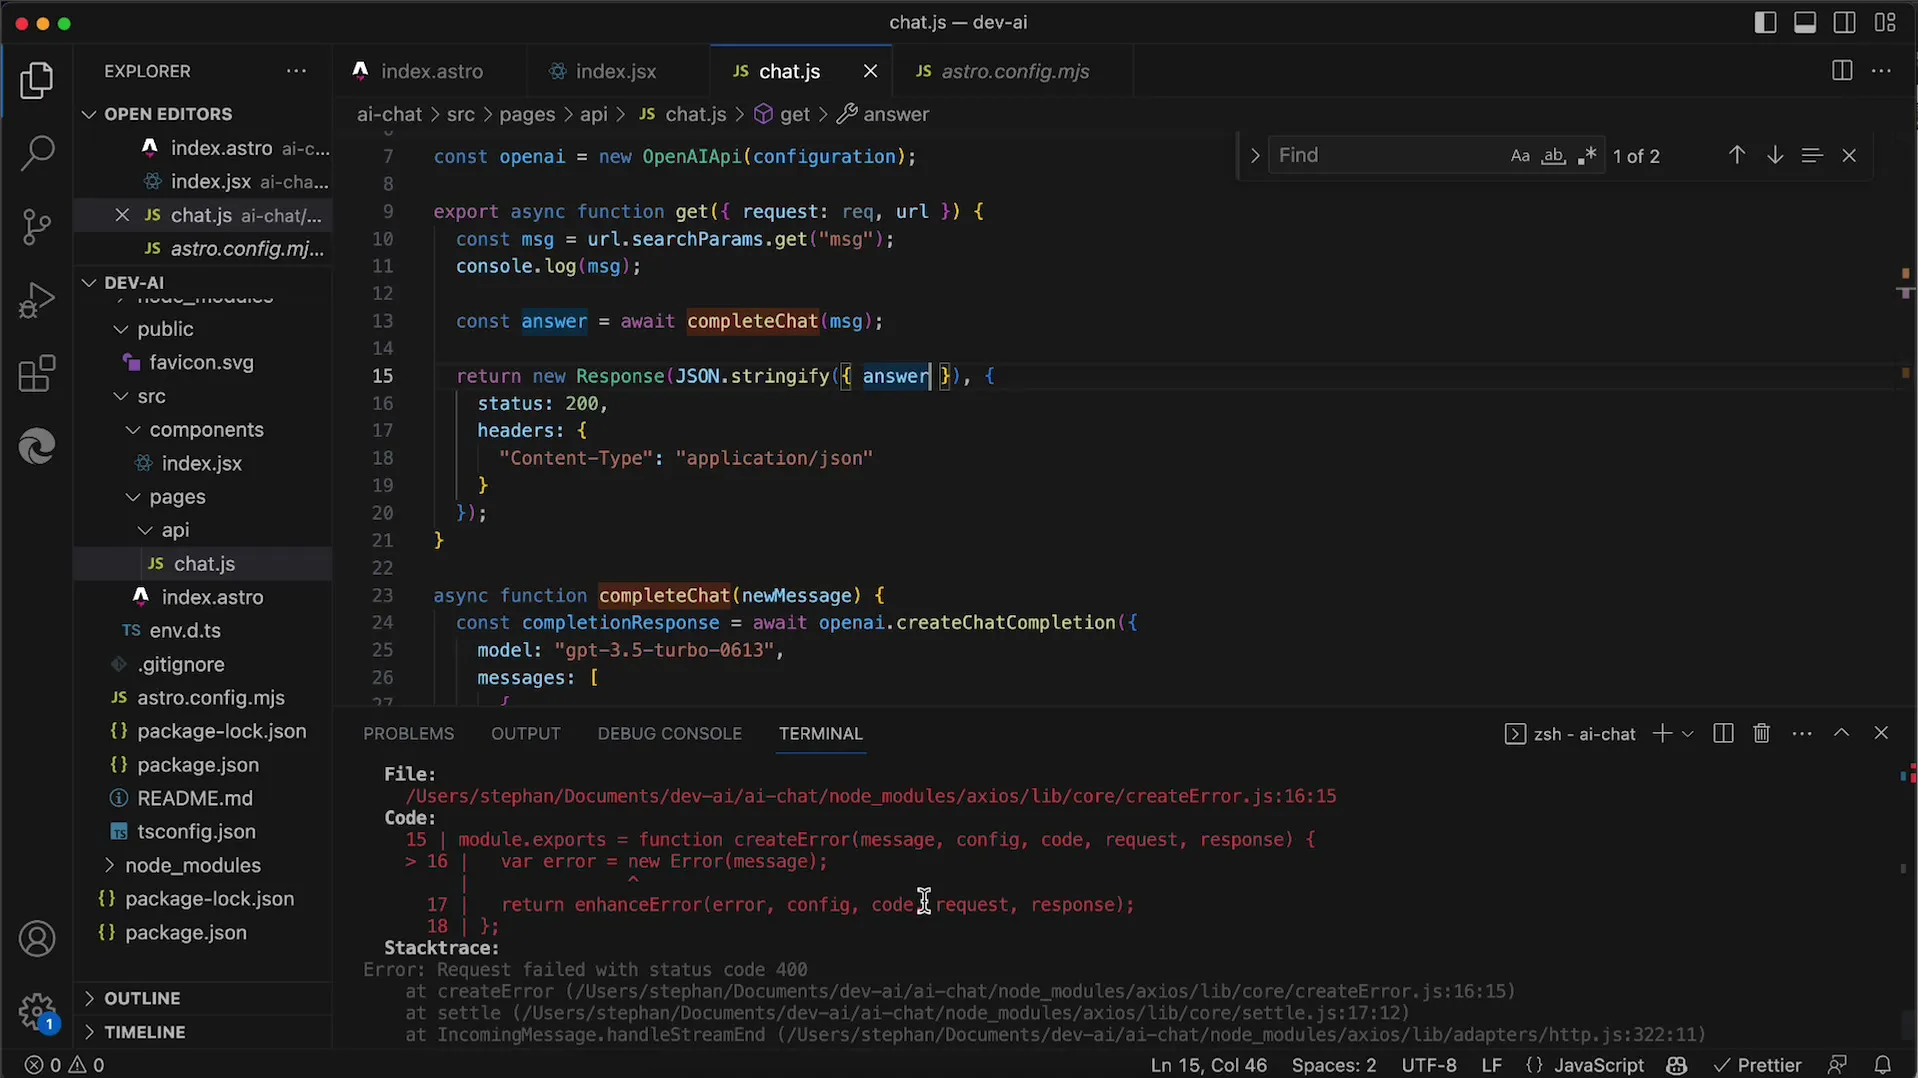
In this step, we integrate logic to extract the expected message parameter from the URL. The parameter we want to use is called msg and is retrieved through url.searchParams.get("msg").
Step 3: Processing the Message
After extracting the text, we need to use it in the API request. Here, we must ensure that the passed text is actually sent to the API.
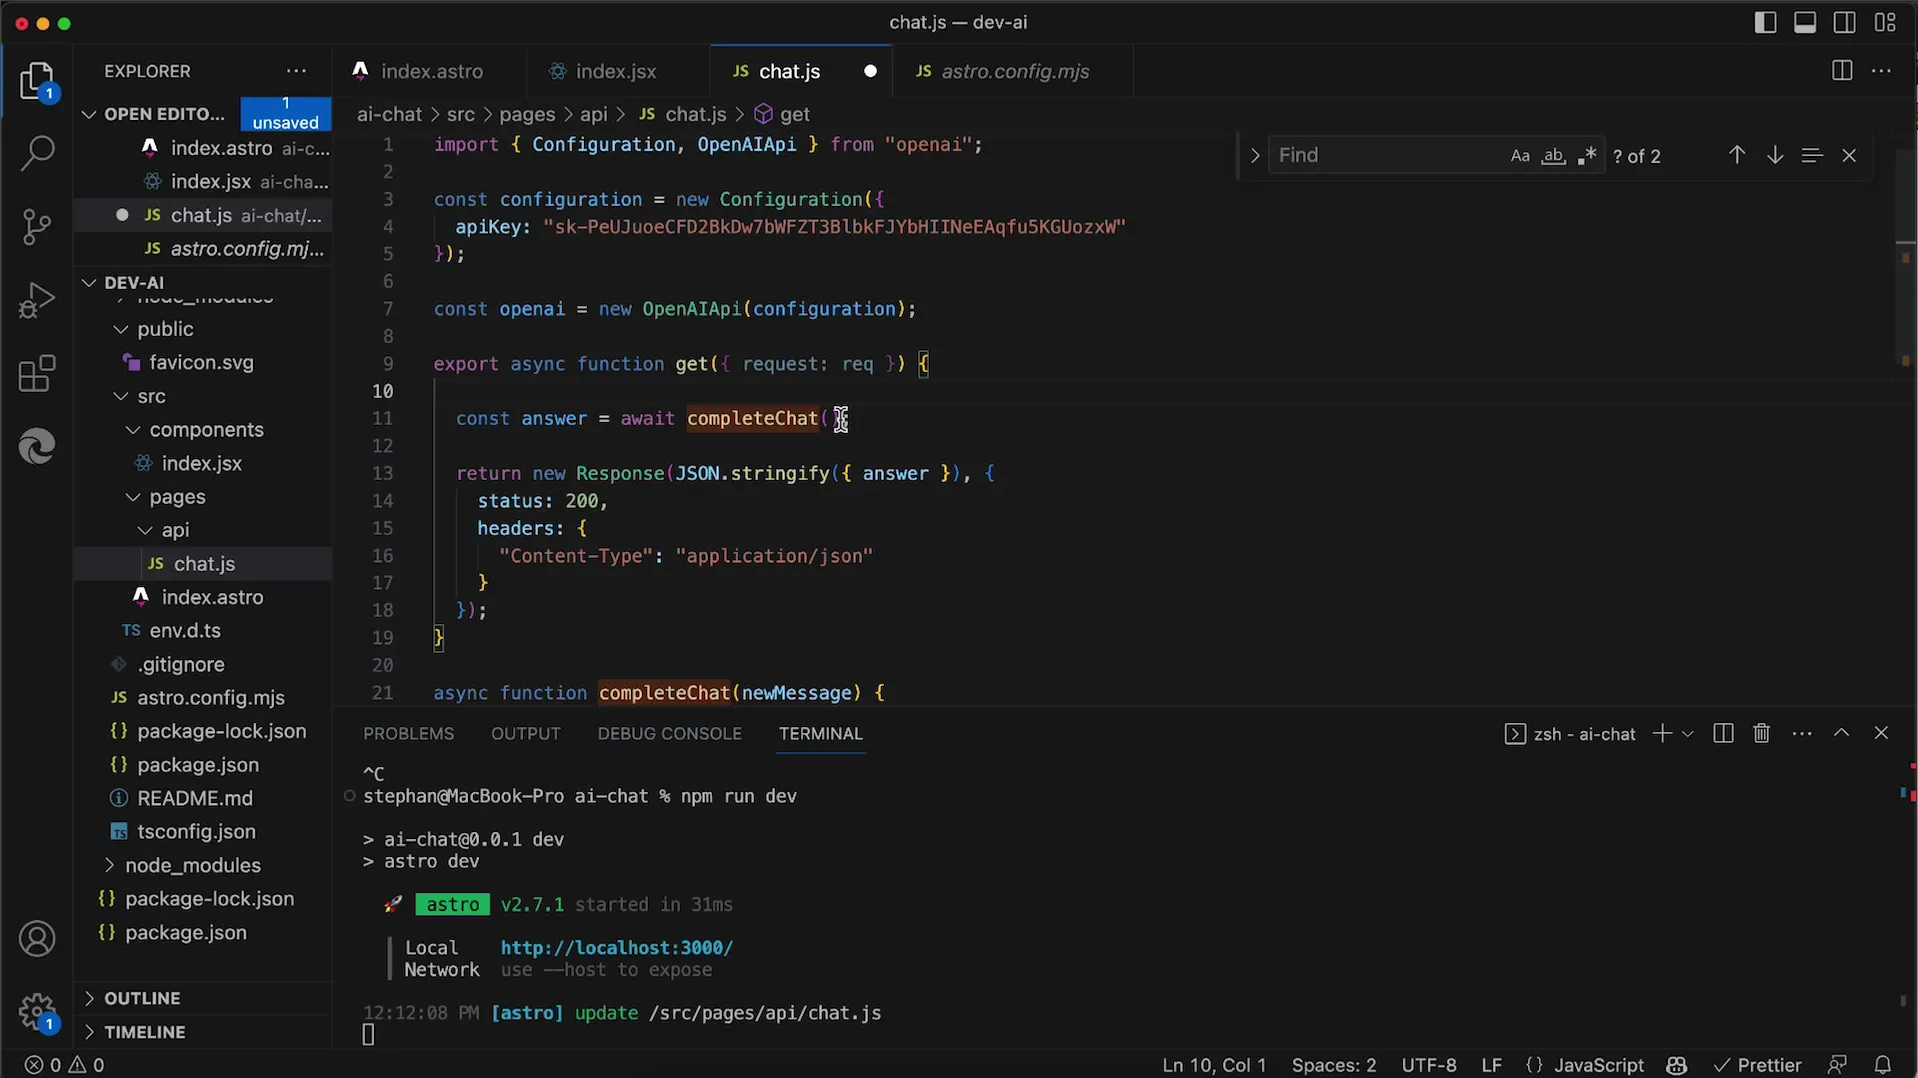
If we encounter an error like "Bad Request" during testing, this indicates an issue with transmitting the message. Check that the new message parameter is correctly passed to the request.
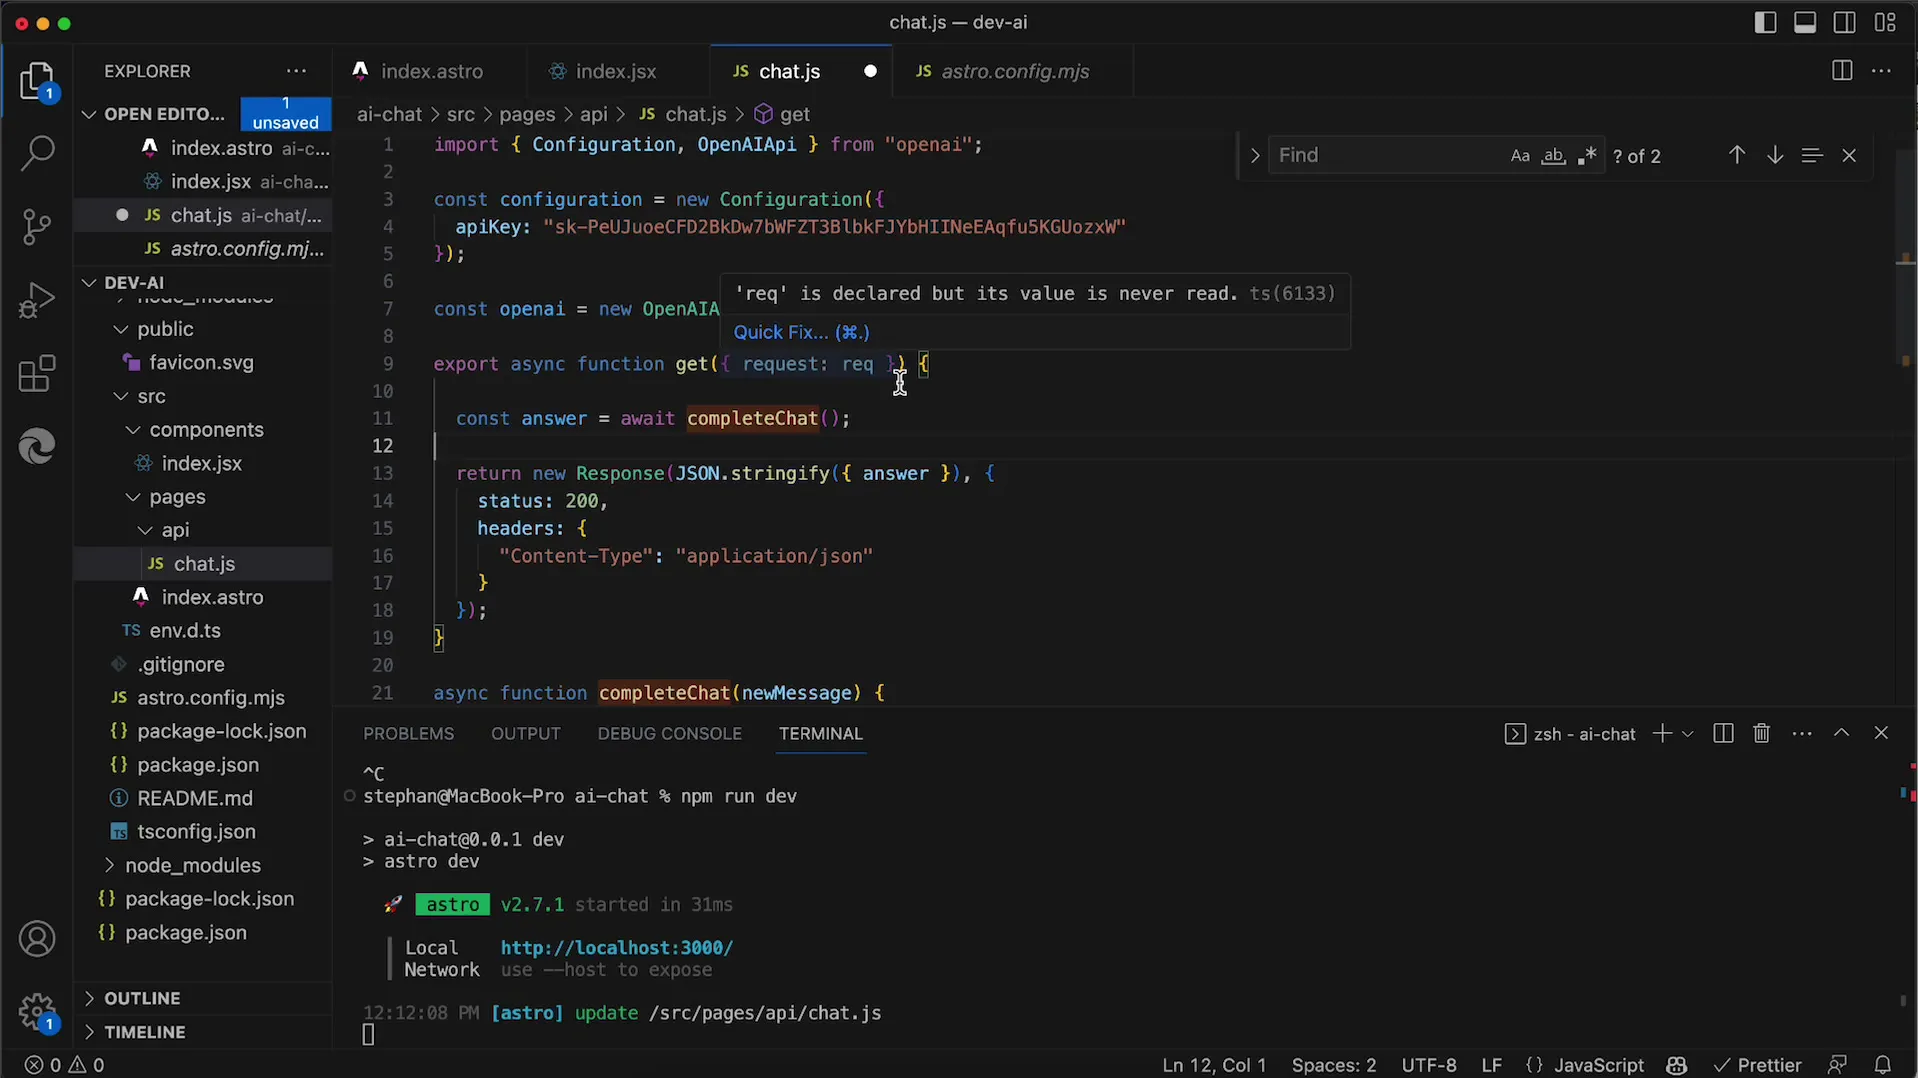
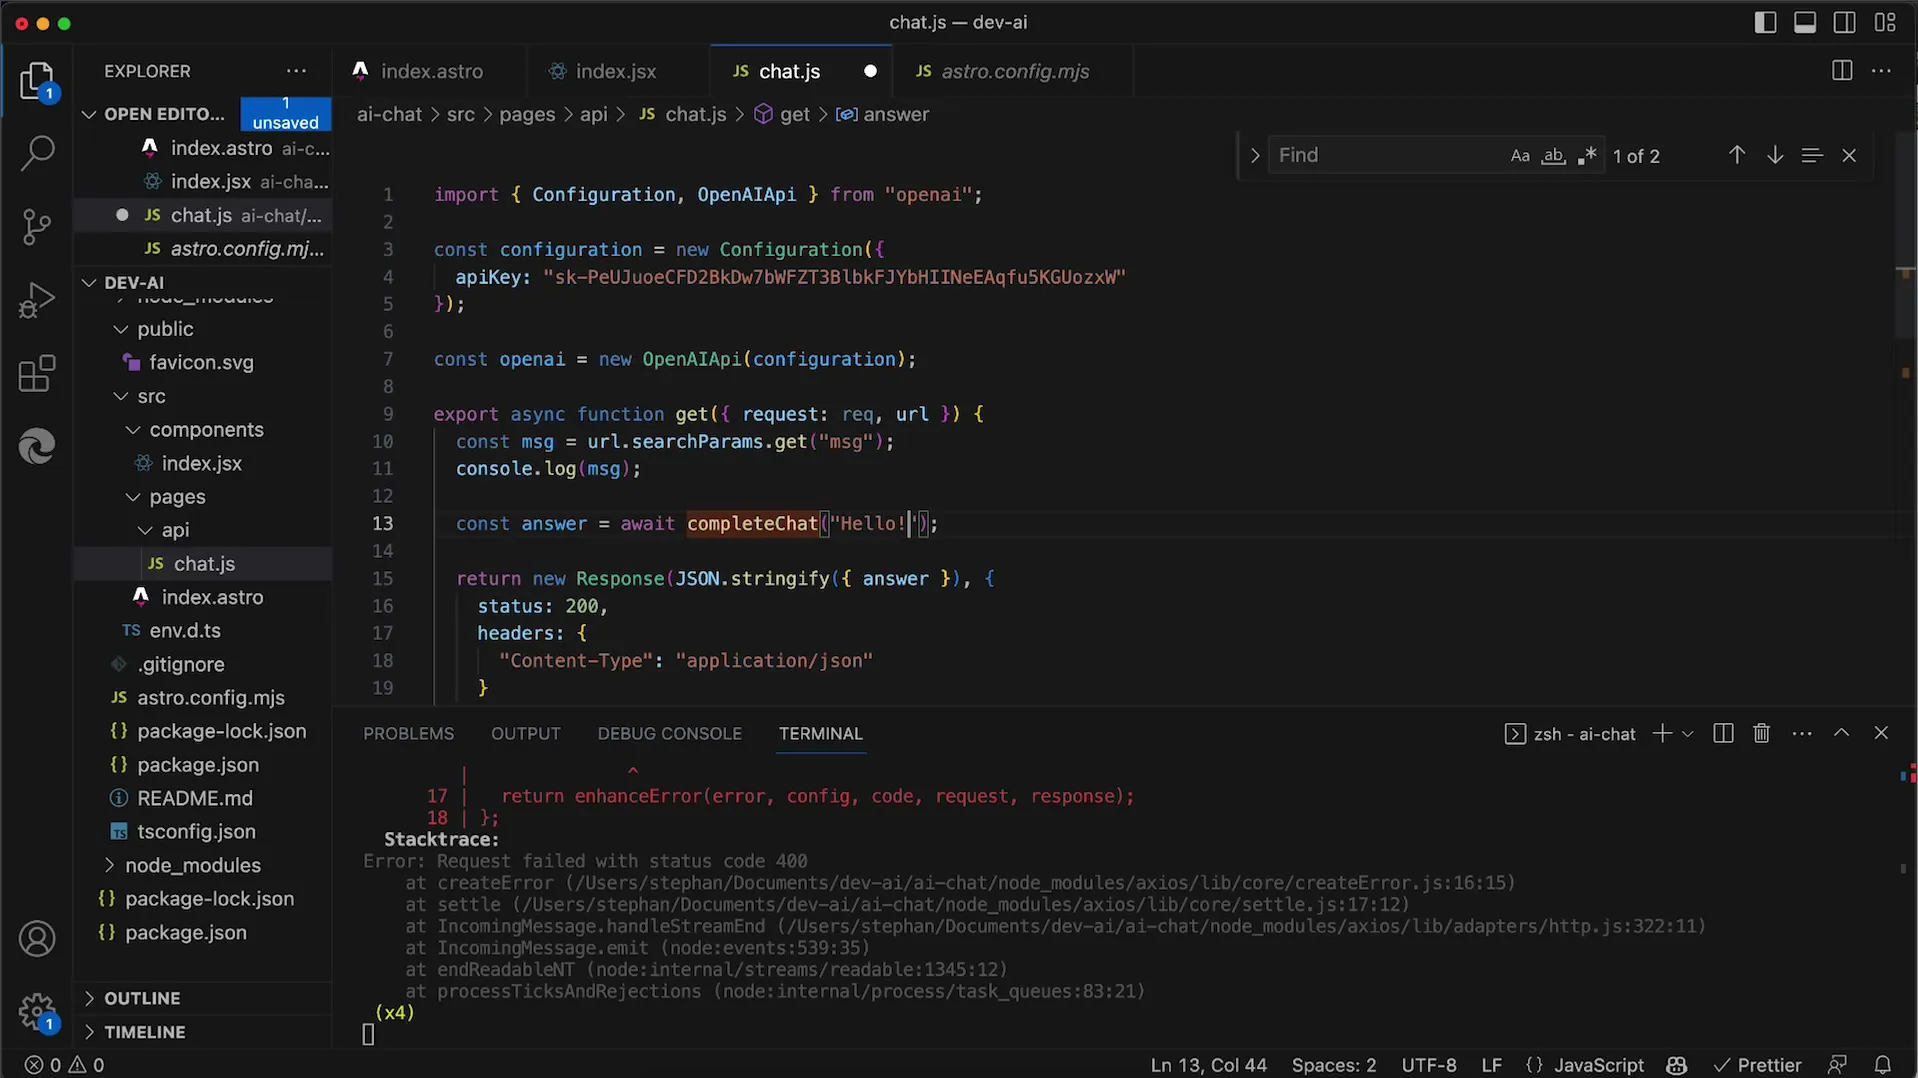
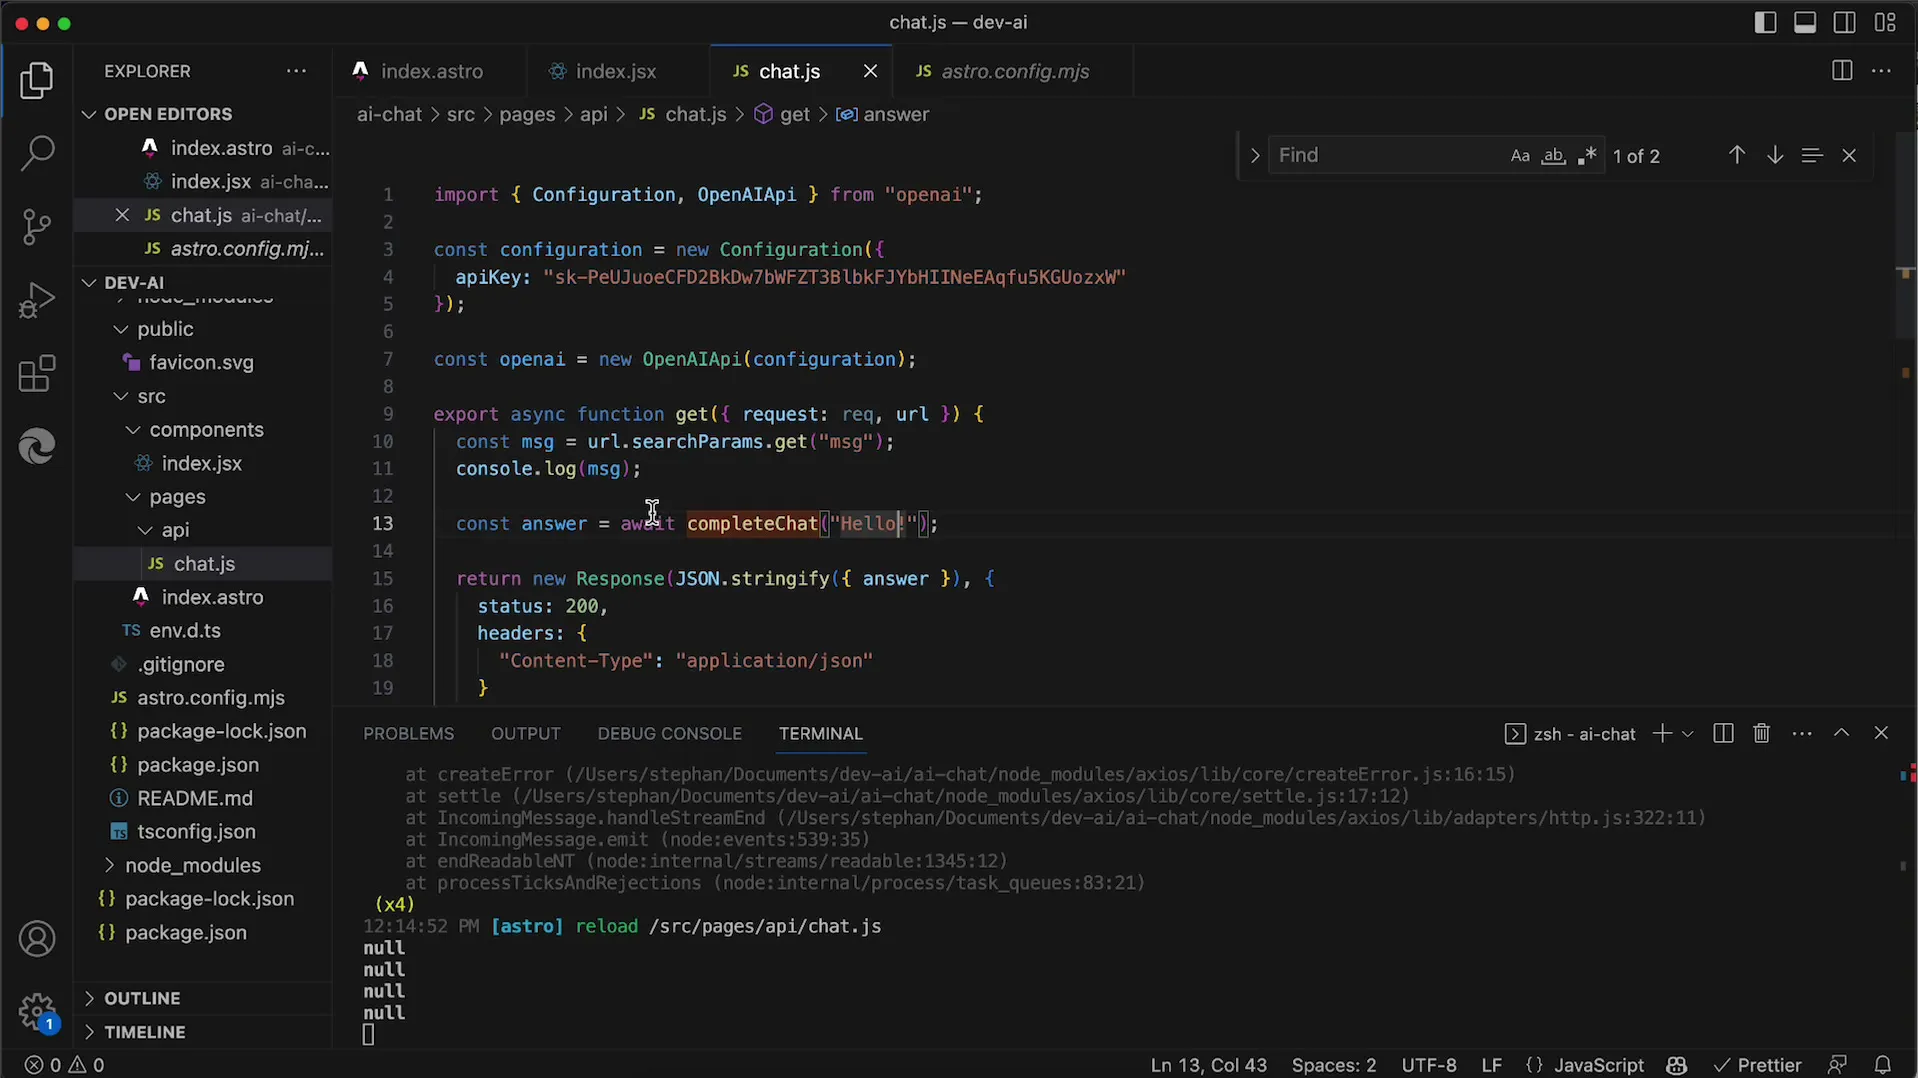
Step 4: Troubleshooting
We may still have some configuration problems. Ensure that you correctly pass all required parameters to the application. If you are using the fixed string for verification and it works, you can confirm that the error lies specifically in the extracted parameter.
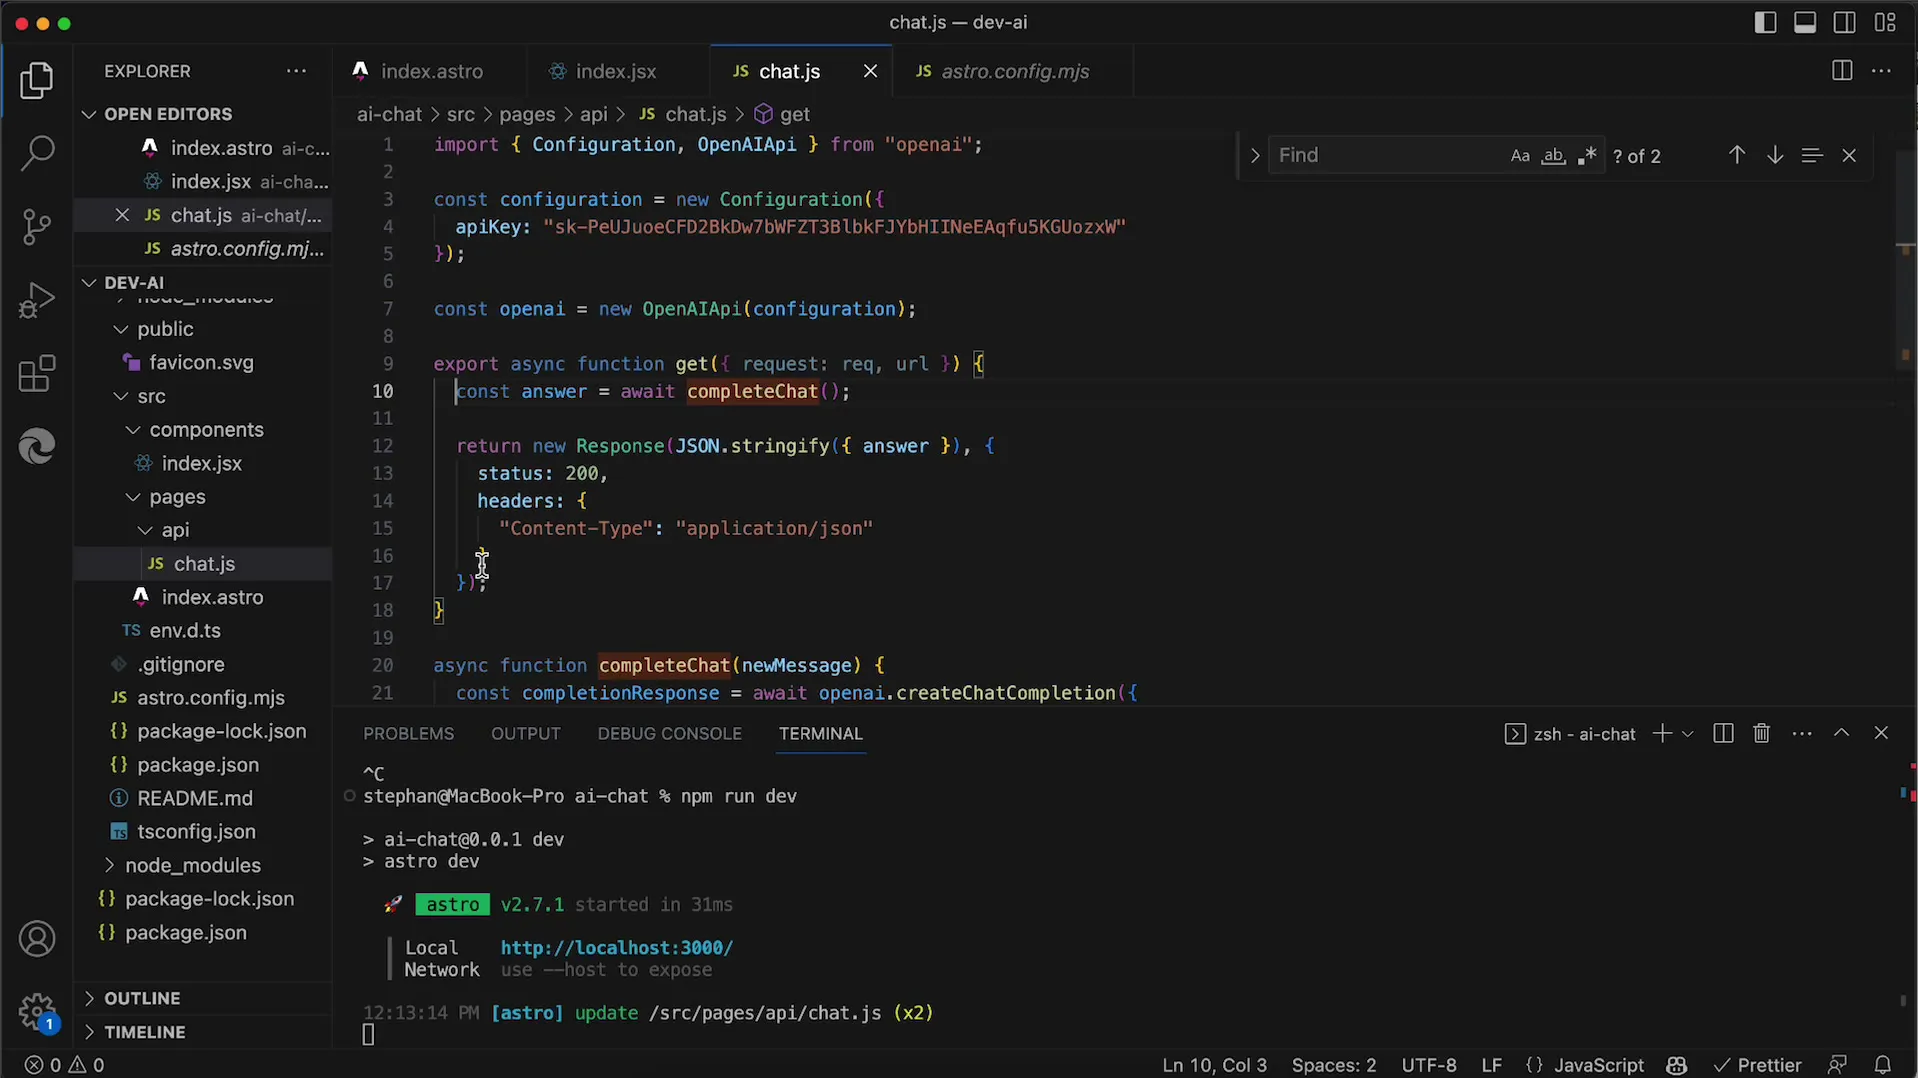
Step 5: Adjust Astro Configuration
An important element is configuring your project in Astro. You must ensure that the output value is set to Server. This allows server-side rendering and therefore the correct extraction of URL parameters.
This change is crucial as it allows you to correctly read the parameters and pass them to the API.
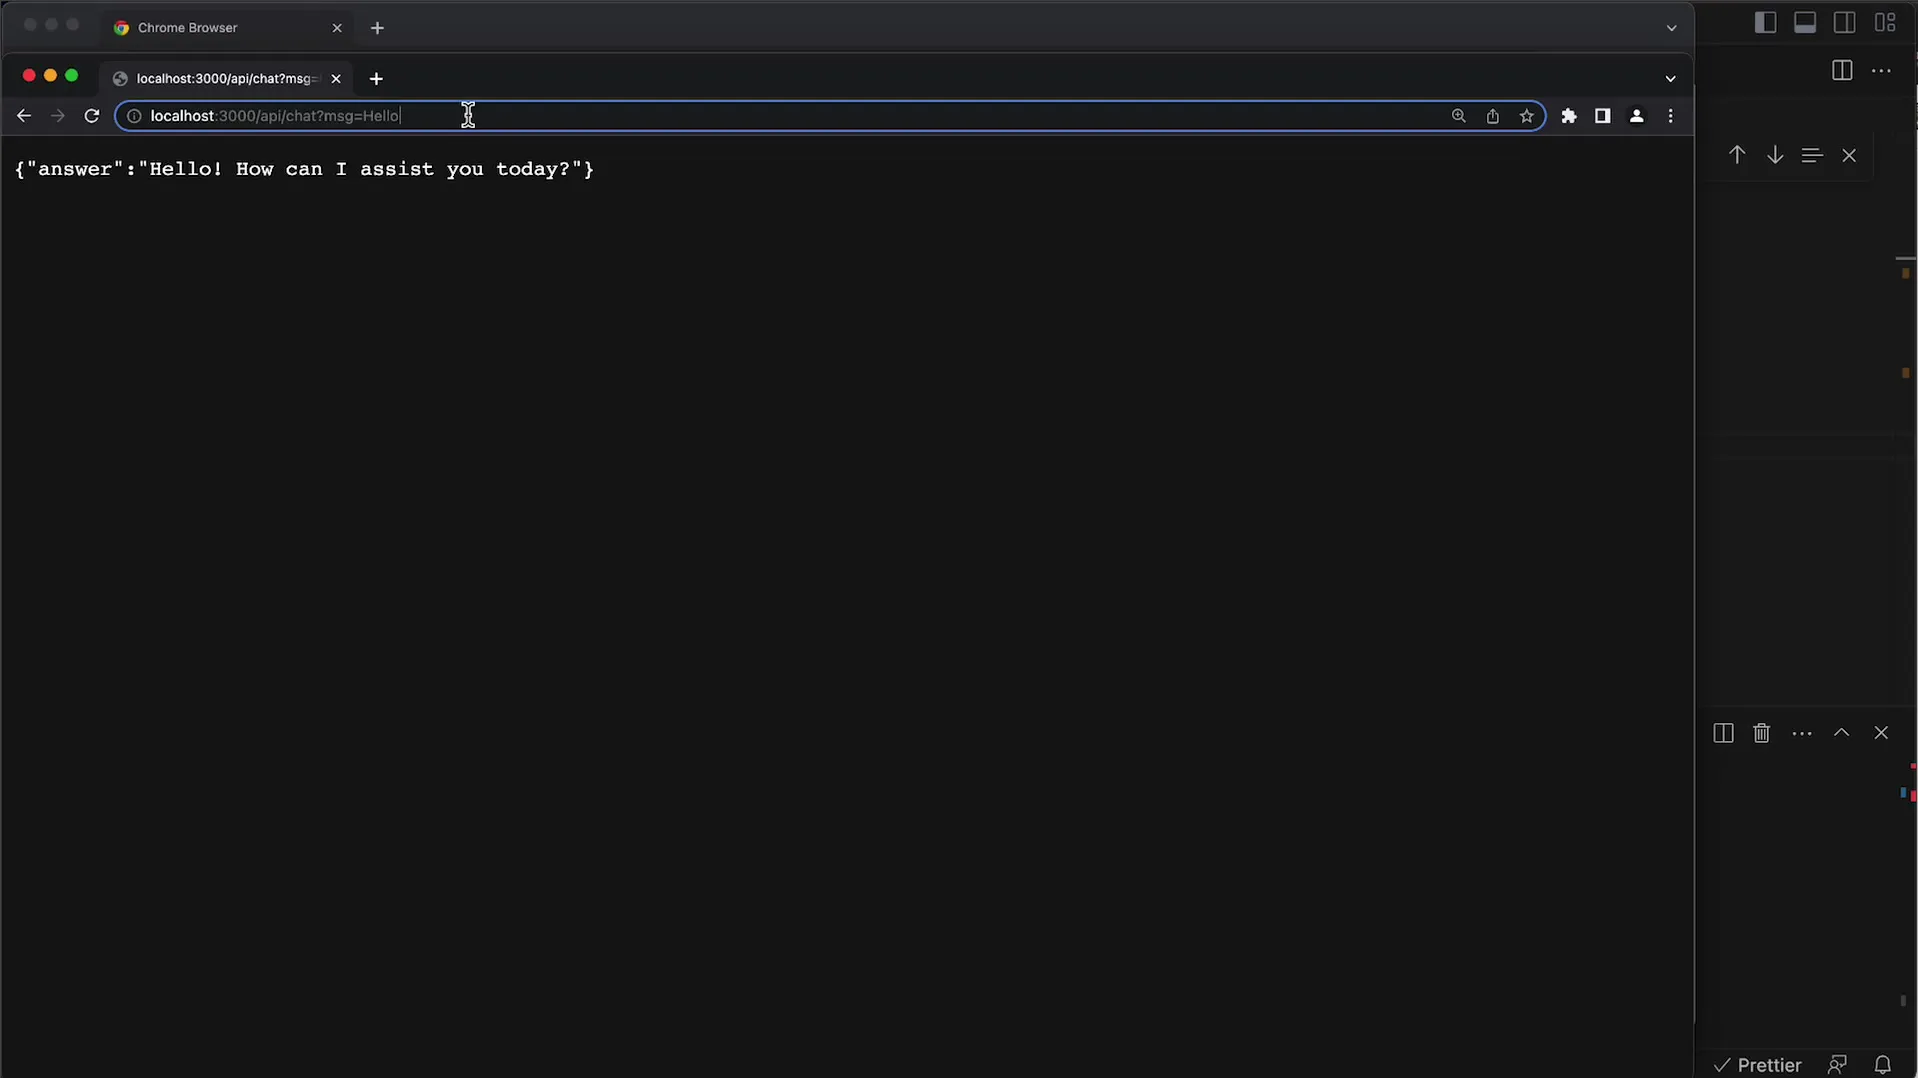
Step 6: Testing the Application
Now you should test the application. Try different inputs in the URL to see the responses you get from the API. An example request could be: ?msg=Hello World.
The response will be displayed in the browser and should correctly respond to your request. If everything is working correctly, you can already see initial interactions with the AI here.
Step 7: Extensions and Conclusion
In the final step, we want to expand the system. Instead of sending just a single text to the API, you can now also maintain the entire chat history. This allows for a more natural conversation.
For more videos, you will see how you can further develop your React app to create an even more user-friendly interface.
Summary
In this tutorial, you have learned how to use the OpenAI API to pass user messages via URL parameters. You now understand important steps for preparing, processing, and testing your application.
Frequently Asked Questions
What is the OpenAI API?The OpenAI API is a service that allows you to access AI models and make text-based requests to them.
How can I fix errors in the API request?Verify that you are correctly passing all required parameters and that the API configuration is set up correctly.
Do I need special skills to use the API?Basic knowledge of JavaScript and web application design is advantageous but not mandatory.


