In this tutorial, you will learn how to create a basic User Interface (UI) with React that allows you to communicate with the OpenAI API. Instead of chatting via the URL in the browser, we will create a simple application where the user can enter text and receive the corresponding response from the AI. We will cover both the frontend code and the logic for processing inputs and communicating with the OpenAI API.
Main takeaways
- You will understand how to create an input field and a button in React to send user requests.
- Additionally, you will learn how to make asynchronous fetch requests to the OpenAI API and store and display the received responses in your React state.
Step-by-step guide
Start by creating a new React application or navigating to your existing application. In the index.jsx file, you will set up basic components for interaction.
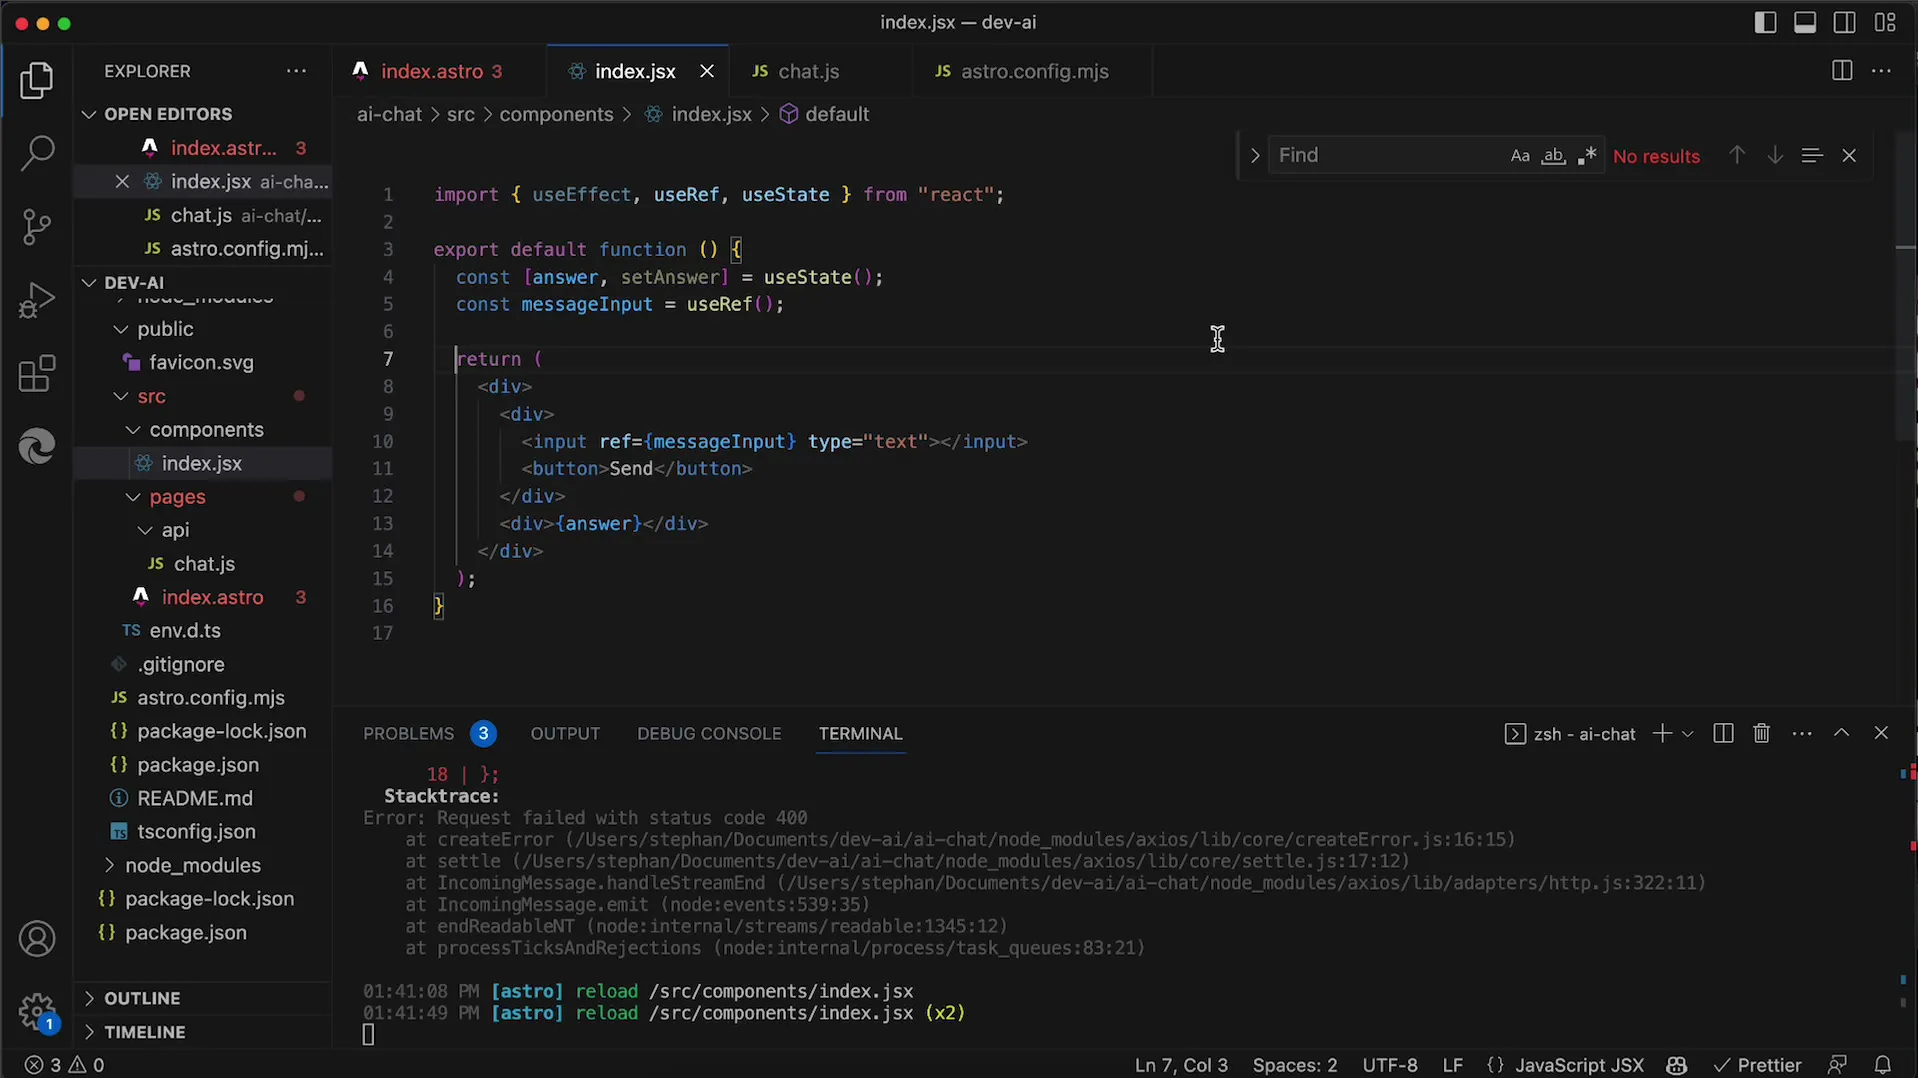
First, you want to add an input field where the user can enter their messages. This allows users to interact with the AI. So, add an input field and a button to send the request.
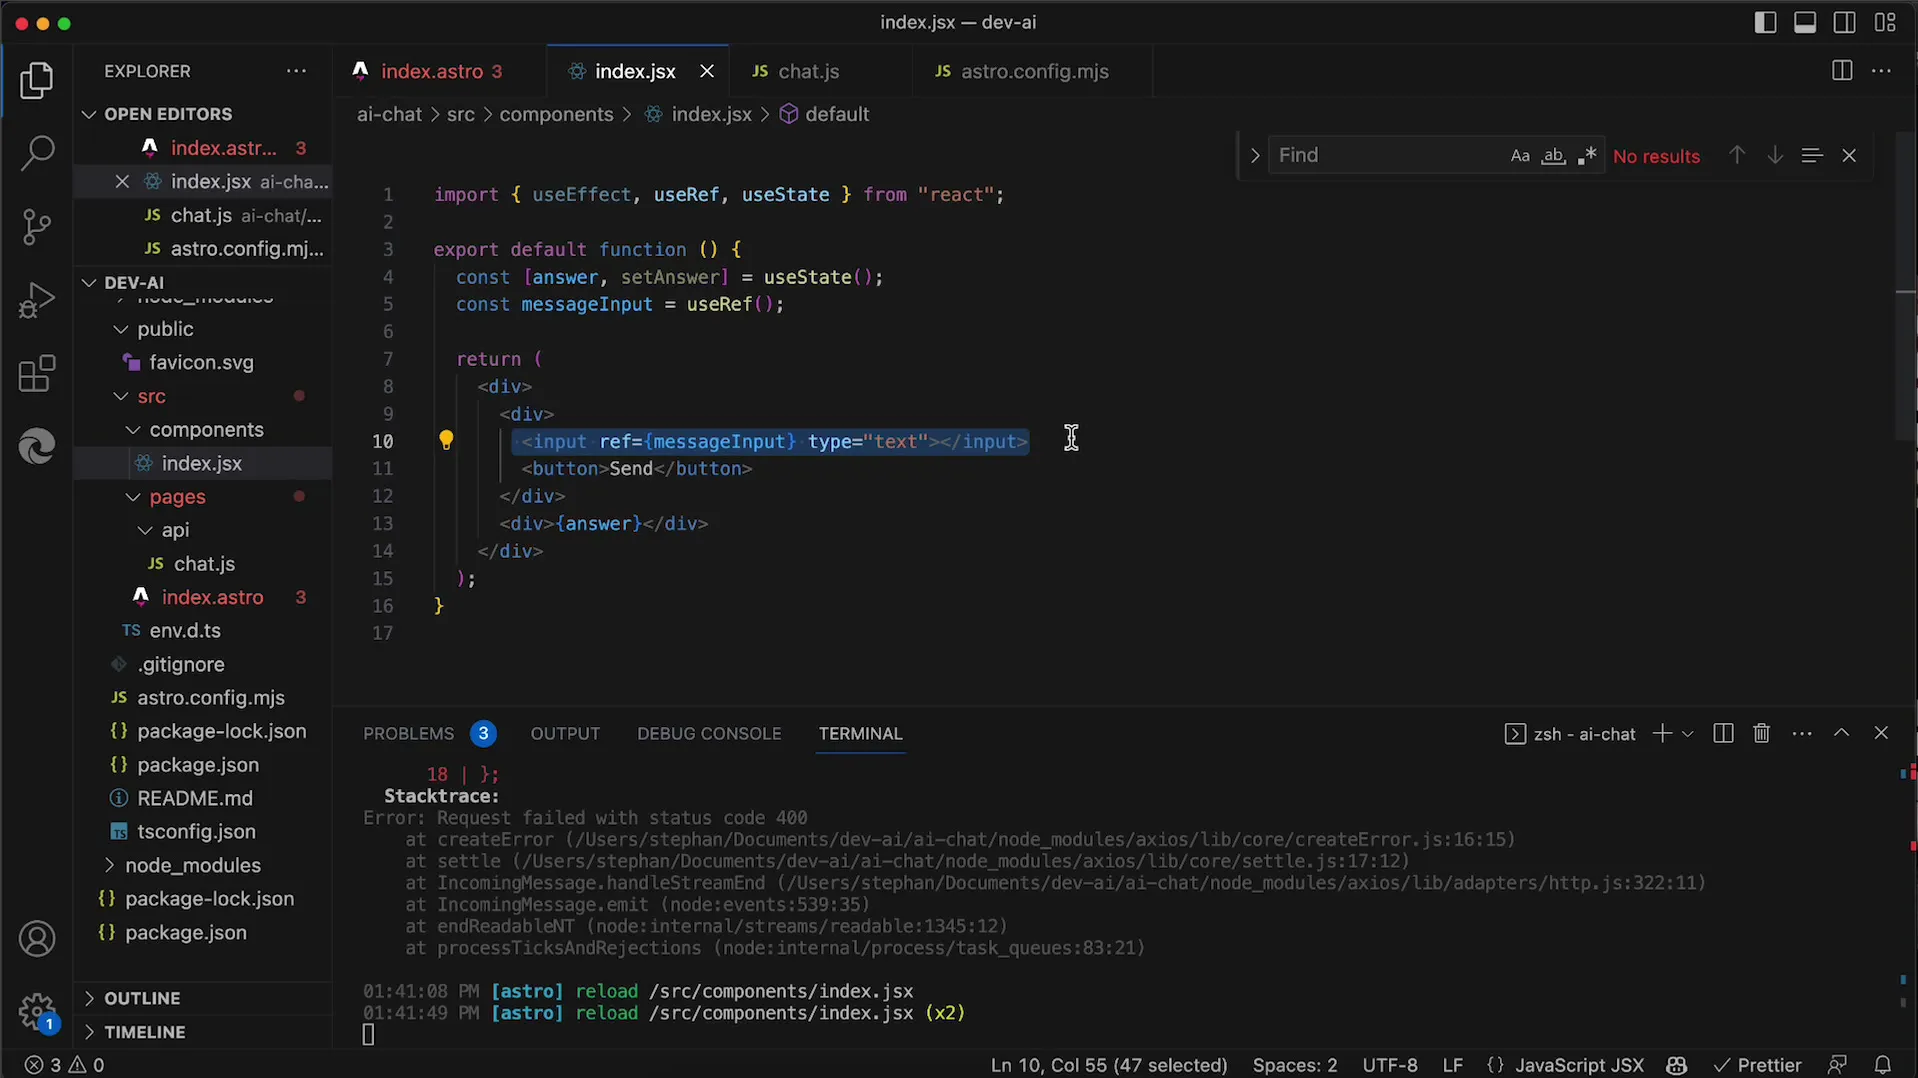
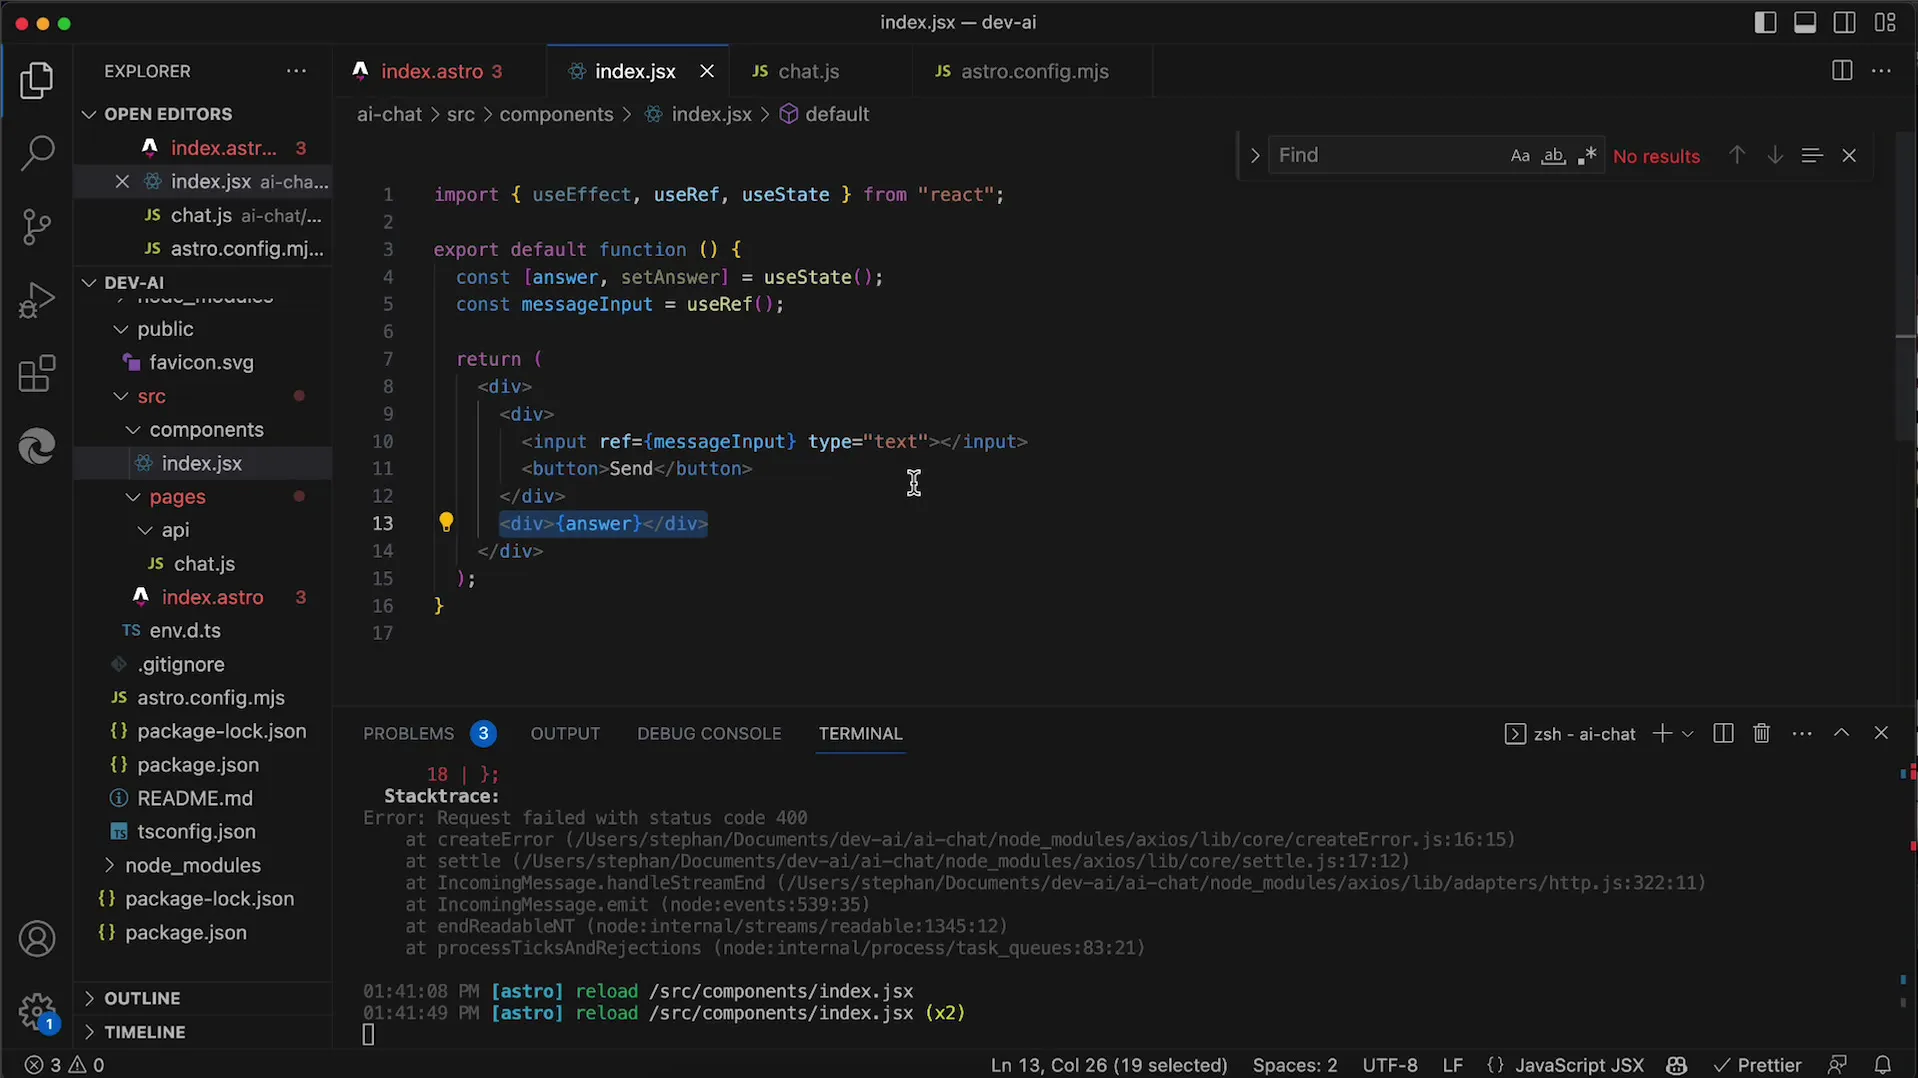
Now, when the user enters text into the input field and clicks the submit button, you need to be able to process this input. You can use the useState Hook to manage the current value of the input as well as the response from the API.
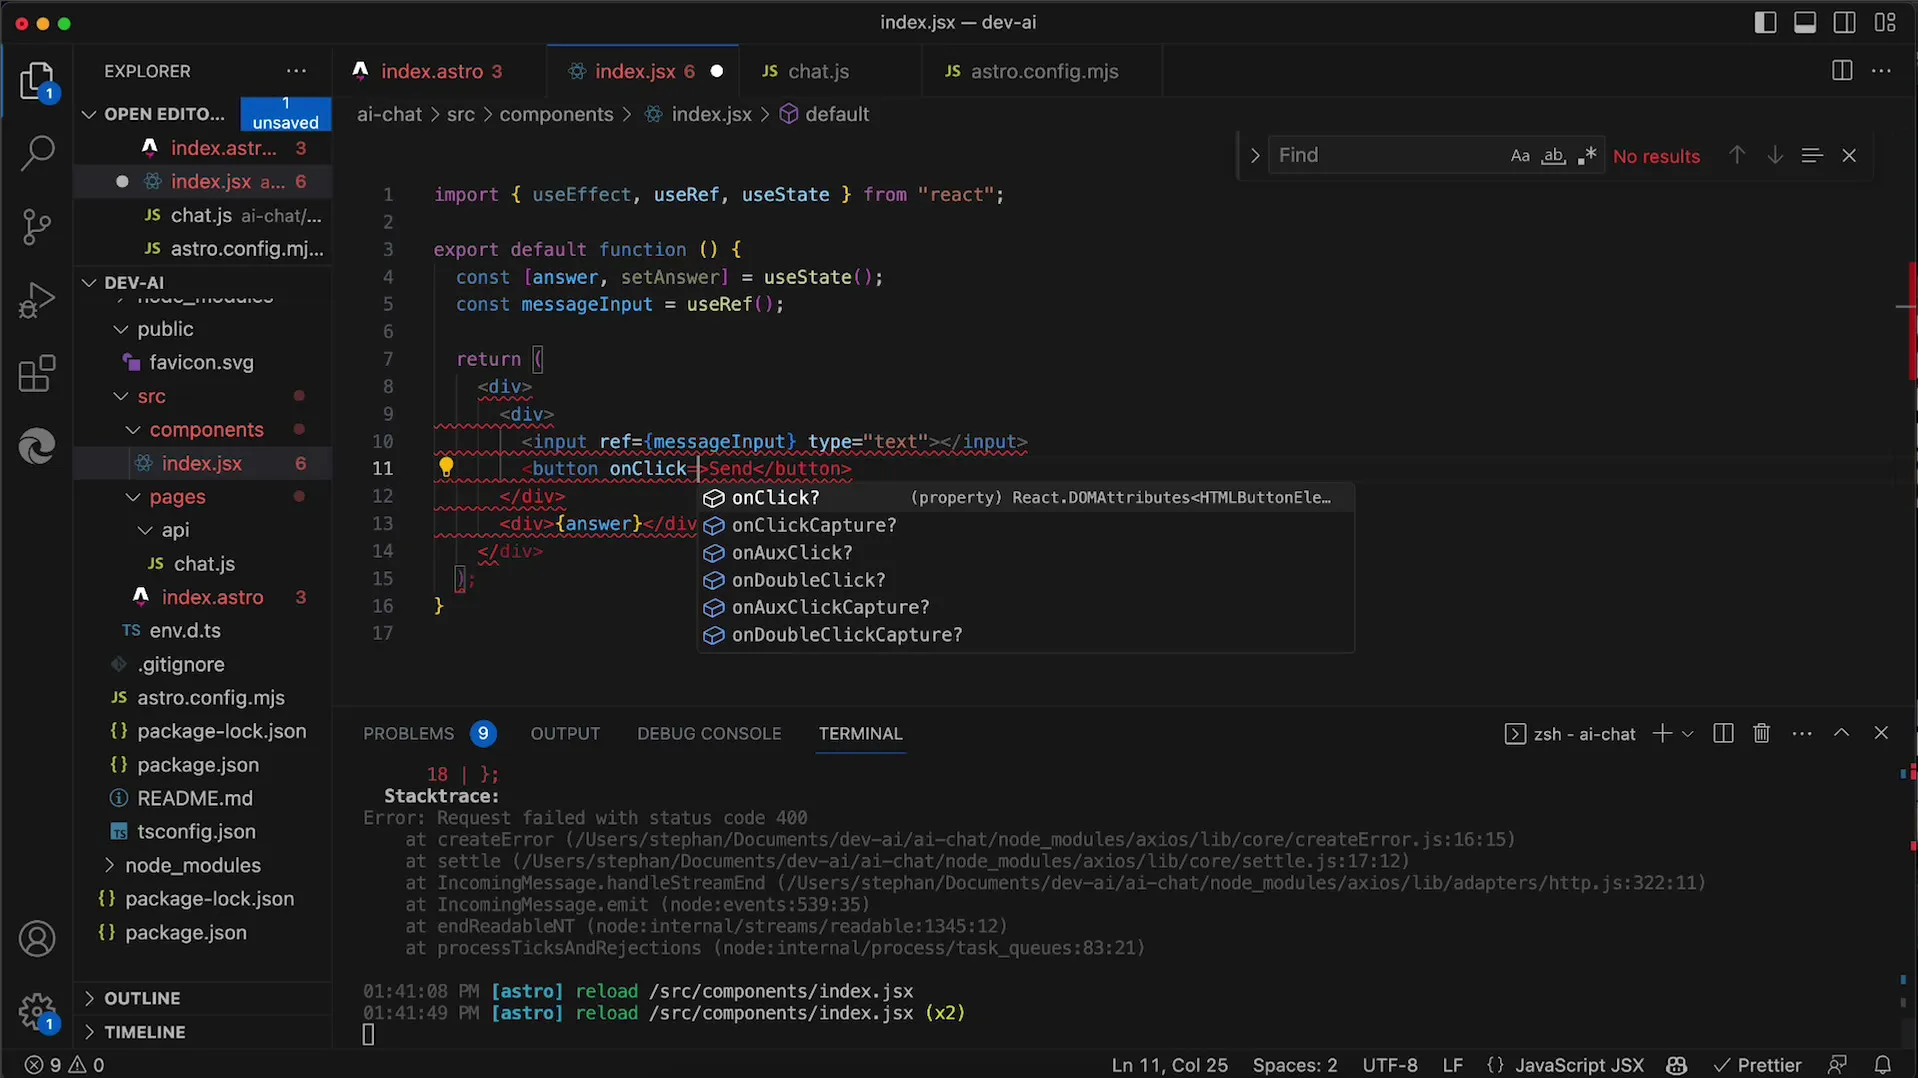
Next, you need to handle the click event of the button. When the button is pressed, you want to create an asynchronous function that makes a fetch request to the server. This function is declared with the async keyword, allowing you to use await to wait for the server's response.
Here's the next step: You want to call the fetch function to communicate with the API. The URL is specified in the format API/Chat?MSG={userInput}, where {userInput} is replaced by the user's input. You can initially use a fixed string to ensure the API request works correctly.
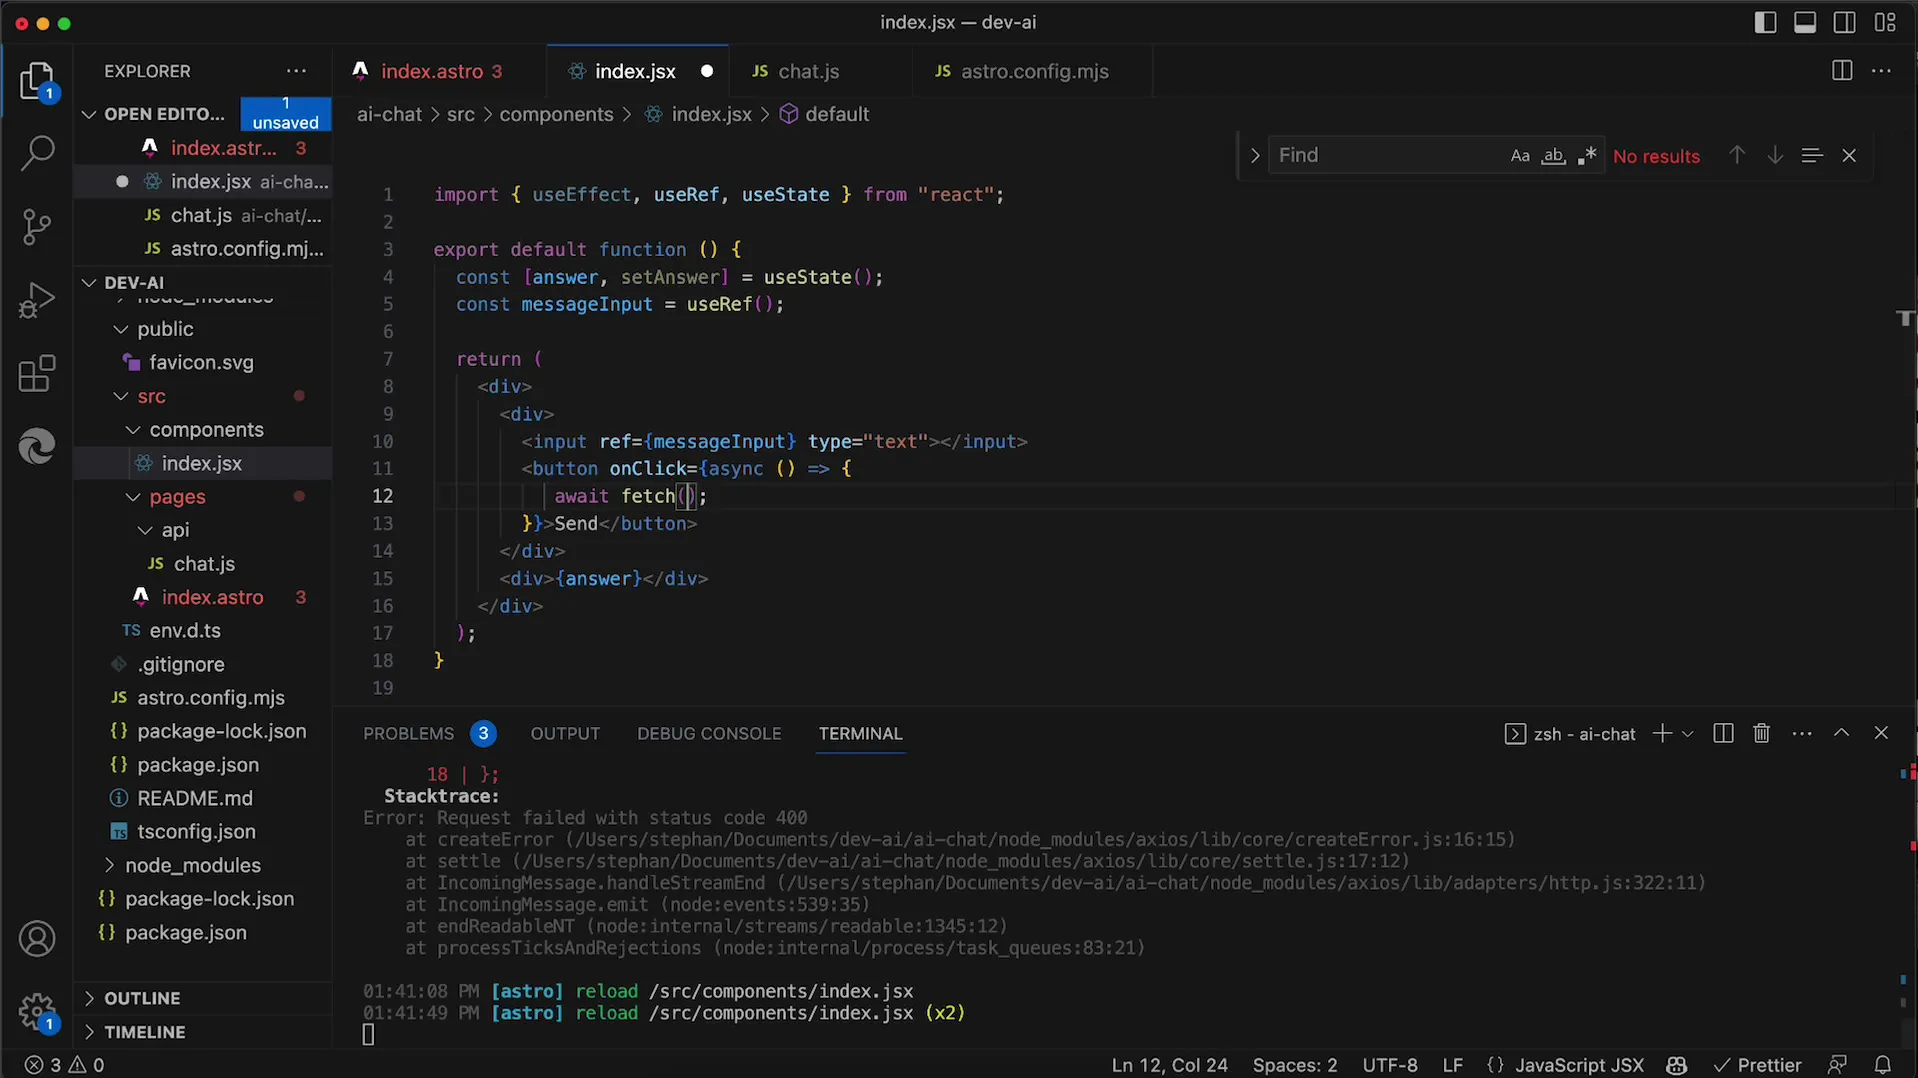
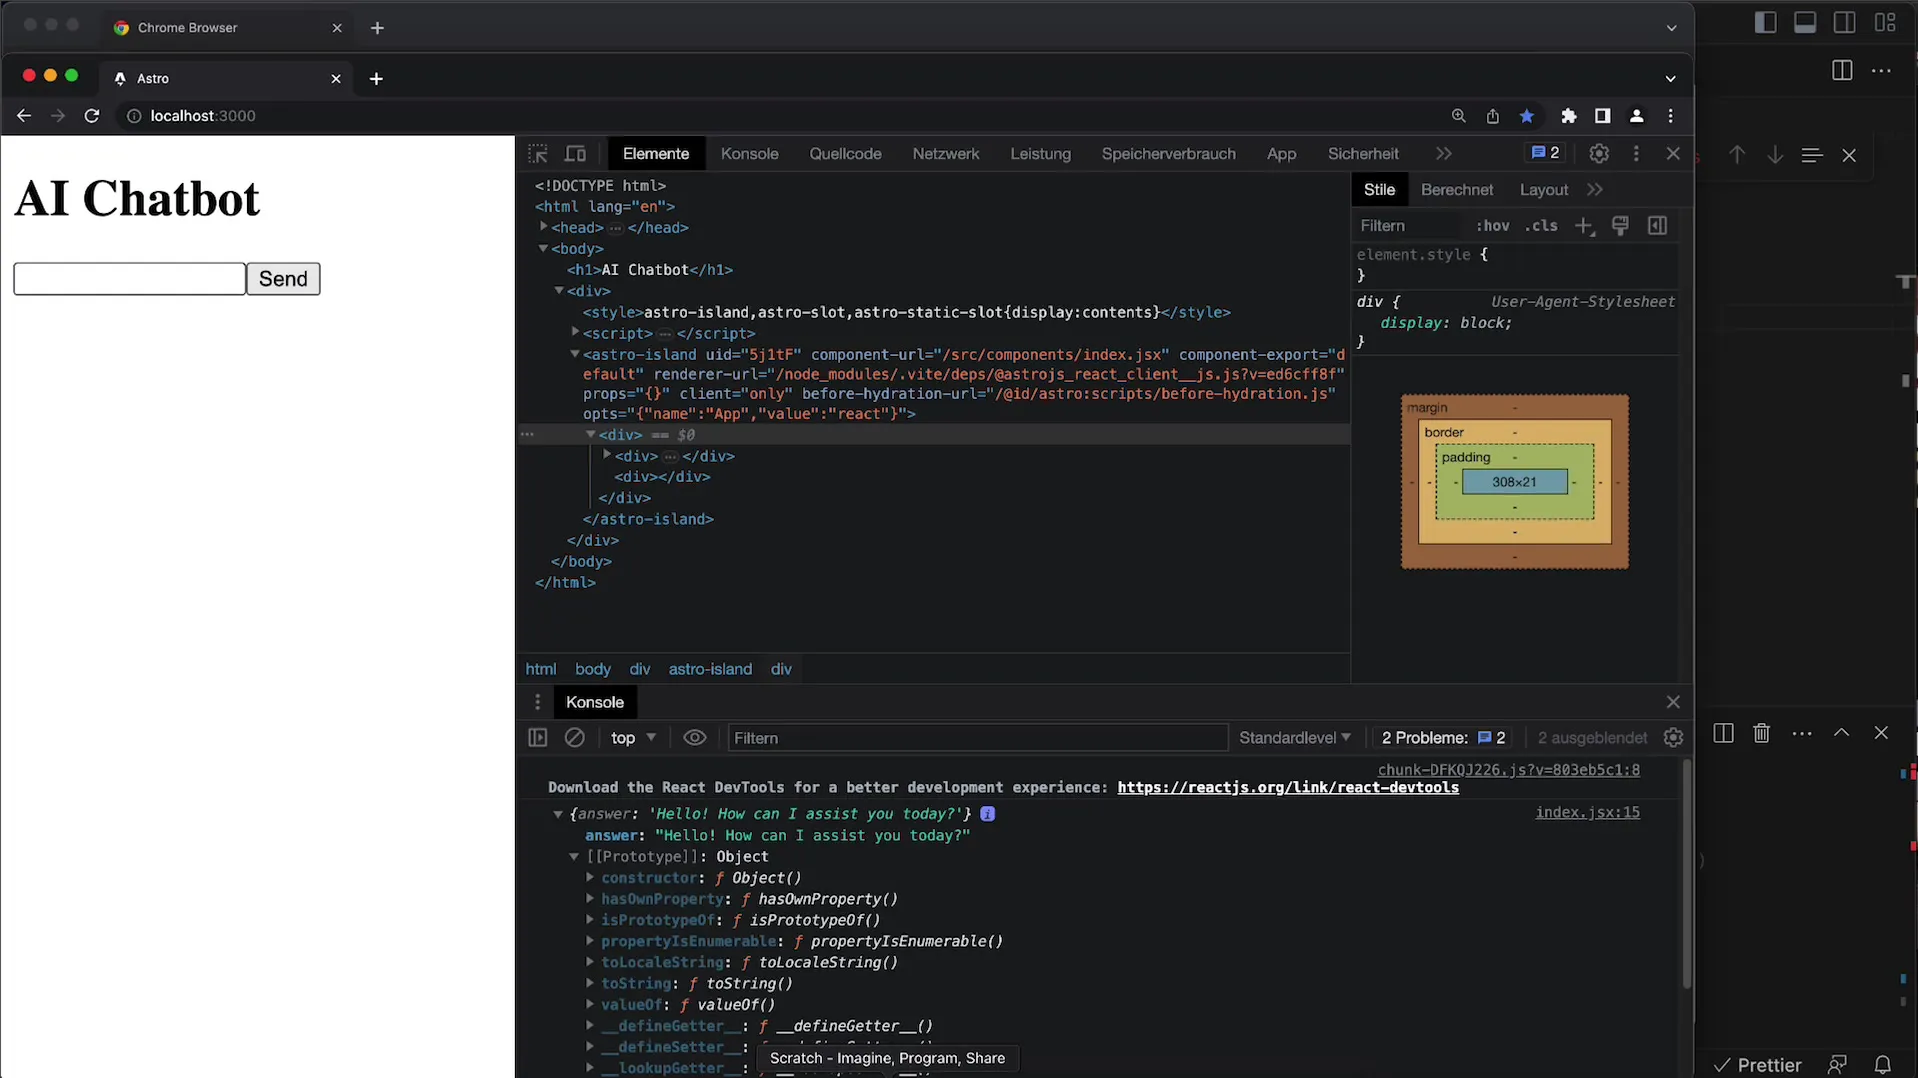
After sending the request, you will receive a response that you need to process. You can first convert the response to JSON format to work with it more easily. Call response.json() for that.
Ensure you can check the output in the console to confirm everything is working as expected. After verifying the response, the next thing you will want to do is save the response in a state that you declared at the top.
To further enhance the user experience, ensure that the user's input is not always sent with a fixed value (like "hello"), but with the actual entered message. Use the useRef Hook to access the current value of the input field when the user clicks the button.
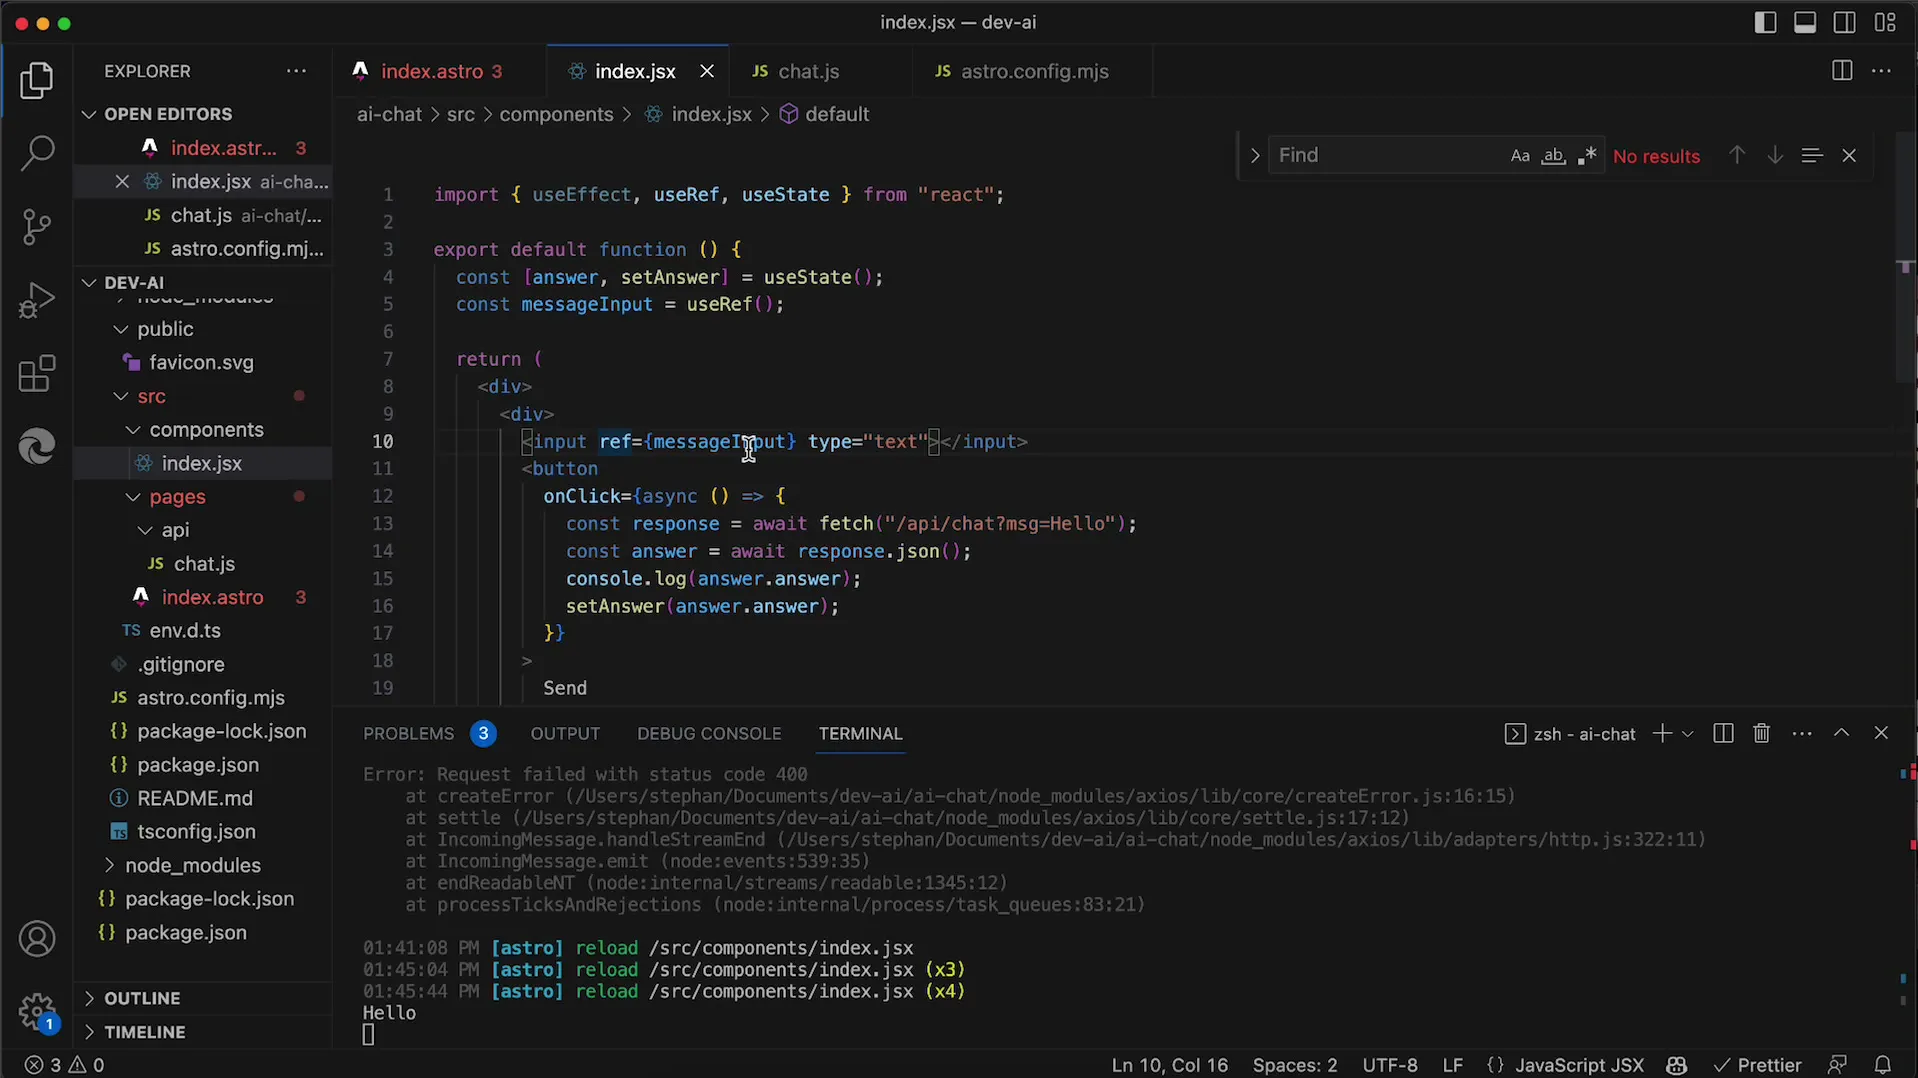
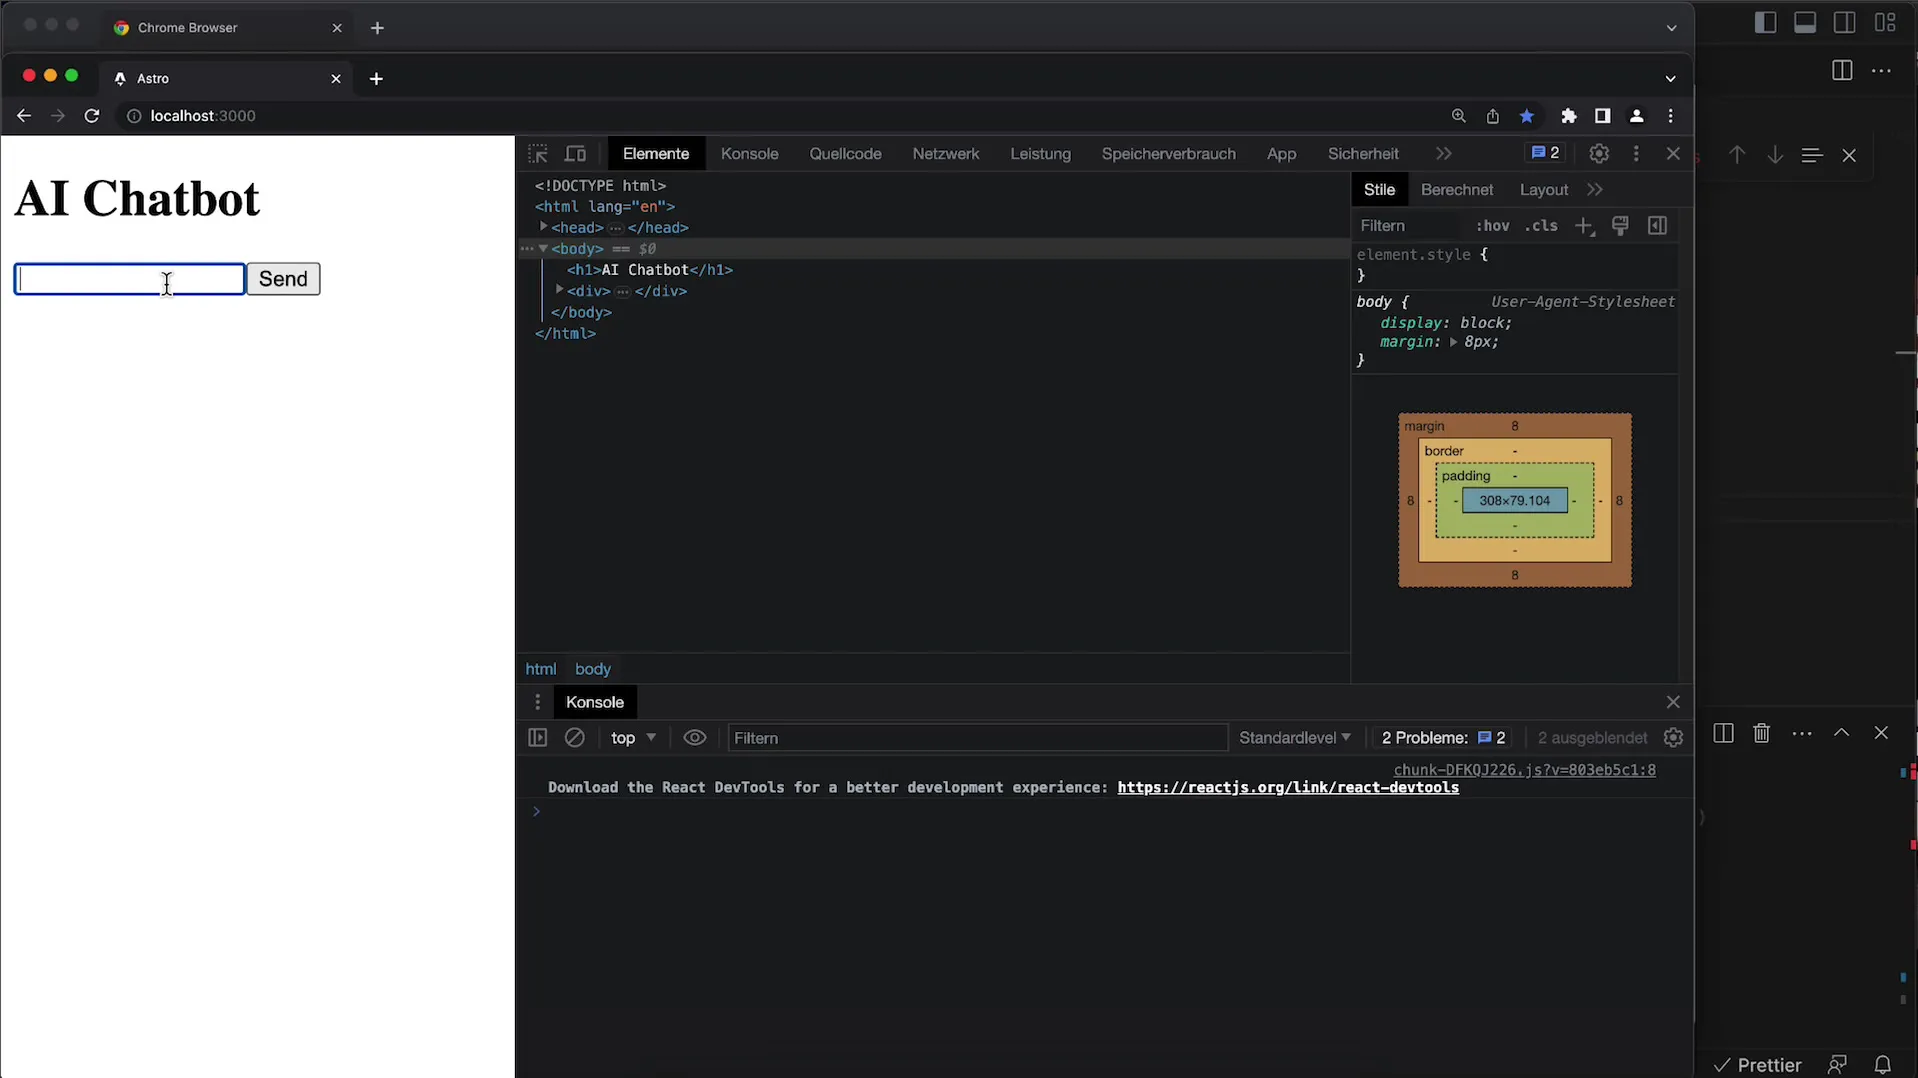
Now that you can correctly capture user inputs, you should run a test of your application to confirm that inputs are sent to the API and displayed correctly.
If everything is working, you will see the AI response displayed in the designated DIV. You can now further design your user interface or optimize the code.
Currently, this is just a basic question-answer application, as the chat history is not saved. To create a complete chat application, it would be necessary to save the chat history itself and send it to the API so that it has context for the responses.
Nevertheless, it's impressive that you are already able to use the OpenAI API and develop your own application based on this technology. In future steps, you can expand the functionality to enable a real chat history.
Summary
In this tutorial, you have learned the steps to create a basic user interface in React that allows communication with the OpenAI API. From handling user inputs to displaying responses, everything was covered to create a functional application.
Frequently Asked Questions
How do I create an input field in React?You can create an input field in React by using an element in your component.
How do I make a request to the OpenAI API?Use the Fetch function to send a GET or POST request to the API with the correct URL and params.
What is the difference between useState and useRef?useState stores values that trigger the re-render of the component, while useRef stores values that do not trigger a re-render.
How can I store the AI's responses in my application?You can store the responses in a state using useState and then display them in the UI.


