In this tutorial, you will learn how to save the chat history in an application that uses the OpenAI API. So far, you may have only tested simple questions and answers, but to have a truly interactive and engaging conversation, it is crucial to save the entire context of the chat. In this guide, we will show you step by step how you can achieve this by managing the chat history both on the client and the server.
Main Insights
- The chat history must be manually saved since the OpenAI API does not offer persistence.
- An effective method is to save the history on the server to increase efficiency and secure data in the long term.
- The messages Array plays a central role in managing user interactions and the AI responses.
Step-by-Step Guide
Step 1: Defining the Concept
So far, you have created a simple question-and-answer application. To transform this into a full-fledged chat application, you must ensure that the chosen context between requests and responses is maintained. Additionally, it is necessary to save the entire chat history. To achieve this, it is advisable to save the history on the server as it also provides the option to manage the data in a database.

Step 2: Creating the messages Array
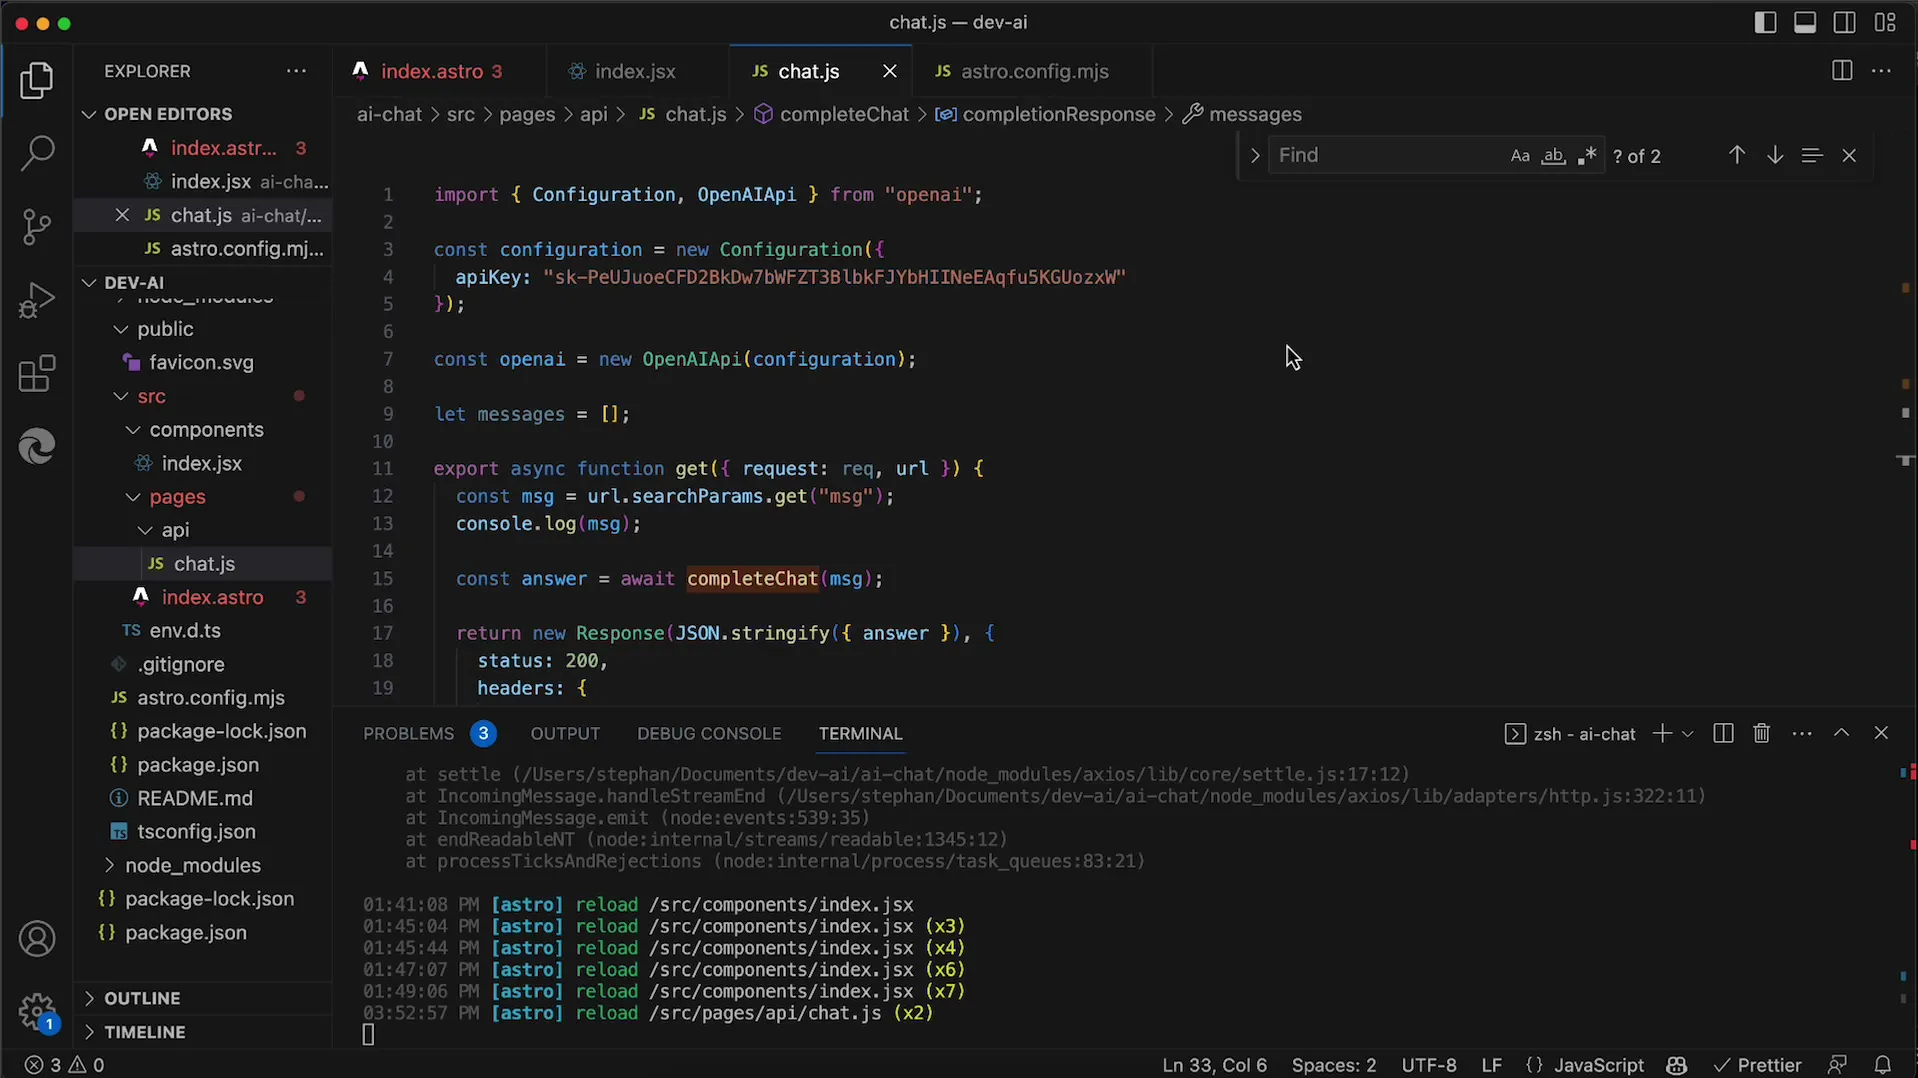
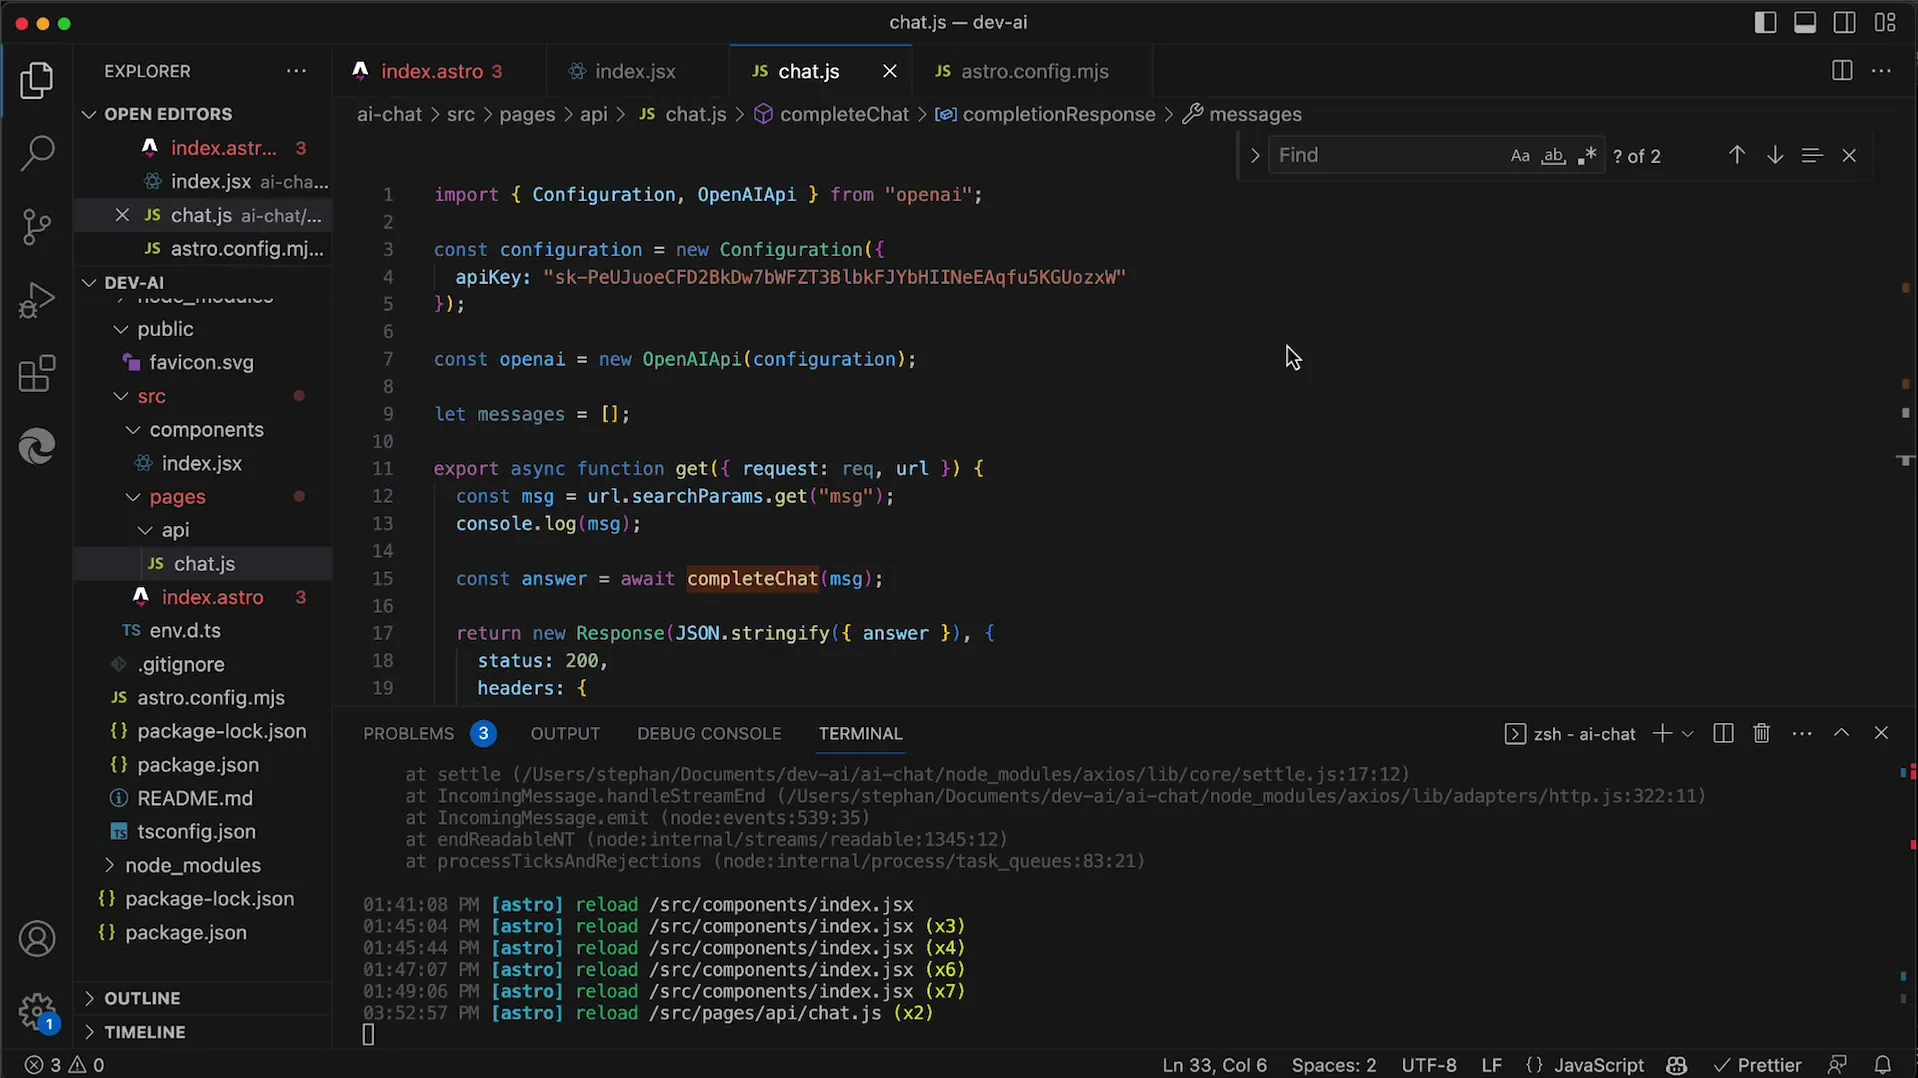
In your server app, you must define an array that serves as storage for all messages. This array, which we will call messages, will contain all sent and received messages. You can declare the array in your file appichat.js.
Step 3: Adding User Requests
It is important that every time you receive a message from the user, you enter it into the messages array. To do this, you will use the push command. You must ensure that you create an object that holds the role (user) and the content of the message. This allows the AI to contextualize the conversation accordingly.
Step 4: Calling the API
After adding the user message to the messages array, you need to pass this array with every API call. Calling the function to create a chat completion in this case involves passing the entire messages array. You can test this by implementing it with a simple user question.
Step 5: Receiving Responses from the AI
After the API processes the request, you will receive the response from the AI. You also need to add this response to the messages array. Ensure that the response is saved as role: assistant with the corresponding content. This ensures that the following user request continues to consider the previous conversation.

Step 6: Testing the Conversation Again
You can now verify the functionality of your application by asking multiple questions. Check if the AI's responses remain meaningful despite the previous messages. A continuous conversation should emerge that considers the context of the previous questions and answers.
Step 7: Output and Checking of Messages
To ensure that everything is correctly stored in your messages array, you can use console output to monitor the array. This way, you can see which messages are being saved and ensure that everything is working as intended.
Step 8: Finalizing the Implementation
You now have a functioning chat application that saves the entire chat history. You can further refine this by adding additional functionalities or integrating storage in a database to allow for long-term storage of conversations.
Summary
In this guide, you have learned how to manage and save the history of a chat with the OpenAI API. By implementing a messages array on the server, you can ensure that all user requests and AI responses are tracked correctly, allowing for a coherent and contextual user experience.
Frequently Asked Questions
How do I save the chat history?By using a messages array where all messages are stored.
Why should I save the history on the server?This enables more efficient usage and the option to permanently store data in a database.
Can I use a database instead of an array?Yes, this is a good option for long-term storage and management of the chat history.


