Note: This tutorial is a text version of the accompanying video training by Marco Kolditz. The texts may therefore also have a colloquial style.
Hello and welcome to the tutorial for the new composing "Fire and Ice" by Marco Kolditz from www.meer-der-ideen.de. In this tutorial you will build this picture, a hot-cold and complicated romance between a woman of blazing fire and a man of pure ice.
Steps 1-10
Step 1
At this point you can see the original image by hiding the"Image Editing" group .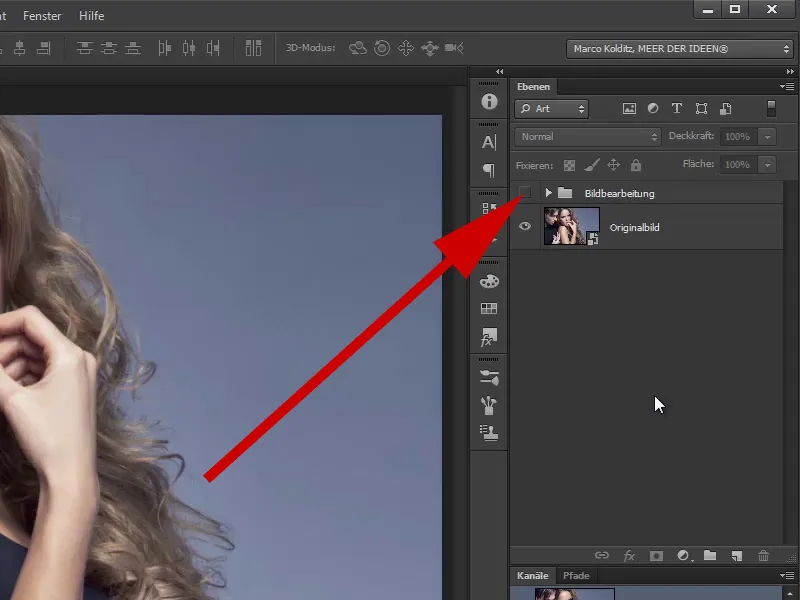
Step 2
Here you can see the original image loaded from Fotolia.
Step 3
When Marco saw this image, he immediately had the idea for the image with the fire and ice. In other words, he ended up turning the woman into fire and the man into a block of ice.
The before picture for comparison ...
... and the final result.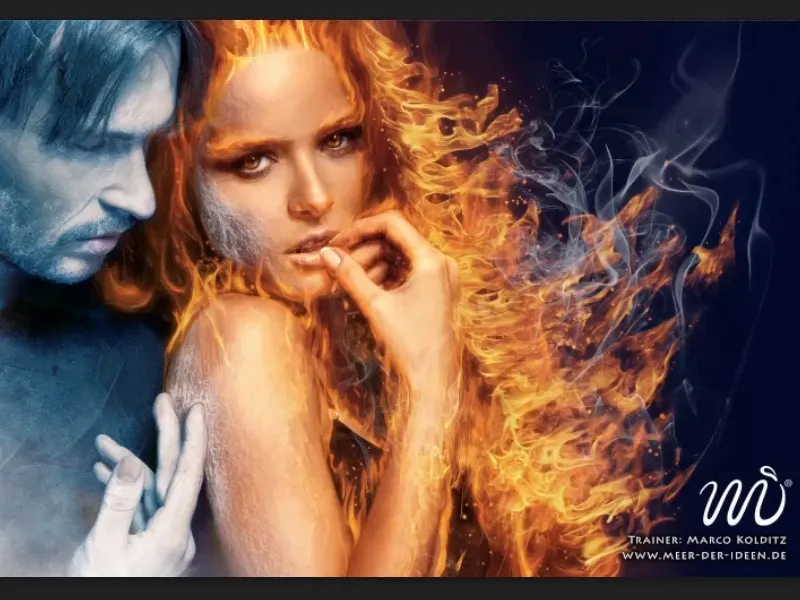
Step 4
You will build this picture step by step and of course you will start again with the preparation of your white canvas on which you will then conjure up the composing.
Let's go. Now create a new file via File>New or by using the shortcut Ctrl+N.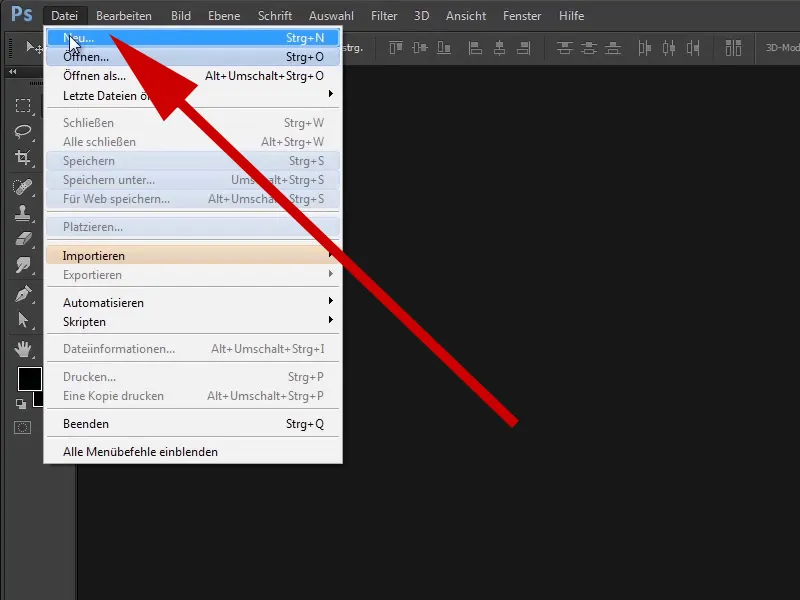
Step 5
This will open the same dialog box. Here you can now create the new canvas (as Marco always likes to call it). You rename it appropriately, in this case to "Fire and Ice by MDI."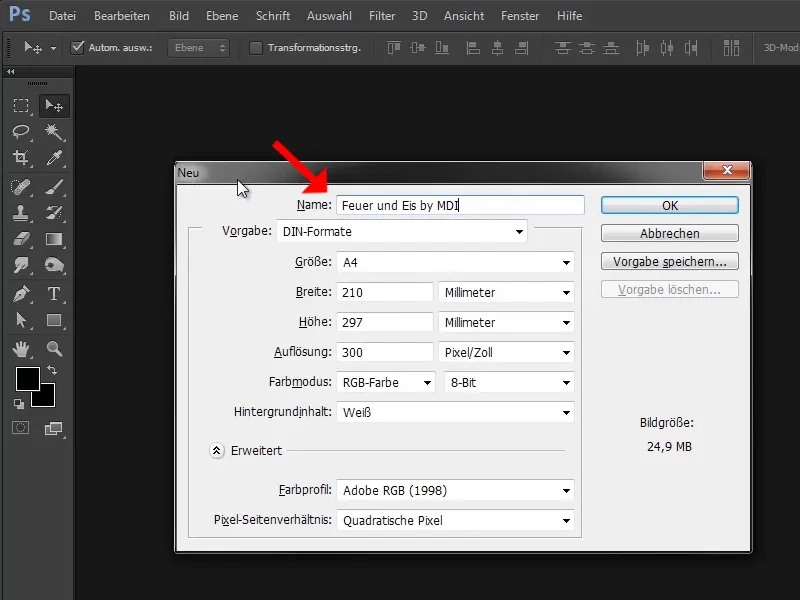
Step 6
You should now use a 3:2 format. The 3:2 format is quite popular and Marco also likes to use it for images that he wants to print out later. In this case, select centimetres as the unit and choose a height of 50 centimetres and a width of 75 centimetres.
- Height: 50 centimeters
- Width: 75 centimeters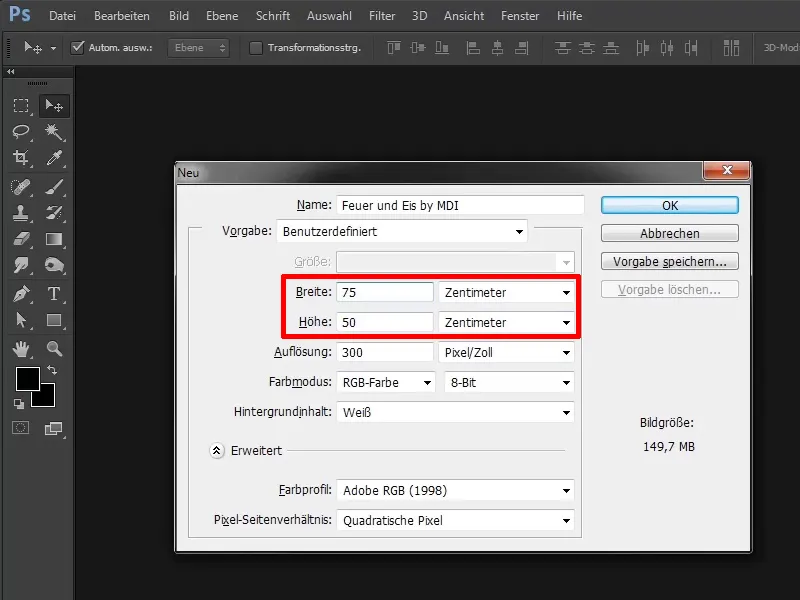
Step 7
As you can see here, the file or image size is already 149.7 MB. That is not small.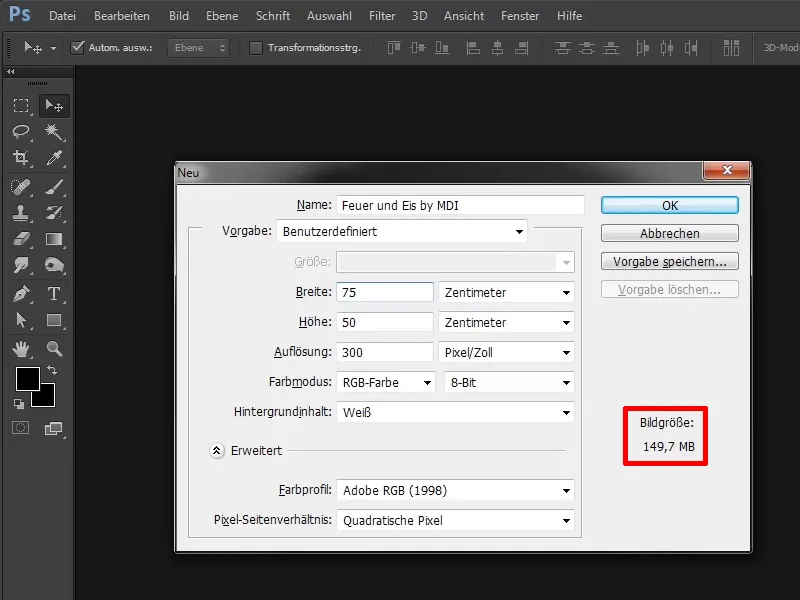
Step 8
You can reduce this by reducing the resolution a little from 300 to 200 dpi. This is sufficient in this case (actually in all cases), so we rarely need 300 dpi. 200 dpi is completely sufficient, so you have a much smaller file and you can work very well with it. You confirm with OK.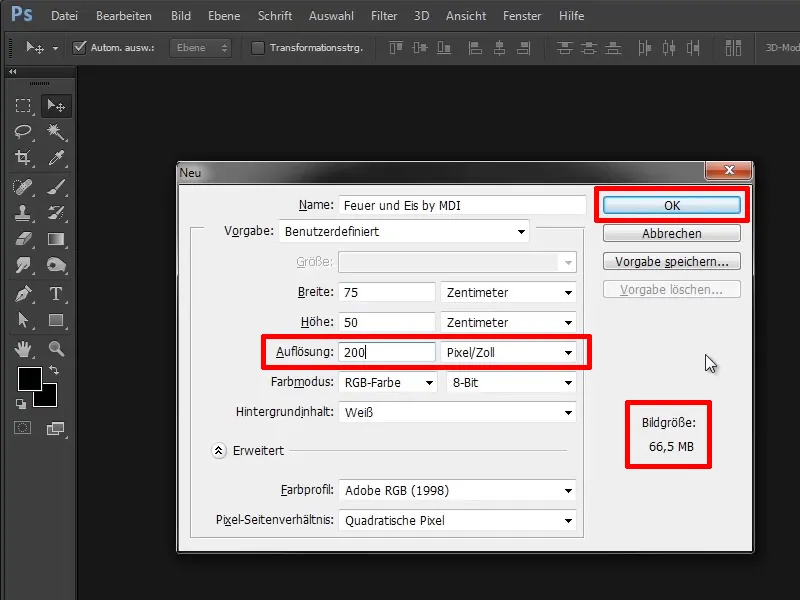
Step 9
Your beautiful white canvas is ready..webp?tutkfid=48524)
Step 10
Marco has gotten into the habit of generating spacers for his pictures before actually working on them. The reason for this is that people like to print out pictures and the print shop then prints the pictures accordingly and cuts them to size.
And during this cropping process, it can happen that edge areas of the image are cut off, which is why there should never be any parts of the image on these edge areas that should not be cut off.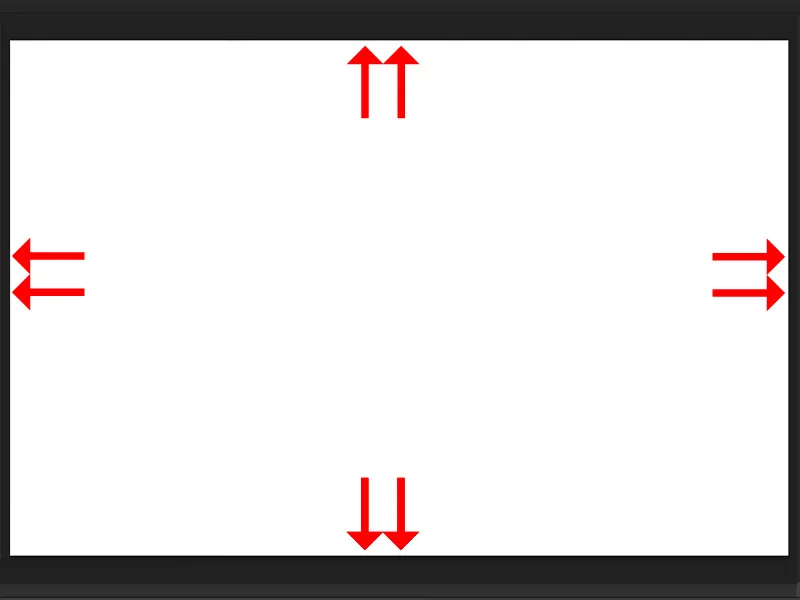
Continue: Steps 11-20
Step 11
For this reason, he always creates spacers, which generally serve as a reference point where he can later check whether there are areas that are perhaps too important to be located in the border area.
To do this, press the keyboard shortcut Ctrl+R to show these beautiful rulers.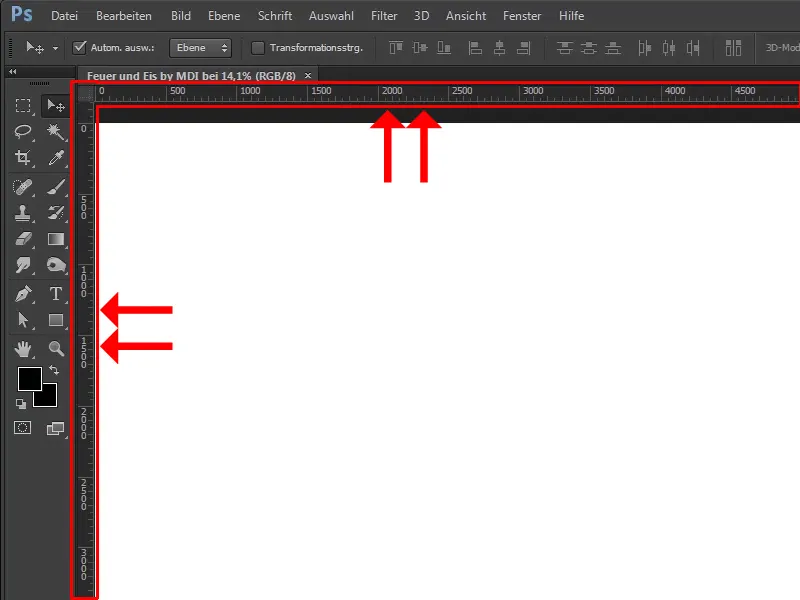
Step 12
Then double-click on the hand symbol to fit the canvas again.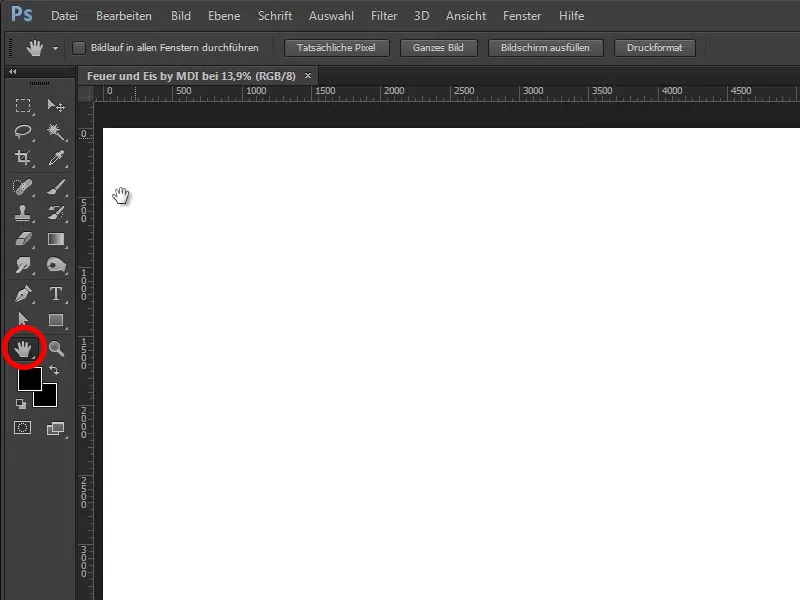
Step 13
And now, with the Move tool (V) active, you can drag these guides into the image. From top to bottom or from left to right.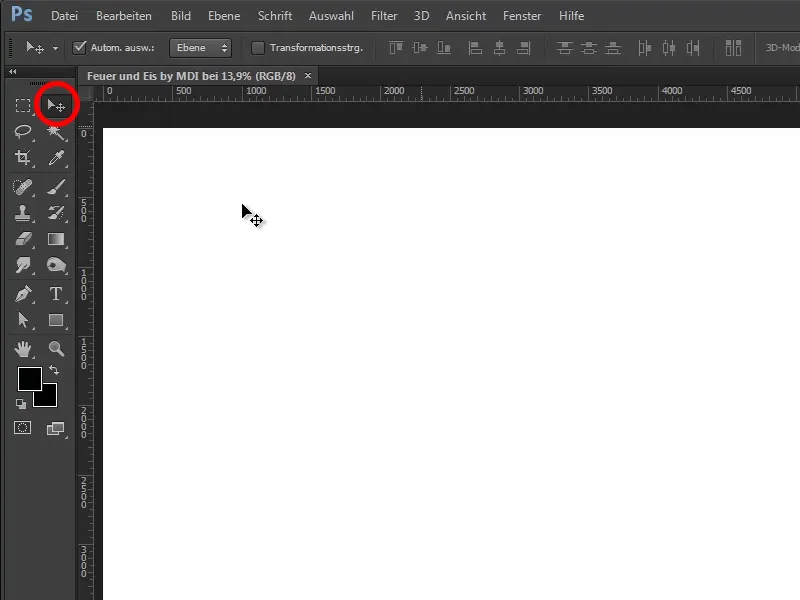
Step 14
You do this as follows: Move the Move tool over the ruler and, holding down the left mouse button, drag the guide down onto the white canvas. Do the same from left to right.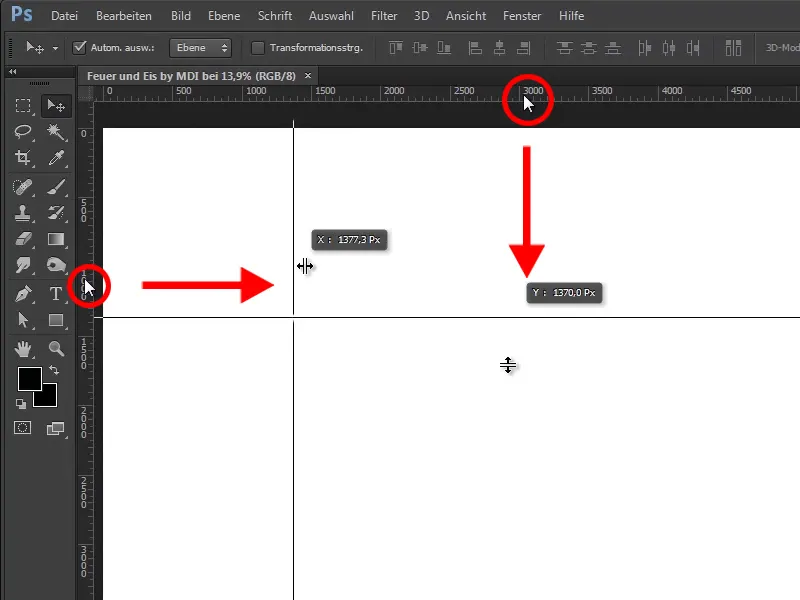
Step 15
Marco thought that his pictures are often striking images, so they have a film look, and films usually run at 24 frames per second, at least the films shown so far. There are now films that use 48 frames per second and more. But the classic film uses 24 frames per second and that's why he thought about generating intervals of 1/24. That means 1/24 from top to bottom and 1/24 from left to right. How can you adjust this?
First of all, check how large your image is. In this case, the image has a width of 5906 px and a height of 3937 px.
Step 16
Now you can use the selection rectangle tool (M) to create rectangles to guide you.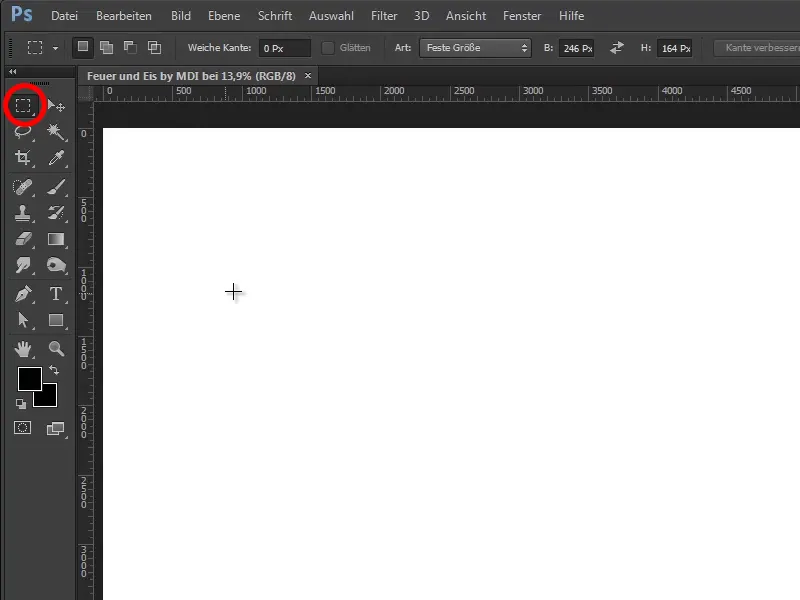
Step 17
A fixed size is set for Type, you may still have this set to Normal.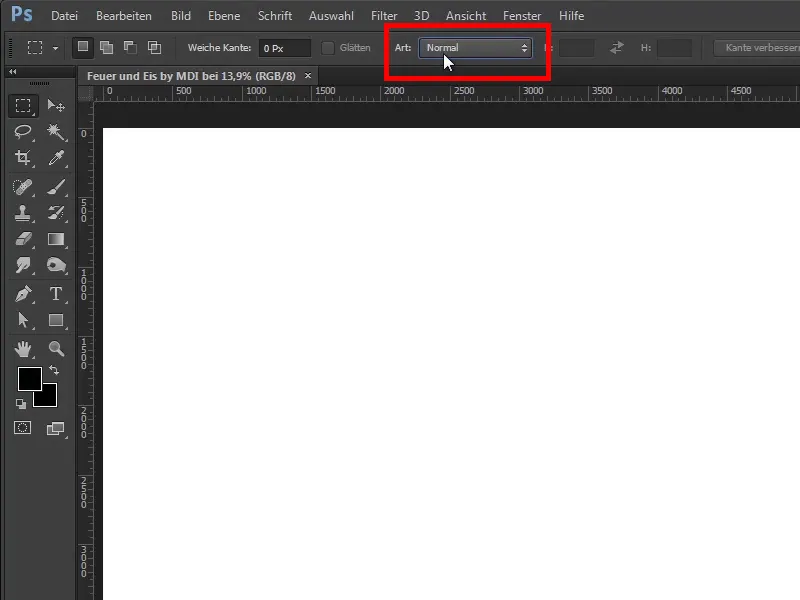
Step 18
Click on Fixed size and enter the correct values:
- Width 246 Px
- Height 164 Px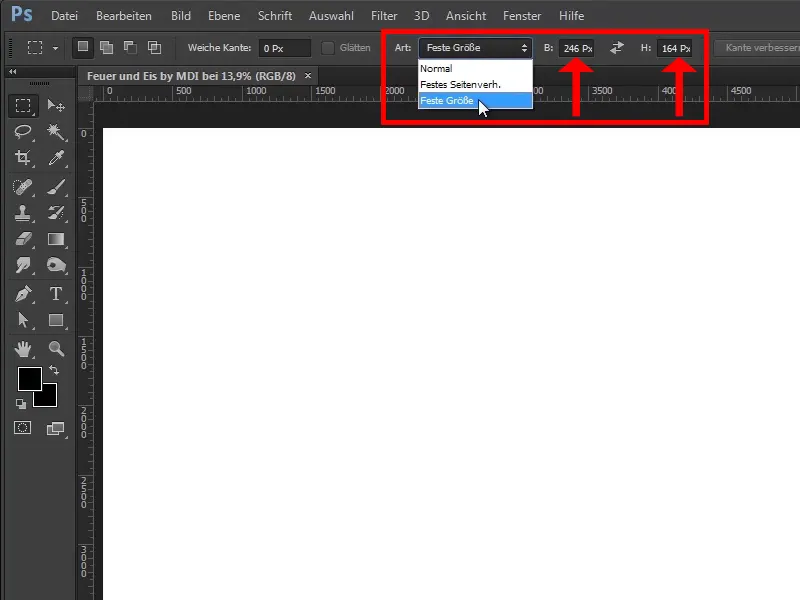
Step 19
This is always 1/24 of the width and 1/24 of the height.
Now click once in the image and you have created a rectangle with exactly these values.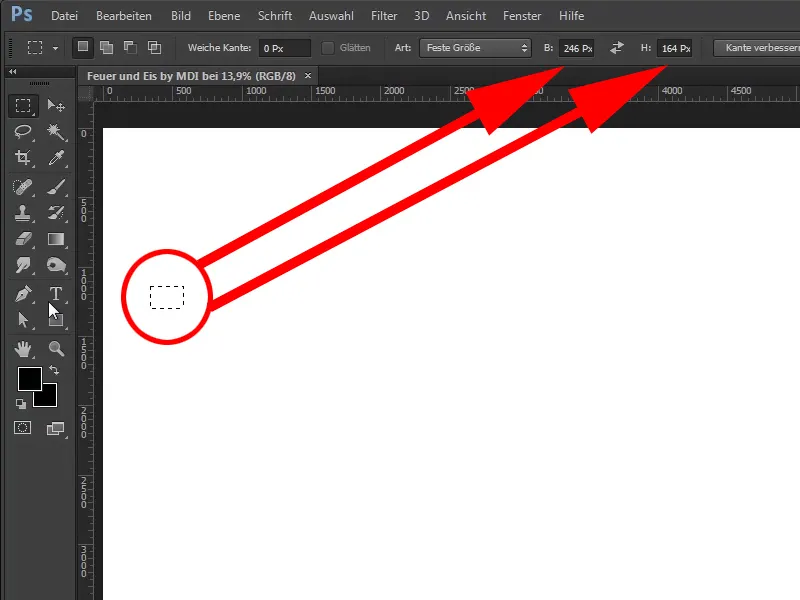
Step 20
Now check via View that you have the Align item active.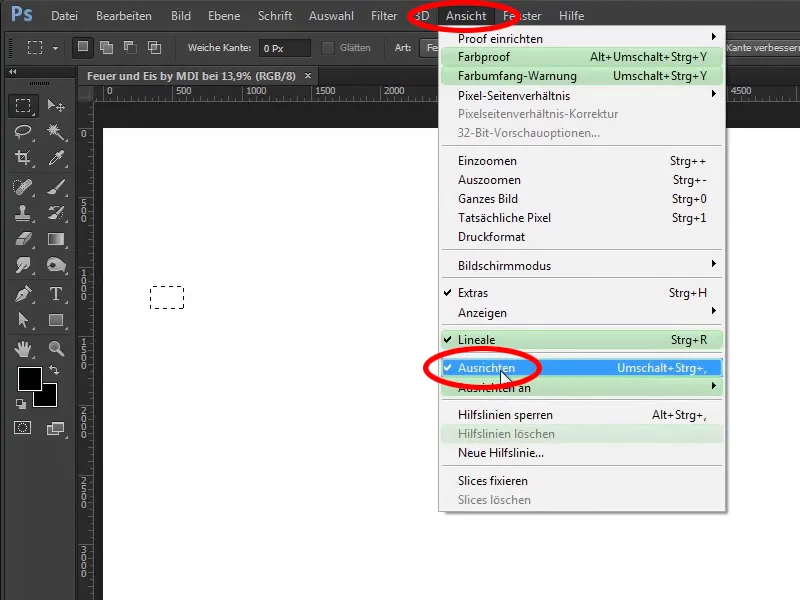
Keep at it: Steps 21-30
Step 21
Why? You can now move this rectangle, e.g. to the edge, and then snap it precisely to the edge. You can zoom in on it, it's really perfectly positioned at the edge.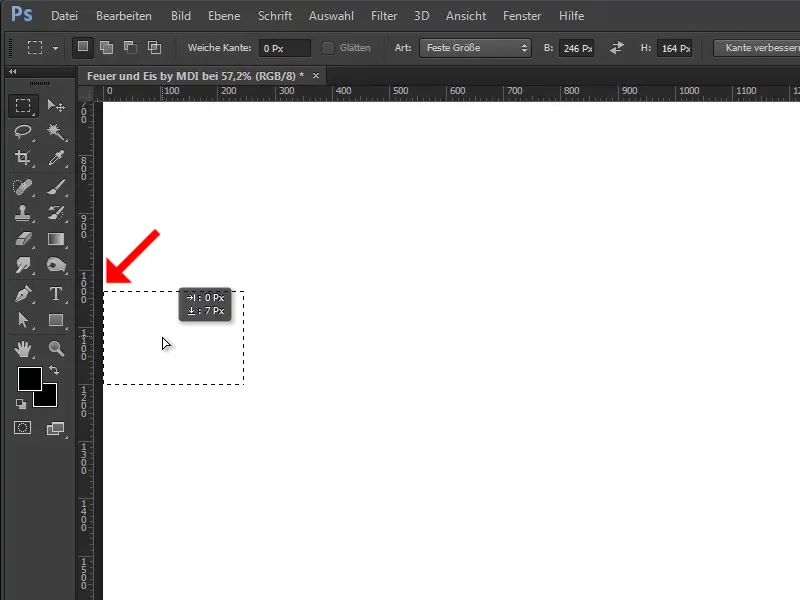
Step 22
And so you don't have to try to place it with pixel precision. It will be enough. You have now placed this selection rectangle tool on the left and now draw a guideline into the image, and as you can see, it snaps either to the left or in the middle or even to the right of this rectangle. And this is how you want it.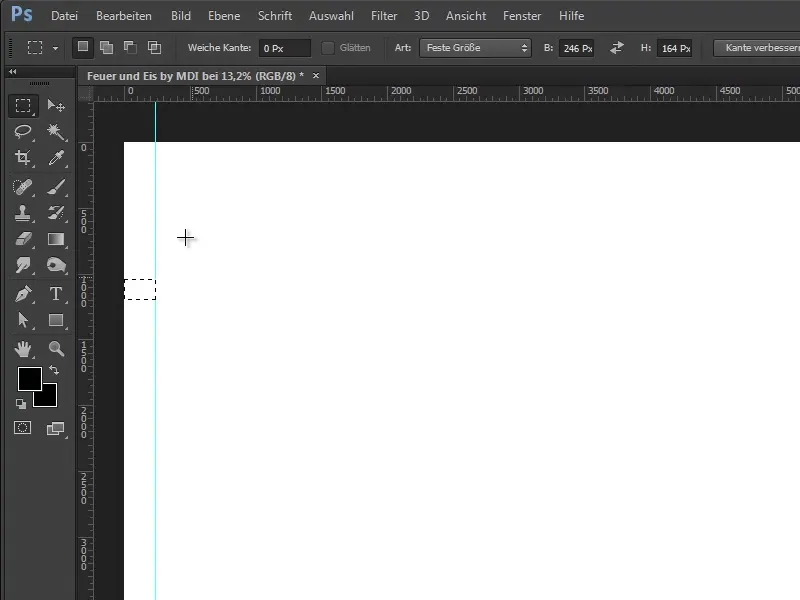
Step 23
Now drag the rectangle upwards, do the same with the top guide line, then again to the right and again at the bottom.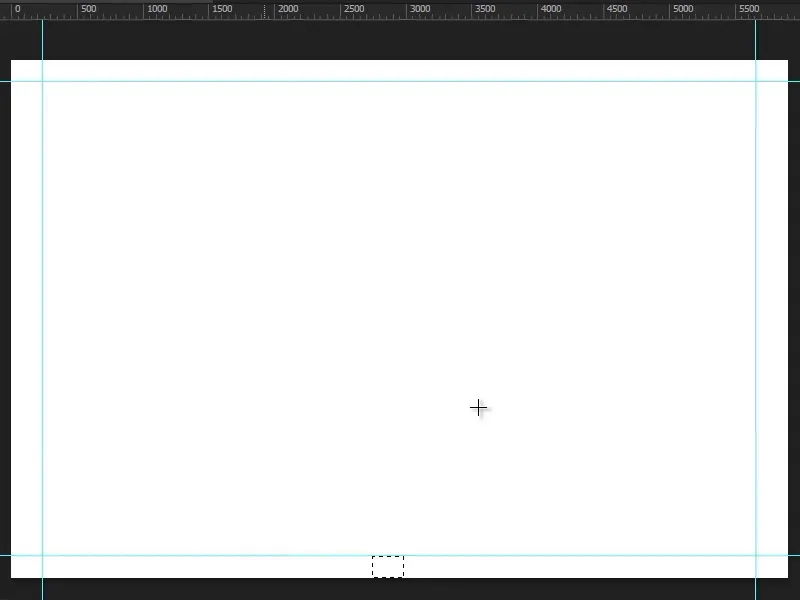
Step 24
With the shortcut Ctrl+D you can cancel the selection again and you have now generated very nice spacing, which means that the focus of your image will now be in this area and you should not place anything too important outside this focus.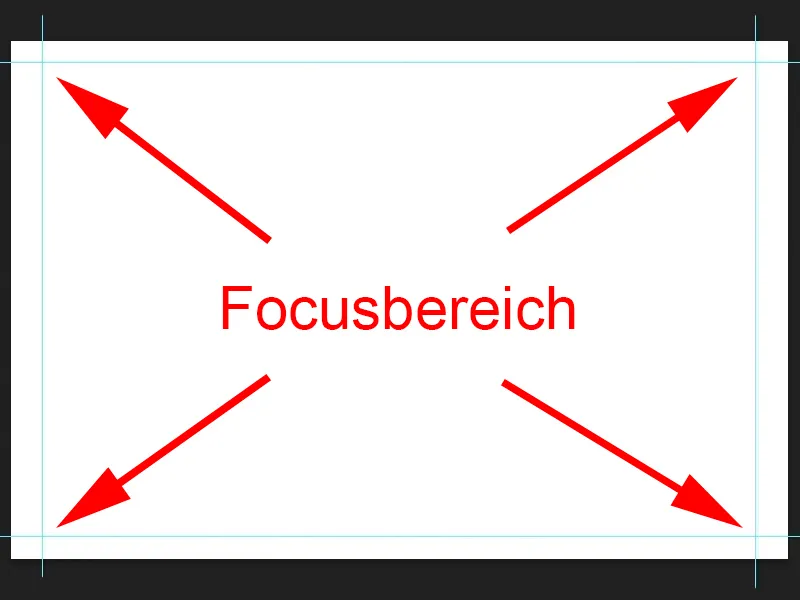
Step 25
By the way: You can use the shortcut Ctrl+ to show and hide these guides at any time and, as I said, you can use Ctrl+R to show and hide the rulers.
In this case, you also hide the guides again. If you need to use them again later, you can always show them again. And now you can place the first image, in this case your original image with the cute couple. To do this, select File>Place.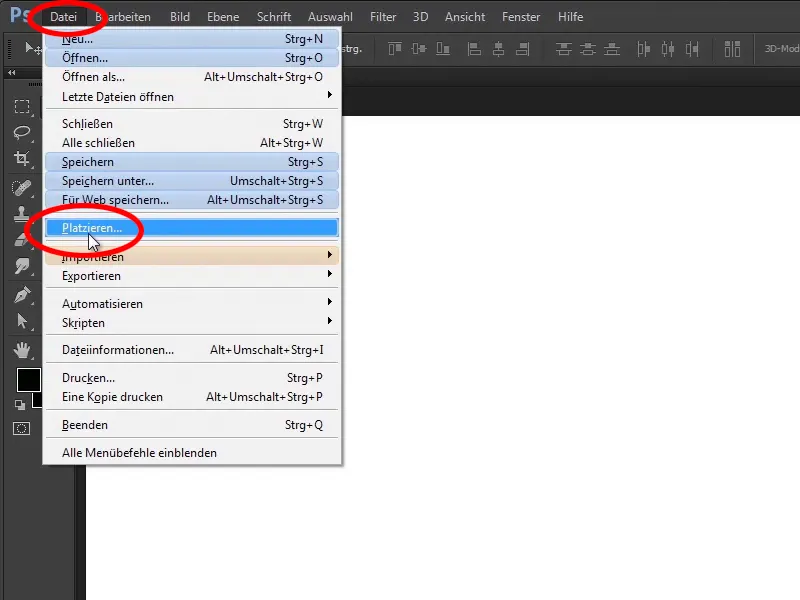
Step 26
Then navigate to the folder where the images are located. In this case you are already there and click on the picture and select Place.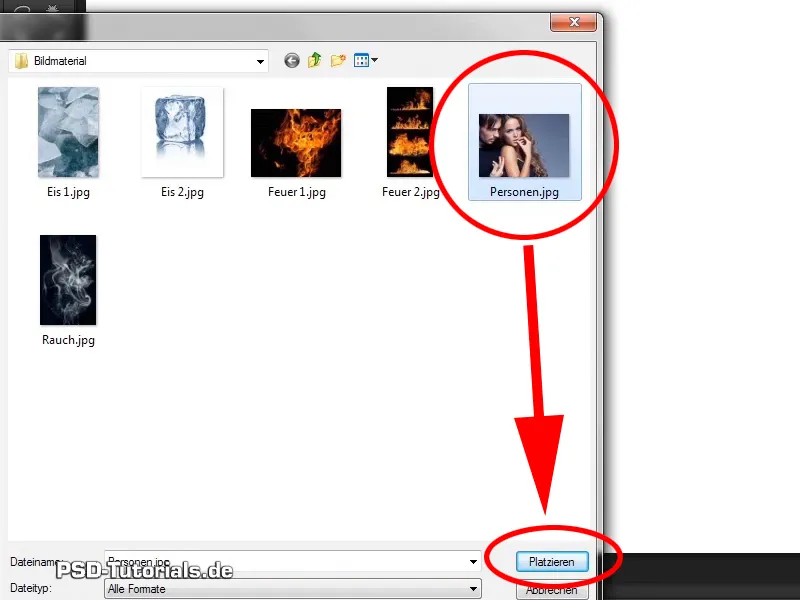
Step 27
Alternatively, you can drag the image directly from the Windows folder.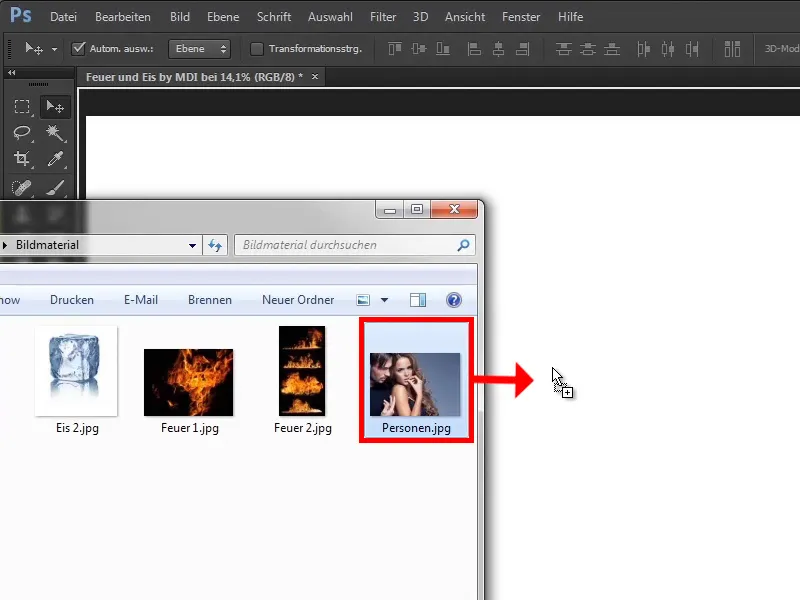
Step 28
As you can see, the image is not yet fully placed. It still has these handles on the edge and the x, which indicates that you can still transform it.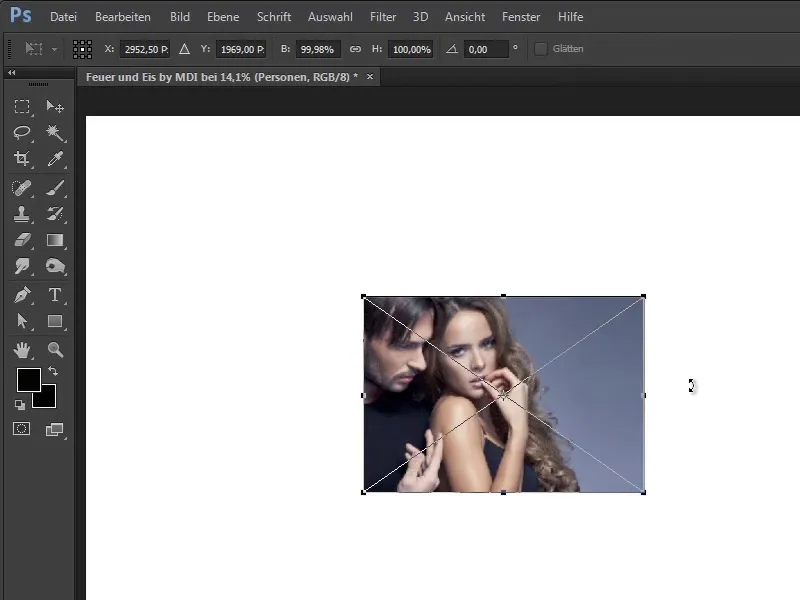
Step 29
Of course you want to do that too. You want to maximize it, so select one of these outer handles and hold down Shift+Alt at the same time. This will proportionally expand the image from the center and then enlarge it until you have filled everything on the left and right. Press Enter to confirm.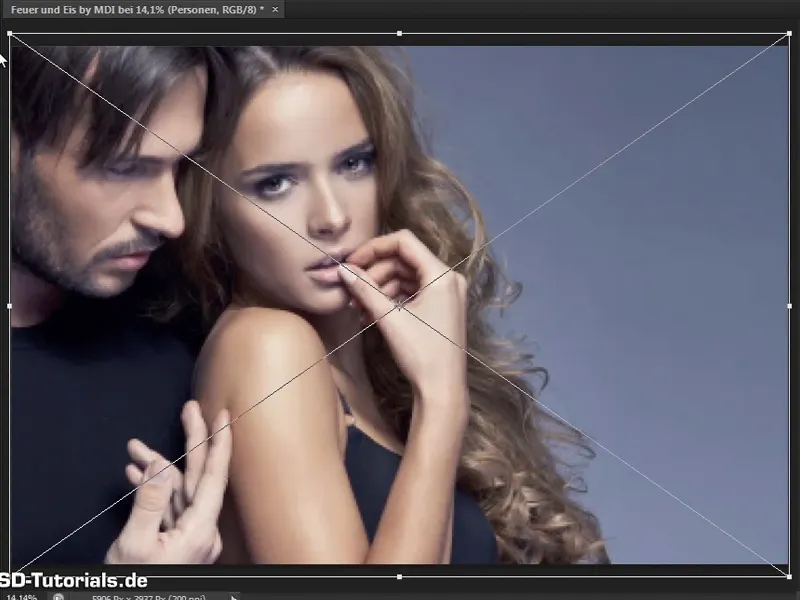
Step 30
Now you can use the active move tool and the up and down arrow keys on the keyboard to position the image; you can leave it as it is.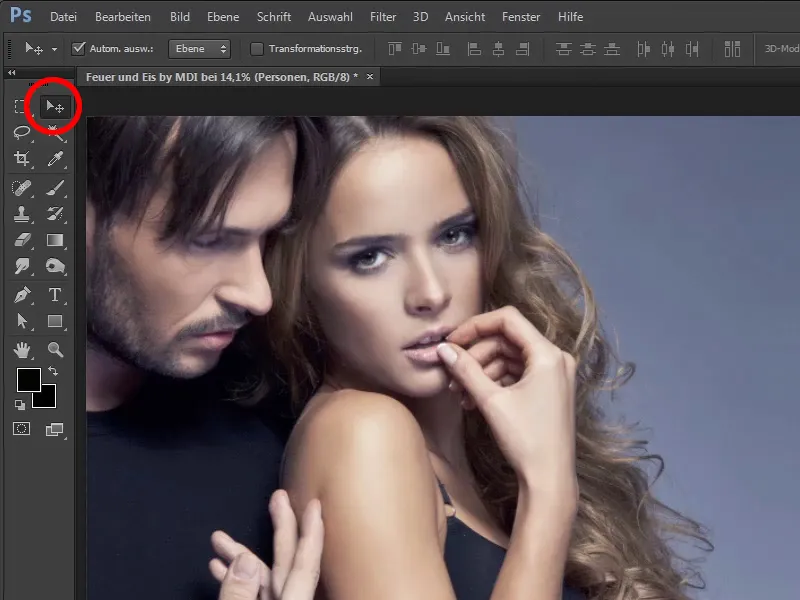
You have now placed the image and in the next tutorial you will start preparing for the fire.
Have fun copying it.
