In this tutorial, you will learn how to implement an initial AI chat in your game. We will focus on bringing a bartender to life as a Non-Player Character (NPC). You will be guided through the process step by step to make the AI act authentically in the role of the bartender. By the end of this tutorial, you will be able to create your own chatbot that seamlessly fits into a sci-fi adventure game.
Main Takeaways:
- You can chat with the AI acting as a bartender in a game.
- The implementation requires adding NPCs and handling user actions.
- It is important to use System Prompts to clearly define the AI's role.
Step-by-Step Guide
To set up a functional AI chat, follow this step-by-step guide:
1. Enter the Room
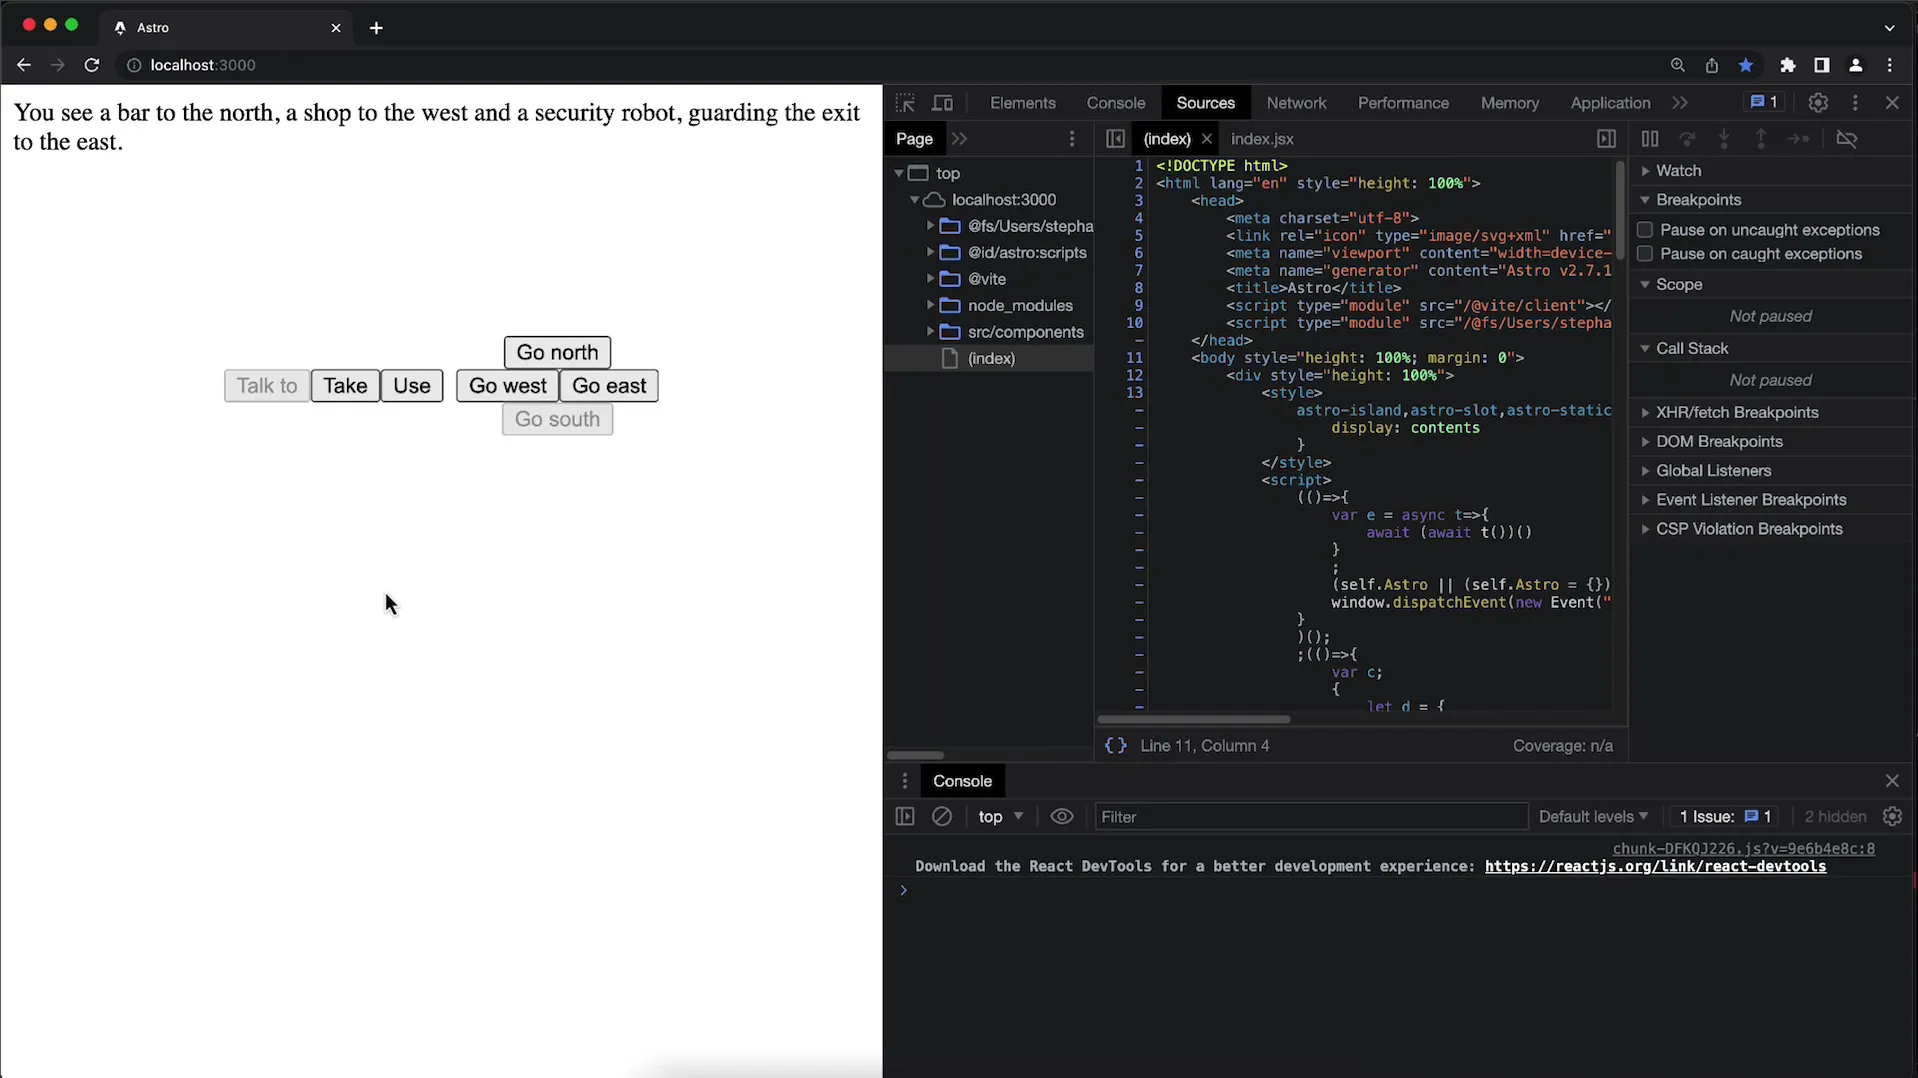
First, you must enter the bar; to do so, head north. Once in the correct area, you should have the option to interact with the bartender.
2. Talk to the Bartender
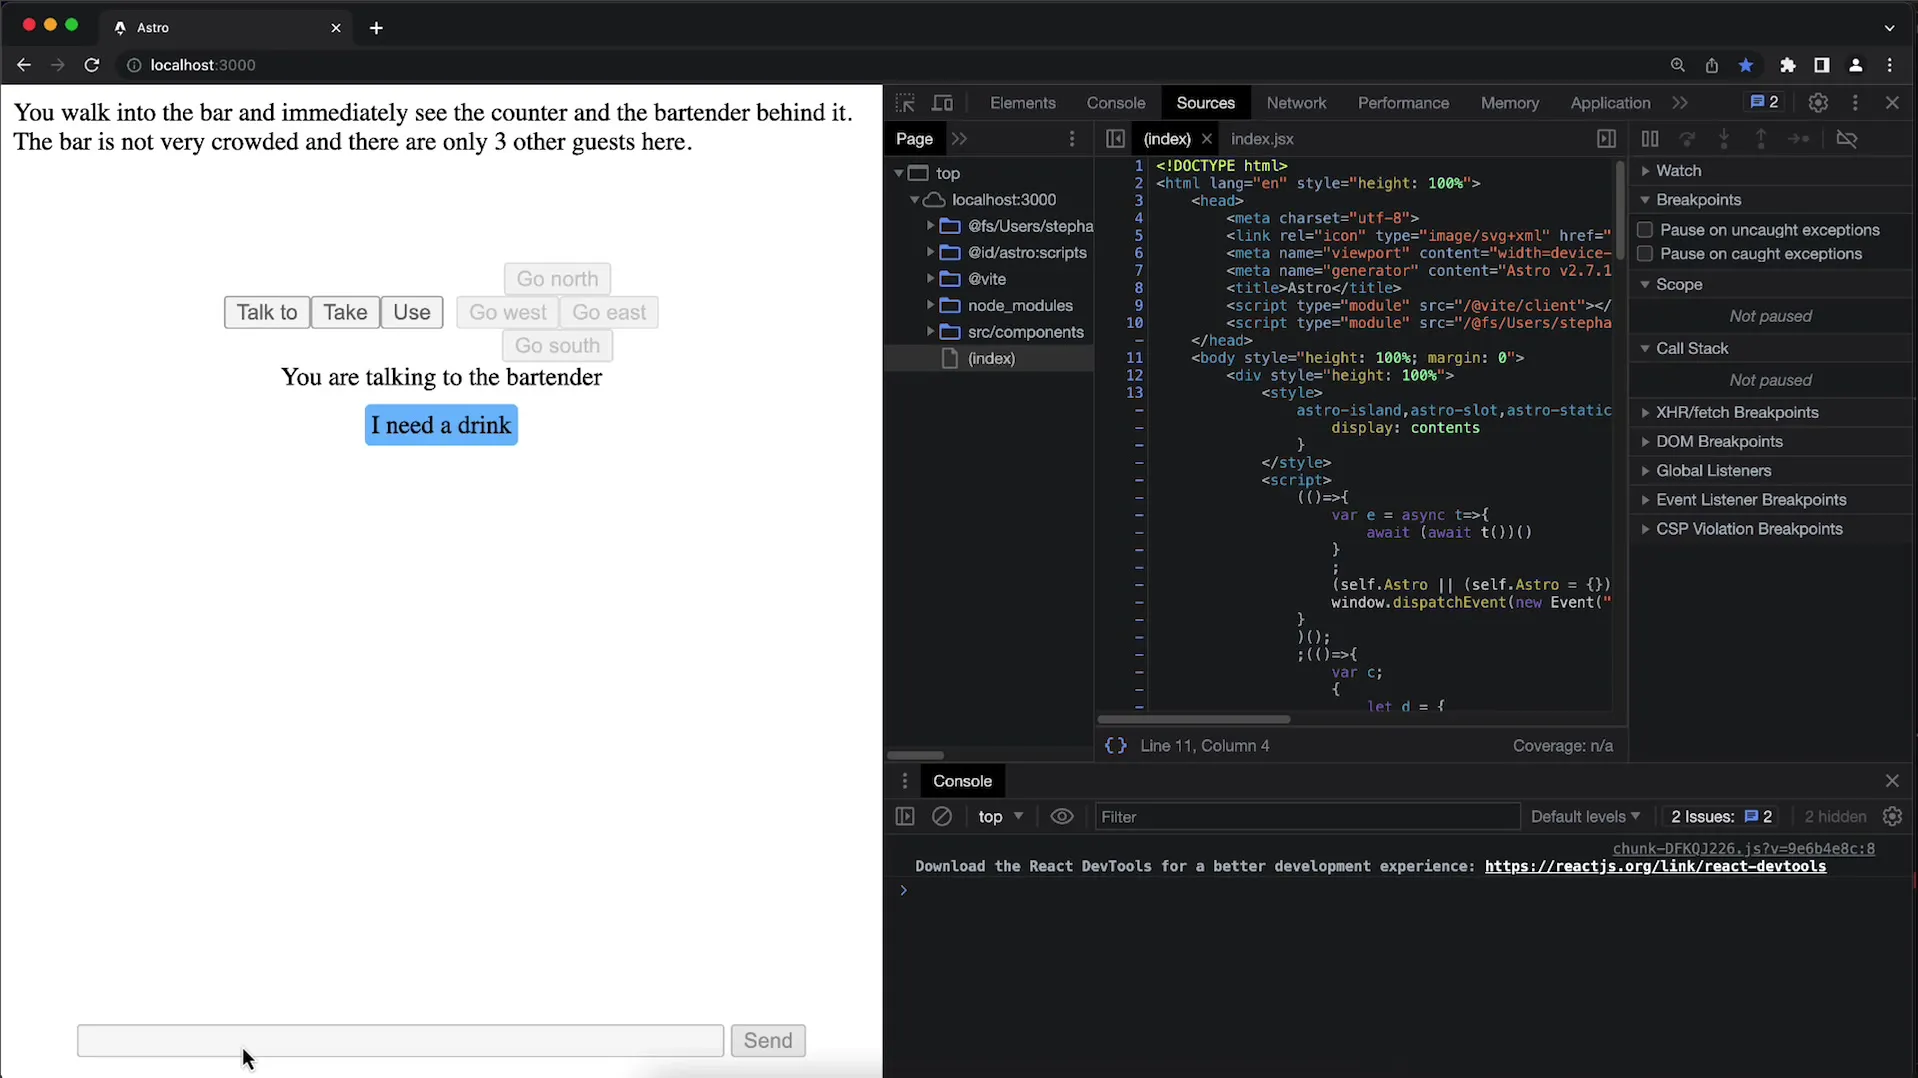
Upon arriving in the bar, press the "Talk to" button. You should see a message informing you that you are talking to the bartender. Below is an old chat implementation that we can continue using.
3. Enter a Request
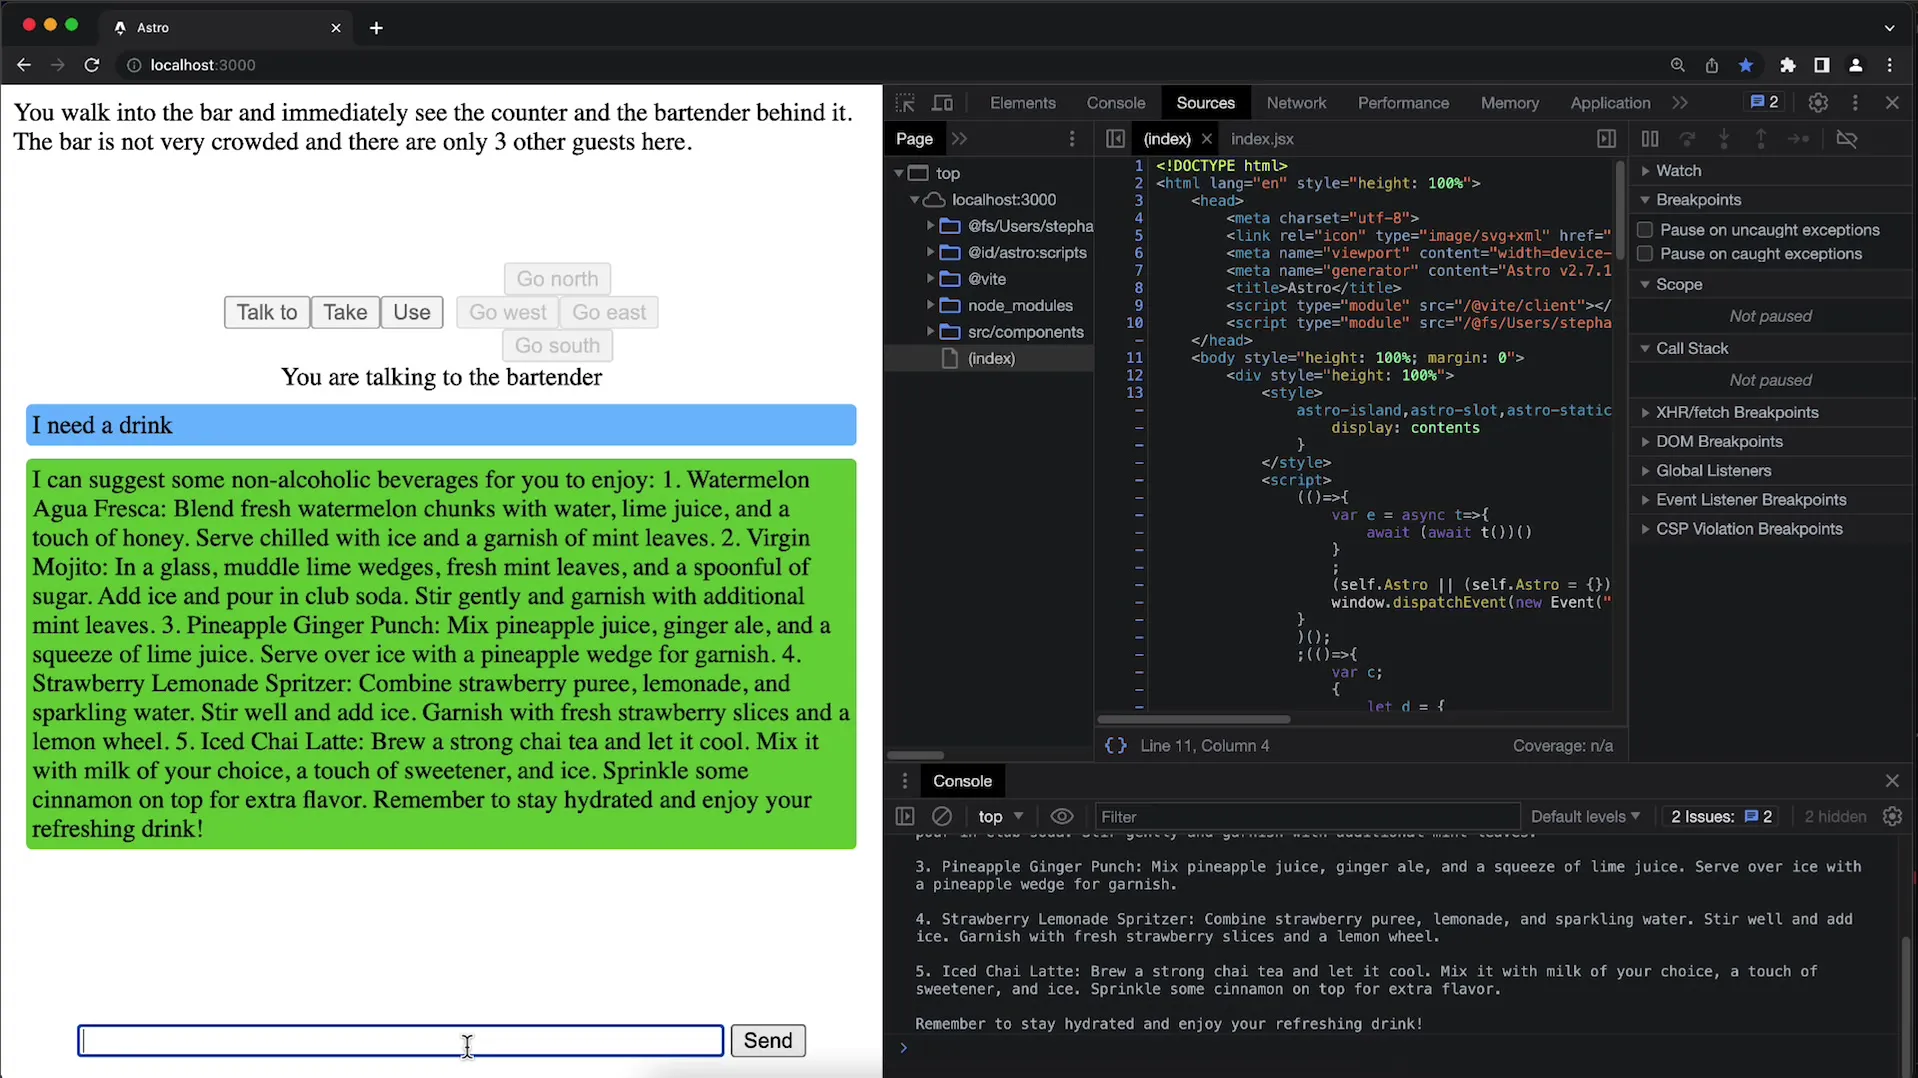
Now you have the opportunity to say something to the bartender. For example, you can ask for a drink by saying: "I need a drink". Observe how the AI responds to your request.
4. Test the AI's Response
The AI may suggest trying a refreshing non-alcoholic beverage. In this case, a possible response would be: "I can suggest some nonalcoholic beverages for you to enjoy."
5. Express Specific Requests
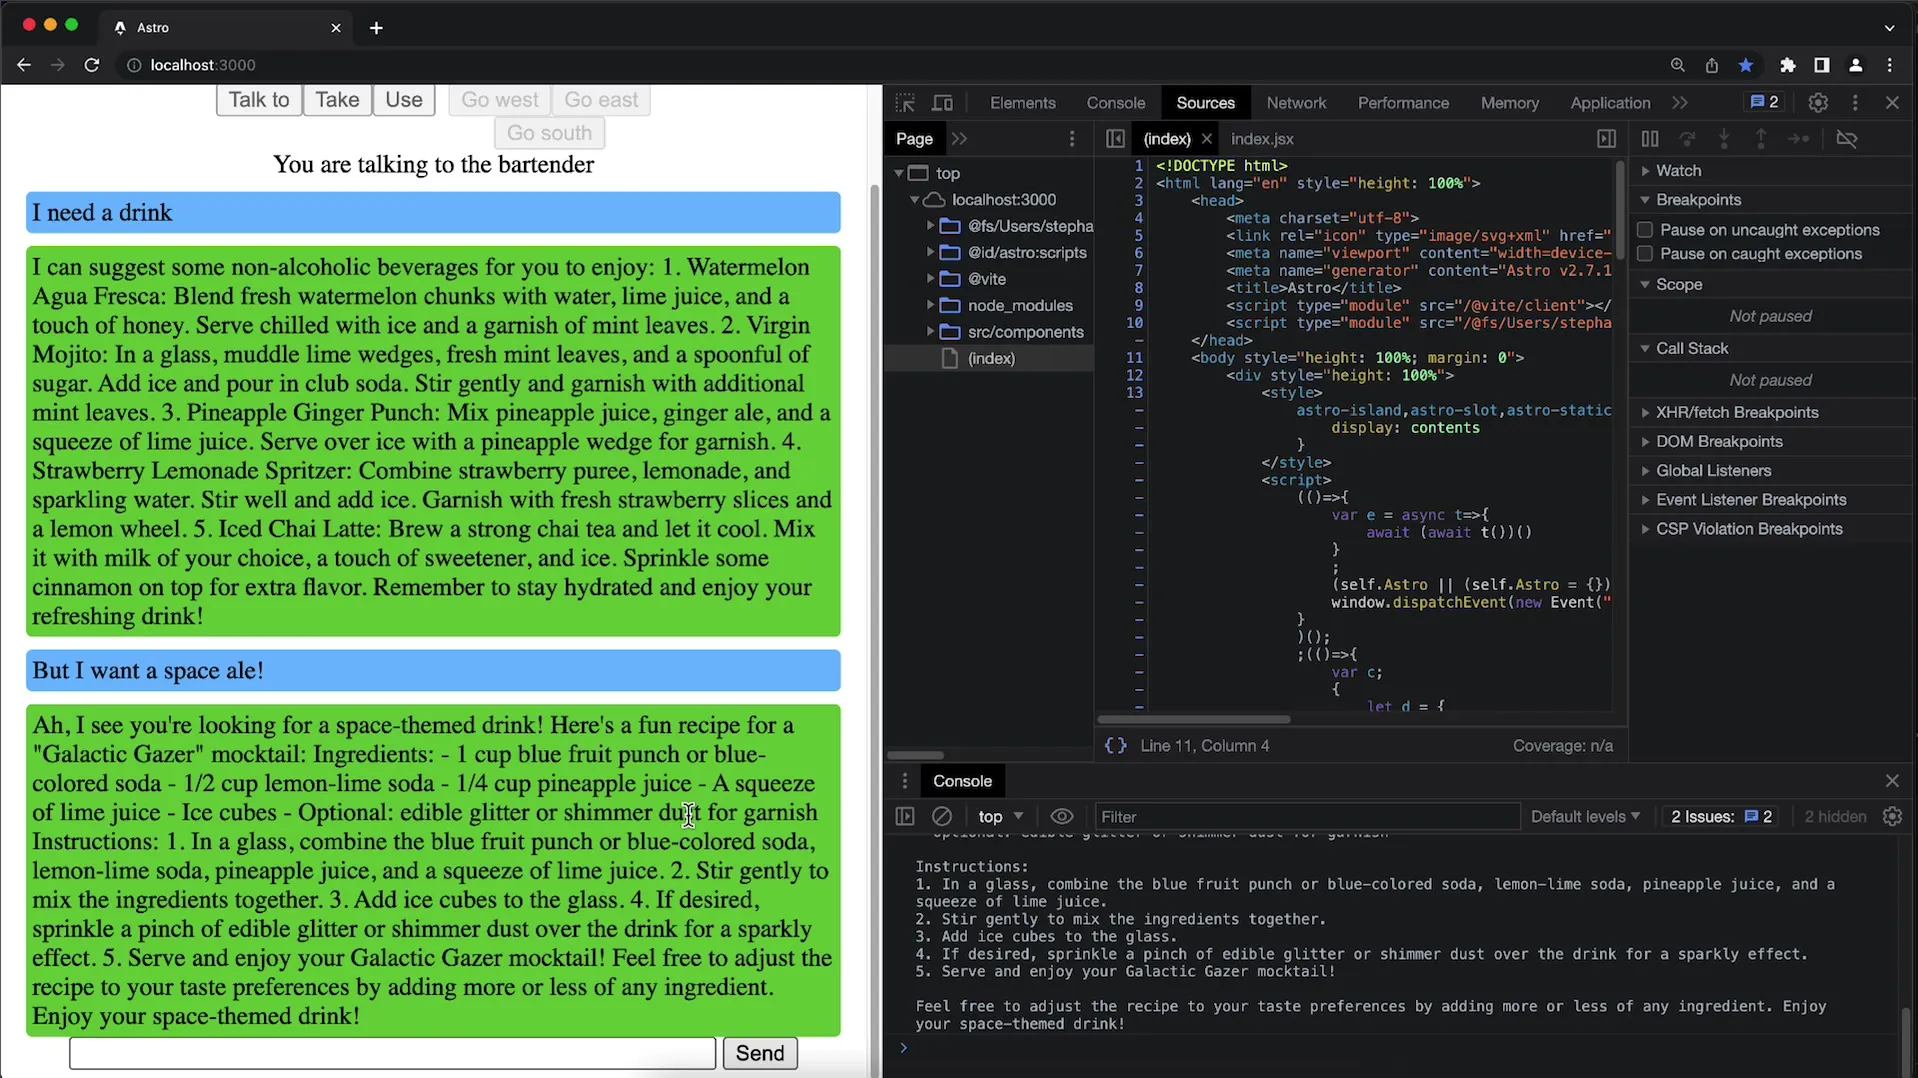
Now you can deepen the interaction by expressing more specific wishes. For instance, you could say: "But I want a space drink". The AI will try to understand and respond to this request.
6. Clearly Define the AI's Role
It is important to make it clear to the AI that it is acting in the role of a bartender. It should not give general responses but rather provide specific recommendations that fit the theme of the game.
7. Preparations for Implementation
To enable communication with the AI, you must ensure that the software is correctly configured. Verify that the bar is defined as a new location in the game data and that the NPCs have been assigned.
8. The 'Talk to' Button
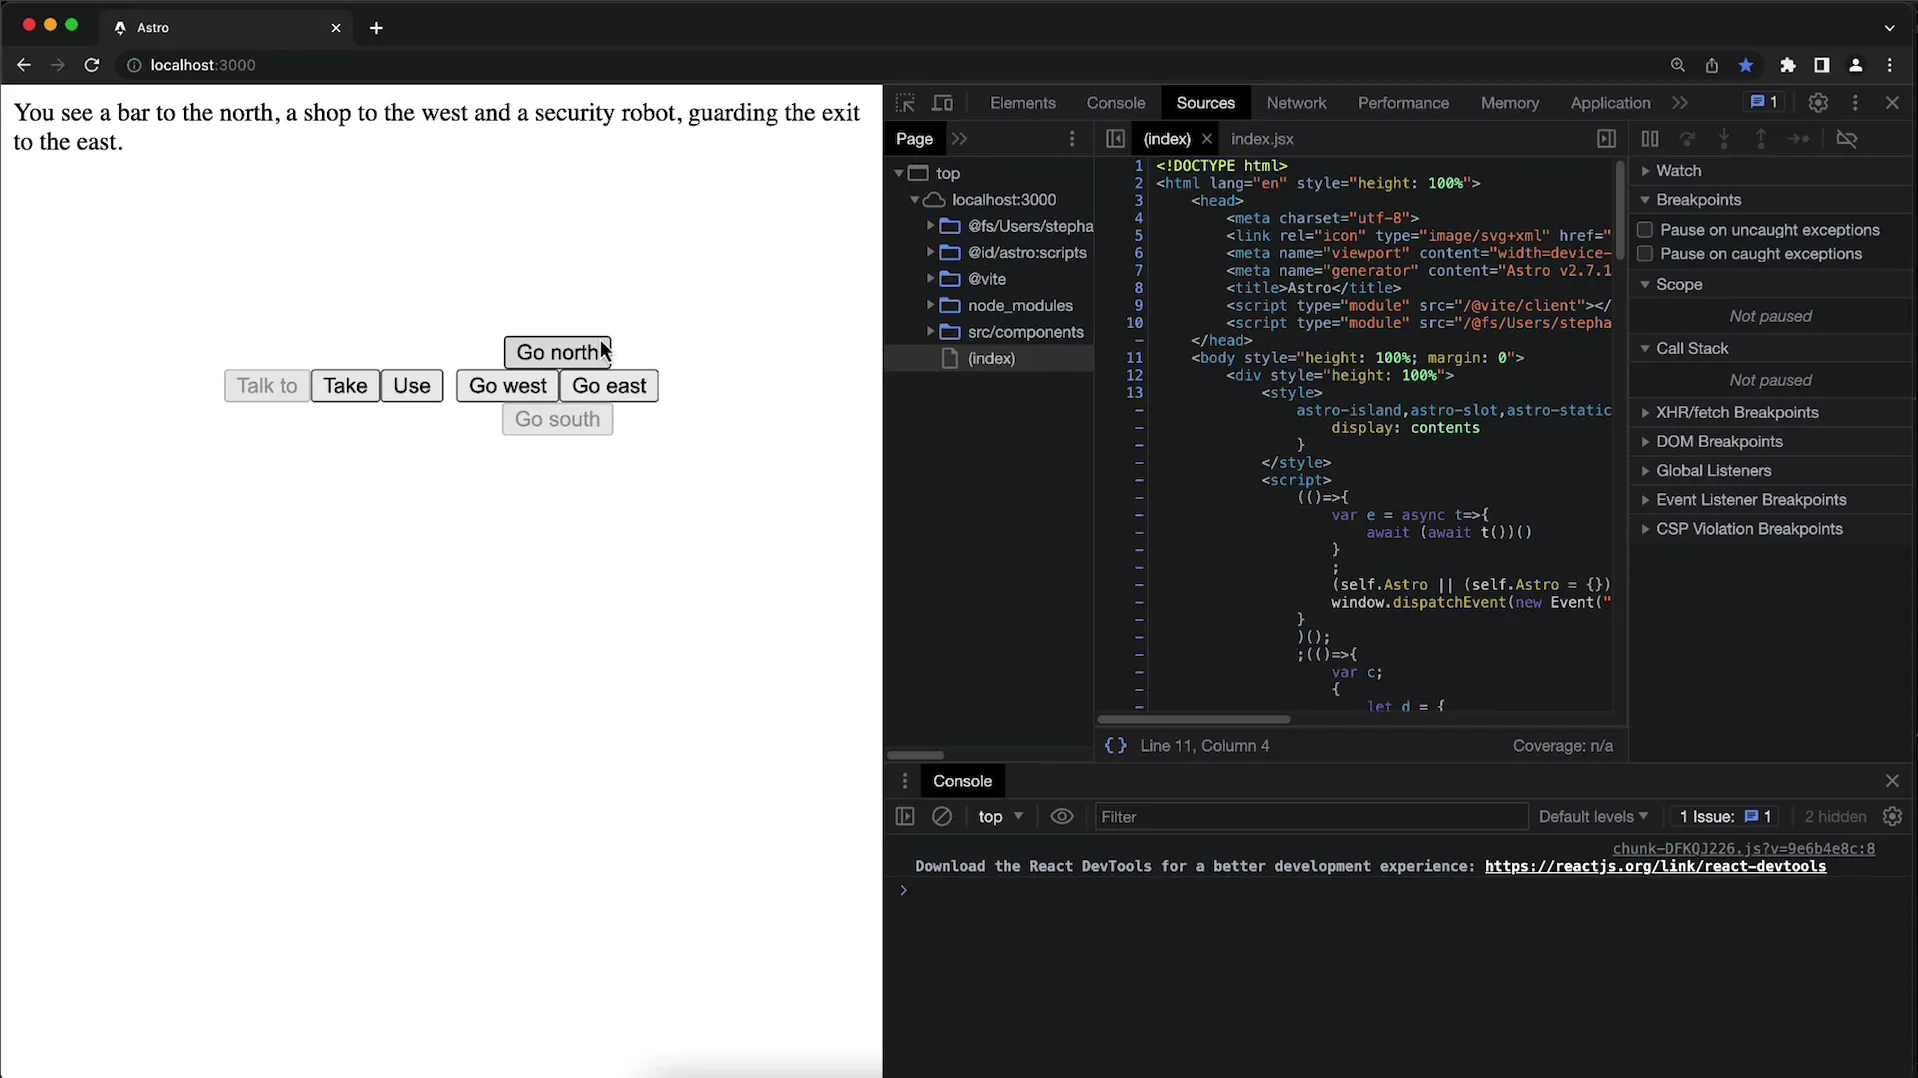
The "Talk to" button should only be available when the current location has NPCs. Ensure the button is disabled when you are not in the bar.
9. Set the Chat State
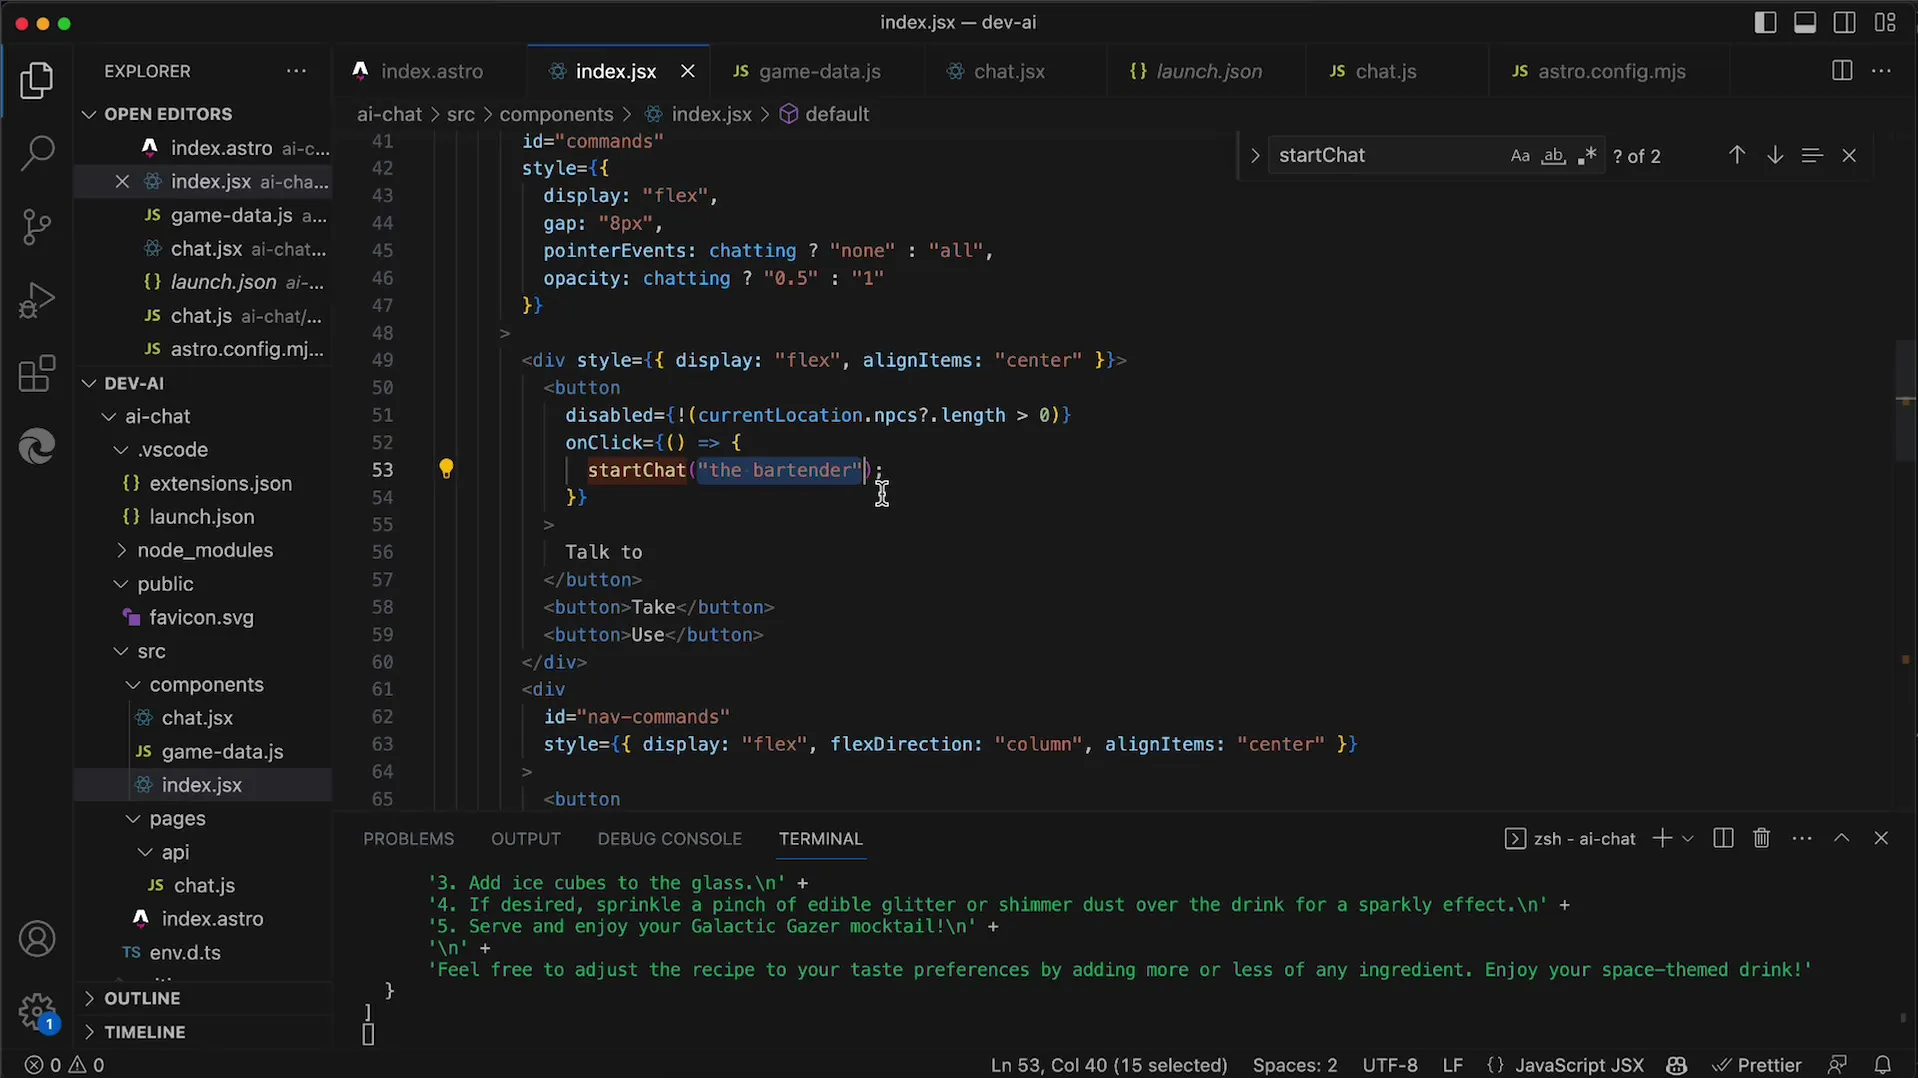
Starting the chat will activate a new state. The other controls should be disabled in this mode, allowing the player to interact only with the AI.
10. Ensure Chat Rendering
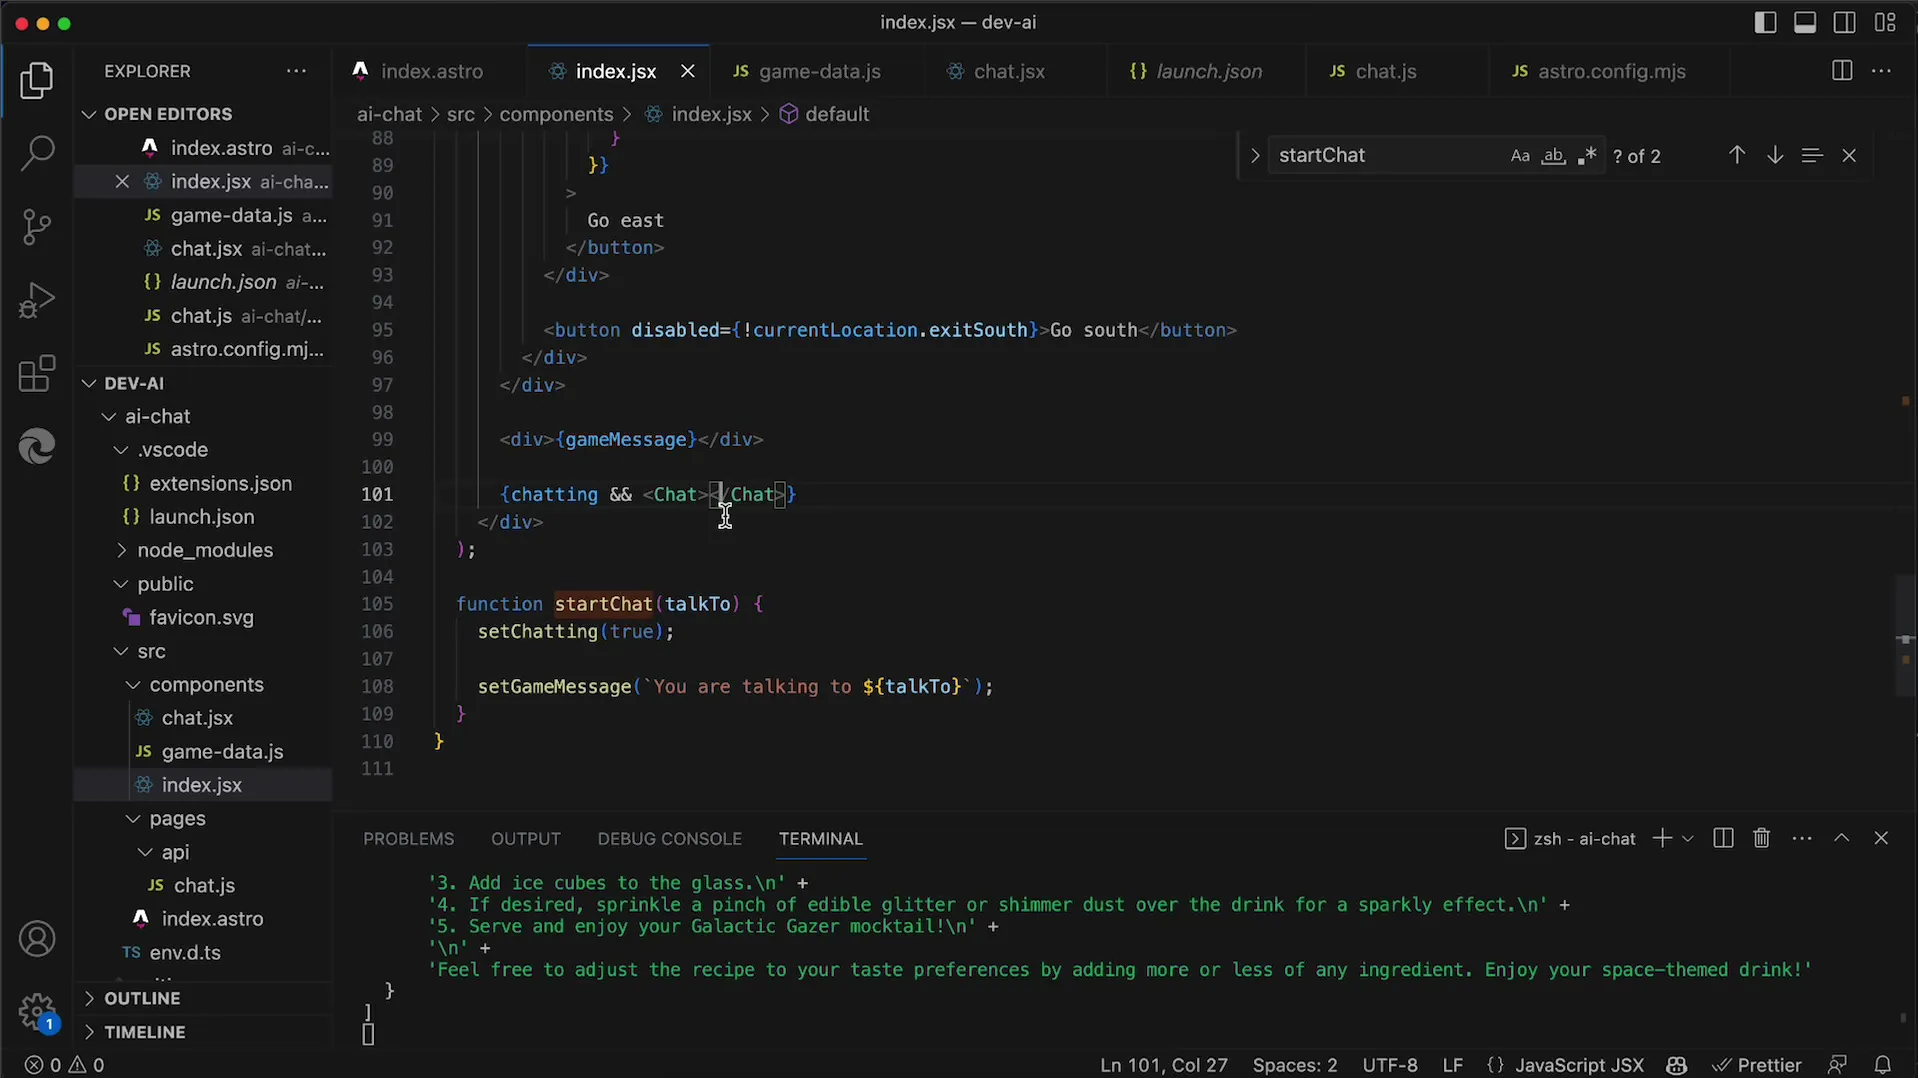
The chat portion of the UI will only be rendered when the "chatting" state is active. The input line will only become visible when you start the chat.
11. Define the role of the bartender
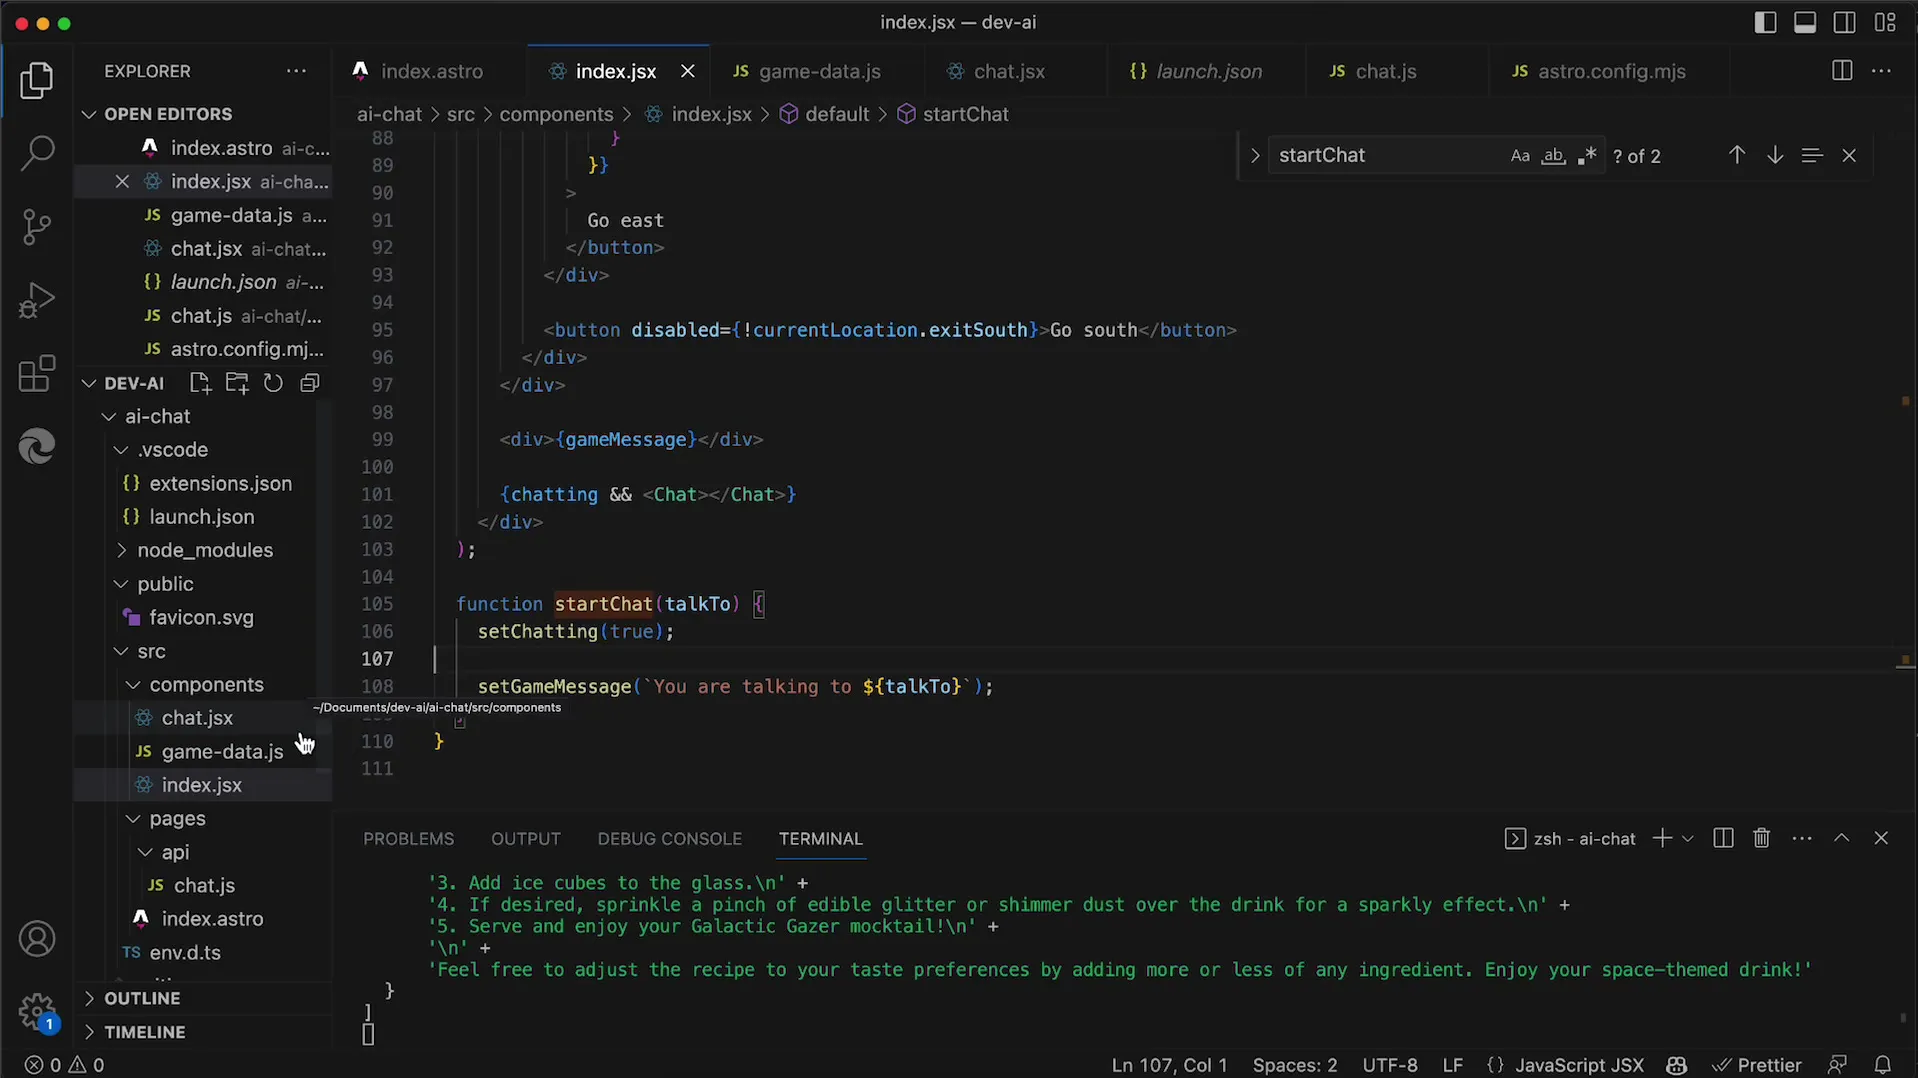
To adjust the AI's responses to the role of the bartender, you need to use System Prompts. These formulations help the AI understand that it should respond specifically as a bartender.
12. Adjust server configuration
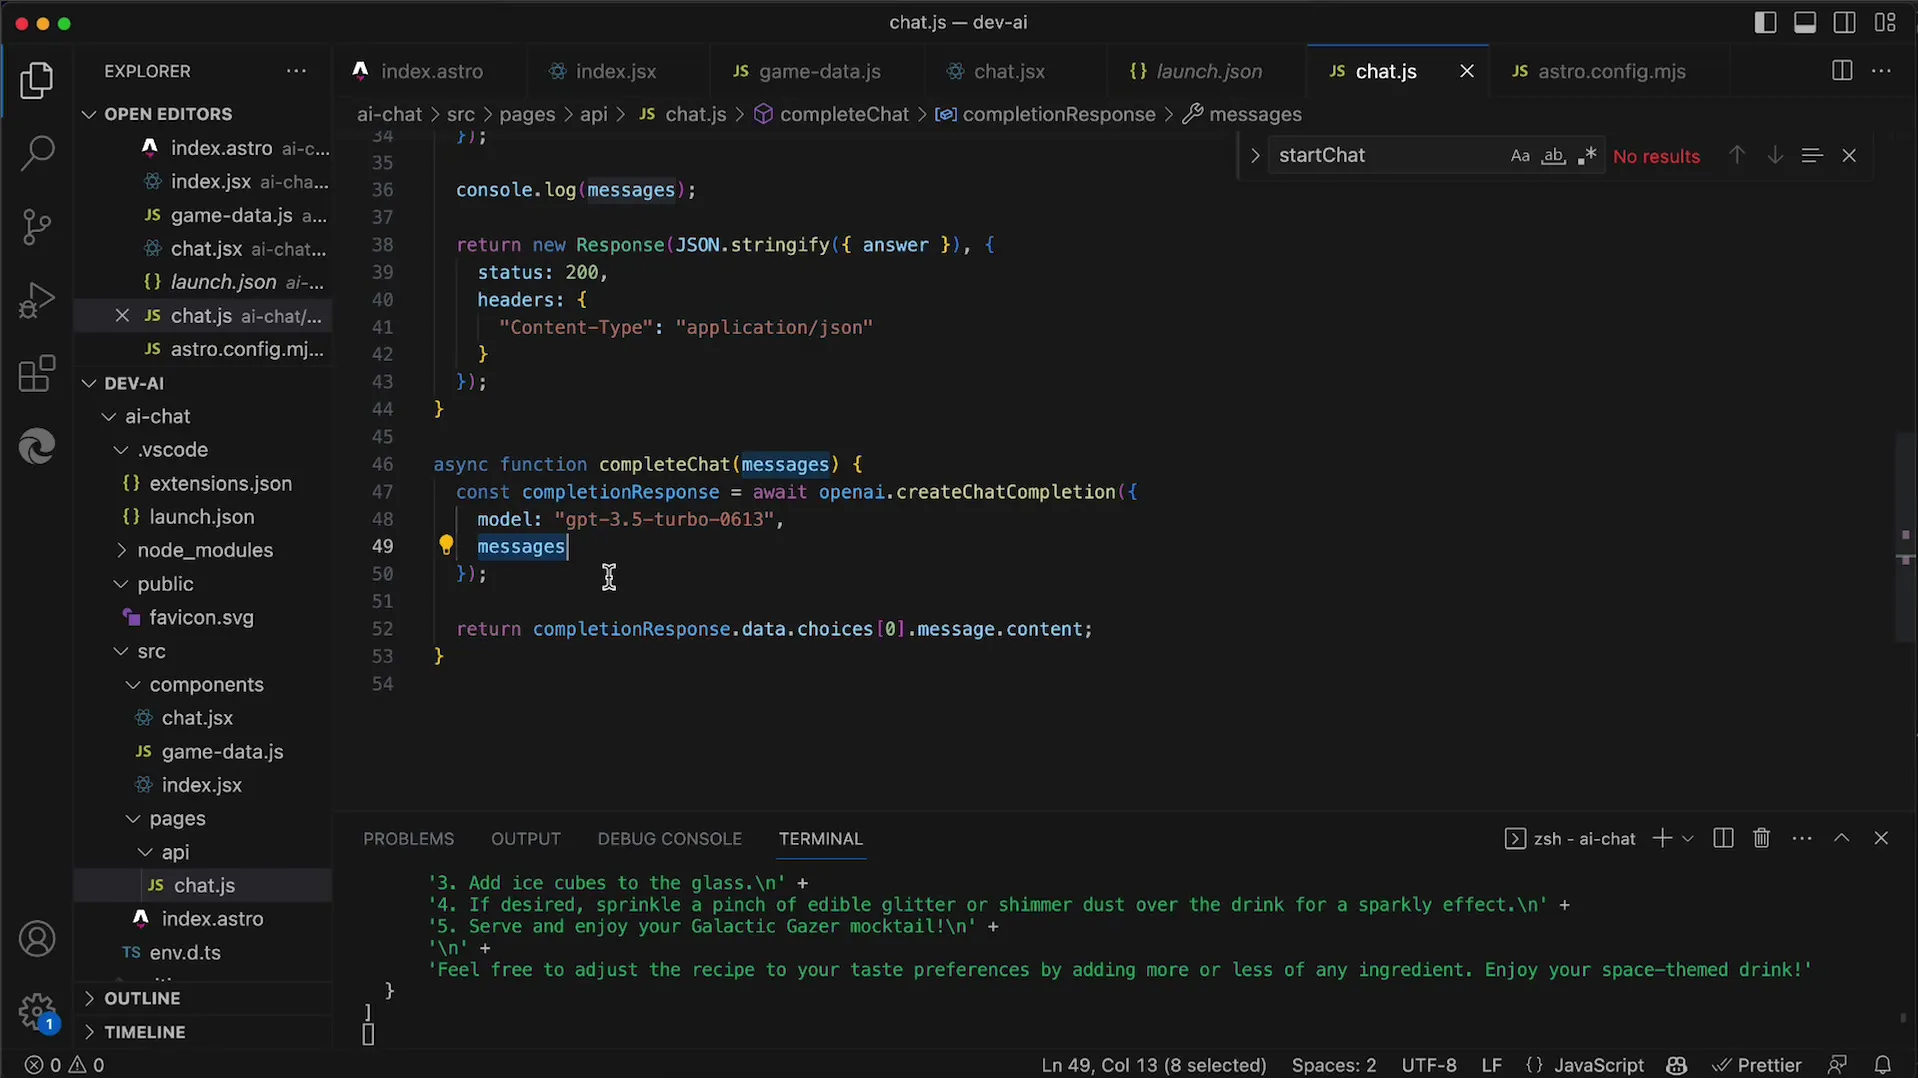
Finally, it is necessary to modify the "create Chat completion" function on the server so that the AI is prepared for the role of the bartender. This is a crucial step to ensure that the interaction is meaningful.
Summary
In this tutorial, you have learned how to integrate an AI in the form of a bartender into your game. You now know how to set up a chat using the OpenAI API and how to clearly define the AI's role. This foundation will not only assist you in developing this specific character but also enhance your skills in AI integration overall.
Frequently Asked Questions
How do I implement an NPC in my game?Simply add a new property for NPCs in the Game Data.
How can I disable a button when the player is not in the bar?Use the current location to check for the presence of NPCs.
How do I define that the AI responds as a bartender?Use System Prompts to clearly define the AI's role.
What should I do if the chat is not being rendered?Make sure that the "chatting" state is active before the chat becomes visible.
How can I get specific responses from the AI?Use clearly defined requests and ensure that the System Prompts are implemented correctly.
