In this tutorial, you will learn how to add React to your Astro App. This allows you to create modern React components and integrate them into your application. We will go through the necessary steps to prepare your Astro App for React and create a simple component.
Key Takeaways
- You need to install the React package and the corresponding plugins.
- The structure of your components in Astro differs slightly from pure HTML.
- To ensure that your React components are rendered in the browser, you need to use the attribute client: only.
Step-by-Step Guide
To add React to your Astro App, follow these steps:
First, make sure your development server is no longer running. You can do this by terminating the npm run dev command. This is important to ensure that you do not have conflicts during the installation of the new dependencies.
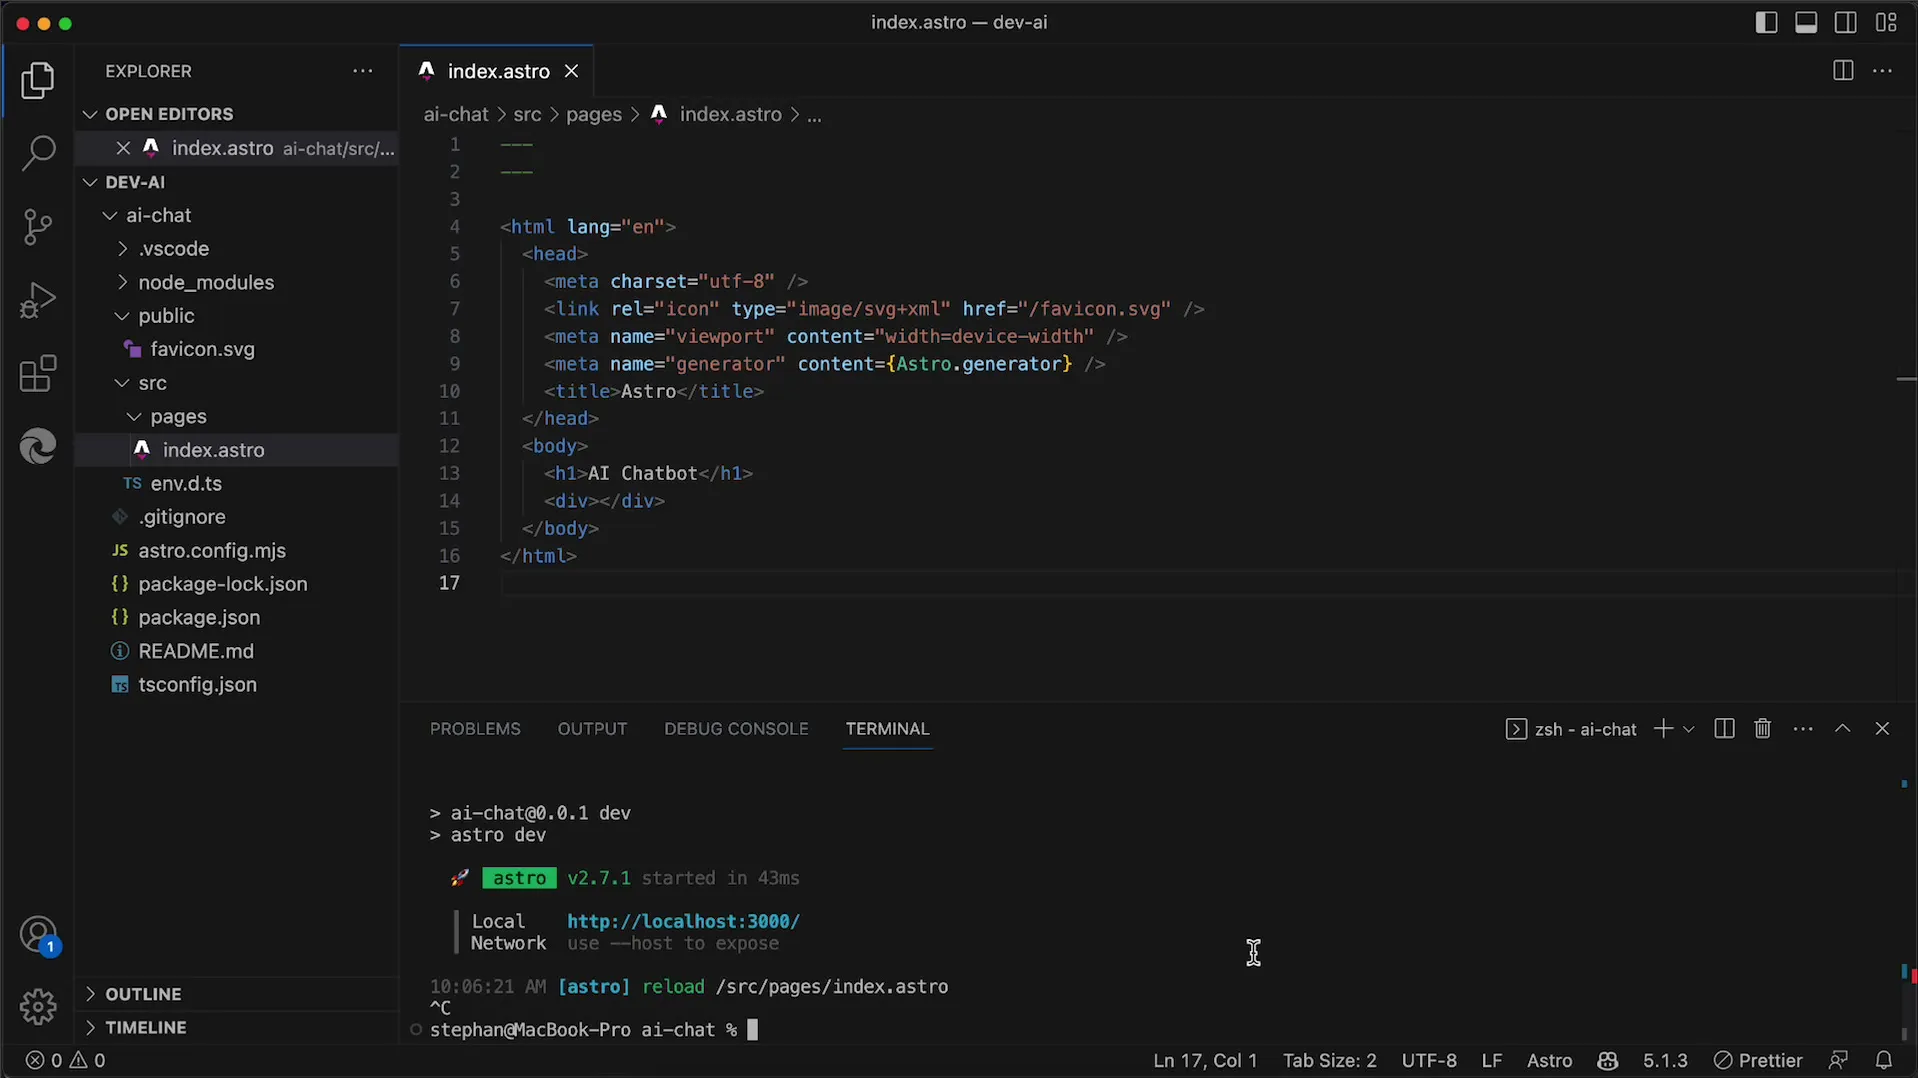
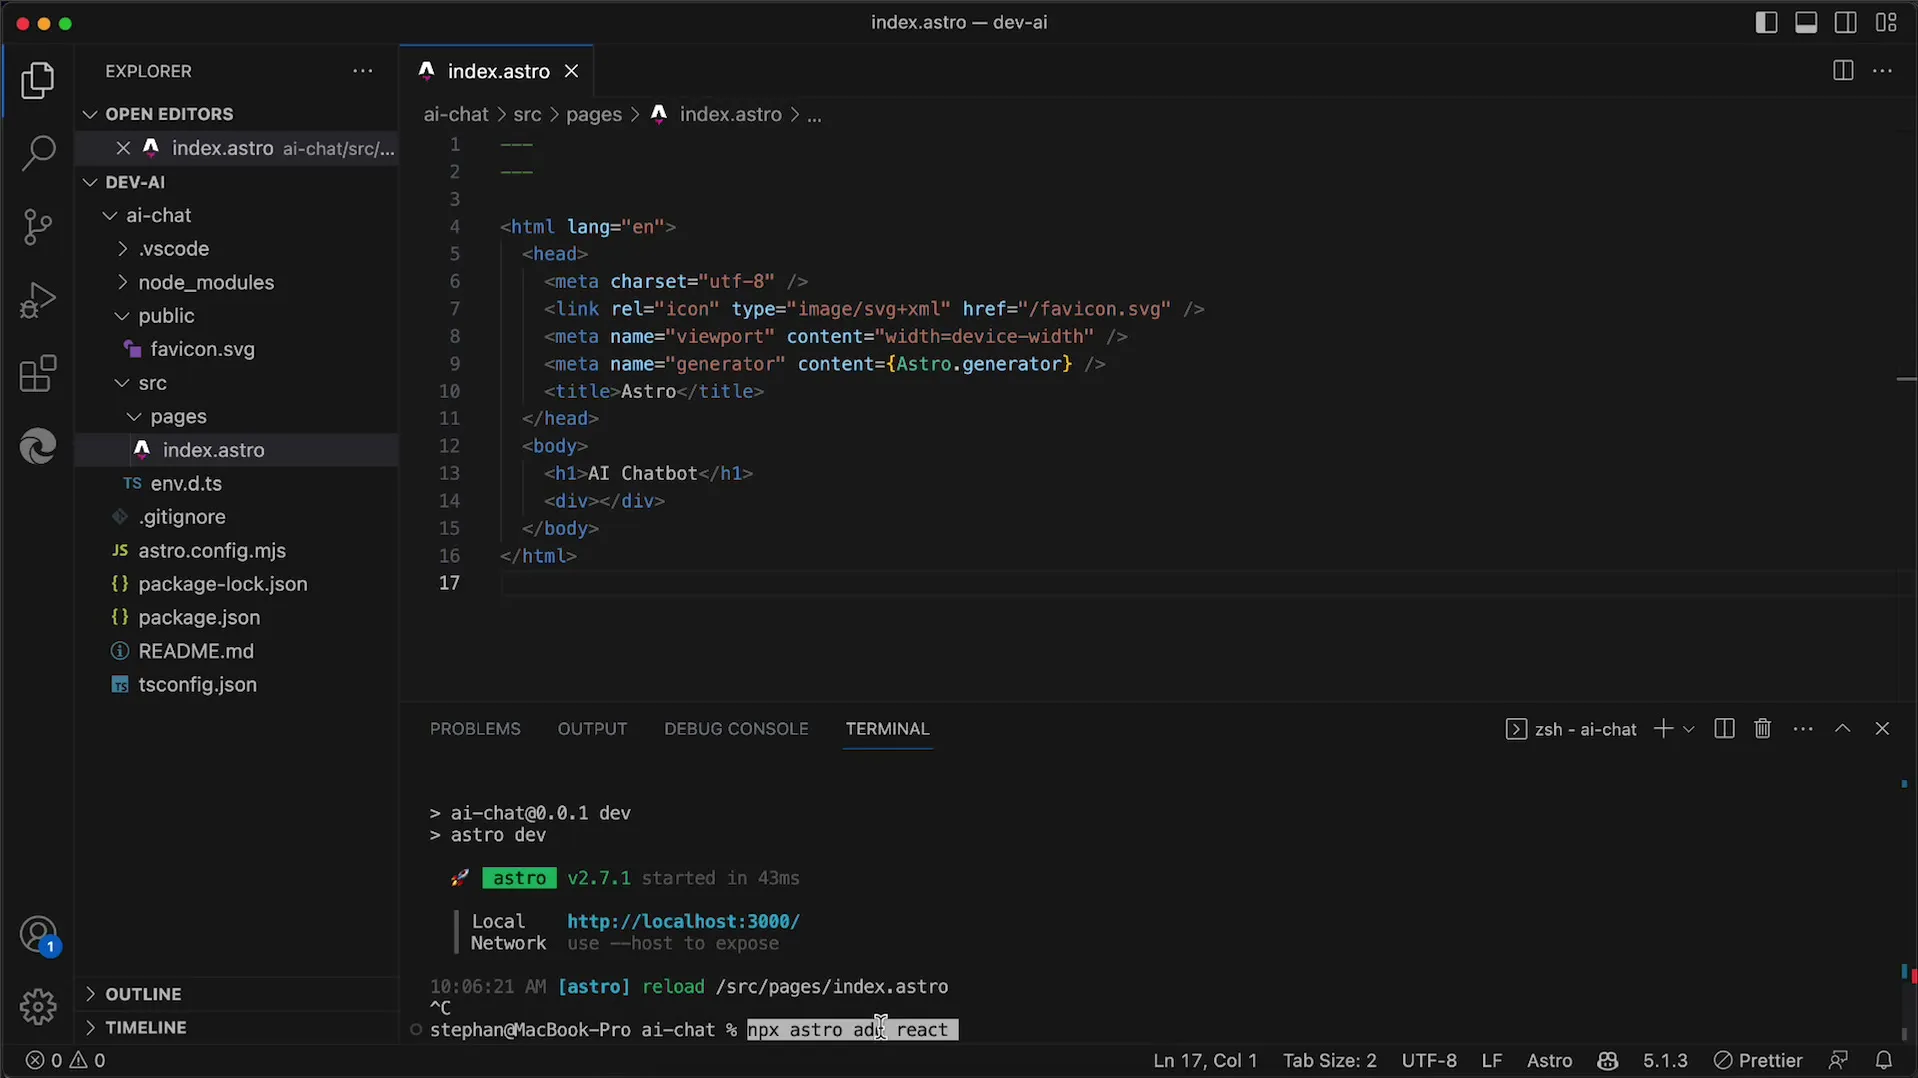
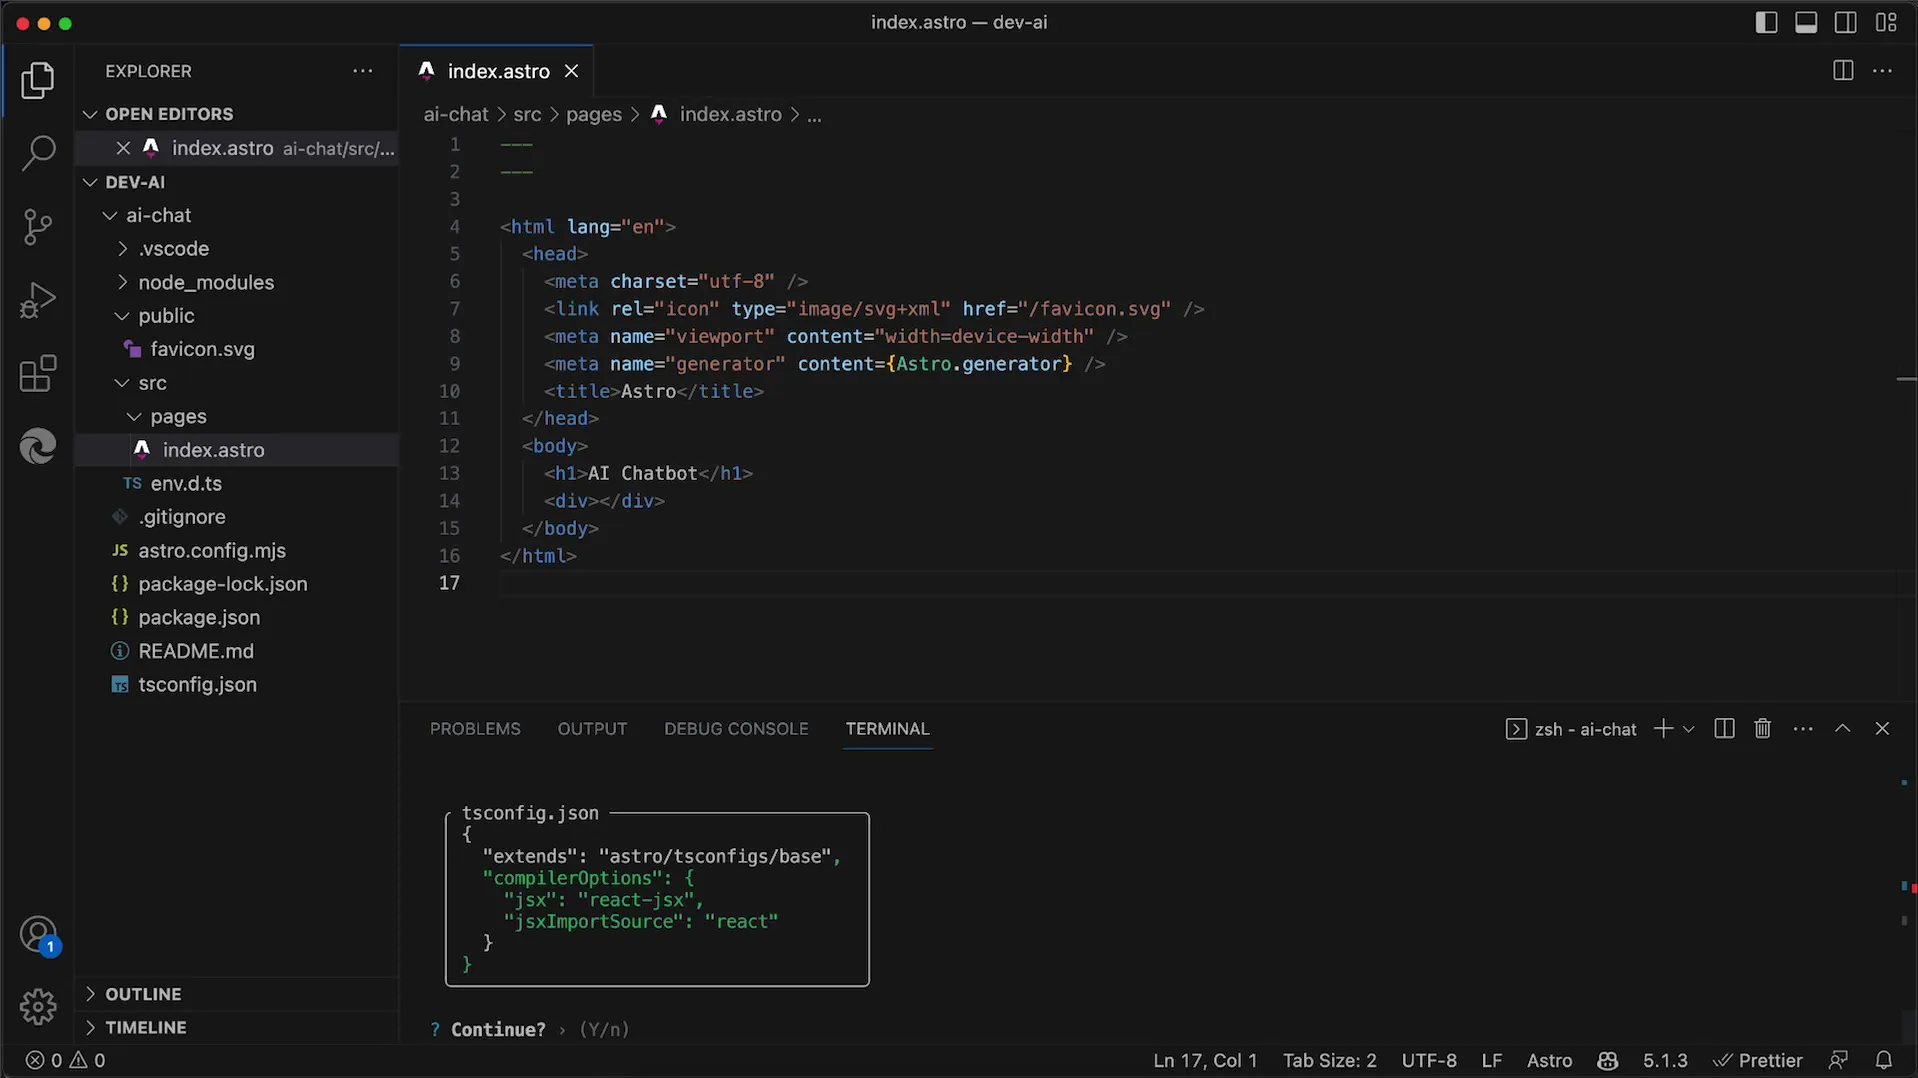
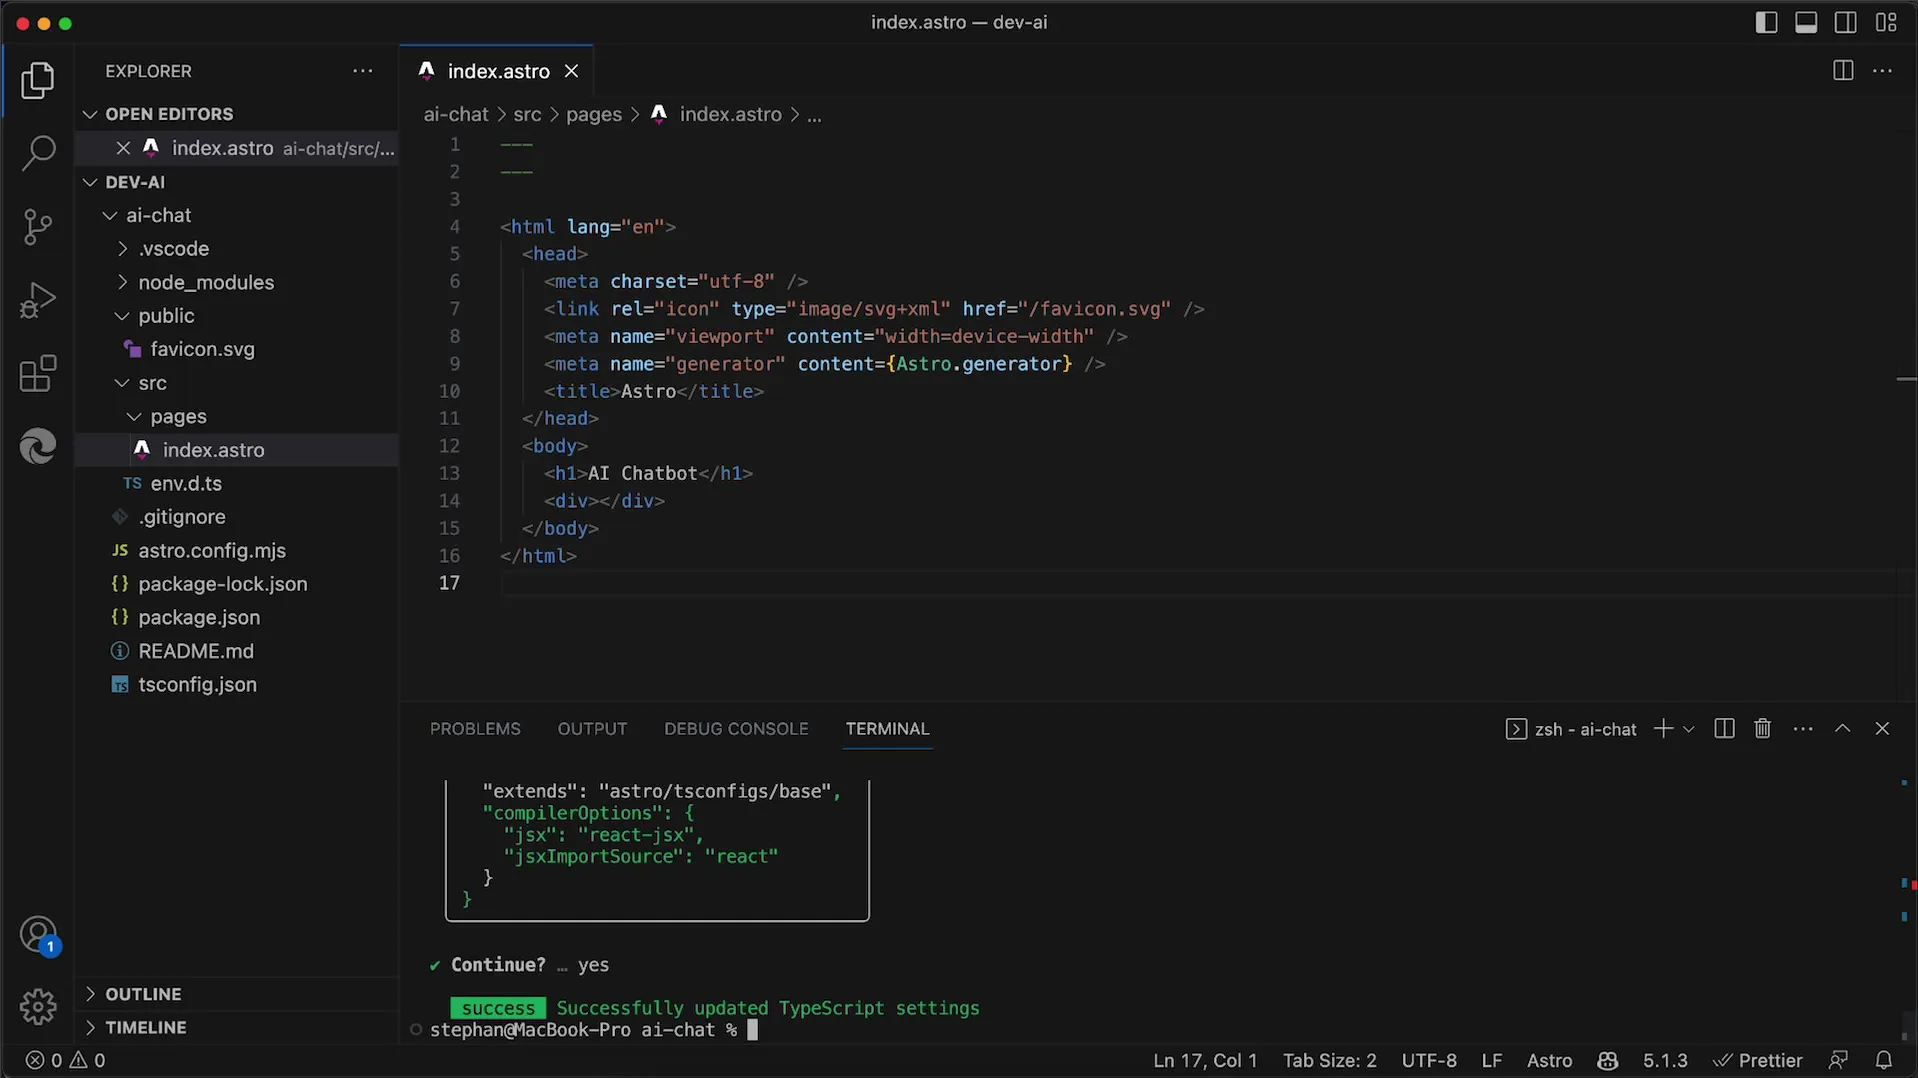
Now you are ready to officially integrate React. To do this, use the command npx astro add react. With this command, you add the necessary packages required for React support in your Astro App.
You will then be asked if you want to install the new dependencies with npm. Make sure to confirm this, as the installation will not work correctly without these dependencies.
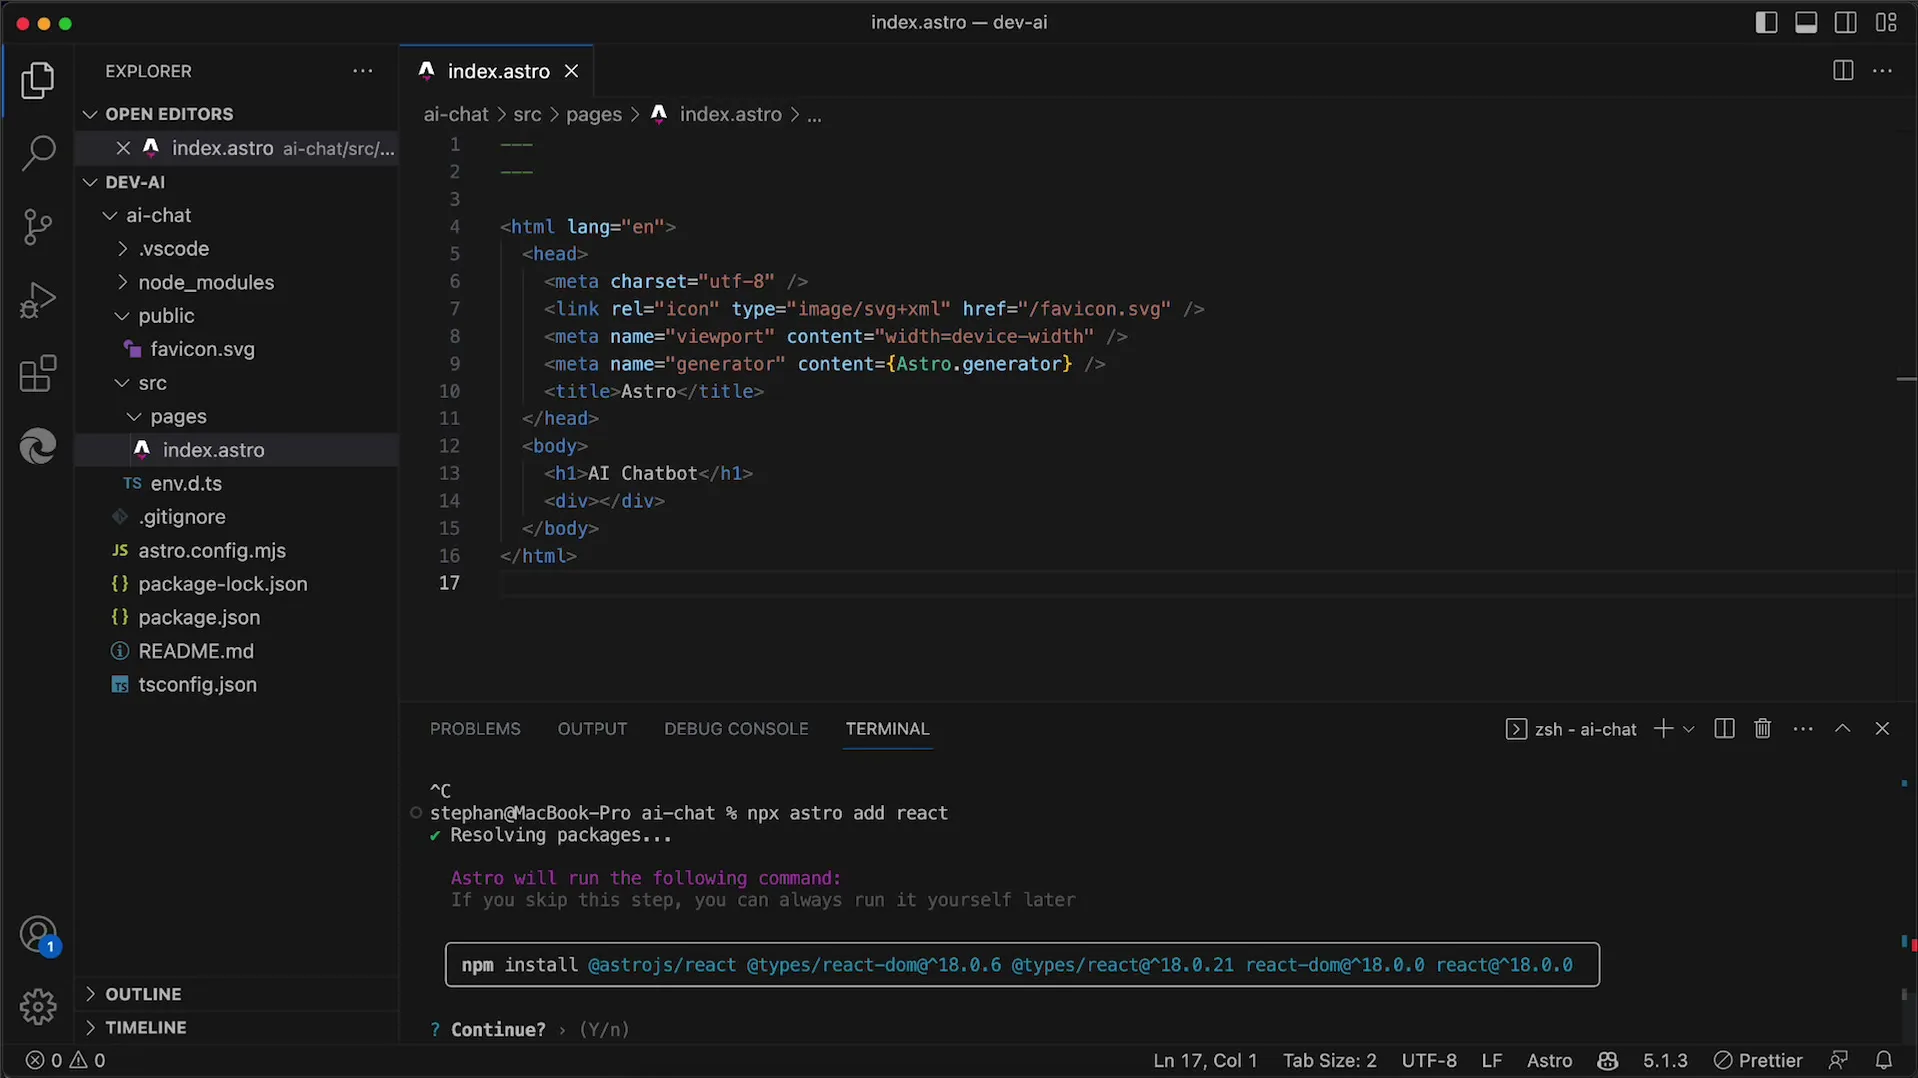
During the installation process, changes will also be made to the astro.config.mjs. You should also accept these changes to ensure everything works smoothly.
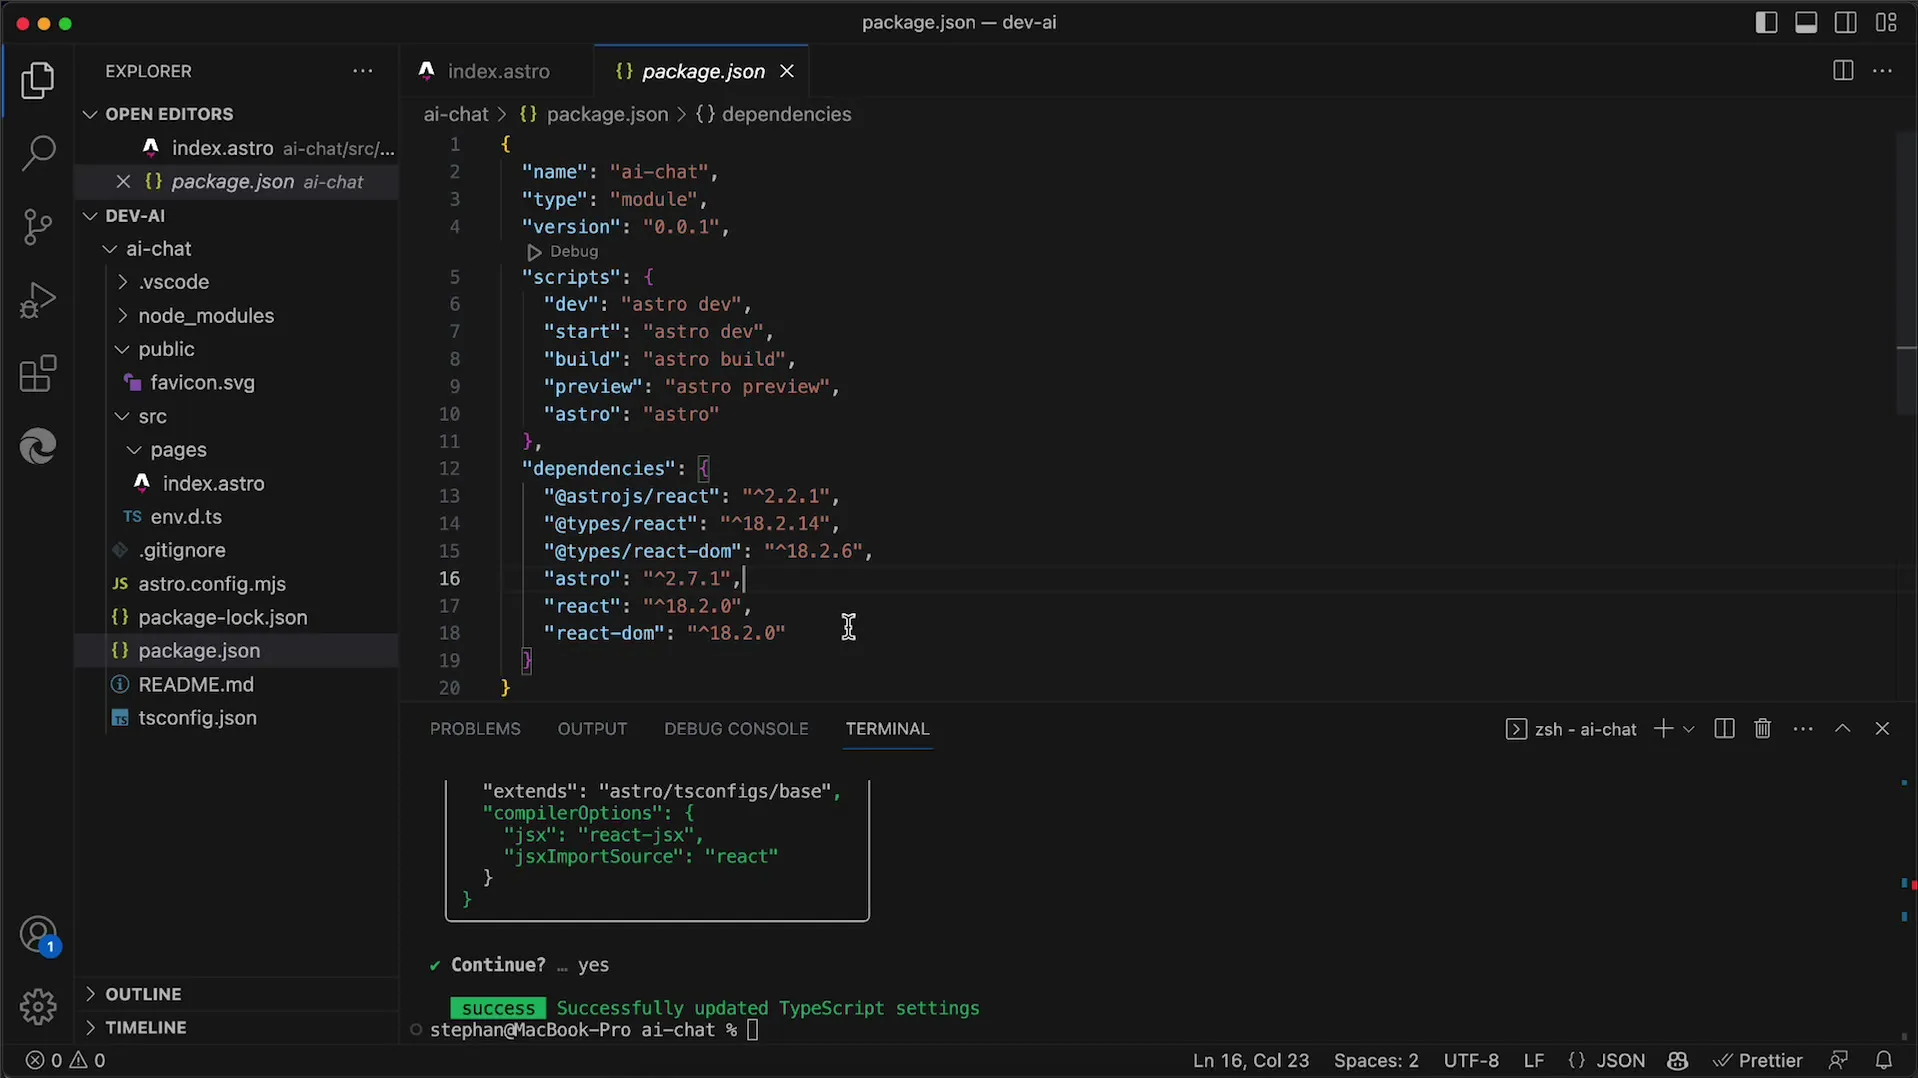
Once the installation is complete, your app should now have React support. Let's check what new dependencies have been added. In your package.json, you will now find react, react-dom, and @astrojs/react as plugins.
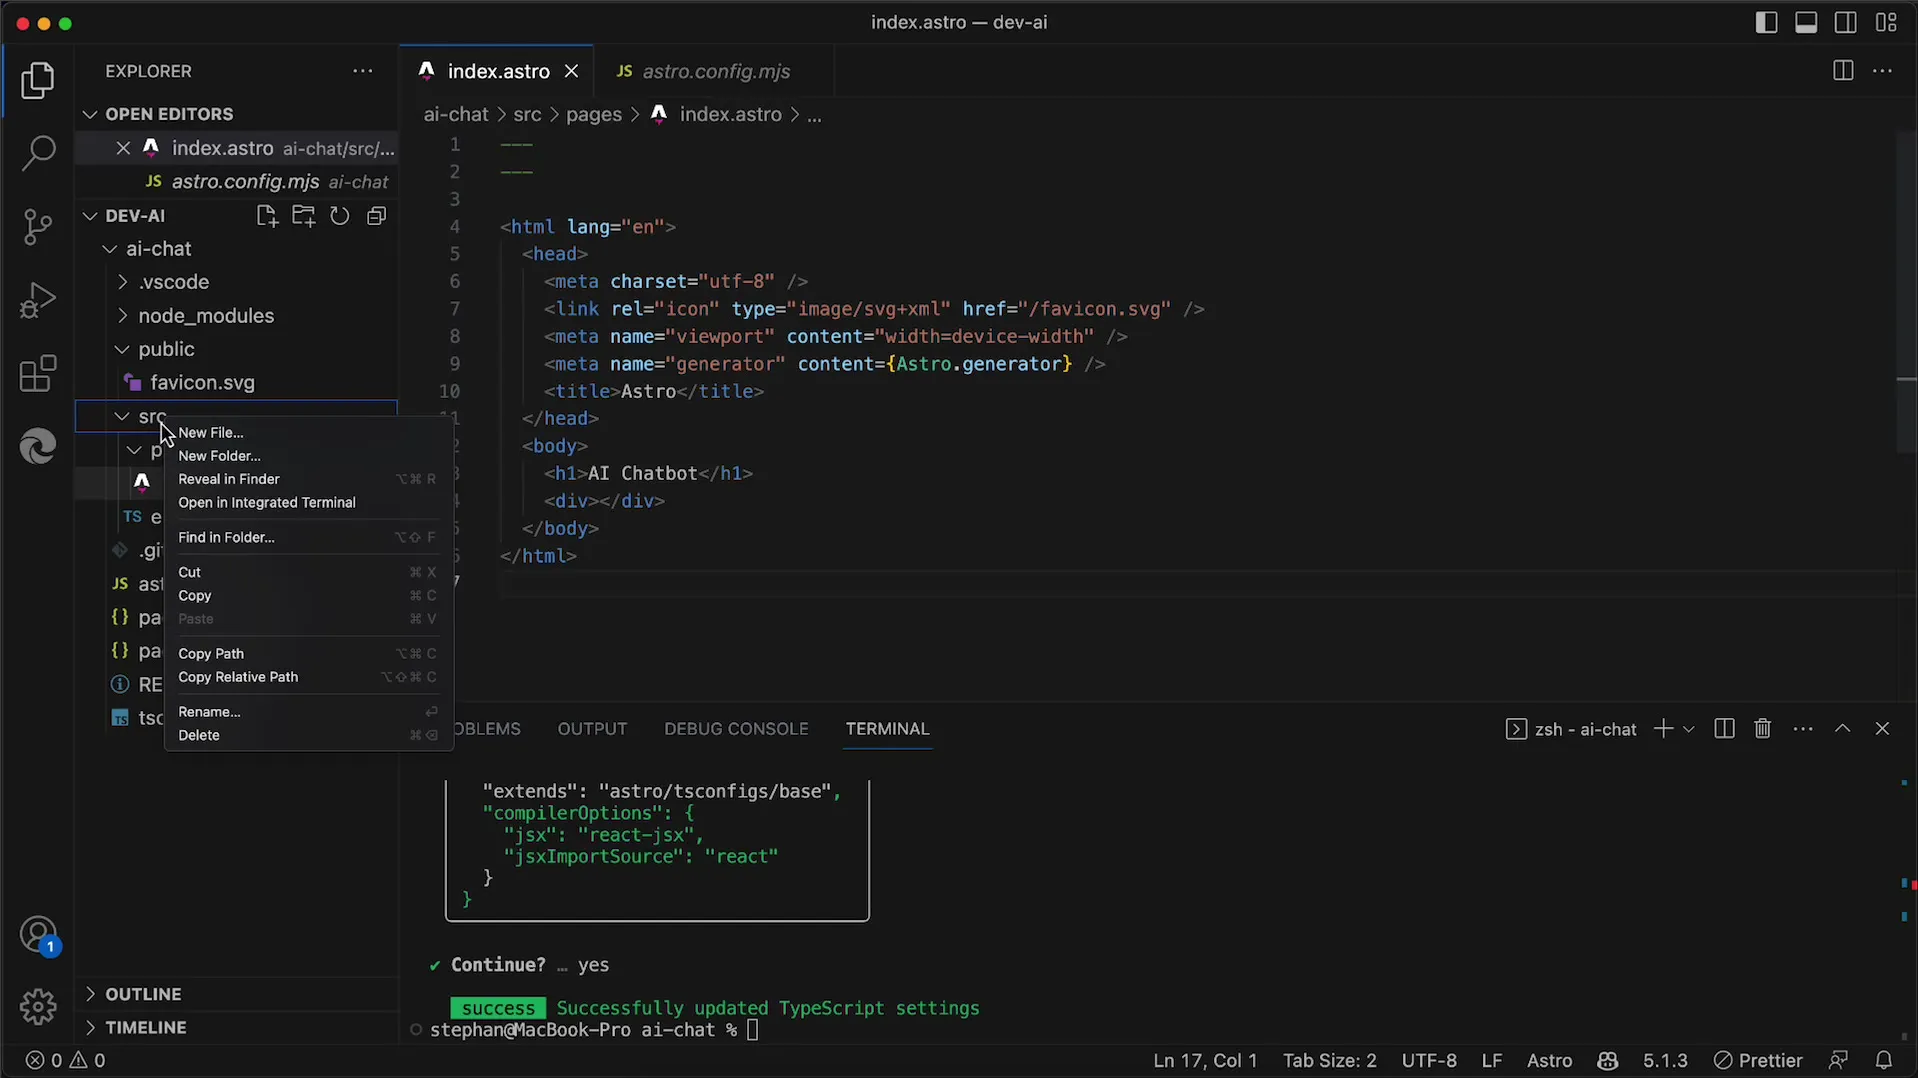
To ensure everything is correctly configured, you need a React component that you can test. Create a new folder named components in the src folder, which will later contain your React components.
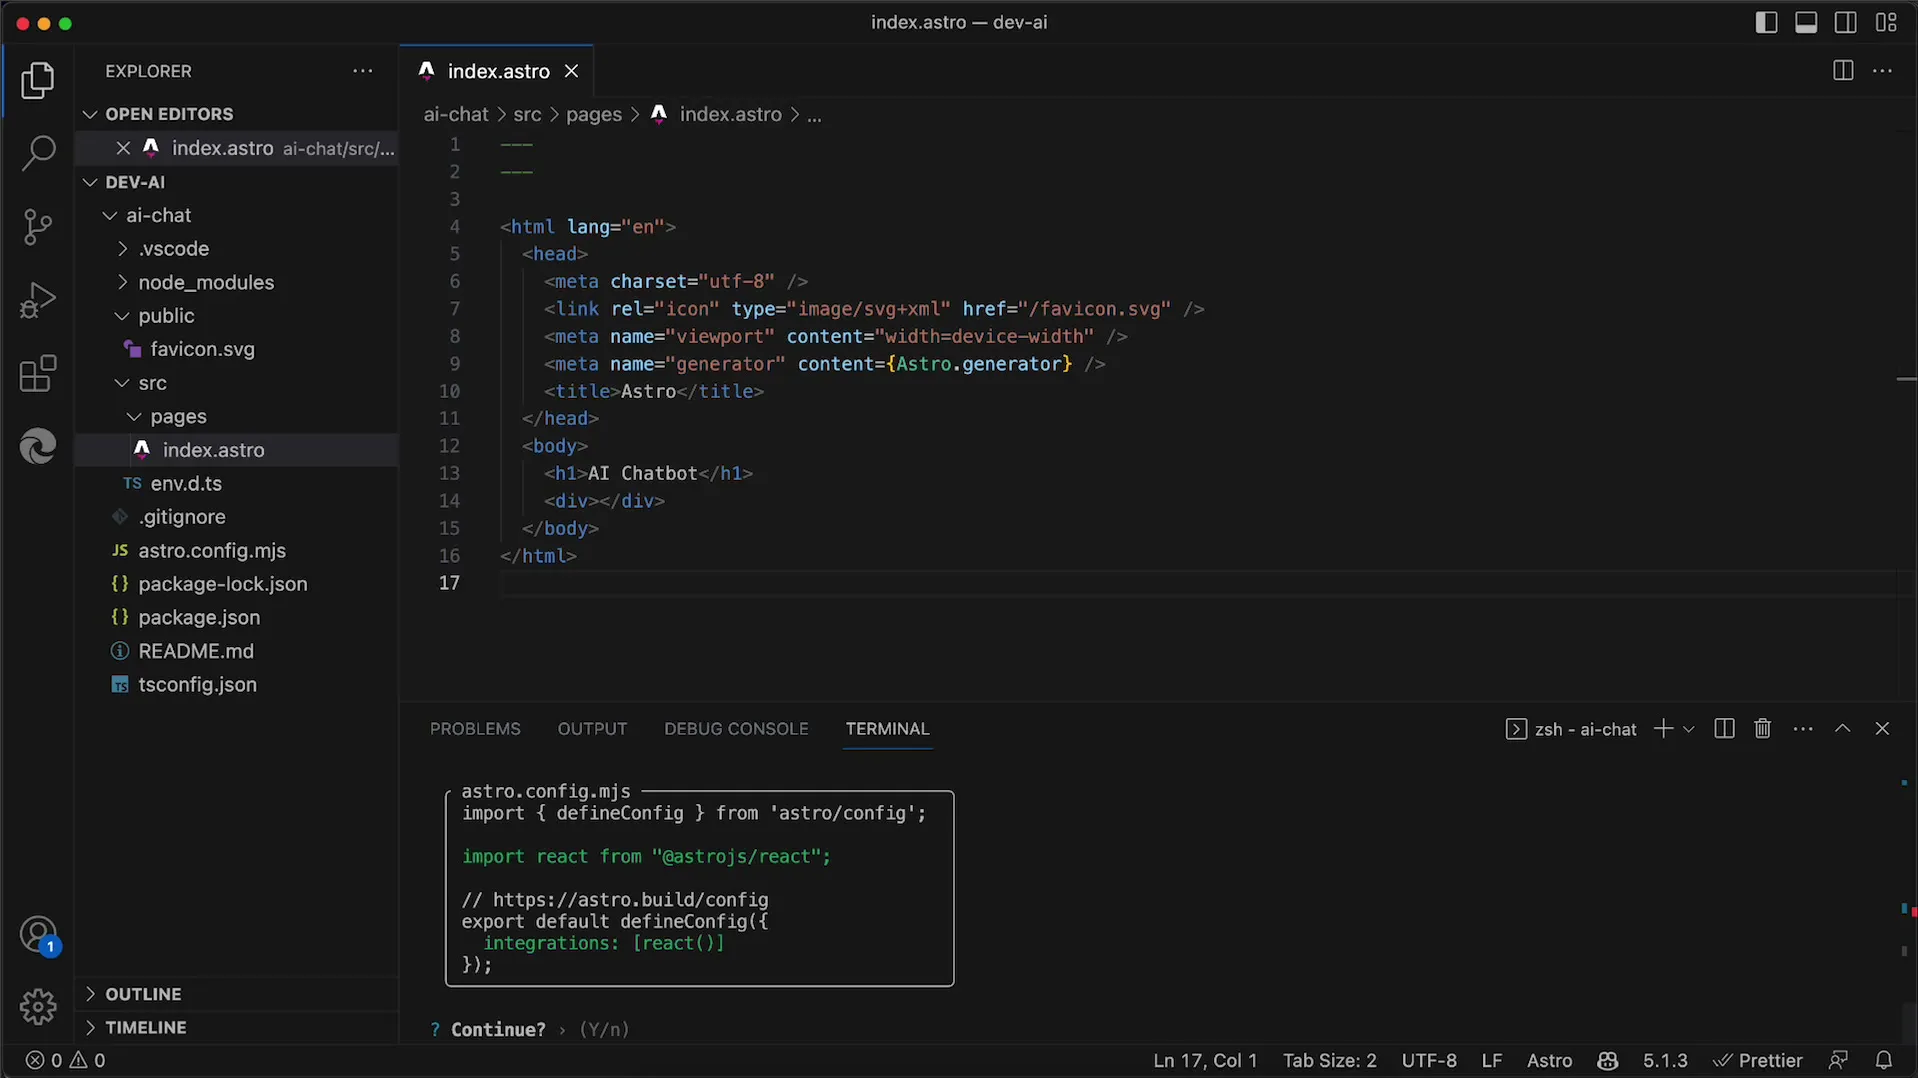
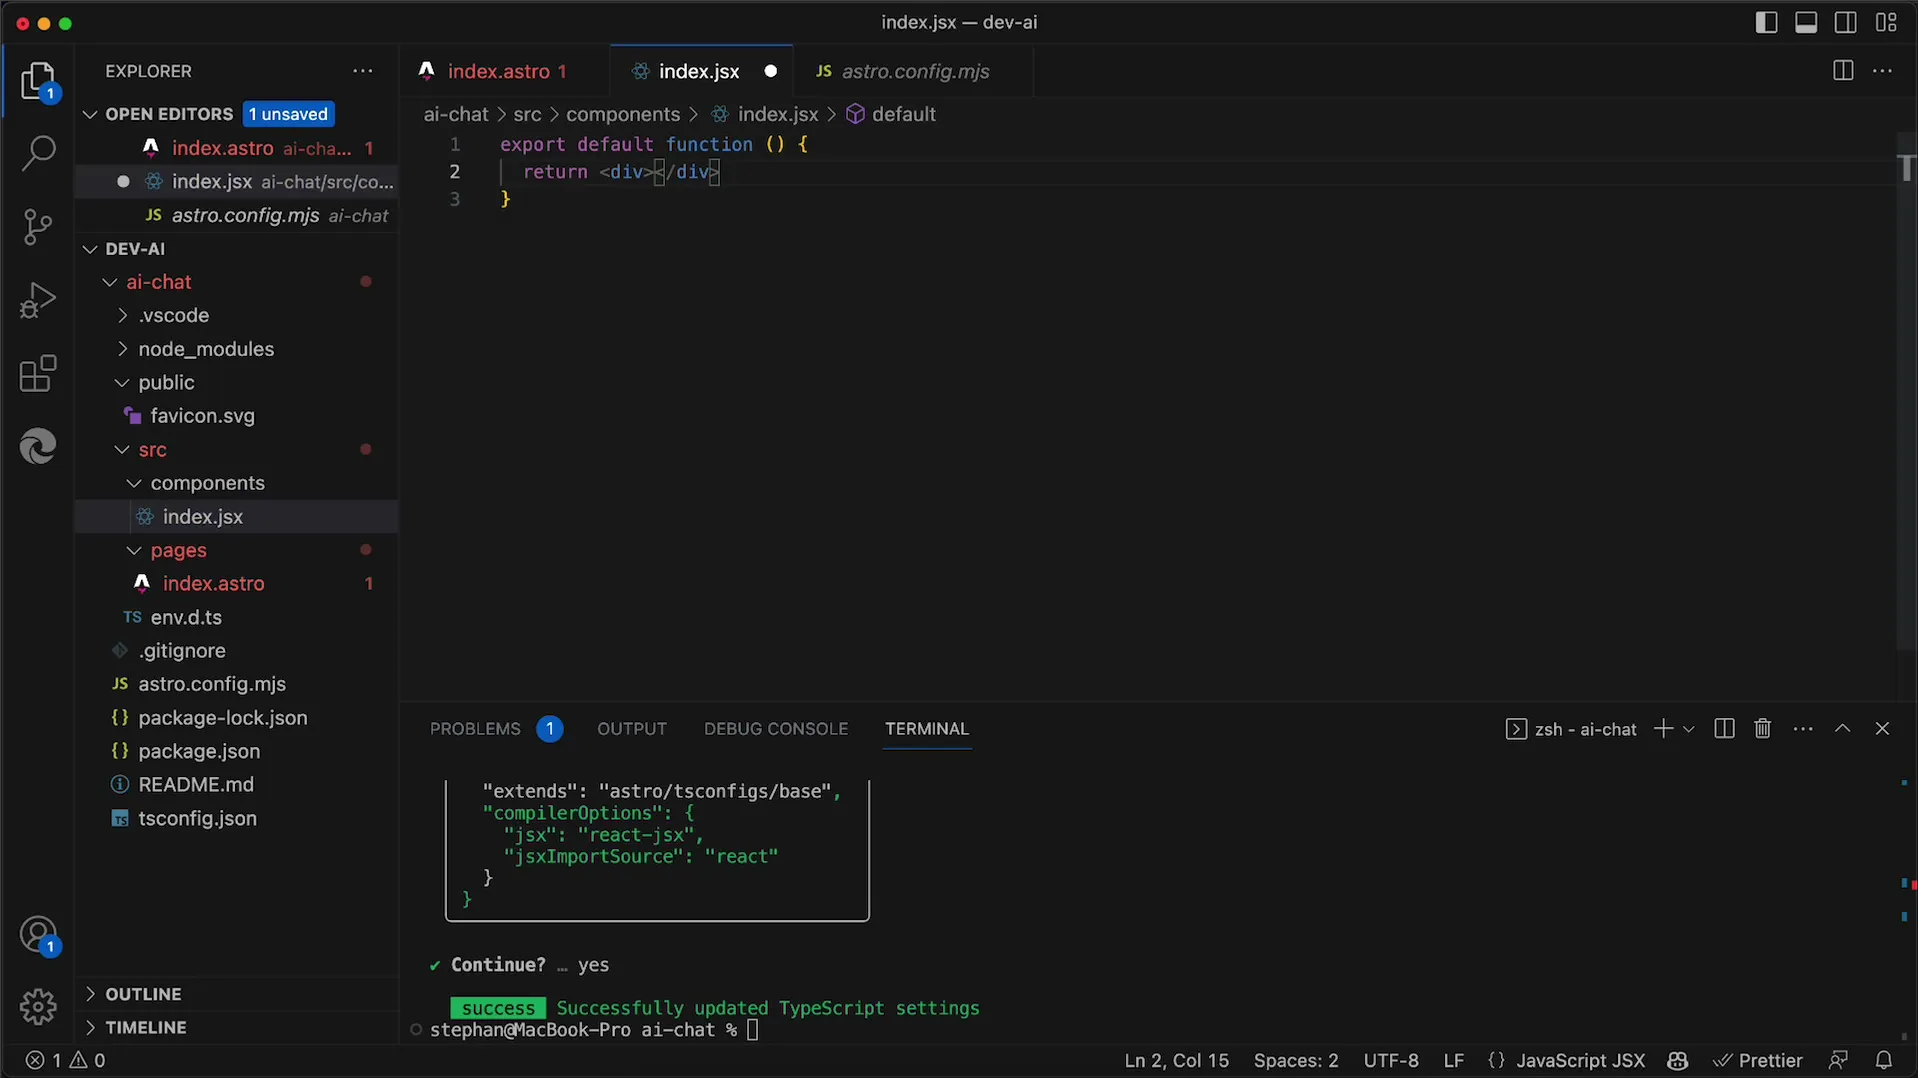
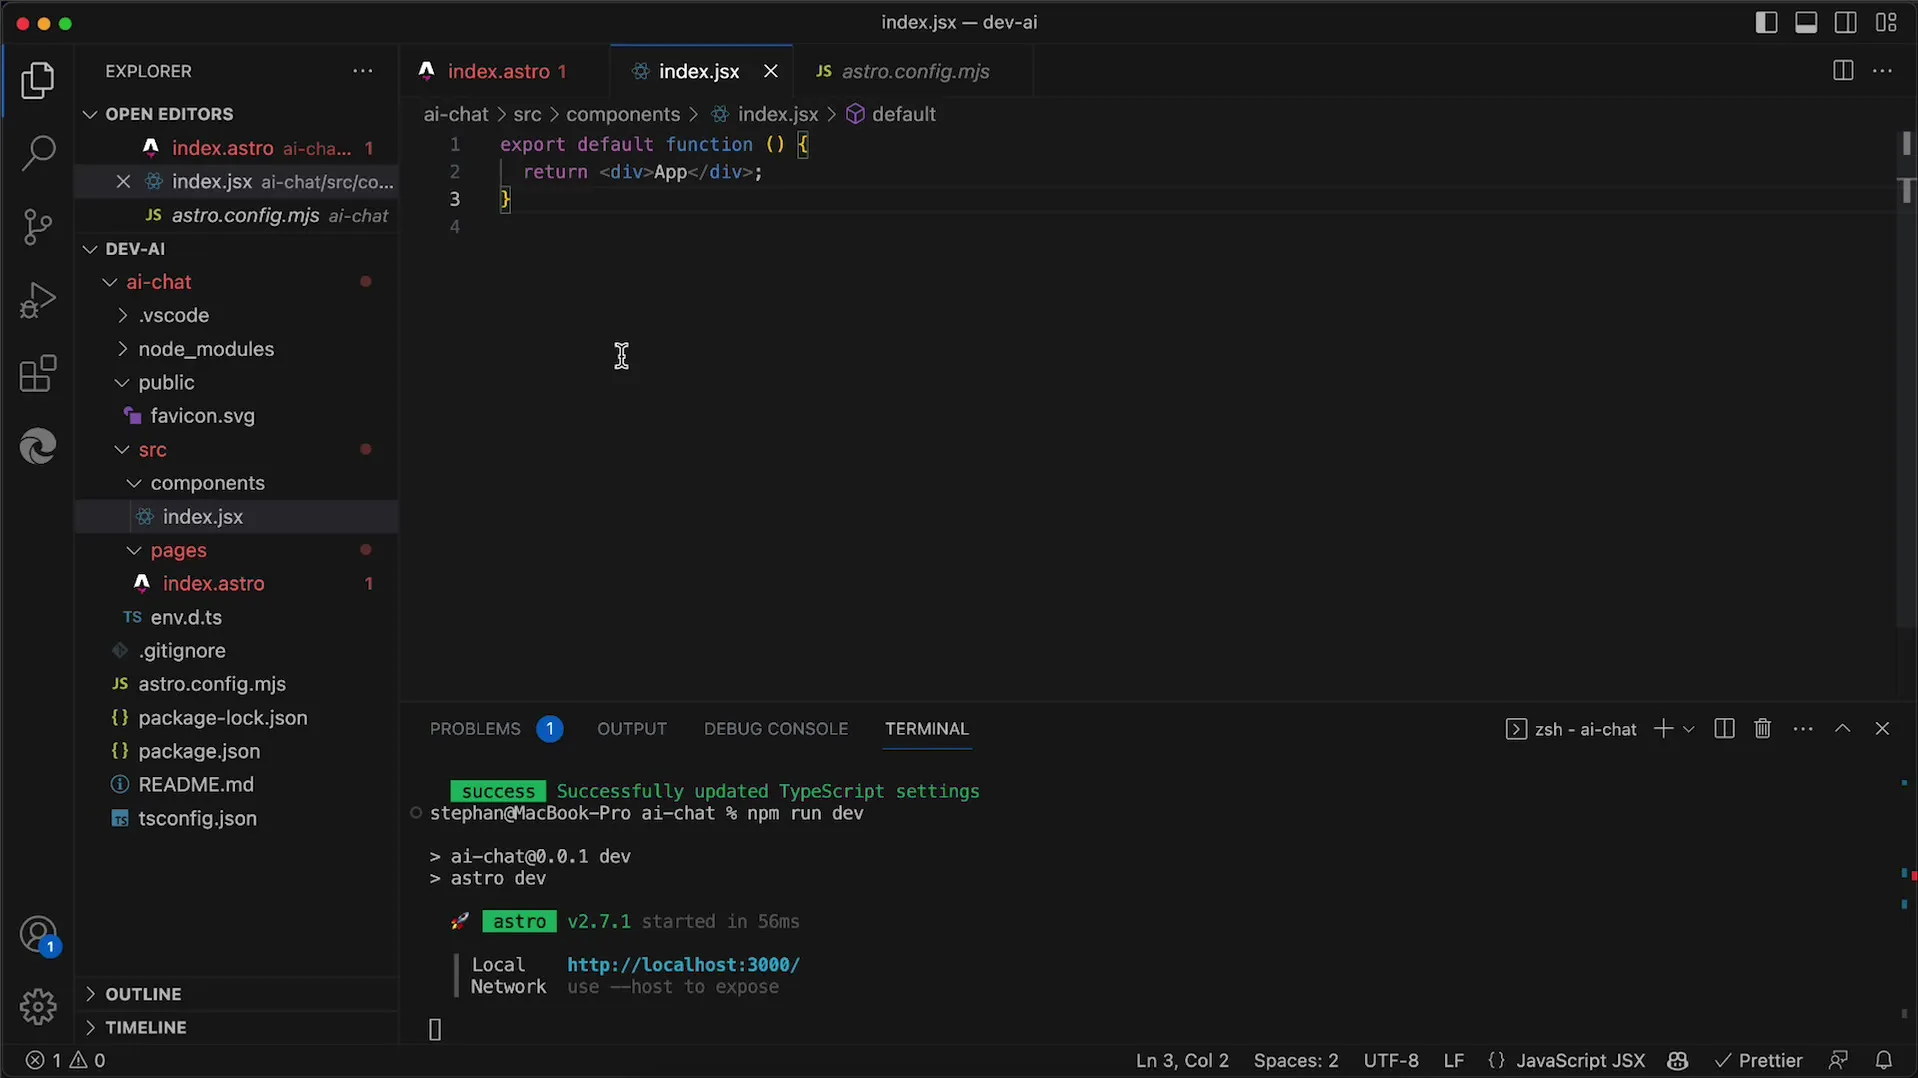
In this folder, create a file named index.jsx. This will be your ready-to-start React component where you can place your code.
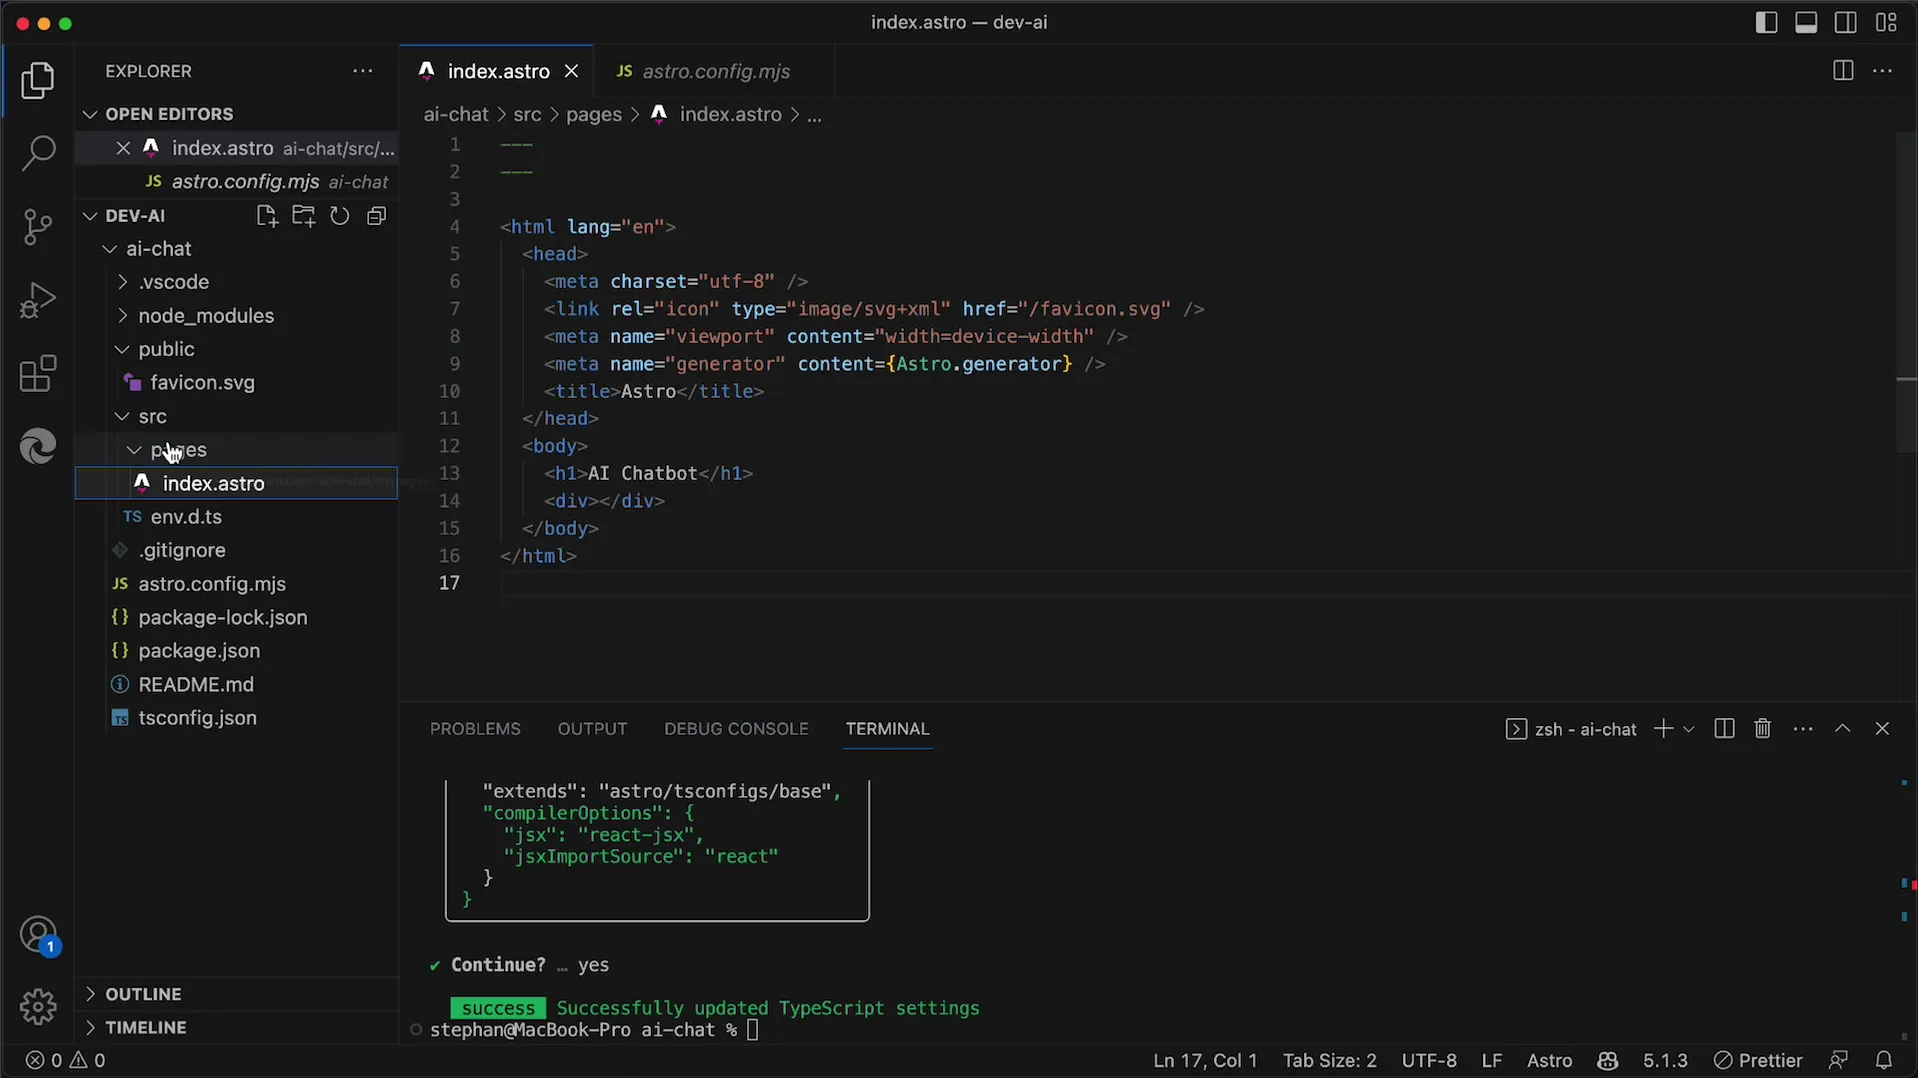
Now make sure the component is imported in the index.astro file. This is done between the three dashes (---) in the upper part of the file, where you can add import statements.
Your import statement might look something like this: import App from '../components/index.jsx';. This ensures your component is correctly loaded.
First, make sure you export something to prevent the file from being empty. Add a simple function that renders something to the DOM.
Remember to set a client:only attribute for your component. This ensures that the component is rendered in the browser, not on the server.
Next, go to the index.jsx file and create a simple React component. For example, you can insert a simple div with the text "App" into the HTML.
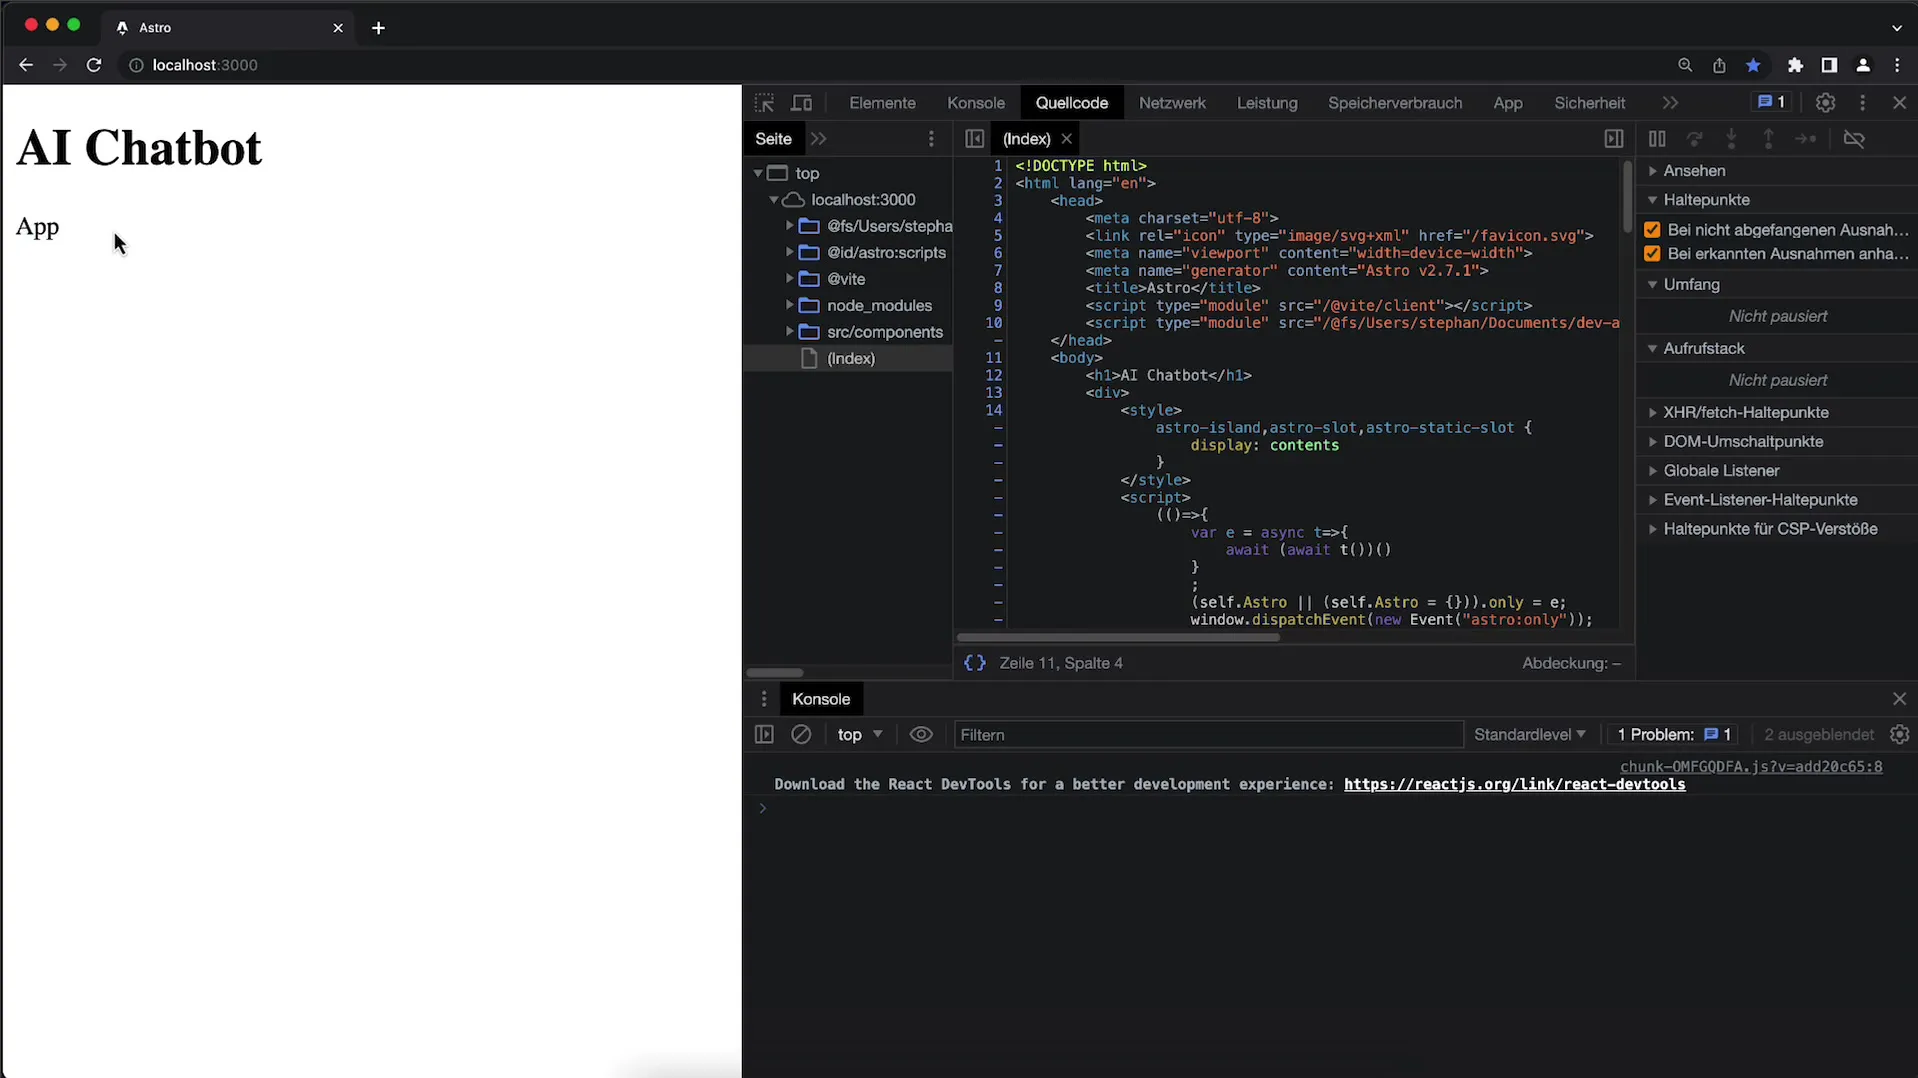
When you start the app now, you should see that the new component has been successfully loaded and is working correctly.
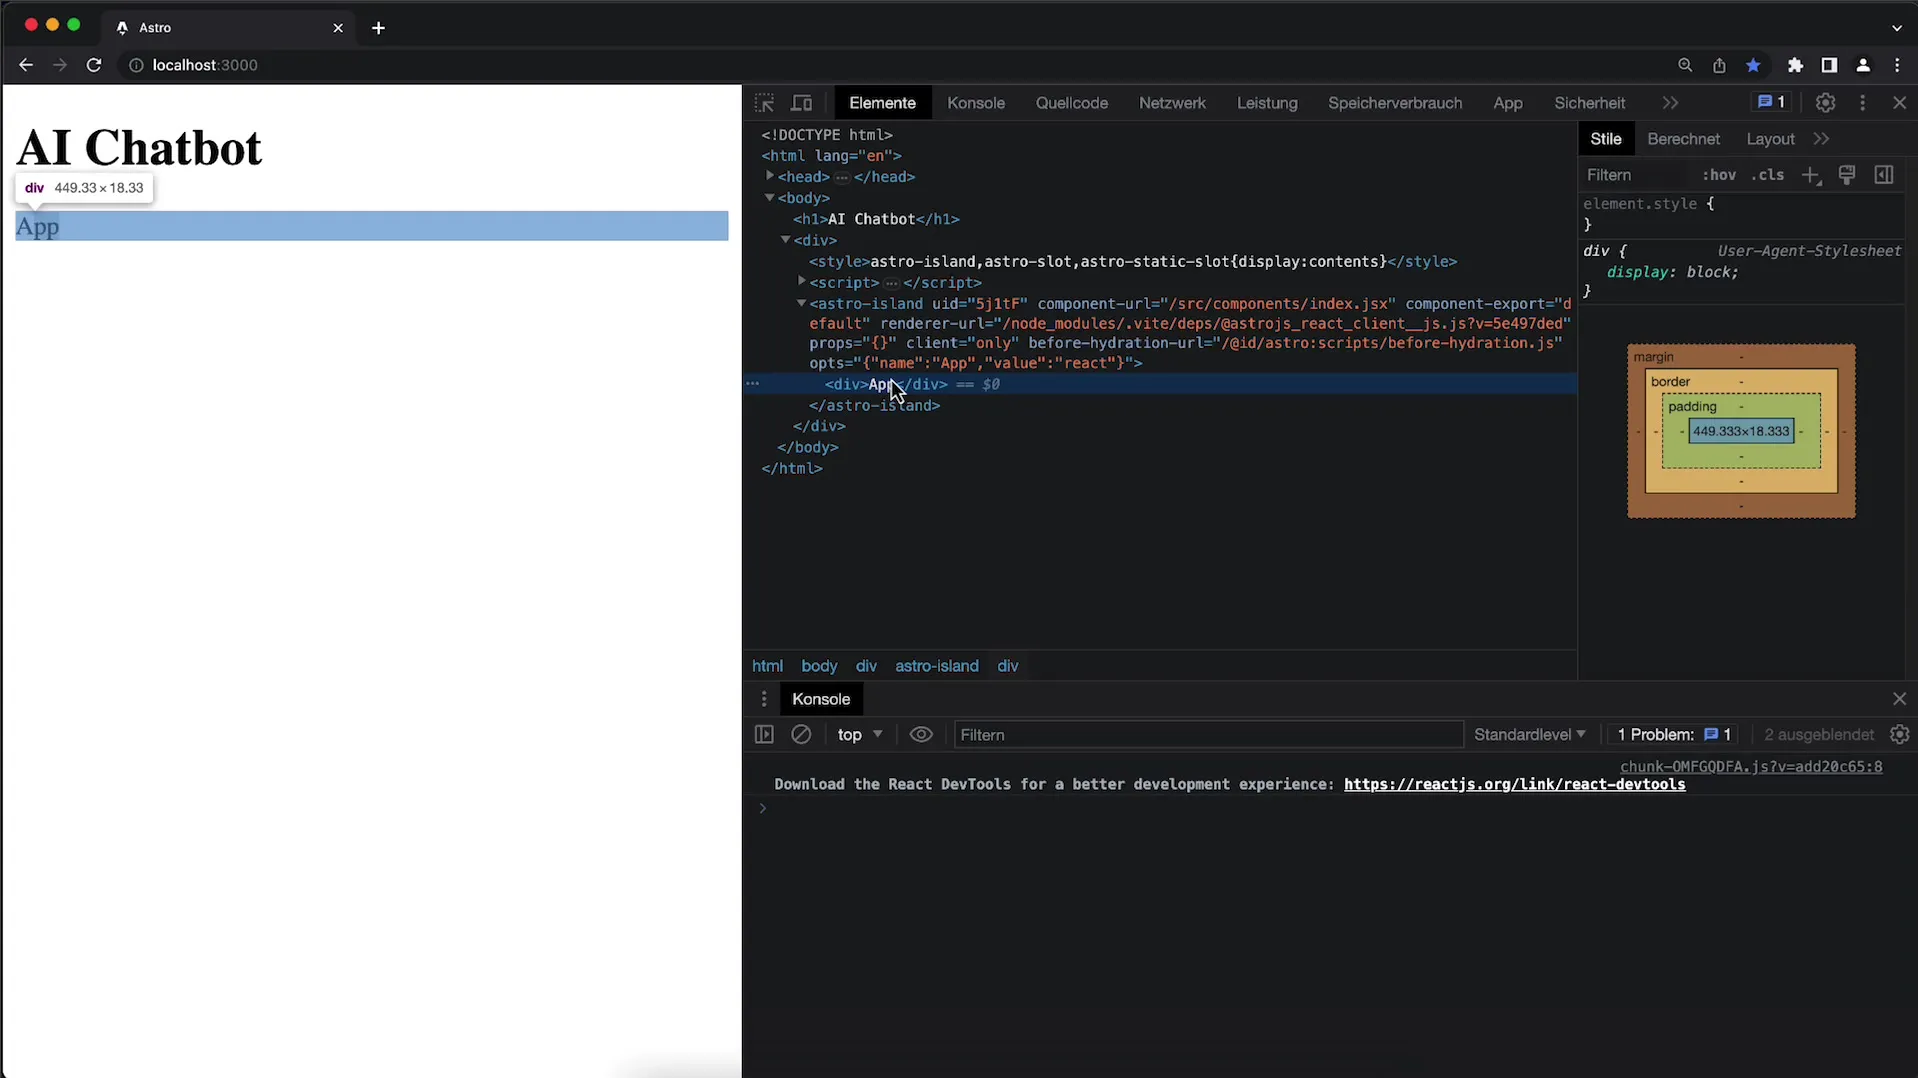
When you look at the DOM, you will notice that Astro uses a special placeholder called "Astro Island" where your React components are rendered.
Astro allows you to use multiple frontend libraries at the same time. This means that you can combine React, Vue, or other libraries in one application without any complications.
Your component working is already a good step, and now you can work on further expanding your application. In future tutorials, we will develop the component into a chat application.
Summary
In this tutorial, you learned how to add React to your Astro app and create a simple component. This opens the door to a variety of possibilities for extending your application.
Frequently Asked Questions
How do I install React in my Astro app?You can add React to your Astro app with the command npx astro add react.
Why is it important to use client:only?The client:only attribute ensures that your component is rendered in the browser and not on the server.
Could I use multiple frontend libraries in an Astro app?Yes, Astro allows you to use multiple frontend libraries such as React, Vue, and others simultaneously.


