In this tutorial, we will provide a comprehensive overview of the functions of Lightroom Classic CC that allow you to optimize your image editing efficiently. We will focus on three central aspects: the History, Snapshots, and Presets. These tools help you track every editing step, save changes, and access them at any time. Additionally, with the help of Presets, you can speed up your image editing by applying unique settings to multiple images.
Key Takeaways
- Lightroom saves every editing step in a History.
- Snapshots allow you to save the current state of your editing.
- Presets can be used for faster and consistent editing of images.
Using the History
Every time you make changes to an image, Lightroom saves these steps in a History. This is an extremely useful feature as it allows you to review what you have already edited at any time. For example, if you want to go back to check or restore a previous change, you can easily do so through the History.

When navigating the History, you can easily track your steps and undo changes if necessary. The History is displayed at the top of the Navigation area, allowing you to see where you are in your editing process and what you have already altered.
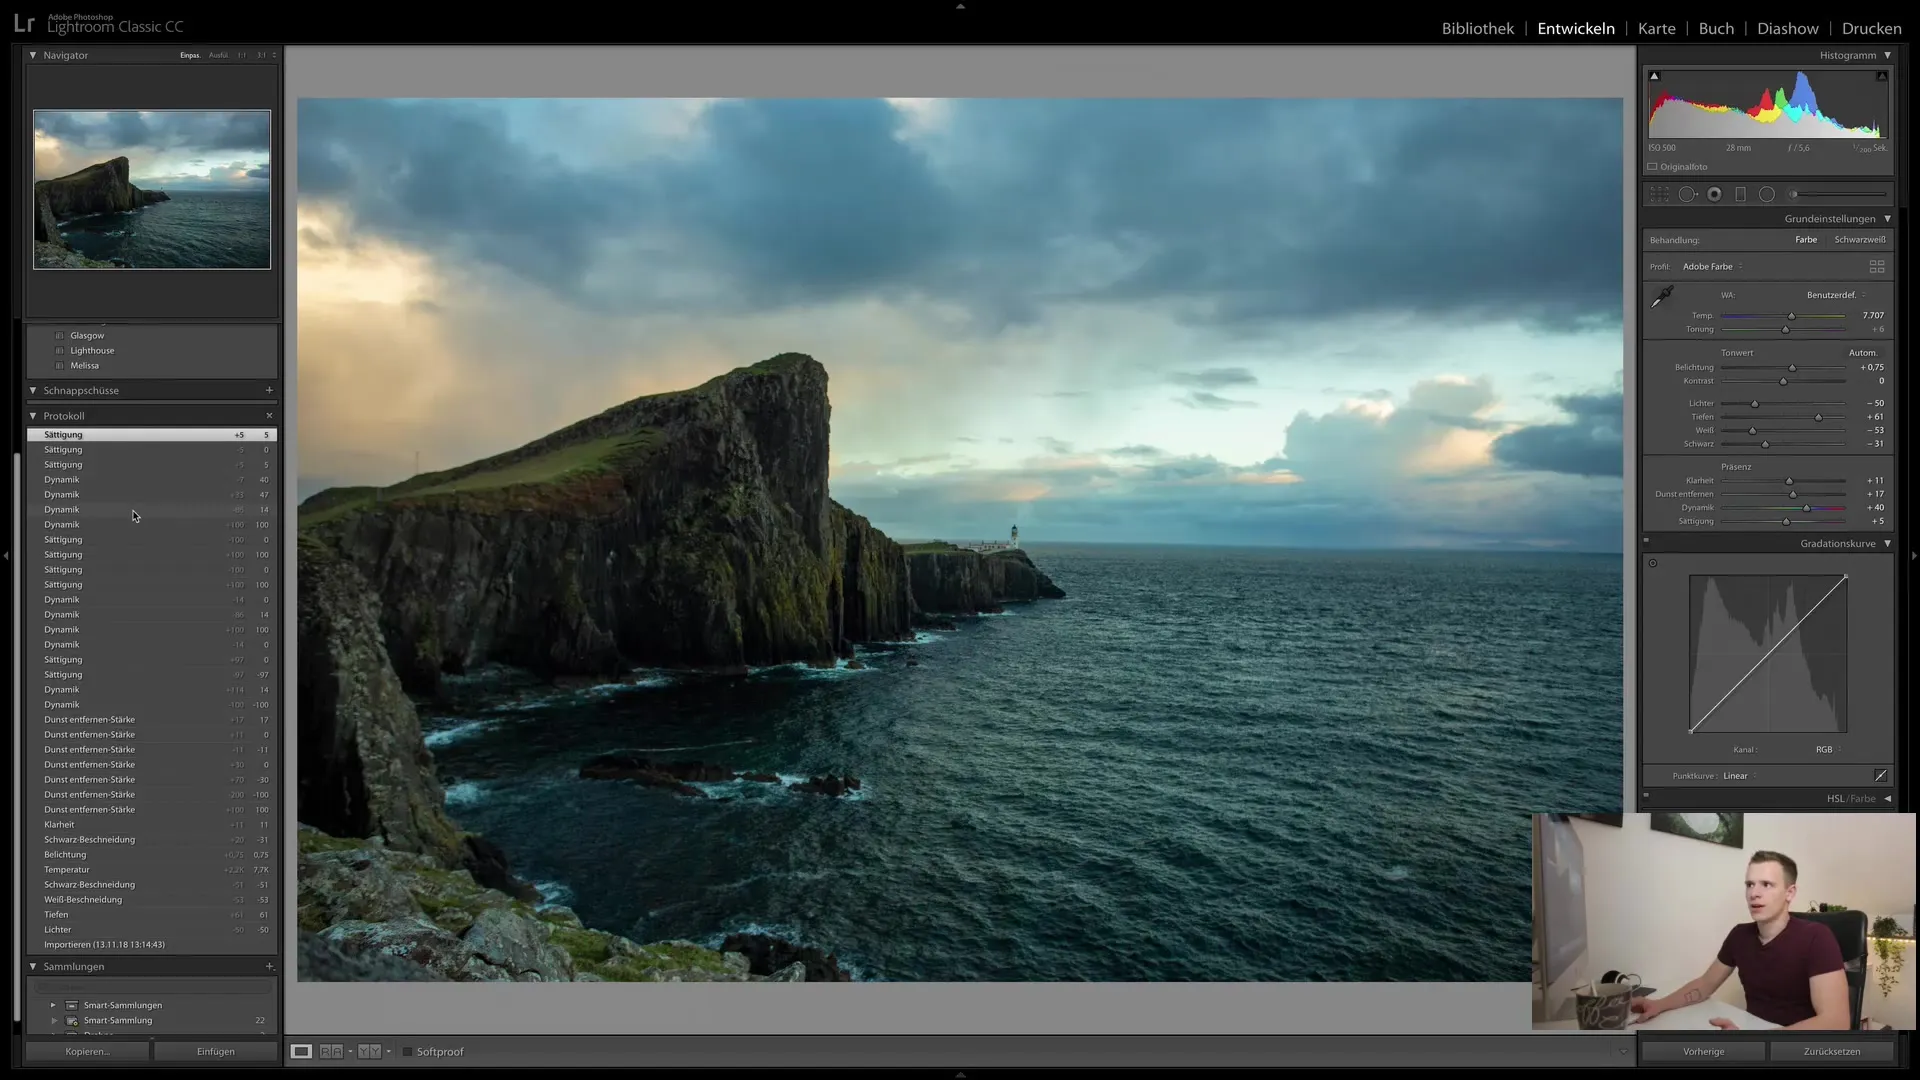
However, it is important to note that changes made to the image after a certain point in the History can overwrite previous steps. This means you must be careful when continuing to work on an image you have already edited.
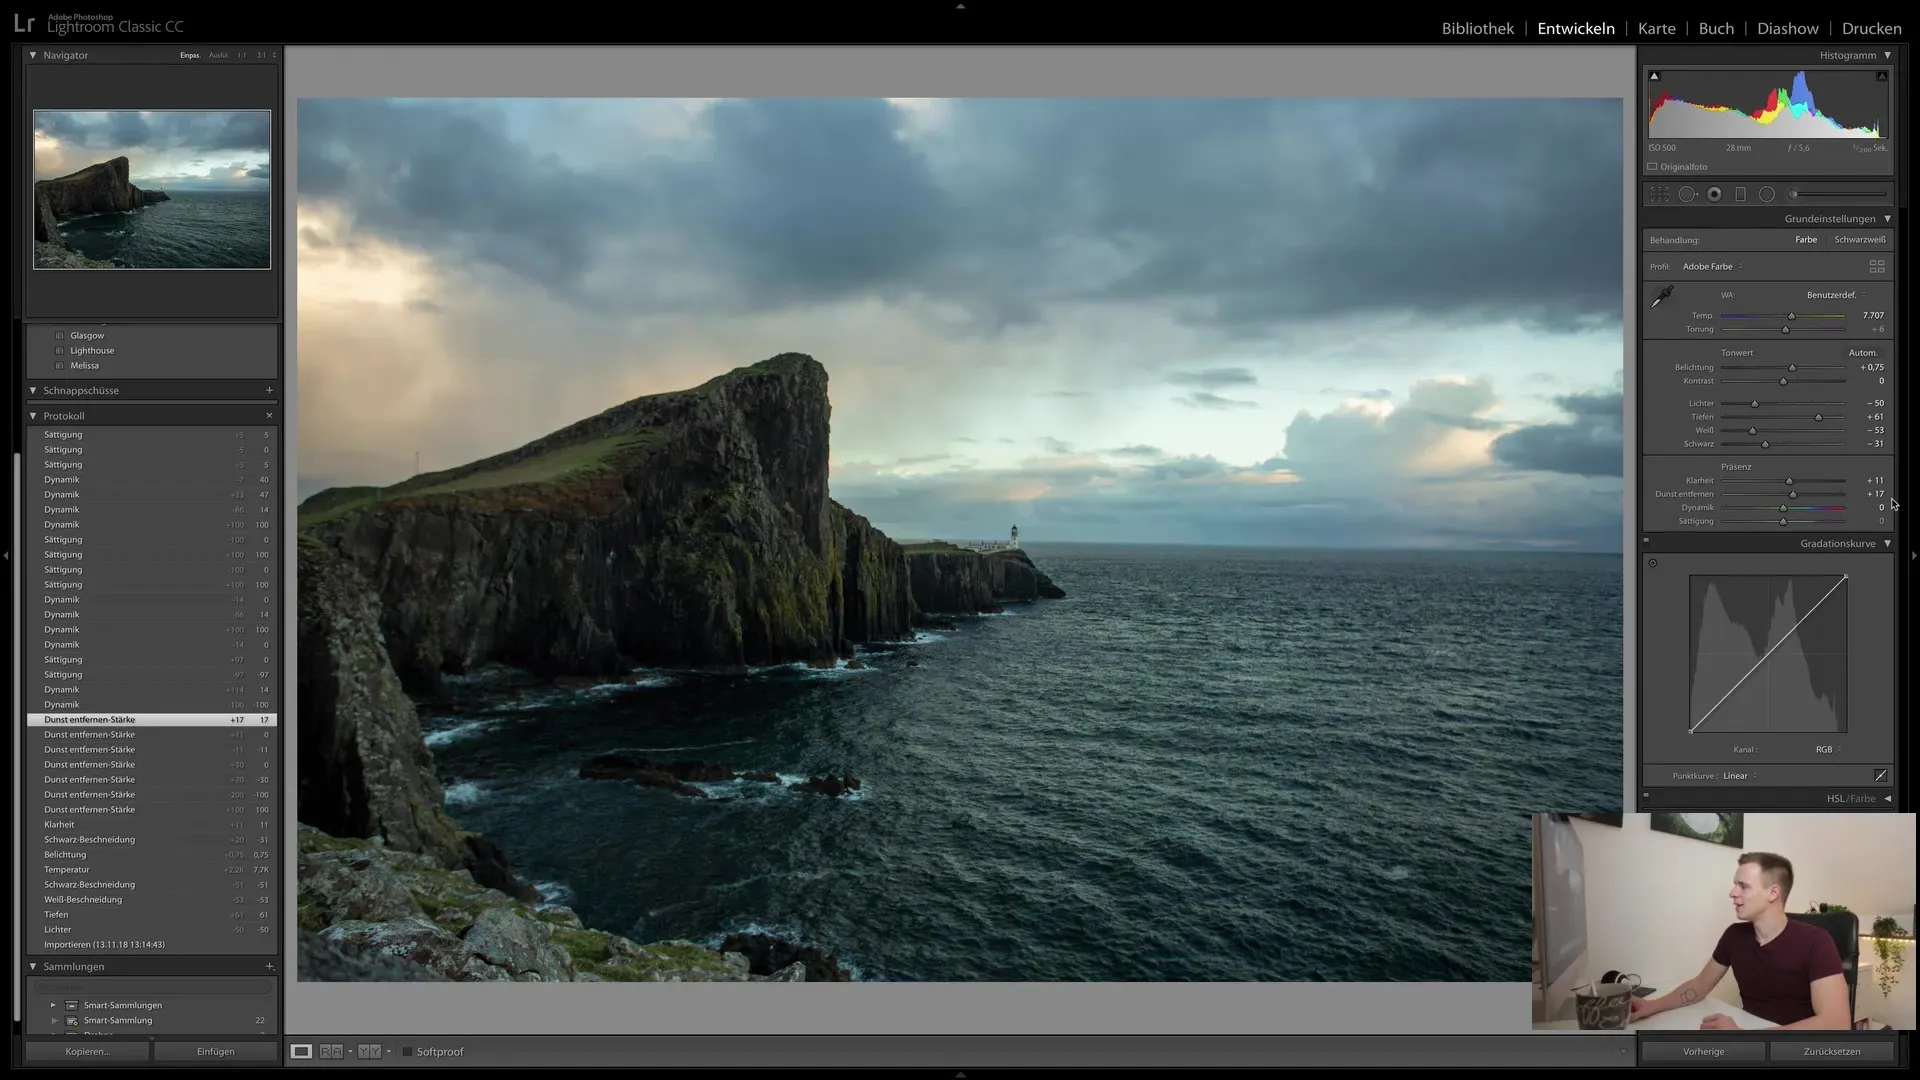
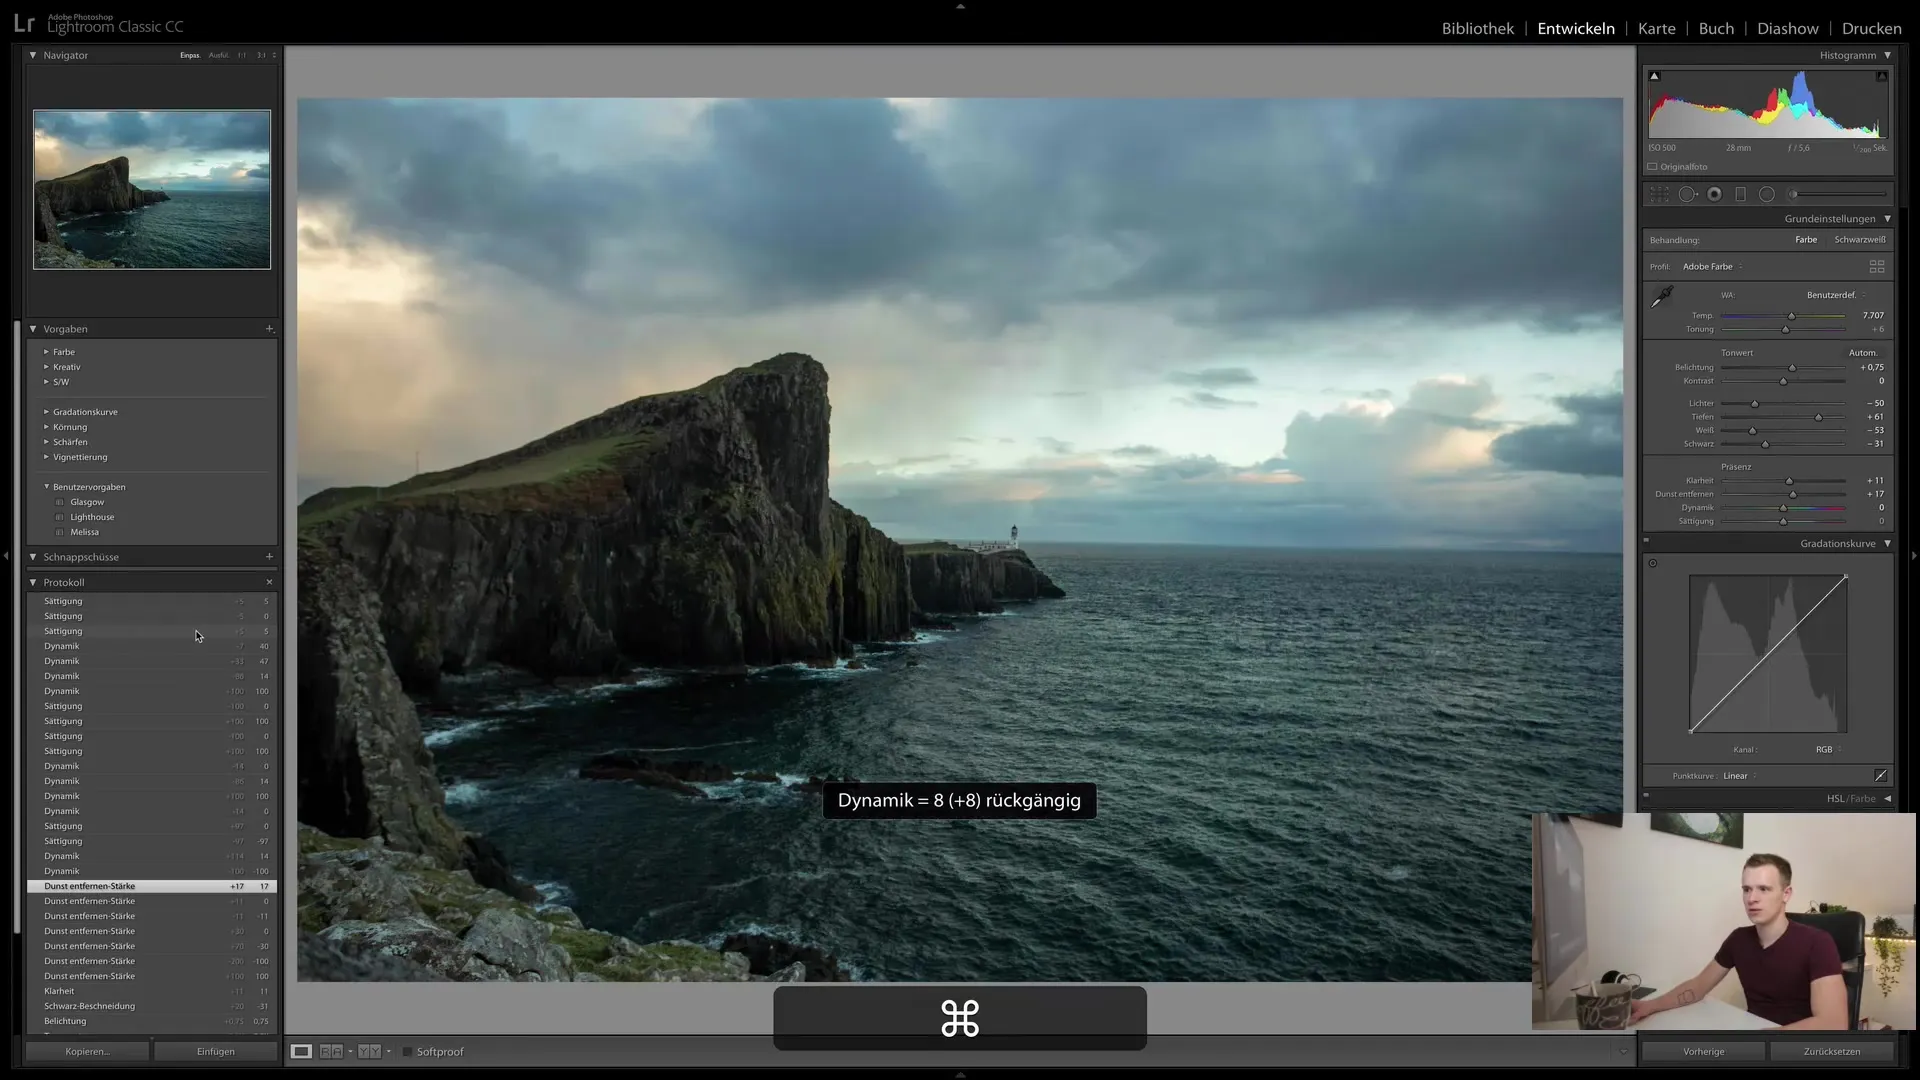
If you regret a change, you have the option to undo the last step using "Ctrl + Z" or "Cmd + Z" (depending on the operating system). This allows you to reset your editing in a moment without losing the History itself.
Creating Snapshots
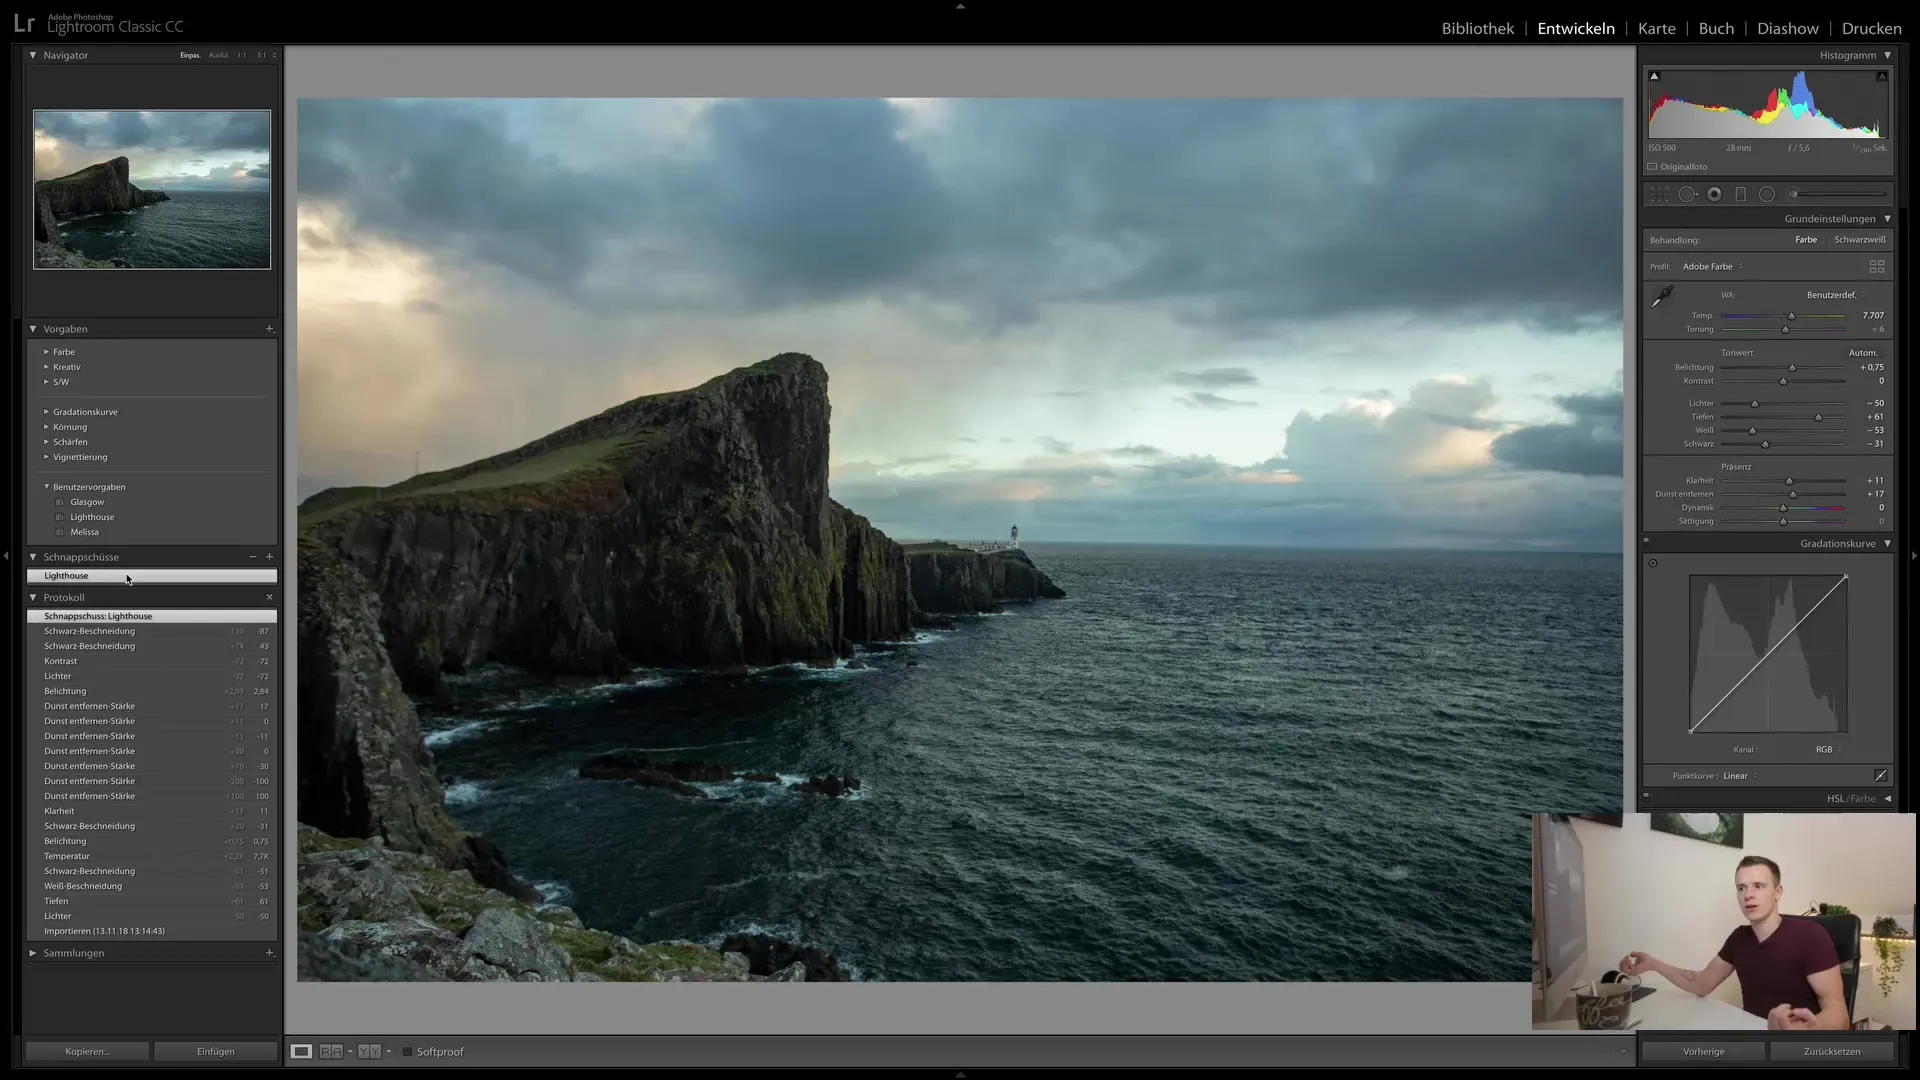
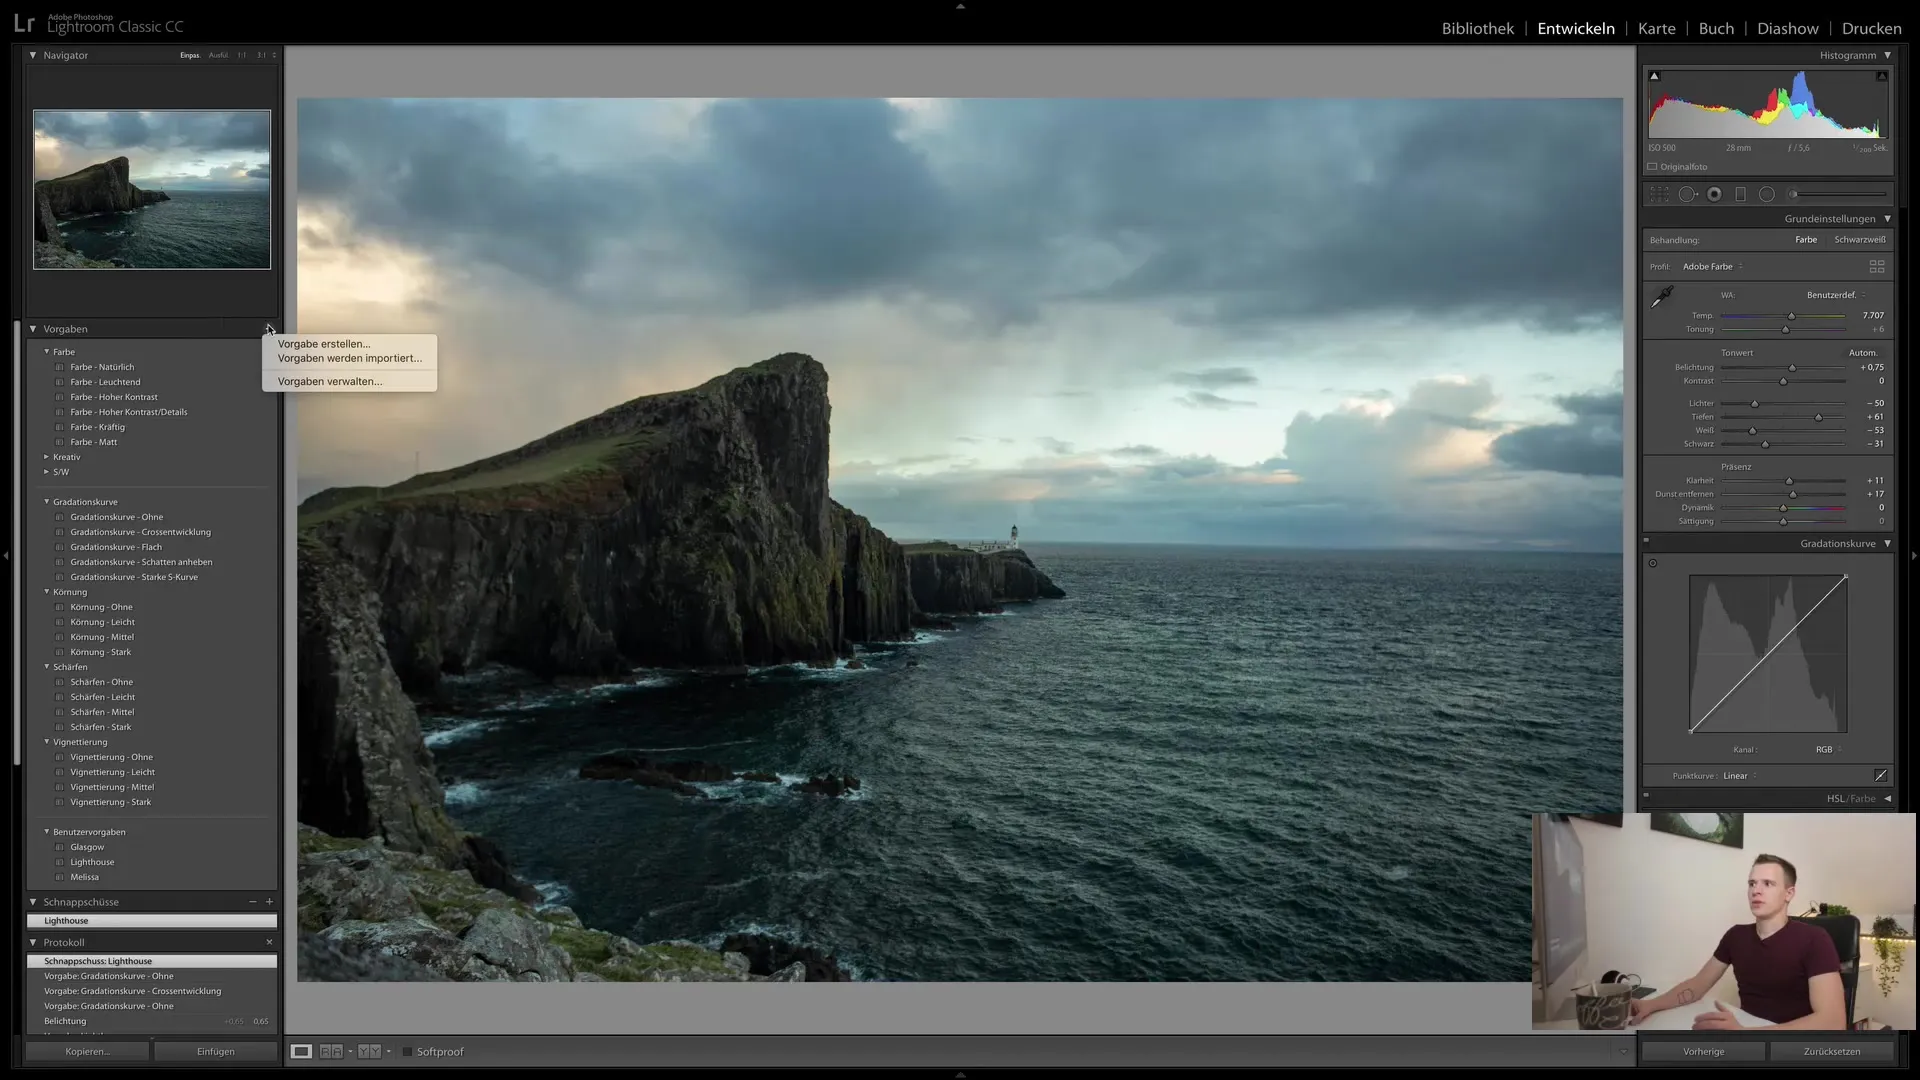
If you are satisfied with your image and want to capture the current editing state, you can create a Snapshot. Snapshots are a great way to save different editing states and quickly switch between them. To create a Snapshot, simply click on the Plus button in the Snapshots area.
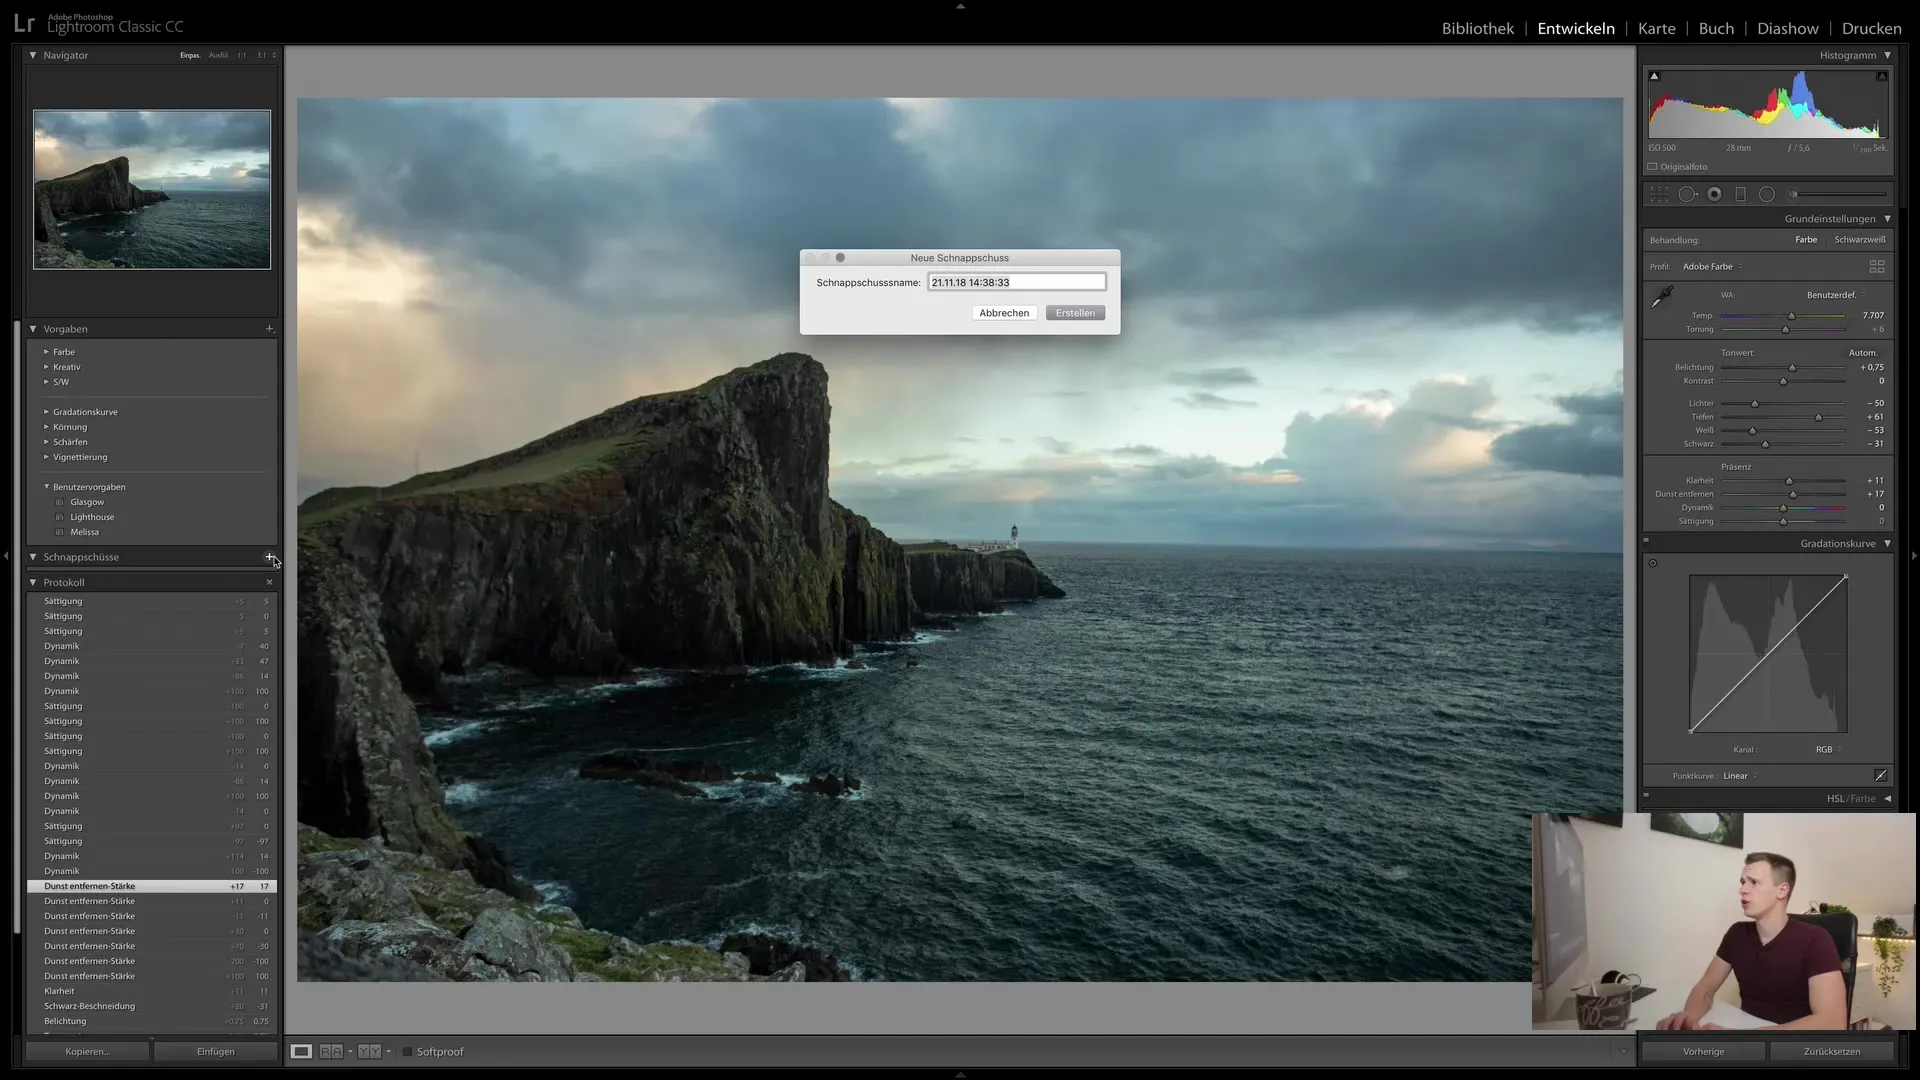
You have the option to choose a name for your Snapshot - Lightroom automatically suggests a designation that usually includes the current date and time. However, it is advisable to name your Snapshot with a meaningful name for easier retrieval later on.
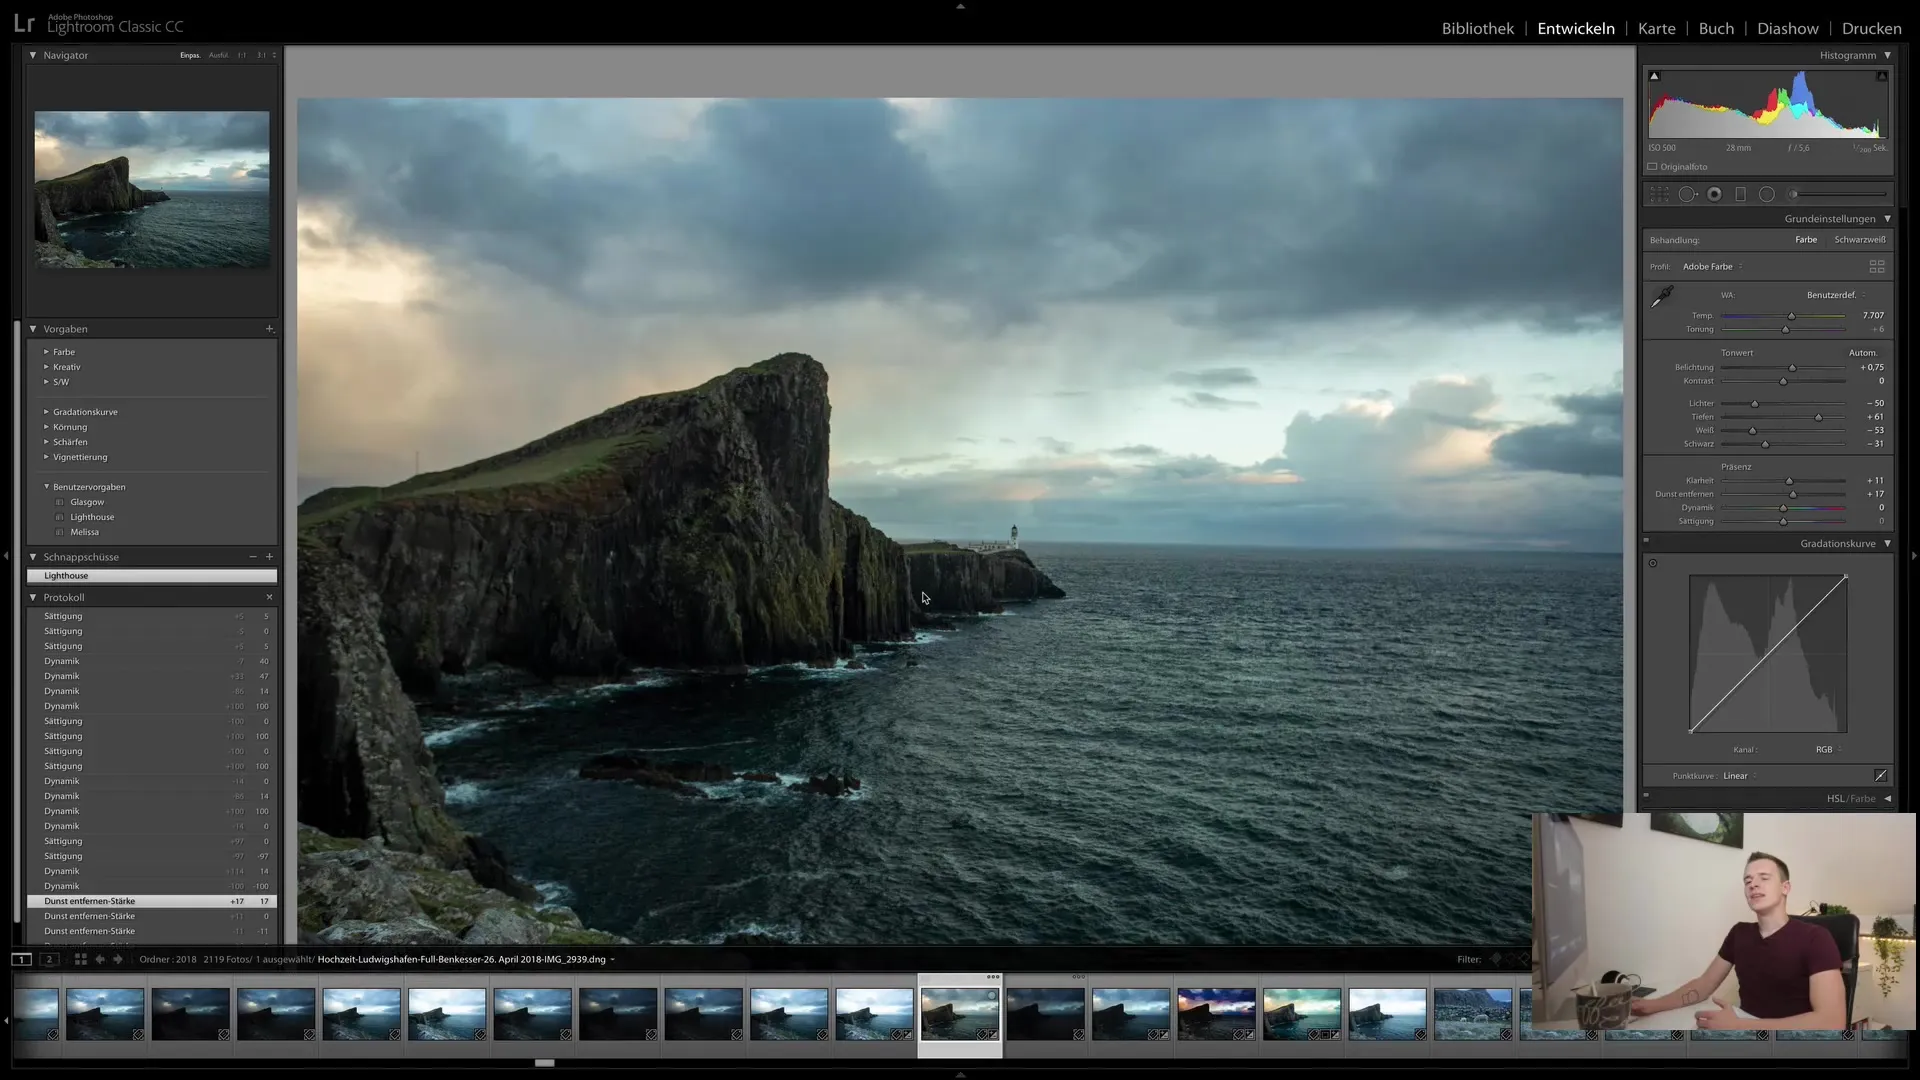
Keep in mind that Snapshots are only valid for the currently edited image. If you switch to another image, the previous Snapshot will no longer be displayed. Therefore, you can create your own Snapshots and editing states for each image.
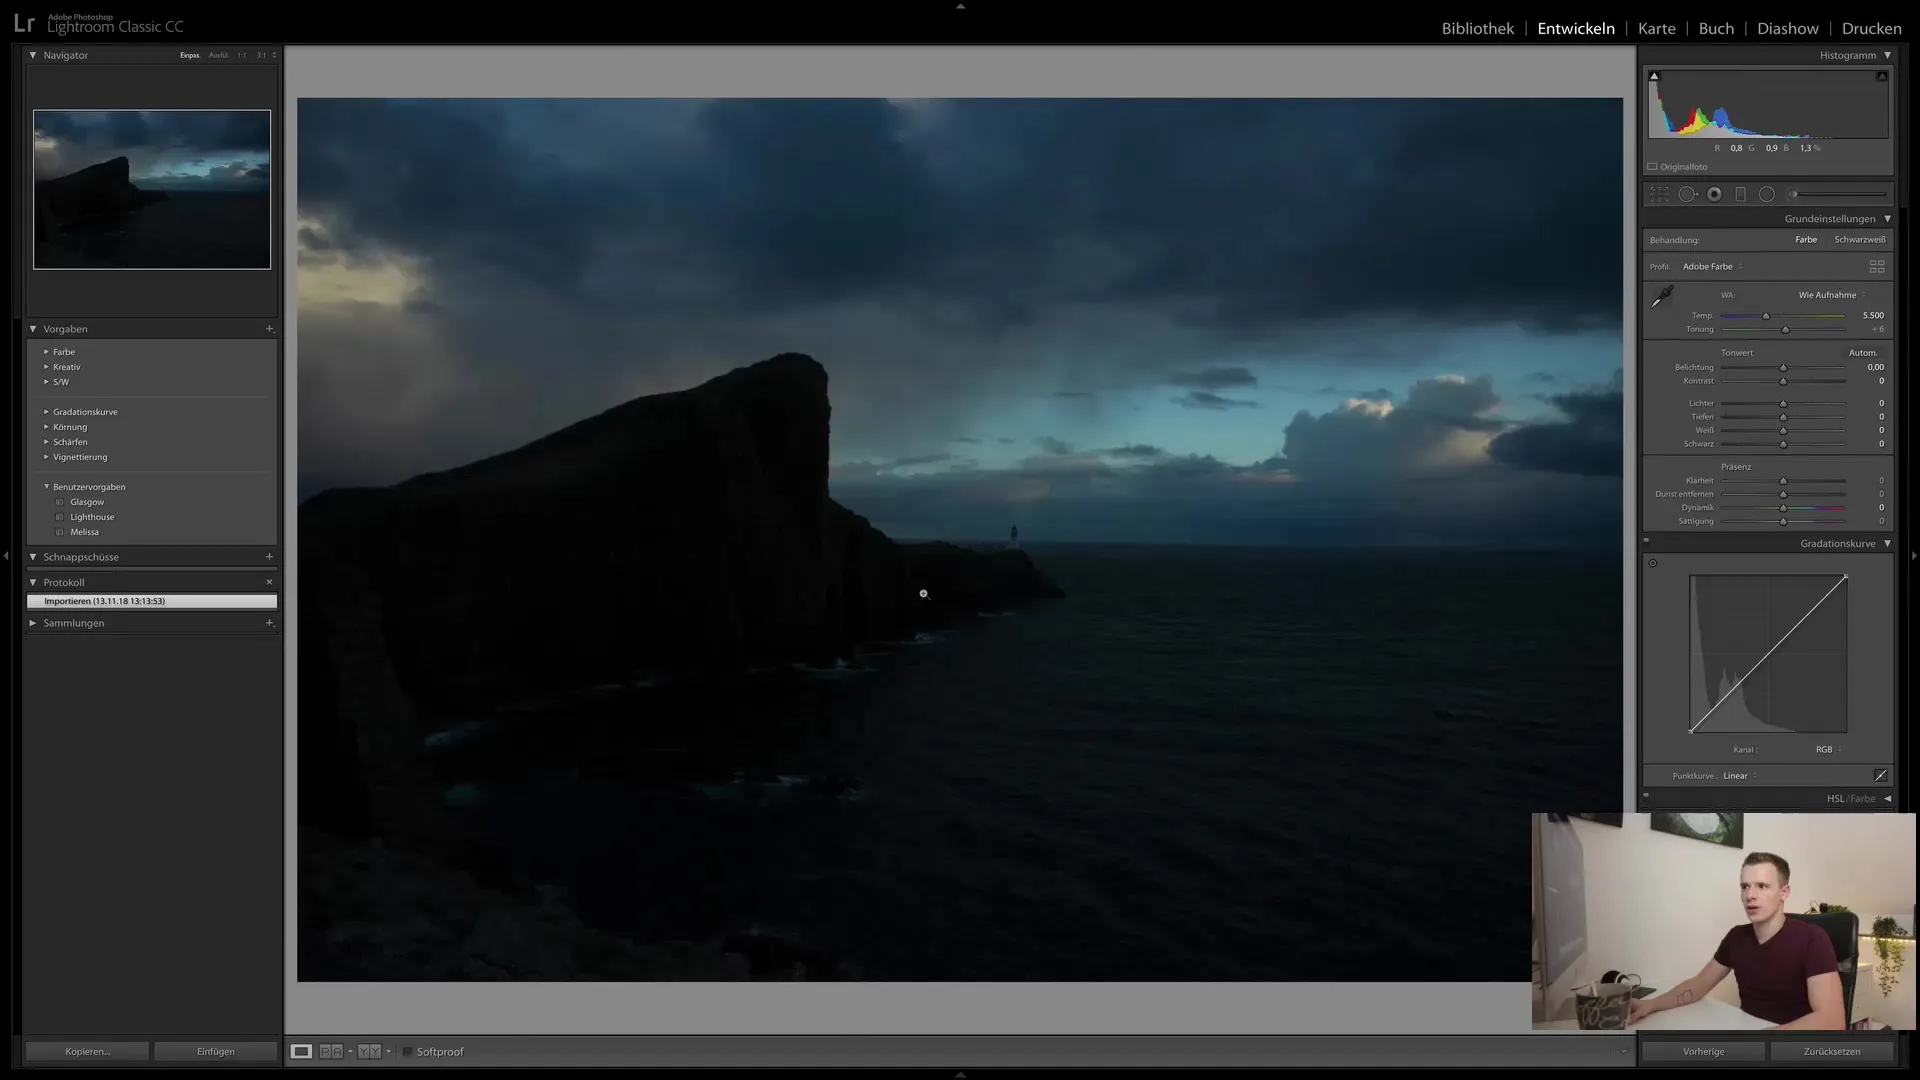
If you make an unwanted change and want to revert to a previous state, you can simply click on the Snapshot you have saved. This will easily restore your previous editing.
Applying Presets
Another powerful feature of Lightroom is the Presets. Presets are predefined settings that you can apply to your images to achieve a certain look or to speed up your editing. They are essentially "Snapshots" of your editing styles that can be transferred to other images.
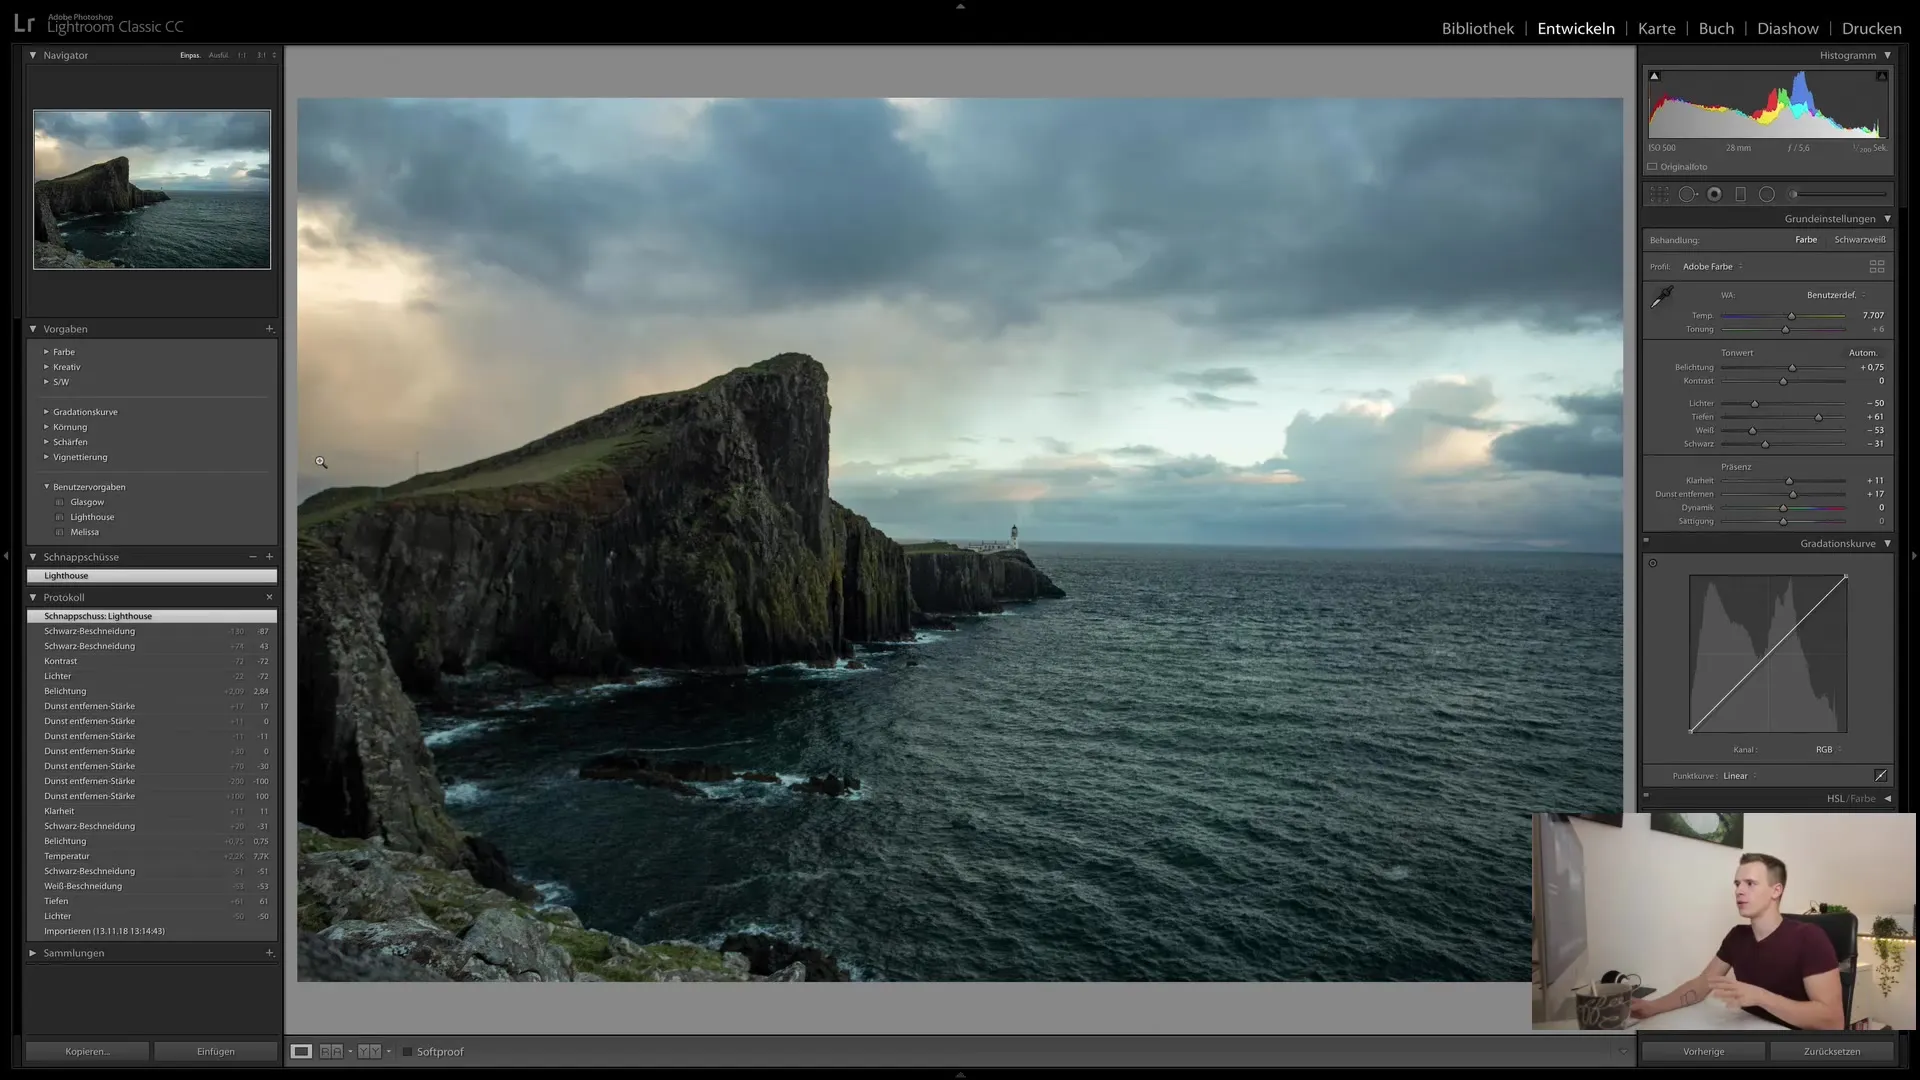
To apply a preset, select the desired image and choose a preset from the palette. When you hover over a preset, you will see a preview and can decide if you like this edit.
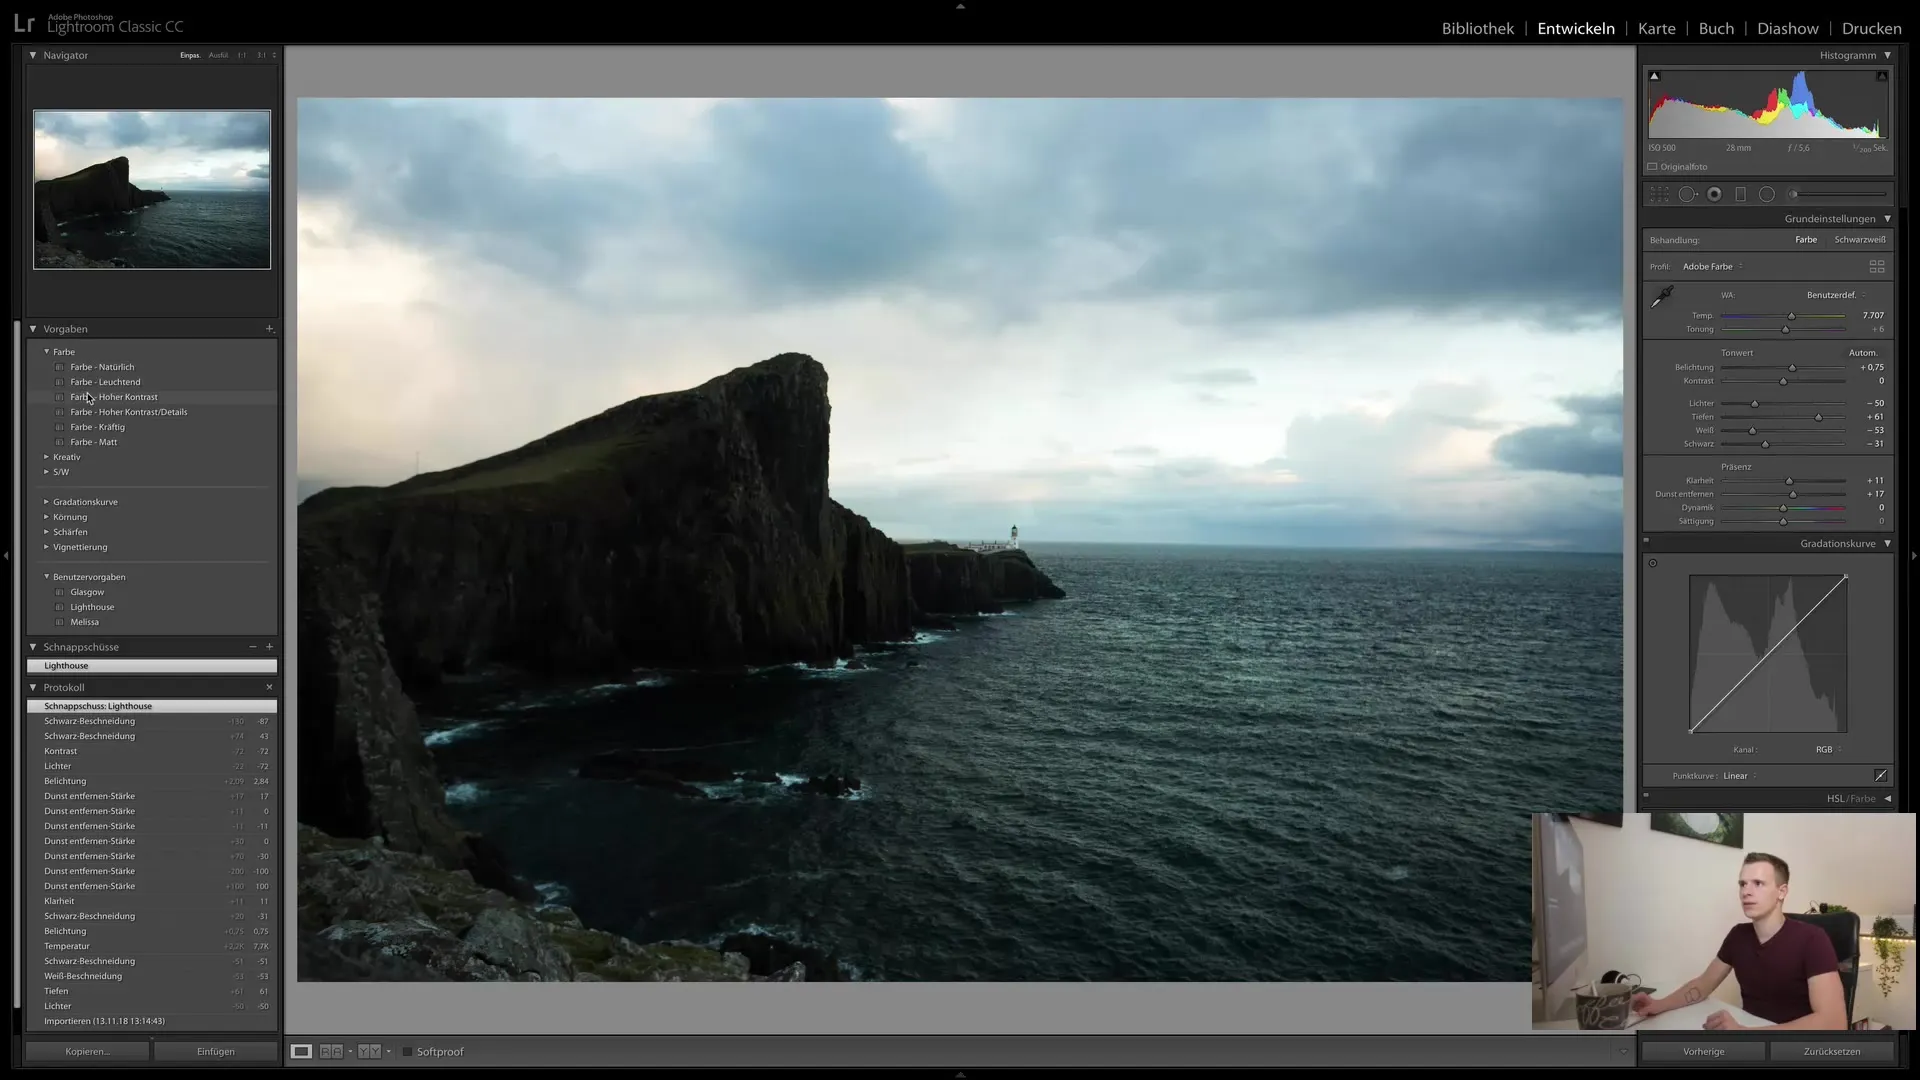
It is important to note that presets do not change all editing sliders. If a preset is only applied to a specific module, the rest of the edit remains untouched. Therefore, any previous edits should always be reset before applying a new preset.
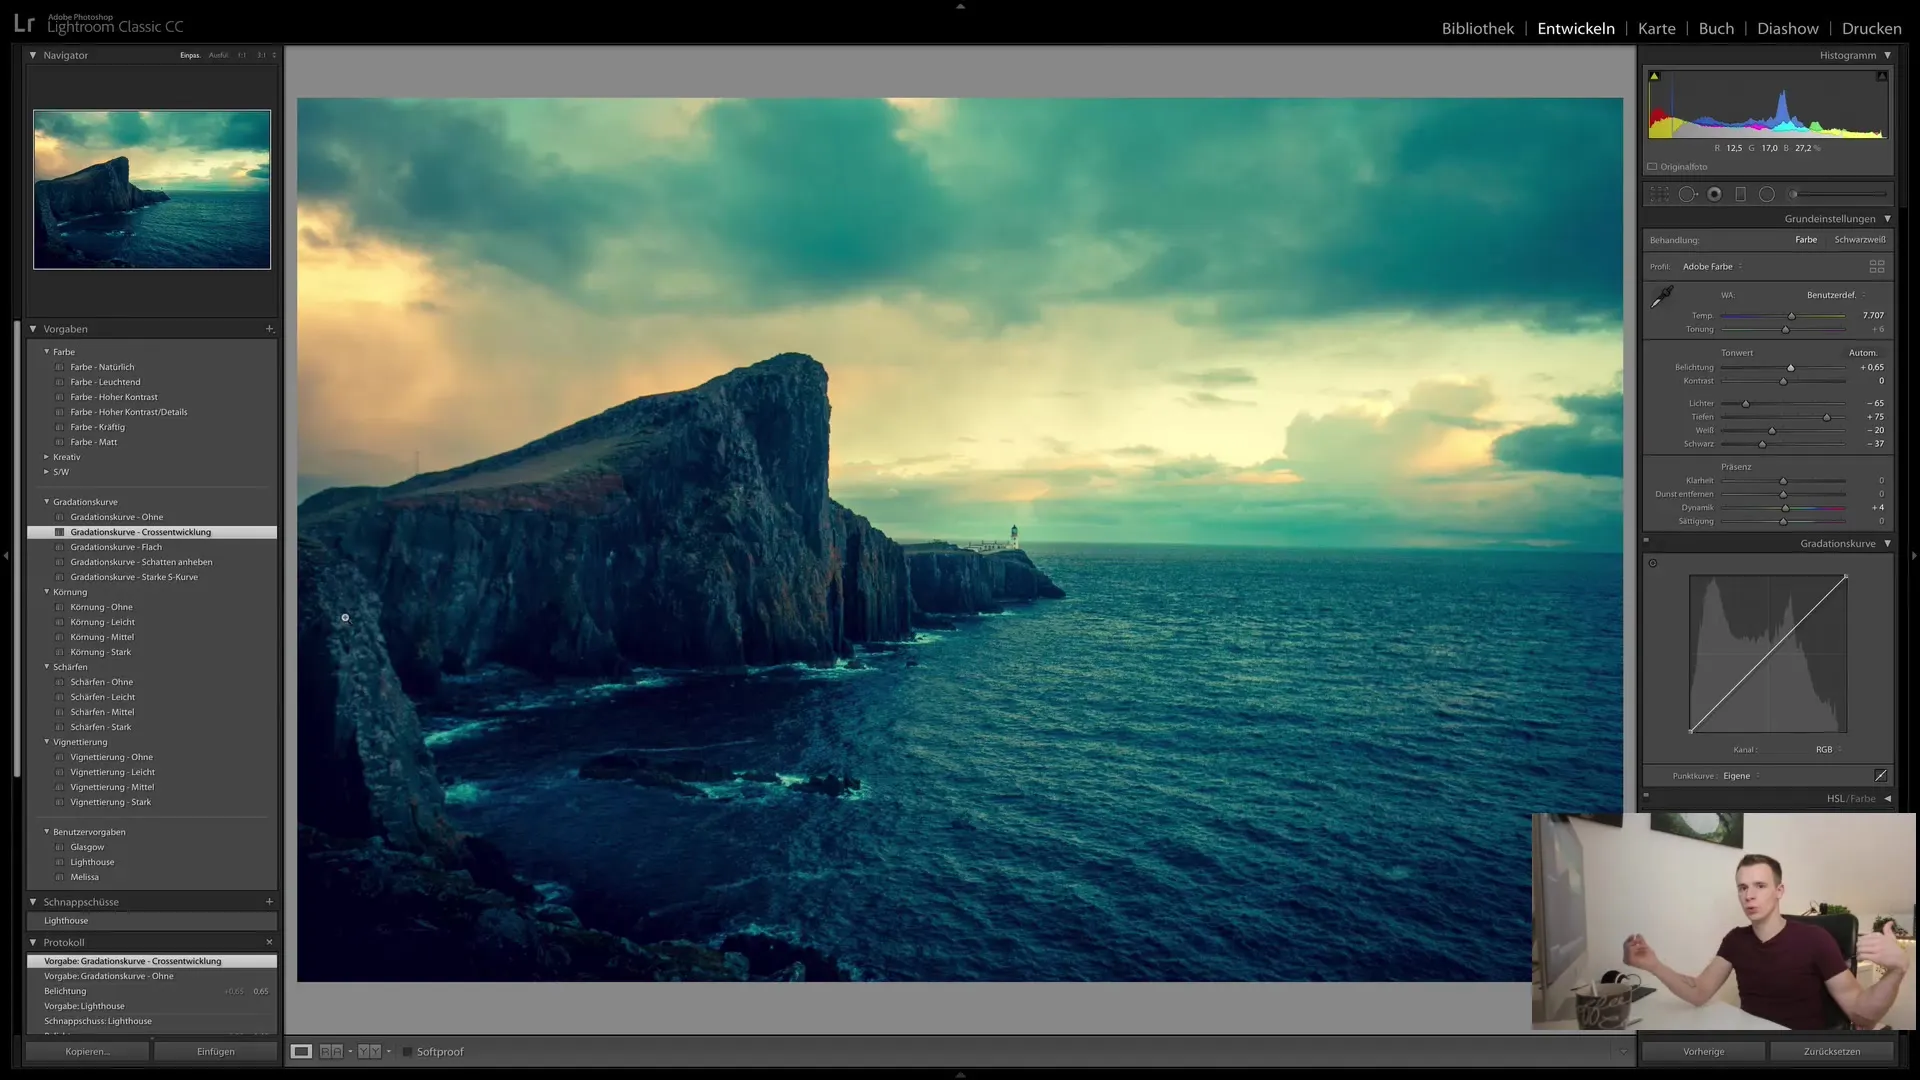
If you want to create your own presets, you can do so by clicking on the plus sign and selecting the desired settings. You can choose which settings should be saved in the preset, giving you the flexibility to save only the parameters relevant to your edit.
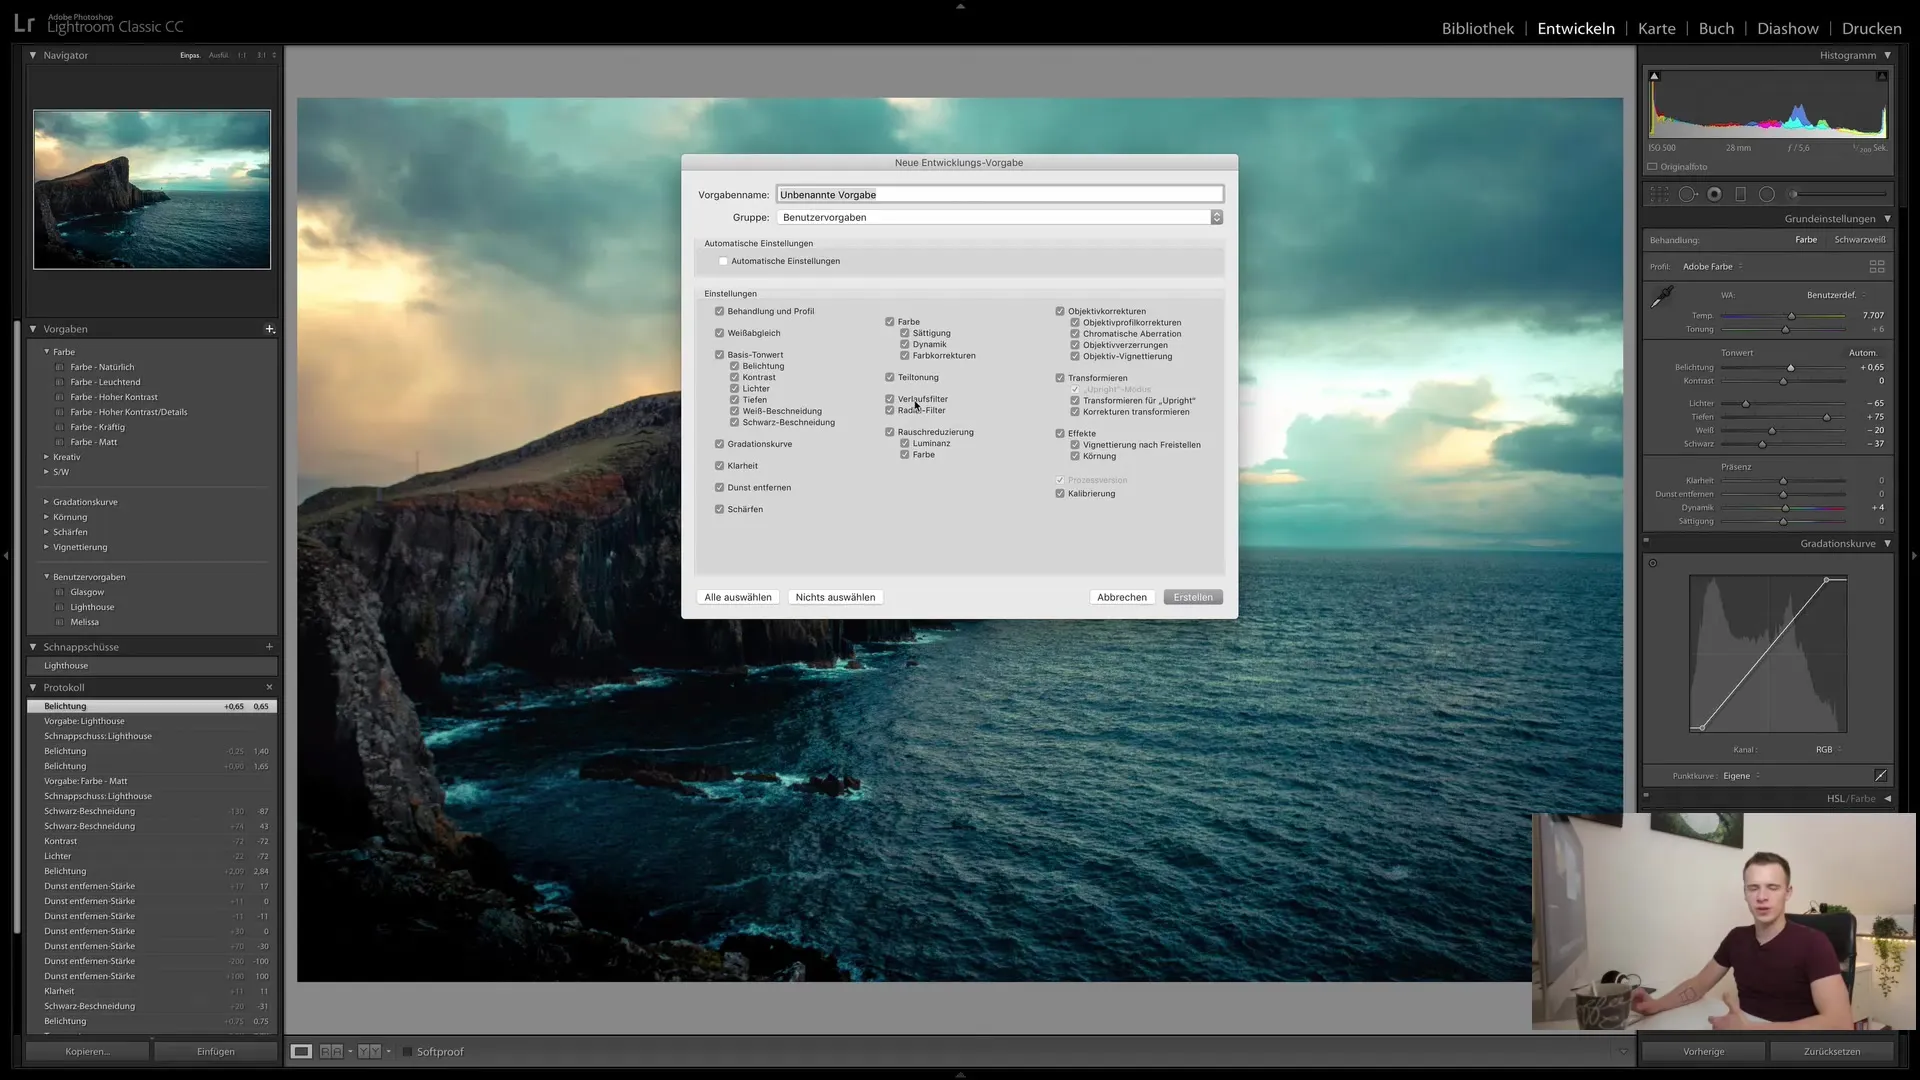
Presets are a great way to achieve consistent styles across a series of images. So if you have developed your own style, you can easily apply it to more images.
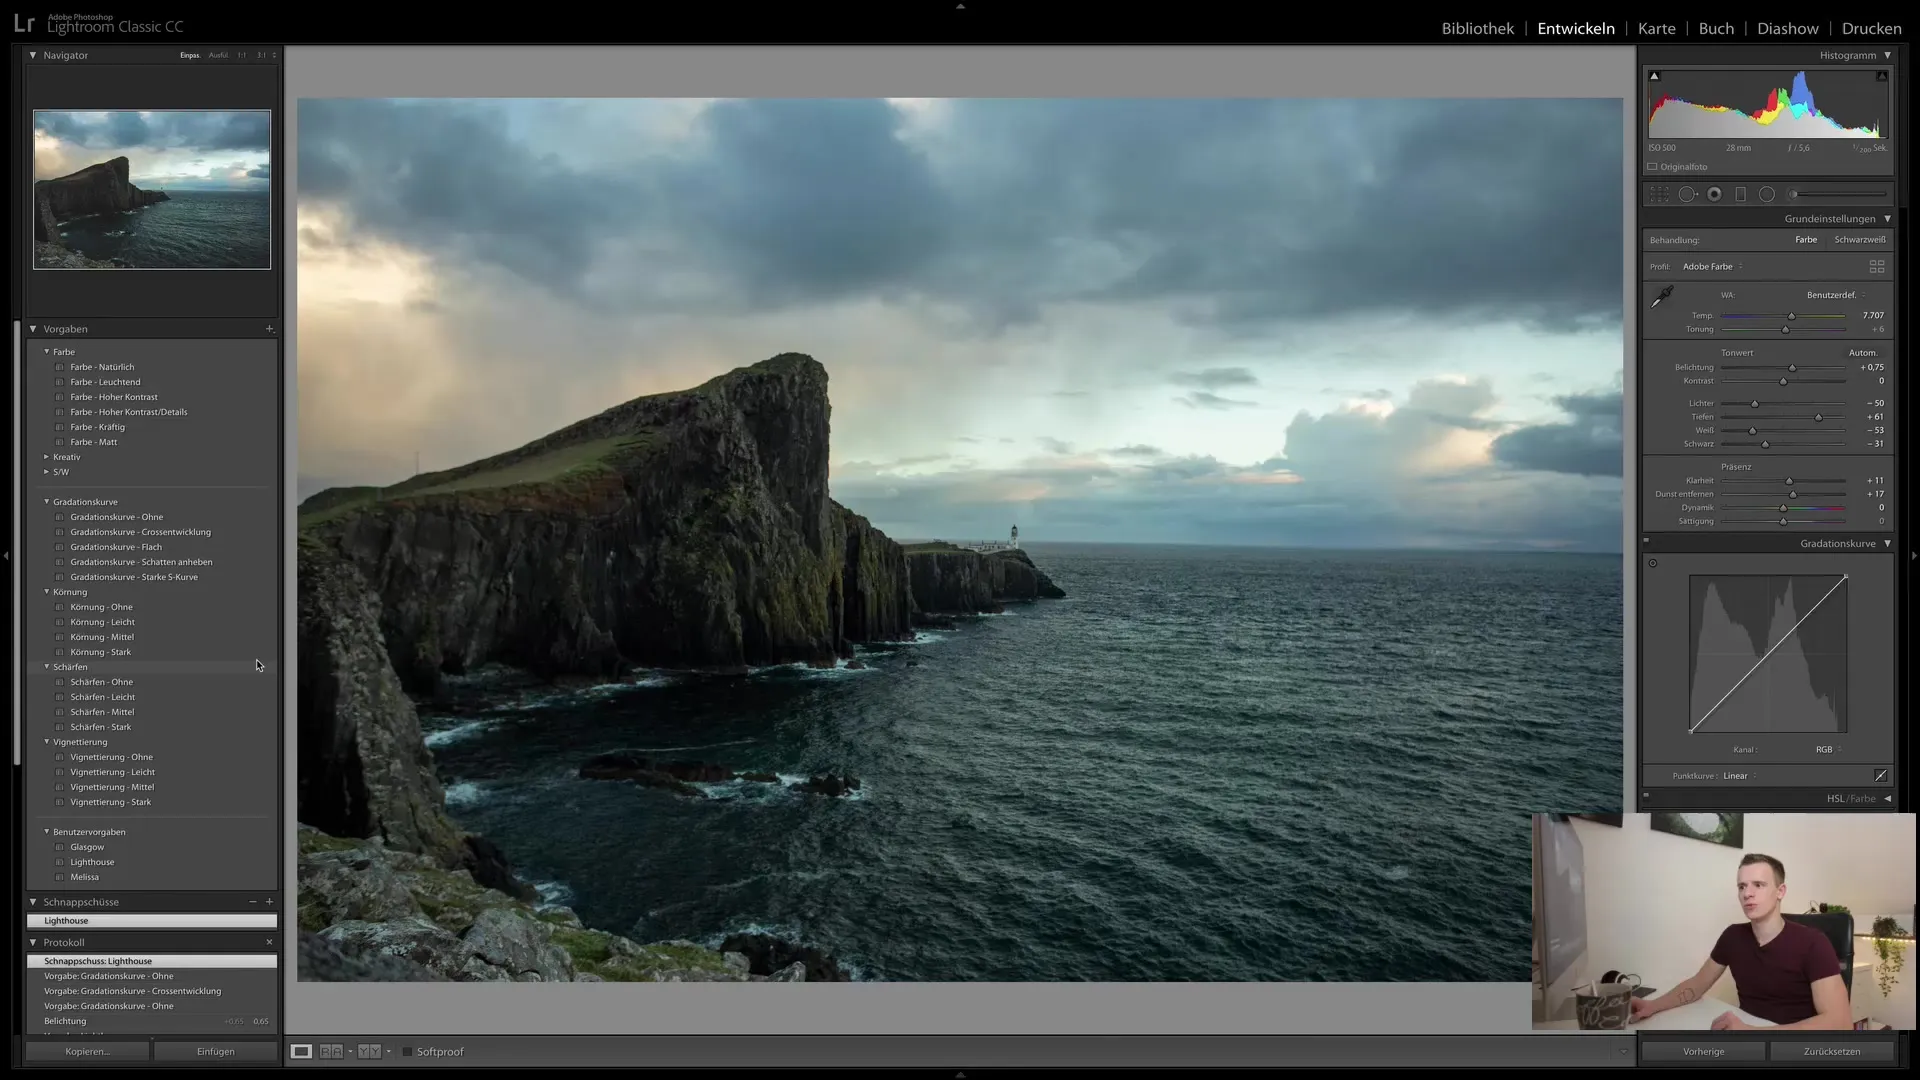
In the preset settings, you also have the option to import or manage existing presets. This is a useful way to expand your selection of presets and have more creative options for image editing.
Summary
In this tutorial, you have learned how to use the protocol in Lightroom Classic CC to track all editing steps, create snapshots to save different editing stages, and apply presets to optimize your image editing. Use these features to make your work in Lightroom more efficient and creative.
Frequently Asked Questions
How can I use the protocol in Lightroom?The protocol saves every editing step and allows you to easily go back and track changes.
What are snapshots in Lightroom?Snapshots are saved editing states that allow you to quickly switch between different editing states.
How can I create presets?Click on the plus sign in the preset area and select the desired settings to create your own preset.


