In this tutorial, you will gain valuable insights into the basic settings of the Develop module in Lightroom Classic CC. Understanding these basic settings is crucial to being able to edit your photos optimally. We will go through the most important sliders and show you how to adjust your image to achieve what you envision. Whether you are a beginner or an advanced user, this guide will help you improve your photo editing skills.
Main Insights
- Basic settings allow you to influence fundamental aspects of an image, such as brightness, contrast, and colors.
- Using RAW files gives you more control over post-processing than JPEGs.
- White balance is crucial for the color temperature of your image.
- The order of adjustments in Lightroom does not matter; you can always go back and make changes.
- There are specific sliders to control brightness and contrast in various ways.
Step-by-Step Guide
Step 1: Open the Develop Module
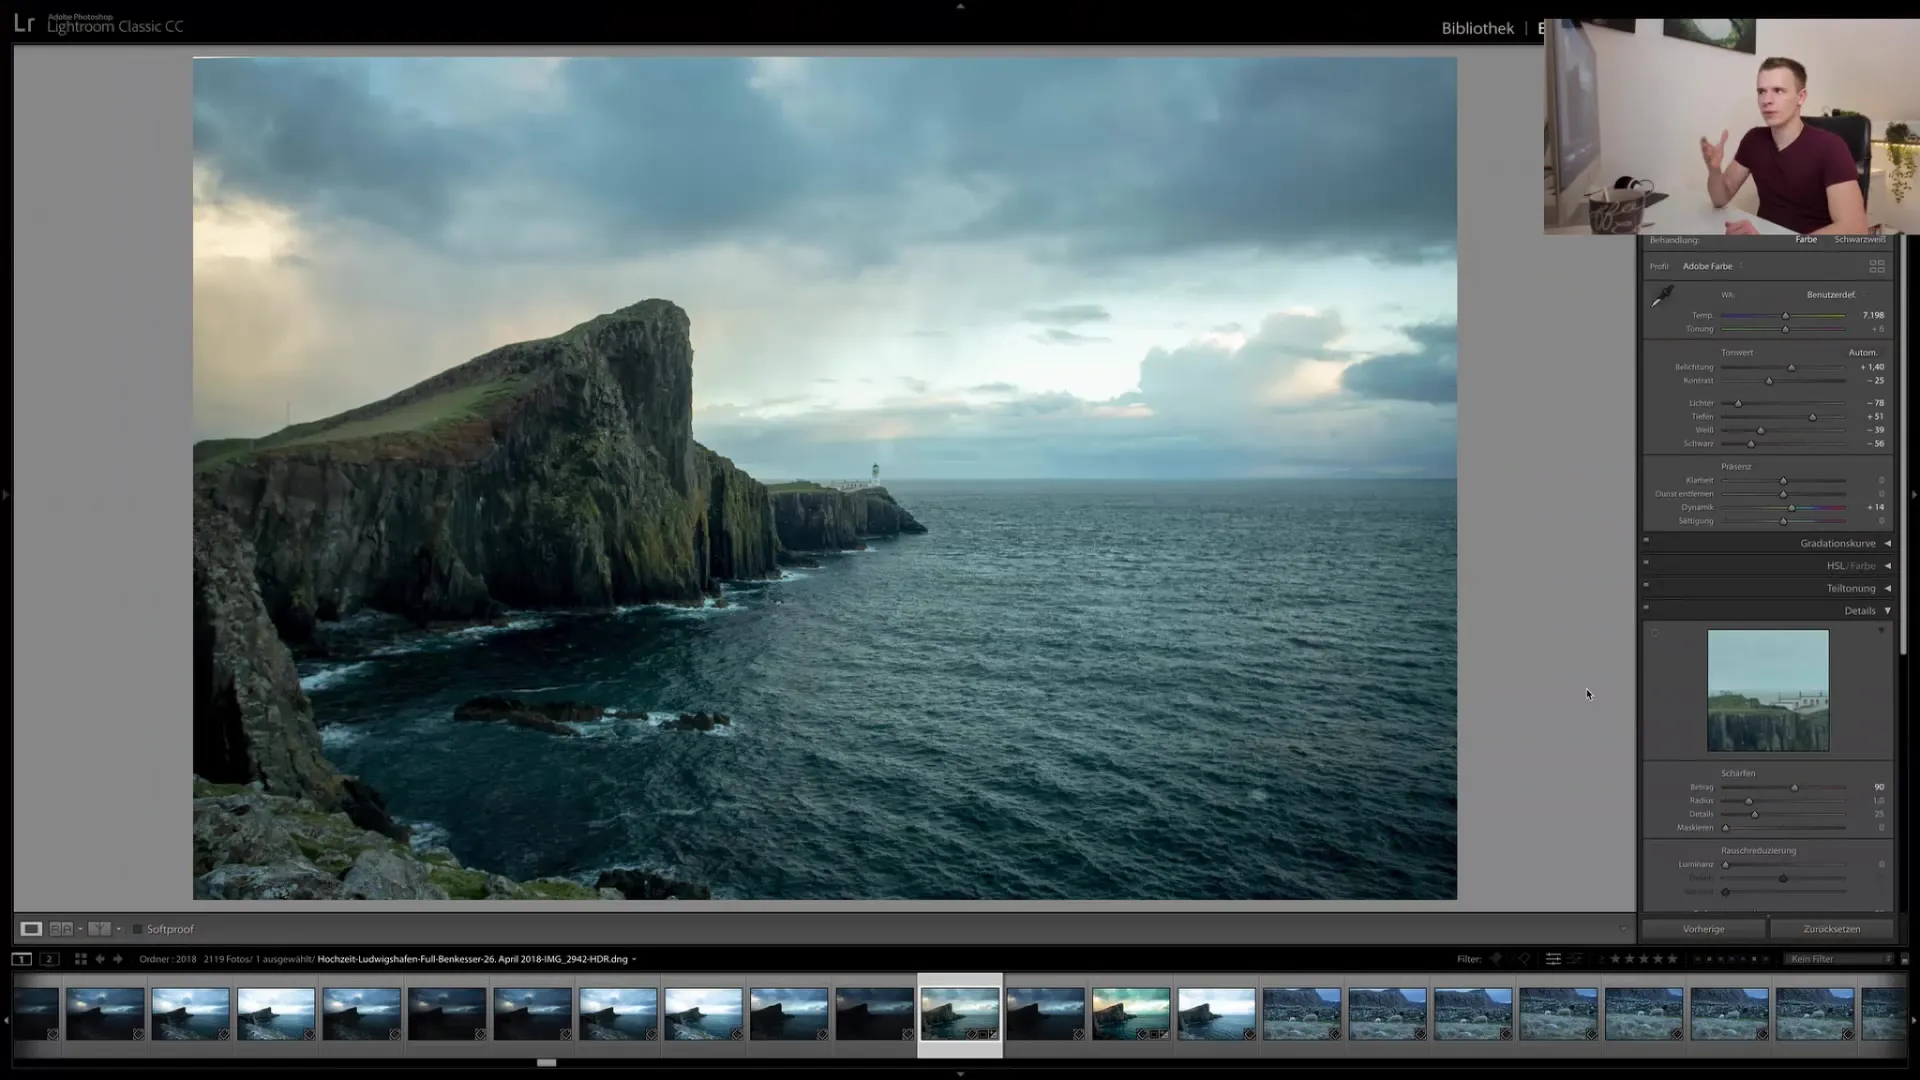
First, open the Develop module in Lightroom. This is the main area where you edit your photos. Make sure you have selected an image that you want to edit.
Step 2: Reset the Image
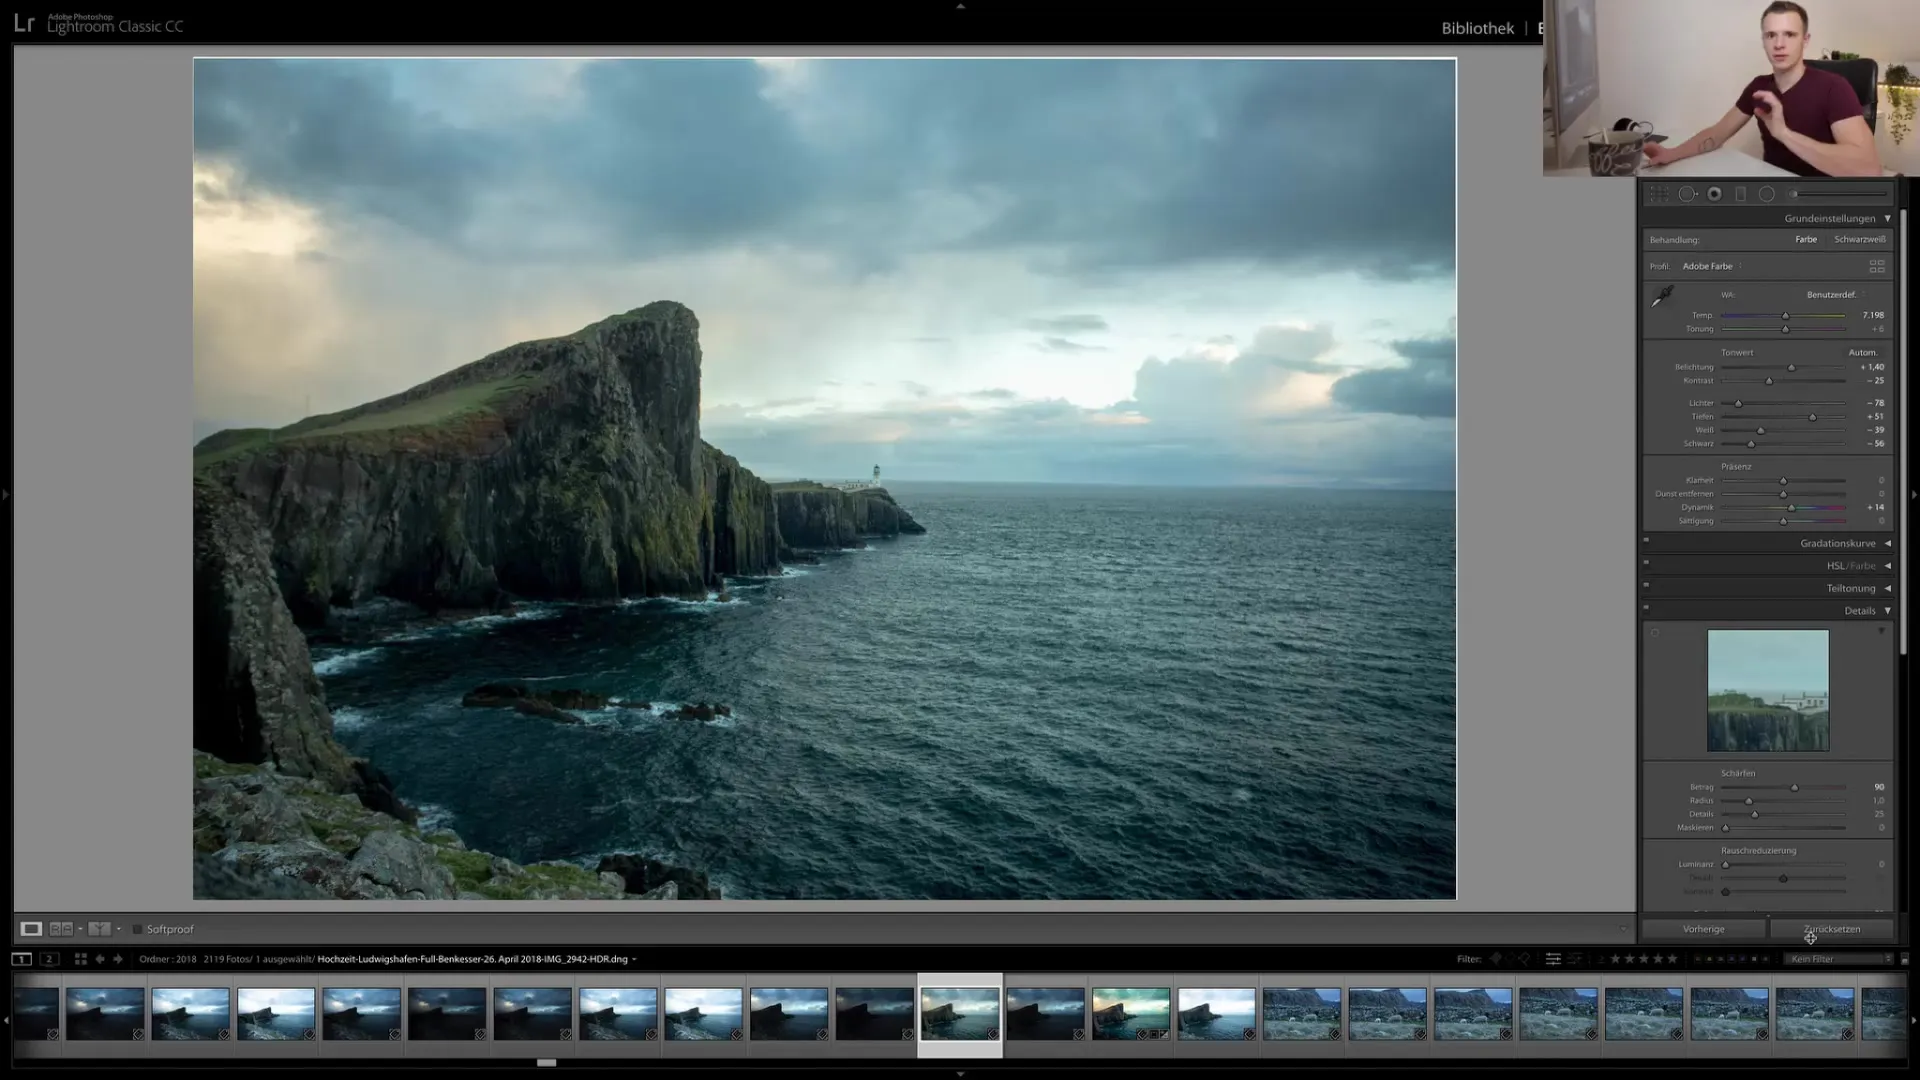
If you have imported an image that has already been edited, it may be useful to reset it to start with the original settings. Go to the "Develop" menu and select "Reset to Factory Settings".
Step 3: Adjust White Balance
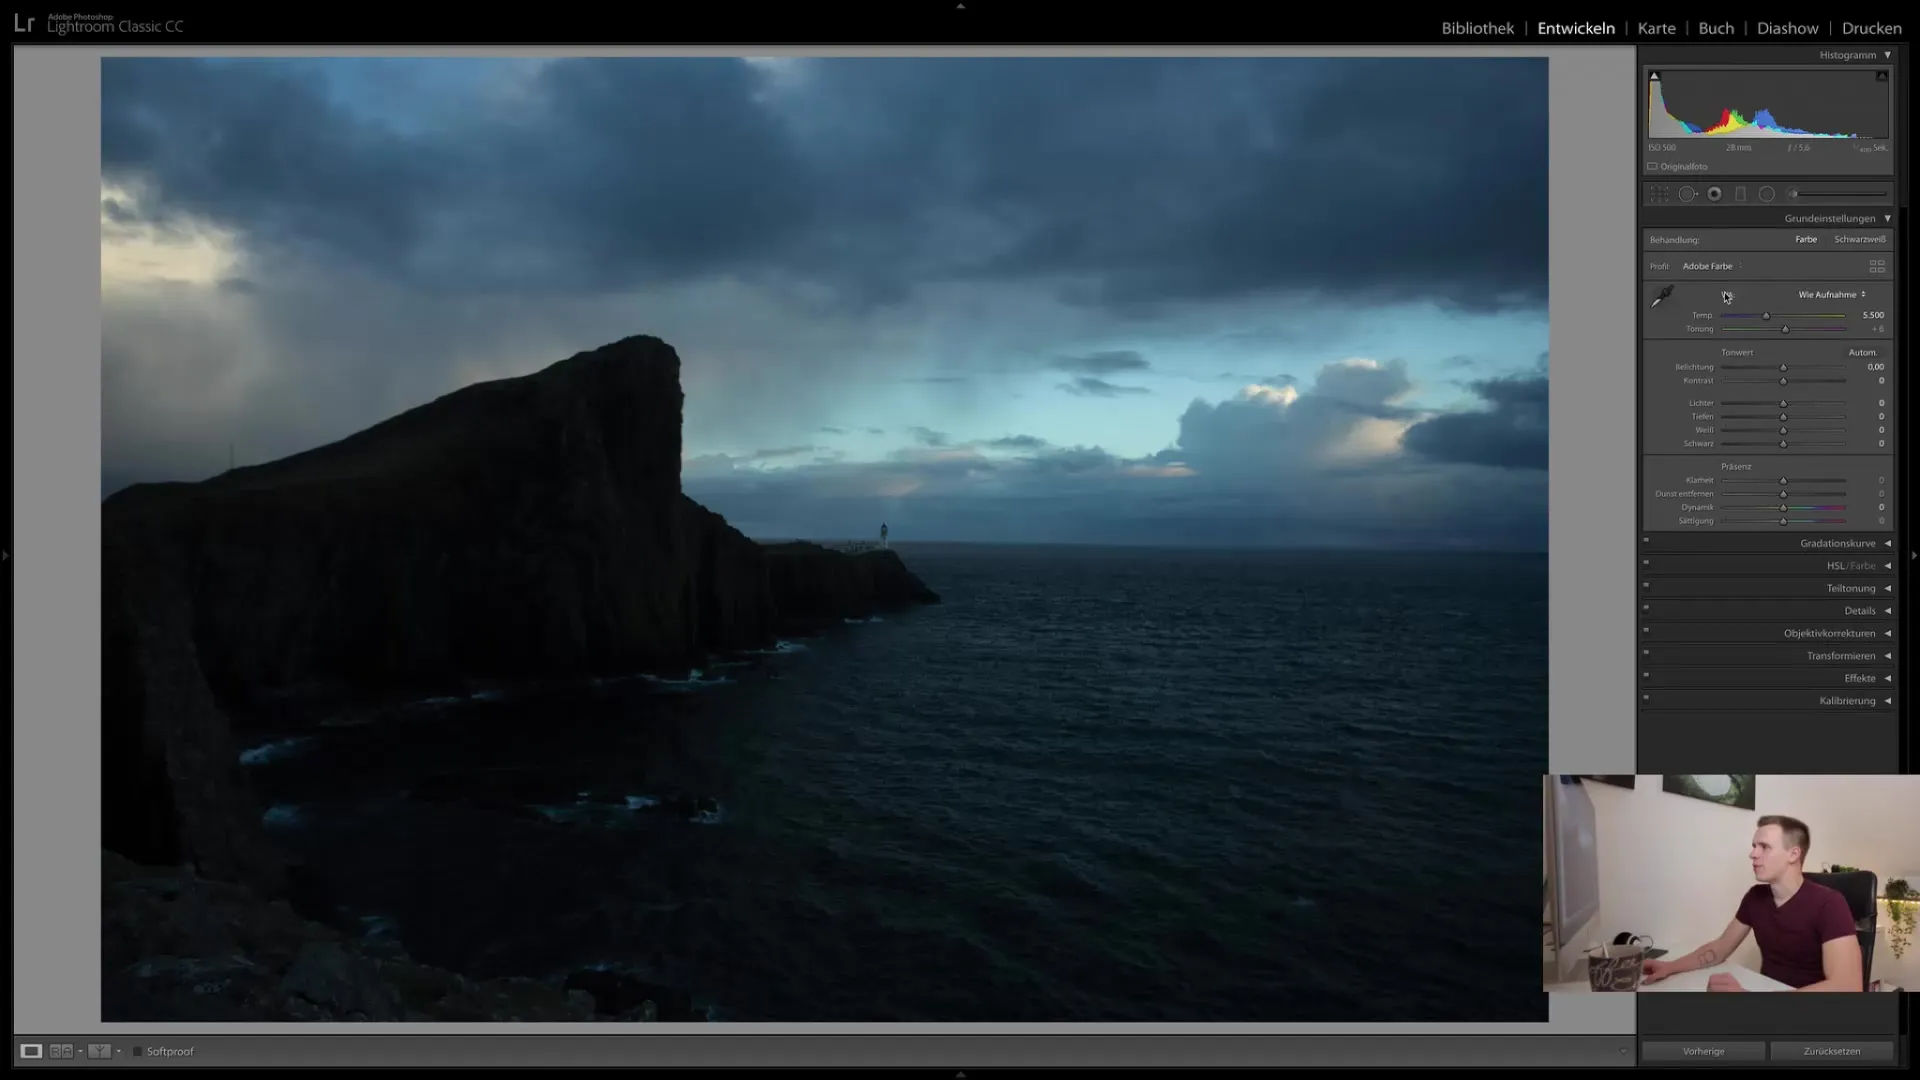
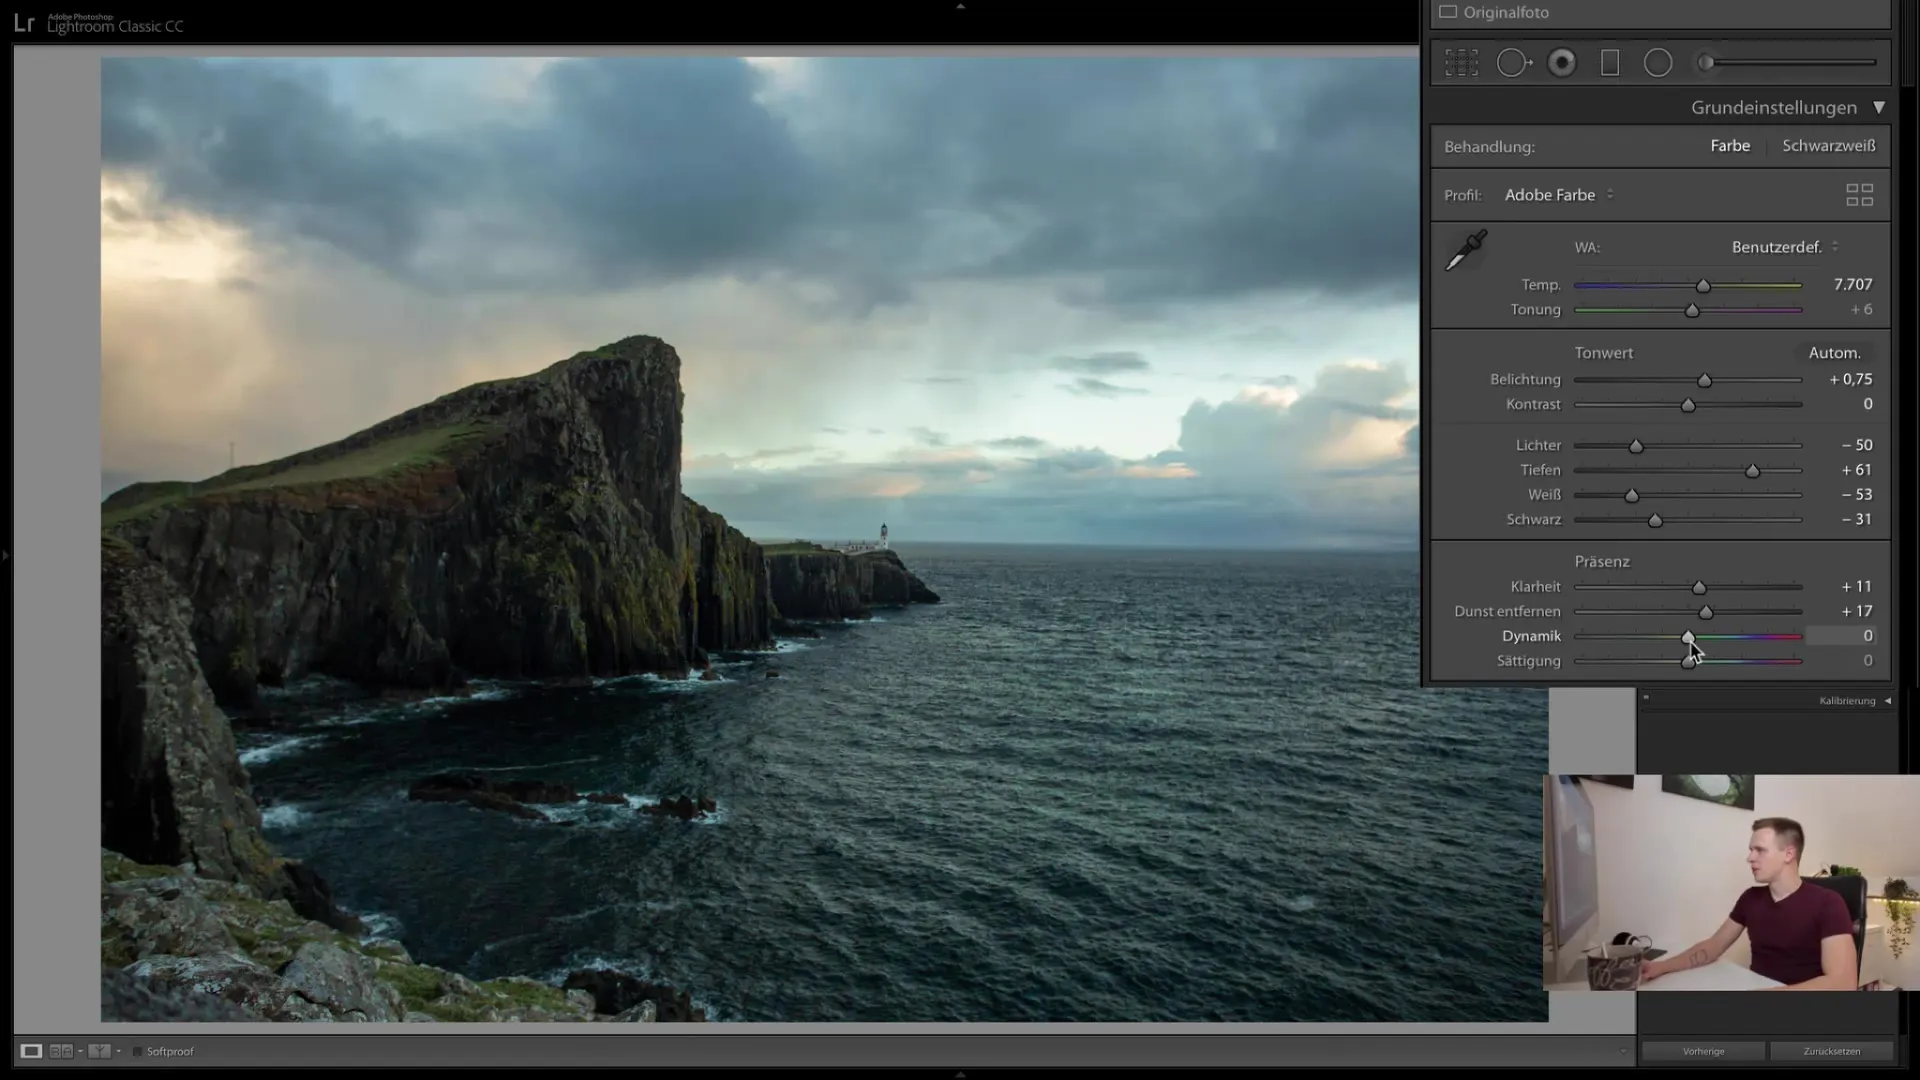
The white balance controls the color temperature of your image. You can move the slider to the left or right to adjust the colors. Try different values to see how the colors of your image change. A value of about 4000 Kelvin can give your image a blue tone, or you can move it to the right to bring more red tones.
Step 4: Adjust Exposure
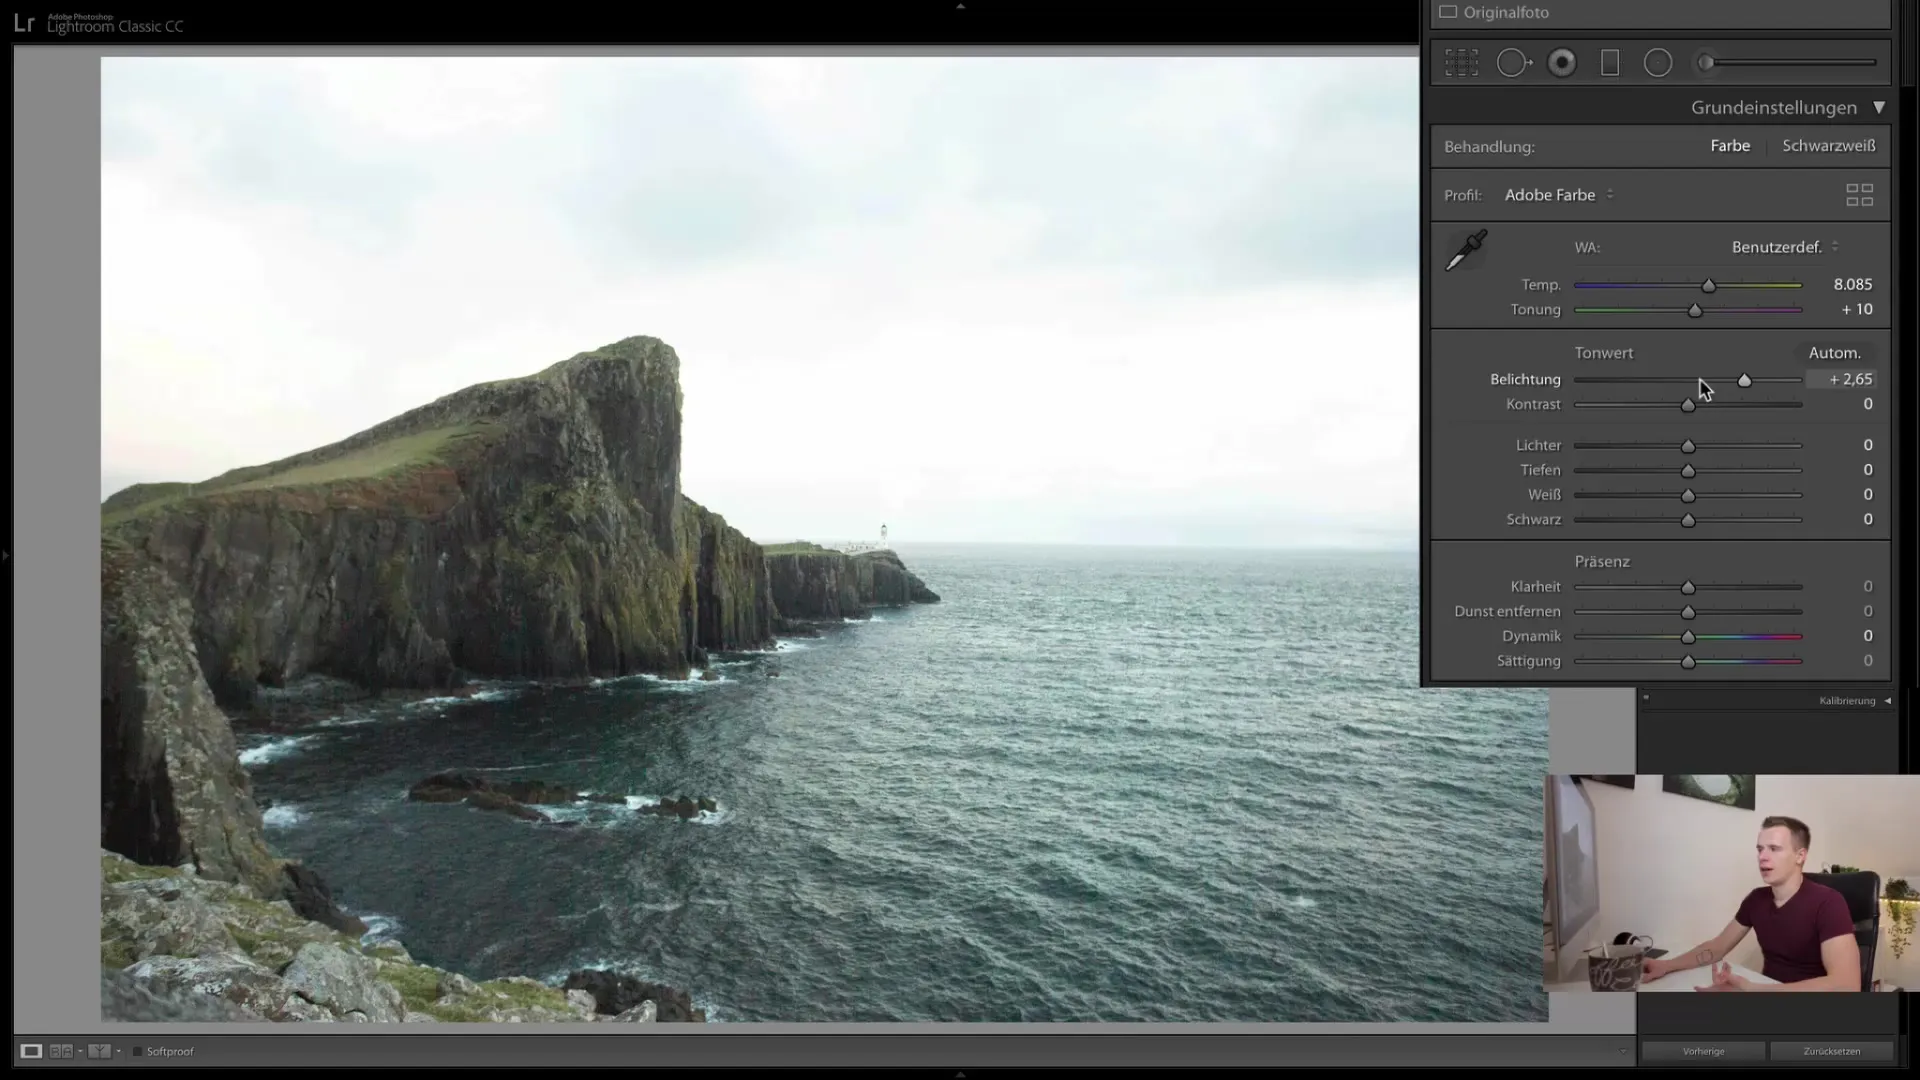
The exposure slider is essential for making the entire image brighter or darker. Slide the slider to the right to brighten the image or to the left to darken it. Make sure the image is not overexposed, which can cause loss of details.
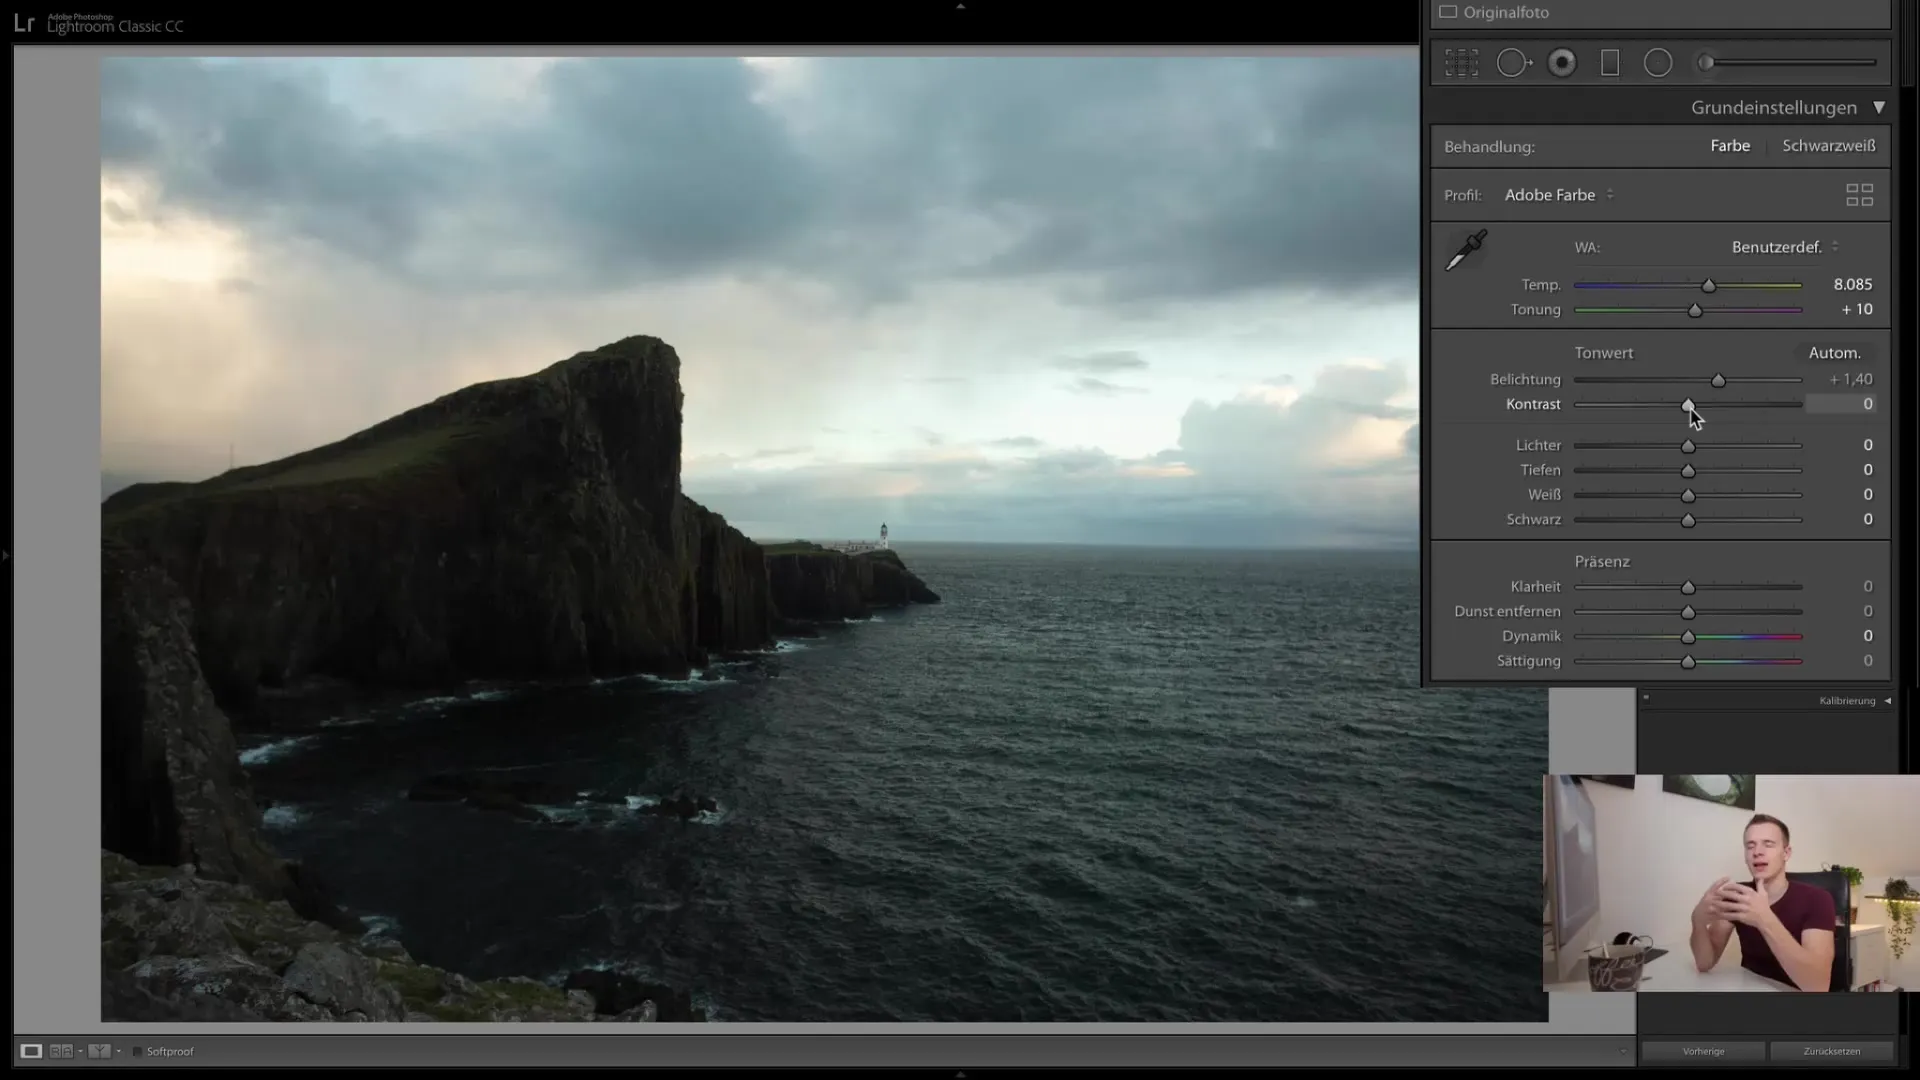
Step 5: Adjust Contrast
The contrast slider influences the difference between light and dark areas in the image. Increase the contrast to make the details in the shadows and highlights appear stronger. However, do not overdo it, as this can affect the natural look of the image.
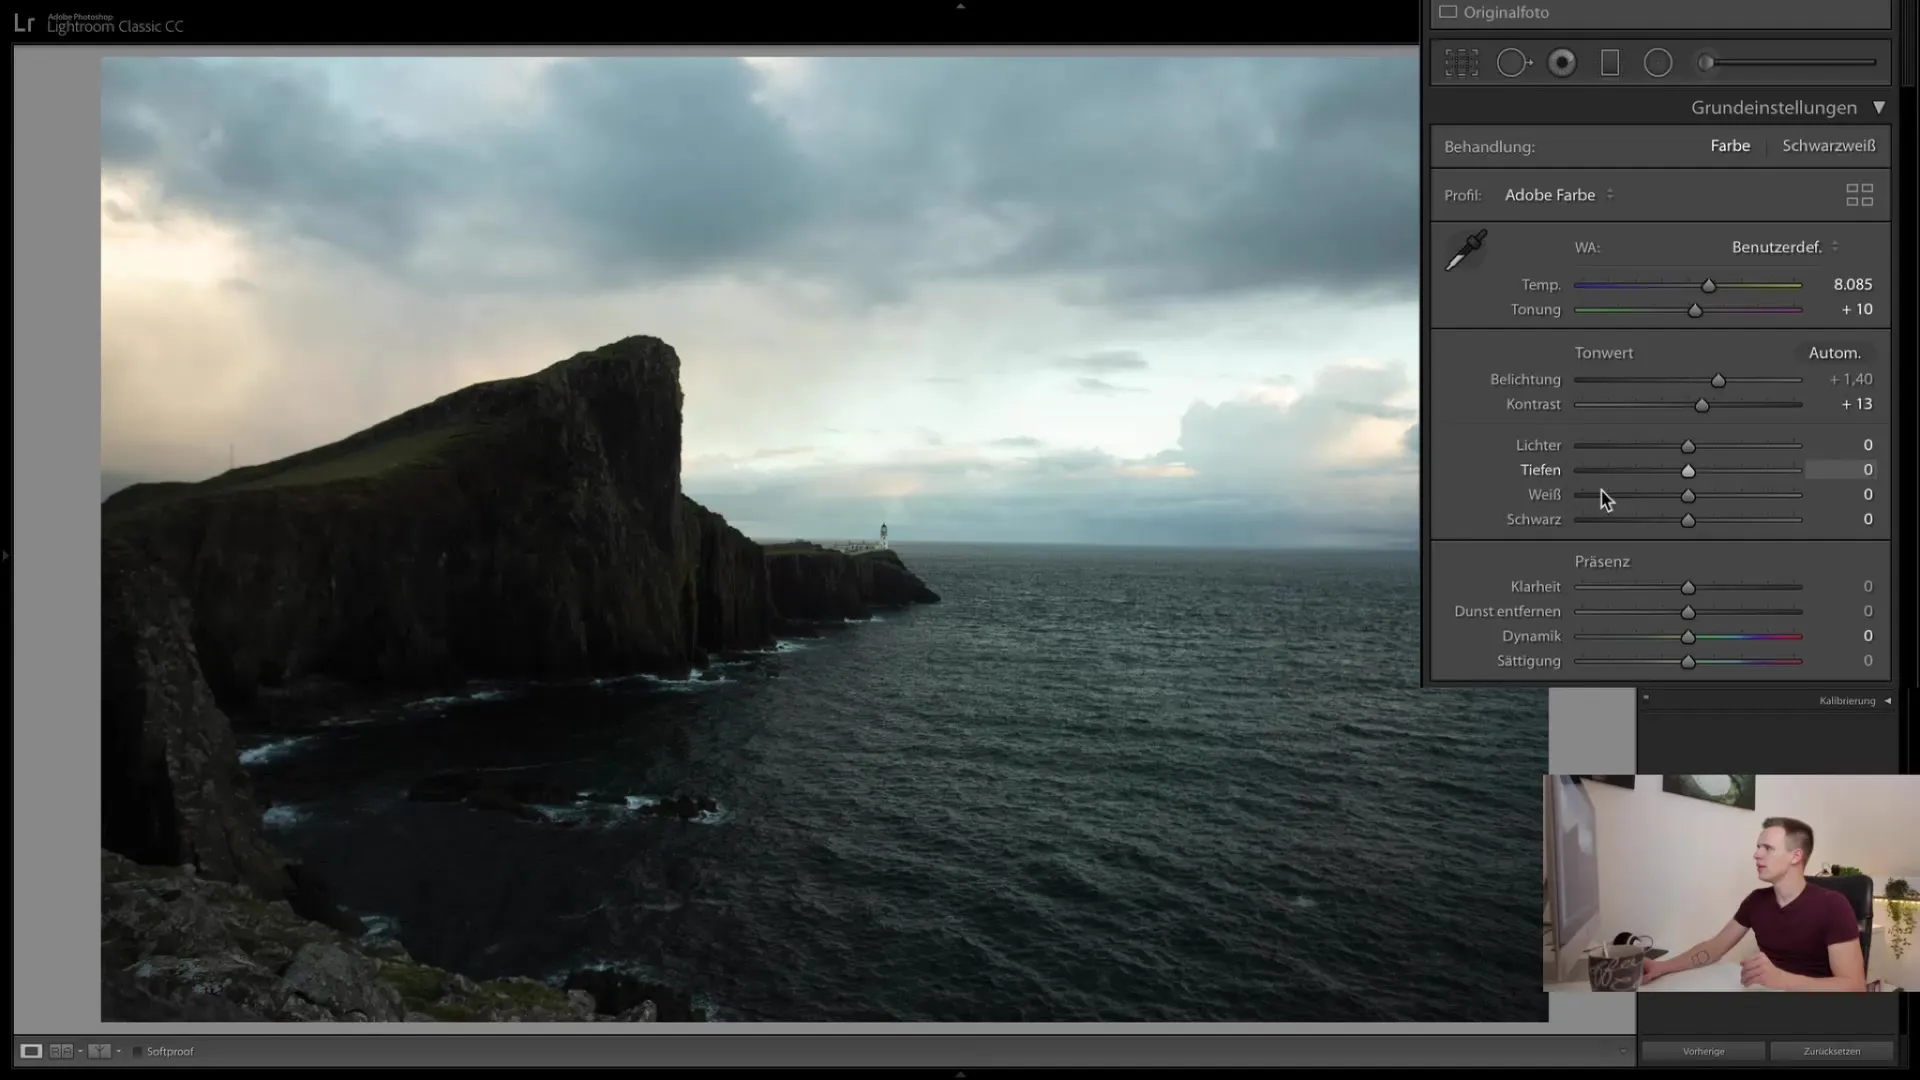
Step 6: Adjust Highlights and Shadows
With the highlights slider, you can adjust the bright areas of the image. Drag the slider to the left to bring back details from the sky that may be overexposed. The shadows slider, on the other hand, helps you lighten the darker areas of the image without affecting the highlights too much.
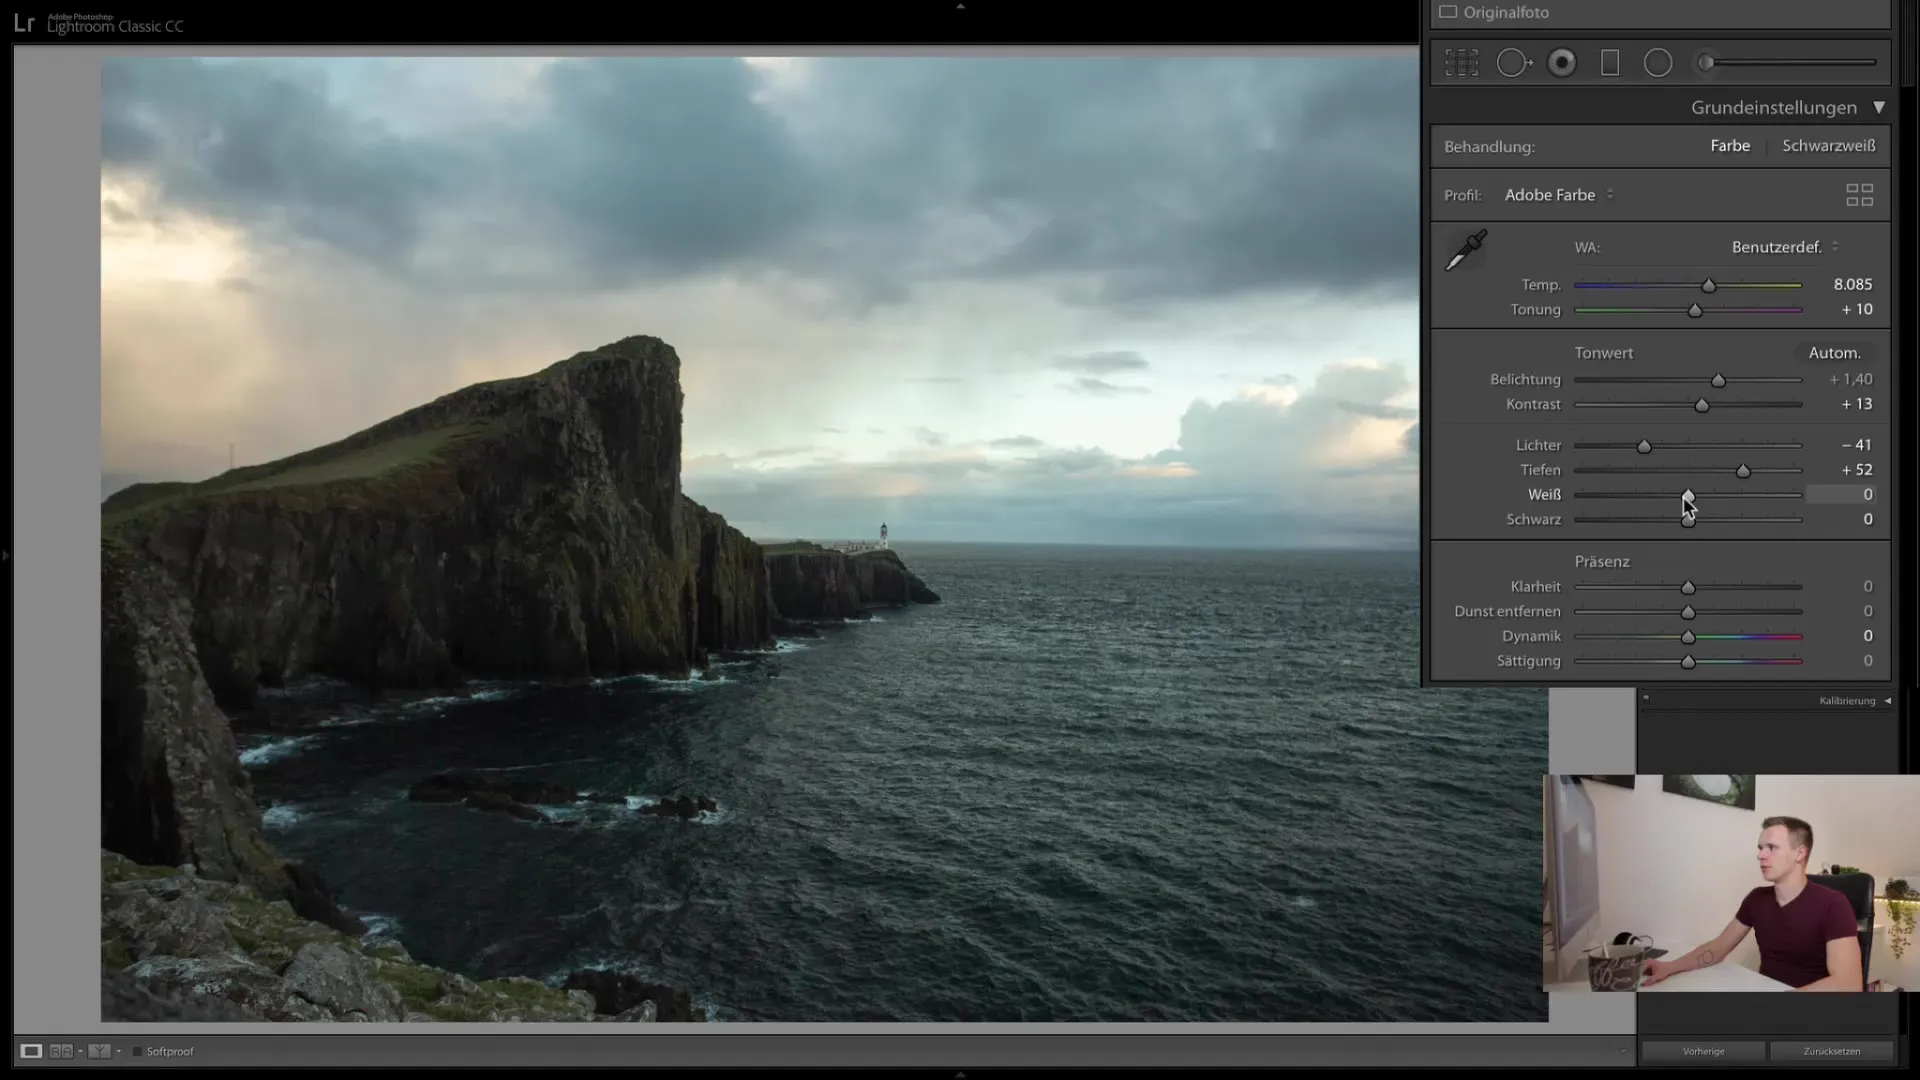
Step 7: Use Whites and Blacks Sliders
Use the whites slider to lift bright areas of the image and the blacks slider to enhance the dark areas. Make sure the sliders do not overpower each other, which can lead to unintended effects.
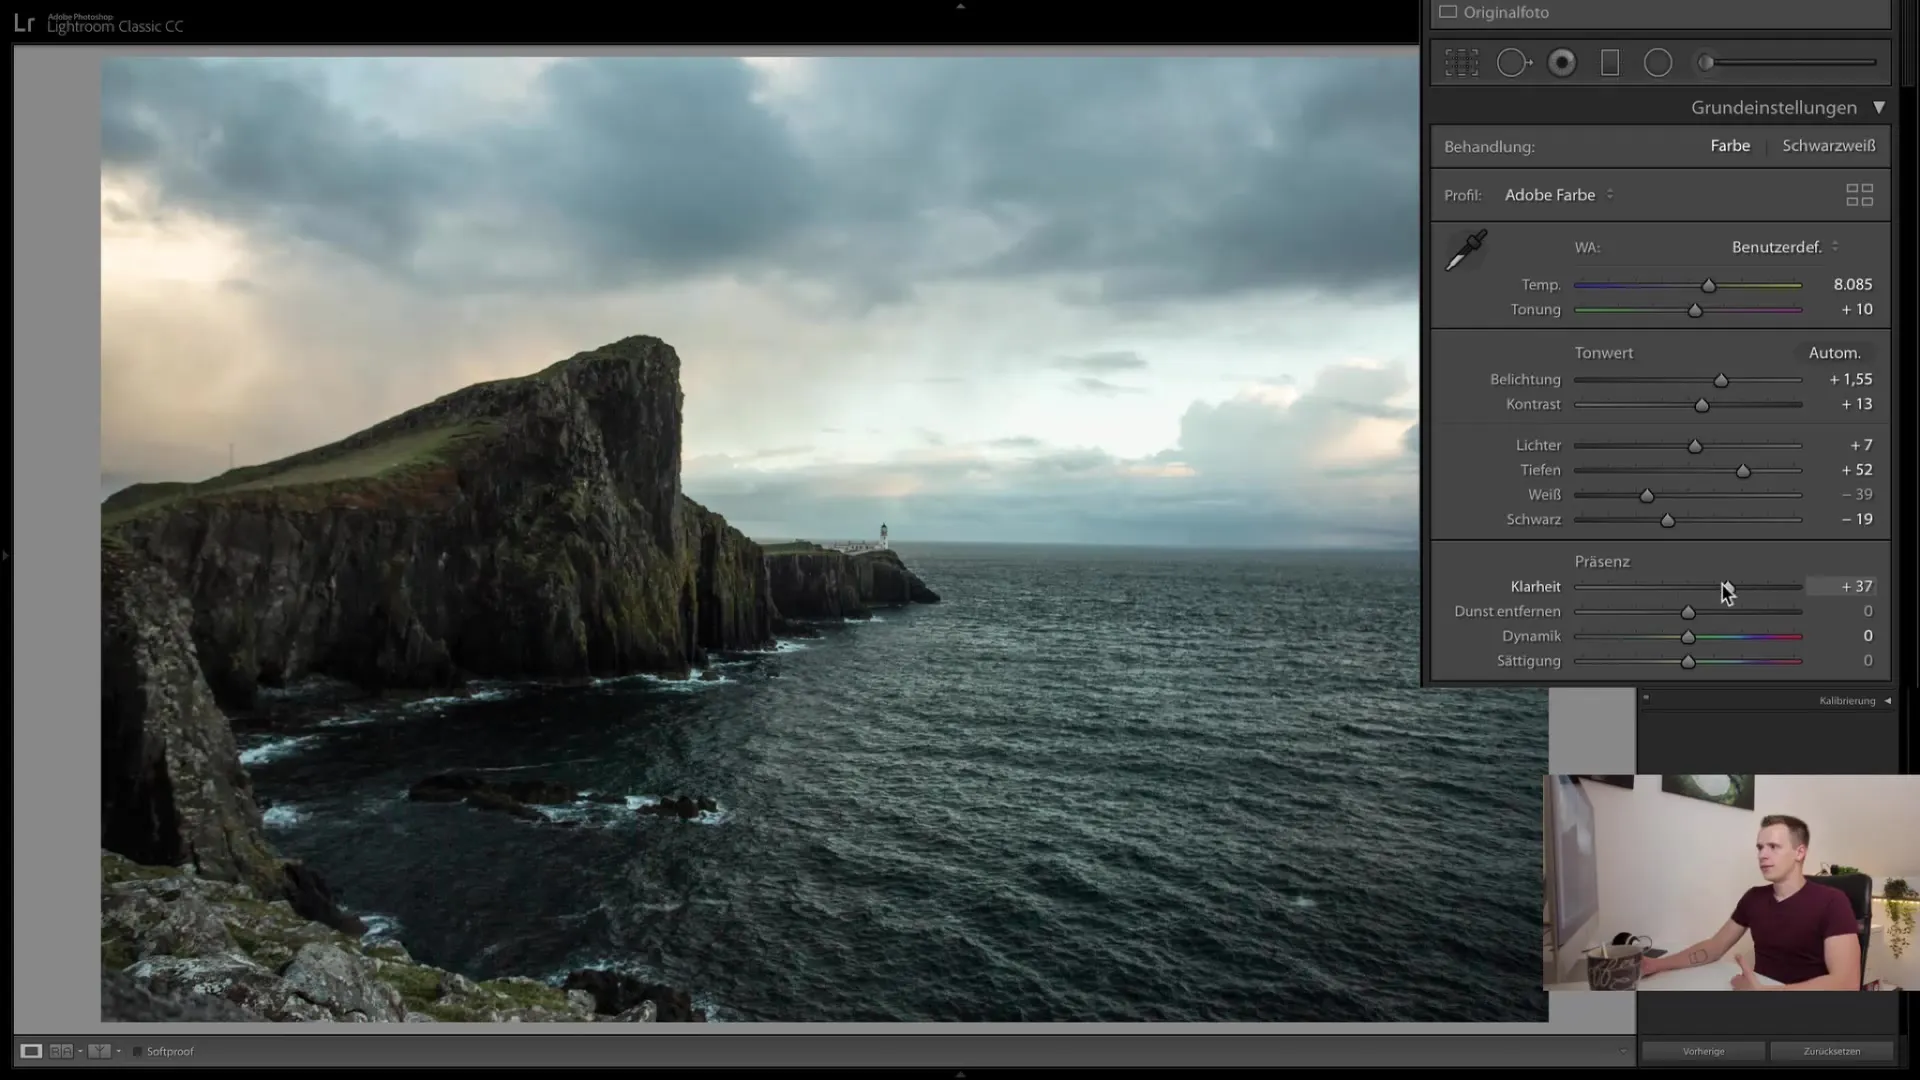
Step 8: Remove Haze with Clarity and Dehaze Sliders
The clarity slider can add more structure to your image, but you should use it carefully. High values can look unnatural. The dehaze slider is useful for misty images to bring them back under control.
Step 9: Adjusting Dynamics and Saturation
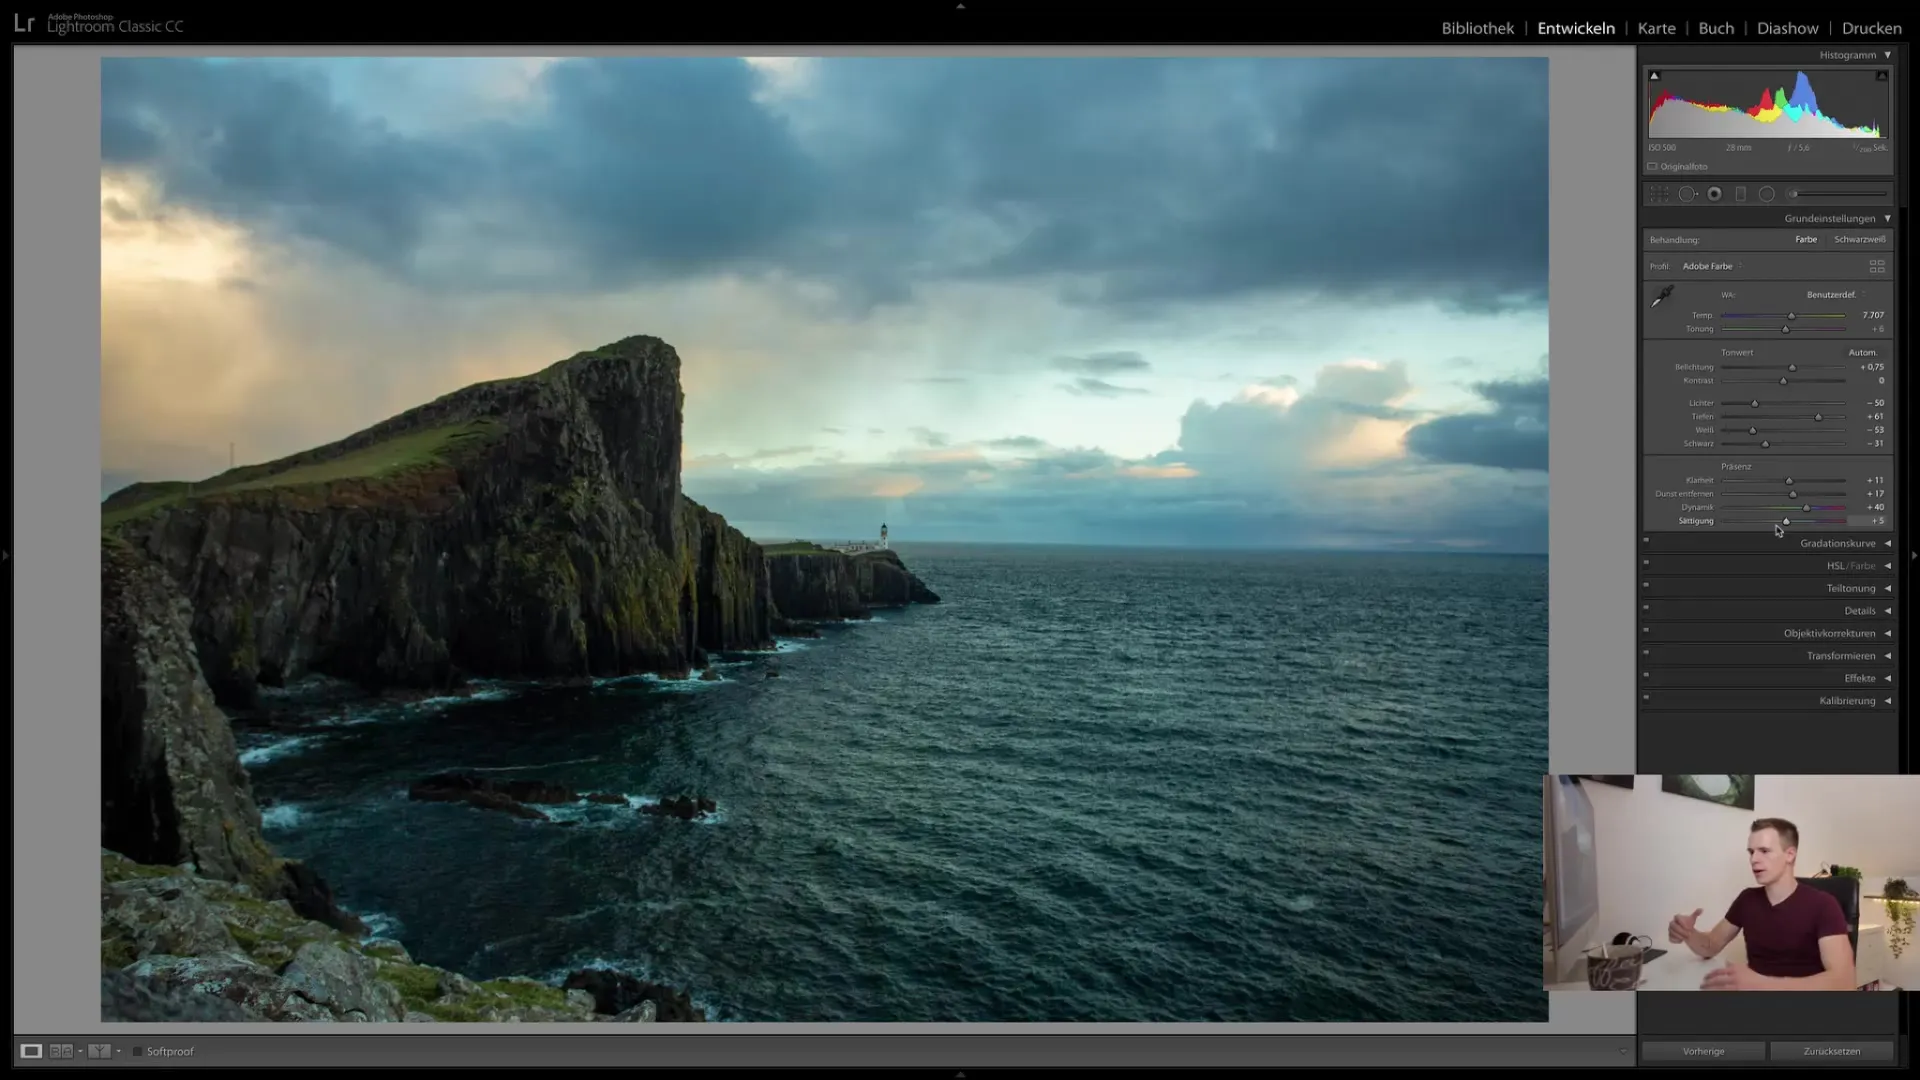
Saturation and dynamics are important for the color saturation of your image. Use the dynamics slider to selectively enhance colors without overdoing the image. The saturation slider, on the other hand, increases colors uniformly and should be used more carefully to avoid unrealistic effects.
Step 10: Before and After Comparison
To assess the success of your editing, you can use the before and after comparison. Click on the corresponding buttons in Lightroom to switch between the original and edited versions.
Summary
In this tutorial, you have learned how to use the basic settings in the Develop module of Lightroom Classic CC to optimize your photos. We have reviewed the main sliders and explained their functions. With these tools, you can significantly improve the quality of your images.
Frequently Asked Questions
How important is white balance?White balance is crucial as it influences the color temperature of your image and thus significantly enhances the overall effect.
Should I shoot in RAW or JPEG?It is recommended to shoot in RAW format as it provides more flexibility in post-processing adjustments.
How often can I change settings in Lightroom?You can change settings in Lightroom as often as you like without damaging the original file.
What happens if I set the clarity slider too high?Setting the clarity slider too high can make the image look amateurish and unnatural.
What are the benefits of the dynamics slider over the saturation slider?The dynamics slider works selectively, meaning it only increases less saturated colors, while the saturation slider raises all colors uniformly.


