In digital photography, color correction is a crucial step to make images vivid and appealing. While in Lightroom you already have the option to work with presets, Photoshop offers you the ability to create custom profiles that you can later use in Lightroom. In this tutorial, I will show you how to create and import your own LUT (Look-Up-Table) files in Lightroom to significantly enhance your image editing possibilities.
Main Insights
- You can create custom profiles in Photoshop that can be used in Lightroom.
- The creation is done through LUT files exported from adjustment layers in Photoshop.
- Importing these LUT files into Lightroom allows for advanced editing.
Step-by-Step Guide to Creating Lightroom Profiles in Photoshop
Before you start, make sure you have the latest versions of Lightroom and Photoshop installed.
Step 1: Prepare in Photoshop
Before you begin creating your profile, open an image in Photoshop that you want to use as a base. Here, you can make initial adjustments to achieve your desired color scheme.

Step 2: Make Adjustments
You can increase the contrast, adjust colors, or apply specific corrections to certain areas of the image. Utilize Photoshop's various tools, such as the curves or selective color correction. Feel free to experiment with different adjustment layers to create the desired look.

Step 3: Export the LUT File
Once you're satisfied with your adjustments, go to File and choose Export. Here, you should find the option to create an LUT file. It is important to export the file in ".cube" format as Lightroom requires this format. Don't forget to give your file a meaningful name that suits your project well.
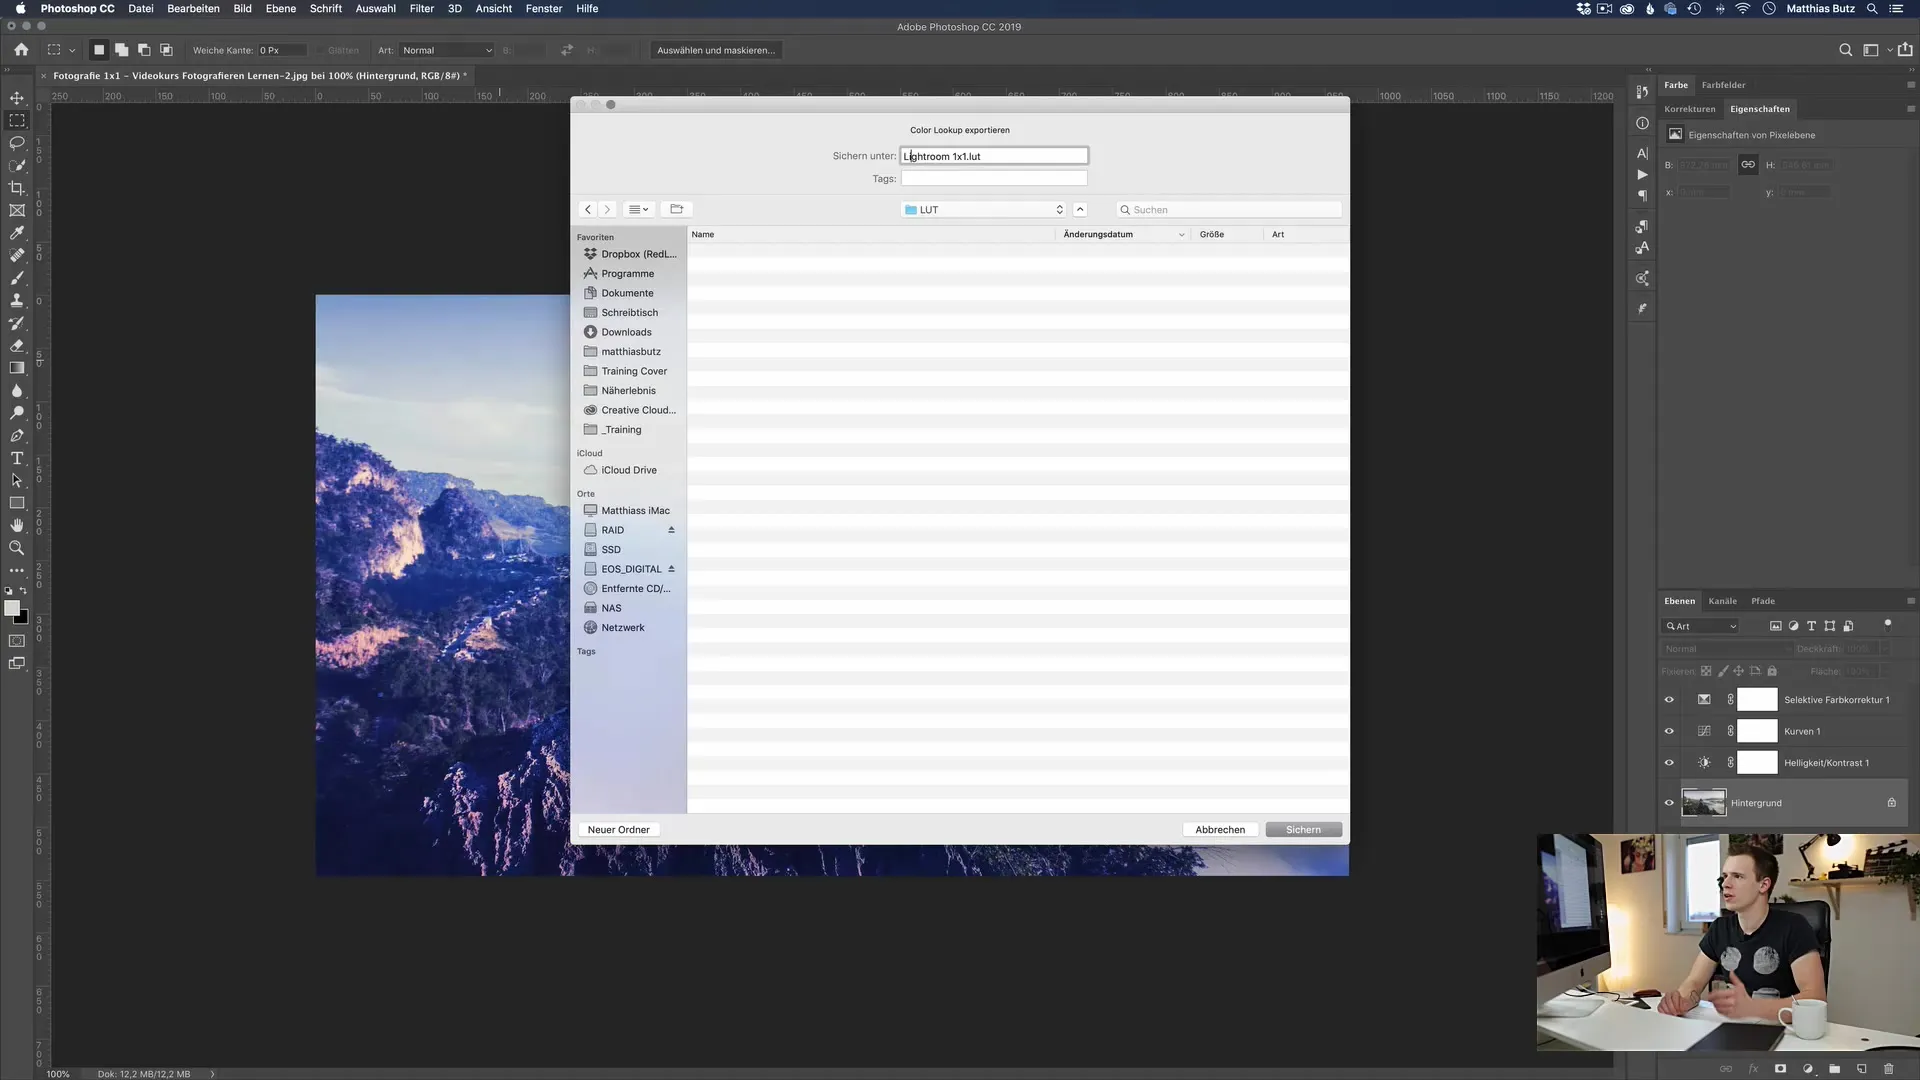
Step 4: Insert the LUT File in Lightroom
Now that you have created your LUT file, it's time to import it into Lightroom. Lightroom itself does not have a direct import button for LUTs, but you can import them through the Camera Raw filter. In Photoshop, go to Filter and select Camera Raw Filter.
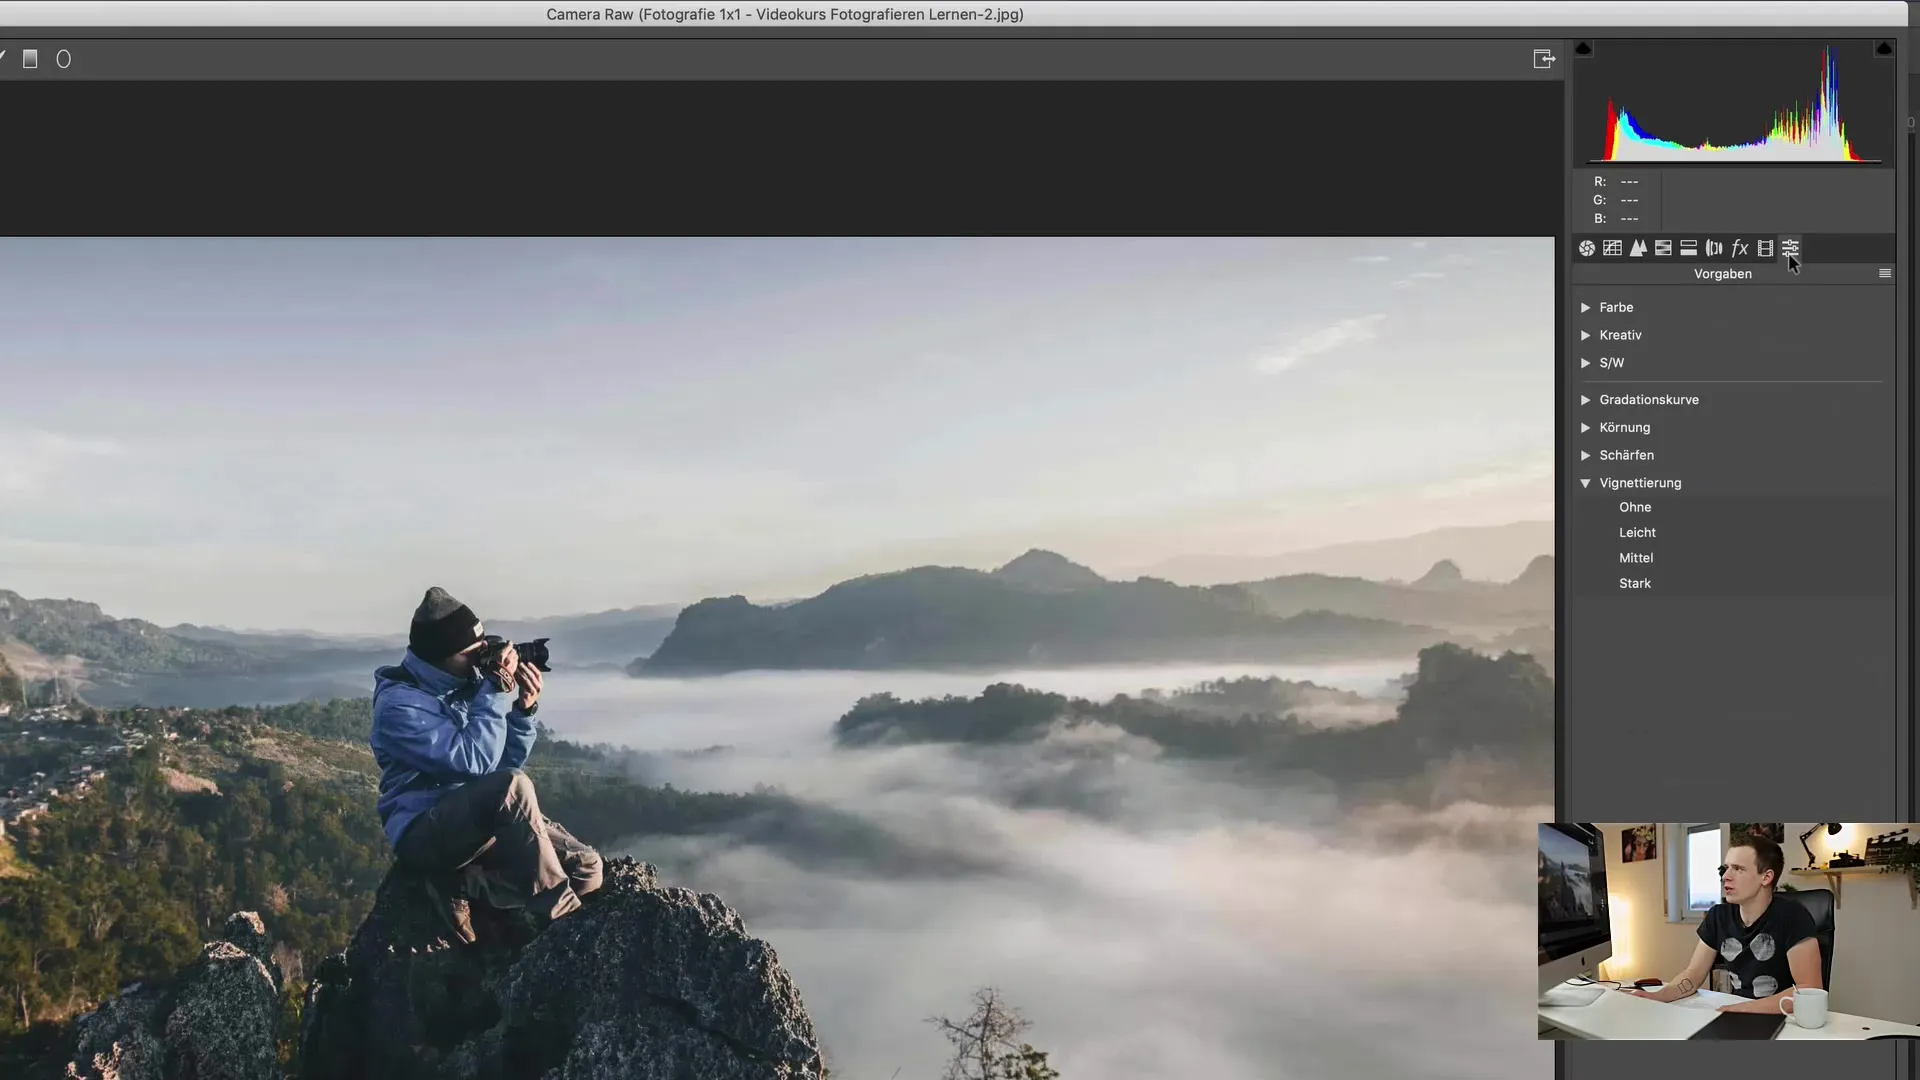
Step 5: Create a New Preset
In the Camera Raw Filter, go to Presets and create a new preset by holding the Alt key and clicking on the "New" button. In the dialog that opens, you can load the .cube file you just created.
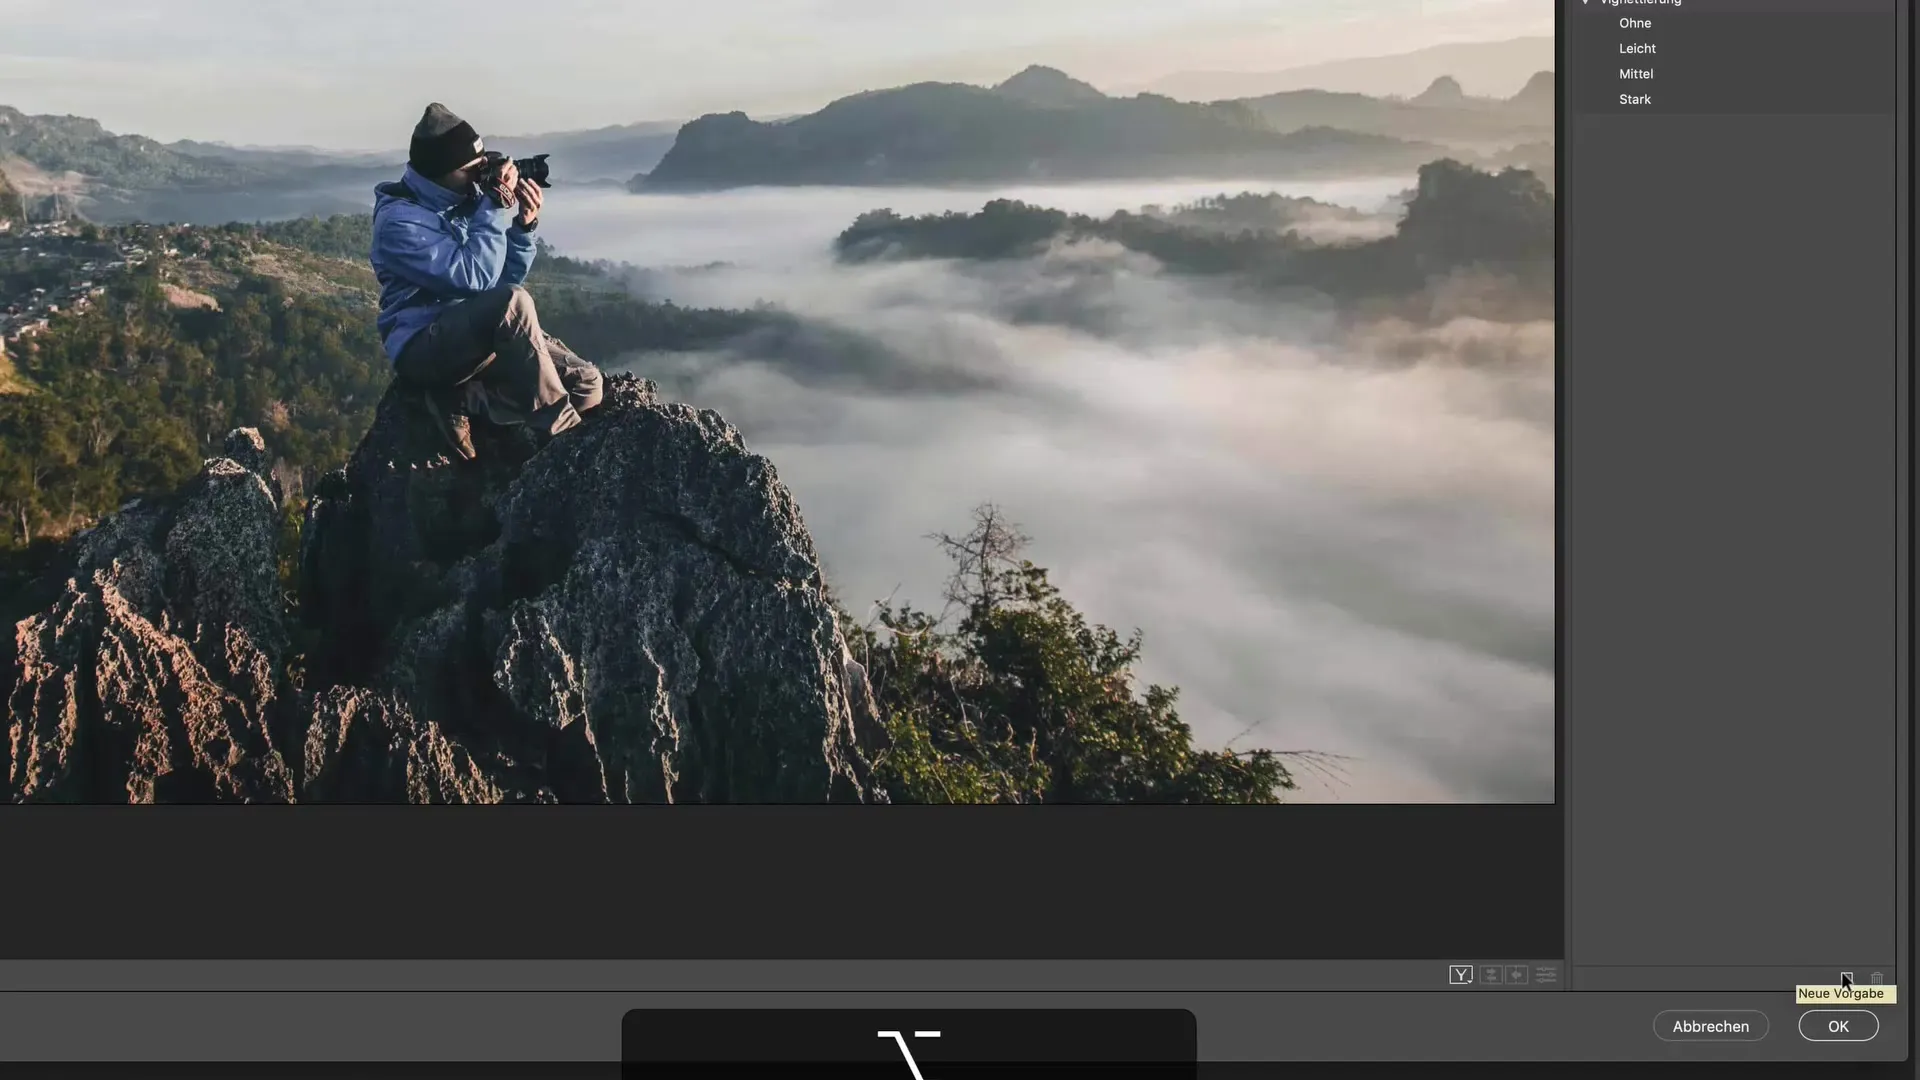
Step 6: Select Profile Name and Group
Give your new preset a name and make sure to save it in the "Profiles" group so that it is correctly recognized in Lightroom later on.
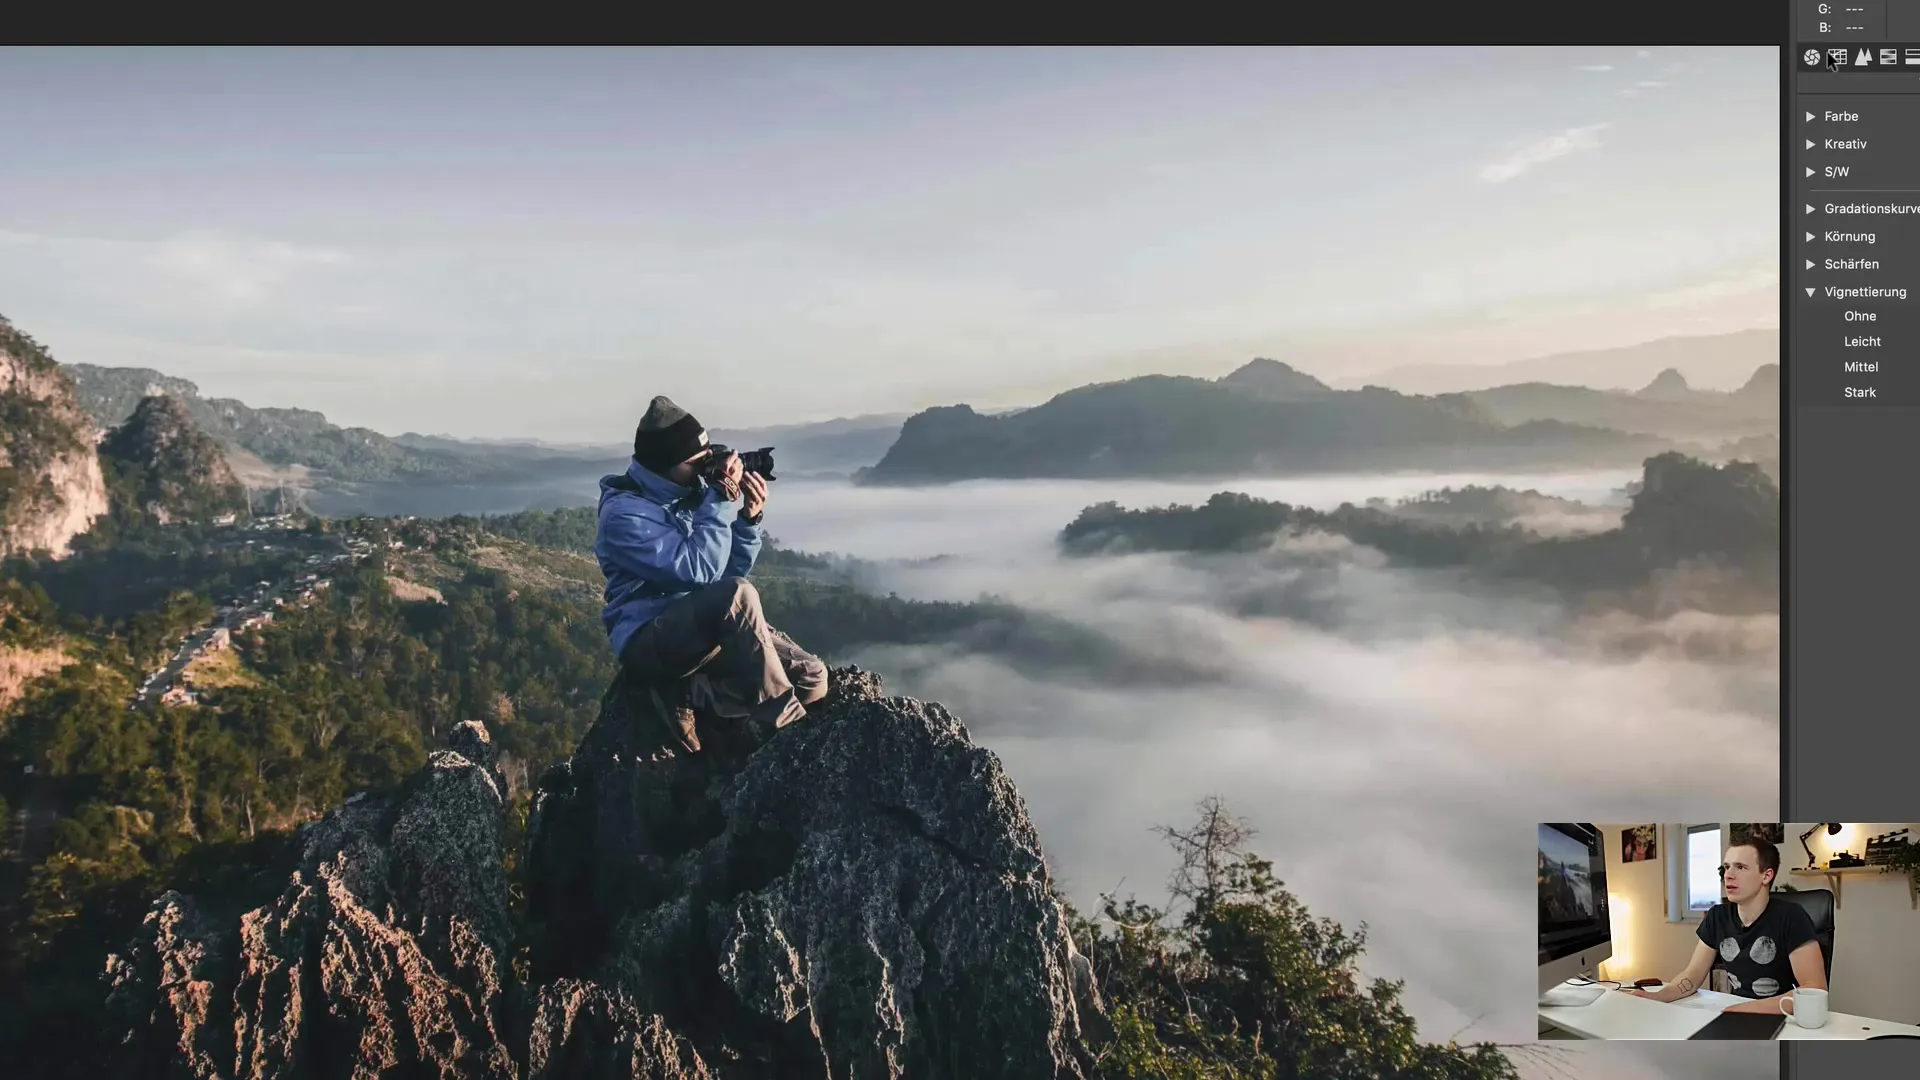
Step 7: Using the Profile in Lightroom
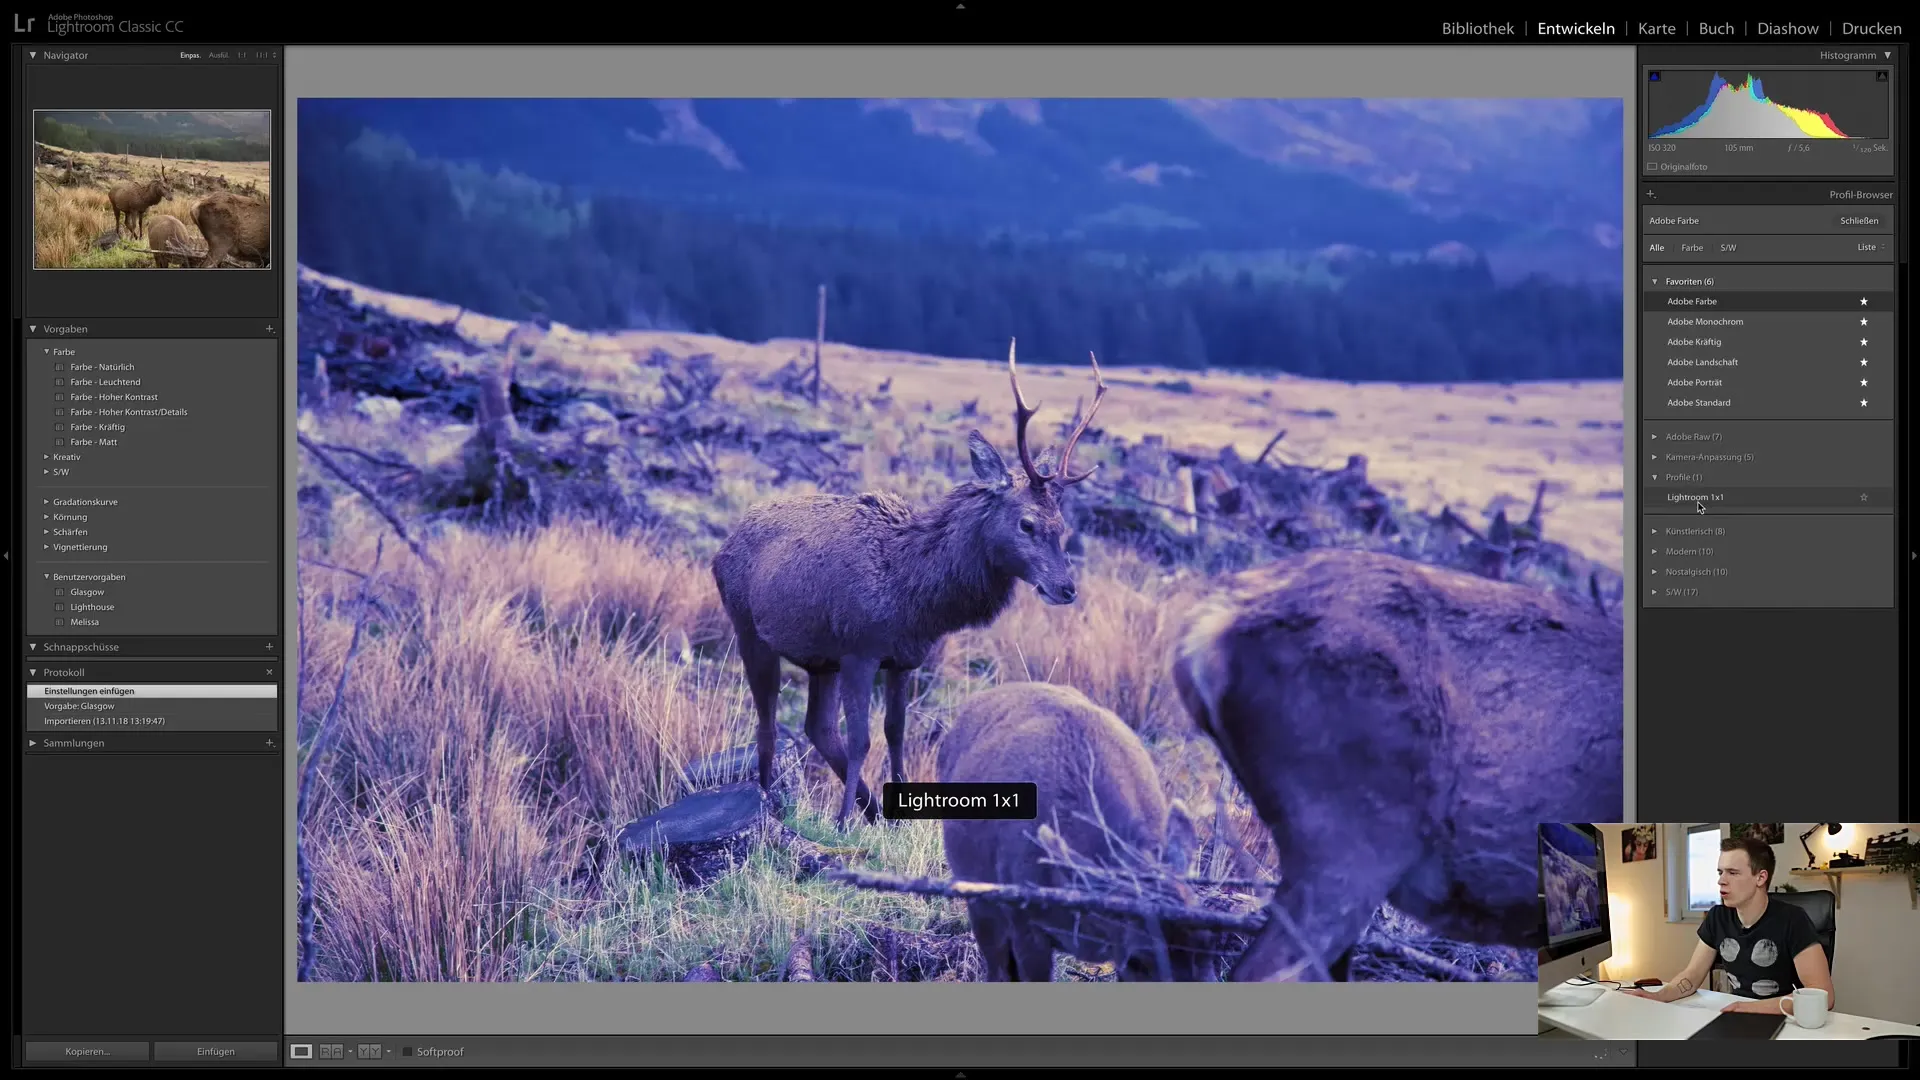
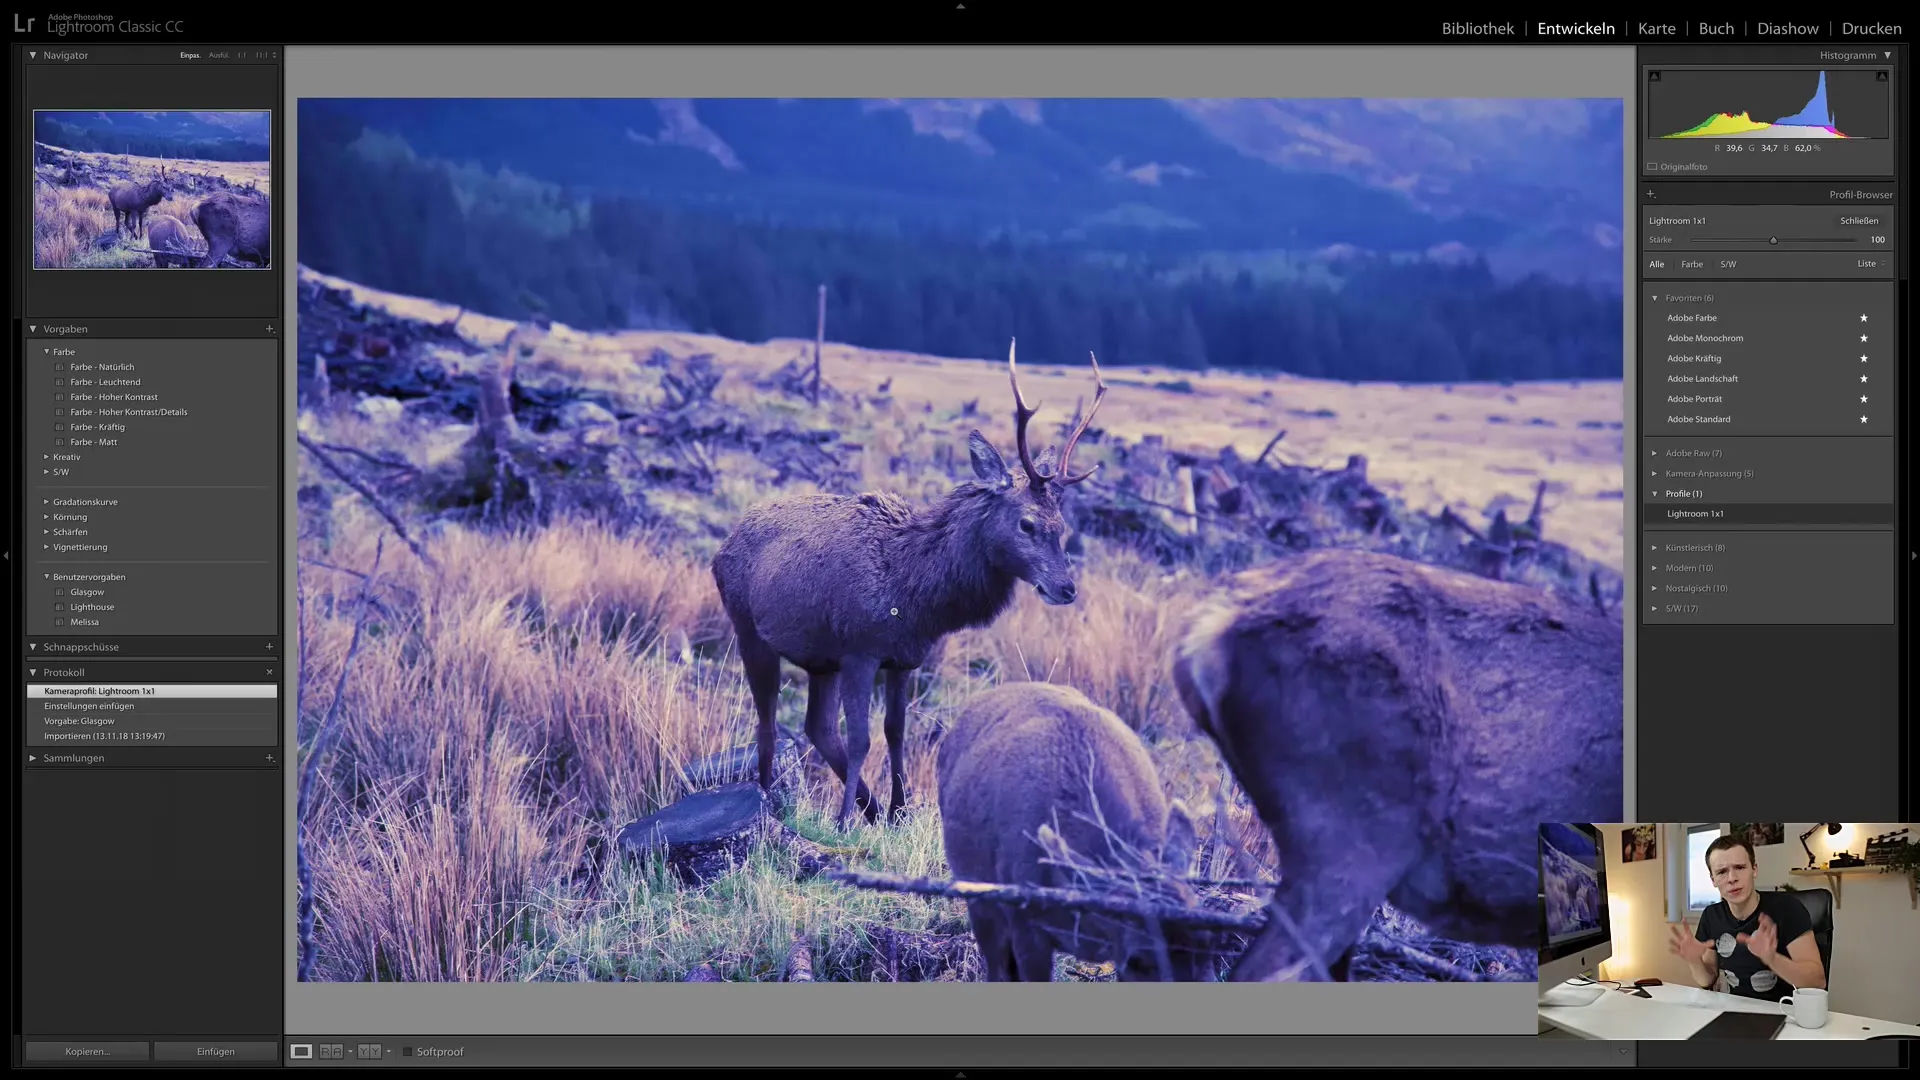
After saving the preset, you can now access the profiles in Lightroom. When you restart Lightroom, your newly created profile should appear among the available profiles.
Step 8: Applying the Profiles
Once your profile is available in Lightroom, you can apply it to all your images. Simply select the image you want to apply the profile to and click on your newly created profile.
Summary
In this tutorial, you have learned how to create custom profiles in Photoshop that seamlessly integrate into your Lightroom workflow. By using LUT files, you gain access to a variety of creative options to take your images to a new level.
Frequently Asked Questions
How do I create a Lightroom profile in Photoshop?You need to create a LUT file in Photoshop by applying an adjustment layer and then exporting it.
Can I see my new profiles immediately in Lightroom?No, you need to restart Lightroom after importing the files to see them.
Where can I find additional XMP files for Lightroom?You can often find these in online resources. Links to download offers have also been mentioned in this tutorial.
Can I use older versions of Lightroom as well?It is recommended to use the latest version to ensure the best results and compatibility.


