Errors can not only be annoying, but they can also have costly consequences, especially when it comes to printed materials. Therefore, it is essential to ensure that your document is error-free before the final submission. With the Preflight-function in Adobe InDesign, you have a powerful tool at your disposal that helps you identify and fix potential issues in your layout early on. In this guide, you will learn how to effectively use the Preflight function to ensure that your document is ready for print.
Key insights
- Preflight helps you check documents for issues.
- Create a custom Preflight profile for more detailed checks.
- Pay attention to color and image resolutions as well as format deviations.
Step-by-Step Guide
To use the Preflight function, proceed as follows:
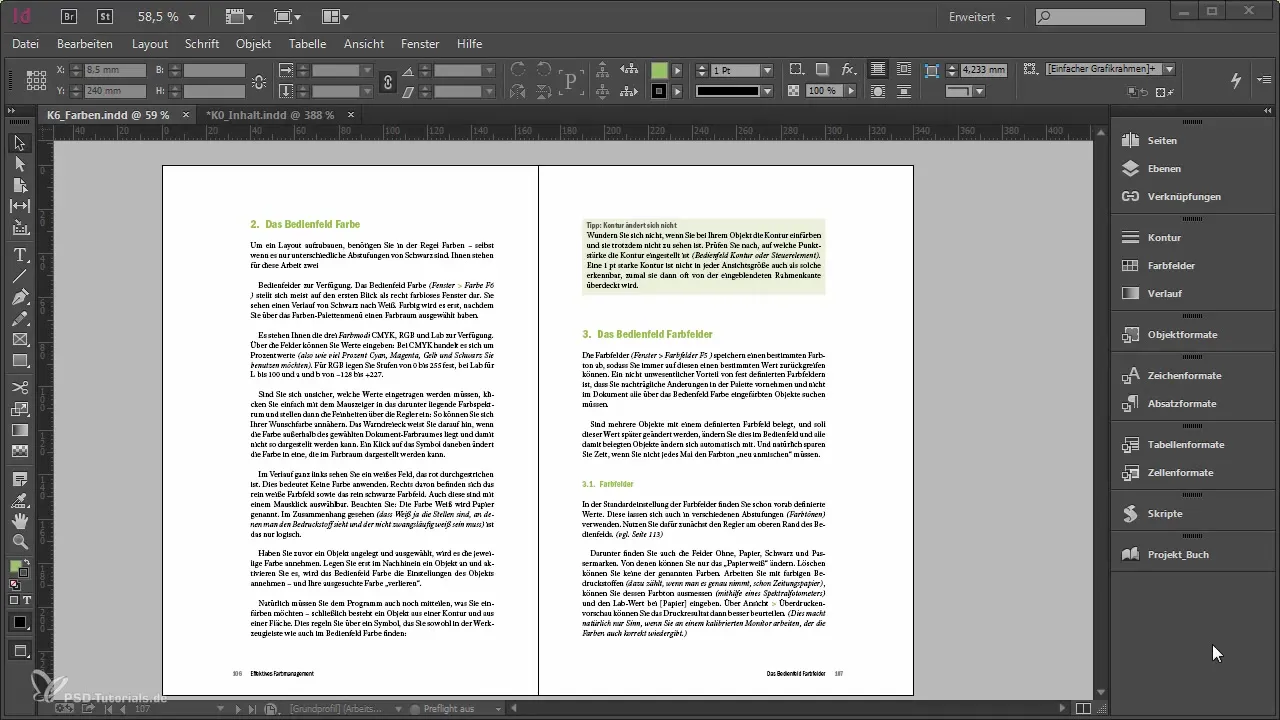
First of all, you should know that the Preflight function is located in the lower menu bar of InDesign. It may be disabled by default, but it is generally helpful to have it active as it can alert you to problems in real time. To activate Preflight, simply open the Preflight panel. You may be able to save some time when using the Preflight panel, as Preflight checks in the background of your document.
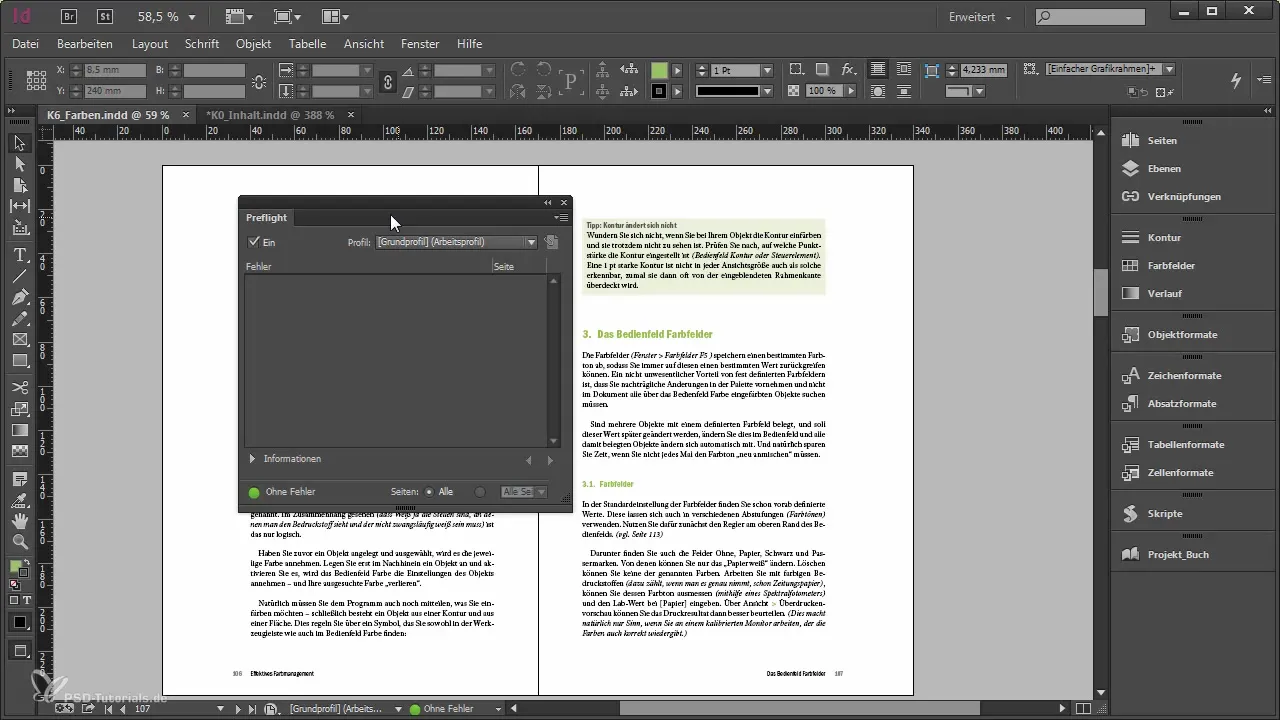
Once you have opened the Preflight panel, you can activate the basic profile. InDesign will now automatically check whether your document is error-free. It will give you immediate feedback like "no errors." But be careful, don't rely on it blindly - the basic profile is not very detailed. It only checks whether all images are present and whether there is overset text. This is not always enough for thorough print preparation.
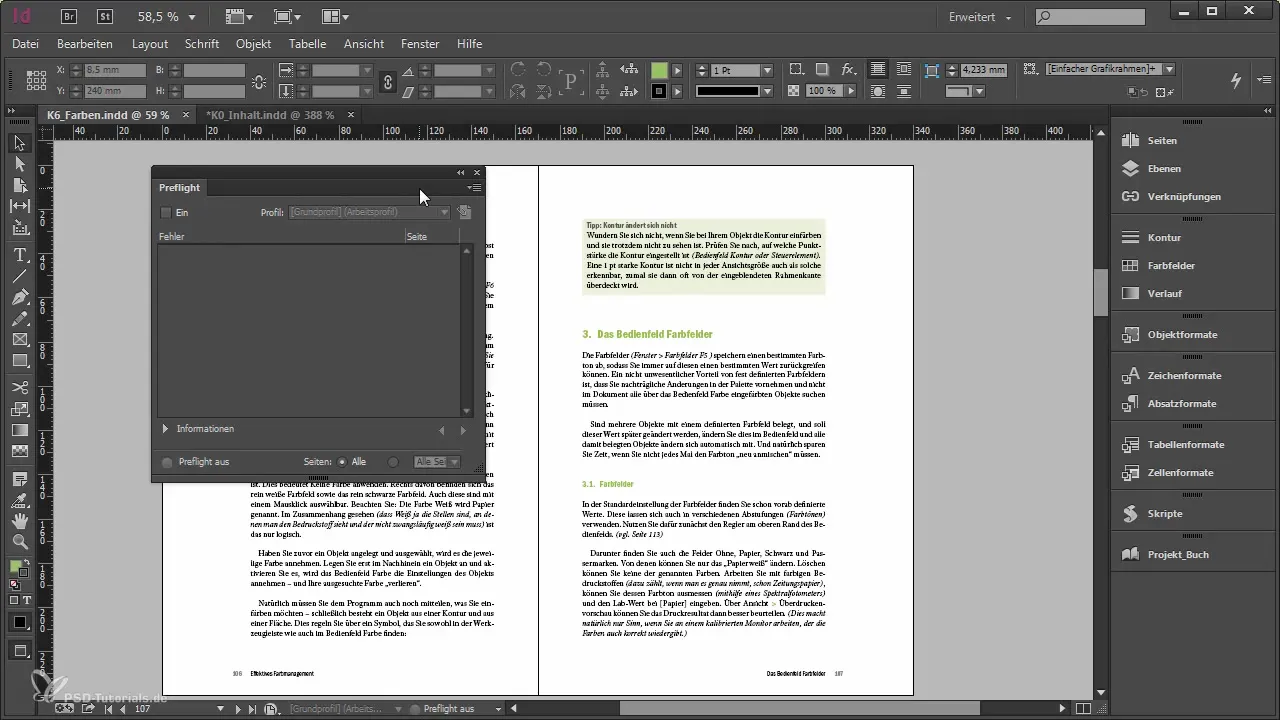
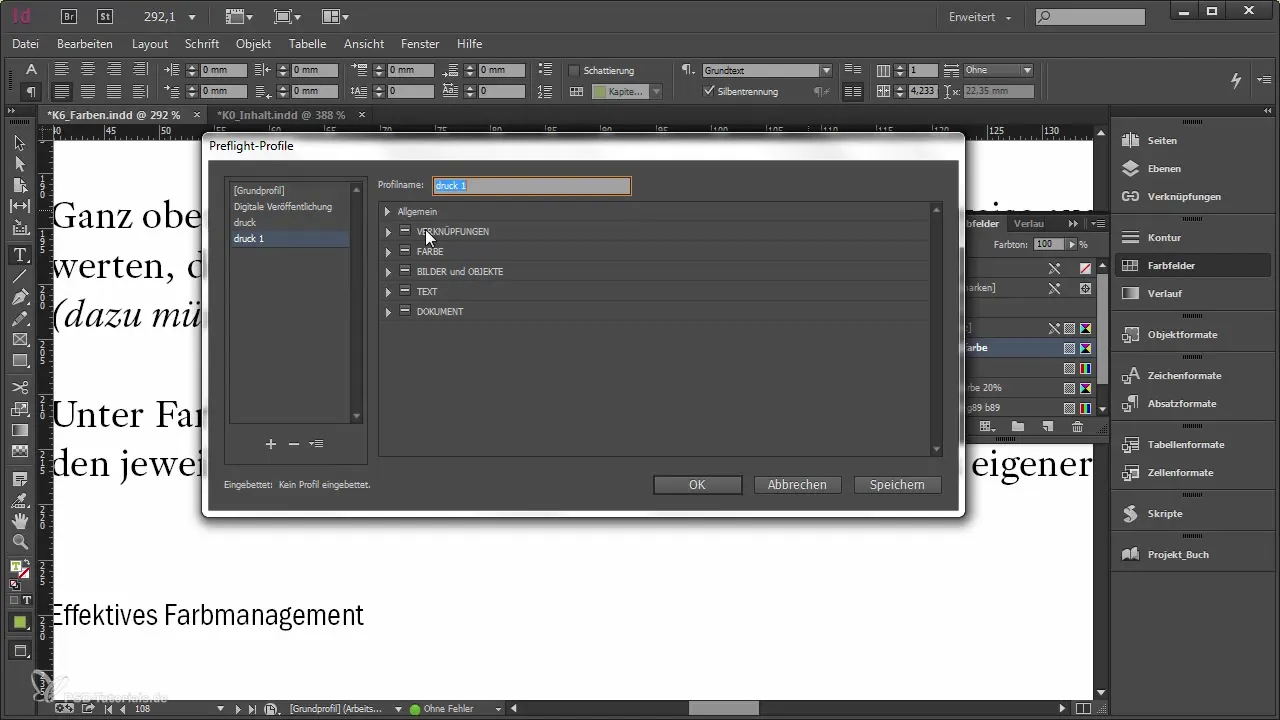
To better prepare your documents, you should either create a new Preflight profile or upload an existing profile. You can do this by going to the "Define Profiles" menu. Here you can make all the essential settings for your print project. You should give the profiles a once-over and think about what is needed to ensure that your document meets printing standards.
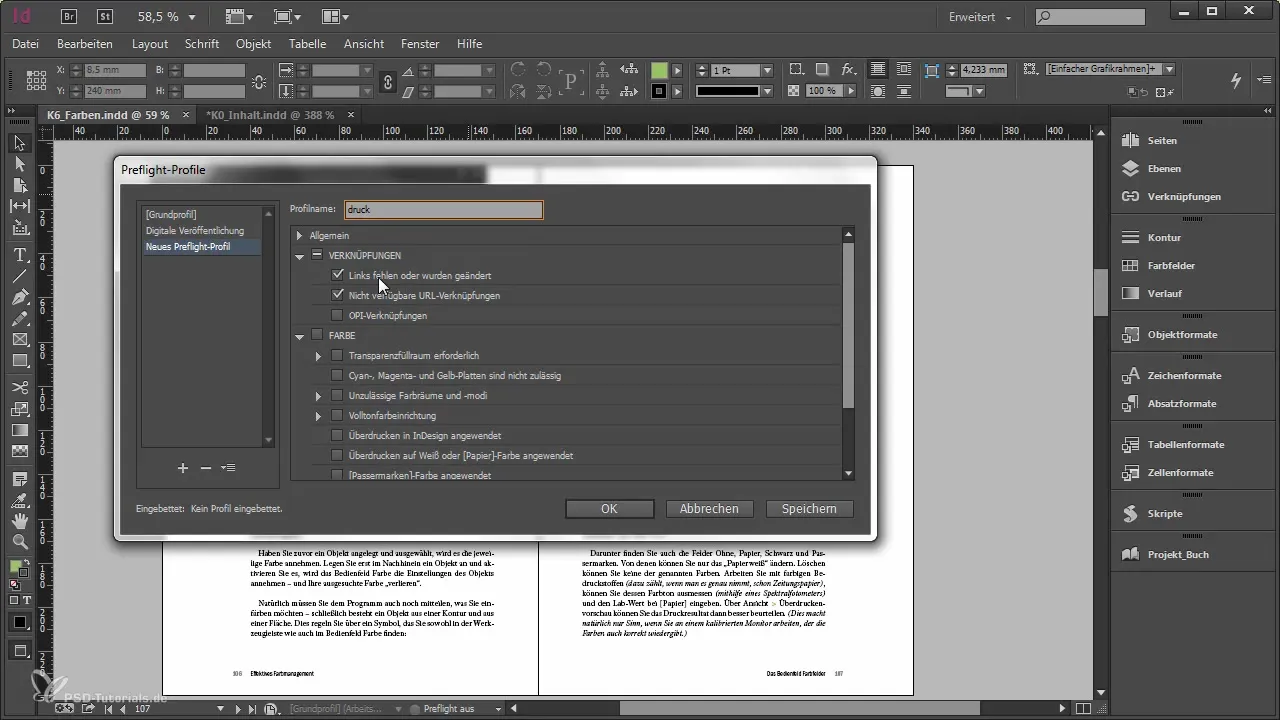
In the profile, you can set various aspects of your documents. Start with the links and check which links or images might be missing. It is important to give this thought, as missing elements can lead to bigger problems during printing.
Another important point is what colors you are using in your document. If you are printing in CMYK, you should ensure that there are no RGB colors or spot colors in the document. Set the parameters in Preflight accordingly so that warnings are issued when RGBs or unauthorized colors are detected.
Image resolution is another critical criterion. In Preflight, you can set the image resolutions to ensure that your document meets the necessary standards. A typical minimum value is 250 ppi, while the optimal resolution is usually 300 ppi. If images have a lower resolution, the Preflight will indicate where action is needed.
Also check for overset text - this should be avoided as much as possible. Additionally, it is important that you check the fonts in your document. Incorrect information or missing fonts can lead to unpleasant surprises during printing.
Keep in mind that with large projects, you might sometimes overlook the exact details. Therefore, only activate the checks that are relevant for your specific project. Too many error messages can quickly become confusing. However, always be aware of which points are essential for your project.
Finally, you should also check that all page formats and orientations in the document match. You don't want different formats on your pages suddenly, which should not occur in a print project.
After you have made all the necessary settings, activate the Preflight with your profile. You should now see a clear list of potential errors. Be sure to analyze the errors and address them specifically, especially for misconfigurations such as incorrect color spaces or image formats.
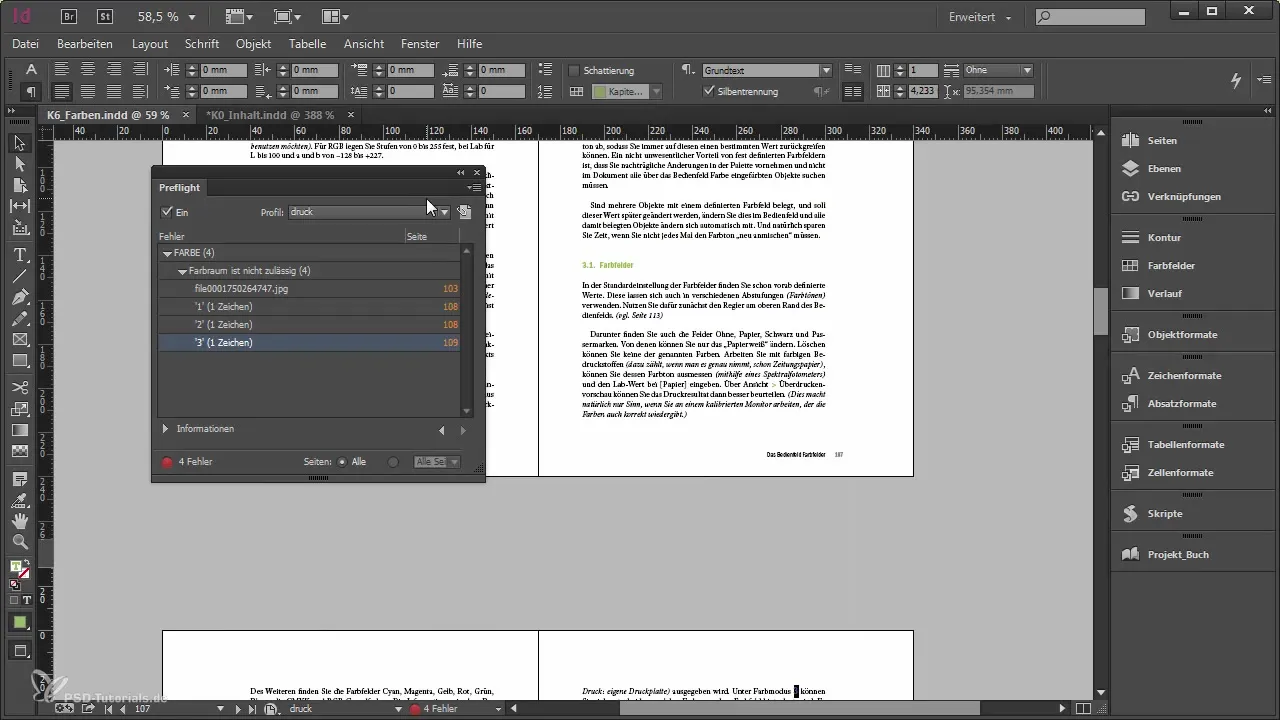
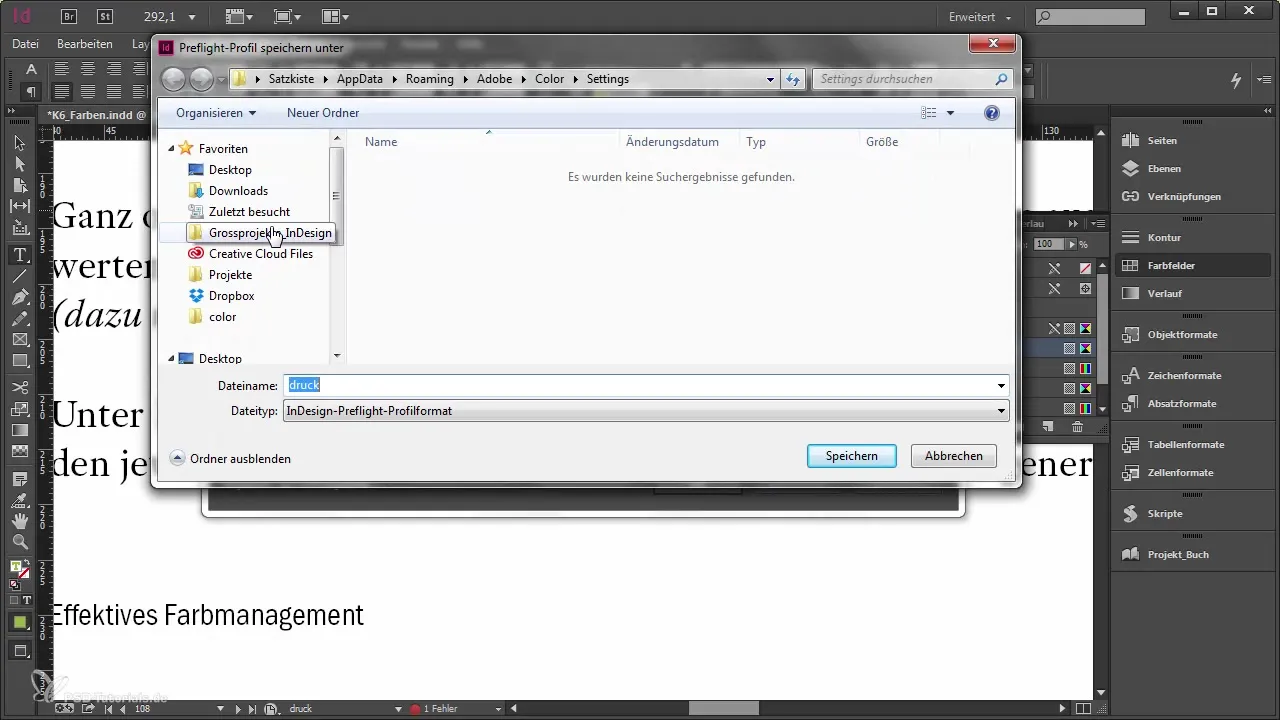
If you have made your changes and are satisfied with the result, you can save or export your Preflight profile to make it available to others. This way, your colleagues also have the opportunity to apply the same standards.
Take advantage of the ability to set different Preflight profiles as needed. This can be particularly useful when working on various projects that have different requirements.
Summary - Preflight in Adobe InDesign: Your guide to document checking With the Preflight function in Adobe InDesign, you receive valuable support in checking your document. By creating a custom profile, you can tailor the checks to specific needs and ensure that your document is print ready.
Frequently Asked Questions
How do I open the Preflight panel in InDesign?You open the Preflight panel through the menu in the lower menu bar.
Can I create my own Preflight profile?Yes, you can create a new profile according to your wishes via "Define Profiles".
What should I pay particular attention to during Preflight?Pay particular attention to color systems, image resolutions, and whether there is any overset text.
How do I save my Preflight profile?After creating it, you can export and save your profile to make it available to others.
Why are too many error messages problematic during Preflight?Too many error messages can be confusing and lead to important errors being overlooked.

