The tone curve in Lightroom Classic CC is an incredibly powerful tool for precise image editing. It may seem overwhelming at first, but with the right guidance, you can optimize its functions to greatly improve the color and contrast of your images. In this guide, we will discuss the key aspects of the tone curve and guide you step by step through the editing process.
Key Insights
- The tone curve allows you to specifically control the brightness and contrast of your images.
- By intelligently adjusting the curves, images can be visually changed significantly without appearing unnatural.
- The ability to influence individual color channels opens up the option to create creative and unique color aesthetics.
Step-by-Step Guide
1. Understanding the Basics of the Tone Curve
First, take a look at the user interface of the tone curve. You can find it in the basic settings, where you can temporarily hide other settings to focus on the tone curve. You will see a histogram that represents the distribution of brightness in your image.

2. Adjusting Dark Areas of the Image
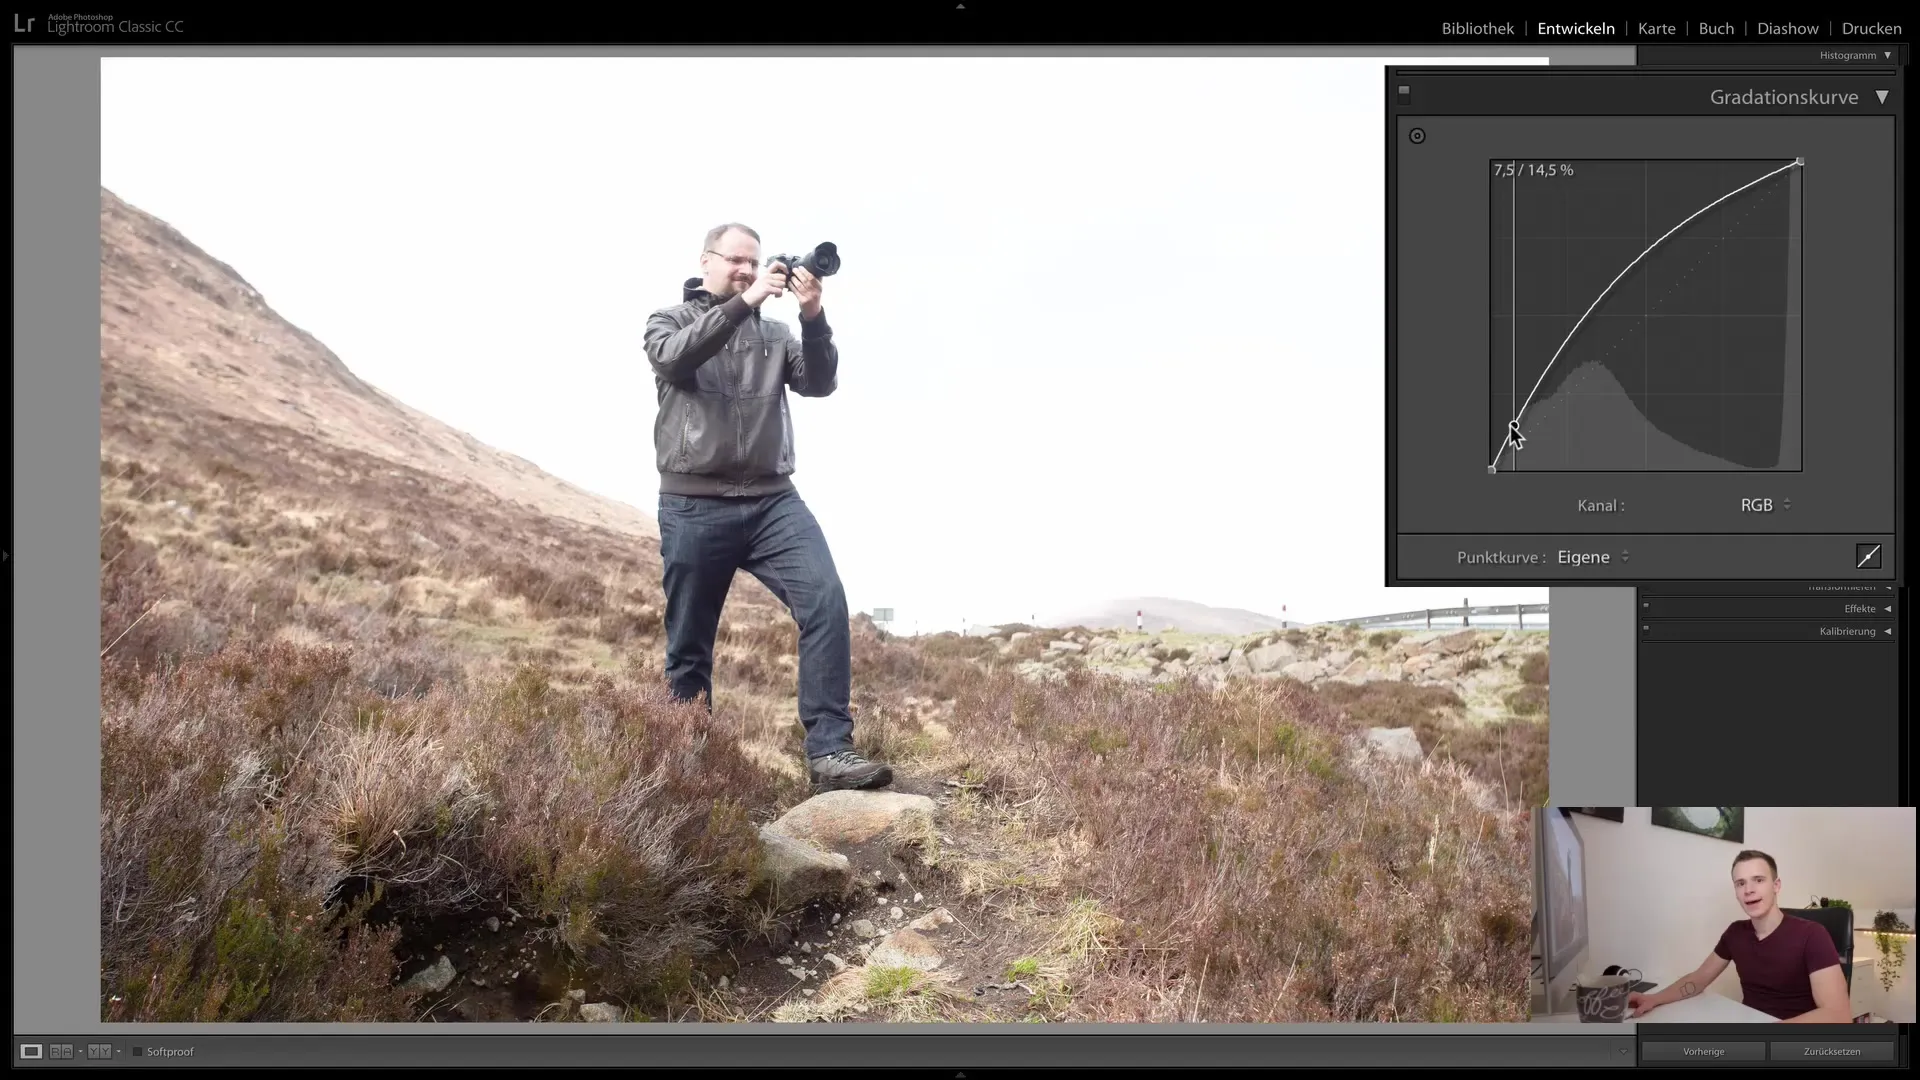
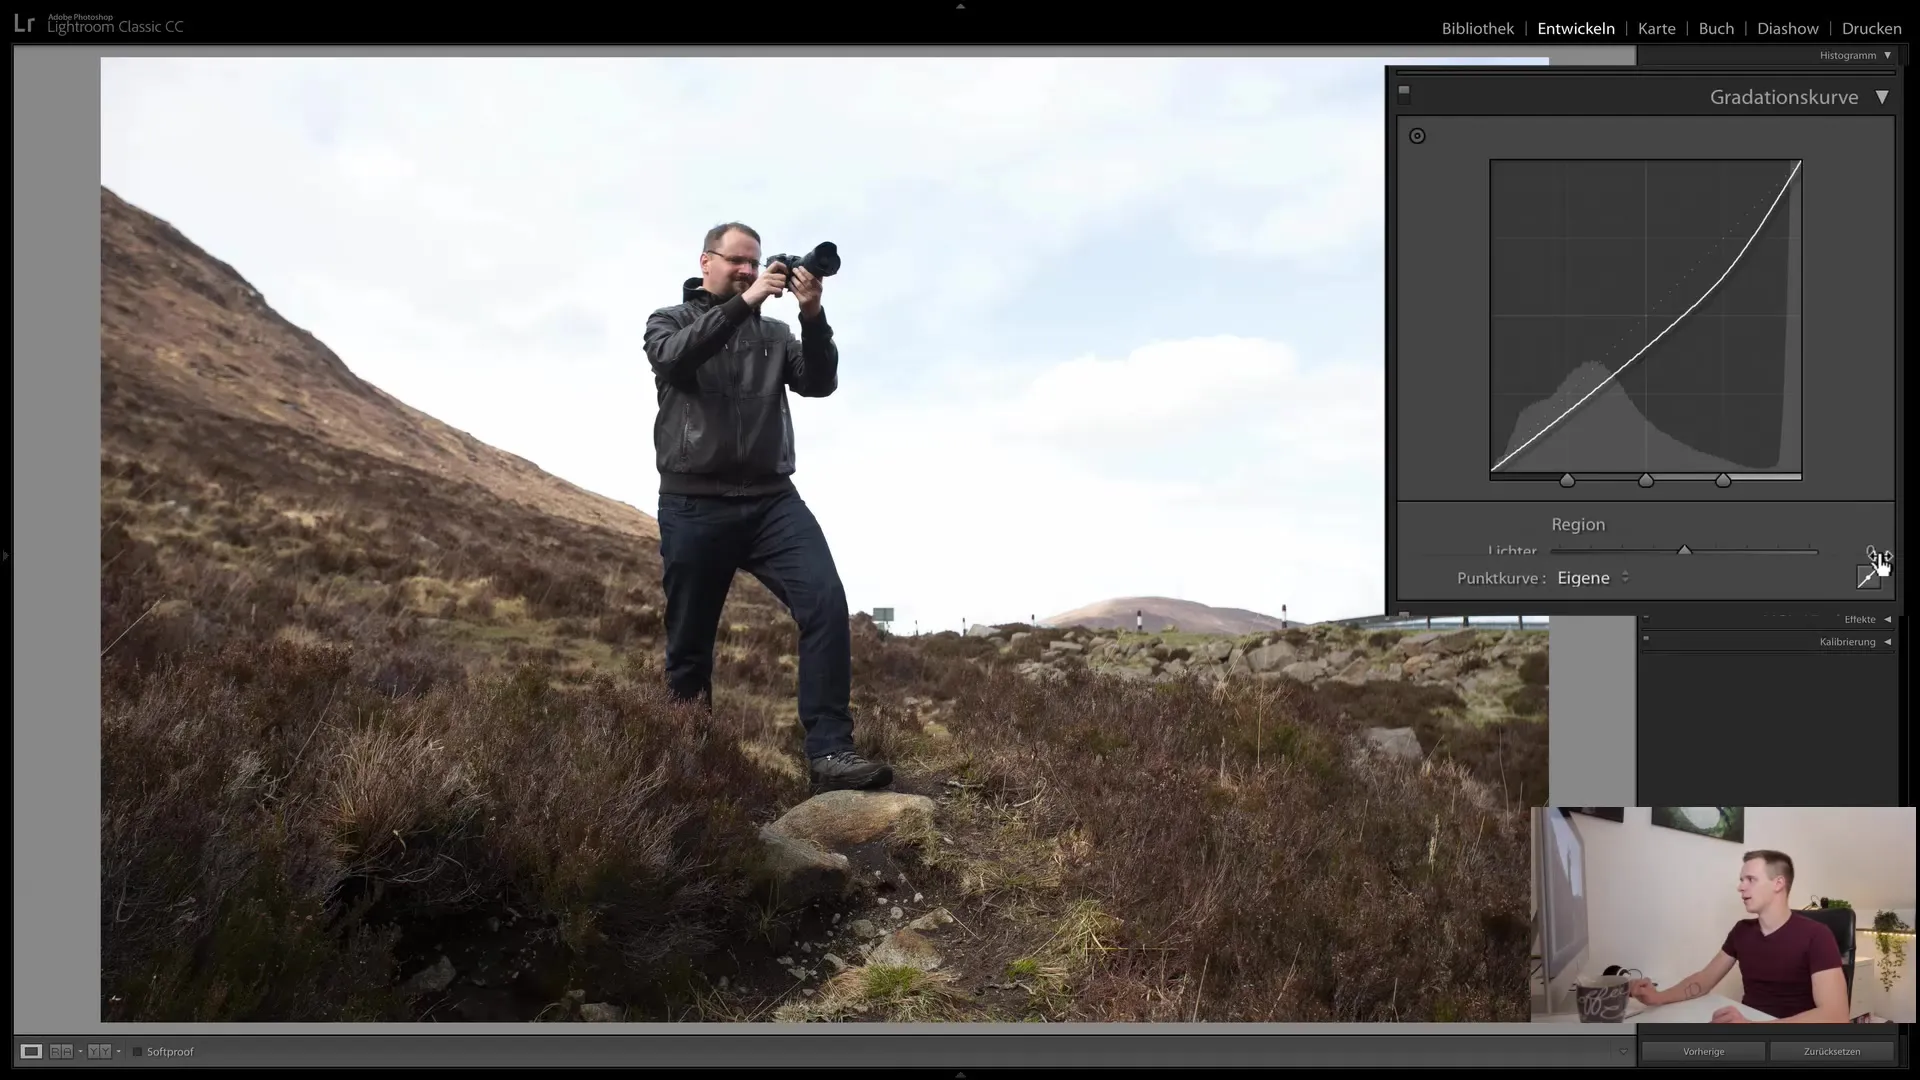
The left side of the tone curve influences the dark areas of the image. When you raise the curve, everything dark in the image becomes lighter. Conversely, it becomes darker when you pull the curve down. This is a simple yet effective way to increase the contrast of your image.
3. Adjusting Bright Areas of the Image
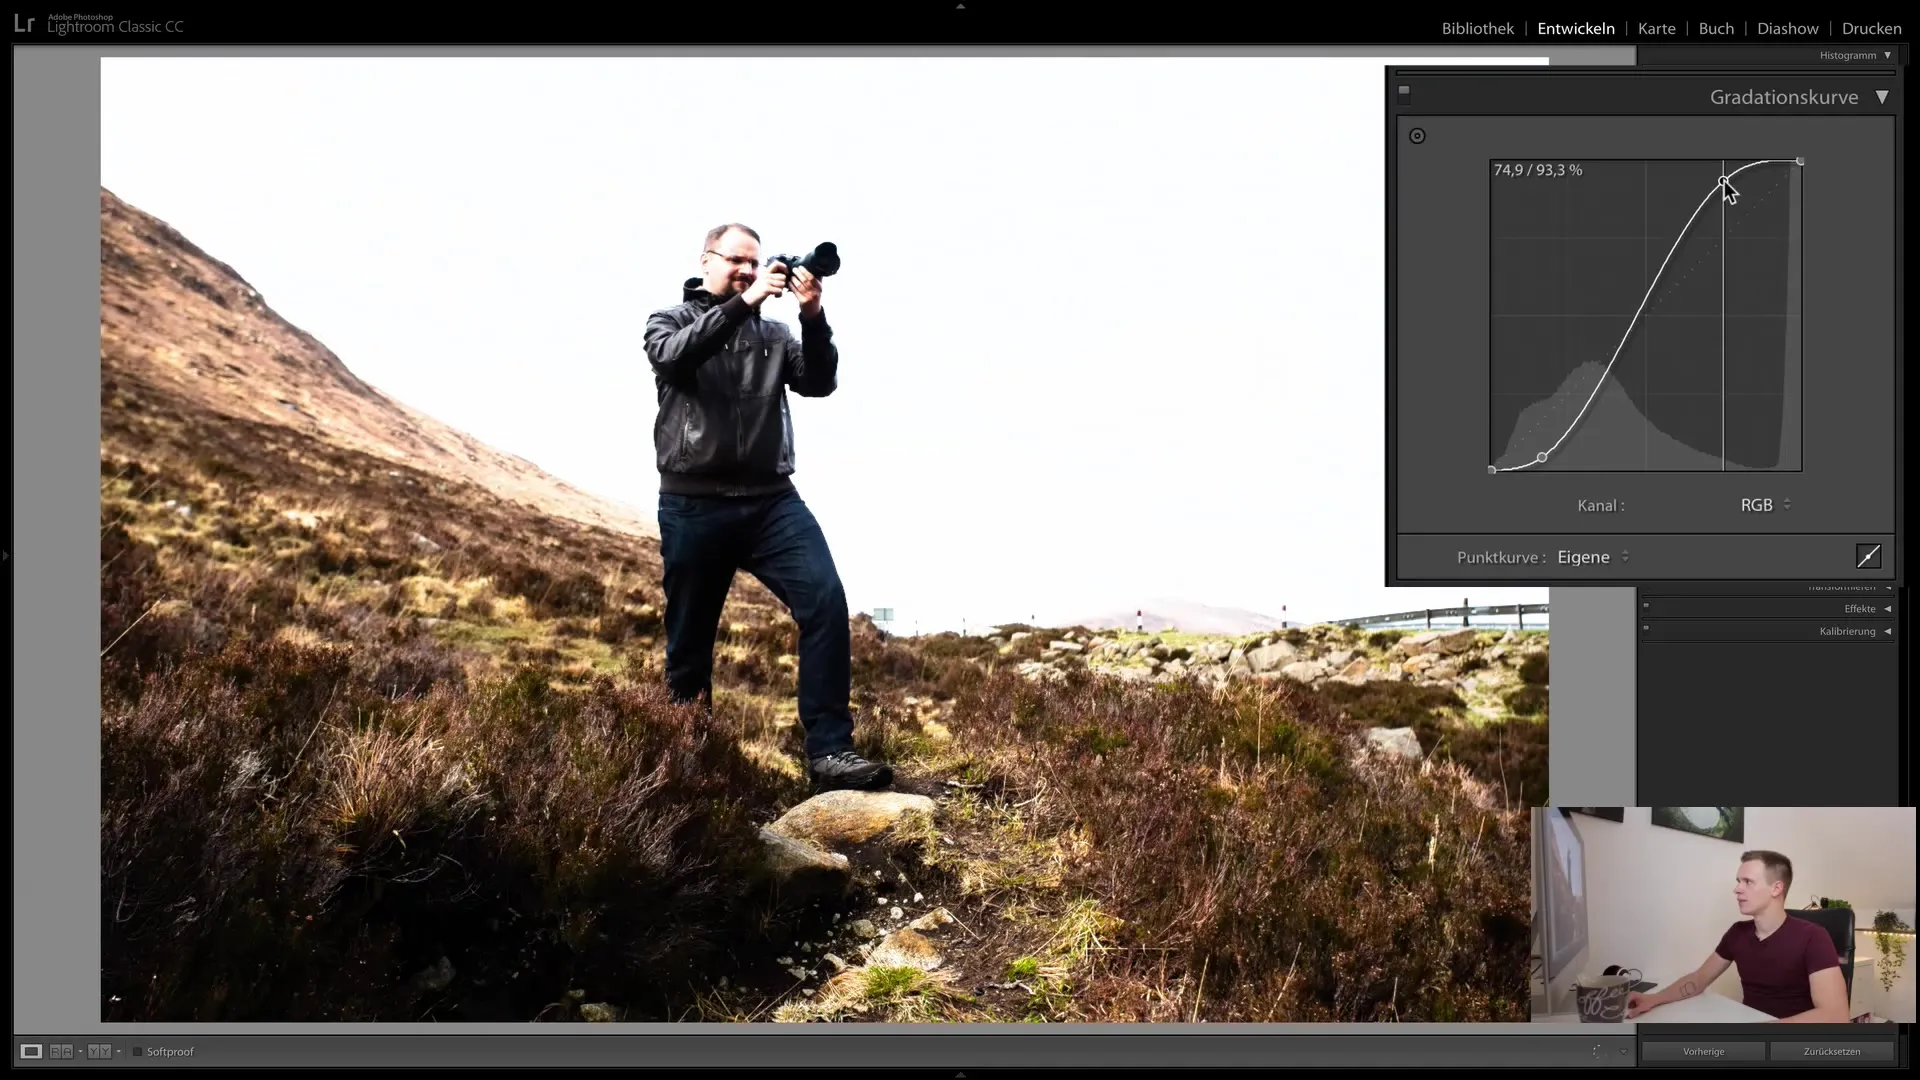
You can use the right side of the curve to lighten or darken the bright areas of the image. Raising the curve in the bright area increases the light, while lowering it darkens this area. A well-adjusted contrast can be visually appealing and add depth to the image.
4. Sharpness and Soft Transitions
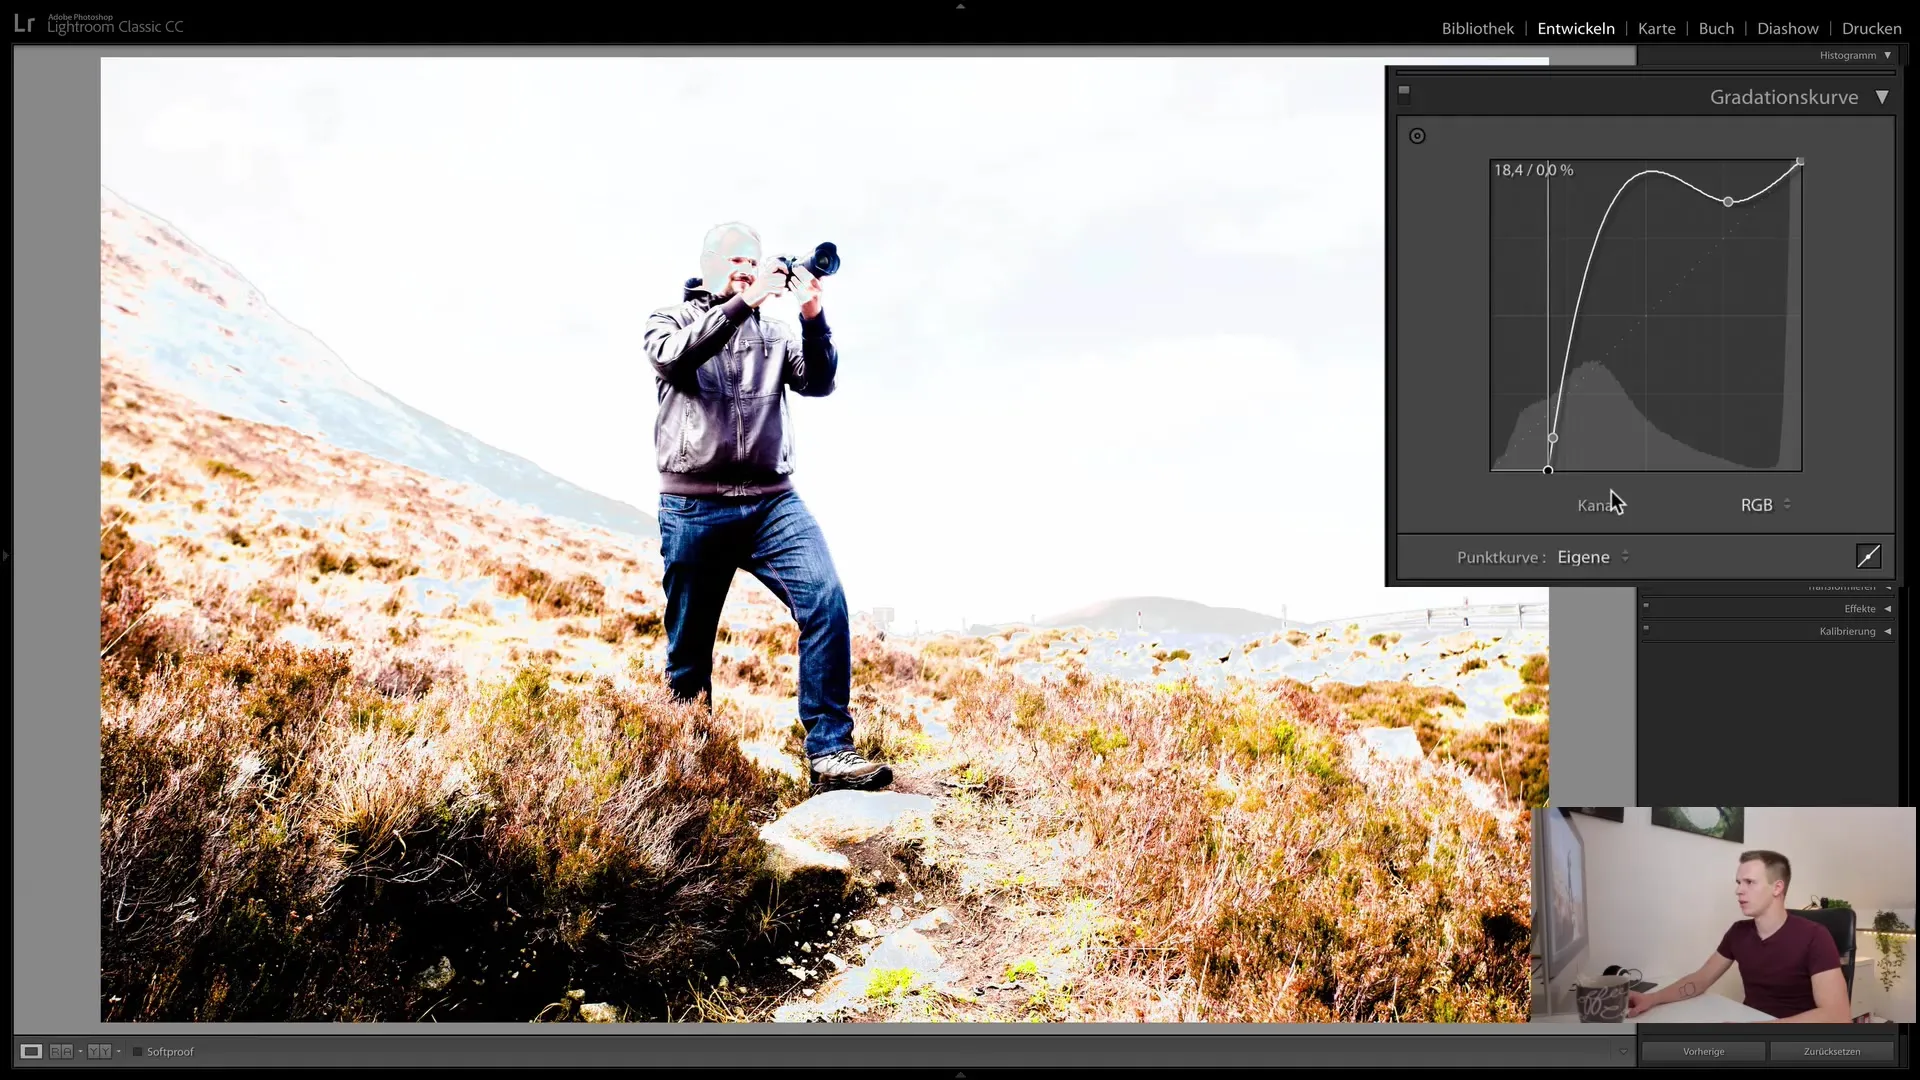
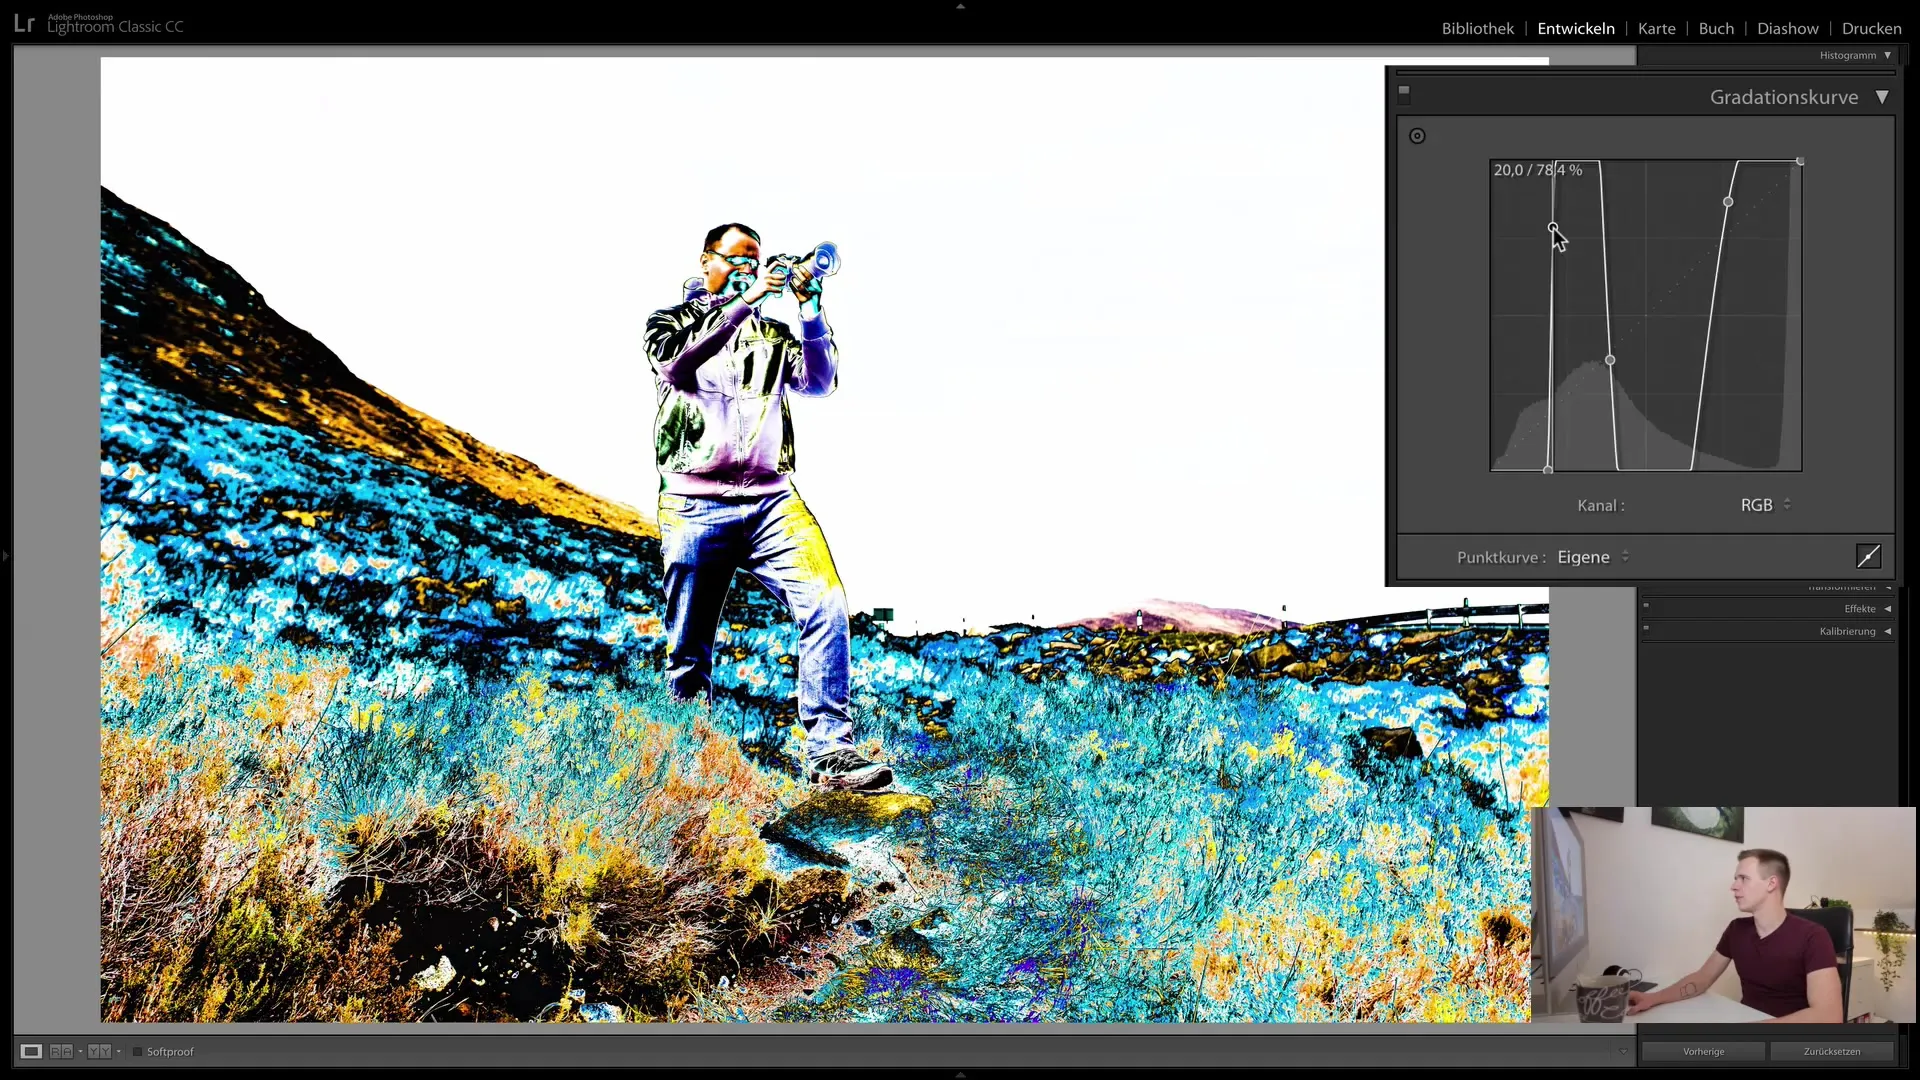
Be cautious when distorting the tone curve too much. Too many sharp edges can make the image look unnatural. Avoid extremely angular curves and instead work with soft transitions. You can take notes to restore the original appearance if you don't like something.
5. Adding and Editing Points
To make more targeted adjustments, you can work with points on the curve. A double click on a point removes it, allowing you to make new placements. This technique promotes precise adjustments of specific areas in the image.
6. Using the Point Tool
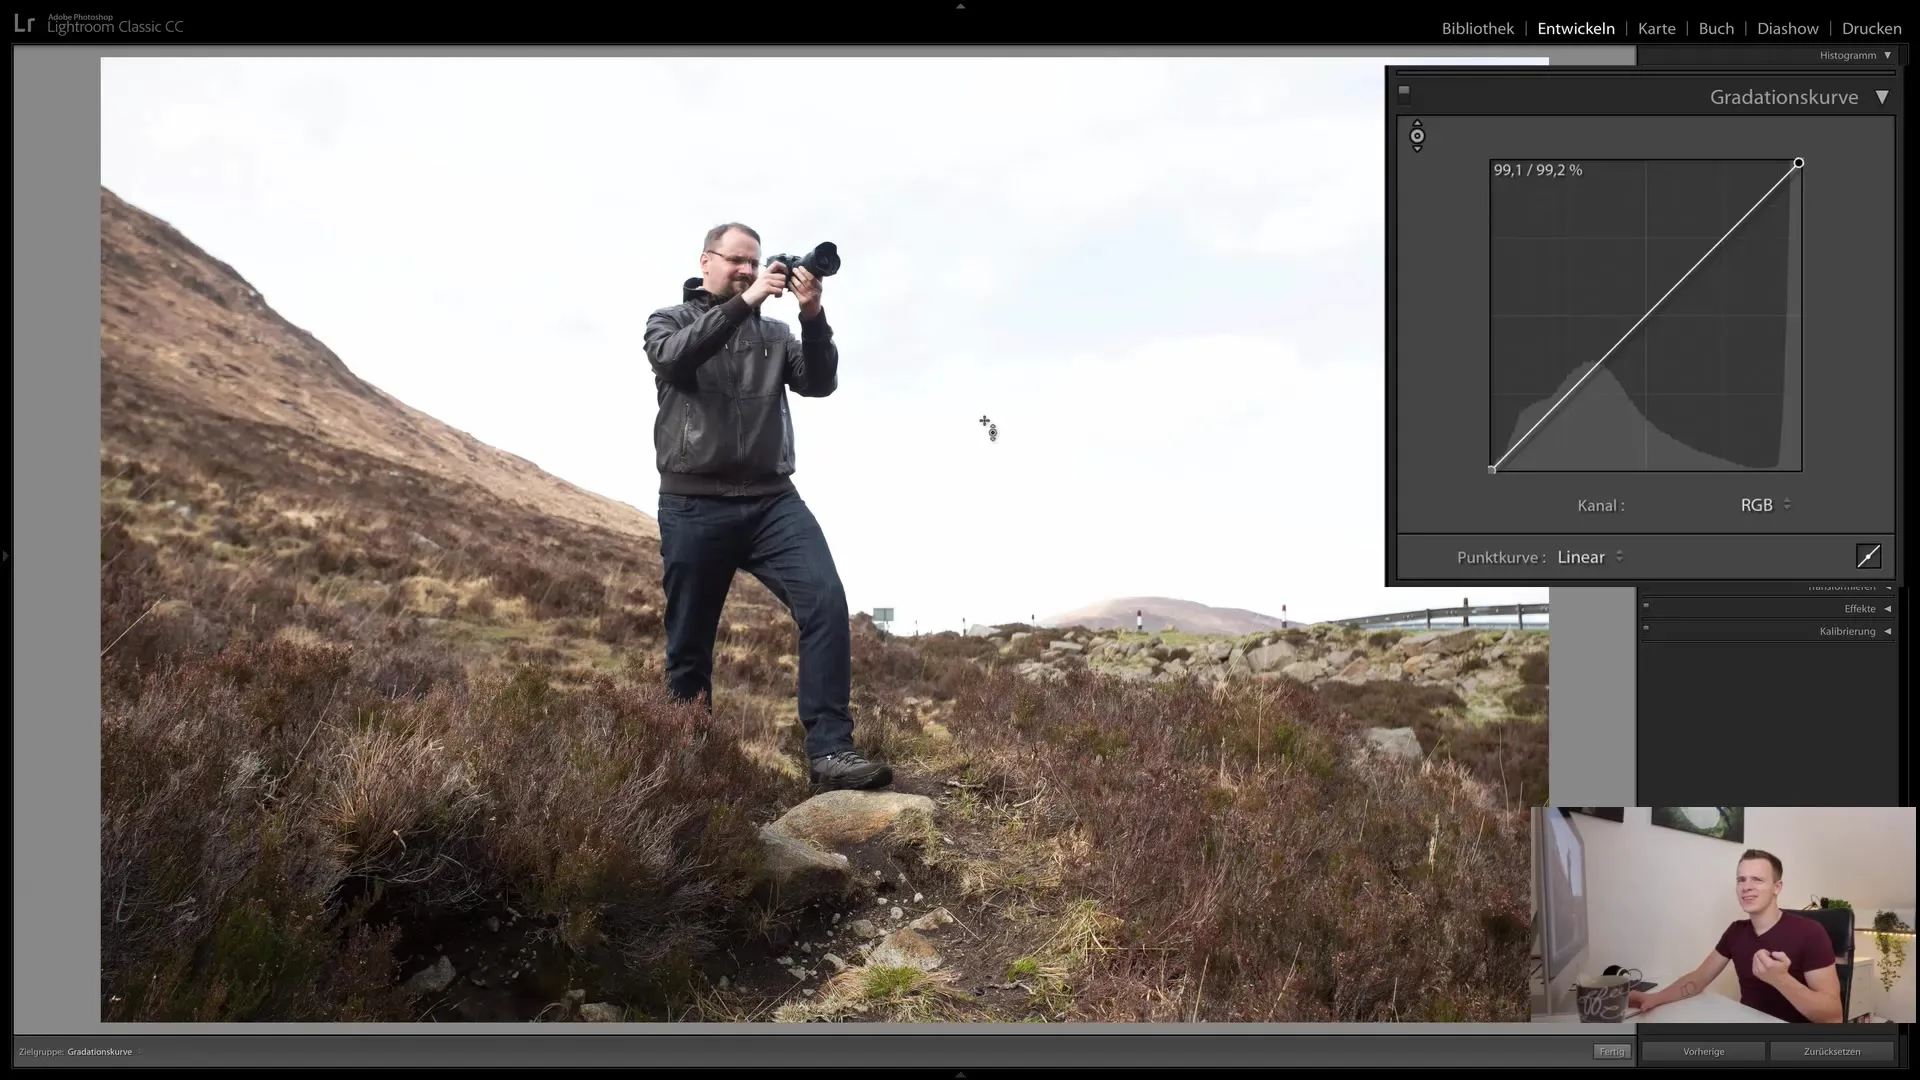
Another helpful step is to use the point tool. With this tool, you can select and adjust specific brightness ranges in the image without having to manually deform the entire curve. Simply click on the desired area, hold and drag to make the changes visible.
7. Before-After Comparison and Fine-Tuning
Use the icon in the lower right corner to get a different view of your tone curve adjustments. This view shows more detailed brightness ranges, allowing you to make more precise changes.
8. Adjusting Color Channels
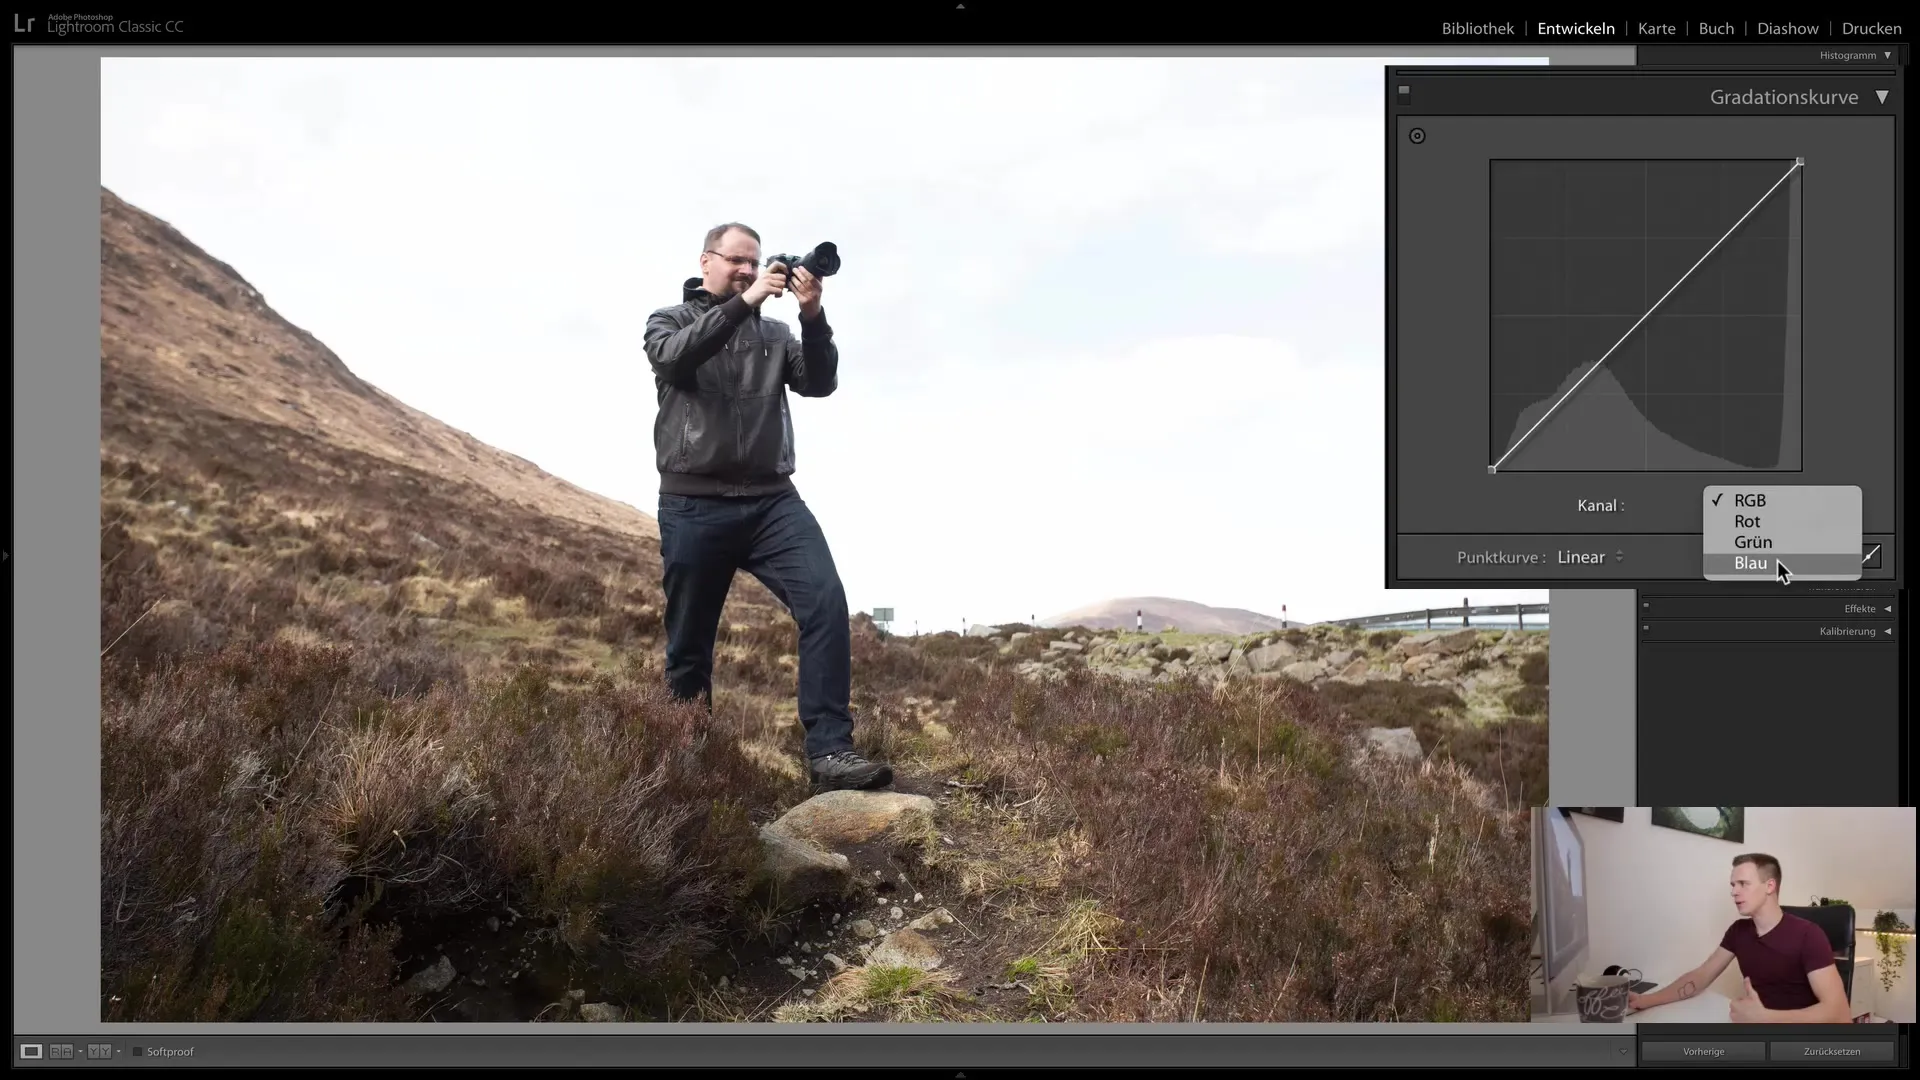
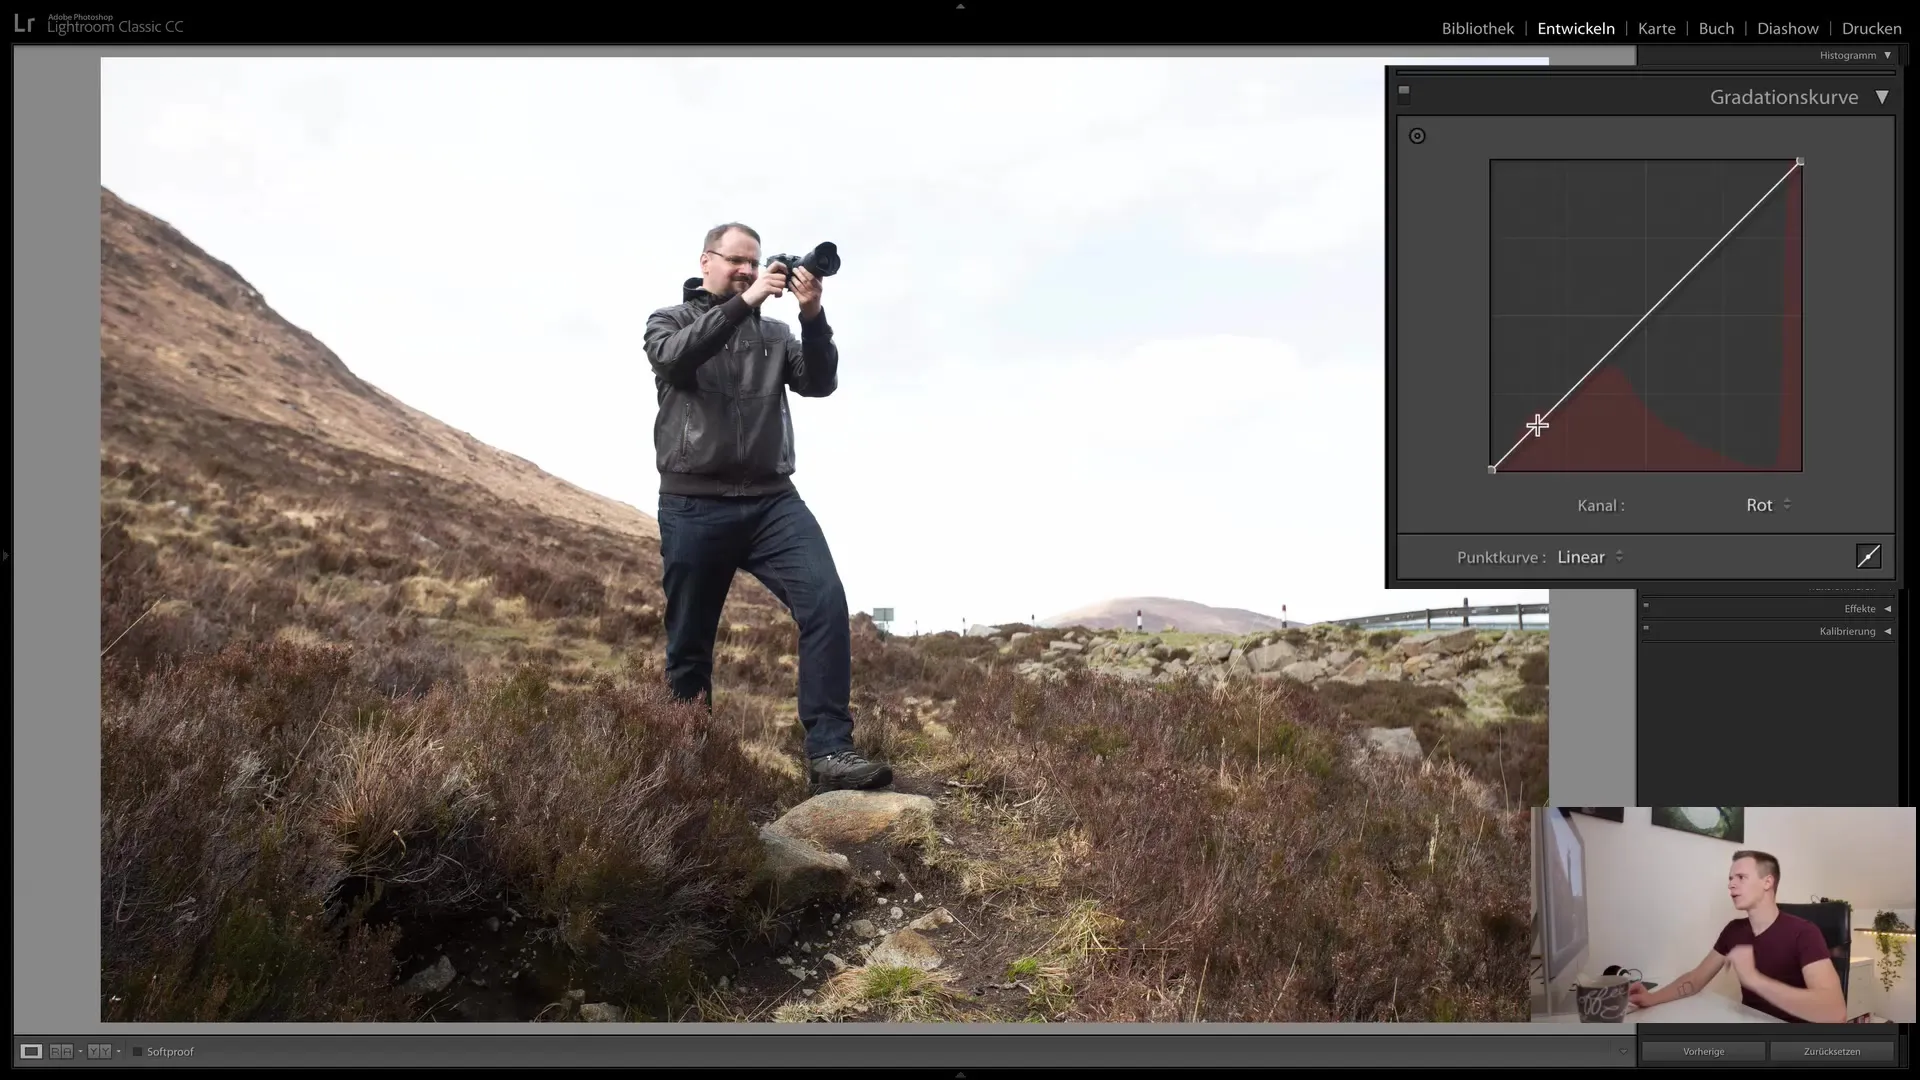
Editing colors via the tone curve is one of the most exciting features. You can choose between the red, green, and blue channels and adjust each color specifically. For example, if you want more red in the bright areas of the image, raise the red curve up.
9. Experimenting with Shades
Experiment with different adjustments. For example, you can add more red to the upper area and more cyan to the lower area to create an interesting shade. This creativity can make your image look completely different and create a unique look.
10. Resetting and Fine-Tuning
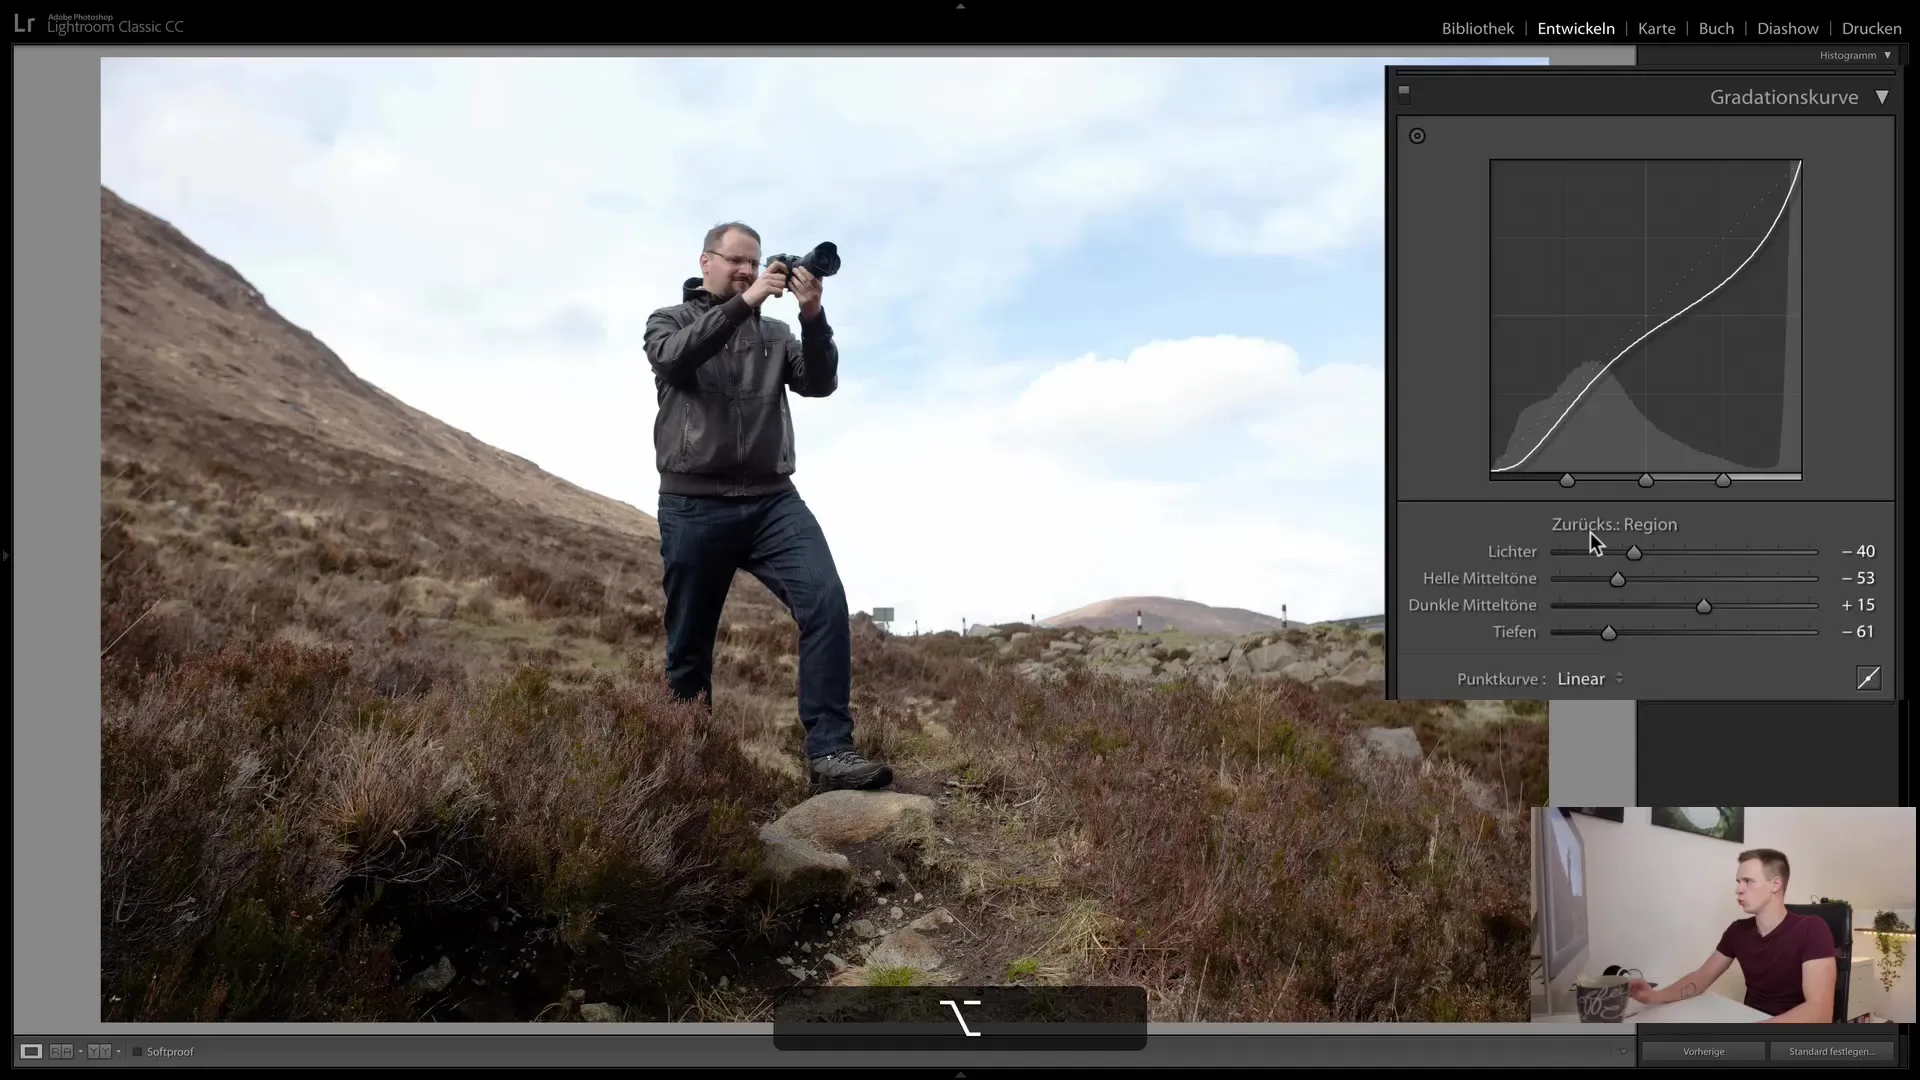
If you are not satisfied with the adjustments, you can reset the settings. This option can be found under the control rules. From there, you can make all adjustments again to achieve the desired result.
Summary
Using the Gradation Curve in Lightroom is the perfect combination of art and science. You can enhance contrasts, brighten shadows, and completely transform the hue of an image. By experimenting and using the different functions of the Gradation Curve, you will be able to significantly enhance your image aesthetics.
Frequently Asked Questions
How can I reset the Gradation Curve?Hold down the Alt key and click "Reset Region" in the corresponding menu.
What is the Point Tool in the Gradation Curve?The Point Tool allows you to select and adjust specific brightness ranges to make precise optimizations.
How can I influence the colors in my image with the Gradation Curve?You can choose between red, green, and blue and by raising or lowering the curves, you can change the respective color components in your image.


