In this guide, you will learn how to design impressive balloons using Adobe Illustrator. After the first part, which focused on the basic design of the balloon, the focus is now on creating the balloon string, adding editable letters, and adjusting the colors. These steps allow you to add a unique touch to your graphics.
Main insights
- The pencil tool is ideal for creating the string.
- Text can be distorted and perfectly adapted to the shape of the balloons.
- Using the transparency panel, balloons can be layered and their colors adjusted.
Step-by-step guide
Step 1: Creating the balloon string
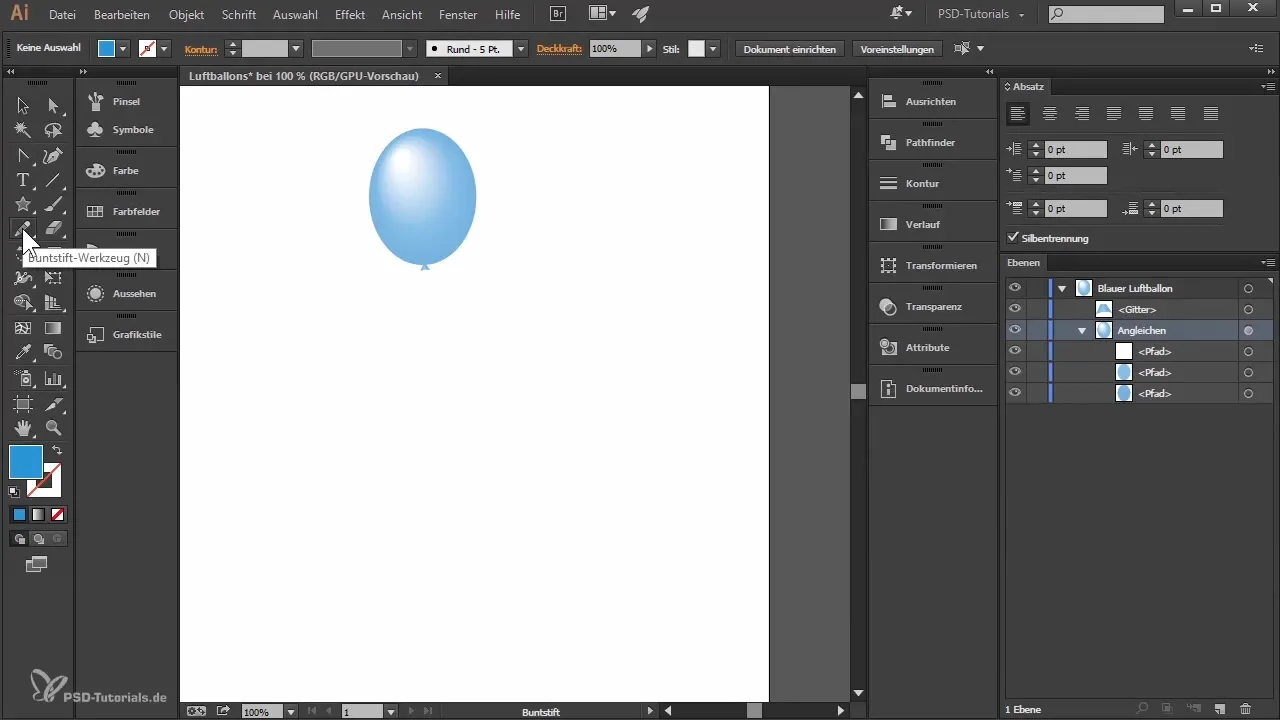
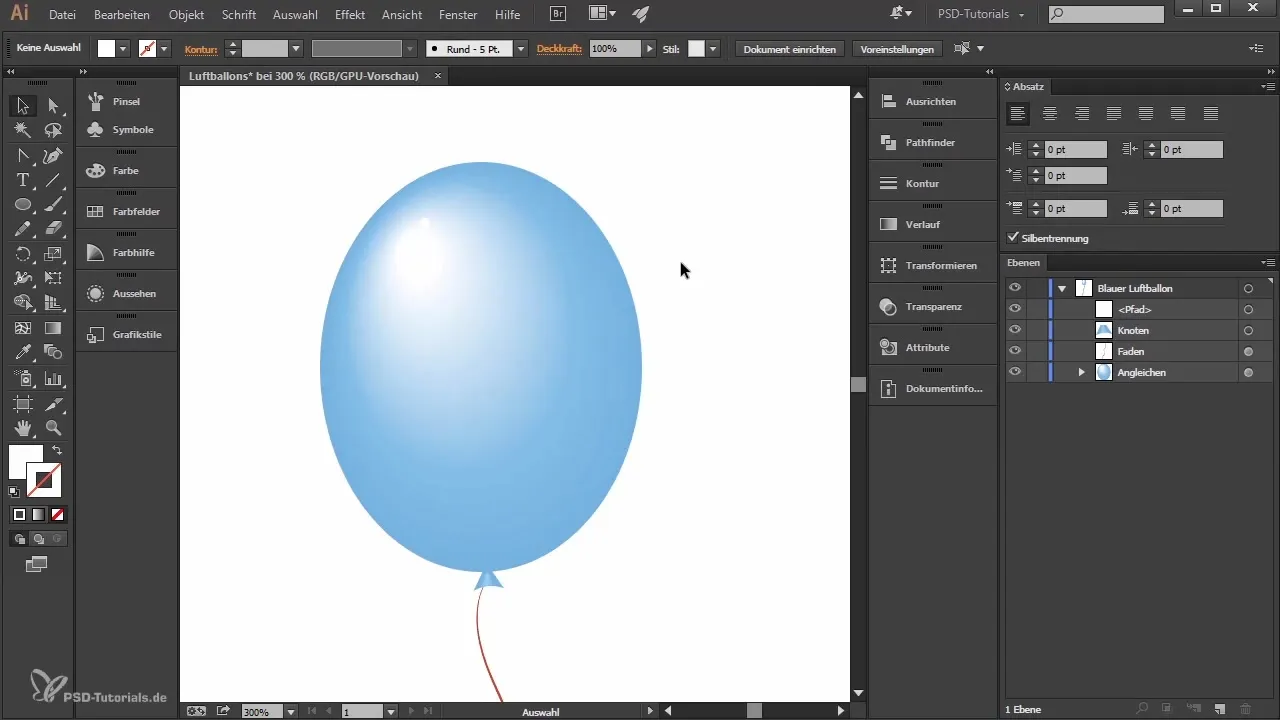
To design the string of the balloon, select the pencil tool. Do not set a fill, but choose a stroke color - for example, red. At the point where the balloon knot is, you can start drawing the string. For easier drawing, it is recommended to use a graphics tablet. Draw a curved line representing the balloon string. Make sure no unnecessary anchor points are created that you can later remove.
Step 2: Varying the thickness of the string
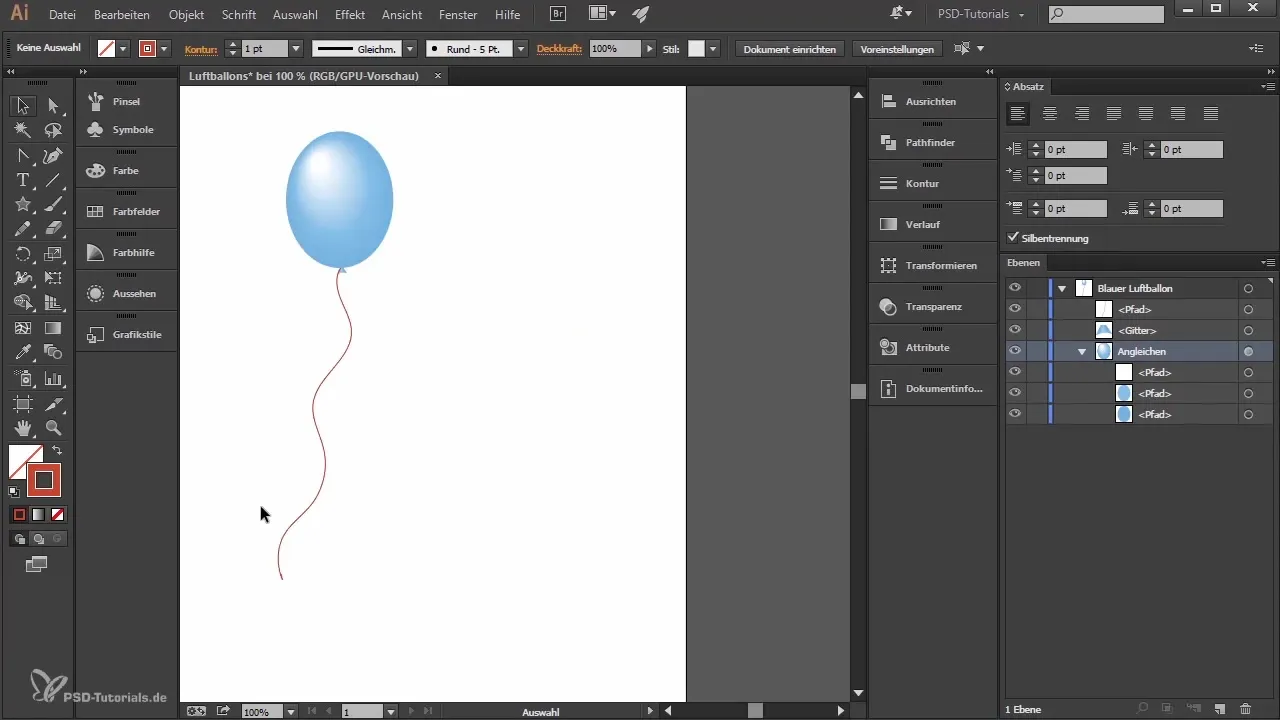
To change the thickness of the string, activate the drawn path and select the width profile from the top menu bar. Choose width profile 2, for example, to add more dynamism. With this change, you should notice that the string appears more lively and achieves a realistic representation.
Step 3: Placing a highlight
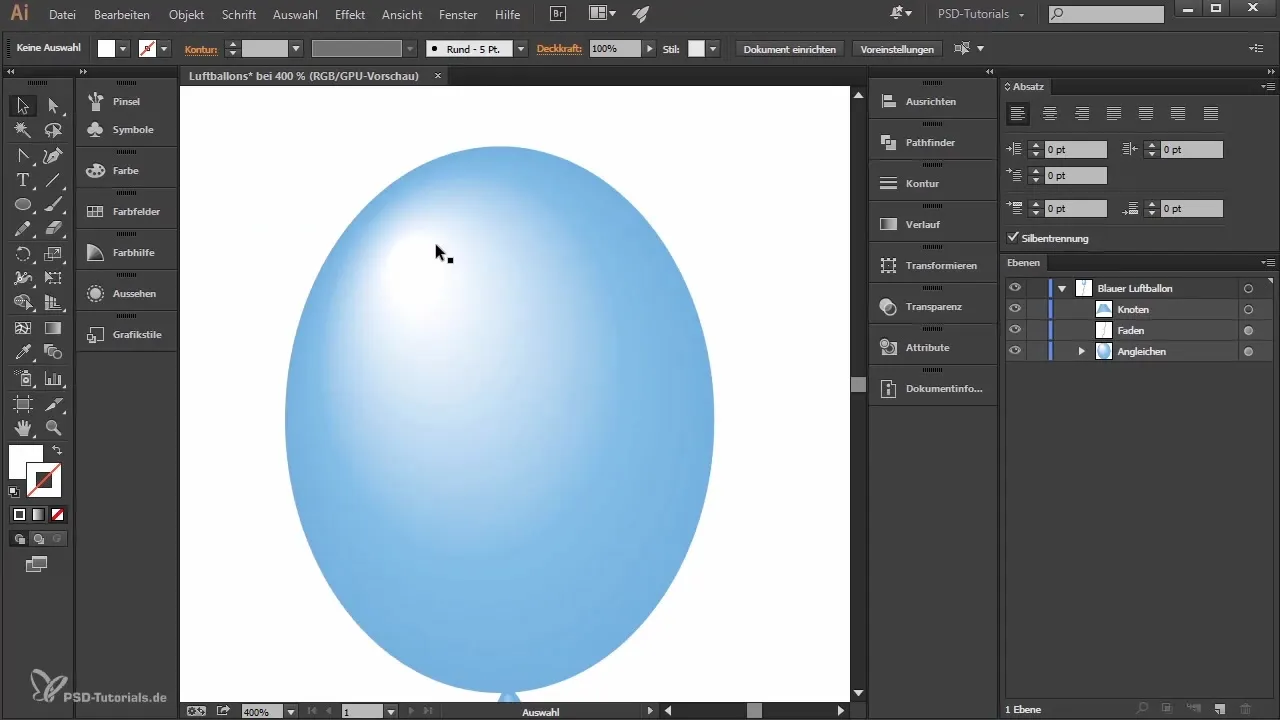
To add a highlight to the balloon, select the ellipse tool and draw a small white circle that has no stroke. Place this highlight strategically on the balloon to simulate the effect of shine and light.
Step 4: Adding editable text
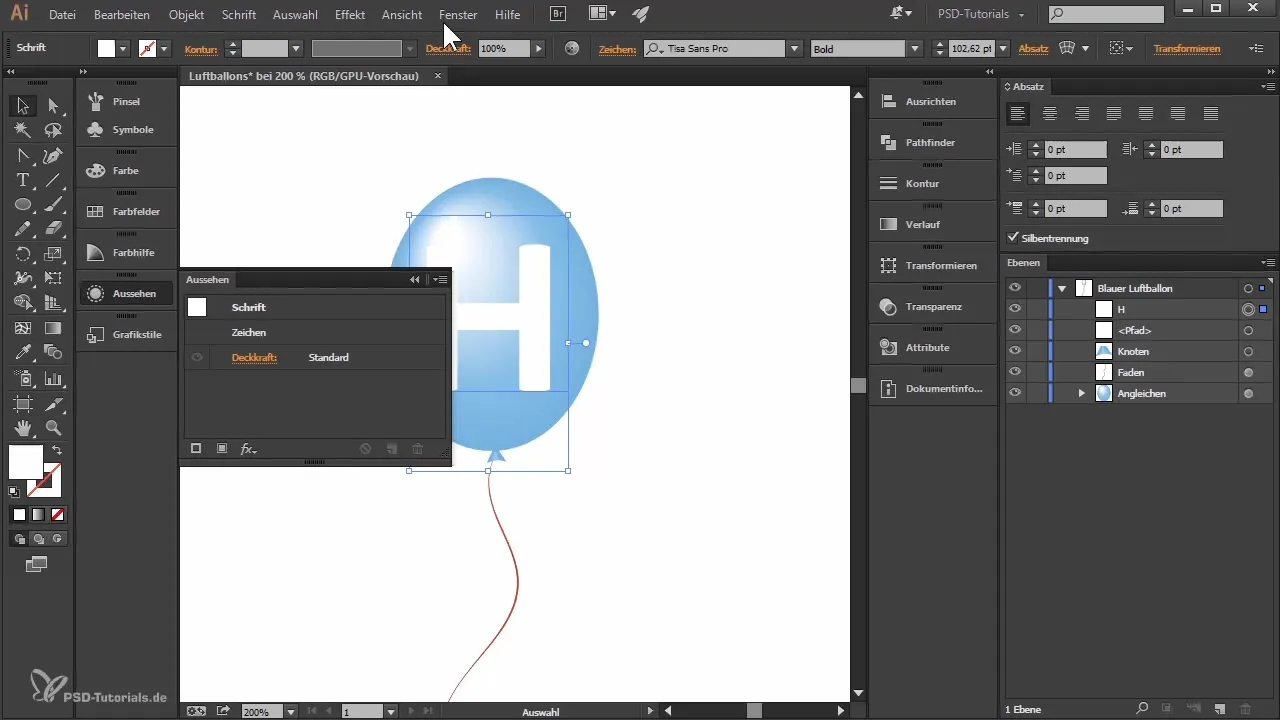
Now it's time to place a letter on the balloon. Select the text tool and click on the balloon to enter the desired letter, such as an "H". The font “Teasersan Pro” in bold is a good choice, but you can use any font you like. Fill the letter with white to create a nice contrast with the balloon.
Step 5: Editing the text with the warp filter
Activate the letter and open the appearance panel via the window menu. Go to “Effects” and choose the warp filter “Inflate”. Activate the preview to see how the letter deforms and adapts to the shape of the balloon. Experiment with the settings to achieve the desired effect.
Step 6: Duplicating the balloon
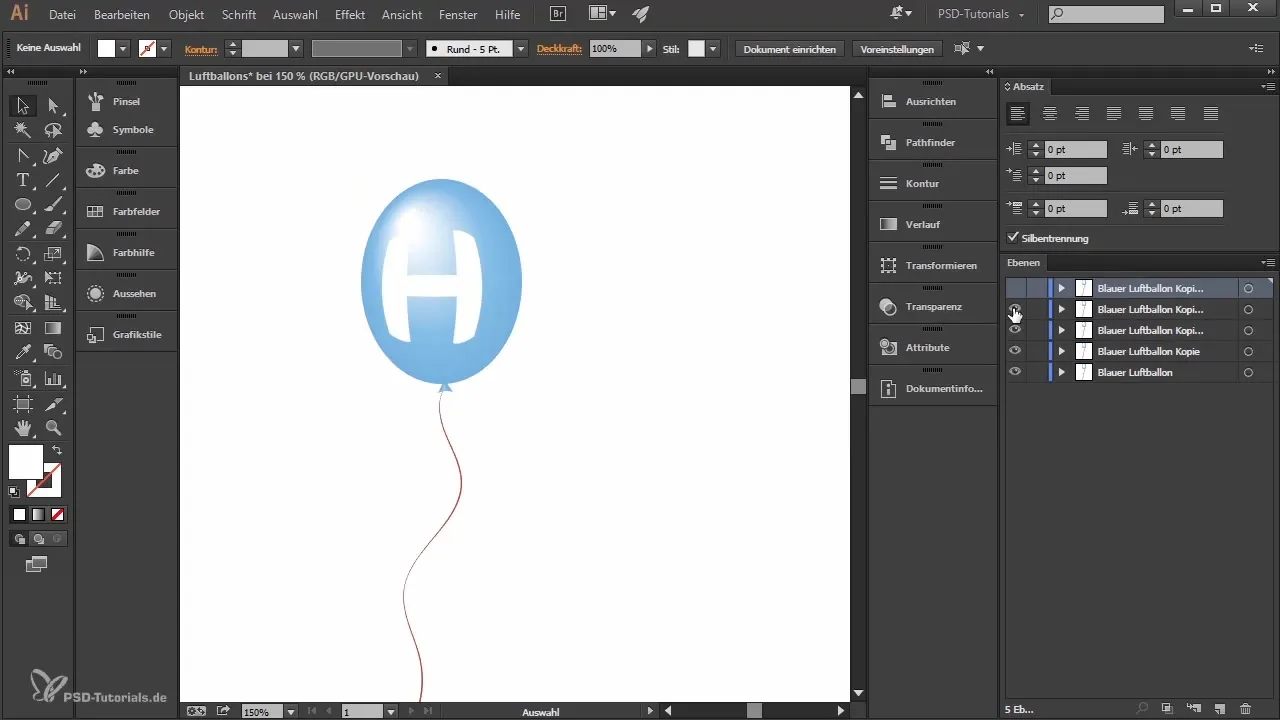
Once you have successfully created your first balloon, you can duplicate it to get a series of balloons. Hold down the Alt key and drag the balloon in front of you to duplicate it. Repeat this step until you have five balloons that you can then use for the wording.
Step 7: Creating a new balloon
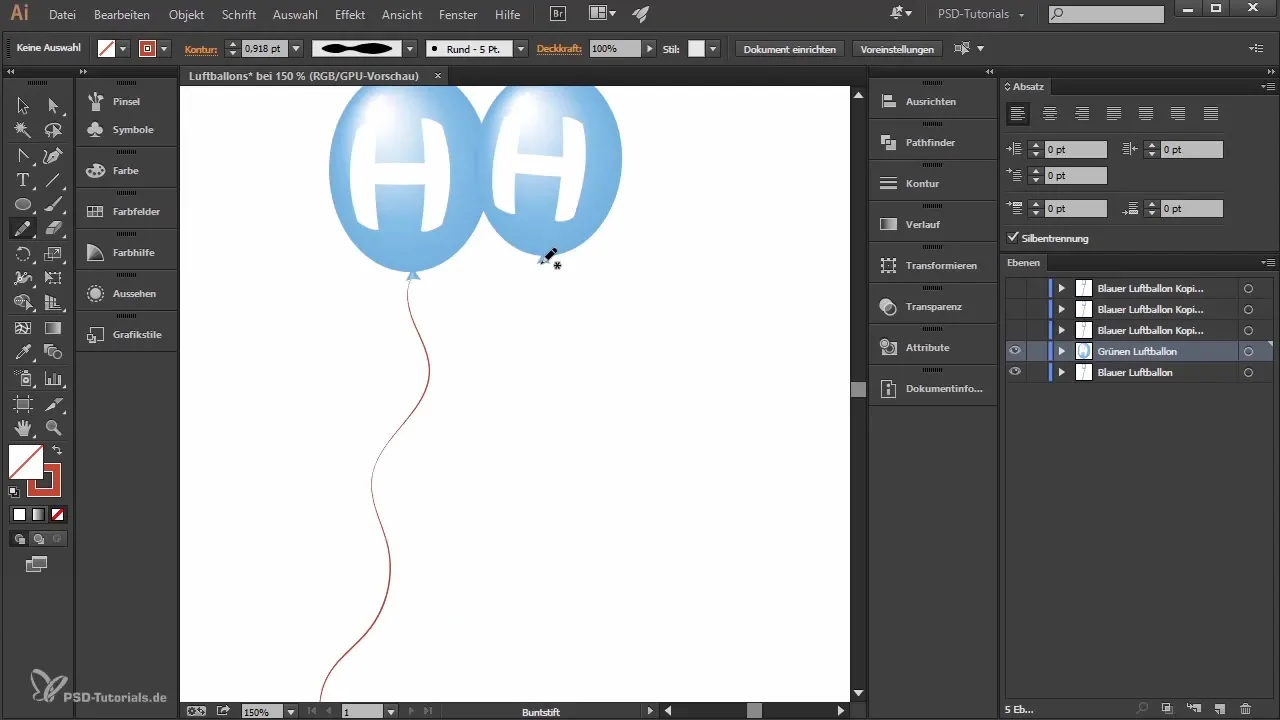
Activate the next layer for the new balloon. You can adjust the already created balloon string or redesign it to use a different color such as yellow or orange. Draw the new string with the pencil tool, making sure that the shape fits well to the balloon shape.
Step 8: Adjusting the balloon colors
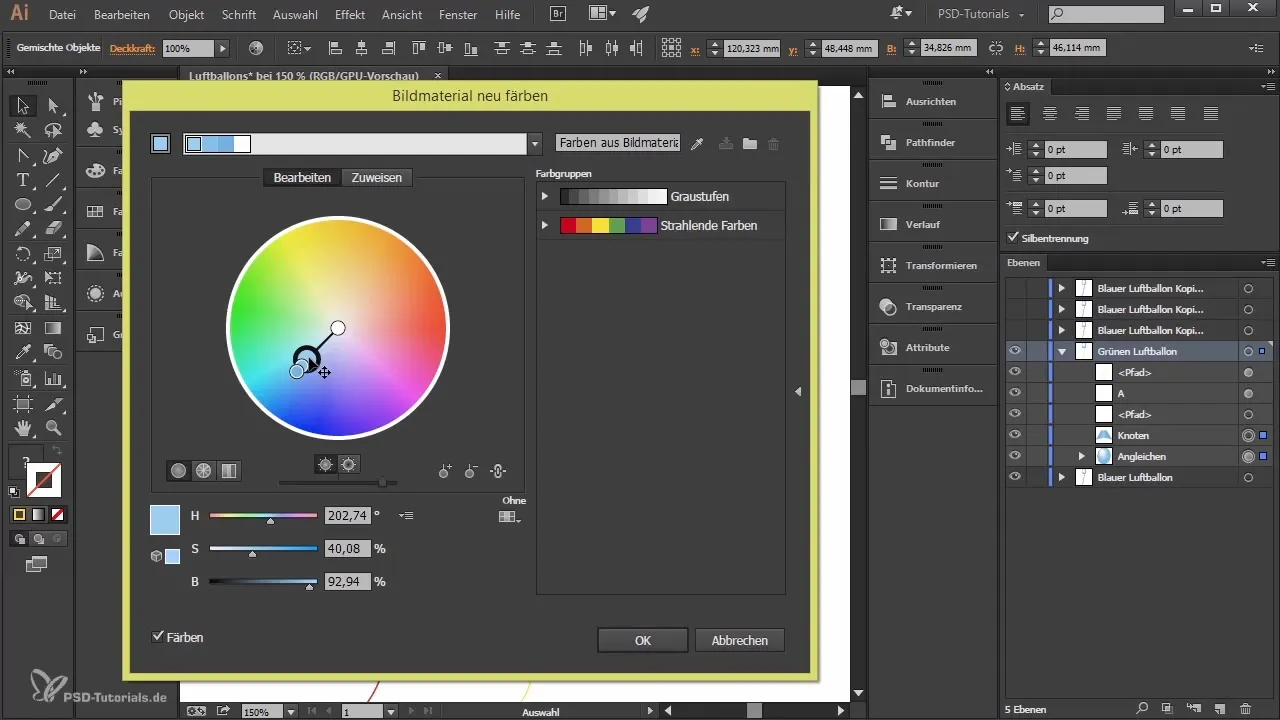
To change the colors of your balloons, select the desired layers and open the color panel. You can move the color points in the color selection to find the desired hue. Experiment with different shades until you achieve the ideal look for your balloons.
Step 9: Adjusting the transparency
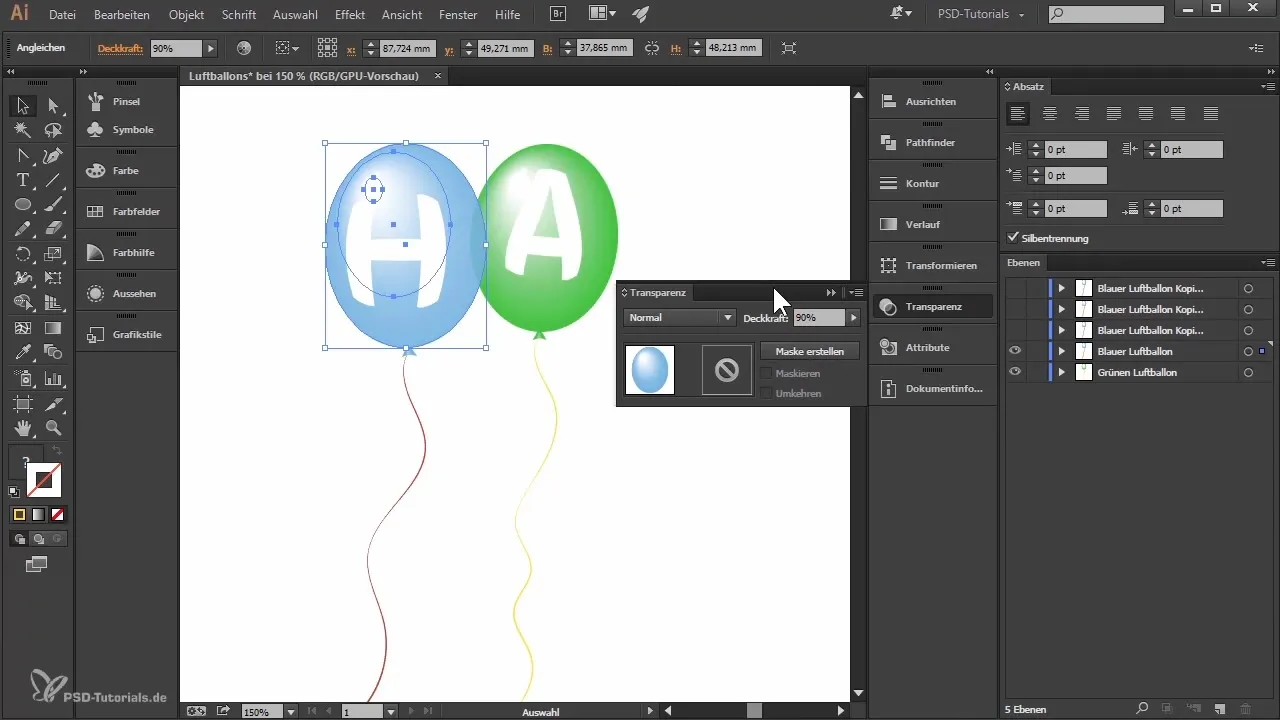
The balloons look best when they are not fully opaque. Open the transparency panel via the “Window” menu and set the opacity to about 90%. This way, the balloon shines through behind the foreground balloon, creating a more realistic effect.
Step 10: Final adjustments
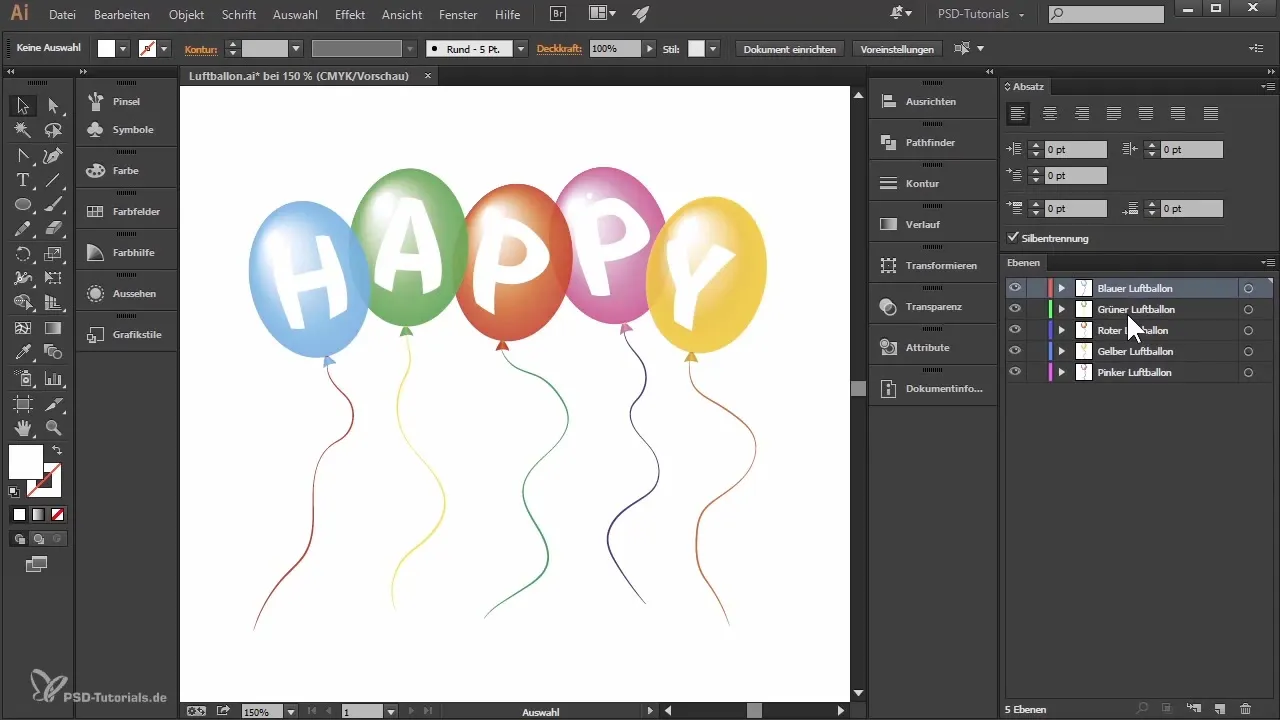
Finally, you can adjust the highlights and the letters on the balloons once more. Make sure they are well placed and reflect the dimension of the balloon. Check the entire layout to ensure everything looks harmonious and add more balloons or letters if necessary.
Summary
You have learned how to create the string of a balloon in Illustrator, how to add editable letters, and how to adjust the colors and transparency of your balloons. With these tips and techniques, you are well-equipped to create appealing balloon graphics.
Frequently asked questions
What is the pencil tool in Illustrator?The pencil tool is used to create freehand drawings and curved lines.
How can I adjust the size of my text?Select the text and use the appearance panel to change the size and shape of the text.
Can I change the colors of my balloons later?Yes, you can change the colors at any time by selecting the respective layers and adjusting the hue values.
How do I duplicate a layer?Hold the Alt key and drag the layer to create a copy.
Are the letters still editable after placing them?Yes, the letters remain editable as long as you do not convert or rasterize them.
