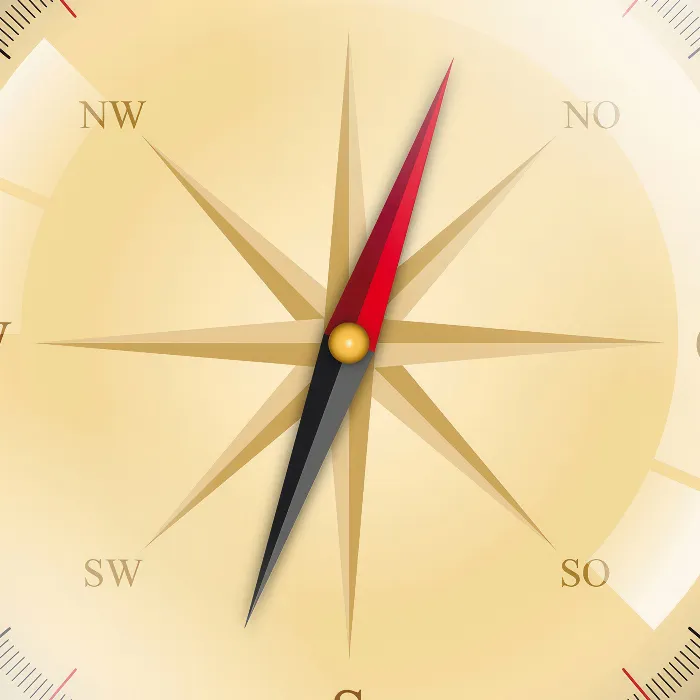
Creative implementations in Illustrator often begin with simple shapes that gain complexity through skillful editing and design. In this guide, I will show you how to construct an appealing loop that is excellent for invitations and similar projects. Let's dive right in and start the first steps towards creating your loop.
Key insights
- Start with a new document in A4 format.
- Use the pencil tool for drawing.
- Use the smoothing tool to optimize curves.
- Apply fills and gradients strategically to create depth.
Step-by-Step Guide
Start your project by opening a new document in Adobe Illustrator. Go to "File" and select "New". Name the new document "Loop" and set the format to A4 in portrait mode. RGB is the optimal color choice if you plan to use the graphic mainly digitally. Confirm your selection.
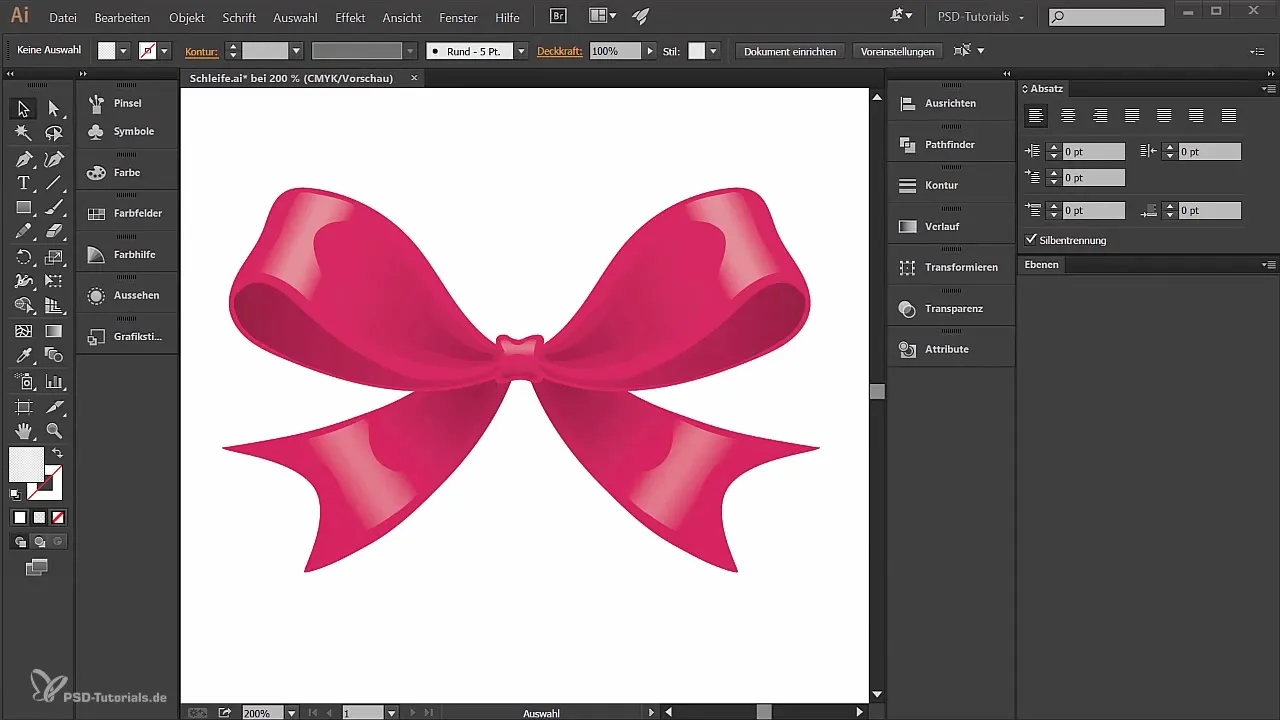
With the new document, an empty layer is automatically created. You can find this in the layers palette, which you can activate via "Window" if it is not visible. Rename this layer to "Loop left" as we will now focus on the left side of the loop.
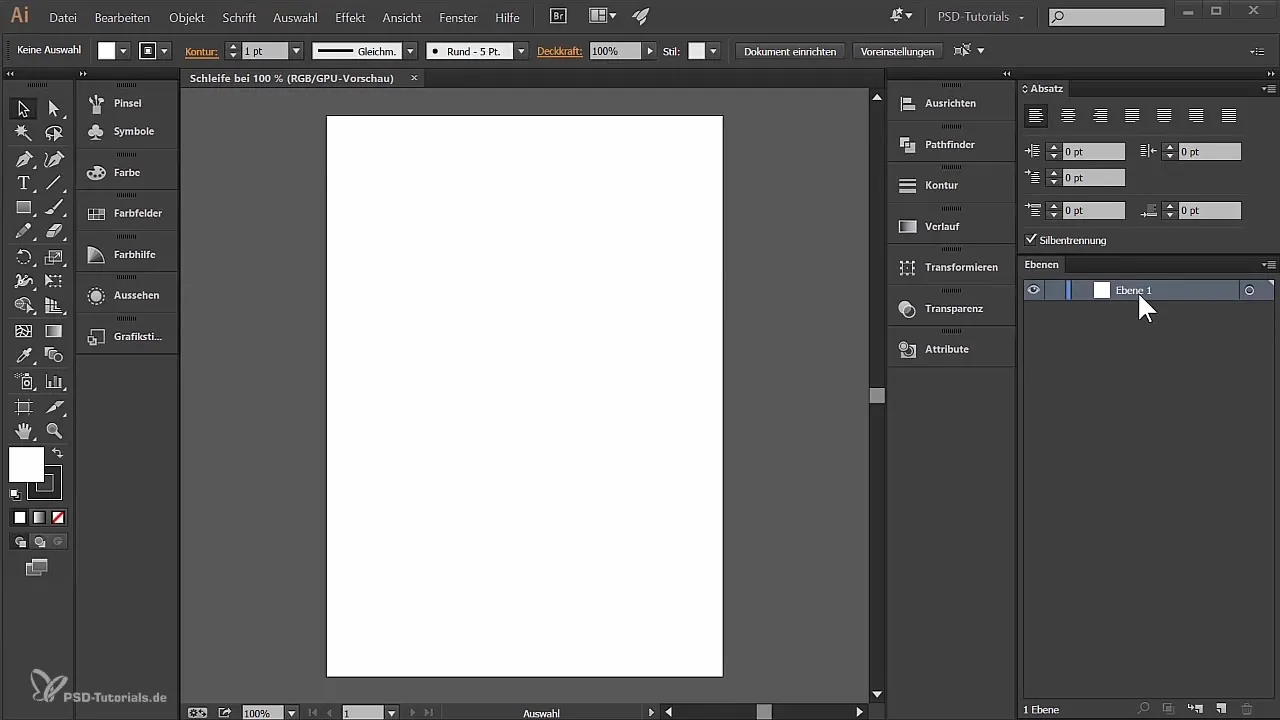
To refine the details, zoom in on your image. Select the zoom tool and click on the area of your document that needs editing. Another option is to use the Alt key along with the scroll wheel of your mouse to flexibly zoom in and out.
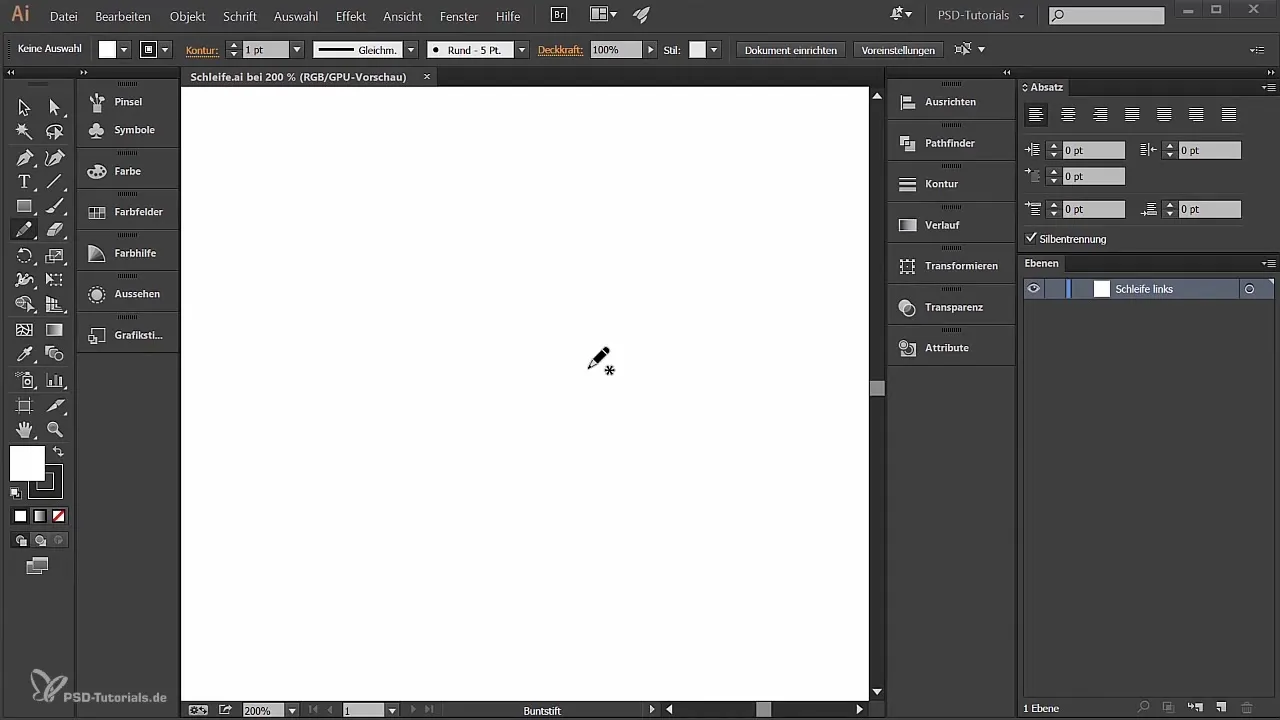
Now it's time to choose the pencil tool. I recommend doing this with a graphics tablet. This allows for smoother drawing and better handling. Start drawing the basic shape of the left loop by beginning at a bottom point and sketching the shape.
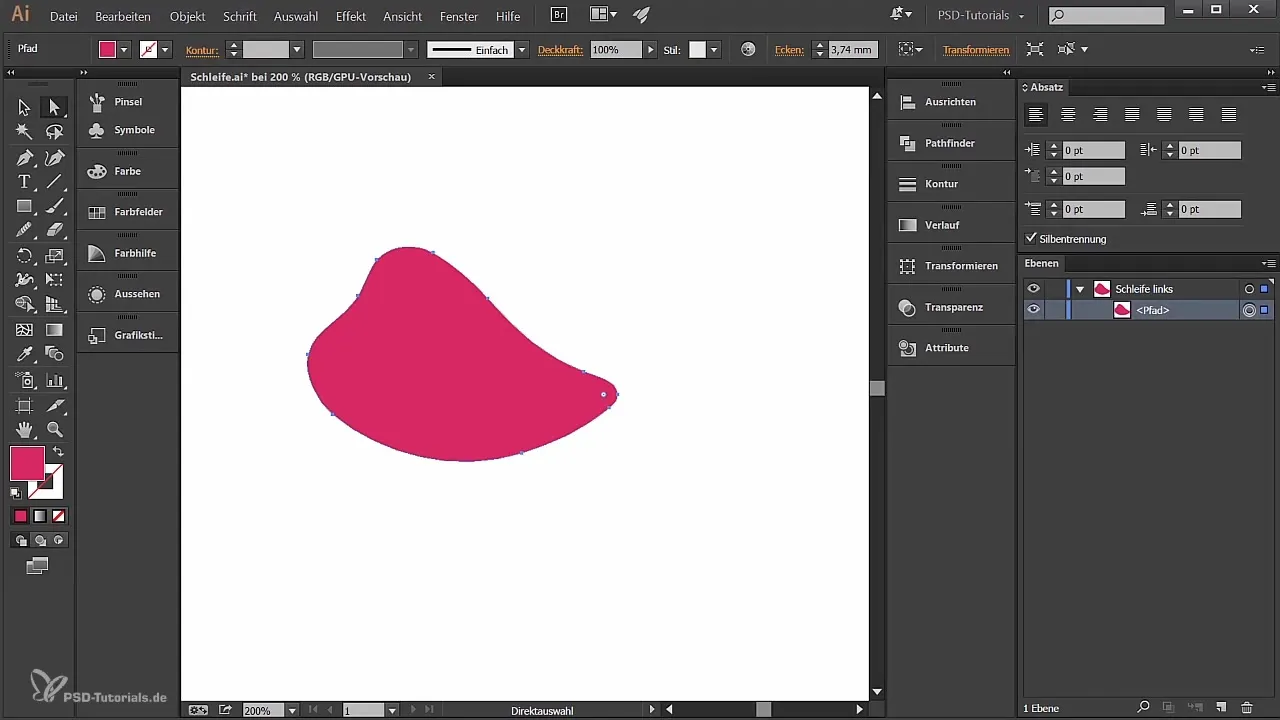
If you are not completely satisfied with the shape, use the direct selection tool to move the anchor points. Alternatively, you can also use the smoothing tool to optimize unsightly curves. This helps reduce the number of anchor points and improve the overall shape.
Once you have adjusted the shape to your liking, select the fill of the loop. Make sure you have the fill color active in order to edit the stroke. I recommend removing the stroke entirely and setting the fill color to a pleasantly vibrant pink.
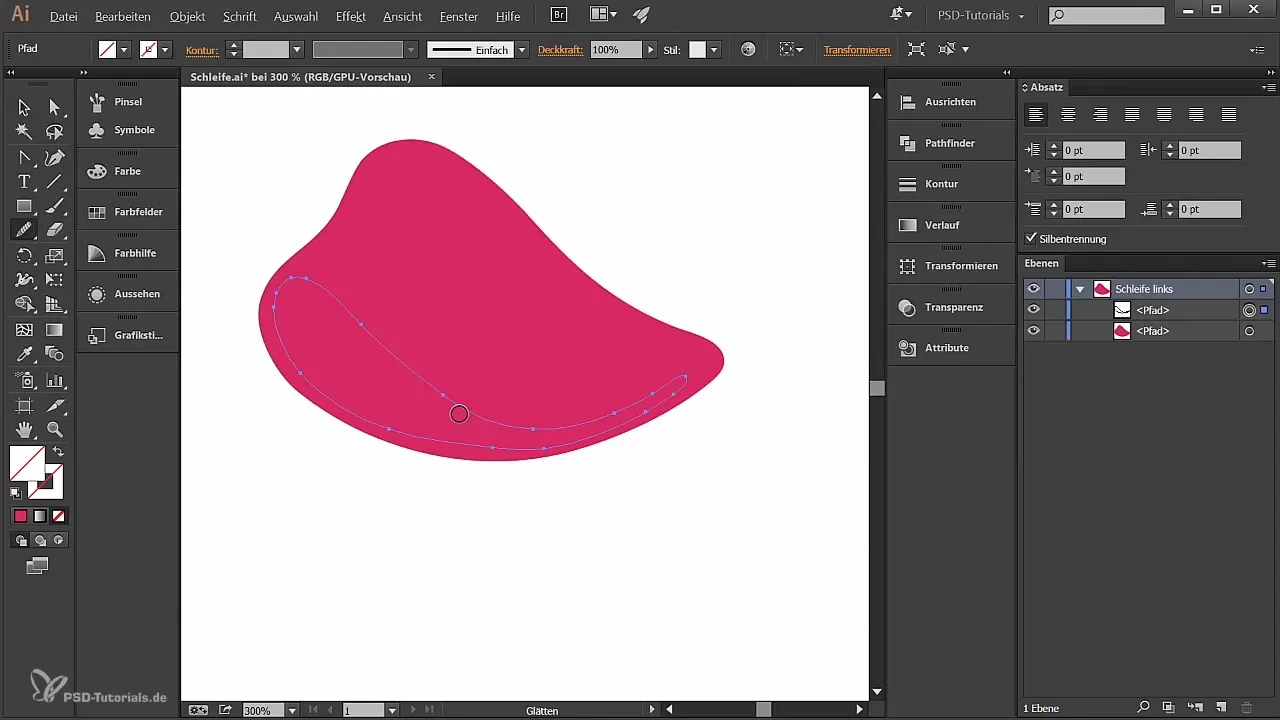
Now we want to design the area that looks into the loop. Draw with the pencil tool inside the loop, but be careful not to touch the existing line – this would change the shape. The ends should taper the path.
It may be helpful to use the smoothing tool again to perfect the curves. Keep the curves continuous and harmonious by manually adjusting the handles. This makes the overall picture much more aesthetic.
To move this shape, first lock the old shape by clicking on an empty area in the layer. After that, you can position the new shape in the desired place. Move it back and forth as needed to optimize the proportions.
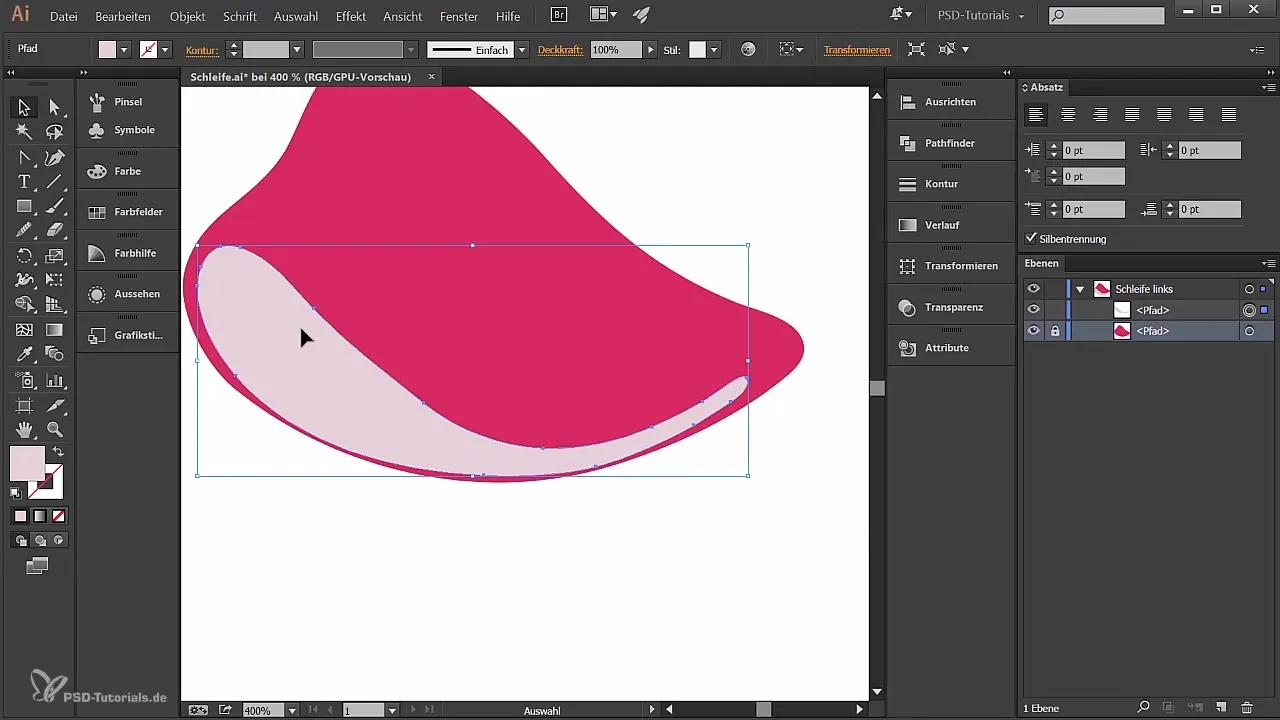
Now add a gradient to create more depth. To do this, select the gradient tool and ensure that the gradient is linear. Adjust the colors to achieve a nice effect. Use RGB values to get precise shades that match well.
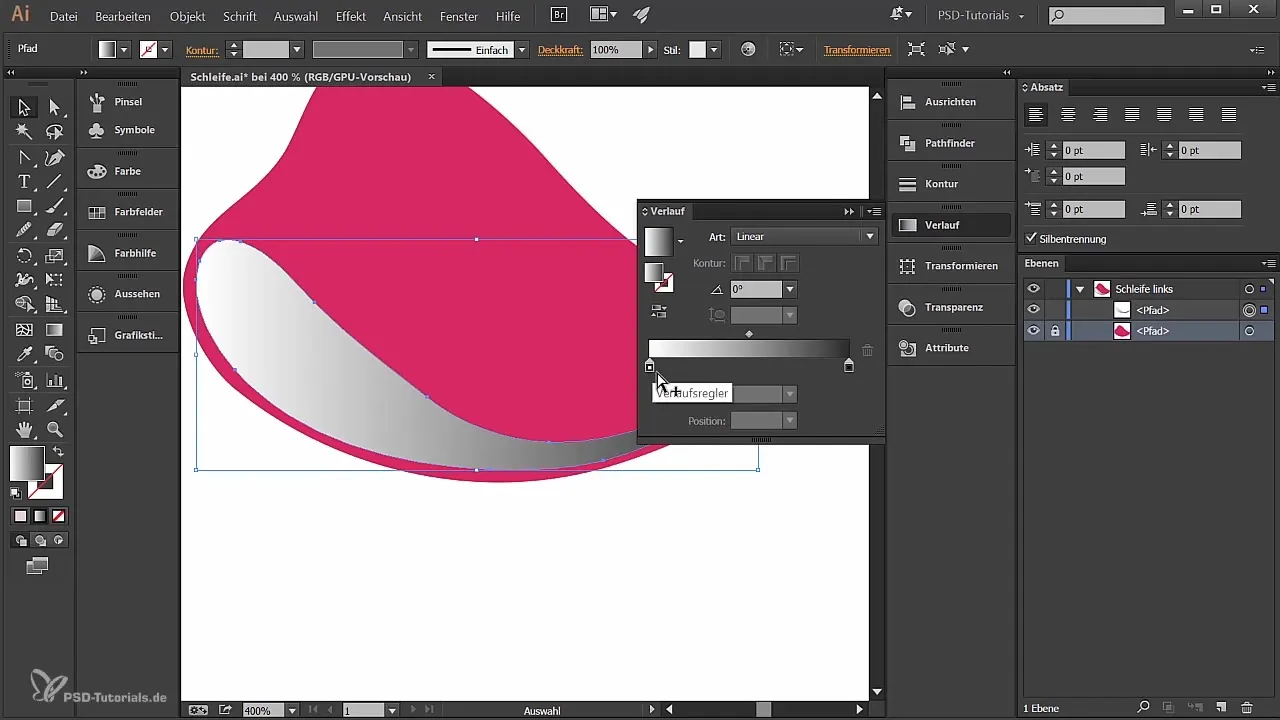
Now that you have adjusted the main area of the loop along with the color and gradient, experiment with shading to enhance the impression of depth and dimension. Choose suitable colors and place them strategically to create realistic lighting effects.
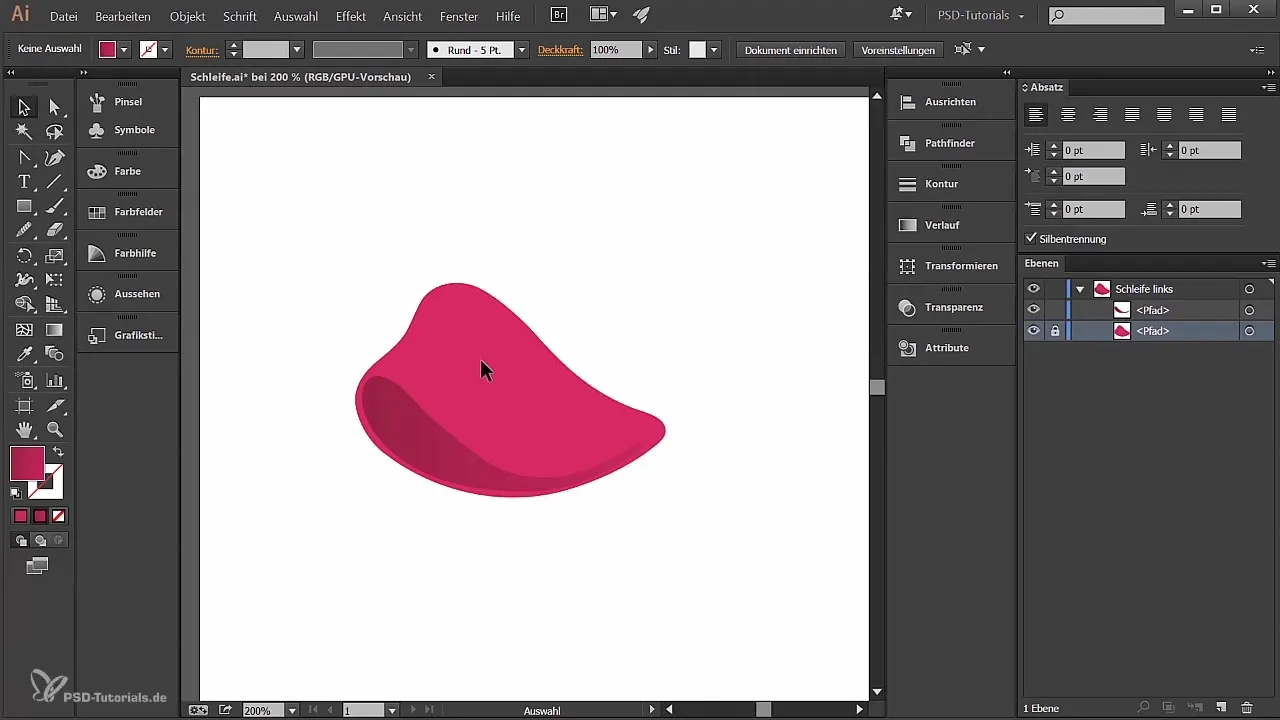
Summary
In this guide, you learned how to create a creative loop in Illustrator. From the basics of document creation to color and gradient techniques, this tutorial provides everything you need to bring your designs to life. Use the various tools to unleash your creativity and further refine the design before integrating it into your projects.
Frequently Asked Questions
How can I export my loop in Illustrator?You can save your loop via "File" > "Export" as PNG or JPEG.
Can I choose other colors and gradients?Yes, the color and gradient scheme is flexible and can be individually customized.
What to do if I'm unhappy with the pencil tool?Try the various drawing tools in Illustrator to find the best option for your style.
Are there tutorials for more complex designs?Yes, you can find numerous tutorials for advanced techniques in Illustrator on various platforms.
