Do you want to create a unique grass text in Adobe Illustrator? In this guide, I will show you how to create the basis for a custom brush using individual objects, with which you can easily design your own grass text. Let's go through the steps together.
Key insights
- Create a new document in Illustrator and use the layers palette.
- Draw shapes with the pencil tool to create brush objects.
- Use the Pathfinder function to connect shapes or create holes.
- Generate brushes from these and adjust their properties.
Step-by-step guide
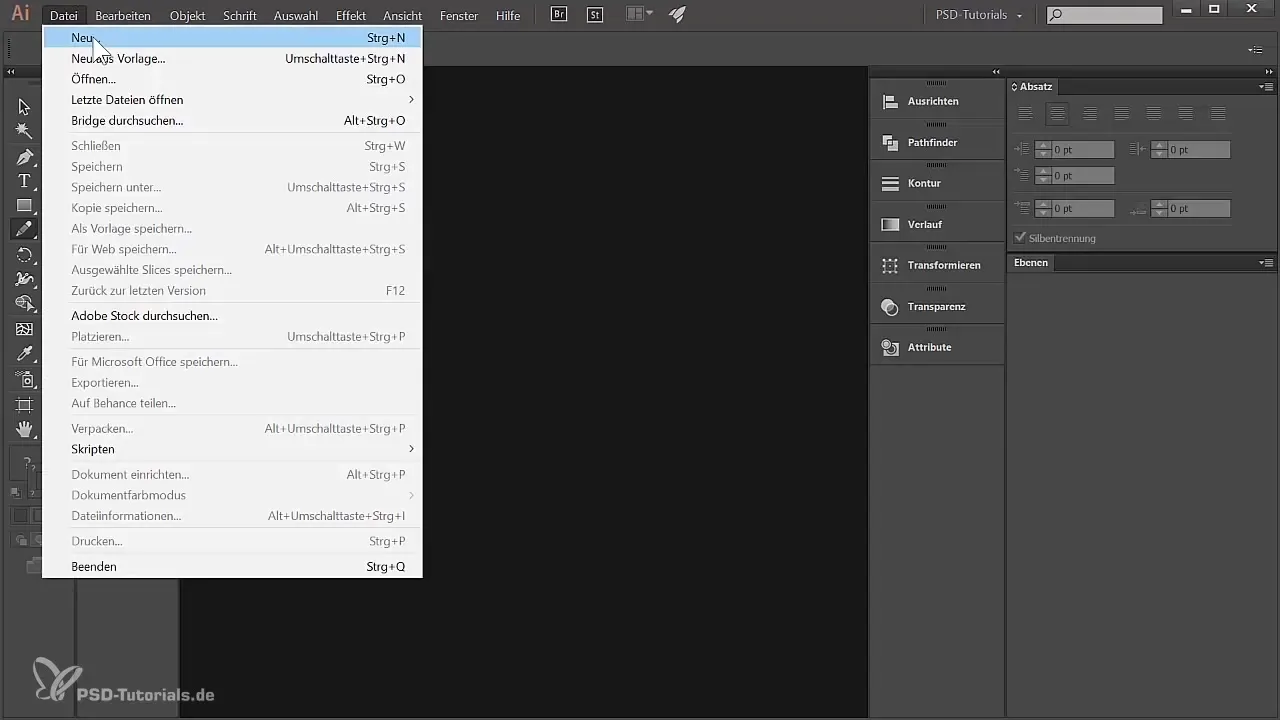
Start by creating a new document. Go to "File" and select "New". Give it a suitable name like "Grass Brush", choose the A4 format in landscape orientation, and set the color mode to RGB. Confirm your selection to get a blank document.
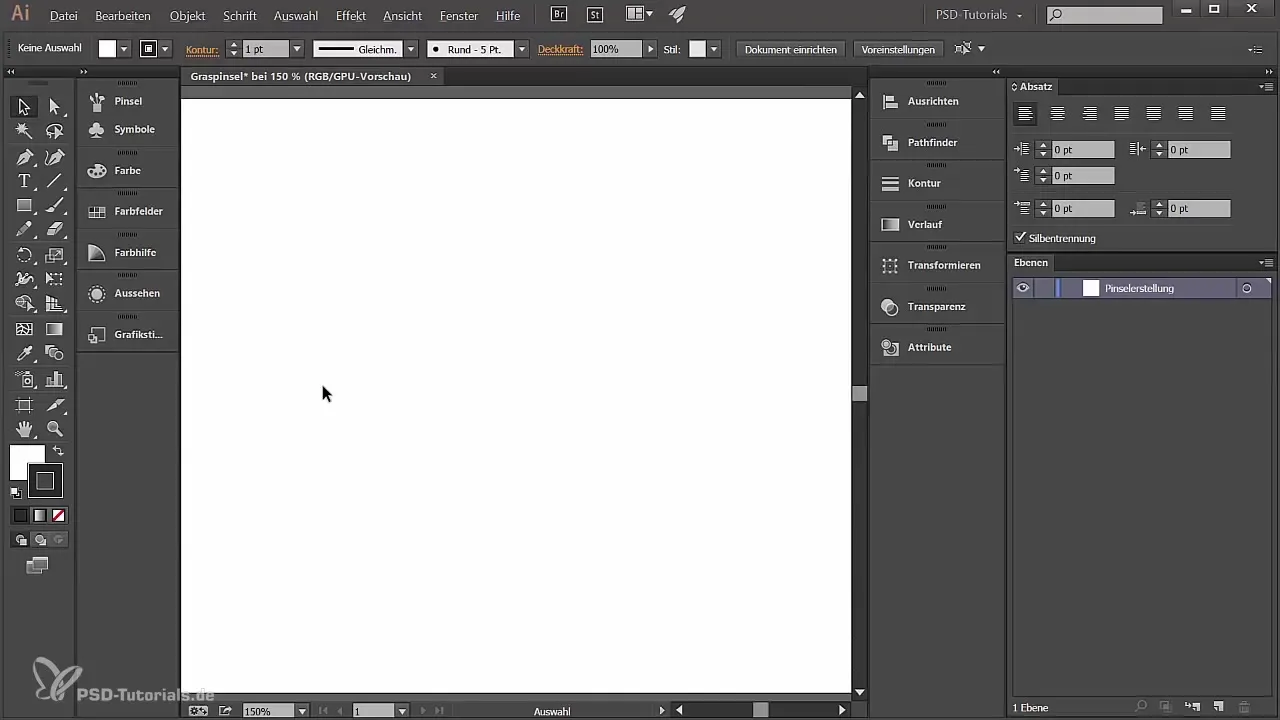
Now you can see the new layer under the layers palette, which is named "Layer 1" by default. It makes sense to rename this layer for brush design, so rename it to "Brush Creation". This helps you keep track of the different layers.
With the newly created layer in view, you can now zoom into the image. Hold down the Alt key and use the scroll wheel of your mouse to zoom in or out. If your mouse does not have a scroll wheel, simply click on the zoom tool in the toolbar.
Now select the pencil tool next, as this tool allows you to easily draw outlines. Make sure the "Close Paths" option is enabled so that the shapes you draw will be filled evenly when the path is closed.
To style the appearance of your shape, focus mainly on the fill color. Activate the fill color by clicking on the white square. For your grass text, you want to use a green color. Set the RGB values to 83 for red, 160 for green, and 0 for blue.
If you are using a graphic tablet or a pen, you can now start to create the basic shape of your brush with the pencil tool. You can imagine an organic shape that resembles the appearance of grass. The creating process can be playful with some practice.
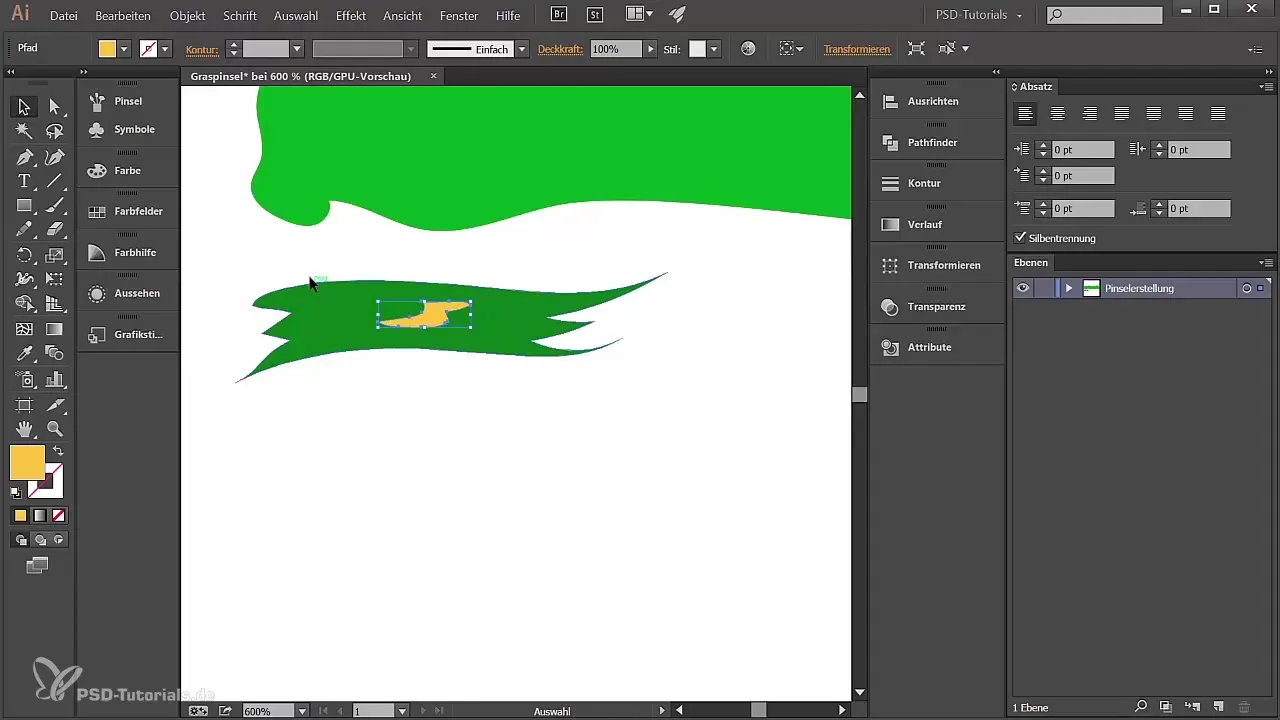
Have you finished the basic shape? Great! Now we need to create two detail shapes that are a bit smaller. Select the pencil tool again and sketch a second shape, which you then fill with a darker green color. The RGB values for this are 61 for red, 113 for green, and 0 for blue.
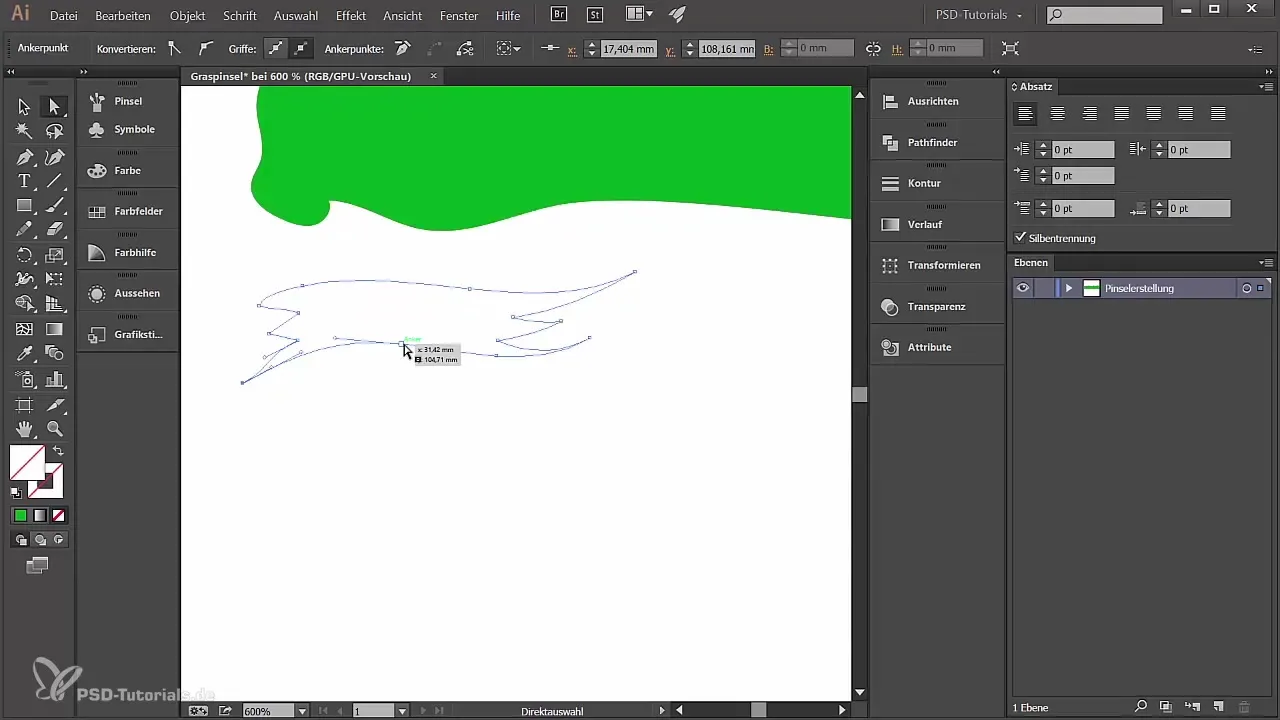
To give your second shape a hole, create a new path, draw a small hole, and fill this with a different color to better illustrate its position. Select both shapes, then go to "Pathfinder" under "Window" and choose "Subtract from Front" to punch the hole into the shape.
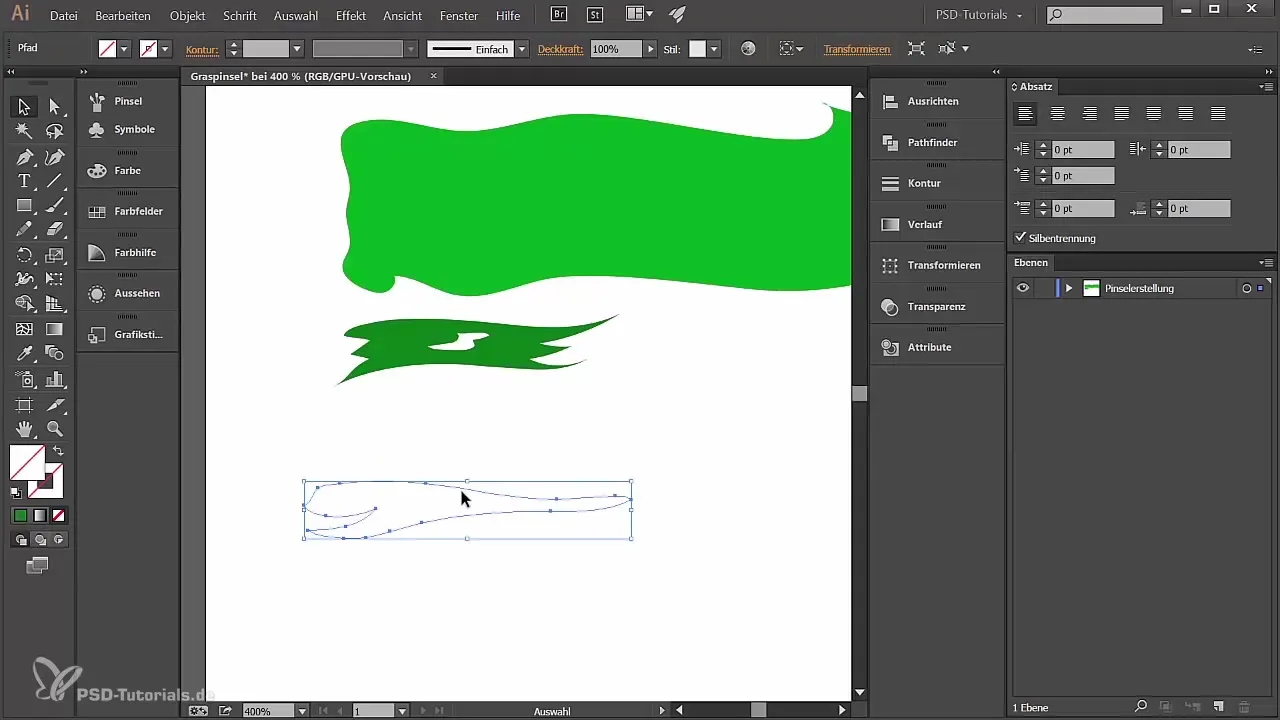
Create a third shape below the previous one and fill it with a lighter shade of green. Make sure to punch a small hole here as well for more detail. Feel free to experiment with the shape and the color to optimize the aesthetic aspects.
With three shapes in your document, you are ready to generate your first brushes. Select the basic shape and click on the brush icon in the brushes palette. Choose "New Brush" and then "Image Brush". This will use this shape as a template for your brush. Name the brush "Grass 1" and set the pressure sensitivity for size – from 10% to 100%.
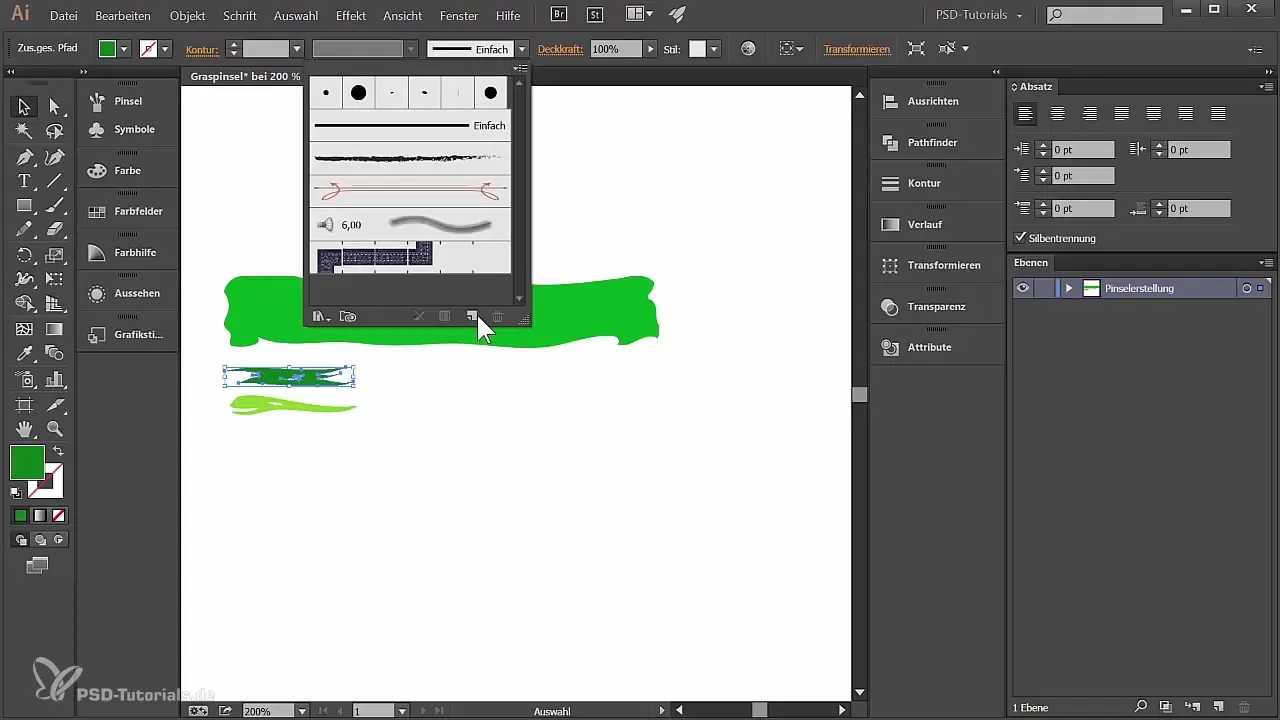
Finally, assign similar settings for the other detail shapes to take advantage of the variation in thickness and shape. Click again on the brushes palette, choose "New Brush", and set the pressure sensitivity as before.
Your brushes are now ready to use! You can use them to draw your custom grass text or for other creative projects.
Summary
In this guide, you learned how to create the foundations for a custom grass text in Adobe Illustrator. From creating the shapes to punching holes to generating brushes, you have gone through the steps necessary to express your creativity.
Frequently Asked Questions
How do I create a new document in Illustrator?Go to "File" -> "New" and select the desired format and color mode.
What color values do I need for the grass green?Set the RGB values to 83 for red, 160 for green, and 0 for blue.
How can I use the Pathfinder function?Select the shapes, go to "Window" -> "Pathfinder", and choose the desired option.
How do I combine my shapes into a brush?Select a shape, go to the brushes palette, and click on "New Brush".
Can I adjust the brush later?Yes, you can edit the properties of your brushes at any time in the brushes palette.
