Welcome to this guide on Sharpening and Noise Reduction in Lightroom Classic CC. These two functions are crucial for optimizing the image quality of your photos. In this guide, we will learn how to work with the respective tools in Lightroom to make your images sharper and reduce unwanted noise. We will discuss the sliders and their effects on the images in detail so that you get a better sense of the settings you can use for your individual photo editing.
Key Takeaways
Sharpening is about highlighting details in images, while noise reduction aims to minimize unwanted disturbances. A balanced ratio between both aspects is crucial for enhancing the overall quality of your photos. It's important to conscientiously adjust the sliders for Amount, Radius, and Masking in sharpening, as well as Luminance and Color Noise in noise reduction.
Step-by-Step Guide
1. Select the Detail Zoom Area
First and foremost, it's important that you select the detail area in Lightroom. Here, you can adjust the sharpness of your image. Start by zooming in on the image and placing the focus point on the sharpest part of the image. This could be, for example, the grass or another clearly recognizable area of the image that you want to assess. By focusing on this point, you can ensure that you are analyzing the sharpness in the right area.

2. Adjust Amount
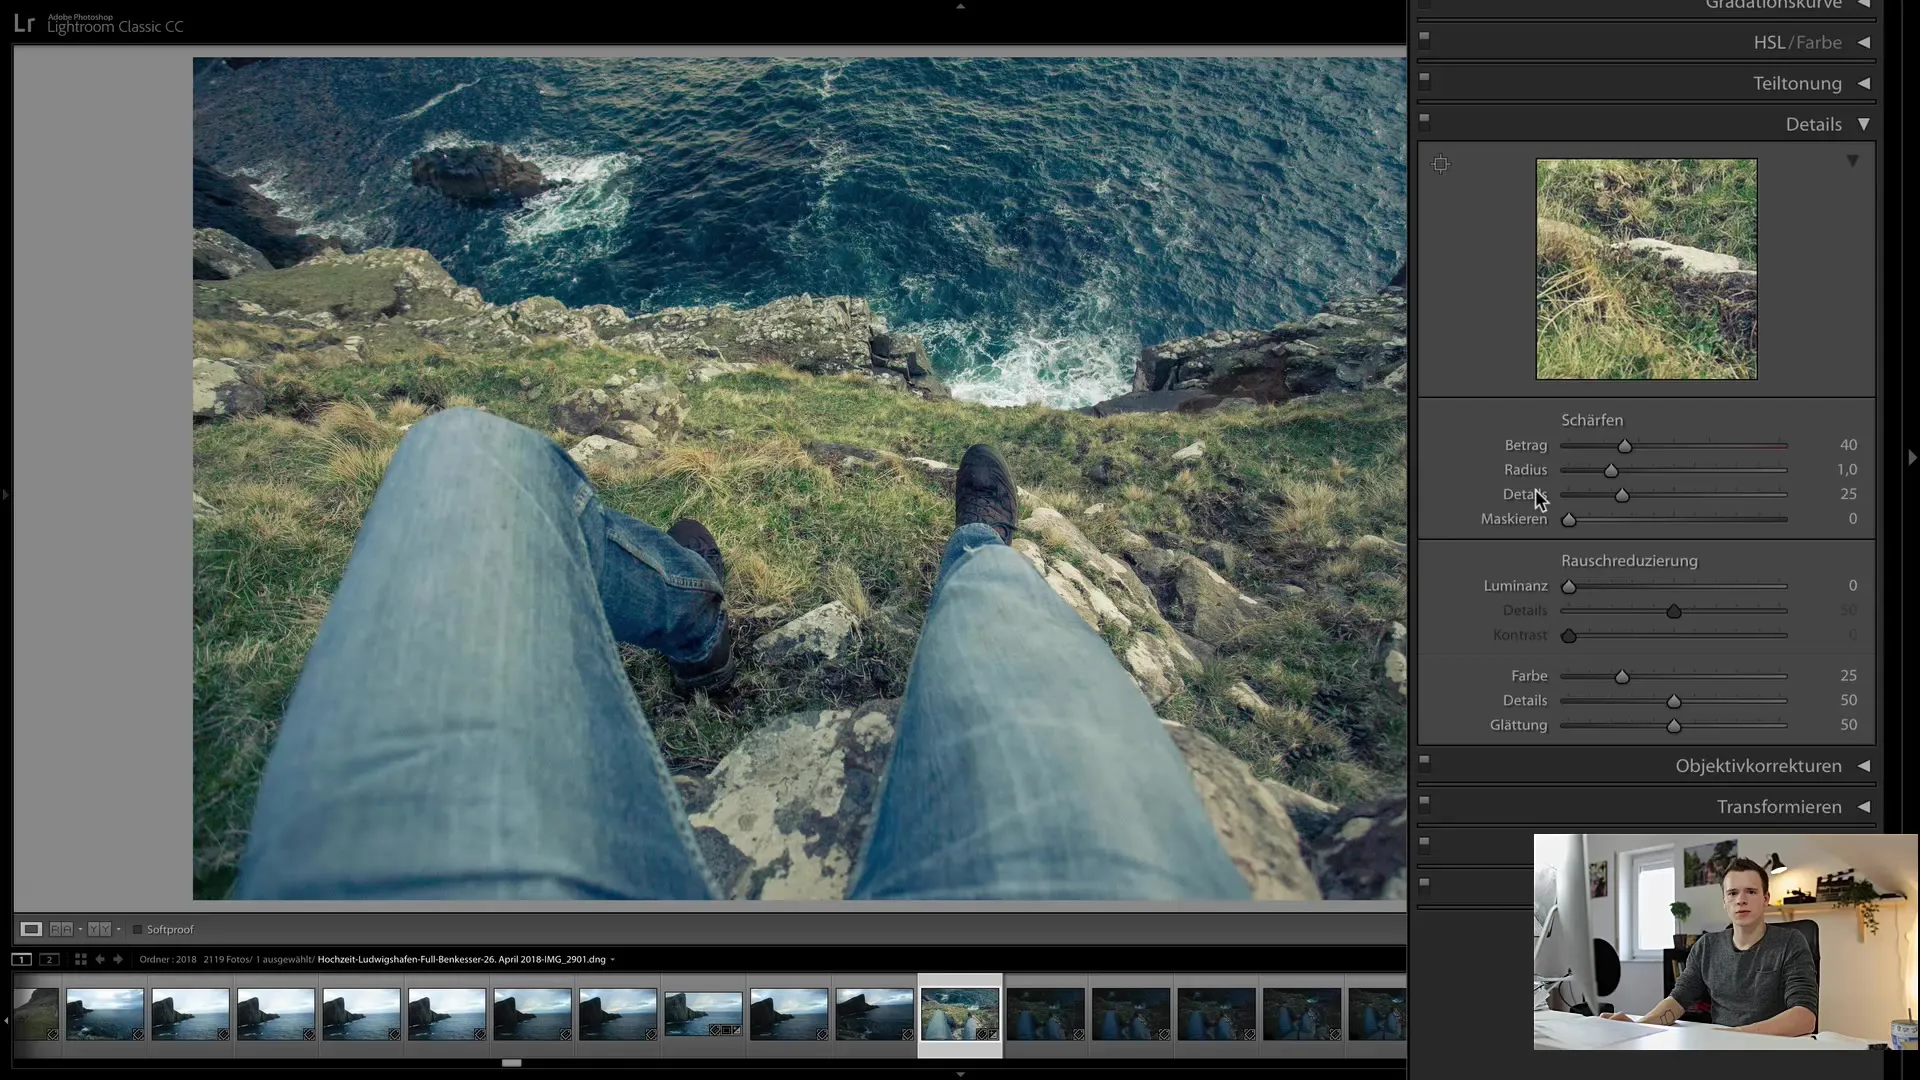
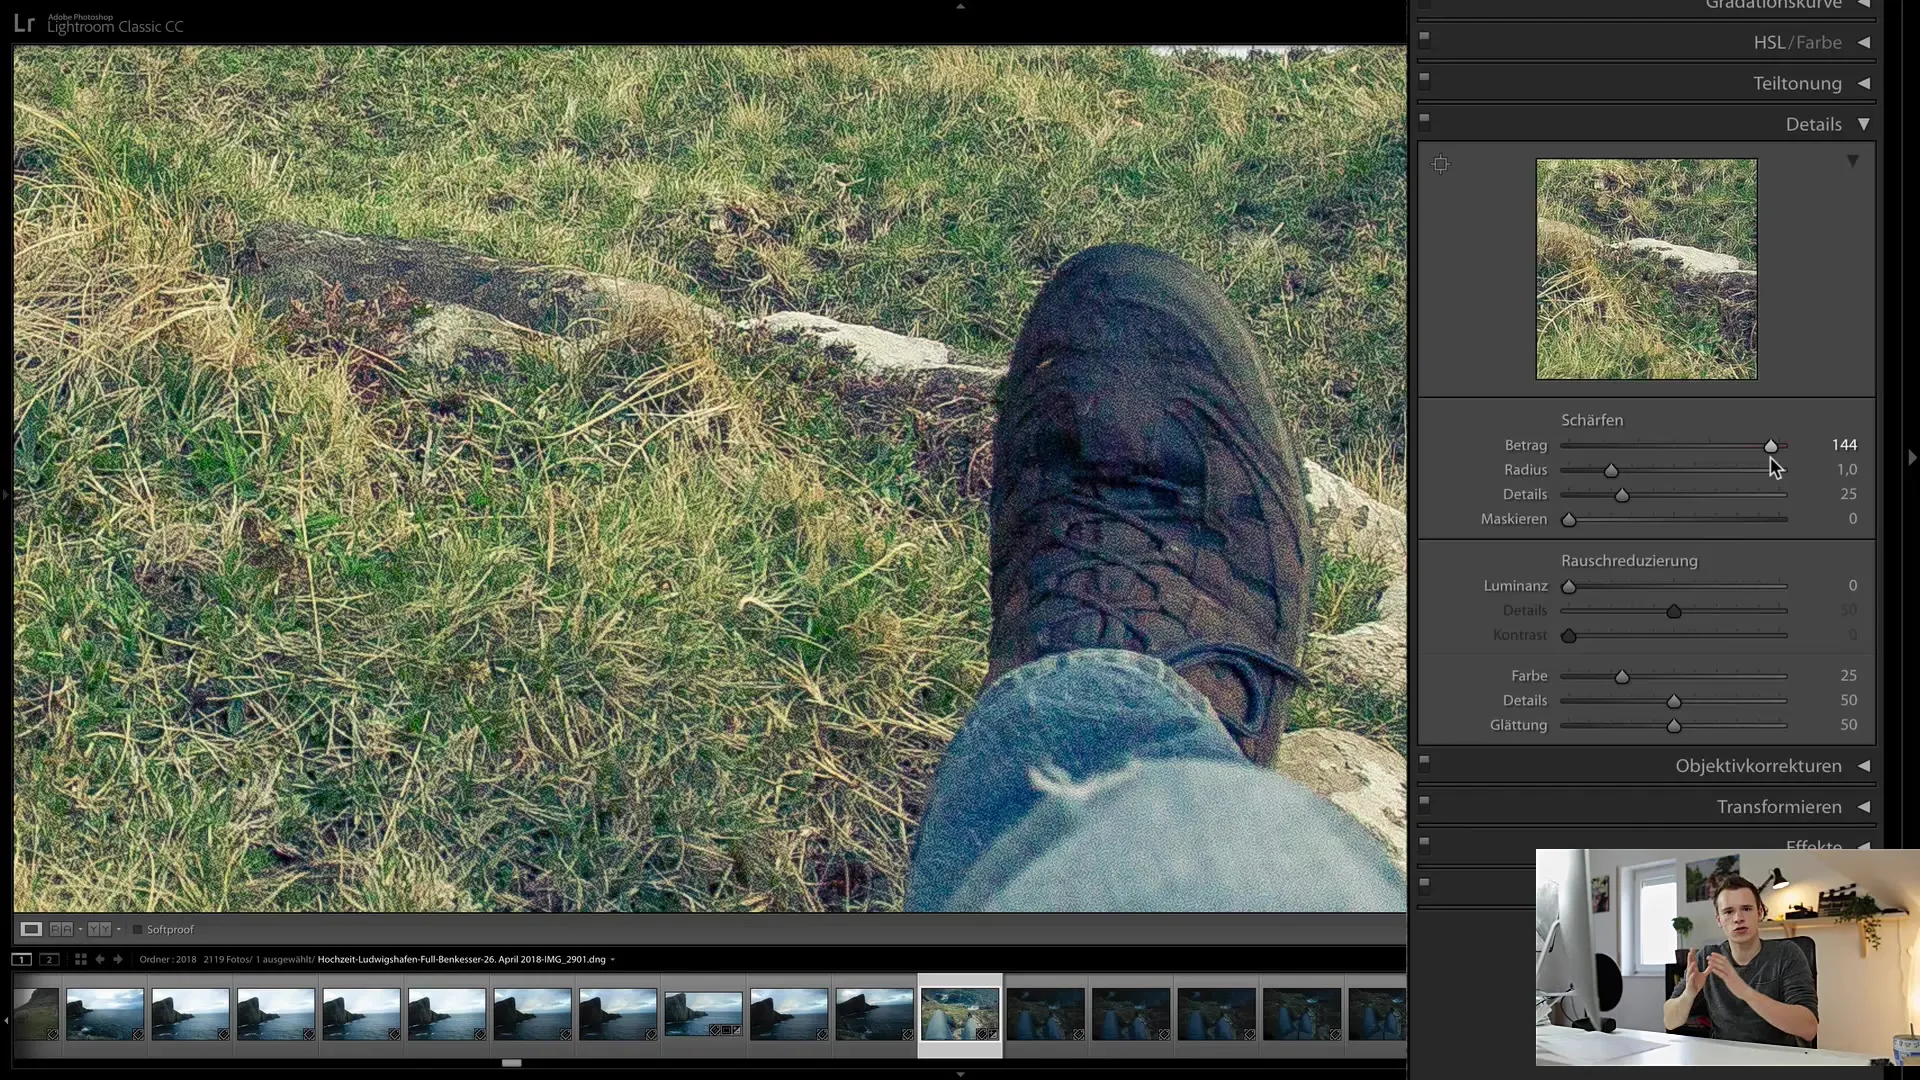
In the Sharpening section, there is a slider for Amount. This determines how strong the sharpening of the image is. A value that is too low might make the image appear too milky, while a very high value can make the image look exaggerated and unnatural. I recommend setting the amount moderately and, above all, keeping an eye on the changes in the image. Higher values enhance details significantly, but be cautious to avoid overdoing it.
3. Adjust Radius
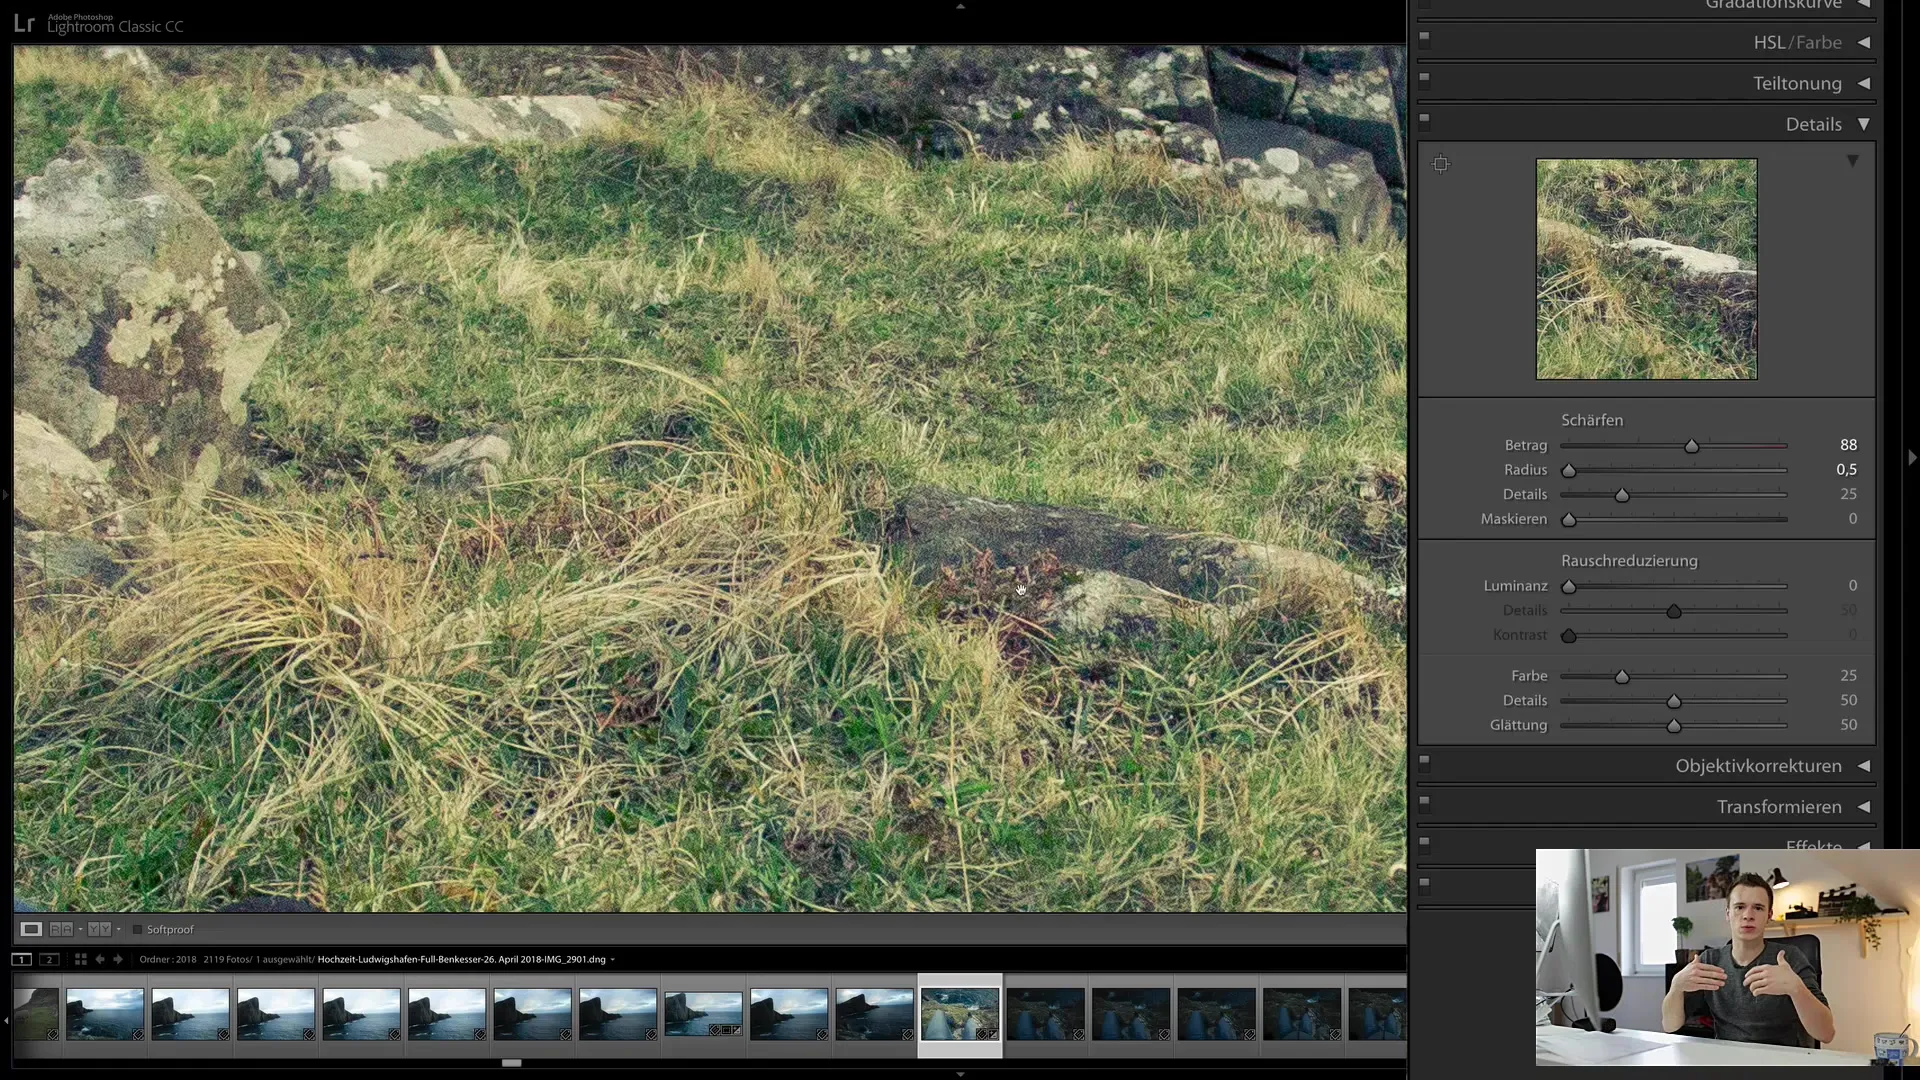
The Radius slider is also crucial as it defines how fine or coarse the sharpening will be. A low radius (under 1.0) results in fine sharpening, while a high value can make the edges look unnatural and "painted." I generally recommend keeping the radius below 1.0 to ensure a natural appearance.
4. Enhance Details
The next slider is the Detail slider. By adjusting this, you can specifically highlight edges in the image - these are the distinctive differences between dark and light areas of the image. A value of 25 is a good starting point, and you can adjust it as needed. Make sure it doesn't lead to patchy or uneven transitions.
5. Use Masking
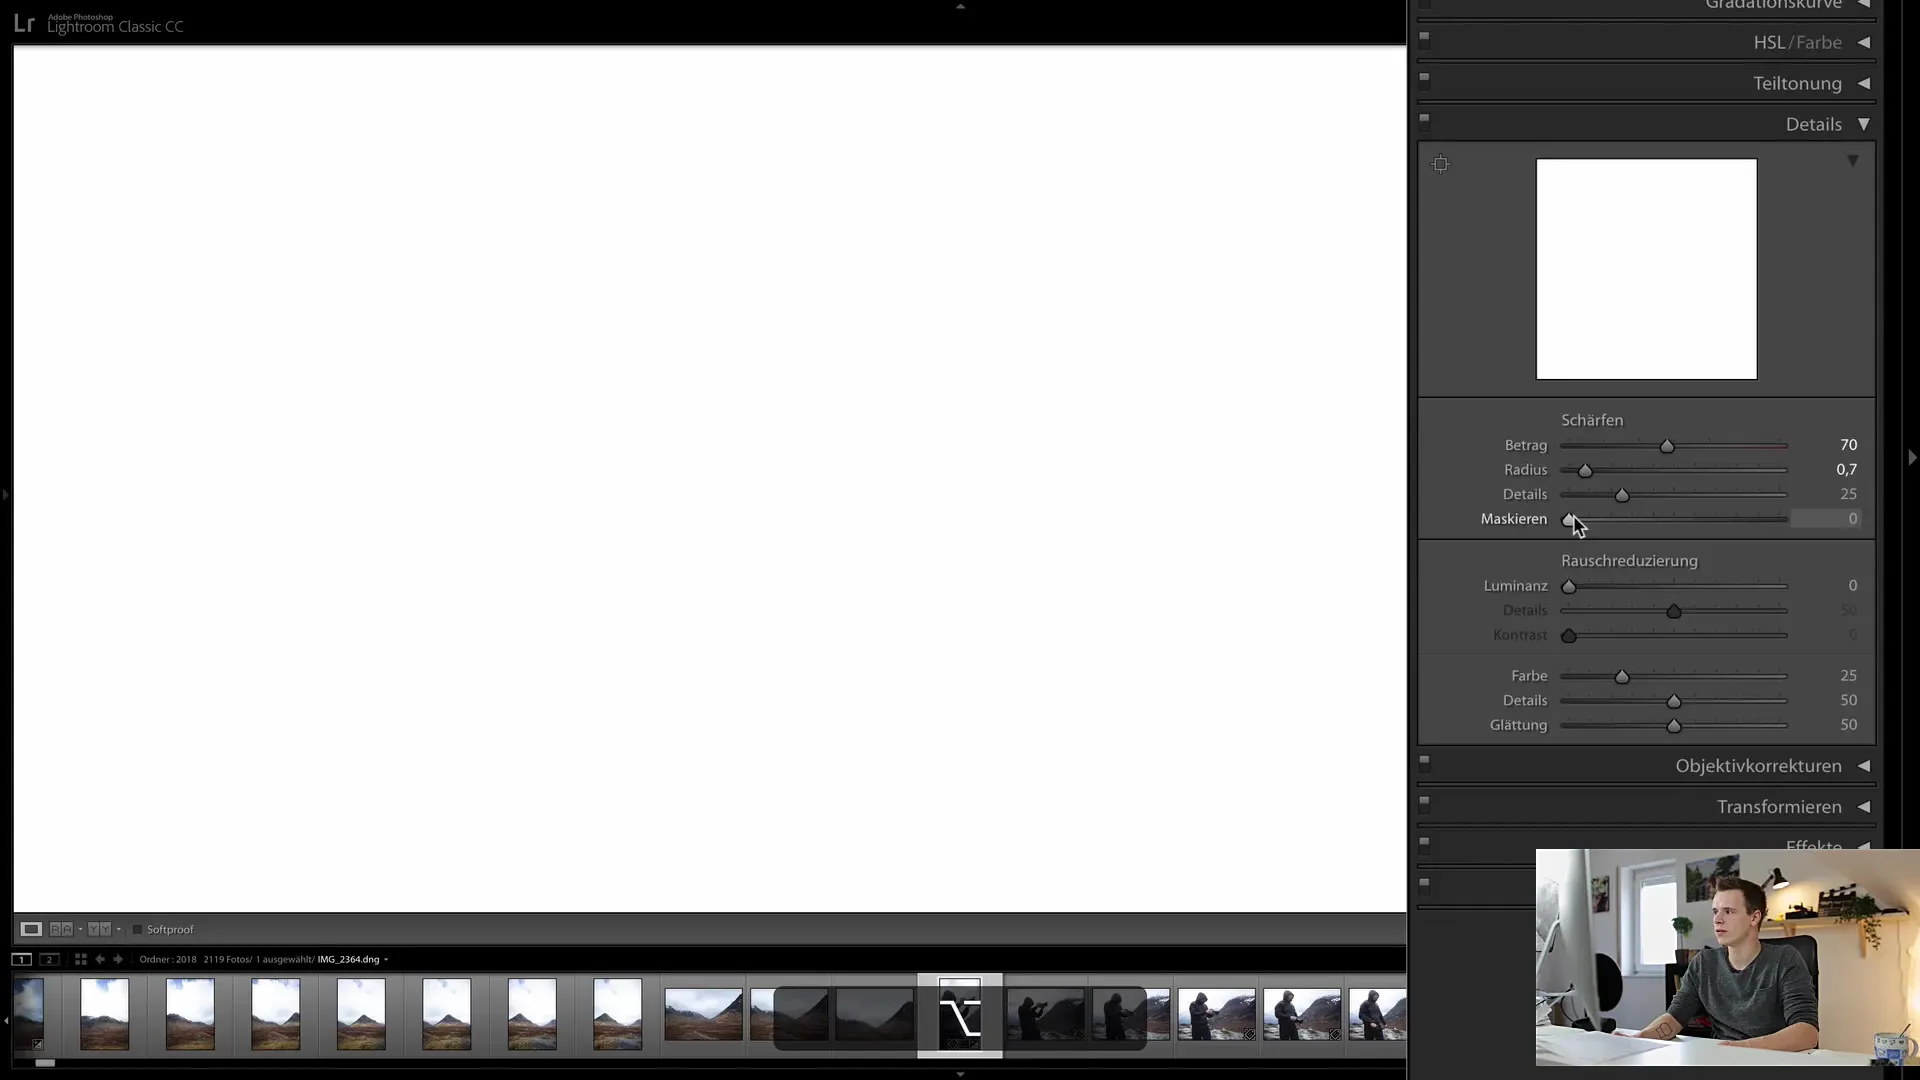
To avoid sharpening unwanted areas (e.g., background noise), the Masking slider is very useful. Hold down the Alt key while moving the slider. White indicates which areas will be sharpened, while black means those areas won't be sharpened. This helps you apply sharpening only to the main subjects in the image.
6. Activate Noise Reduction
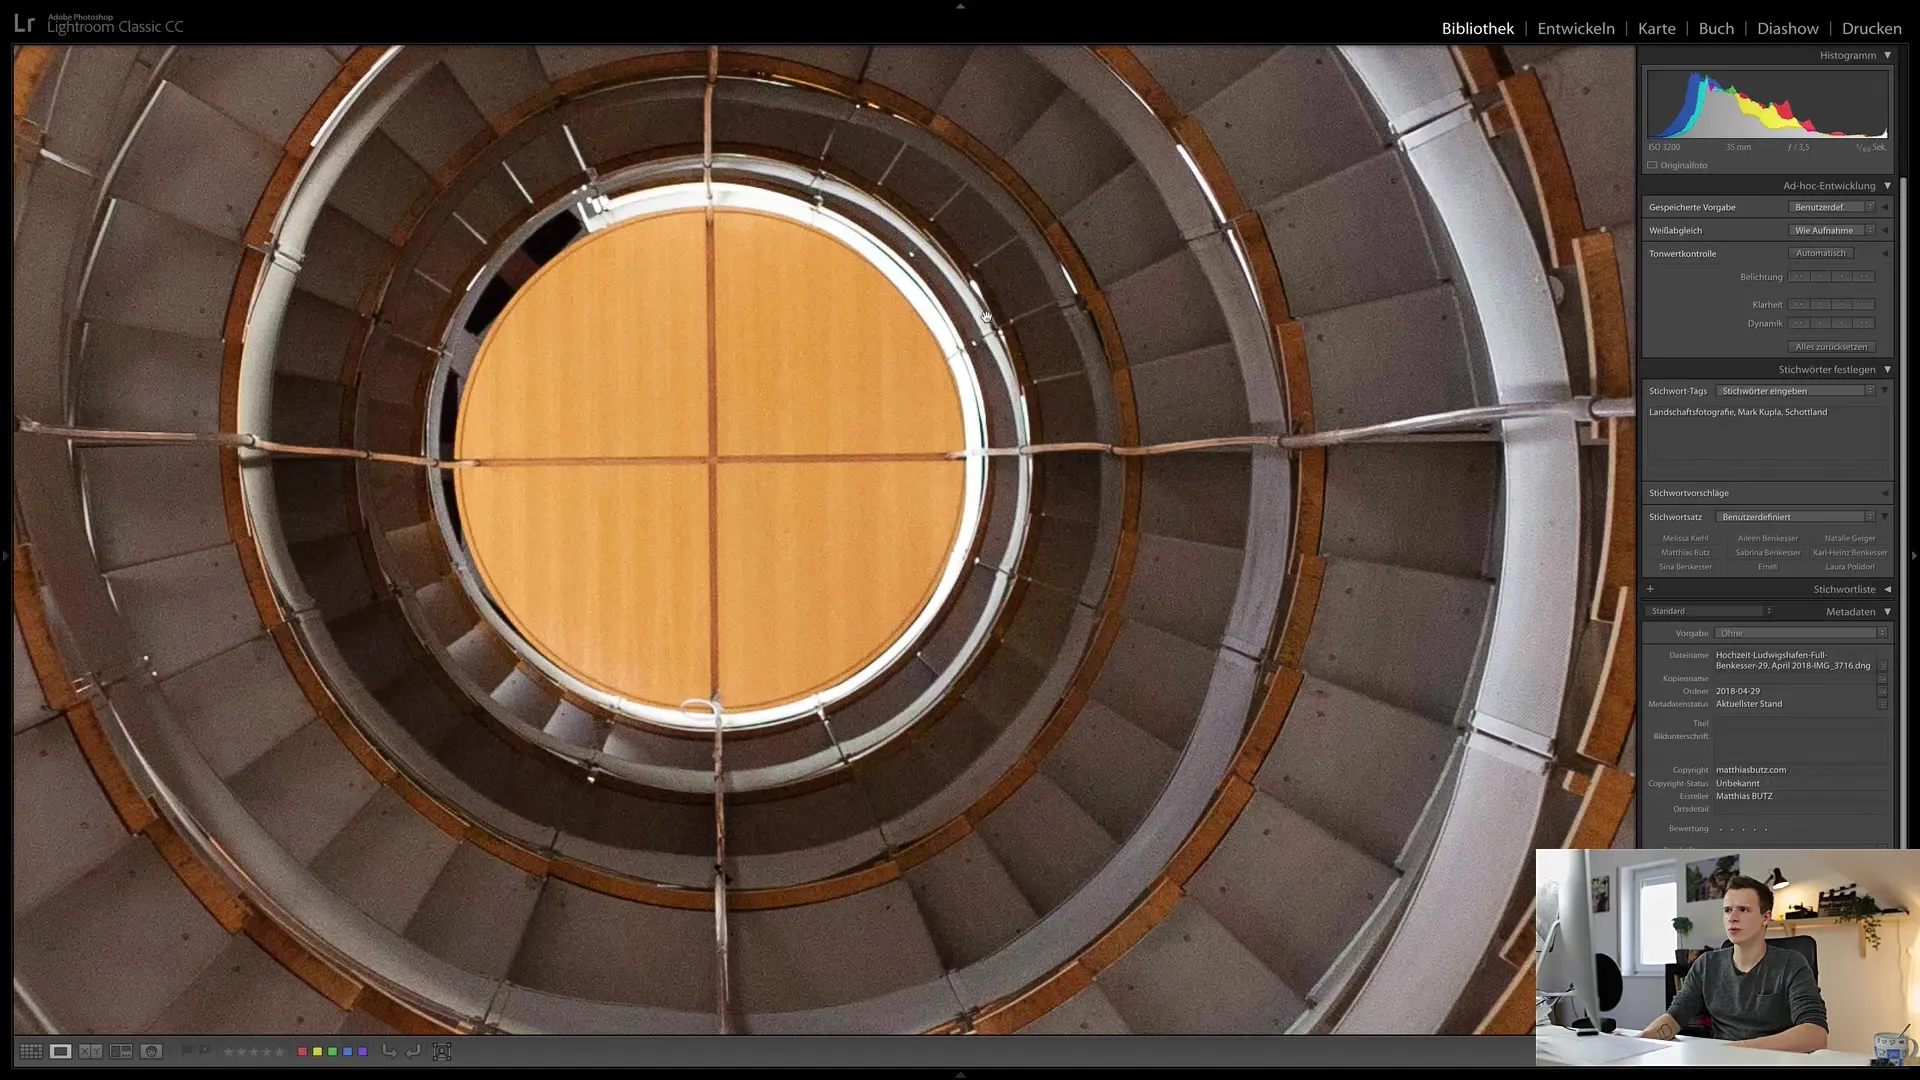
Next, let's focus on noise reduction. Start by selecting an image taken at higher ISO values. A typical example is an image taken in low light conditions. Higher ISO values often result in noise, which can visually appear as grainy dots.
7. Reduce Color and Luminance Noise
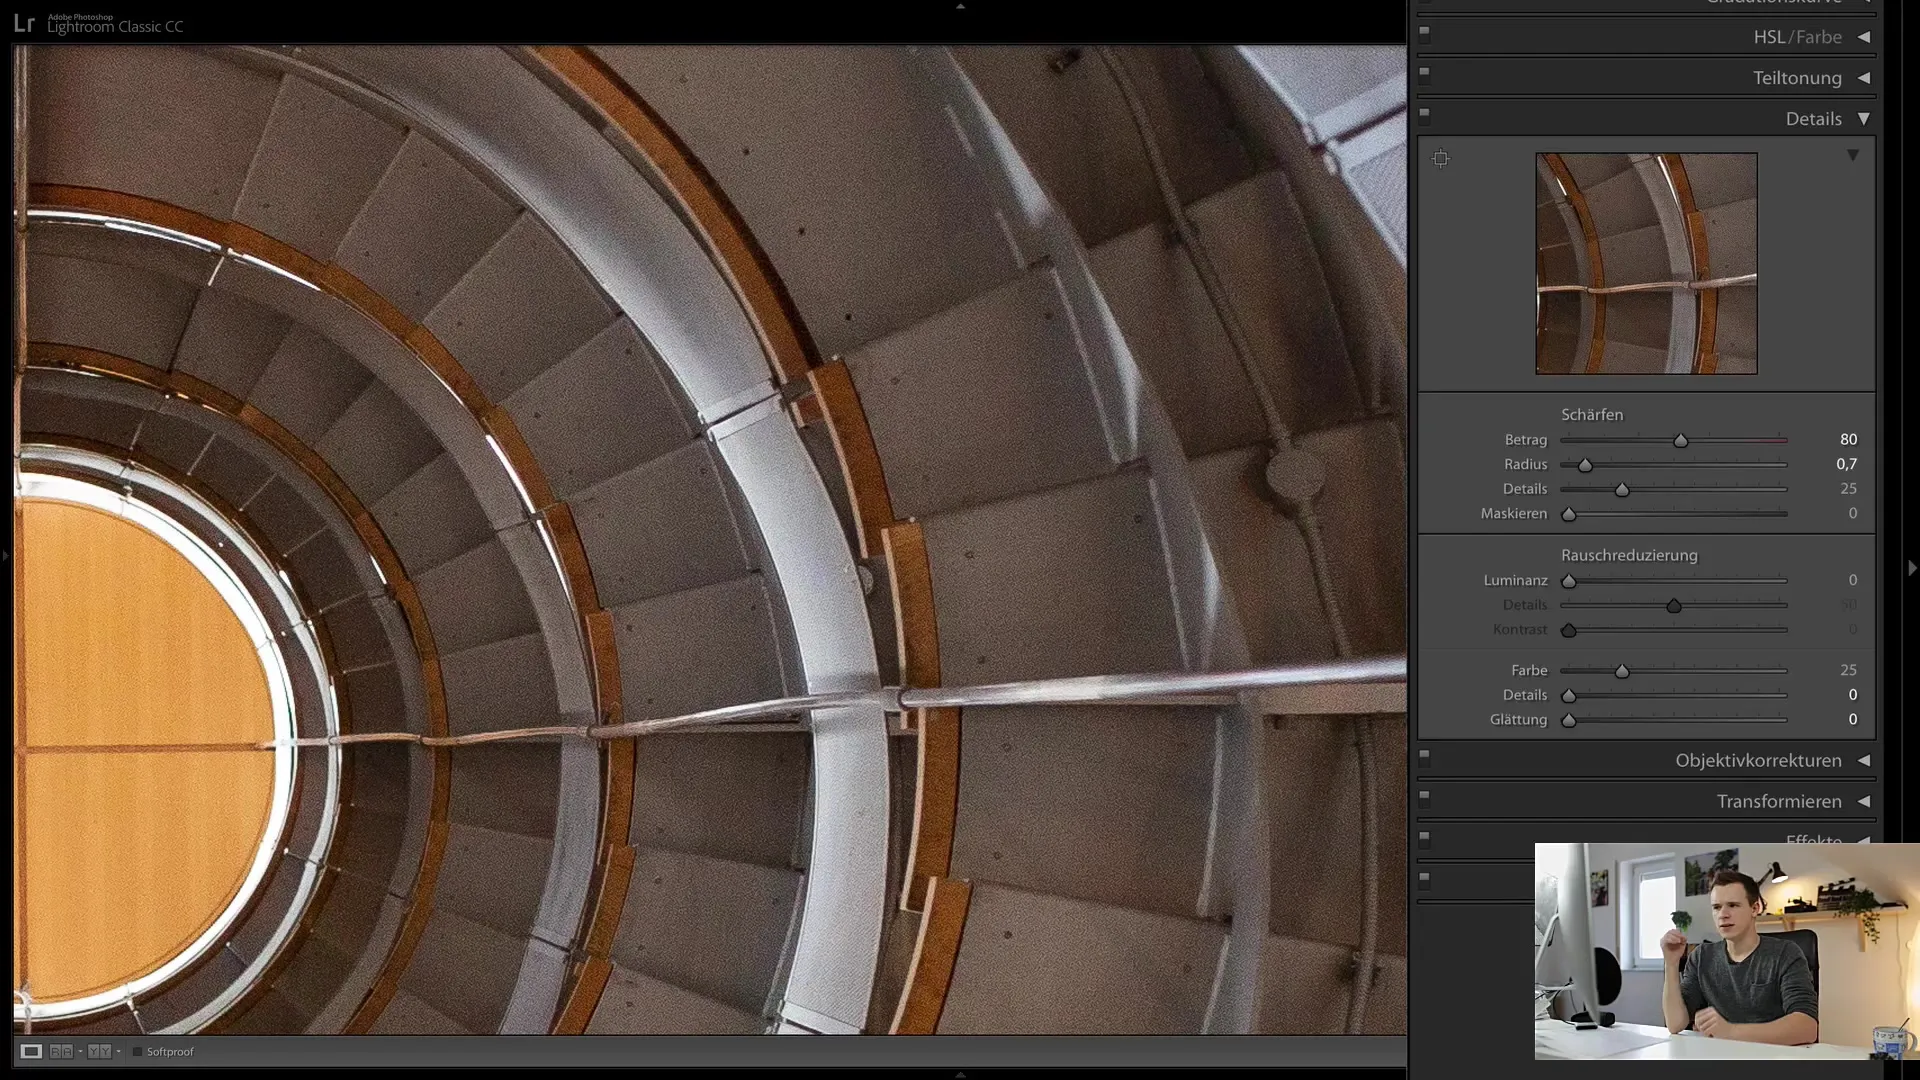
Begin by using the Color slider. This helps reduce colors in the noise and create smooth transitions. Start with a value of 25 and further adjust if necessary. To address estimated luminance noise, the Luminance slider is responsible. The further you drag this to the right, the more noise will be minimized. However, note that this can also decrease the sharpness of the image.
8. Finding a balance between sharpness and noise reduction
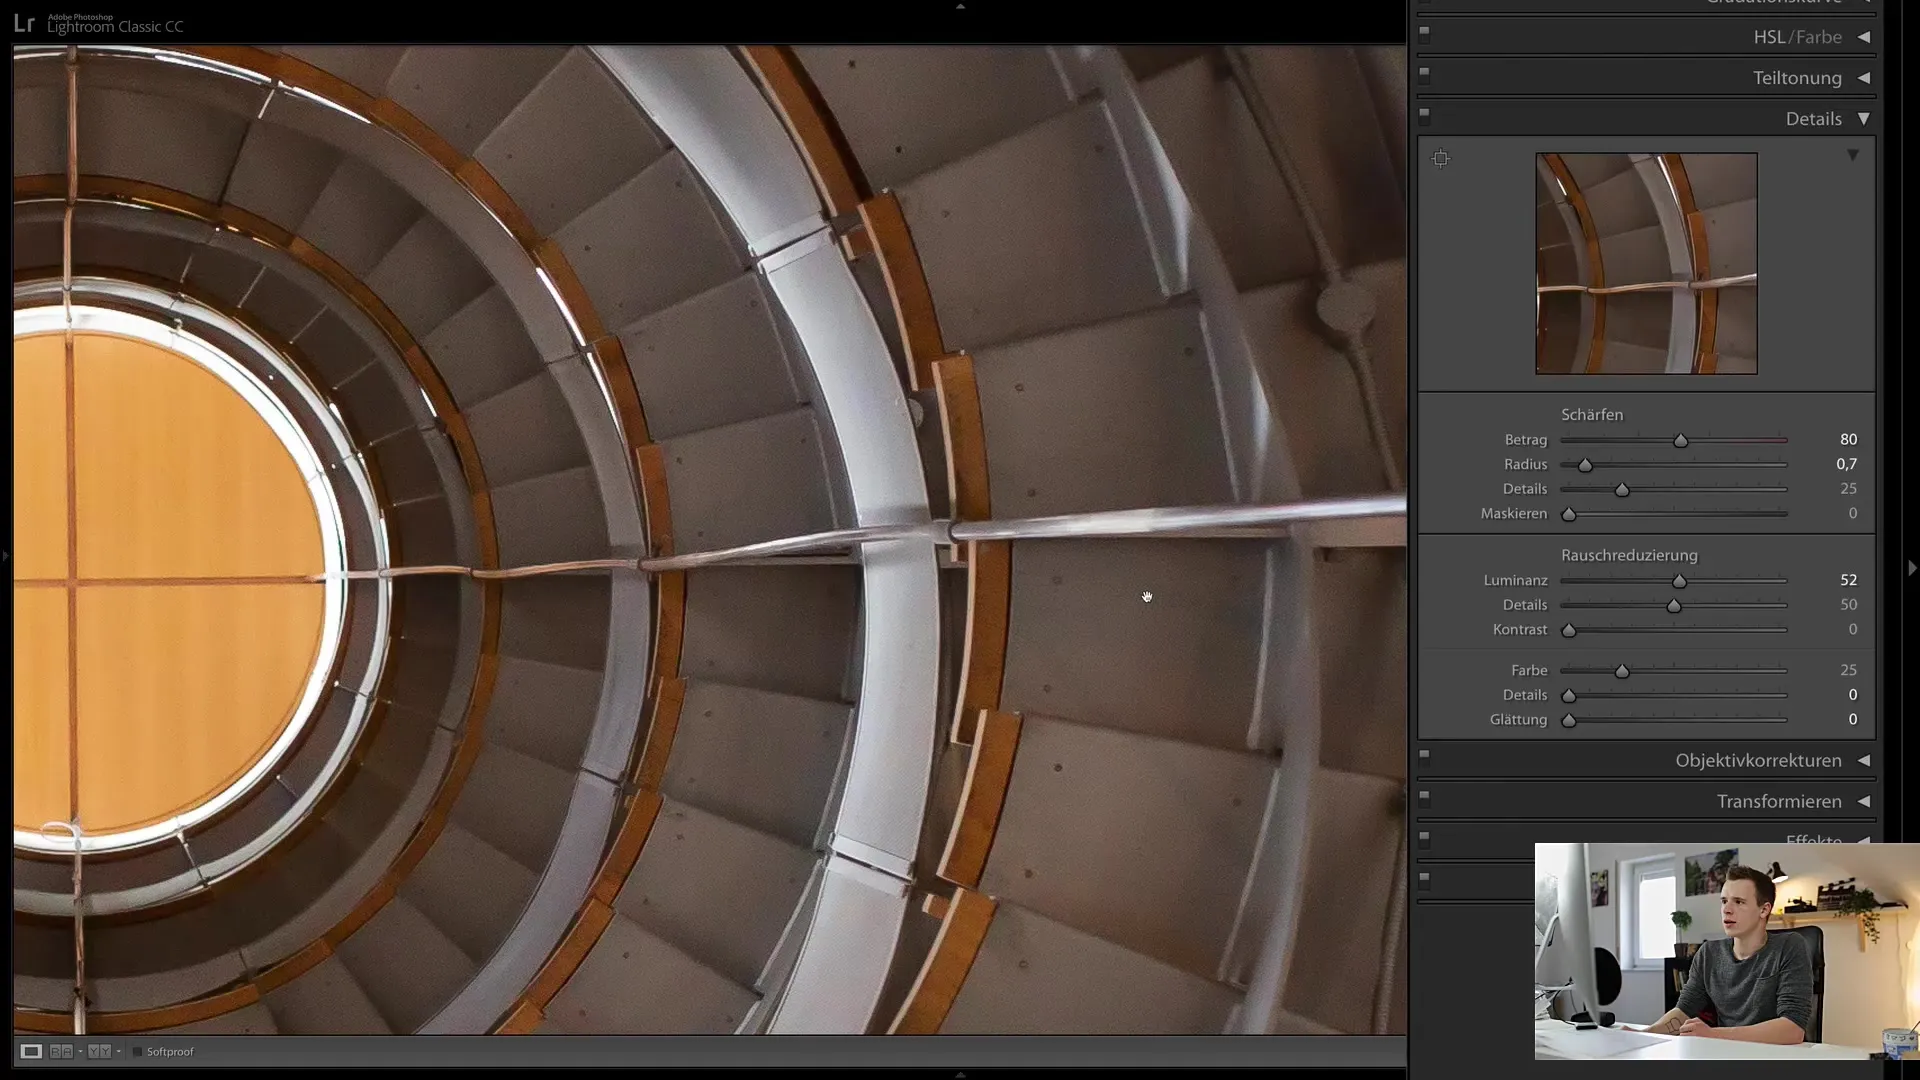
It is important to establish a balance when working with the sliders. Sharpening and noise reduction can influence each other. Thus, an image that is noise-free but looks pale, can regain the necessary level of detail through targeted sharpening. Be cautious and observe the changes continuously.
9. Final Adjustments
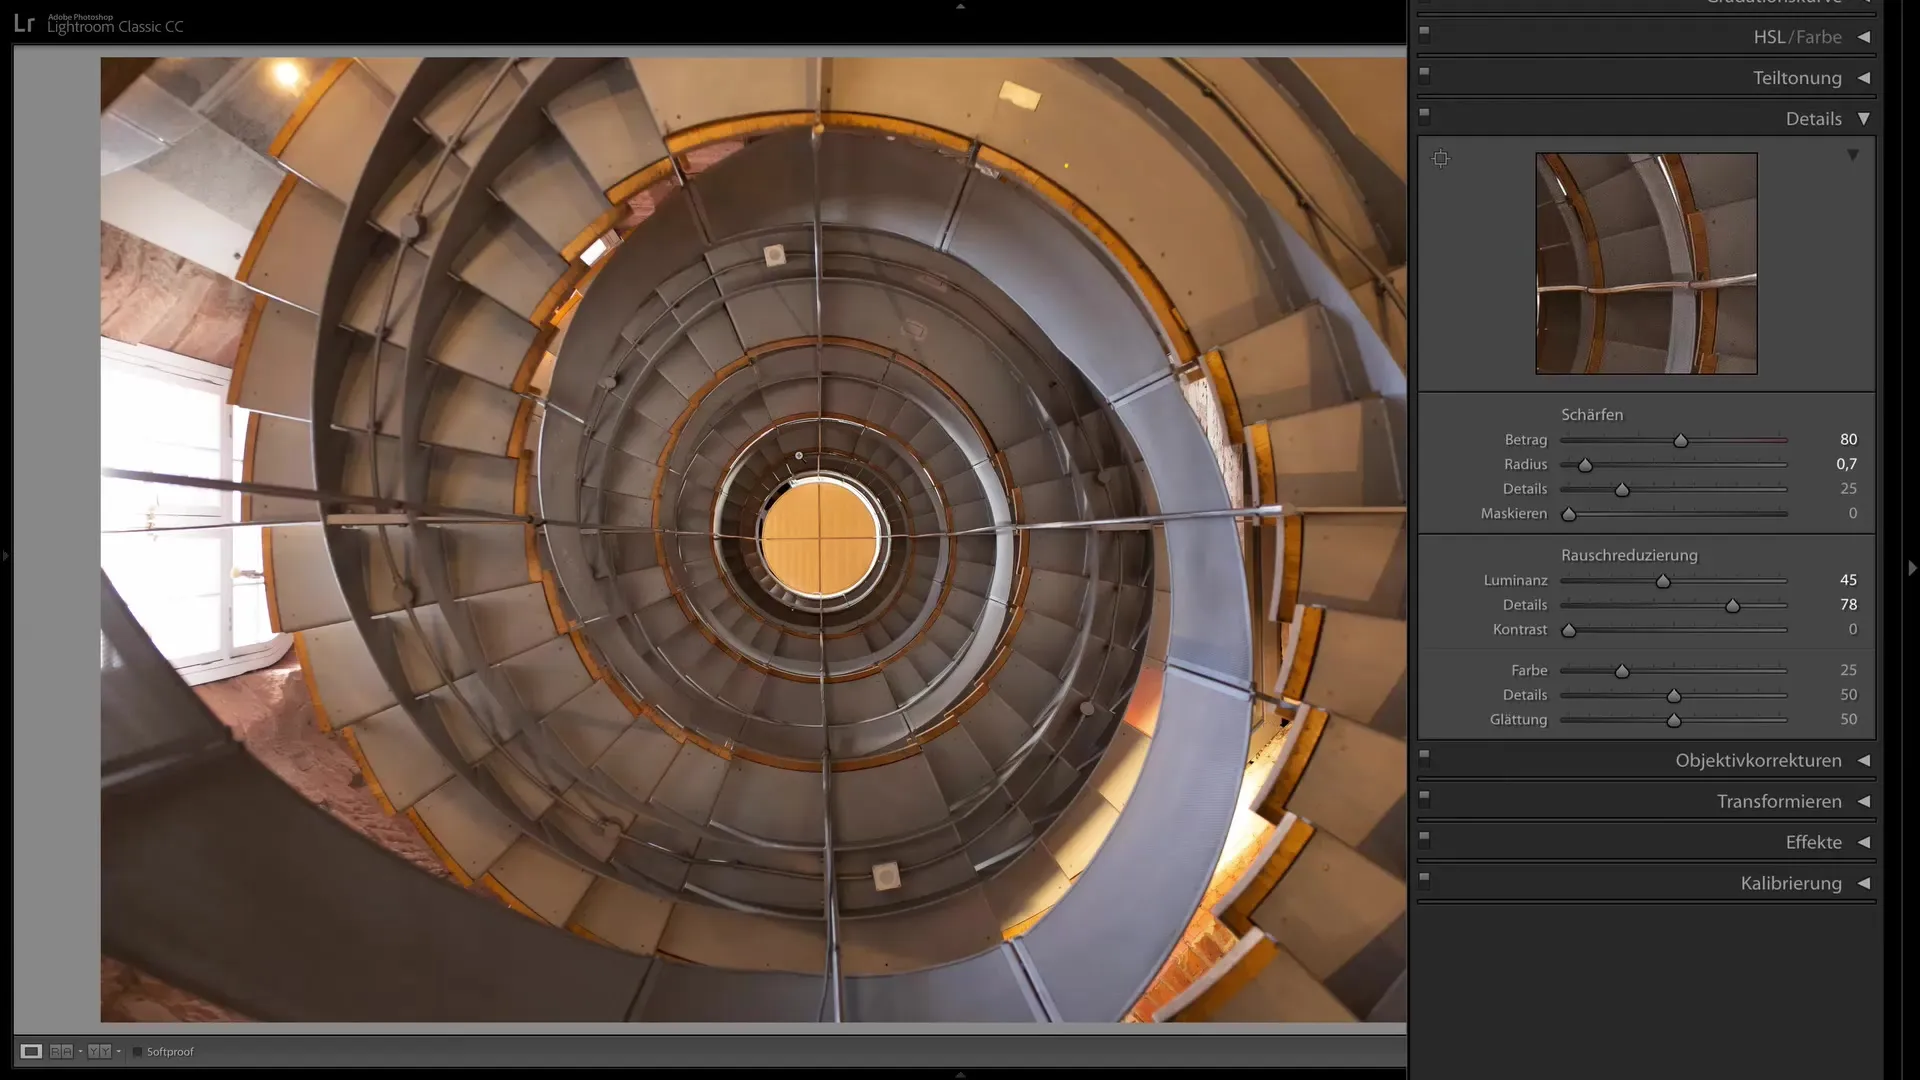
Now take a final look at your adjustments. Make sure to check both sharpening and noise levels and bring the image quality into balance. Typically, keeping the sharpening sliders below the upper values is enough to achieve harmonious results.
Summary
In this tutorial, you have learned how important sharpness and noise reduction can be for your photos. By adjusting the sliders correctly, you can significantly improve the image quality and minimize unwanted disturbances. Always remember to change the settings gradually and closely observe the results to achieve the best outcomes.
Frequently Asked Questions
How can I increase the sharpness of my images in Lightroom?You can increase sharpness by adjusting the sliders for Amount, Radius, and Detail in the Sharpening section.
What should I consider when using noise reduction?Make sure to adjust the Luminance and Color sliders specifically to minimize noise without affecting sharpness.
Why should I use a value below 1.0 for the Radius when sharpening?A value below 1.0 ensures that sharpening is limited to fine details and does not look unnatural.
How important is the Masking slider when sharpening?The Masking slider is important to selectively sharpen only the desired areas and to avoid processing blurry areas.
When is it advisable to avoid a high ISO value?High ISO values often create noise; therefore, try to make better use of the lighting conditions or opt for a longer exposure time instead.


