Editing images is an art in itself. Especially in the field of photography and digital art, fine-tuning contours is crucial for the overall effect of a portrait. In this guide, you will learn how to use the Liquify tool in Photoshop to optimize the contours of your silhouette. The goal is to create an attractive, harmonious image that has no distracting elements.
Key insights
- The contours are crucial for the visual impact of a portrait.
- The Liquify tool in Photoshop is a helpful tool for correcting contours.
- It is important to maintain the balance between naturalness and the desired adjustment.
Step-by-Step Guide
To effectively smooth the contours, here is a detailed step-by-step guide.
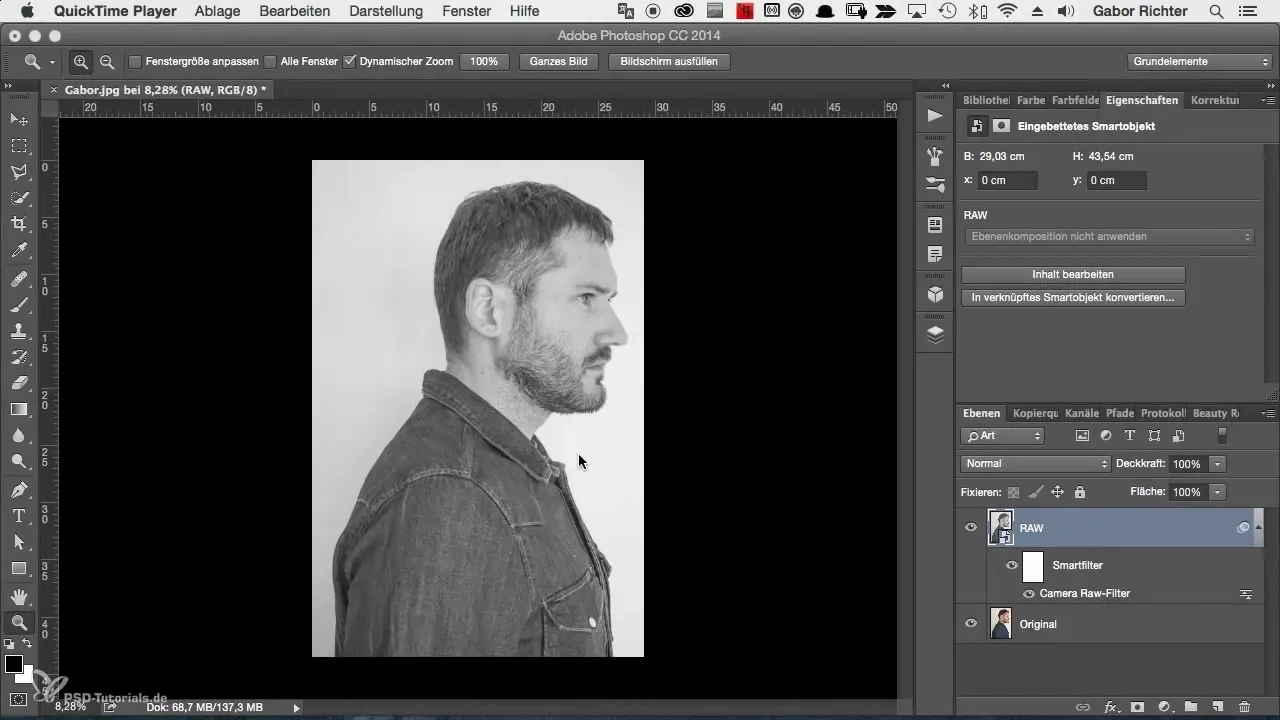
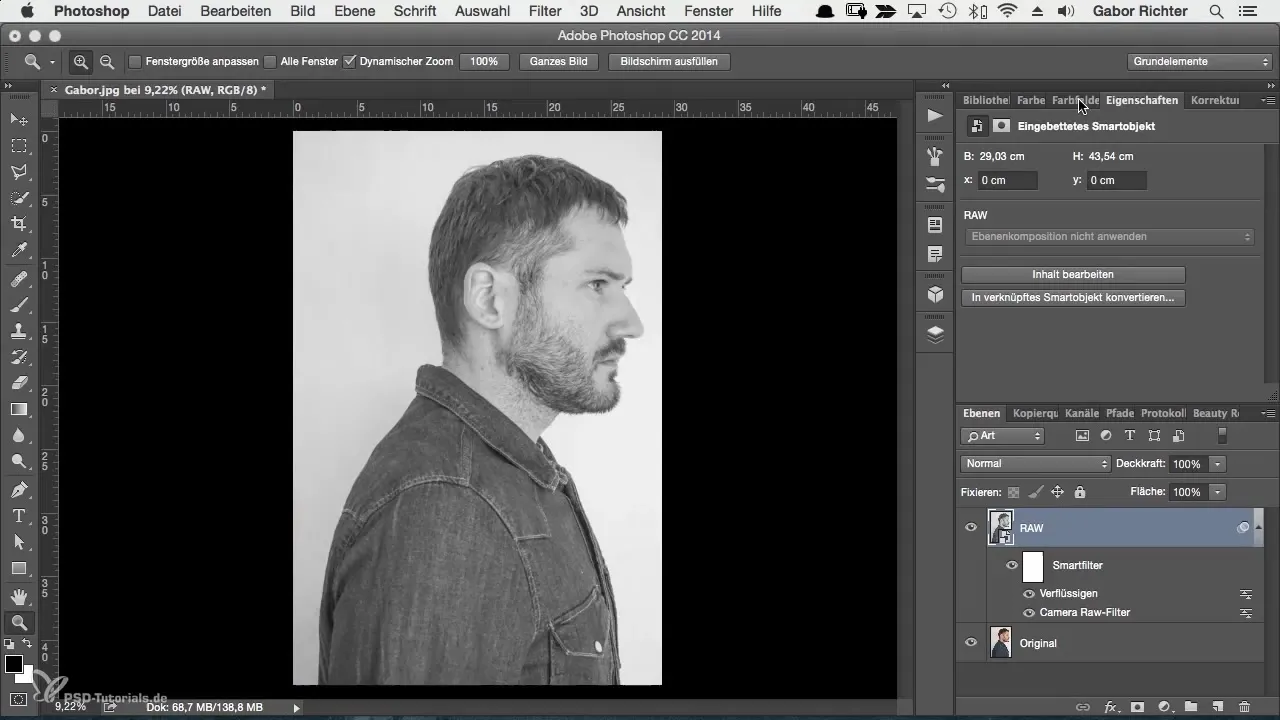
First, it is important to look at the image and get an impression of the existing contours. You should analyze the details and pay attention to which areas might be distracting. In my image, I found that the facial and hair contours are fine, but there are some aspects of my outfit that I don't like. Here is the screenshot to show the initial situation:
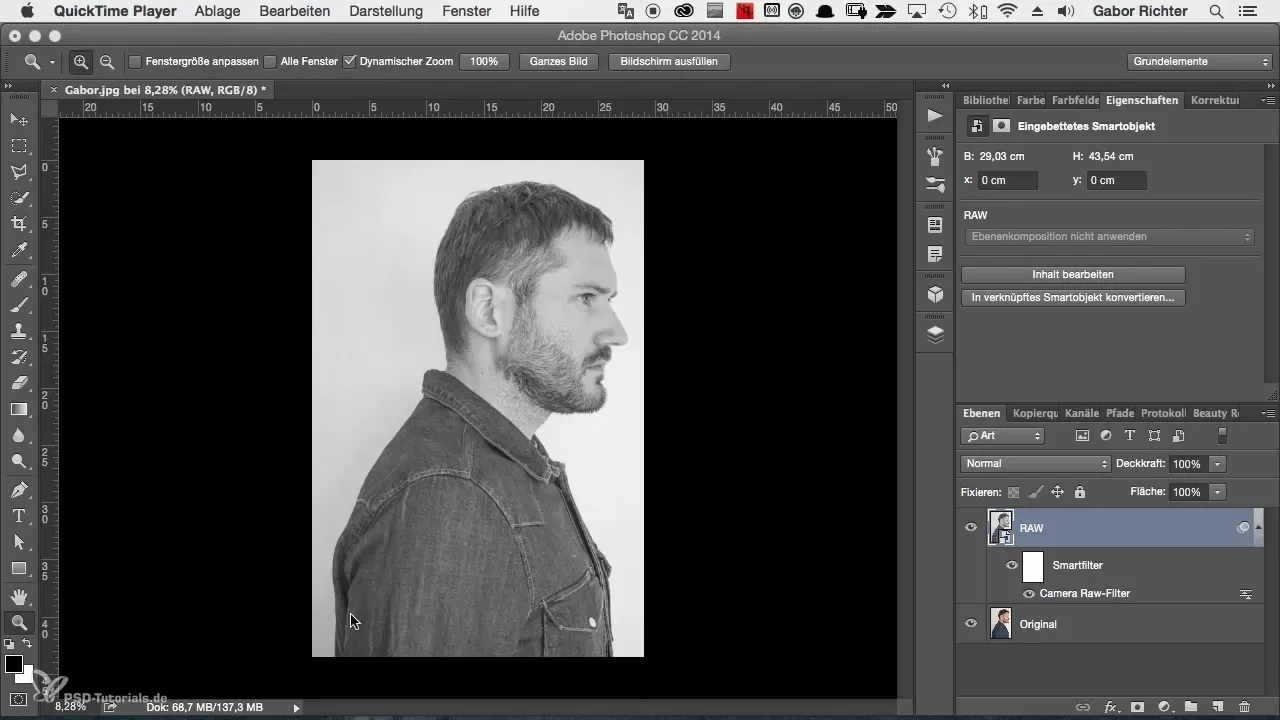
One of the biggest challenges is wrinkles in the shirt and unwanted shapes, like bumps, that look out of place. The area around the pocket should also be examined more closely, as it could be visually distracting. Here is the screenshot for analyzing the contours:
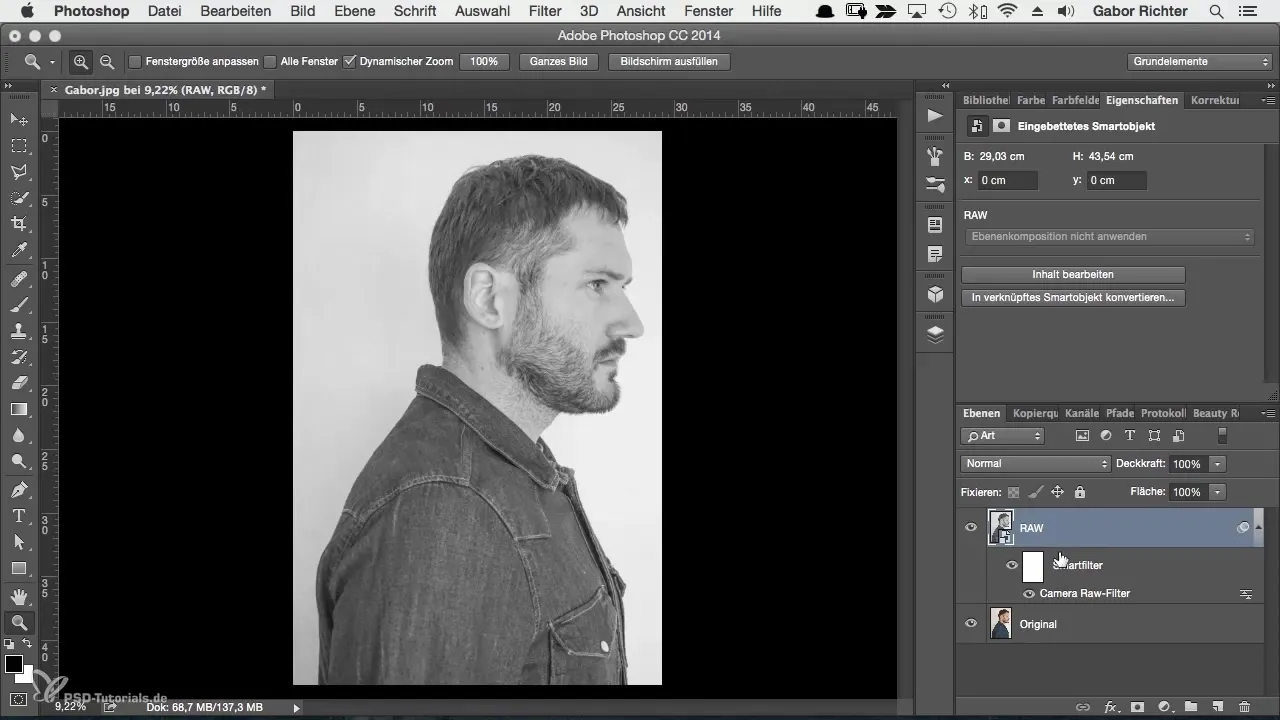
Now it's time to apply the Liquify tool. Go to the RAW layer that you have already named and activate it. Then select the "Liquify" filter from the menu. This is where the actual process begins to create a more harmonious silhouette. Here is the screenshot of the filter selection process:
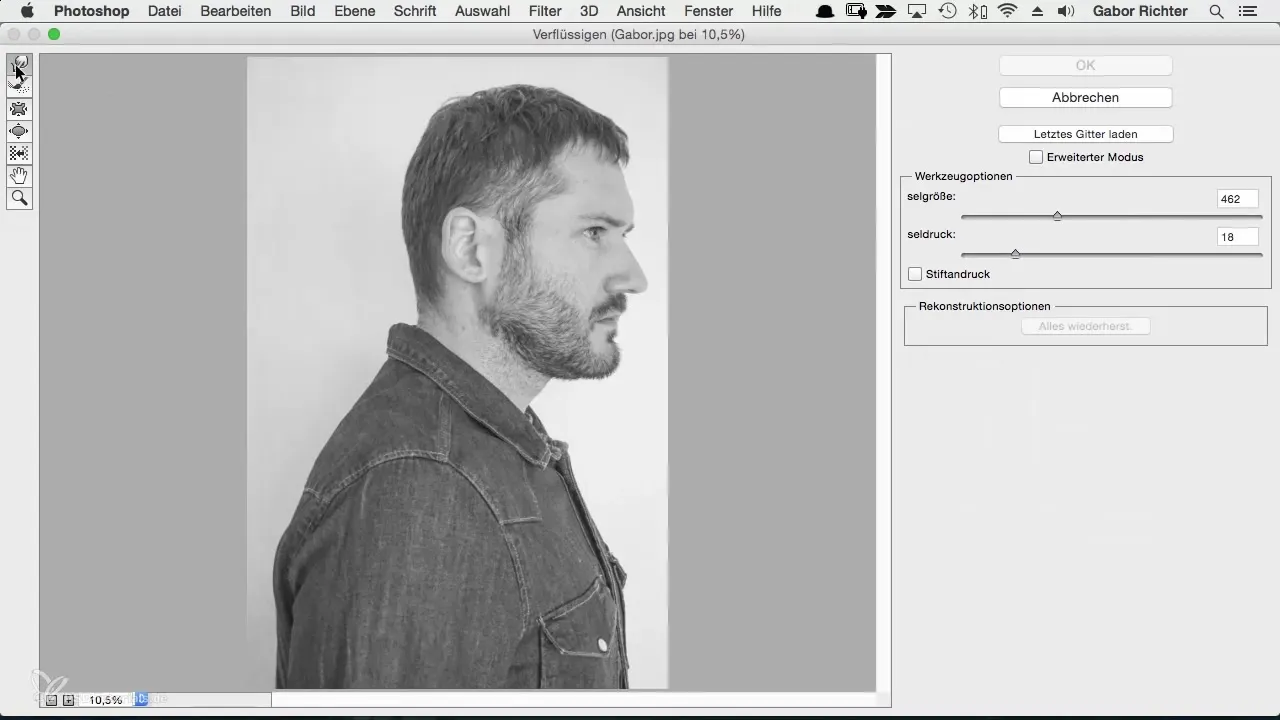
Upon reaching the Liquify window, select the Forward Warp tool. Your screenshot representation might differ from mine. Don't forget to try the various tools and possibly make additional adjustments. Here you can work on the contours of your silhouette. Here is a screenshot showing the selection of the Forward Warp tool:
Start with a small adjustment to a distracting point you want to change. Ensure that you maintain organic and human features. Excessive manipulation could look unnatural. It's about shaping the contours pleasantly and attractively. Here is the screenshot from the first adjustment attempt:
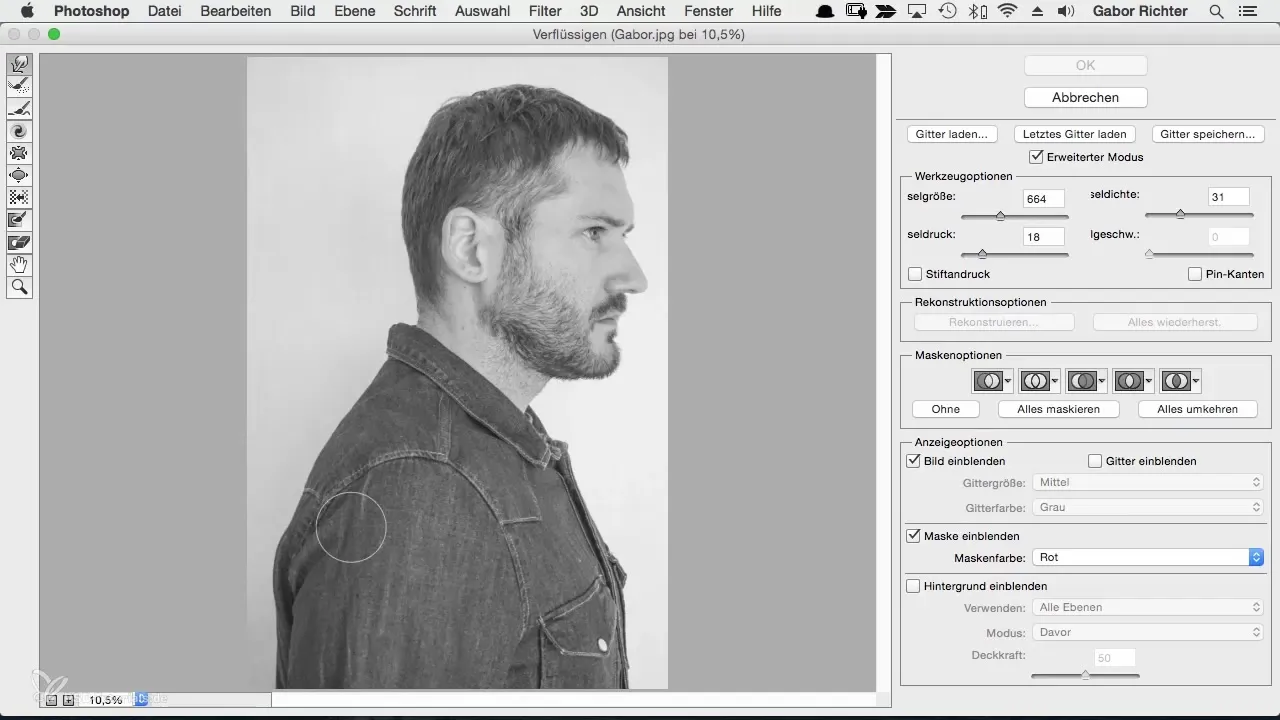
After you have worked on the contours, you might feel that the image could be damaged – that's completely normal. Focus on only editing the contours and not the entire background. Here is a screenshot showing how the image looks during editing:
Change the brush density of the tool depending on the area. If the area is small, use a small brush; for larger areas, use a larger brush – like in my example of the chest. Make sure that the density remains between 30 and 50 percent and that the pressure stays low to ensure a smooth edit. Here is the screenshot of the brush setup:
If you are not satisfied with the result, you can undo the changes. To do this, hold down the Command or Alt key and press “Z” multiple times to return to your original image. Here we show a screenshot before the adjustments are undone:
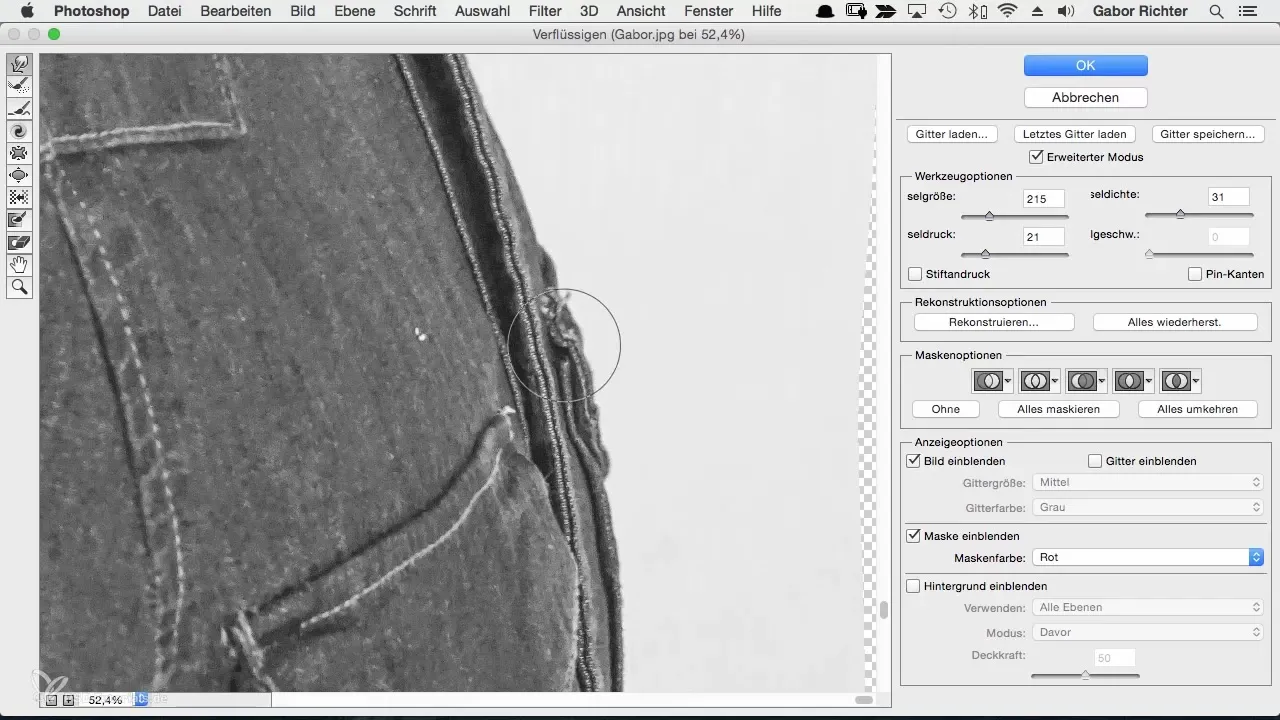
After you have manually adjusted the area, you can move on to the details. For example, the pocket on the shirt or the collar. You can make smaller adjustments to harmonize everything as you wish. Here is the screenshot from the detail adjustment process:
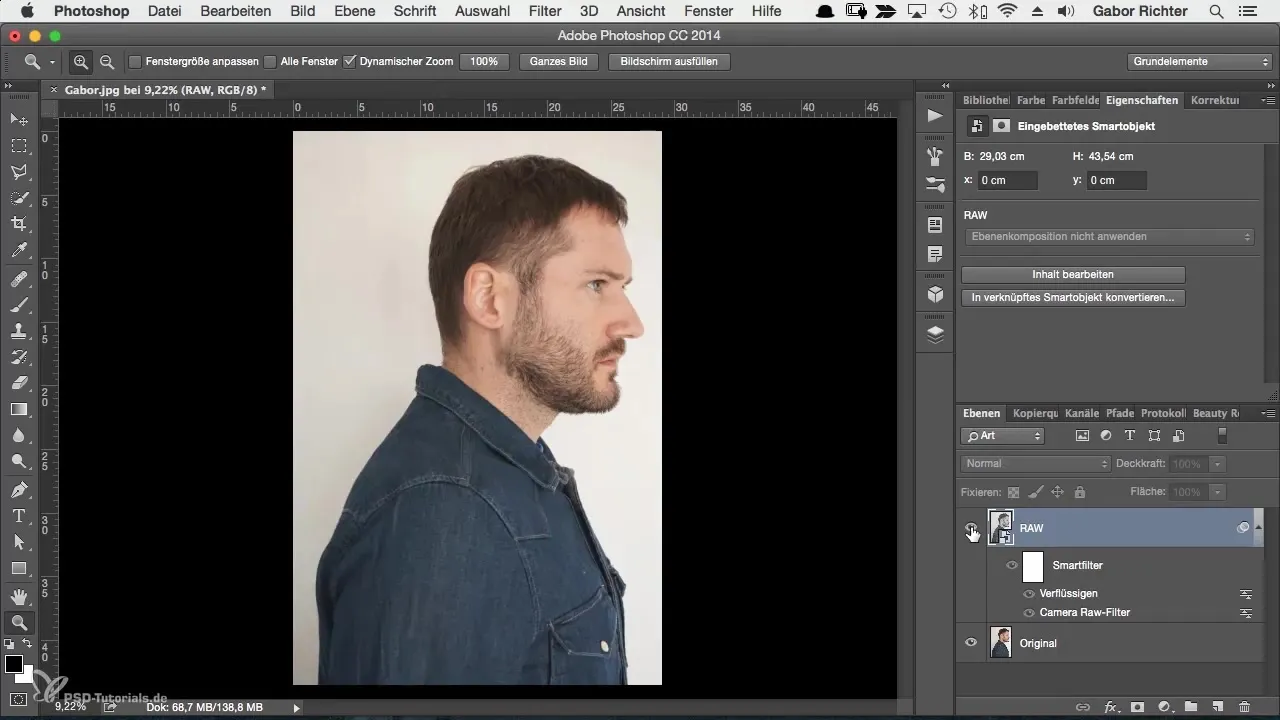
It is important that after the adjustments, you continually compare before and after. The ability to do so gives you a good feel for the changes. Briefly hide the layer to do this. Here is the screenshot that shows the comparison:
If you do not like the result, you have the option of using the Reconstruct tool to reset overworked areas. This is particularly useful if you feel that an improvement was not successful. Here is the screenshot of this option:
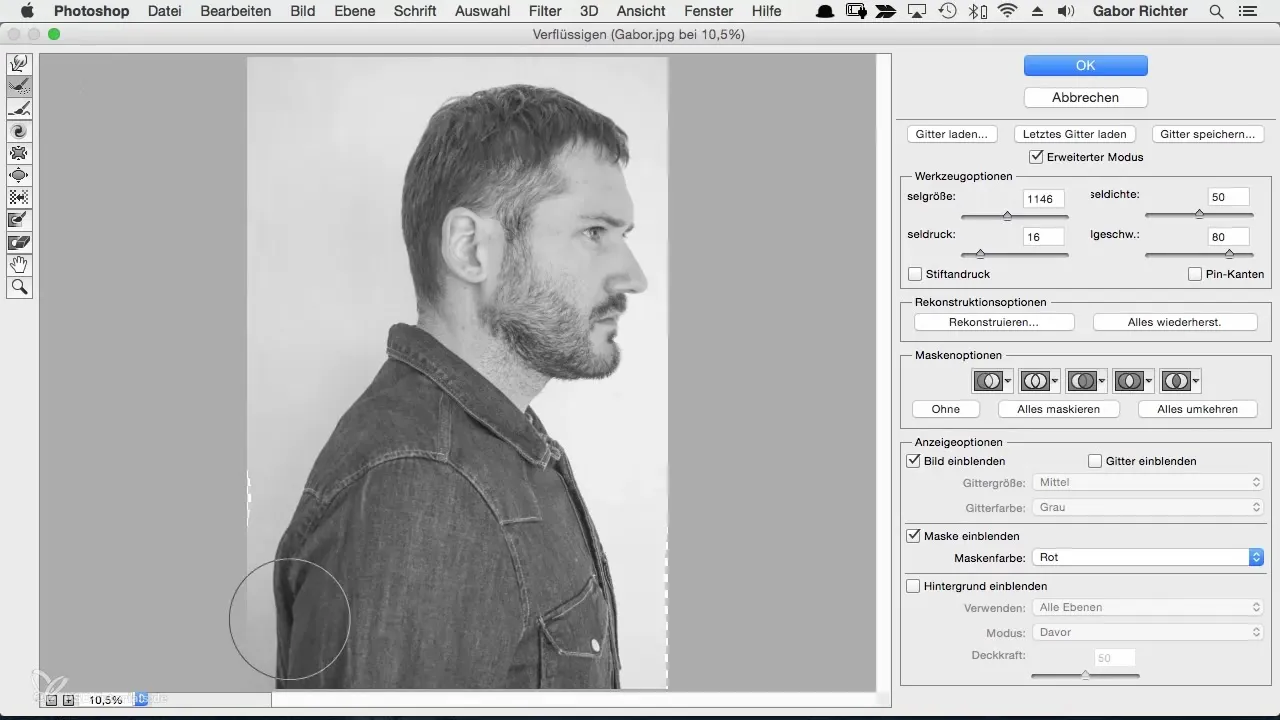
If you are satisfied with the result, you can conclude your process and save your image. Remember that these tools help you, but your personal style and preferences influence the final decision. Here is the screenshot from the final image:
Summary
In this guide, you learned how to smooth and optimize the contours of your character using the Liquify tool in Photoshop. The goal is to create a harmonious silhouette that impresses with visual clarity. Always remember to work organically and maintain human features to create an appealing end product.
Frequently Asked Questions
What is the Liquify tool in Photoshop?The Liquify tool allows you to adjust areas of an image by pulling and deforming.
How can I ensure that my adjustments don't look too unnatural?Make sure to only adjust the contours and maintain organic shapes. Avoid excessive manipulation.
Can I undo changes?Yes, you can undo changes using the undo keys (Command/Alt + Z) or the Reconstruct tool.
How do I save my edited image?Use the "Save As" option in Photoshop to save your edited image in the desired format.
Is the Liquify tool suitable for all types of images?Yes, the tool can be used for various images; however, the application should be adapted depending on the image content.


