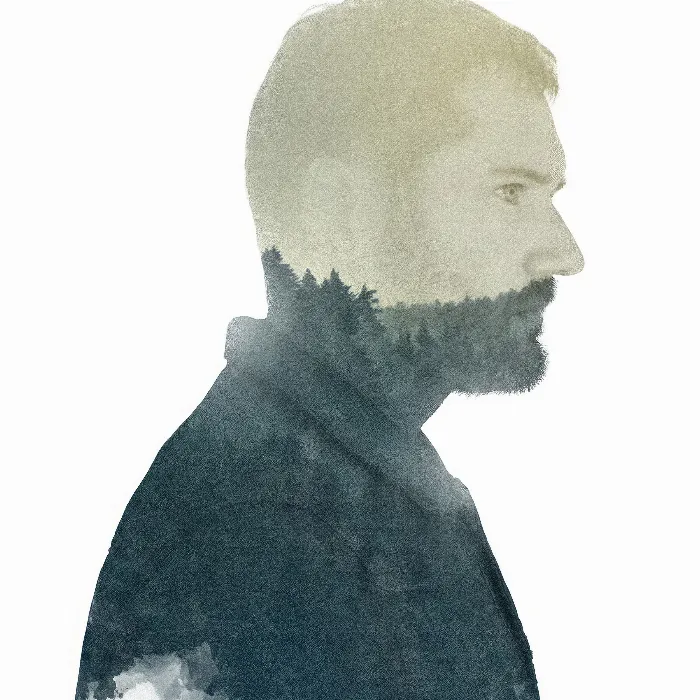
Starting the creative process by designing a new environment for your character can be very inspiring. In this tutorial, you will learn how to integrate scenes into your digital art, allowing your creativity to flow freely. Let's take a deep look together at how you can use Photoshop to give your character more depth and personality.
Key Insights
- The use of clipping masks allows for effective adjustment of your images.
- By skillfully transforming the images, you can deliberately preserve proportions.
- Experimenting with different blending modes opens up new creative possibilities.
- The choice of background affects the entire composition of your character.
Step-by-Step Guide to Placing Scenarios in Photoshop
Start by diving into your creative process. You already have a silhouette of a character, and now it's about inserting an appropriate scene. For example, I have a special connection to the Black Forest and want to integrate this into my project.
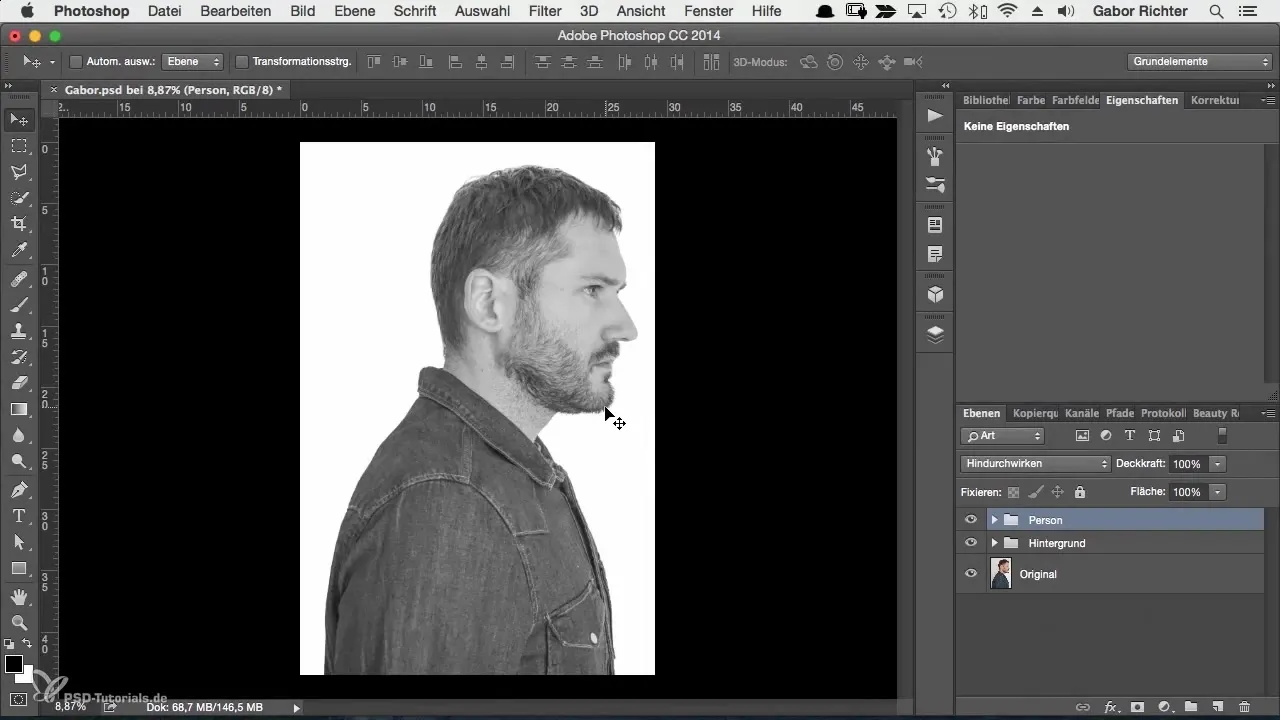
First, open your image in Photoshop. Right-click on the file and select "Open with" > "Photoshop". Once the image is open, you can use the Move tool to drag your image onto the workspace.
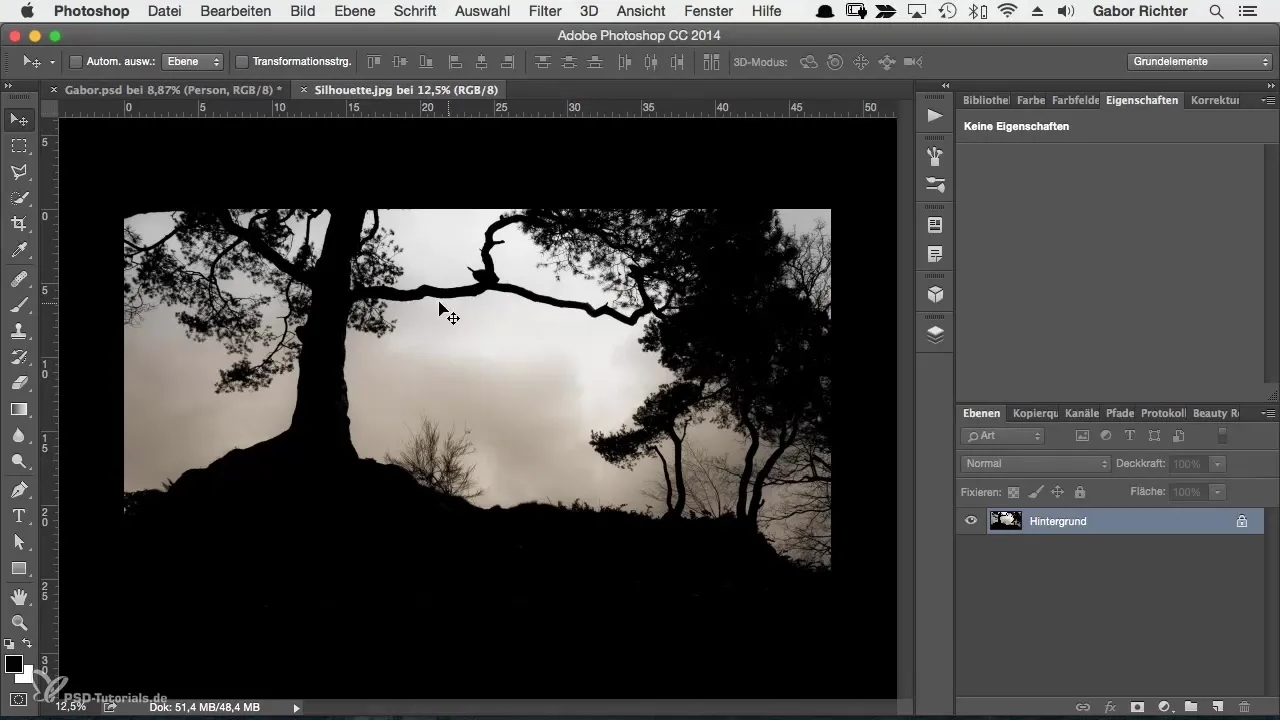
One of the fundamental settings is adjusting your mask. Right-click on the existing mask and select the "Create Clipping Mask" option. This allows you to fit the image directly to the silhouette without affecting the original mask.
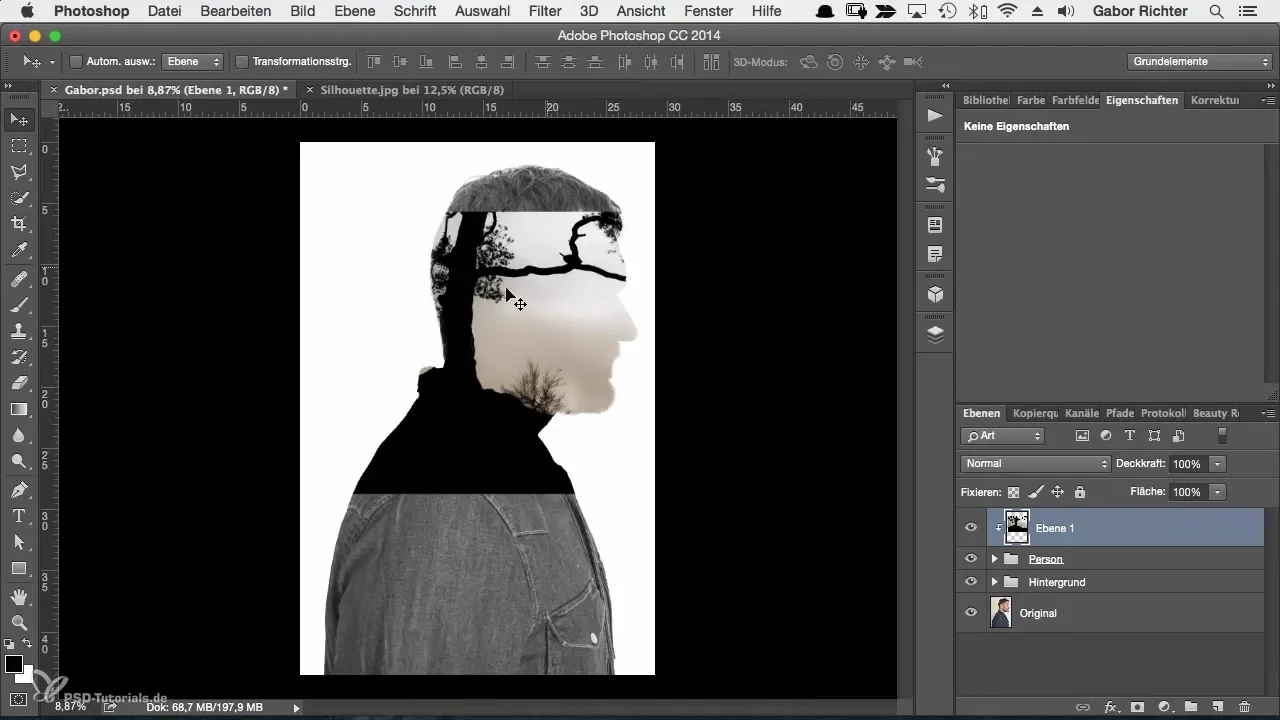
With this setting, you can move the position of your image as you see fit, while retaining the adjustment to the mask. This gives you plenty of room for creative adjustments.
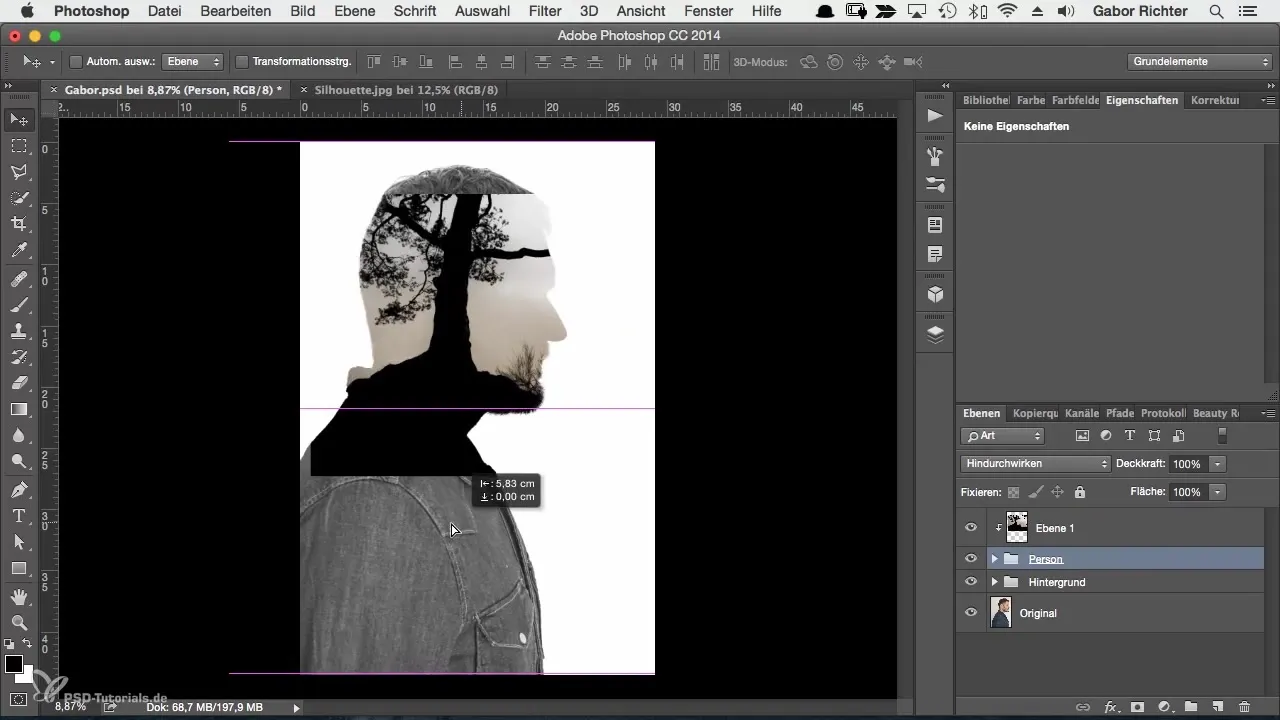
If your image is too small, you can enlarge it. Go to "Edit", then "Transform", and select "Free Transform". Hold the Shift key to maintain proportions. When you adjust the image accordingly, you will see the entire ratio preserved.
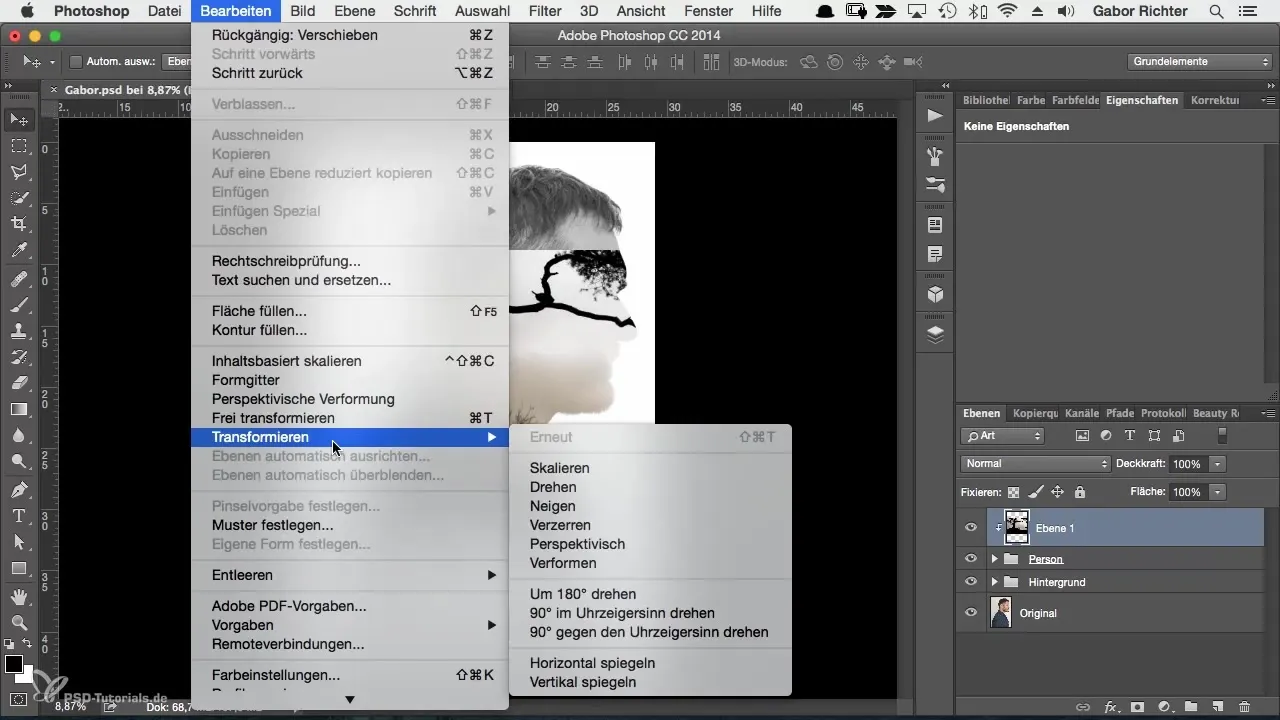
It's important to experiment with the composition of the image. Since I initially used a dark image, I was unhappy with the busyness and decided to use a brighter image that distracts less from the character.
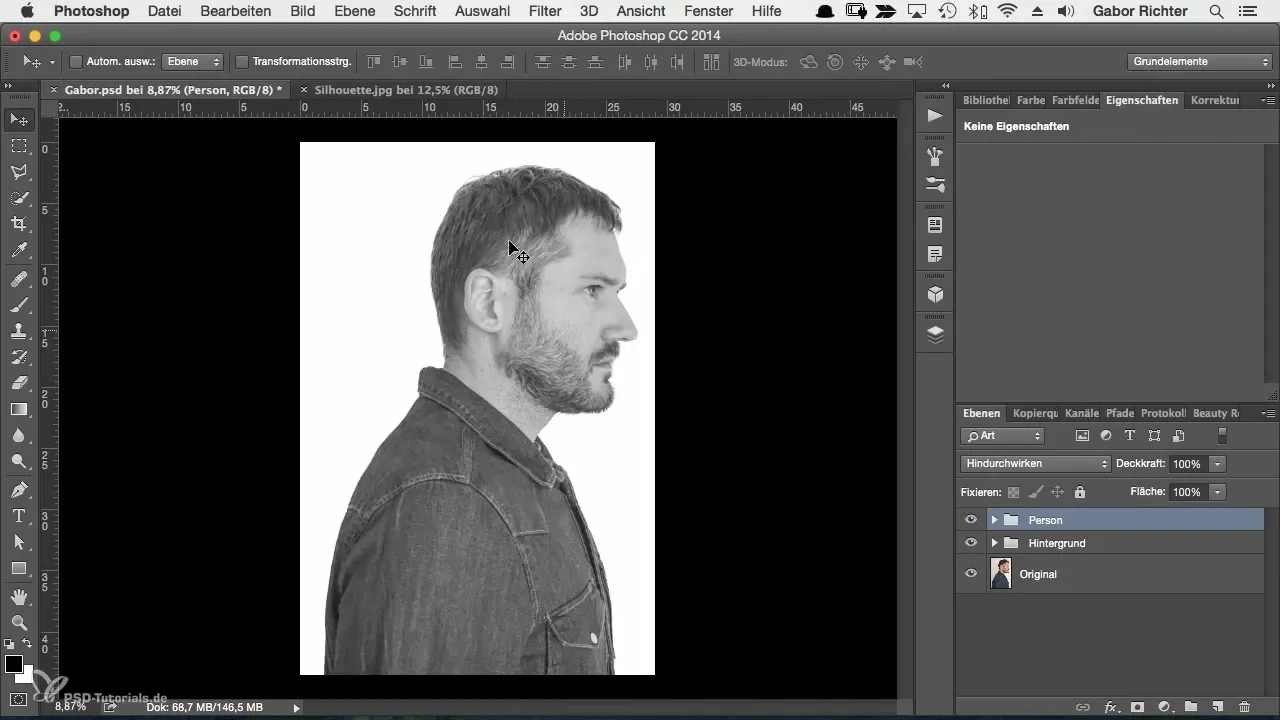
With this color change and the associated image, you can again create a clipping mask to make the adjustment. The goal is to achieve a harmonious design where the face remains prominent and clearly recognizable.
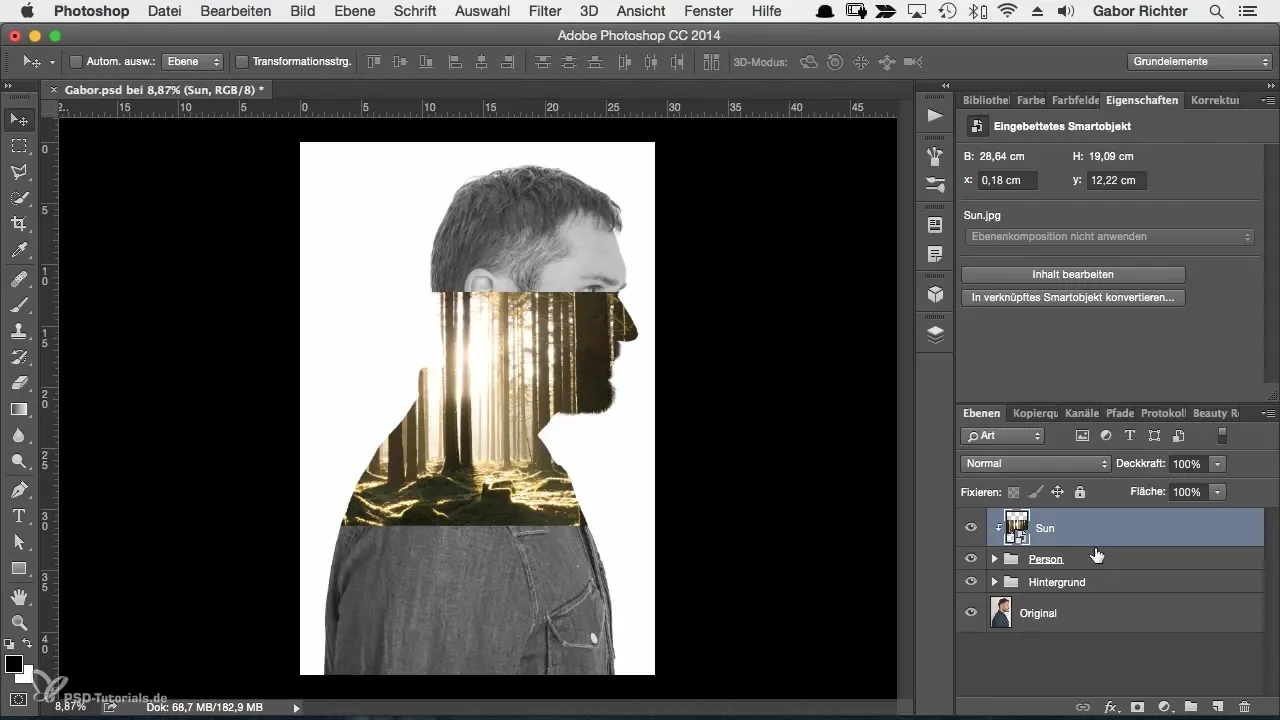
You can also drag images from your file explorer – this is a convenient option for working quickly. Just drag the desired image into your workspace and create another clipping mask to adjust it.
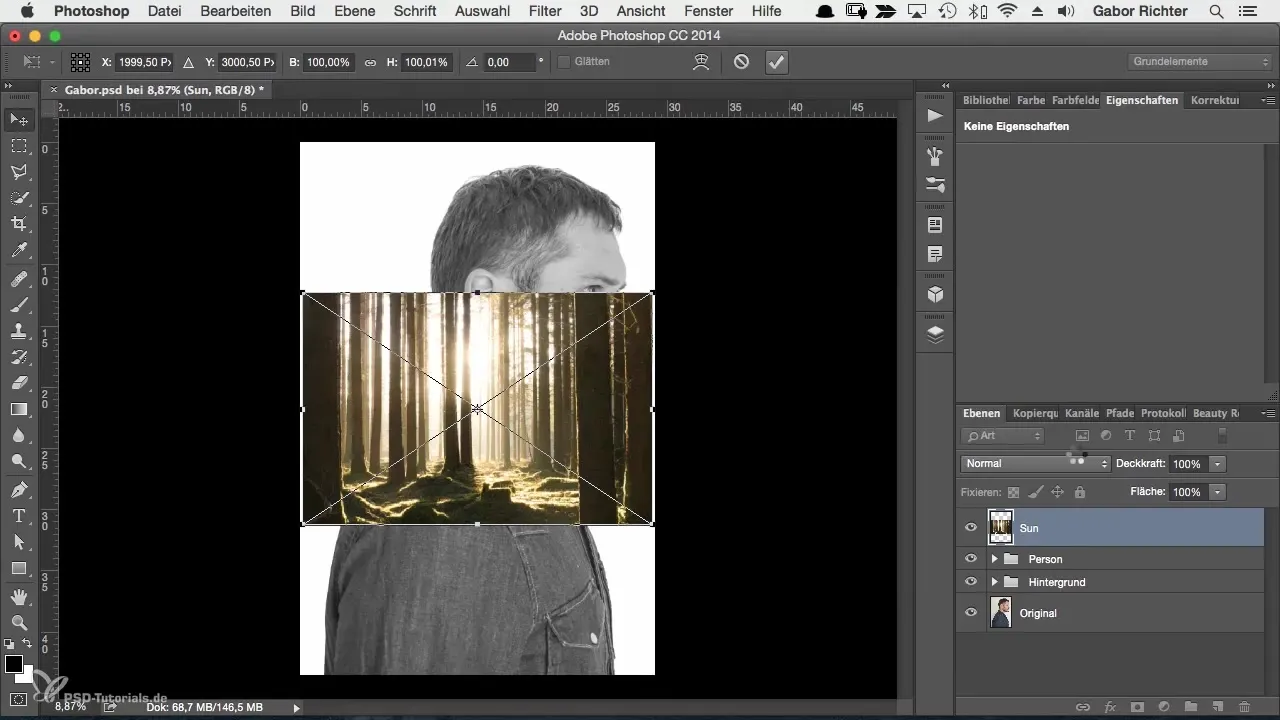
If you want to decide how the silhouette should look, play with different blending modes. To do this, right-click in the layers panel. Each setting achieves a different optical effect, often relying on experimentation to achieve the best result.
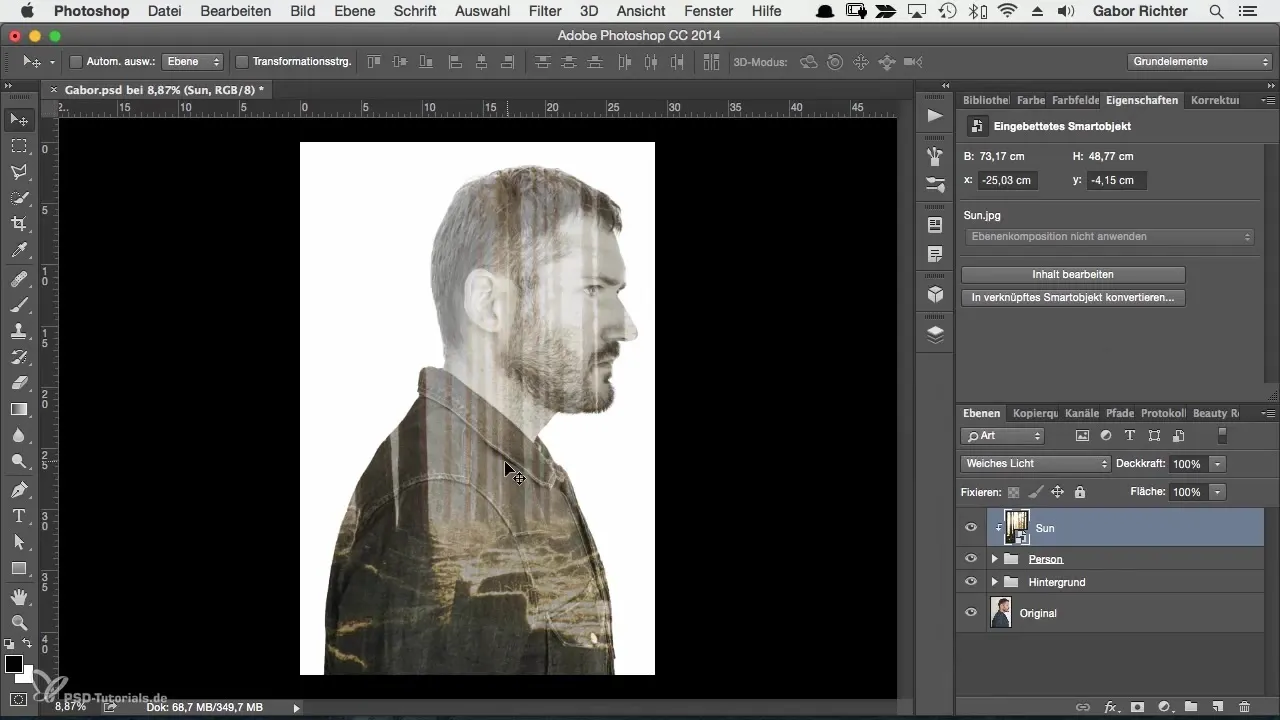
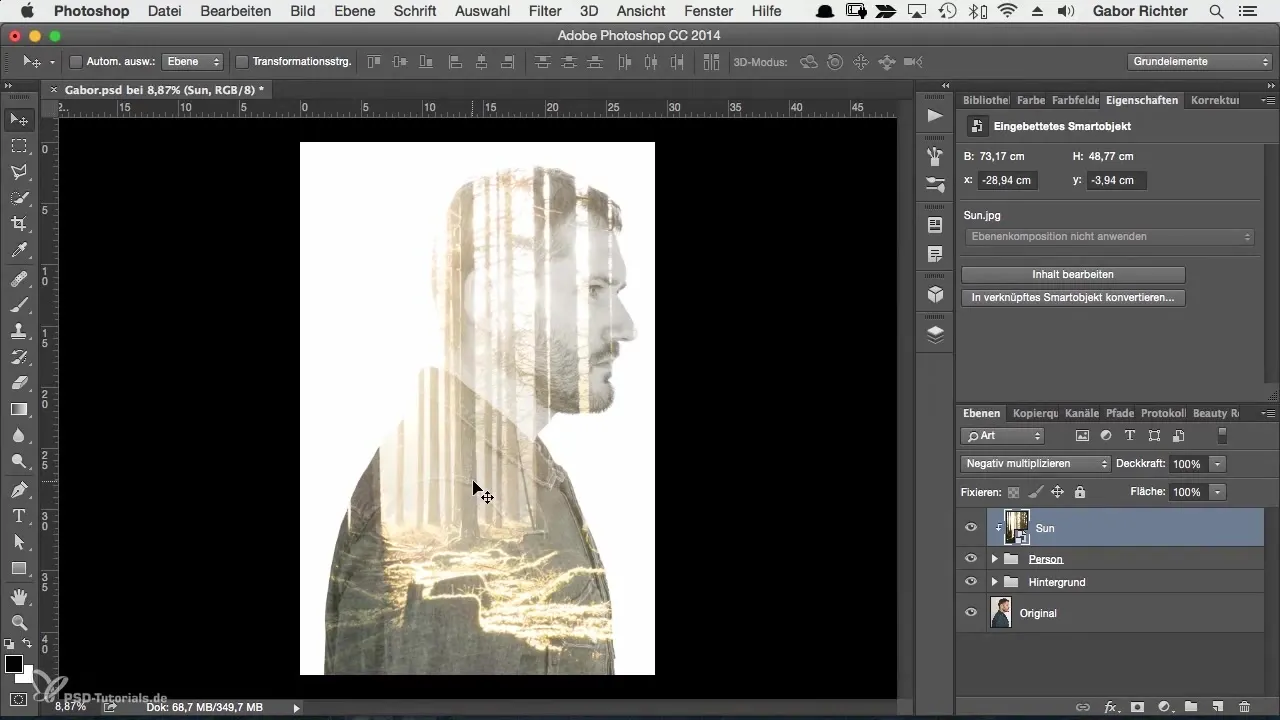
The choice of blending mode affects the colors and overall presentation of your image. If you can't edit the image quickly enough, it's advisable to try other methods like "Multiply" to achieve different looks.
After successfully placing your image, adjust the transparency and layer properties to ensure everything blends well together. Make sure that important details like the character's eyes and face are not blurred into the background.
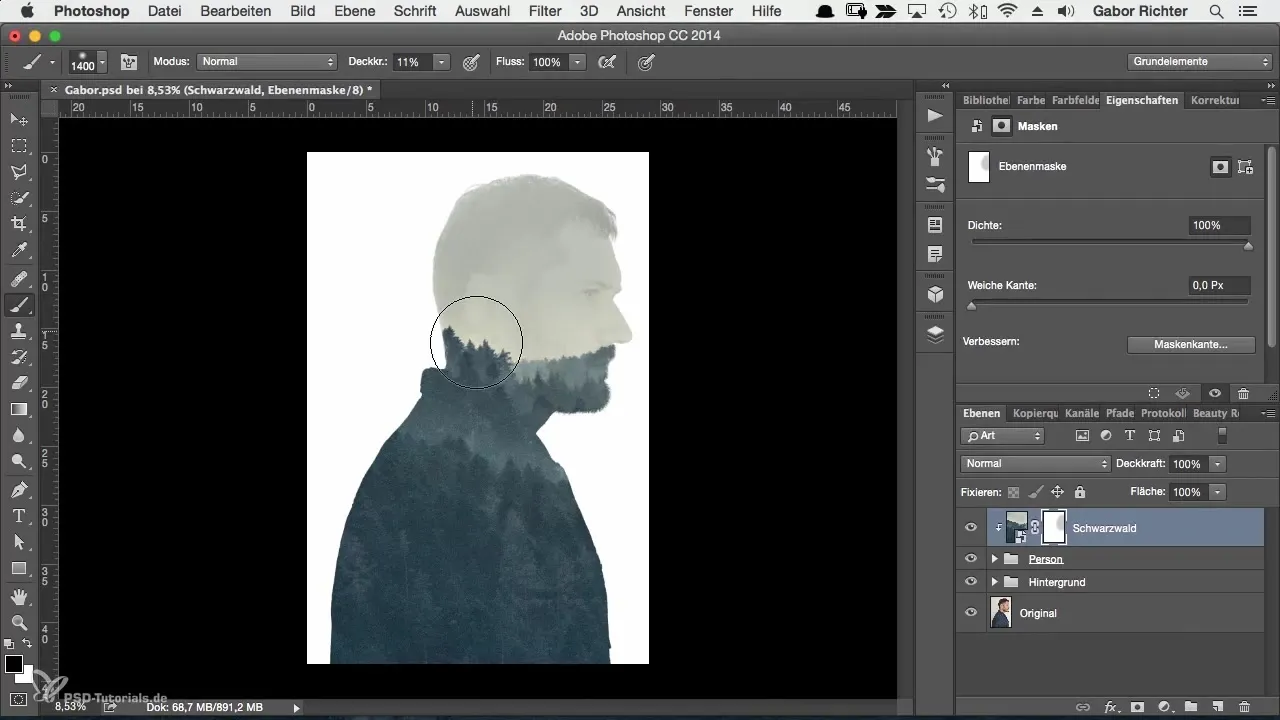
To enhance the naturalness of the image, use a low opacity to make fine details visible without it looking exaggerated. A value of about 10% can be very effective here to ensure that the other properties of the image subtly show through.
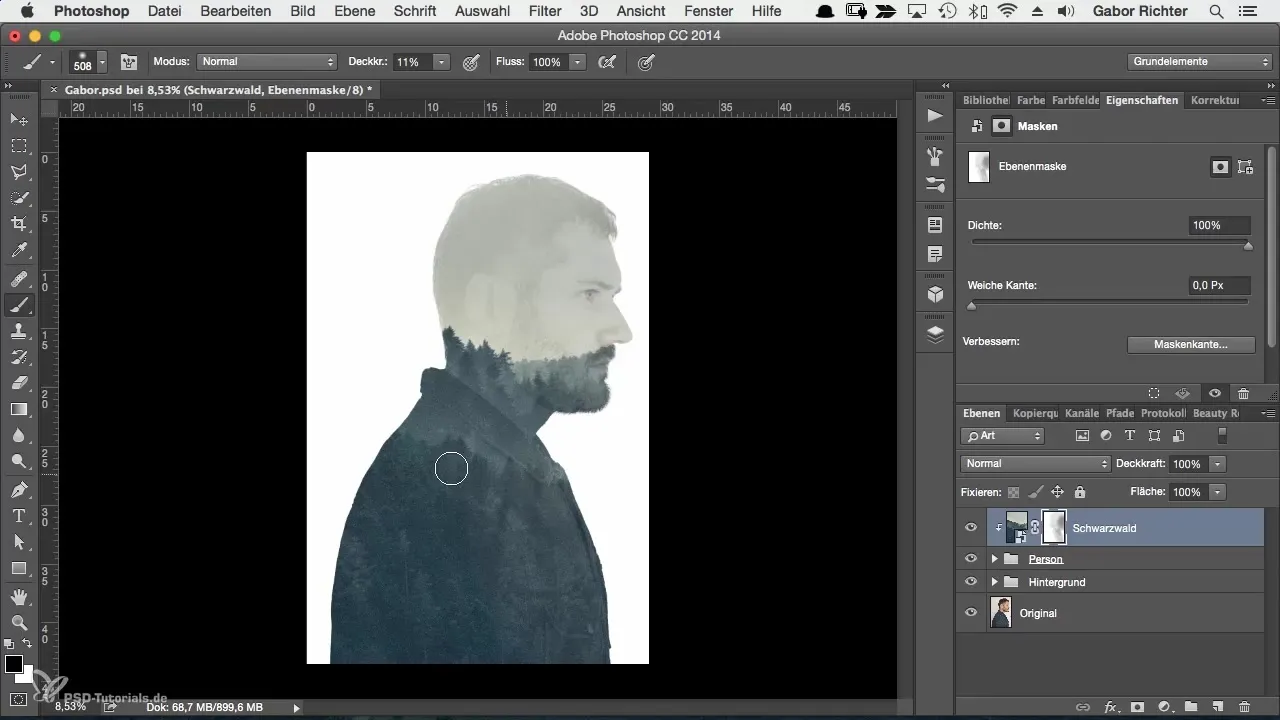
The background should also be reconsidered. Choose a neutral background that doesn't distract from your main subject. Ensure that the contrast is optimized to give more lift to the character and minimize other distractions.
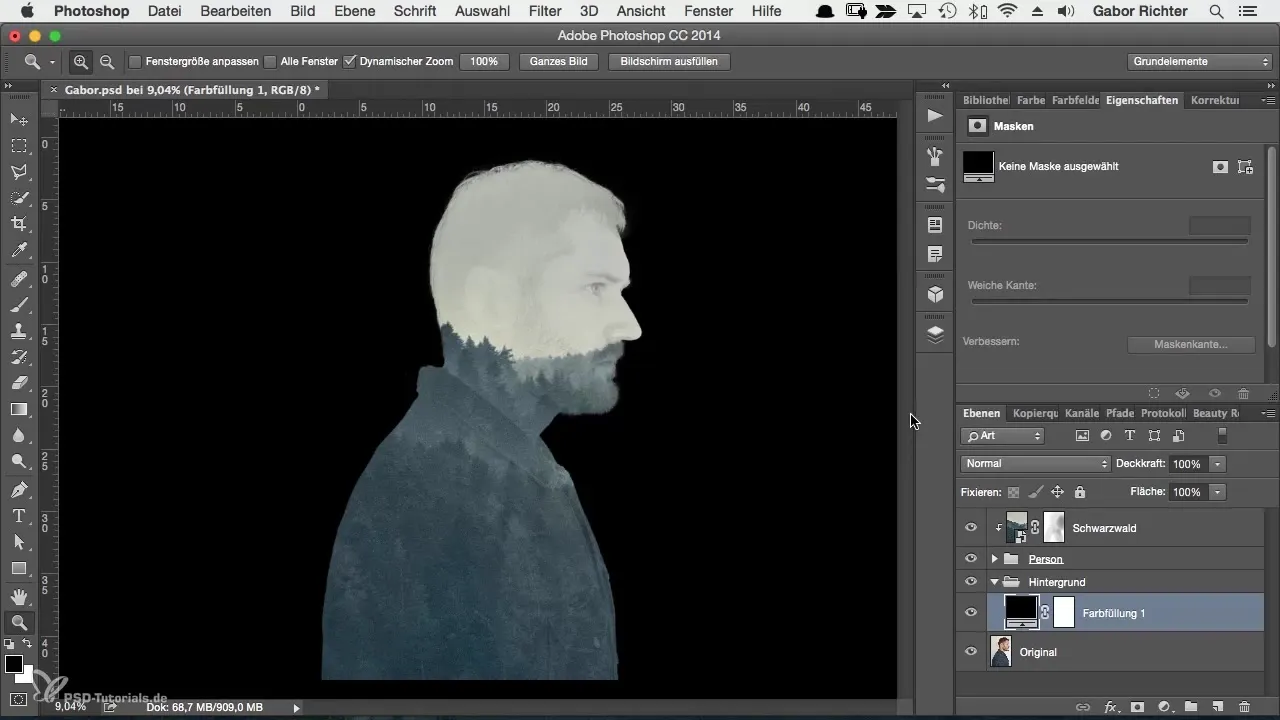
Once you have completed the composition, you can always move your layers and manage the masks to retain and adjust your creative result.
Follow these steps, and you will be able to create creative character portraits that not only reflect your artistic vision but also appear unique and engaging.
Summary
In this guide, you learned how to effectively place and adjust scenarios in Photoshop to create vibrant character portraits. You can apply the knowledge and techniques you've acquired here to a variety of projects.
Frequently Asked Questions
How do I open an image in Photoshop?You can right-click on an image and select "Open with" > "Photoshop".
What is a clipping mask?A clipping mask allows you to adjust an image so that it is only visible within a specific area.
How can I change the image size in Photoshop?Use "Edit", then "Transform", and select "Free Transform". Hold the Shift key to maintain proportions.
Which blending modes should I try?Experiment with "Soft Light", "Multiply", or "Screen" to achieve different visual effects.
How do I choose the best background for my image?Neutral backgrounds like white or gray often provide the best contrasts for your character representation.
