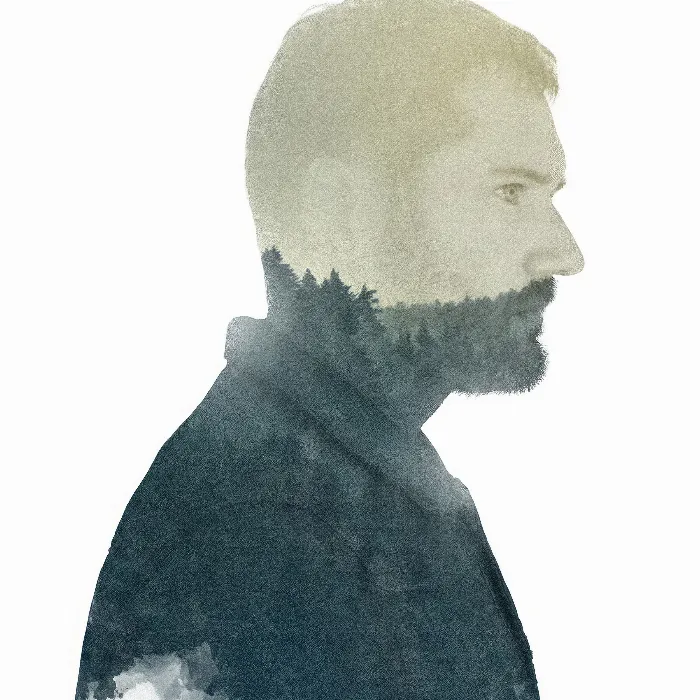
There are numerous ways to enhance a digital portrait. One particularly creative method is the use of special brushes that give your image artistic accents. This can help to avoid an abrupt image crop and create a harmonious connection between the image elements. In this guide, you will learn step by step how to create a dynamic art effect in Photoshop using various brushes.
Key Insights
- Use the cropping tool to optimize your image cutout.
- Work with masks to achieve artistic effects and maintain the image content.
- Experiment with different brush settings and types to personalize the image.
Step-by-Step Guide
Start by opening the image you want to edit. In this example, I will use a portrait where I want to make the lower part of the image more interesting.
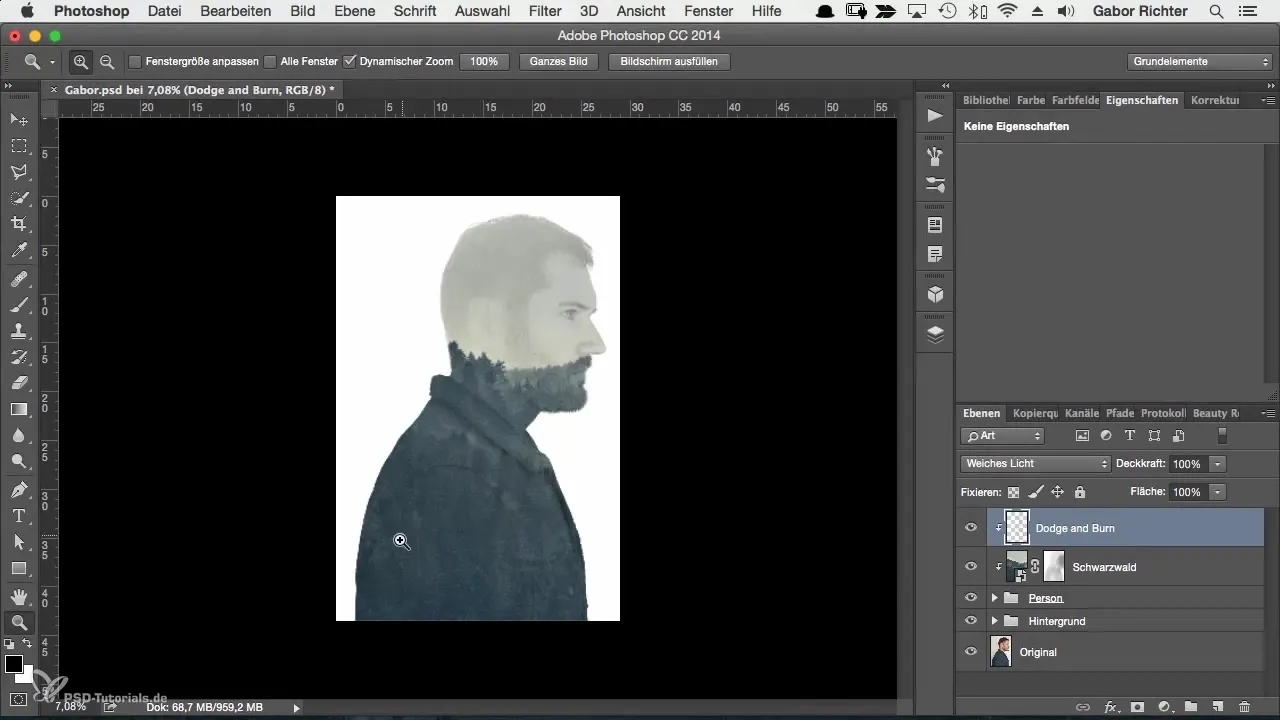
First, you should adjust the image crop. This gives you more control over the composition. Use the cropping tool for this. Make sure the option "Delete pixels outside the crop" is turned off. This prevents important parts of your image from disappearing when you change the crop.
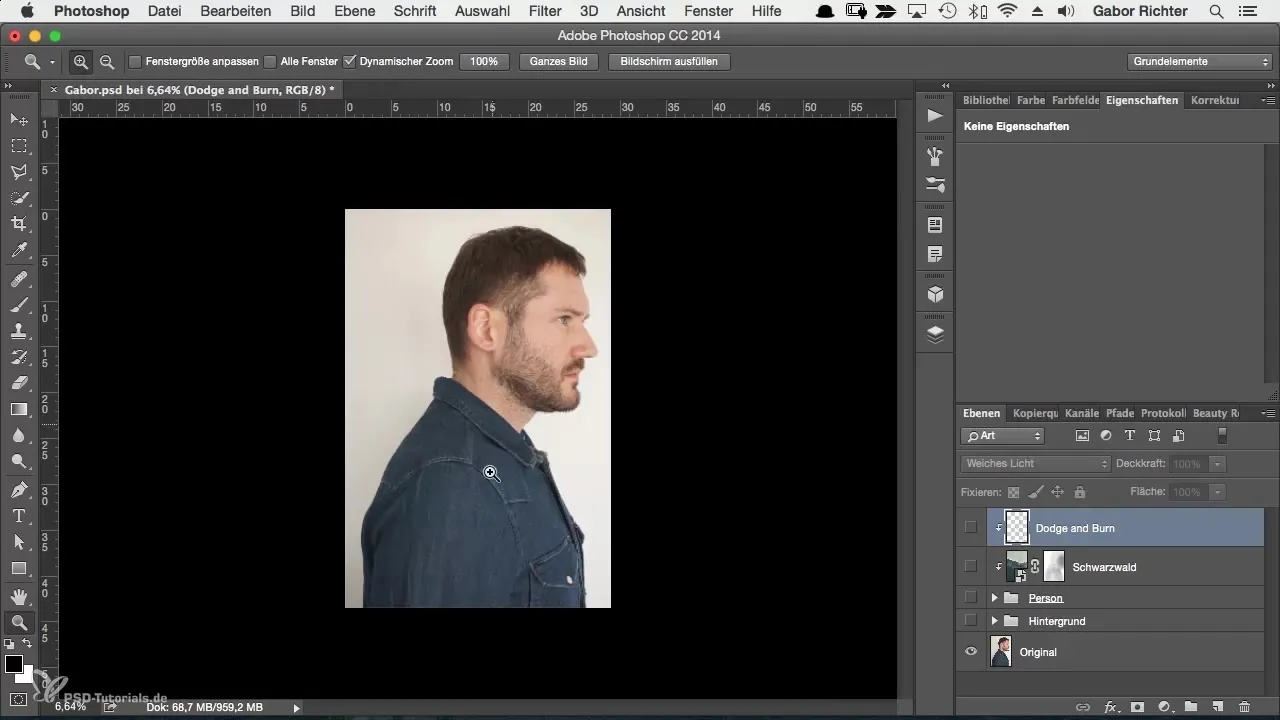
By holding down the Shift key, you can adjust the selection frame proportionally. Position the image so that the person's eyes are in the upper third of the image. This gives the image better balance. Confirm the selection once you are satisfied with the positioning.
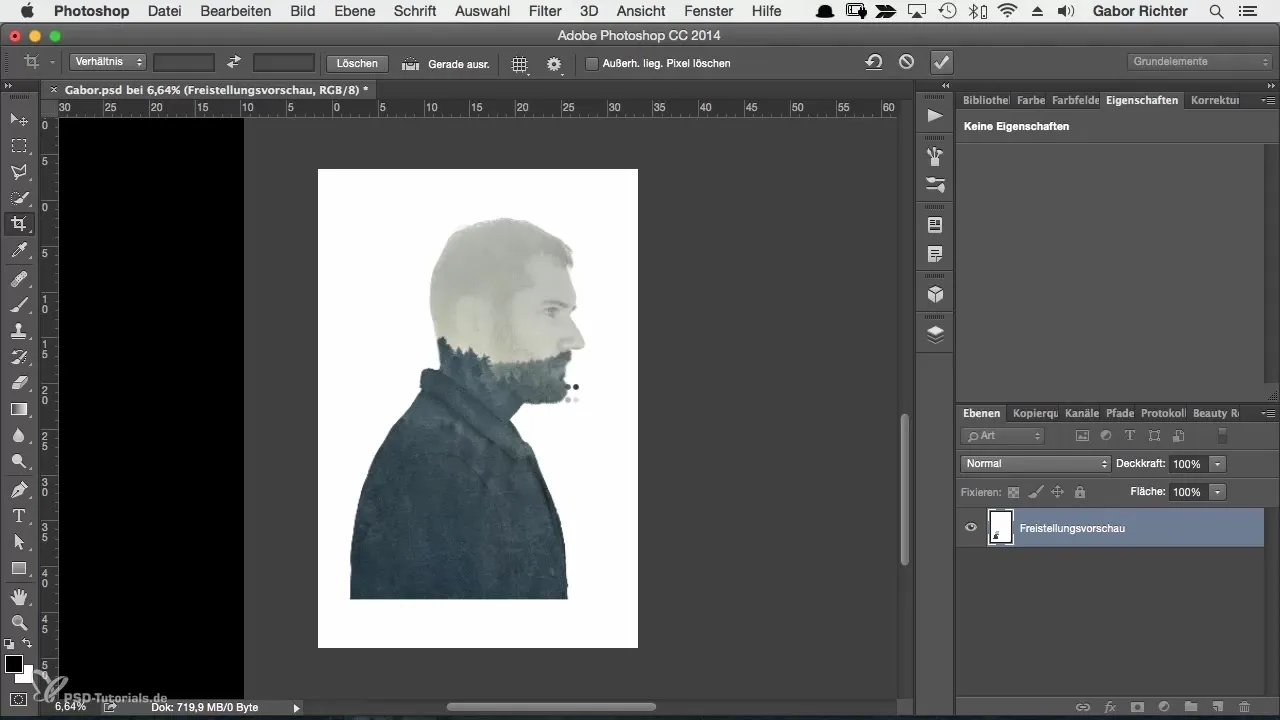
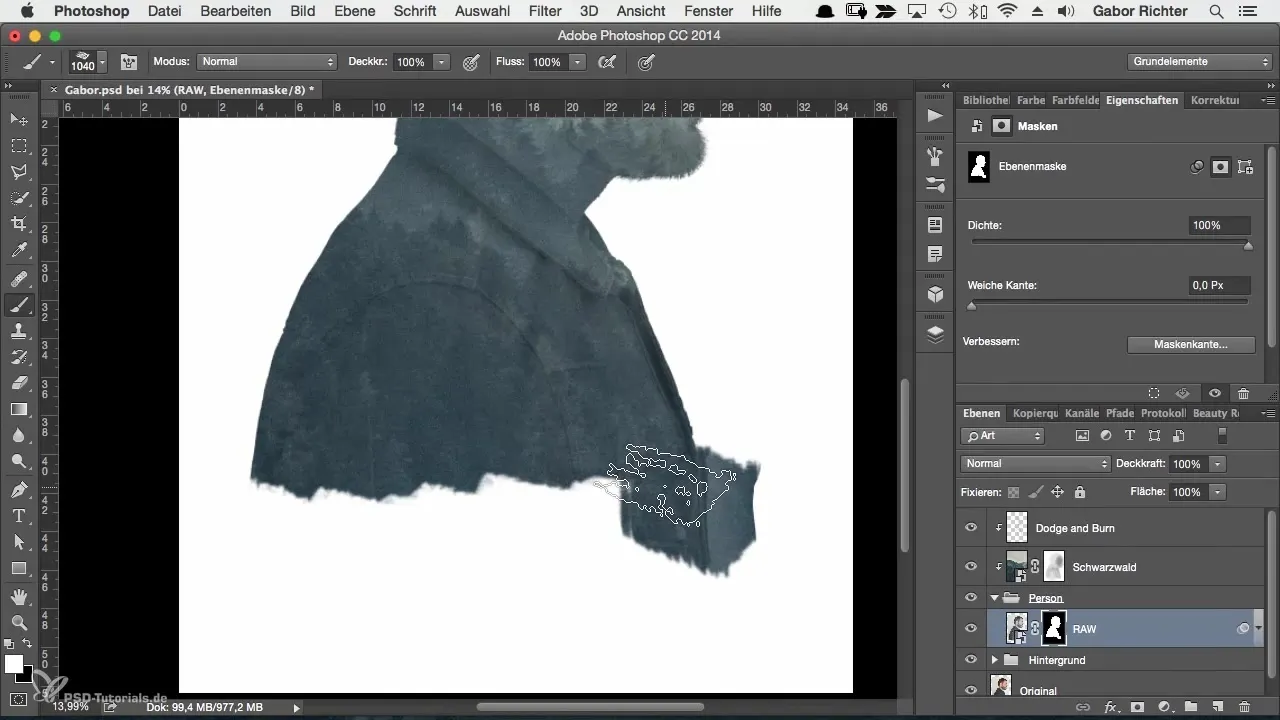
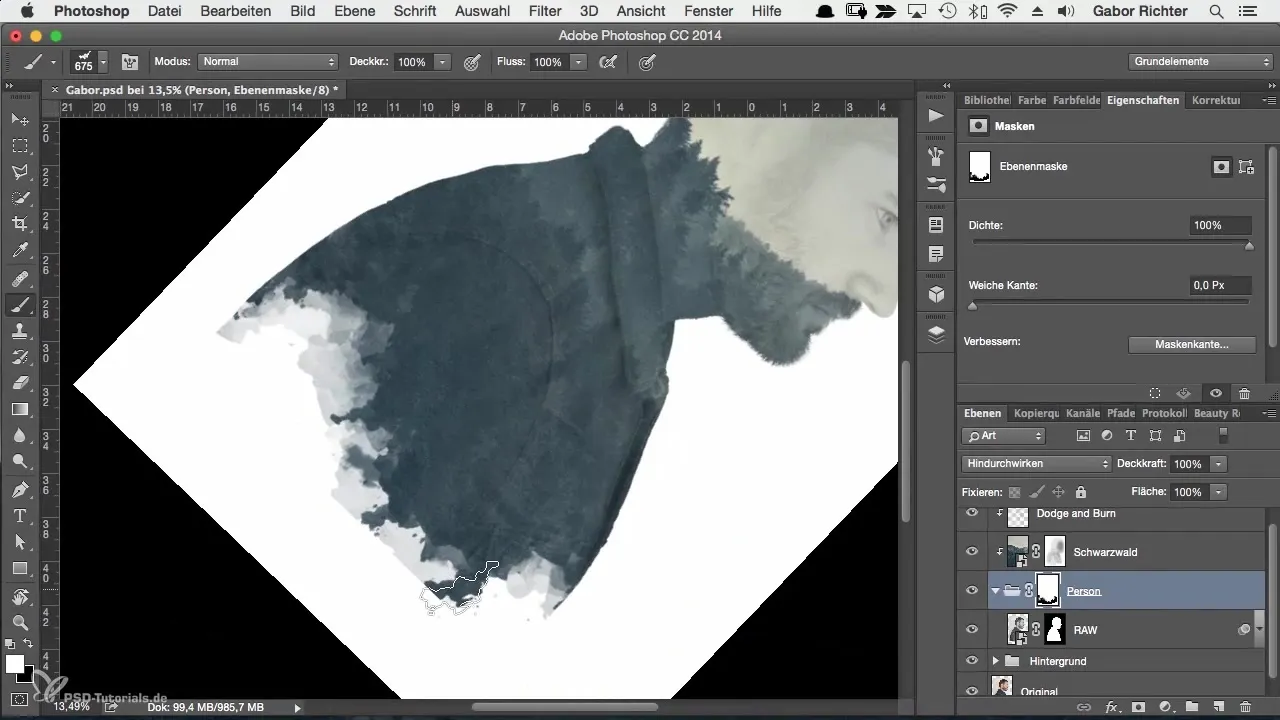
After optimizing the image crop, you can start applying the masking effects. Create a new folder to manage your mask. Choose a brush with 100% opacity and start shading the areas you want to mask. A small stroke with a black brush will remove the unwanted areas.
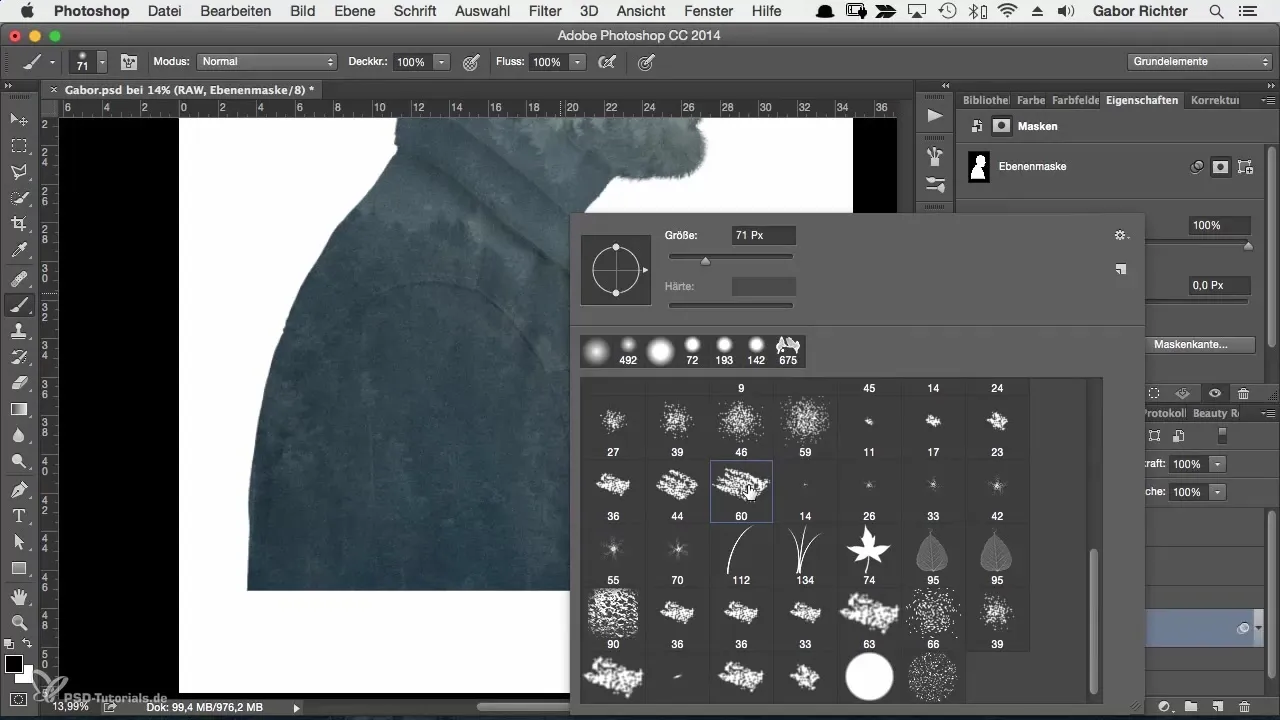
If you have created unwanted masks, simply use the white brush to restore them. Prevent losing the entire cutout by using the undo function.
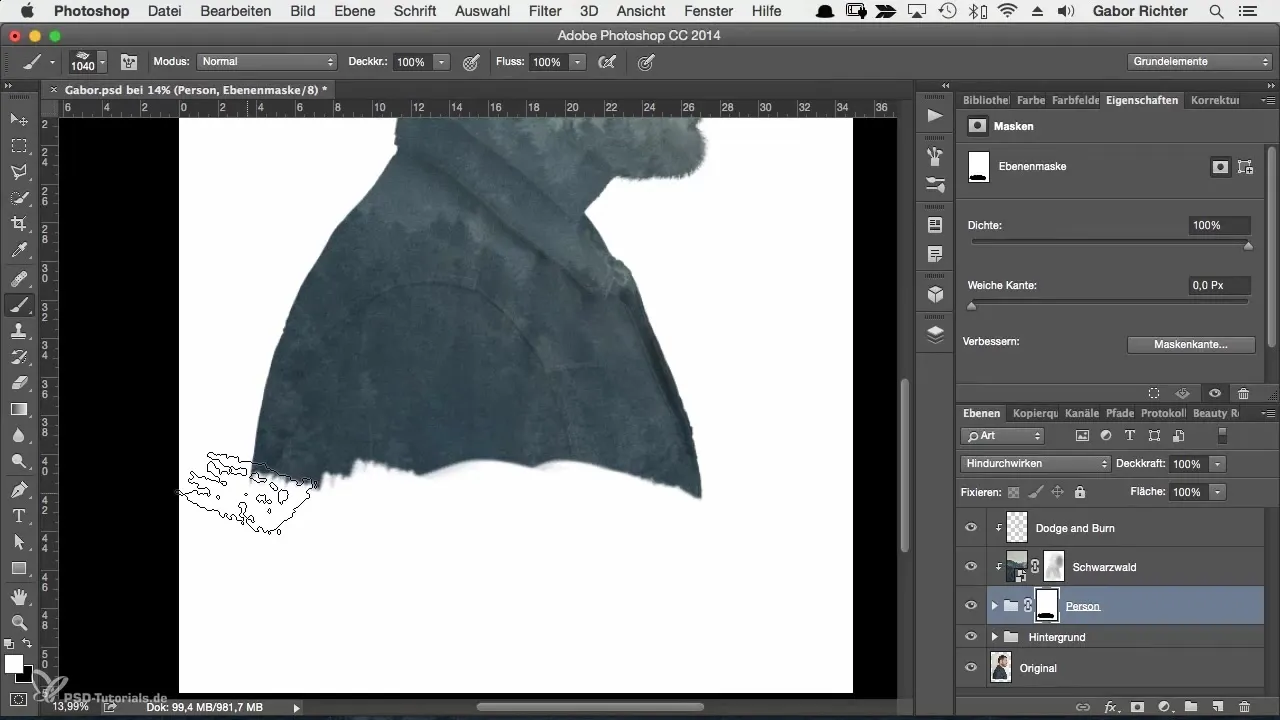
Another effective method is to add an additional mask to the existing mask. This allows you to work creatively with transitions and visibility. Try out different angles and working methods to achieve the desired artistic effect.
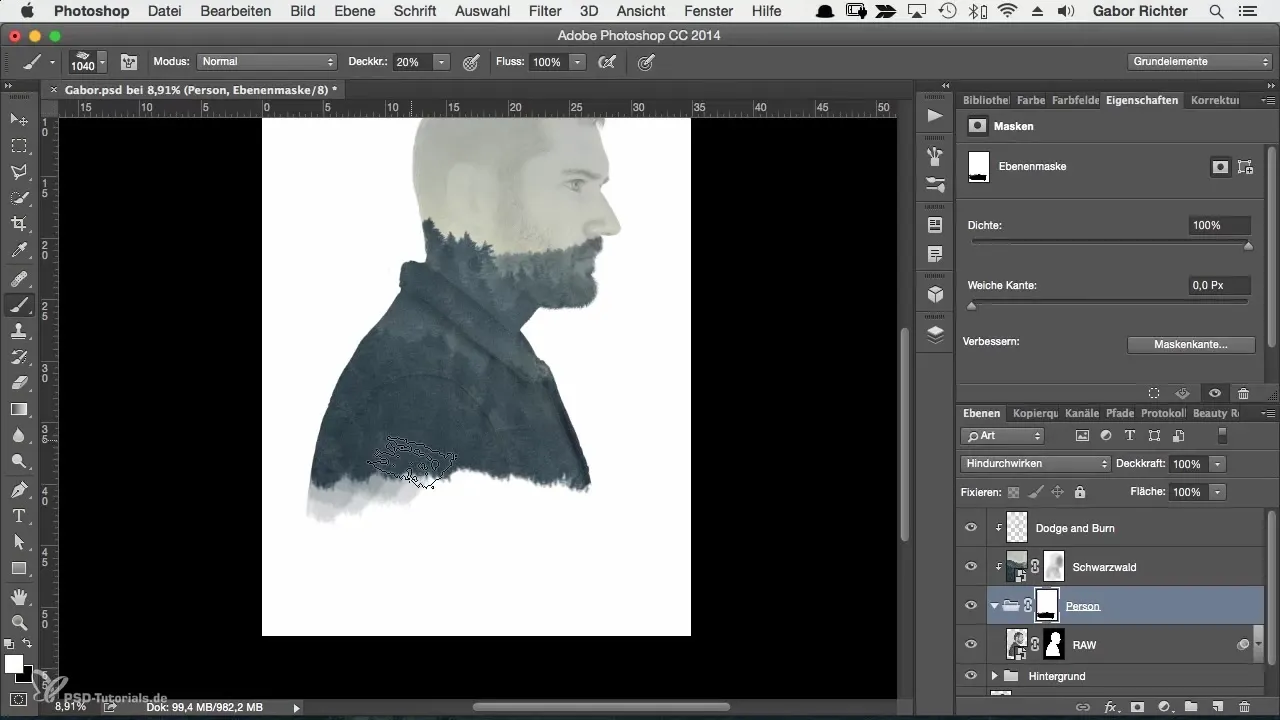
Experimentation is an important part of the creative process. Vary the brush opacity: with 20% opacity, you get softer transitions, while 100% yields bolder results. By applying multiple overlapping layers, the texture of your image improves.
Utilize the extensive brush library in Photoshop. By selecting more specialized brushes that you find on the internet or through the featured advanced settings, you can give your image a unique touch. Many websites offer free brushes suitable for such projects.
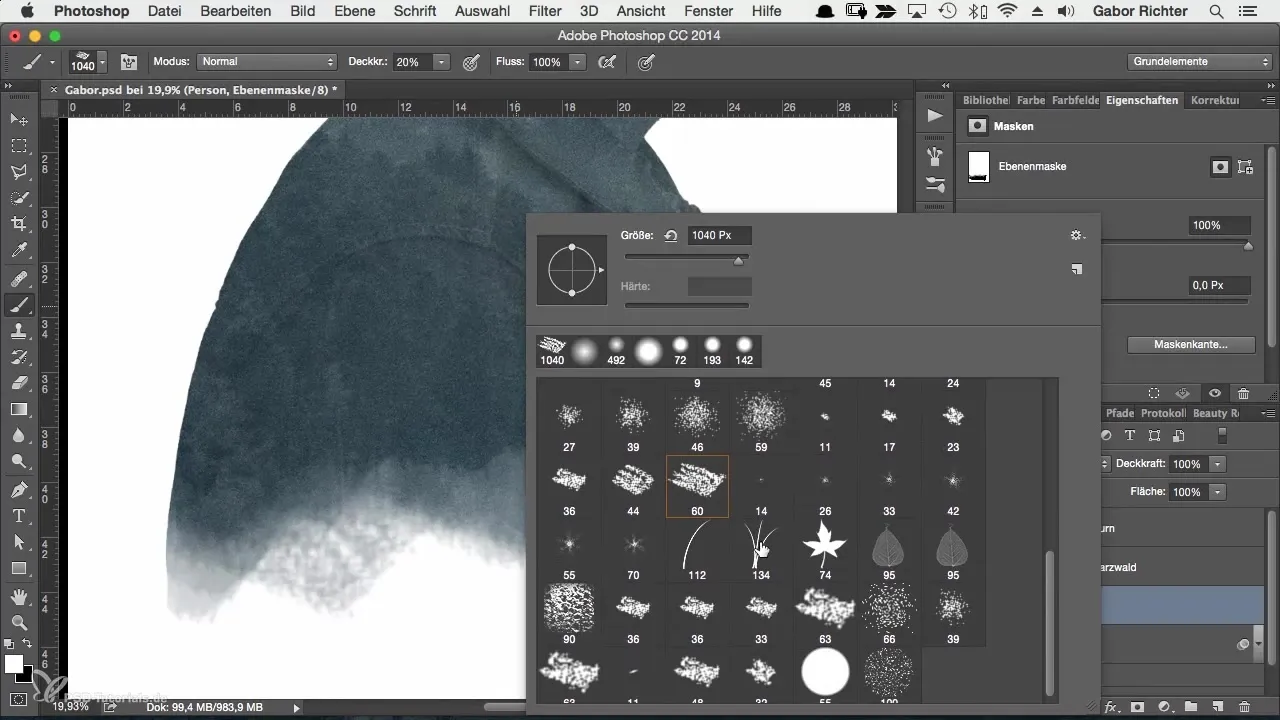
To install your own brushes, go to the brush menu in Photoshop and load them from your downloads folder. Test different brushes and their sizes to see which fits your style best.
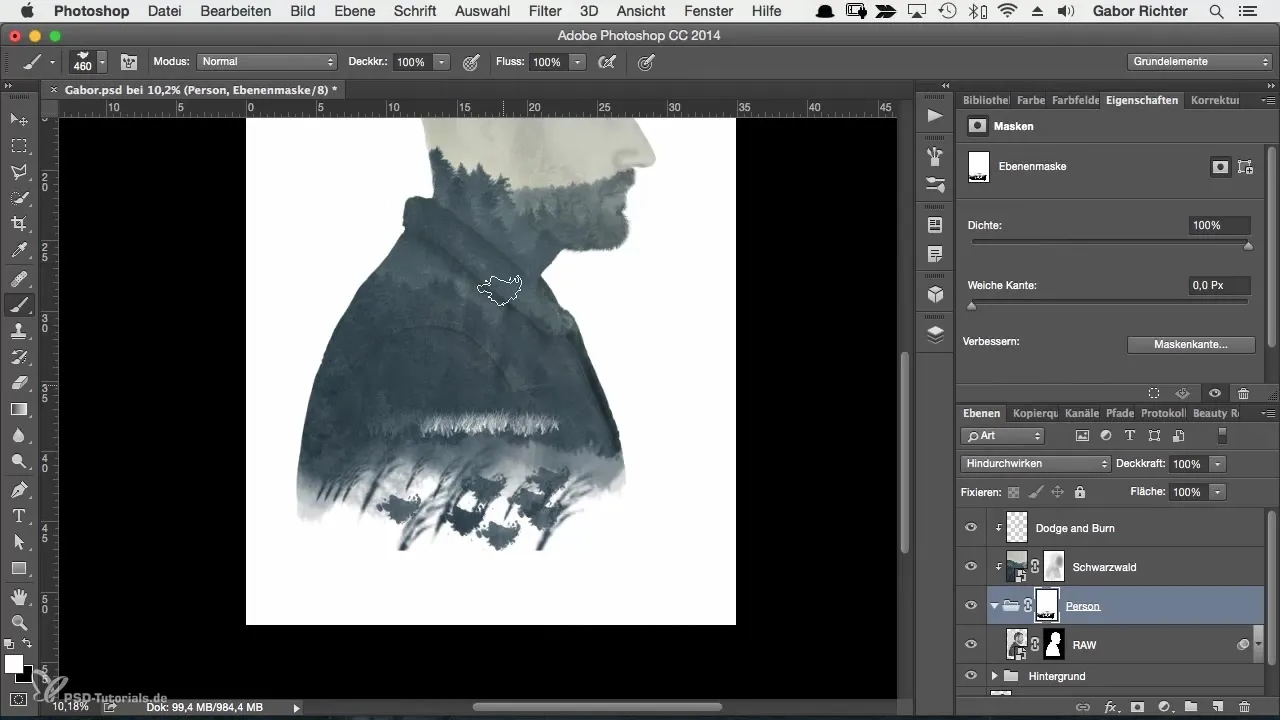
Continue refining the image by setting the brush hardness to 100% and the opacity to about 30%. With this setting, you achieve a dynamic representation while applying the brush effects and covering the areas.
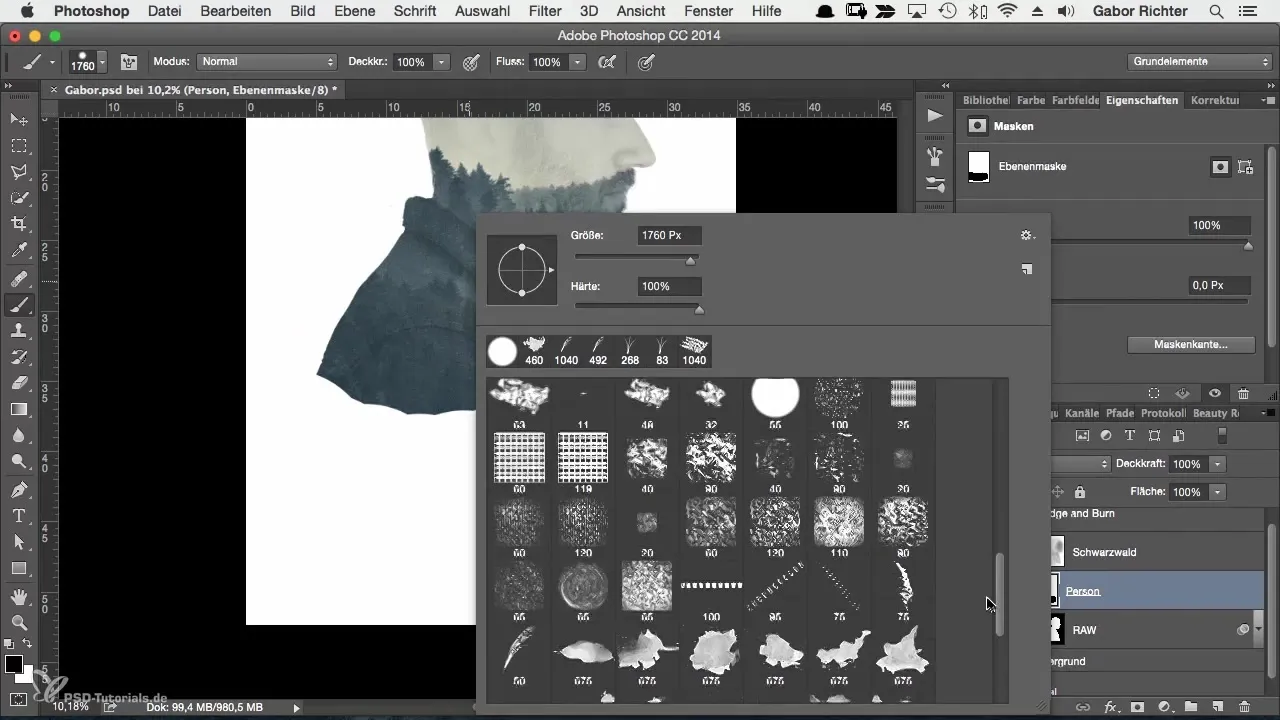
Make sure to frequently review your work by switching between different brush tips. Creative work also involves varying the representation to avoid making the image appear monotonous.
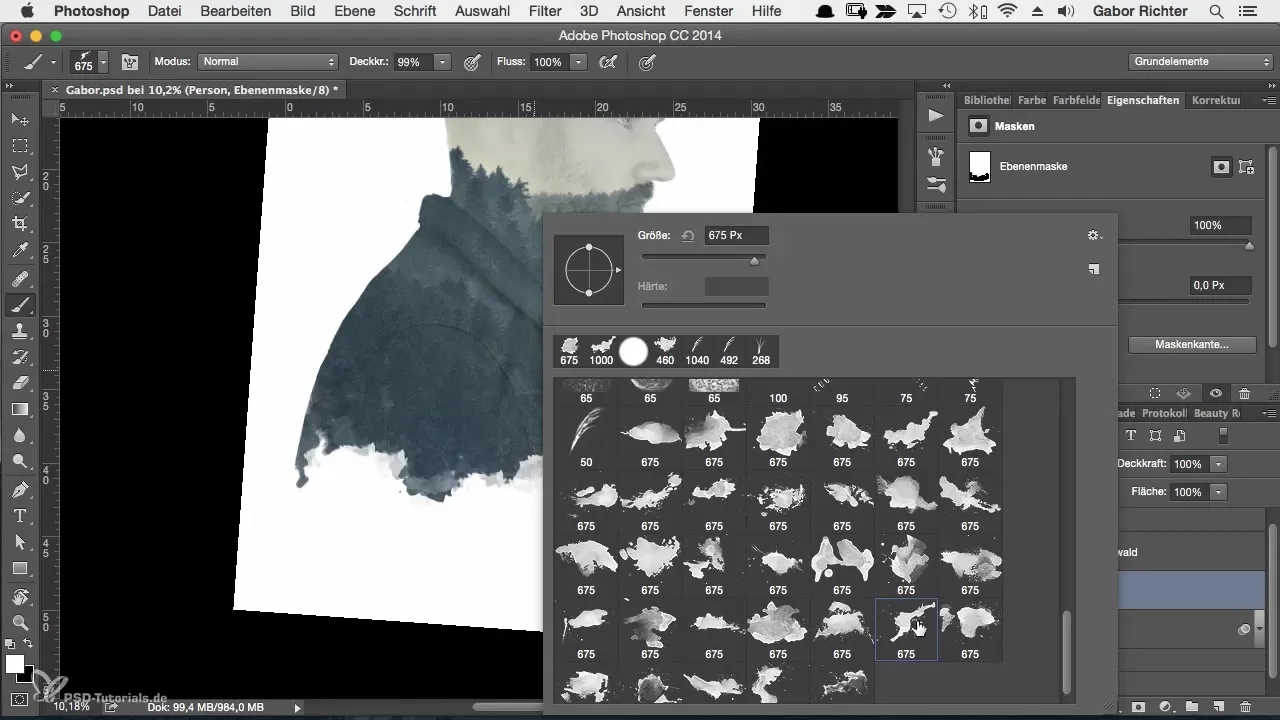
Finally, you can tackle the final fine-tuning to make the result more intense and beautiful. Check the outlines to ensure it looks good from afar. With slight adjustments, you can enhance the presence of colors and round off the overall image harmoniously.
Summary
You have now learned how to work creatively with brushes in Photoshop to create impressive art effects in digital portraits. The process includes adjusting the image crop, targeted masking, and the skillful use of various brush textures. Keep experimenting with the tools to find your individual style!
Frequently Asked Questions
How do I activate the cropping tool?You can find the cropping tool in the left toolbar in Photoshop.
Can I create my own brushes as well?Yes, you can create and customize your own brushes in Photoshop.
Where can I find free brushes for Photoshop?Good sources are websites like dentart.com or other art platforms.
How can I edit a mask?Click on the mask in the layers panel and use a black or white brush to remove or restore areas.
Why should I vary the opacity?By varying the opacity, you achieve more interesting, organic textures and transitions in your image.
