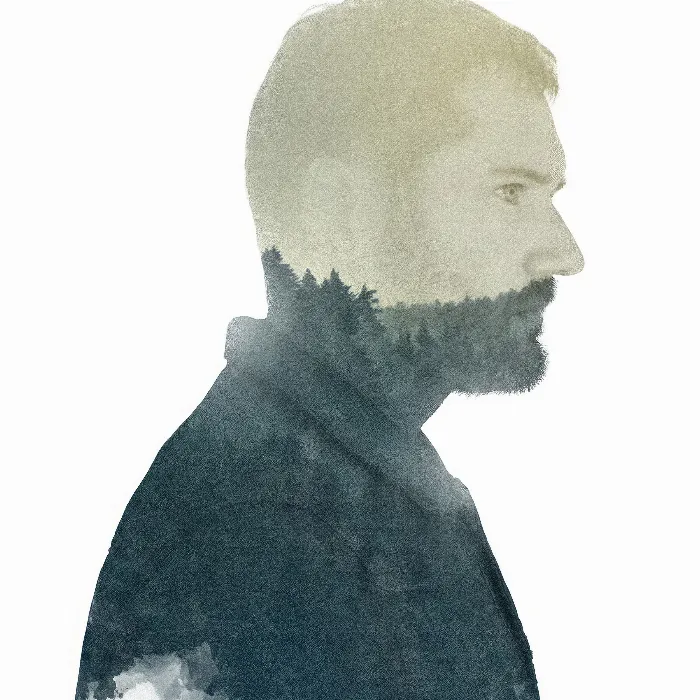
Light is a crucial element in photography and image editing. It has the power to evoke emotions and make images appear alive. In this tutorial, you will learn how to add light points in Photoshop using simple means to give your character portrait more depth and life. You will focus on a subtle overexposure that gives your image that certain extra. Let's dive right in.
Key Insights
- By adding light points, you can intensify the emotions in your image.
- A new layer for light spots is necessary to avoid cluttering the original image.
- Choose the right brush size and settings to achieve a soft light effect.
- The positioning and opacity of the light spots are crucial for the final result.
Step-by-Step Guide
1. Create a New Layer for Light Spots
To add a fresh light effect, start by creating a new layer. This is crucial as it allows you to make changes without affecting the original image.
2. Select and Adjust the Brush
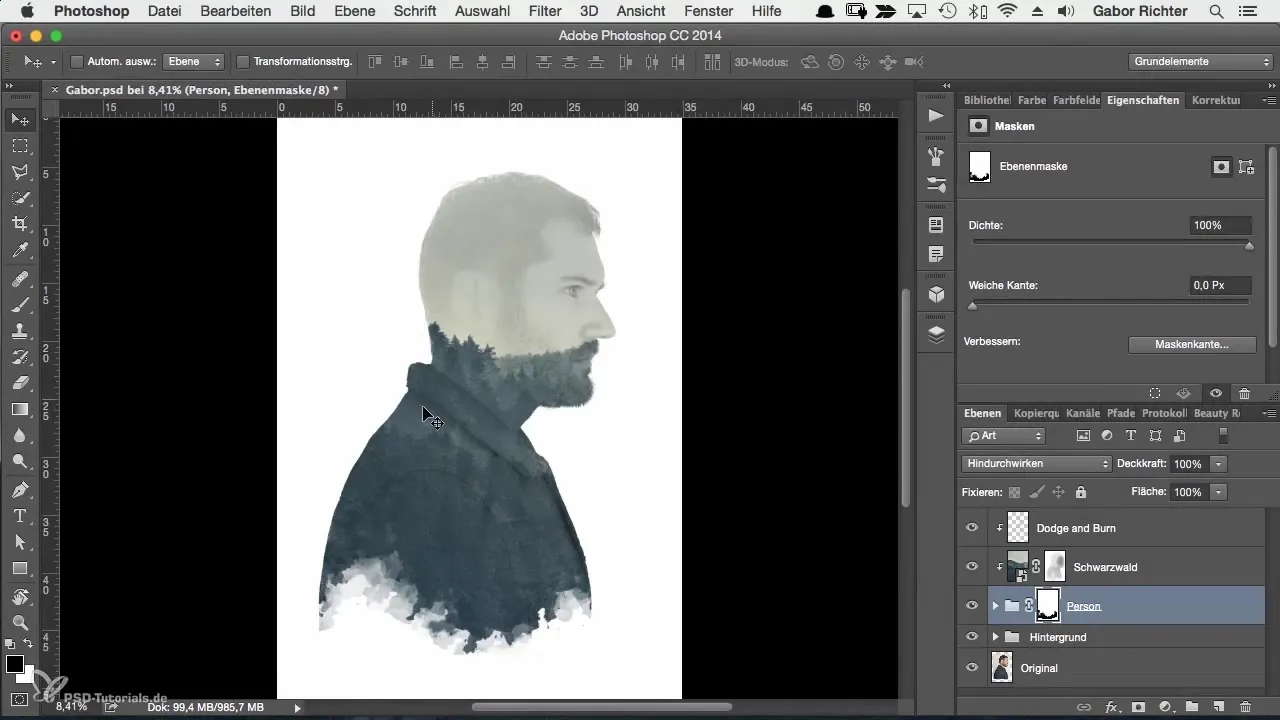
Select a soft brush from the brush library. Make sure the hardness is set to 0% to allow for a smooth transition. The size can start at 350 pixels to achieve a sufficient light effect. Set the opacity to 100% to emphasize the light spot more clearly.
3. Place the First Light Spot
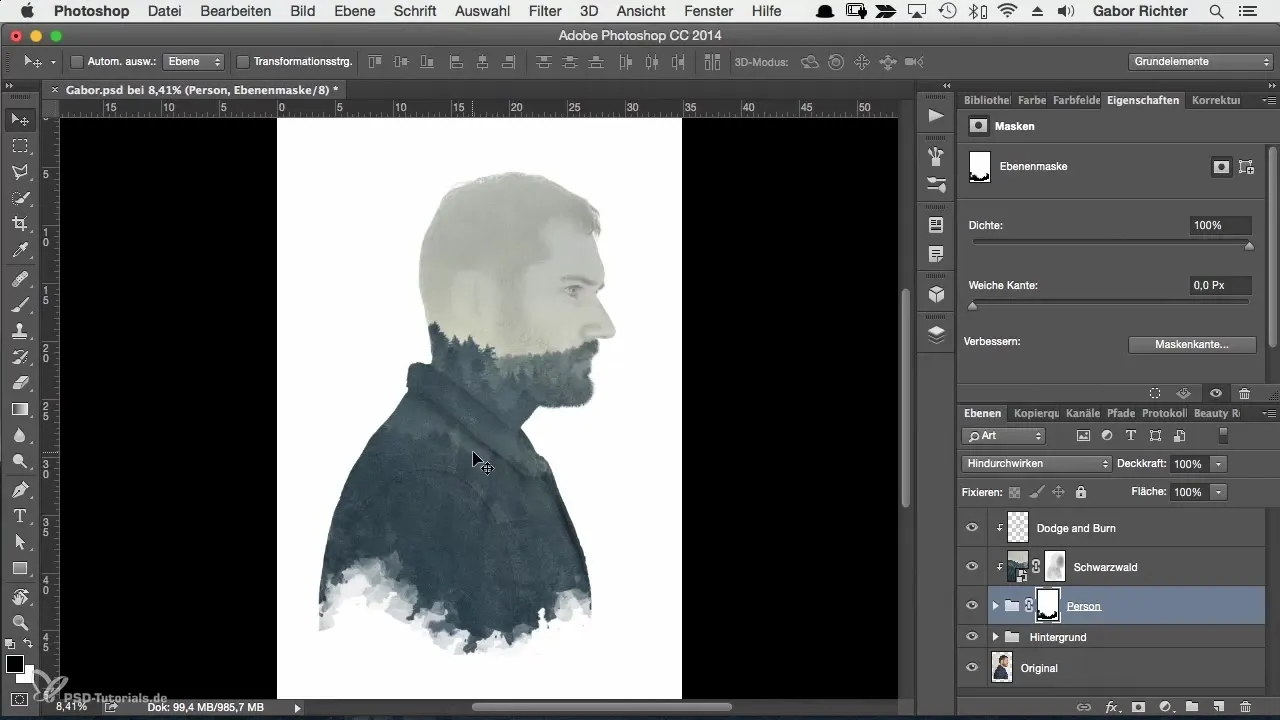
Choose a white foreground color and paint a dot at the desired location – for example, on the neck of your model. This immediately creates a subtle, light shine that makes the image appear more vibrant.
4. Transform the Light Spot
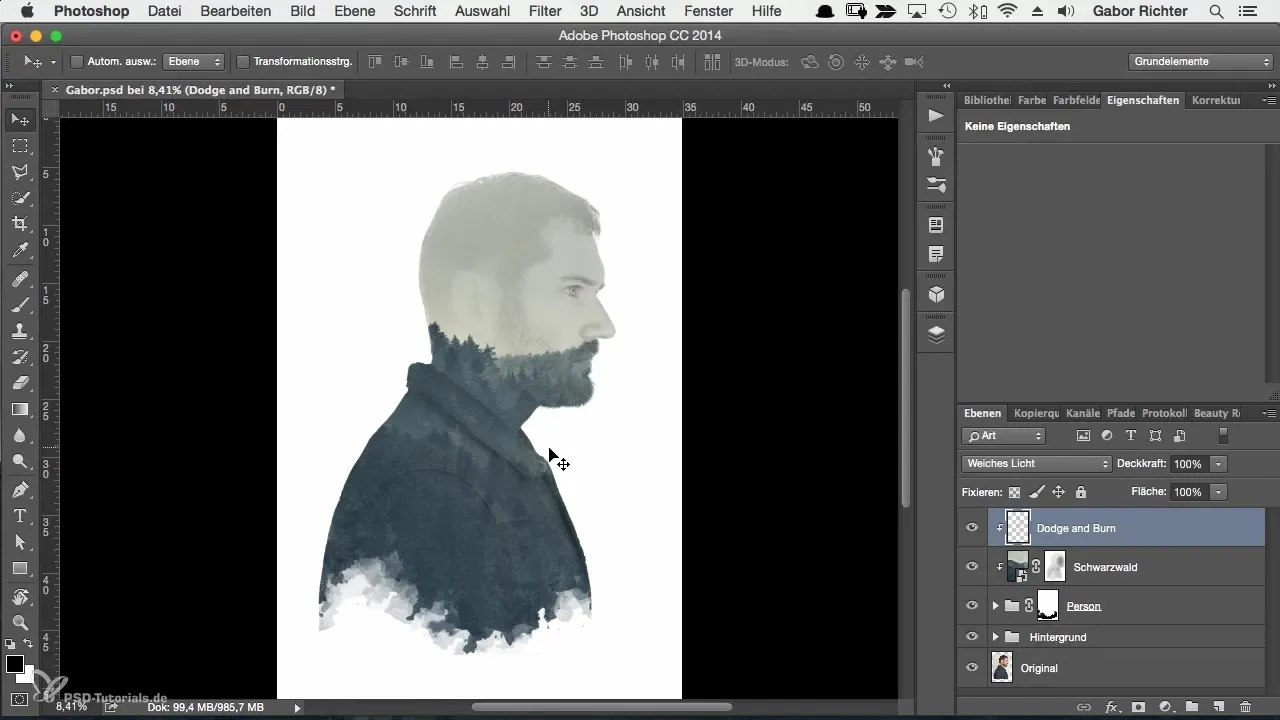
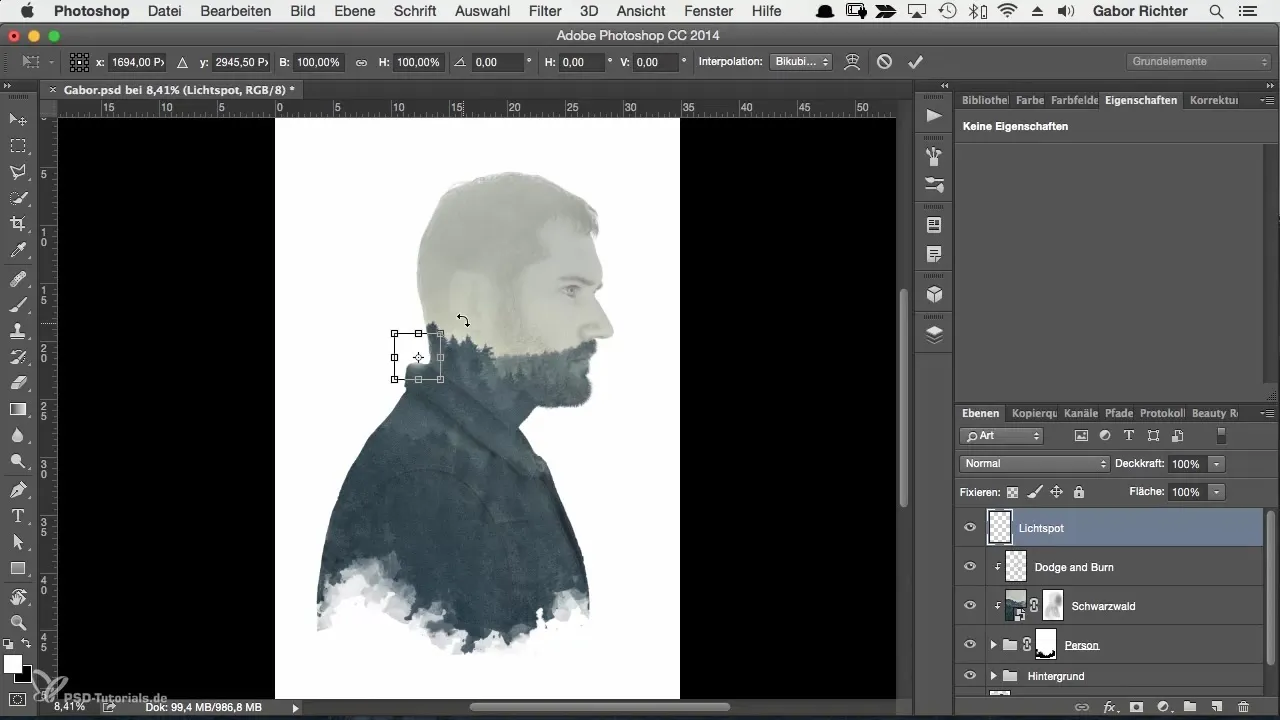
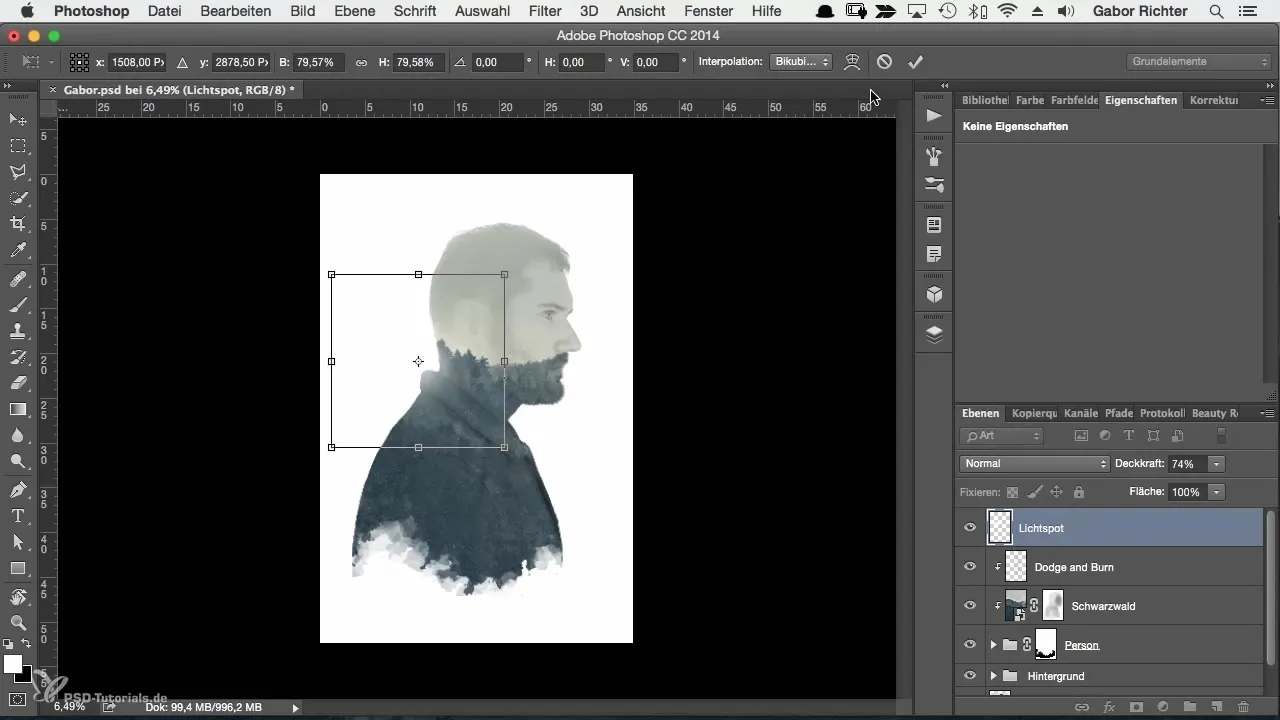
To adjust the size of the light spot, use the transformation commands. Hold down the Alt and Shift keys while scaling the spot to the desired size. This ensures that the light spot remains proportionate.
5. Adjust the Opacity of the First Light Spot
Once the light spot is in the right place, you can reduce the opacity. An opacity of 60-80% makes the light spot appear more natural. Experiment with these values until you find the perfect balance.
6. Add the Second Light Spot
Repeat the steps by going to a new empty layer. Create another light spot, for example, on the other side of the face. Here too, you should adjust the opacity to achieve a balanced image.
7. Group the Light Spots
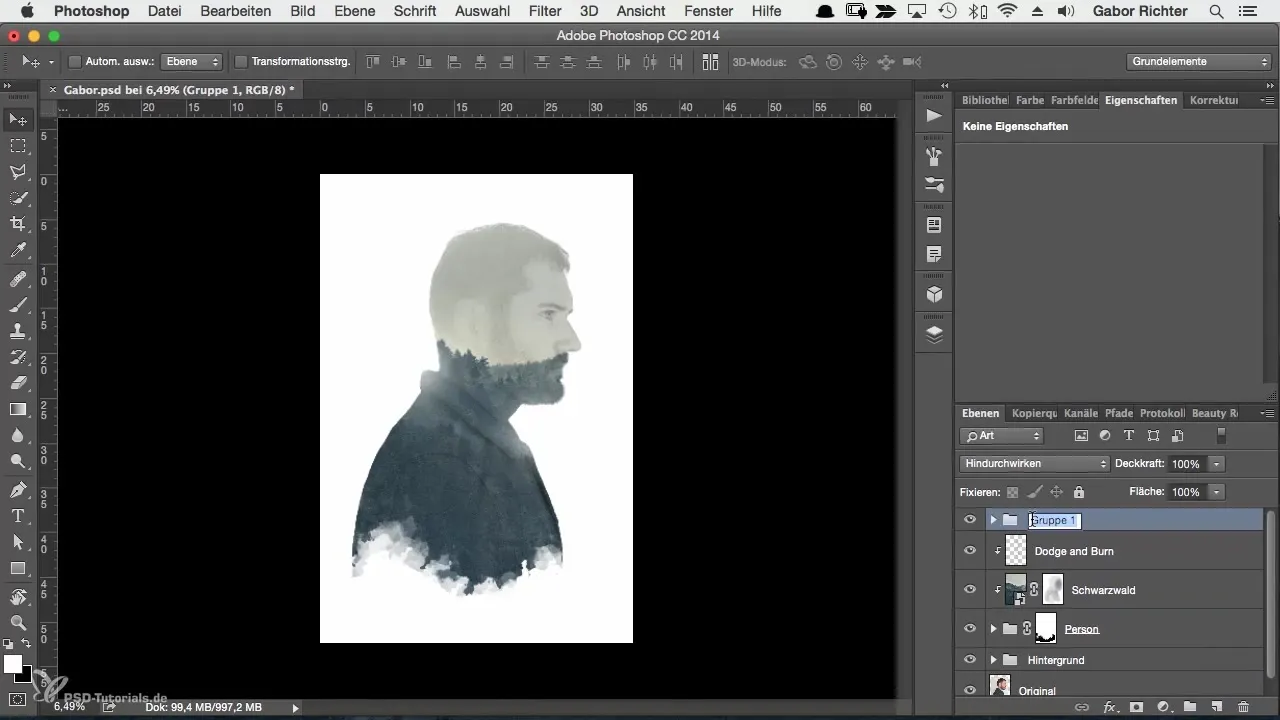
To increase organization in your project, I recommend grouping the light spots together. Name the group something like "Light Spots." This will provide more clarity and facilitate later adjustments.
8. Make Additional Creative Adjustments
If you would like, you can get creative and add additional light spots, for example, at the hairline or on the eyes. However, be careful that these spots do not appear overwhelming. Sometimes less is more.
9. Close and Finalize Groups
Once you are satisfied with the arrangement and the number of light spots, close the group. Now you can see whether the light spots harmonize well together and whether the image radiates the desired liveliness.
Summary
In this tutorial, you learned how to enhance the vibrant appearance of your character portrait by adding light points. You learned how to create a new layer, how to adjust the brush, as well as the importance of positioning and opacity. With these techniques, you can give your image more life and emotion.
Frequently Asked Questions
How can I change the size of the light spot?Hold the Alt and Shift keys and transform the light spot to the desired size.
What should I do if the light spots are too intense?Reduce the opacity of the light spot to achieve a more subtle effect.
Can I add multiple light spots?Yes, you can add as many light spots as you want. Just make sure the image does not appear cluttered.
What is the advantage of creating light spots on a new layer?You can make adjustments at any time without affecting the original image.
