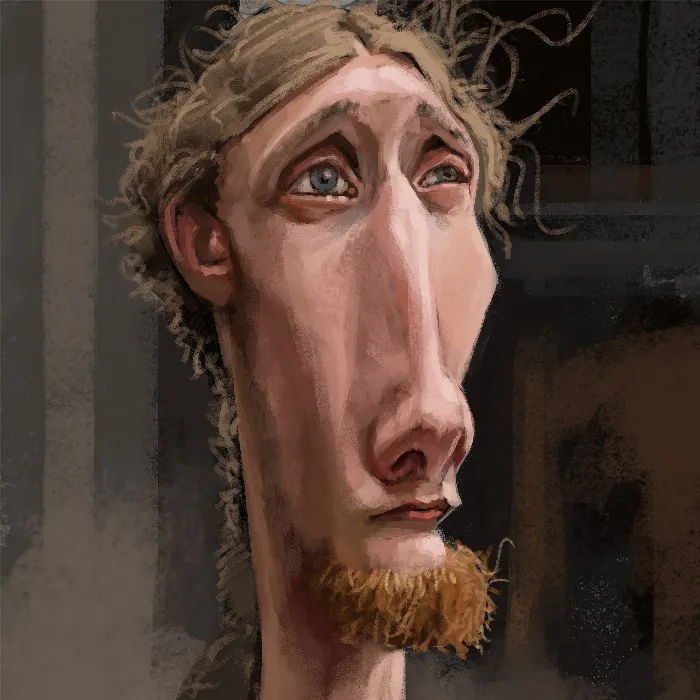
If you are faced with the challenge of drawing a head or a portrait, it is crucial to understand the basic anatomy. The structure of the face and its proportions are essential for a successful work. This guide will take you through the various aspects you should consider when drawing a head and provide you with valuable techniques to improve your portraits.
Key insights
- The rule of thirds helps you place the proportions of the face correctly.
- The starting point for drawing is usually the eye sockets, not the eyes themselves.
- Different shapes in the face, like nose and cheekbones, are essential for the structure.
- Pay attention to the individual anatomy of each person, as proportions can vary.
Step-by-Step Guide
Before you start drawing, you should clear your mind and think about an image of your model. In the following steps, I will address the most important aspects of facial drawing.
1. Basic shape and rule of thirds
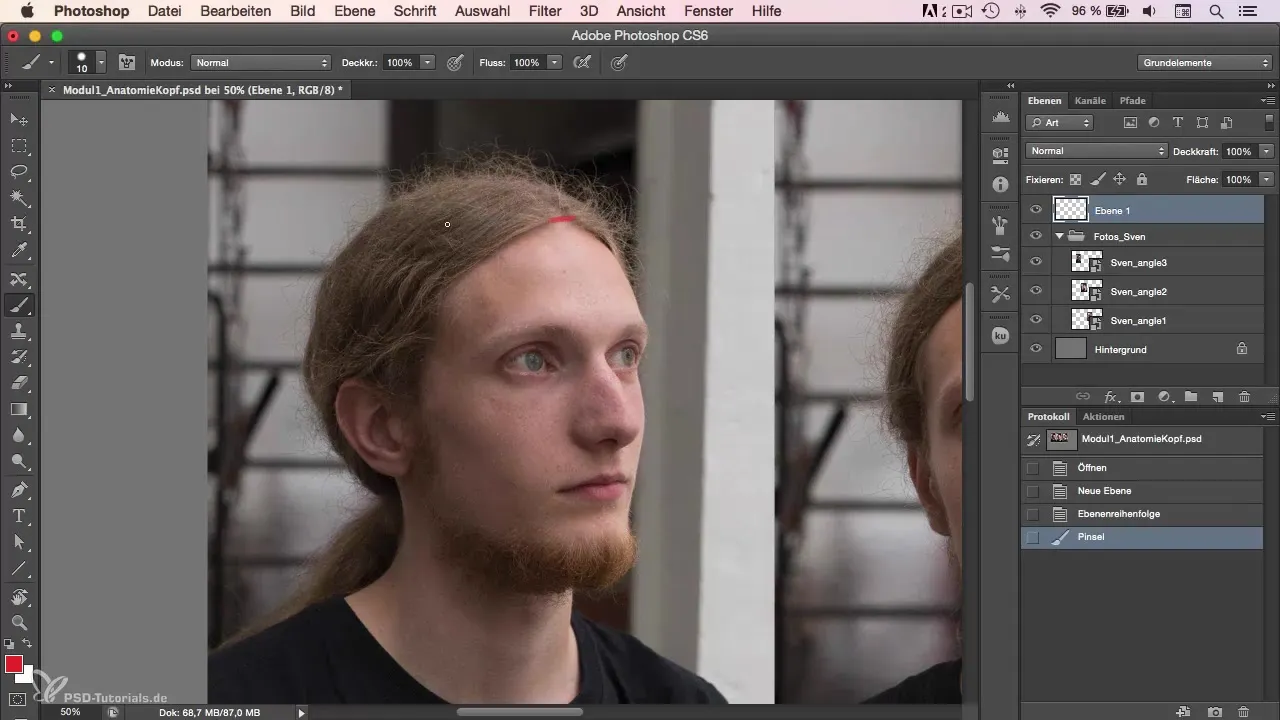
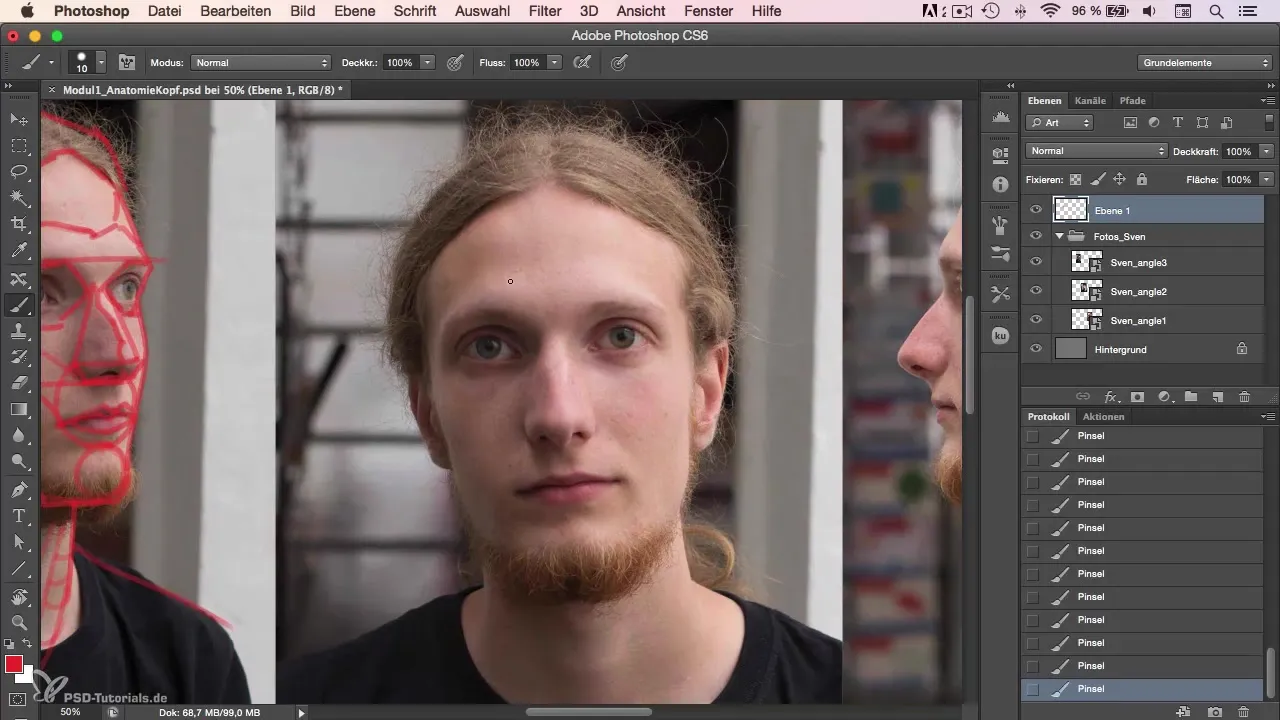
Start by working with the so-called rule of thirds for the face. Draw a vertical line and divide the area into three equal parts. The first part extends from the hairline to the eyebrows, the second part from the eyebrows to the tip of the nose, and the last part to the chin. This division helps you position the eyes and ears correctly.
2. Finding the contours
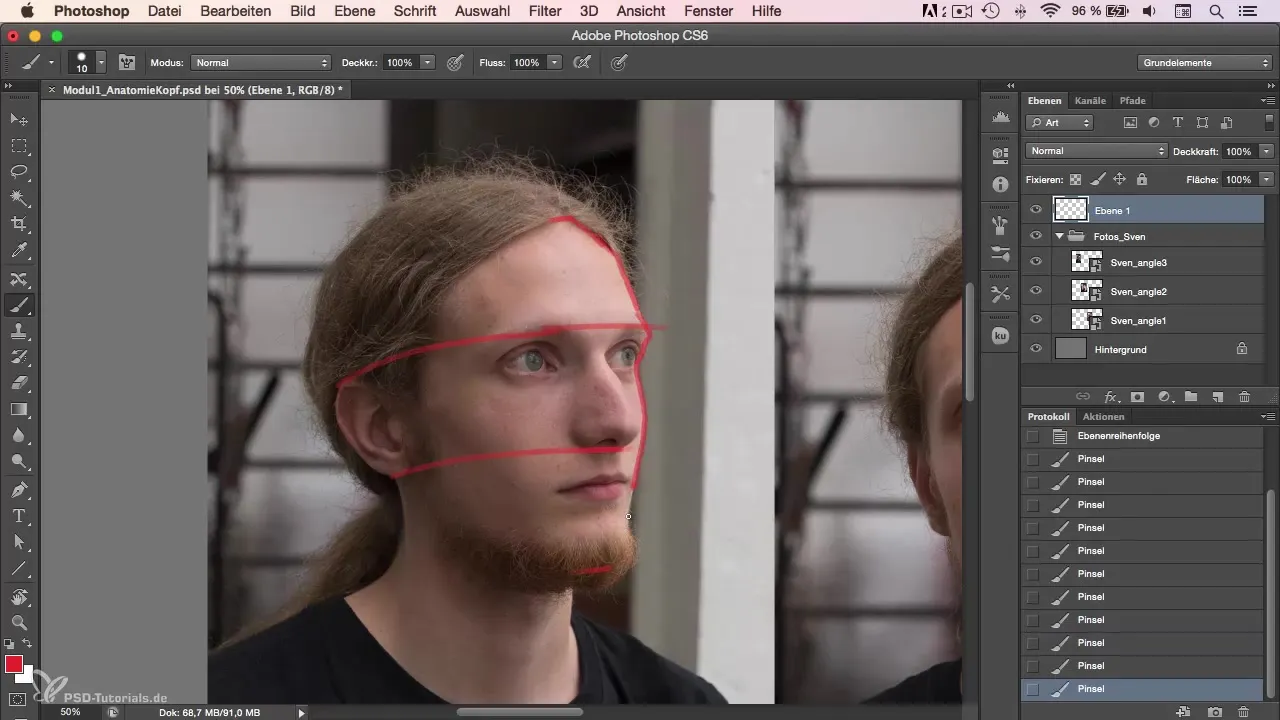
After you have created the thirds, you can roughly sketch the facial contours. These shapes should be more simplified and not too detailed as it allows you to capture the overall structure of the face.
3. Eye sockets and nose shape
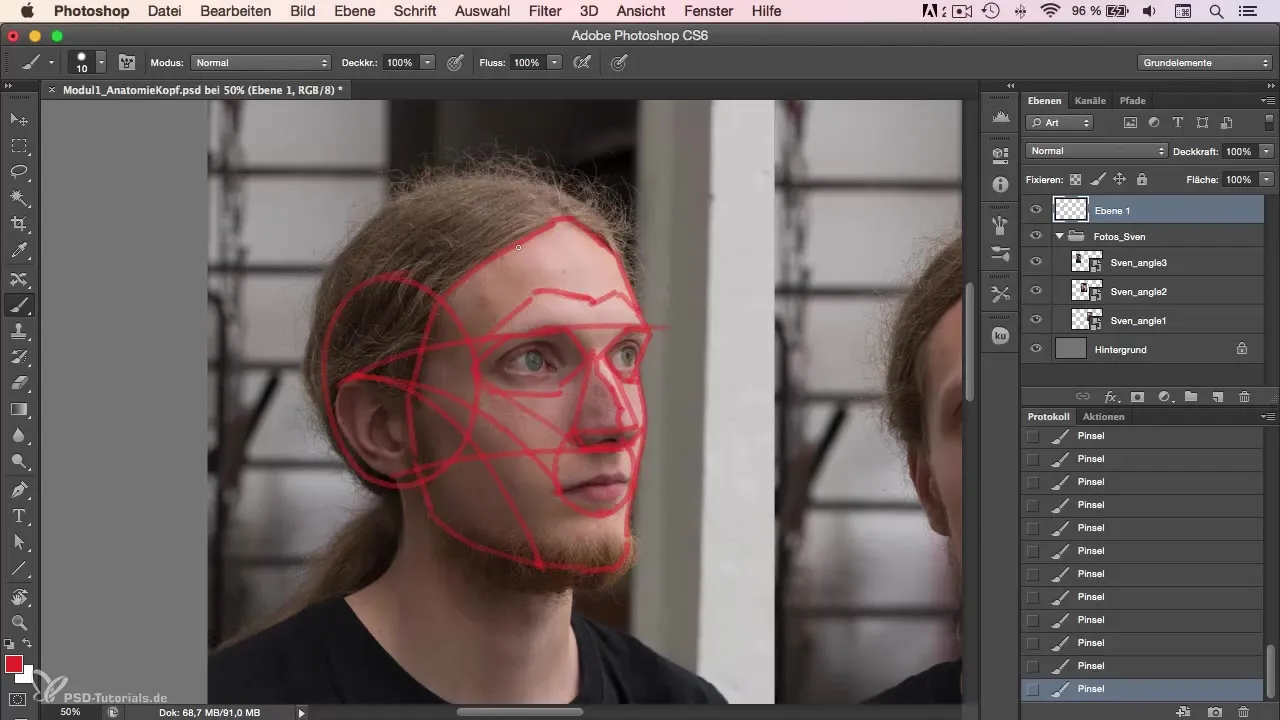
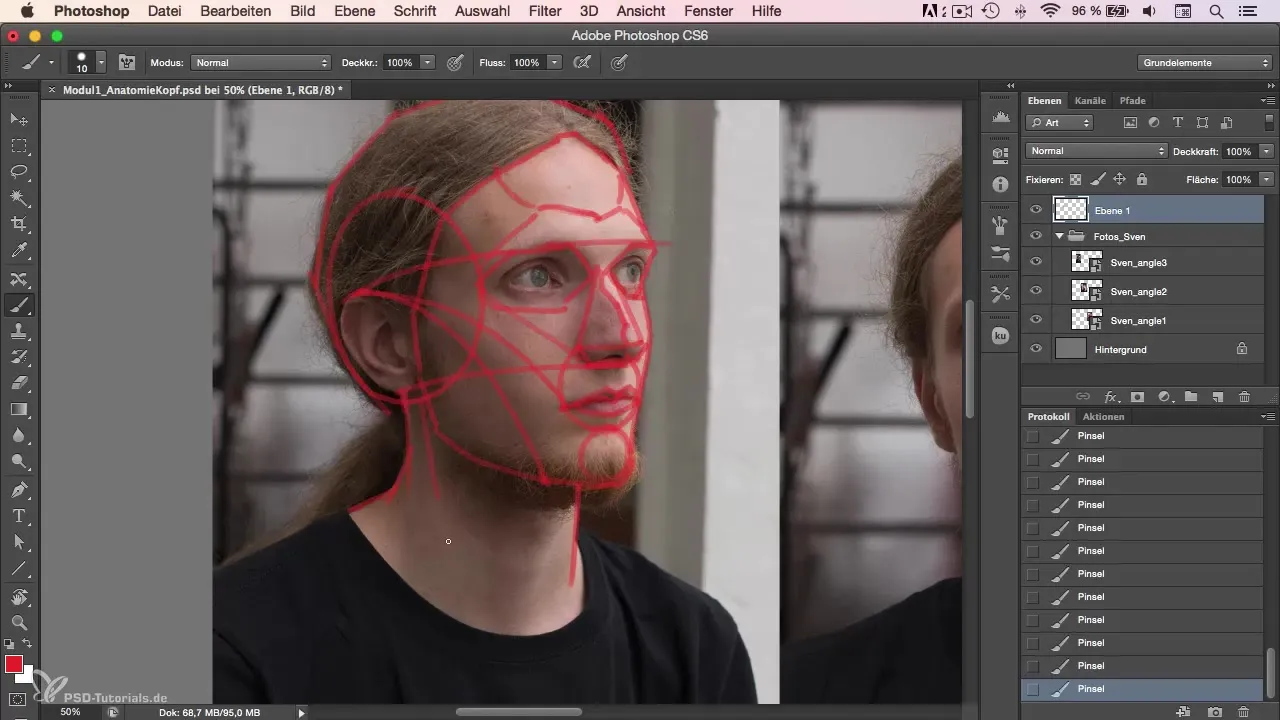
Begin with the eye sockets to create a solid base for the eyes themselves. First, place a simple triangle for the nose for orientation. Remember that the nose does not just end straight, but points downwards. Make sure to include the curve of the nostrils as well.
4. Mouth and cheekbones
The mouth lies on a curve of the face. Draw an arc between the corners of the mouth and pay attention to the natural curve. You can find the cheekbones by drawing an arc from the upper edge of the ear to the chin.
5. Muscles in the face
The muscle above the eyebrows and the one at the chin are also important for the facial structure. These small details ensure that your portrait looks more alive. Remember that these muscles can vary in their shape.
6. Neck and head shape
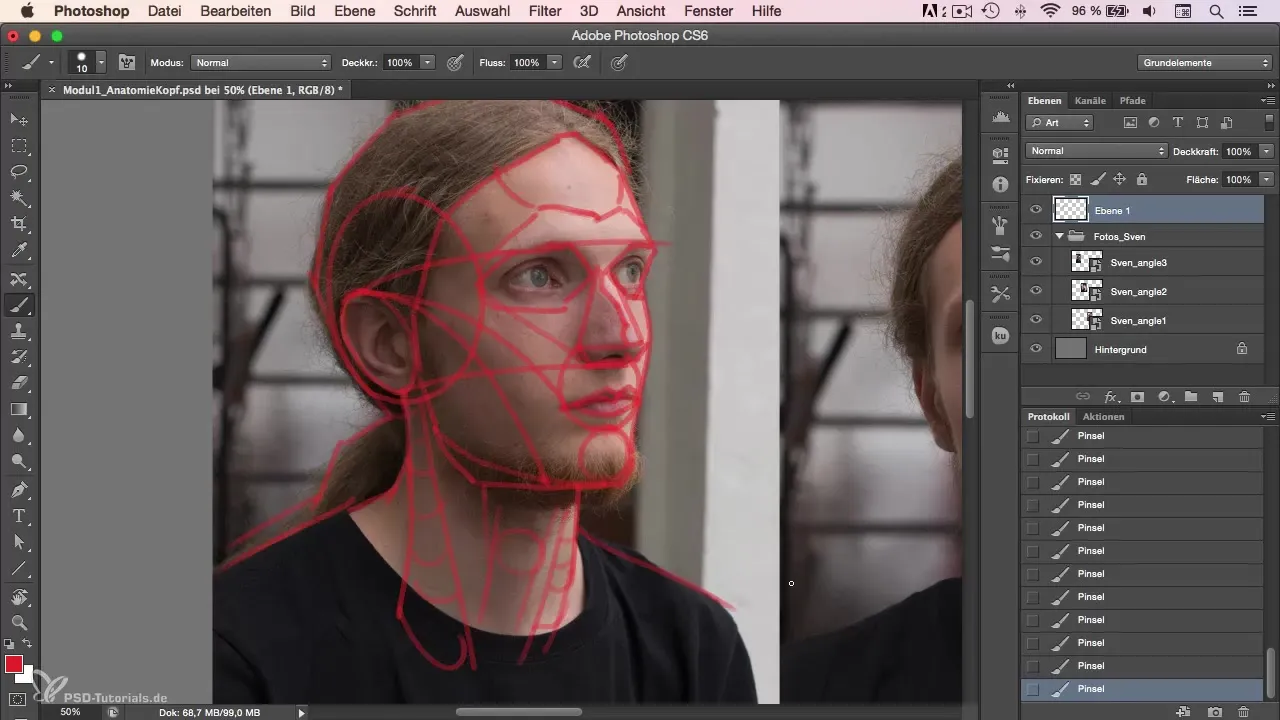
The neck usually begins below the ears. Pay attention to how the neck transitions into the shoulder area. There are muscles that run below the ears and should also be drawn. These become particularly visible when the head is turned to the side.
7. Ear and hair
Finally, draw the ear. As with other facial features, the position of the ear also varies from person to person. Also, remember to sketch the hair simply and roughly, without going into details.
8. Deepening the details
Now that you have the basic shape, you can start detailing. Observe your model closely and pay attention to how light and shadow shape the face. Using shading and additional lines will give your portrait more dimension.
Summary
In this guide, you have learned the essential elements for creating an effective head portrait. The proper application of the rule of thirds, recognizing facial contours, and proper shading are crucial for a realistic result.
Frequently Asked Questions
What is the rule of thirds?The rule of thirds is a method to divide the face into equal parts to determine proportions.
Why should I start with the eye sockets?The eye sockets provide a stable starting point to place the remaining features of the face accurately.
How do facial features vary?Every person has unique proportions and features that you need to consider when drawing.
What should I pay attention to regarding the muscles in the face?The muscles give the face structure and shape and should also be considered in a drawing.
How can I effectively use light and shadow?Observe how light falls on your model and use shading to create depth and dimension.
