In the third module of your character painting series, you will learn how to depict animal surfaces, especially feathers, in Photoshop. You will go through effective techniques to master these challenging textures while using references more freely. The goal is to show you how to transfer the complexity and beauty of feathers to your digital works.
Key insights
- Start with a black base color for better contrasts.
- Work from dark to light to avoid unwanted muddy transitions.
- Vary the brush stroke and strength to achieve realistic effects.
- Use references to analyze and replicate the structures and shapes of feathers.
Step-by-Step Guide
1. Preparing the Workspace
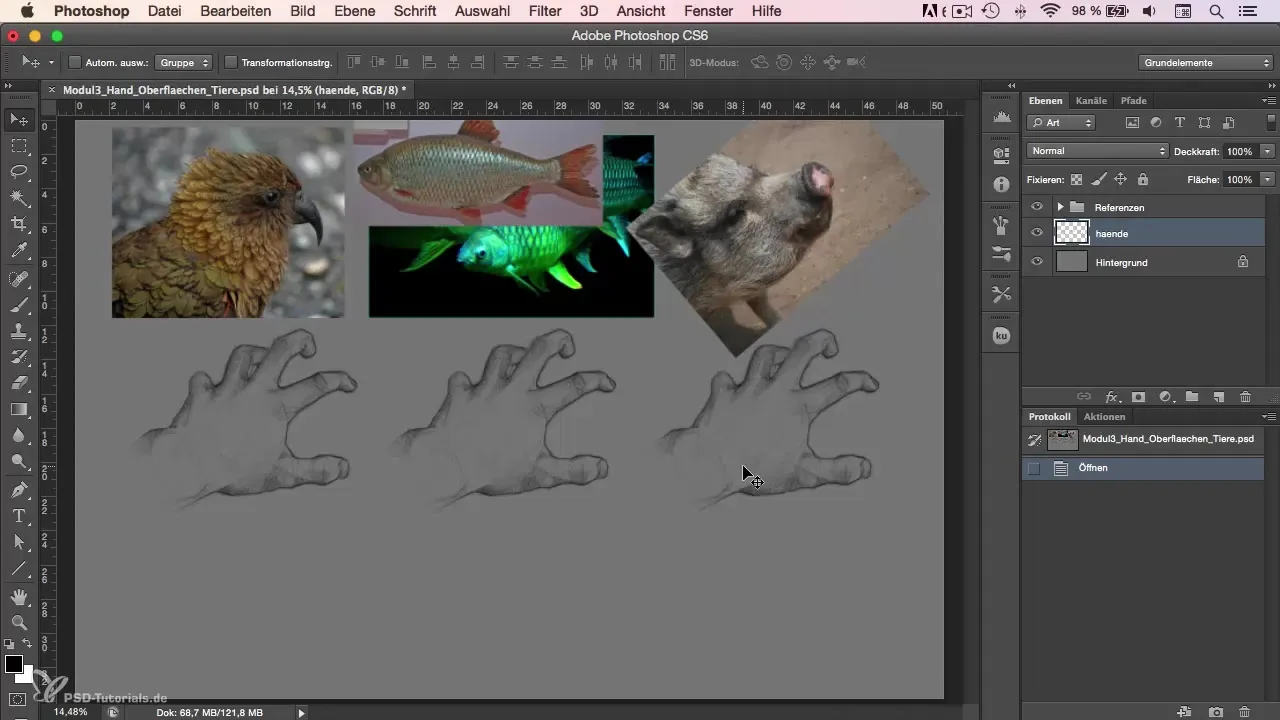
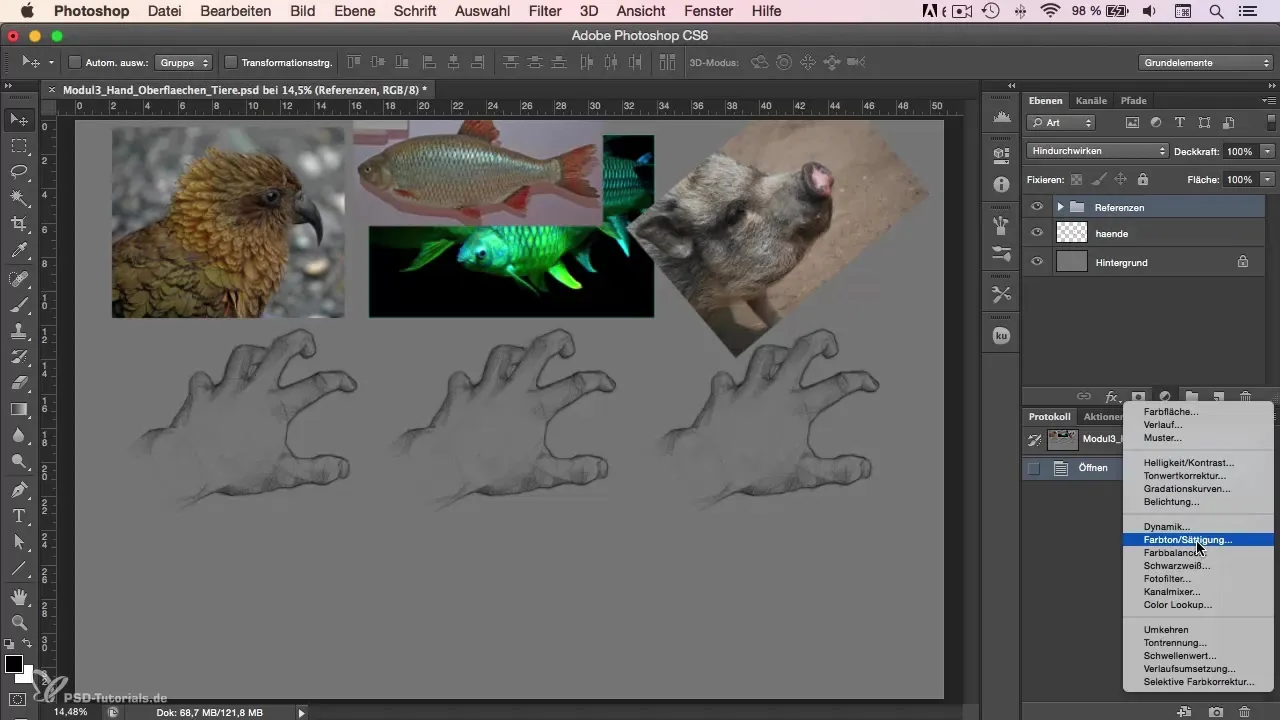
Before you start painting the feathers, ensure you have a suitable foundation. Take the time to remove saturation and design your work in black and white. This allows you to focus first on the shapes and tones without being distracted by colors. Darken the hands slightly to create a solid base color that you can refine later.
2. Sketching the Basic Shape
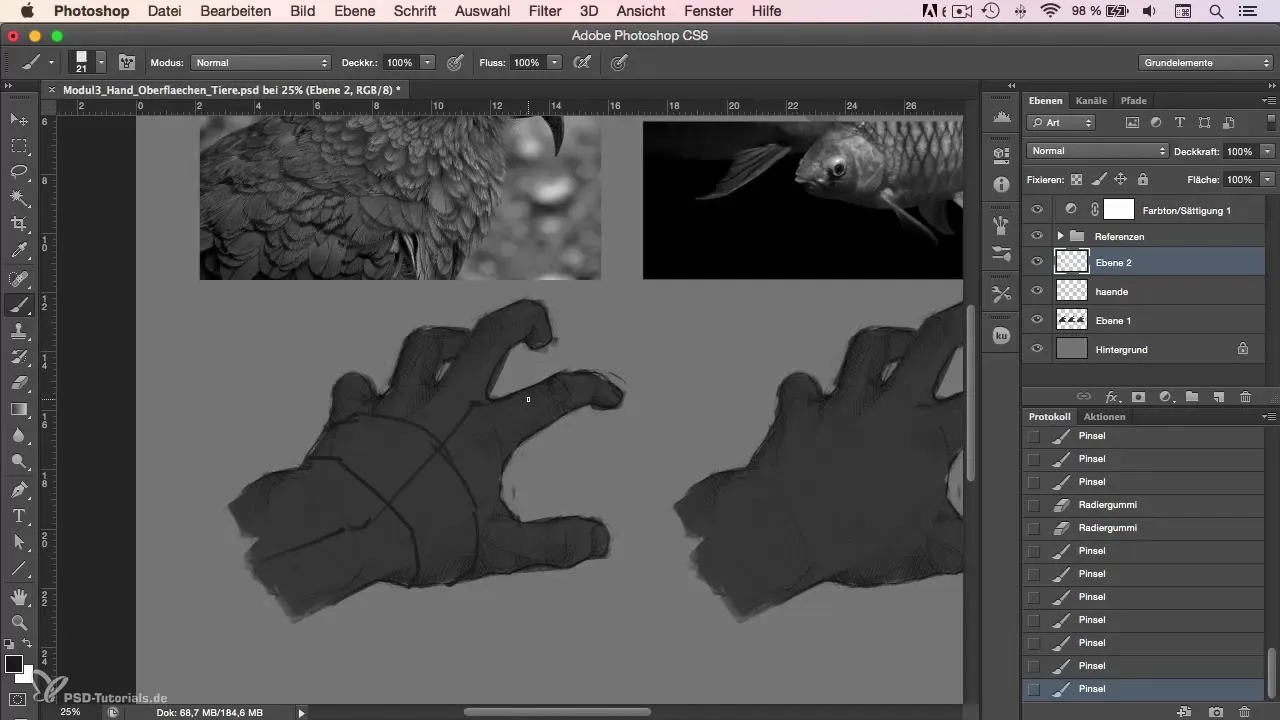
Once the base color is set, start sketching the basic shape of the hand. Lightly sketch the outlines and place guidelines to support the proportions and three-dimensional impression of the hand. This gives you a solid base upon which you can arrange the feathers.
3. Inserting Feathers
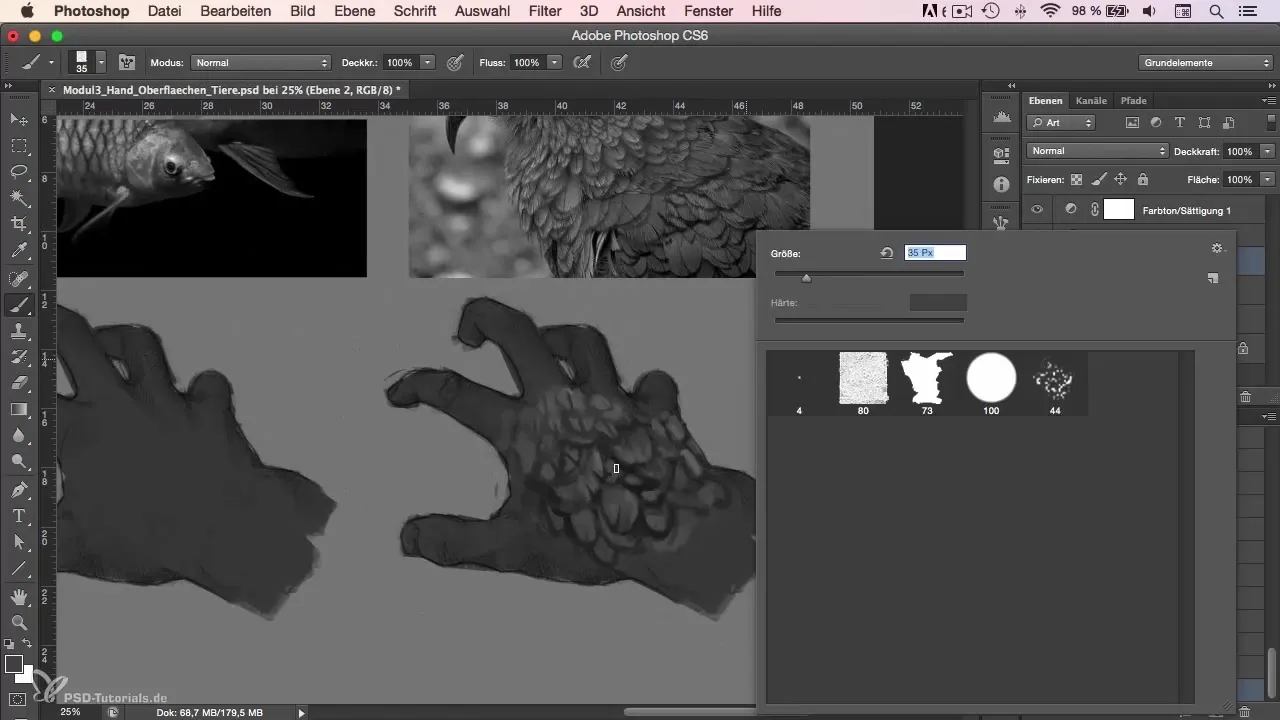
Now it's time to transfer the feathers onto the hand. Be careful not to overwhelm the sketch of the hands. Consider where the feathers should be placed: larger feathers on the palms and smaller ones on the fingers. The positioning is crucial for the natural appearance of the feathers.
4. Painting with 100% Opacity
To maximize control over the details, work with 100% opacity and flow for your brush. This allows you to represent the structures clearly and precisely, without the risk of colors bleeding into each other. Avoid blending brushes or smudge tools to maintain clarity in the transitions.
5. Blending Colors
When working with different color nuances for the feathers, use blending by picking colors directly from your reference. Ensure you work from darker to lighter tones to create a harmonious gradient. The goal is to portray the three-dimensional texture of the feathers without everything looking muddy.
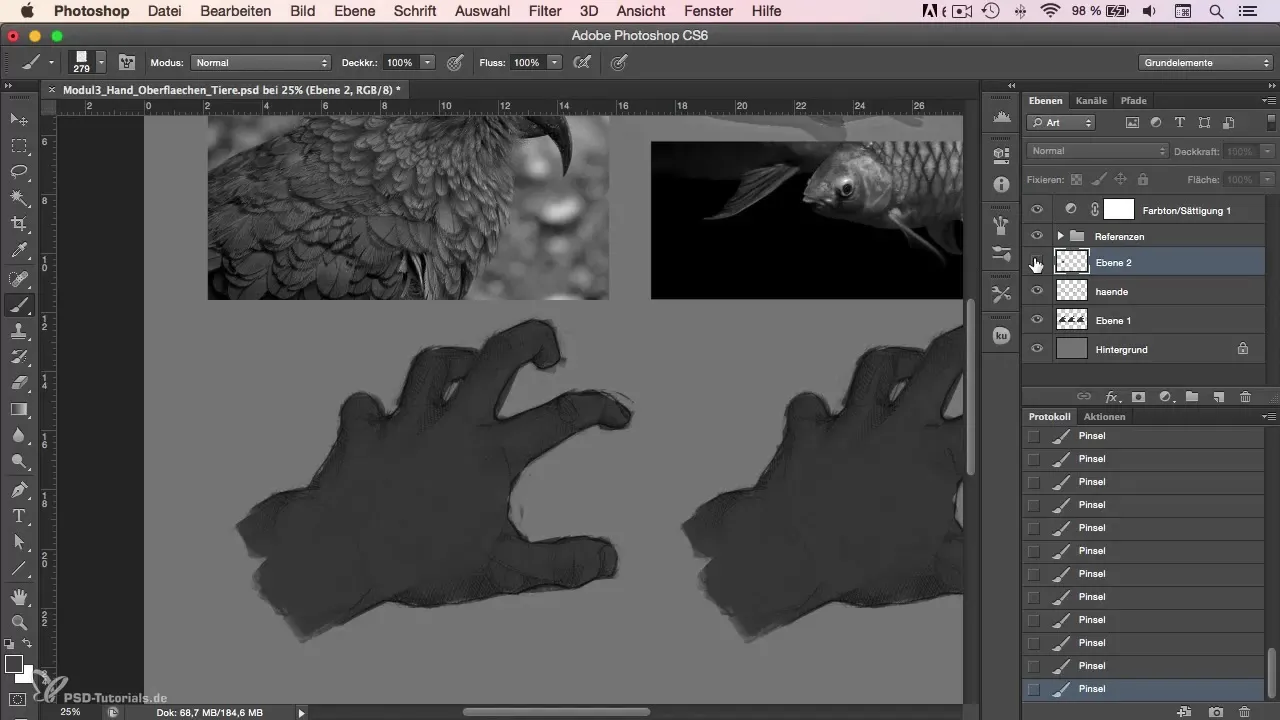
6. Refining the Feathers
Start adding small details. Pay special attention to the different types of feathers – some should be smaller and fluffier while others appear larger and denser. Draw inspiration from different areas of your reference and vary the sizes and shapes accordingly.
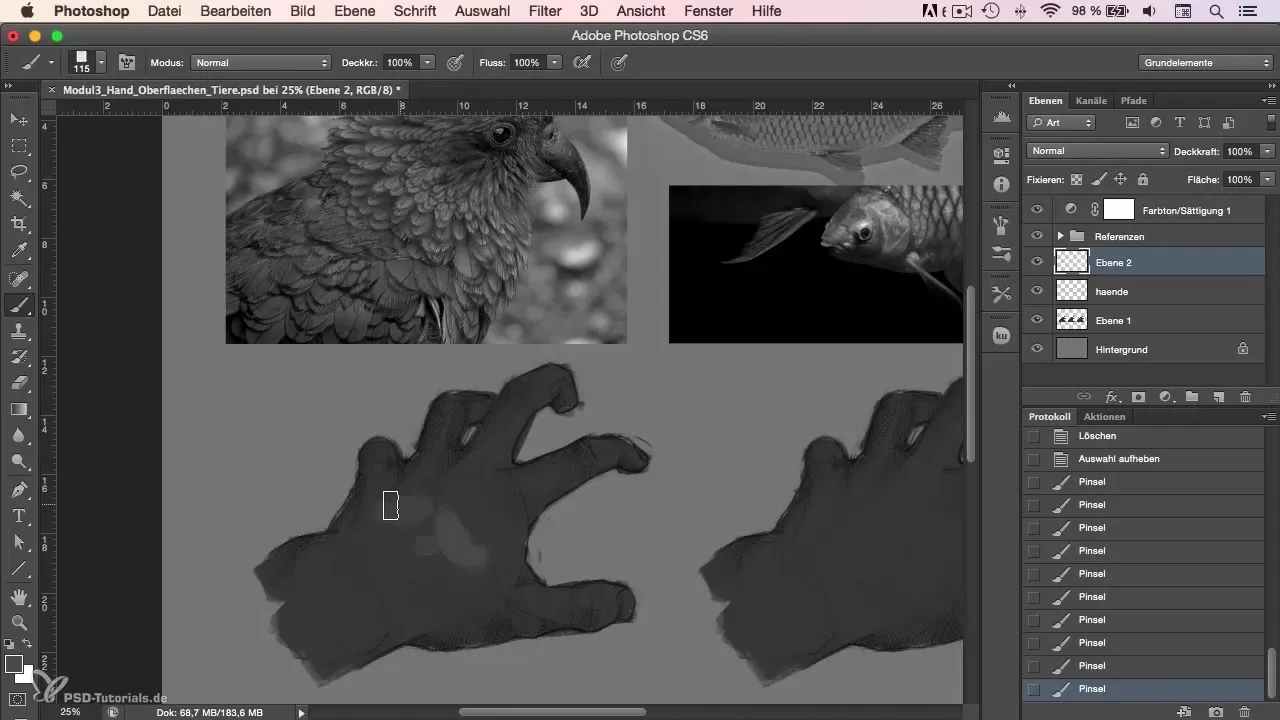
7. Adding Accents
To make the feathers more vibrant, add dark and light accents. Create the impression of depth and structure through small notches and indentations. These accents are particularly important for the different layers of the feathers to stand out. Make sure the edges are soft and the transitions appear smooth.
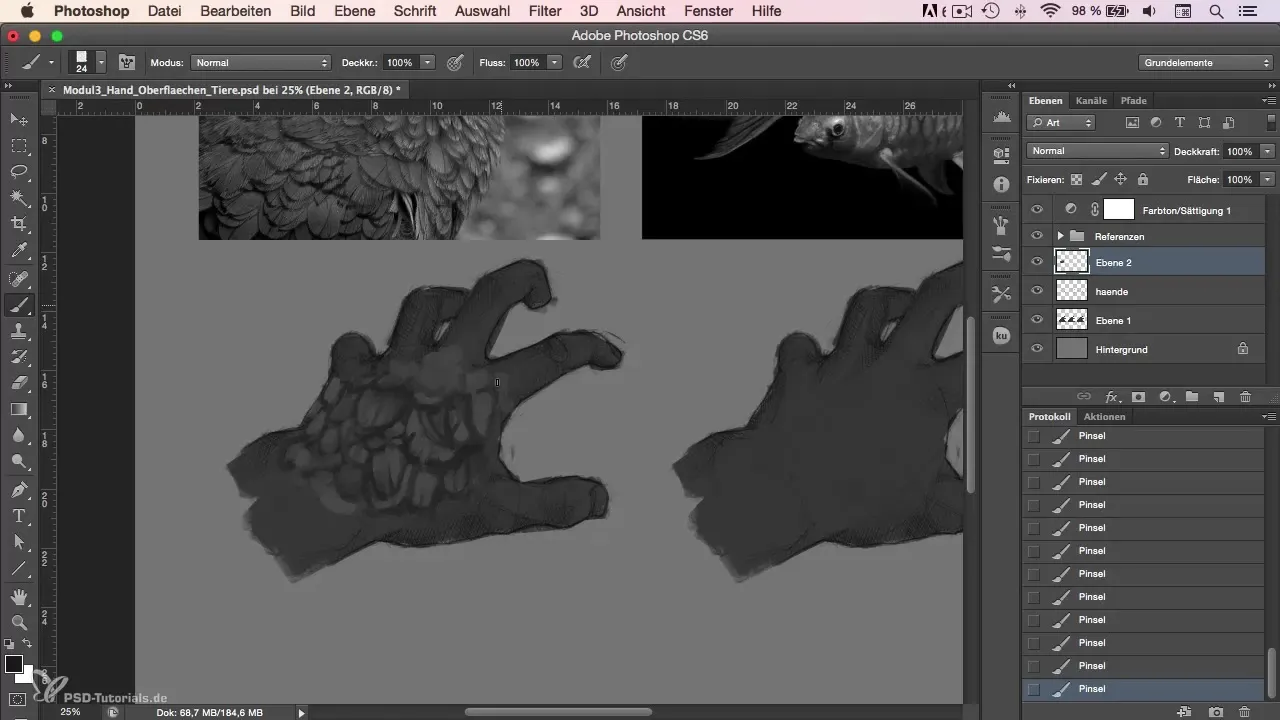
8. Detailing
Certain areas of the feathers require more precision. Use thinner strokes to show the fineness of the feather tips. Be sure to carefully craft the gradient of colors; this is particularly critical when simulating light conditions. Do you notice how light affects the feathers? Paint the lighter areas evenly to enhance the three-dimensional character.
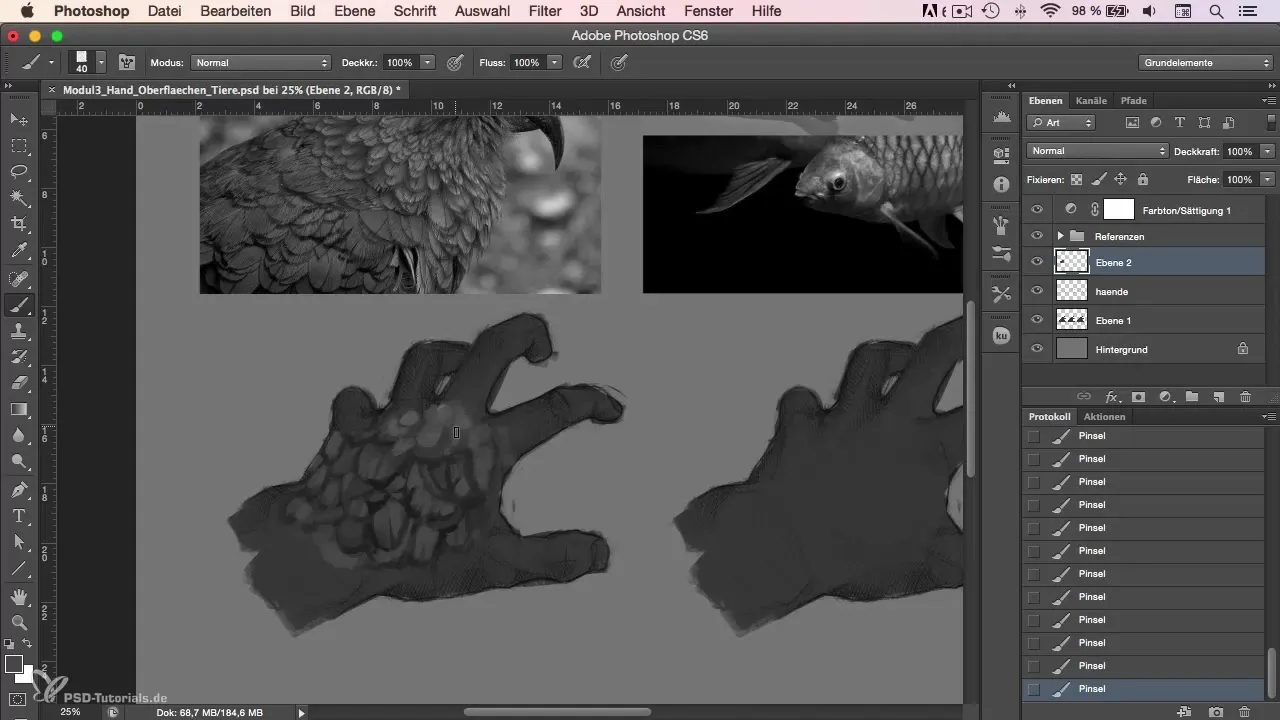
9. Mirroring and Adjusting
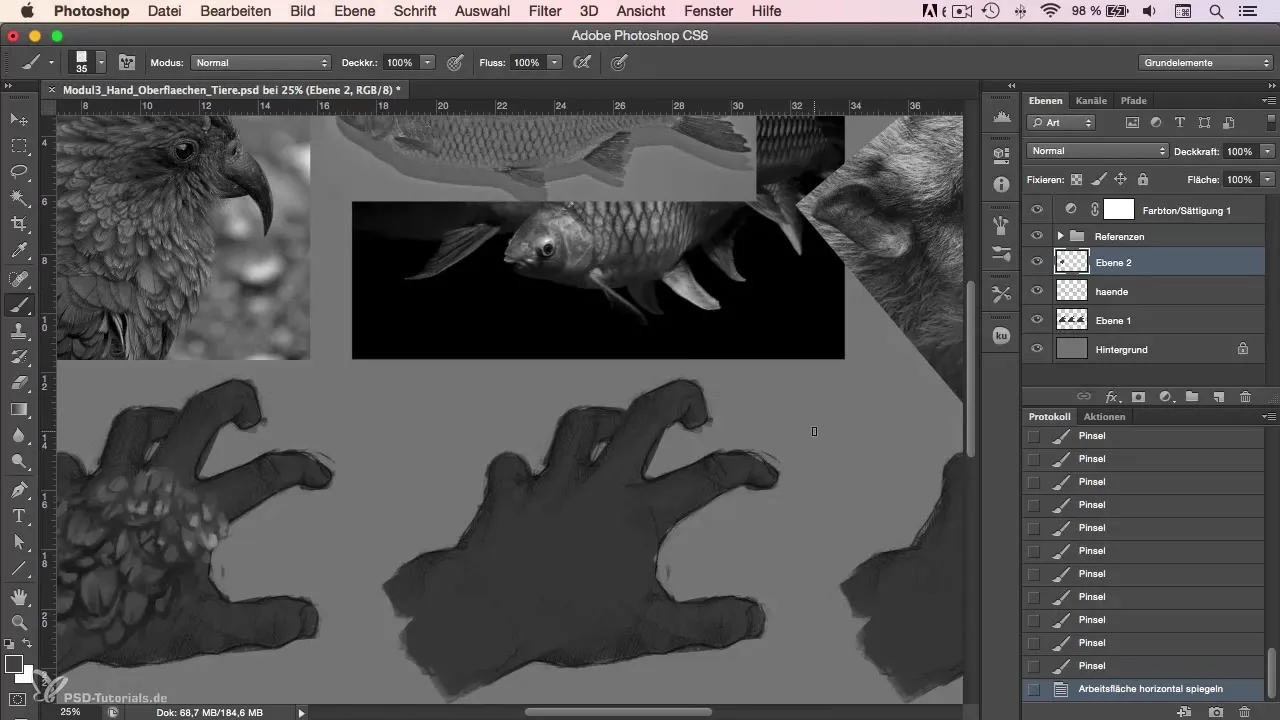
After finishing painting, it can be helpful to mirror the entire image. This gives you a new perspective and helps you to spot any imbalances or inconsistencies. Use this step to make final adjustments and enhance the overall look.
10. Using References
The most important thing you should learn in this module is how essential it is to work with various references. Use them to build your understanding of structures and shapes. Try combining several images and making your own decisions. This will help you greatly enhance your skills and develop your own style.
Summary
In this module, you have learned how to depict feathers in Photoshop using the right techniques and approaches. By sketching basic shapes, maintaining control over the brush, and working with references, you are able to create impressive animal surfaces. Your understanding of light, surface texture, and color application will elevate your digital painting to a new level.
Frequently Asked Questions
What is the best way to start painting feathers?Start with a black-and-white foundation to better capture the shapes and structures.
How important are references in painting?References are crucial for replicating reality better and expanding your knowledge.
Why should I work from dark to light?Working from dark to light prevents muddy transitions and ensures clear, defined colors.
Can I use blending brushes?It’s better to avoid blending brushes to maintain control over color and detail.
How can I achieve highlighted light effects?Strategically add dark and light accents to create dimension and depth in your feathers.
