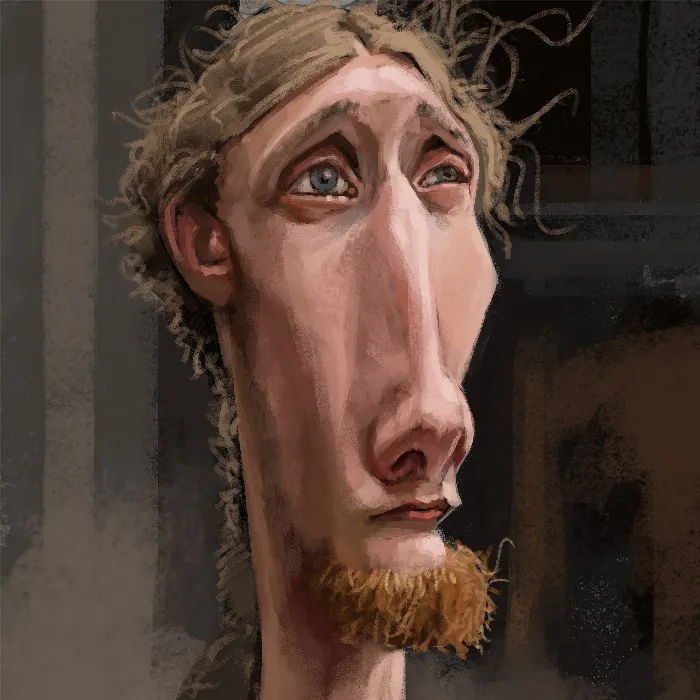
Representing fur is one of the biggest challenges in digital painting. It requires not only thorough technique but also a good eye for details and color gradients. In this tutorial, you will learn how to improve your skills in creating fur textures in Photoshop.
Key Insights
- Choose the right type of brush to represent the texture of the fur.
- Use a rough technique to achieve fur dynamics and color variations.
- Be careful not to go too detailed when drawing.
- An appropriate brush size is crucial for the overall look.
Step-by-Step Guide
An effective approach to painting fur starts with selecting the right tool. You need a brush that can provide a texture to simulate the appearance of hair. A suitable brush has a larger pixel size to give you better control over the painting technique.
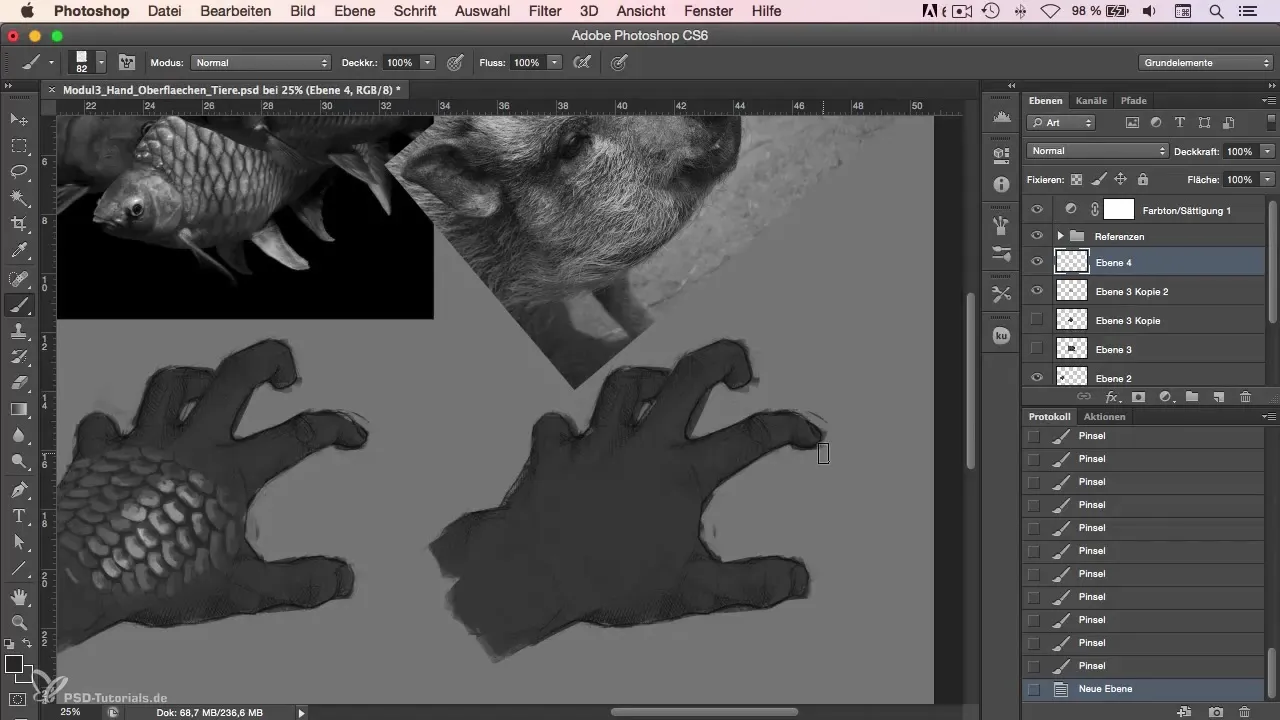
Start by building a base layer. Use light and dark shades to create depth and dimension. Remember that waves in the fur are often visible, so make your strokes accordingly.
To blend the shades and create a smooth transition between different colors, it is advisable to use a blur tool. This will blur the edges and allow the color variations to flow gently into one another. Make sure the individual gradients remain visible.
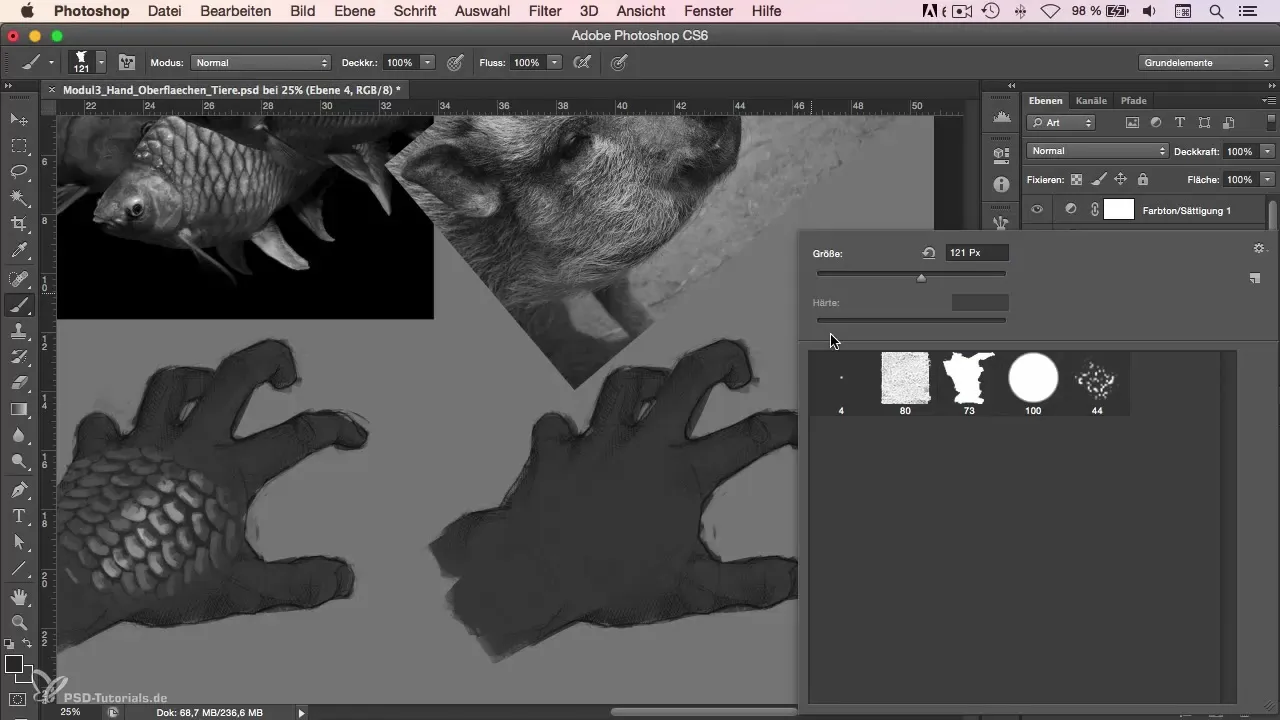
As you build up the texture, you should not lose sight of the basic features of the fur. Look for recognizable patterns to weave into the fur. These enhance credibility and visual depth. Drawing a natural light fall can help promote the illusion of three dimensions.
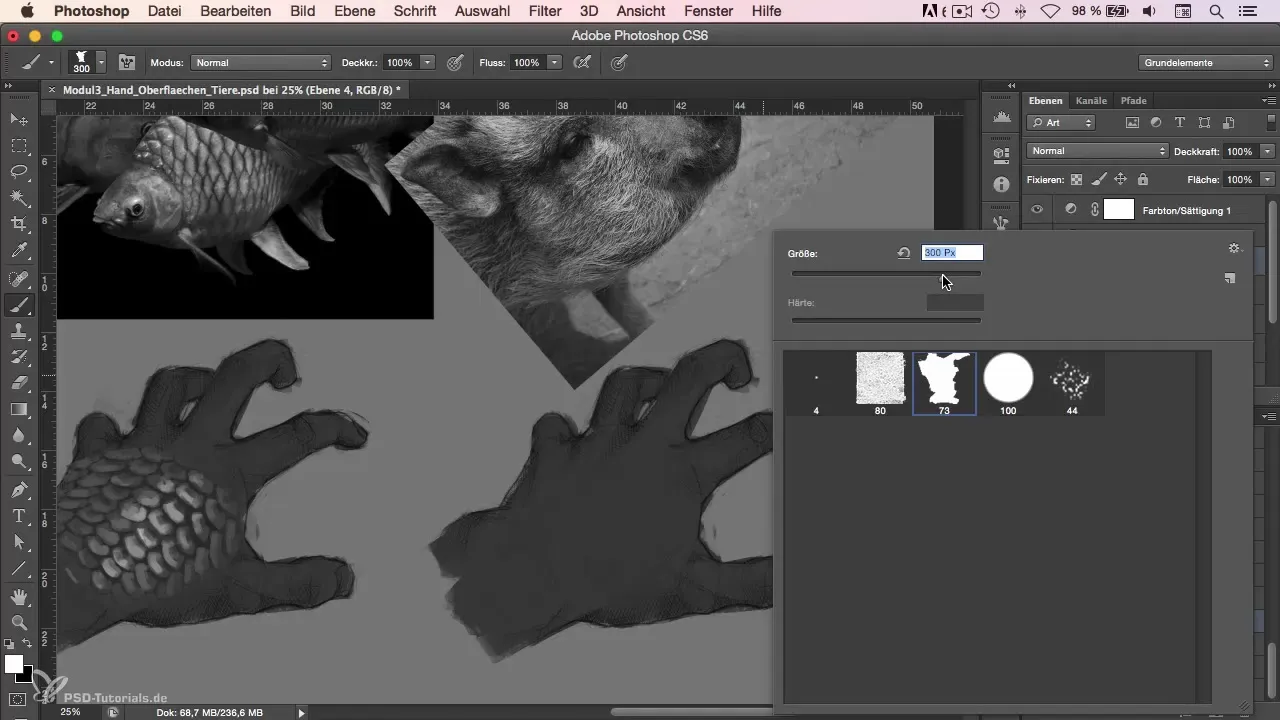
Additionally, it is advisable to vary the direction of the fur strokes. This adds dynamism to the image and makes it appear more vibrant. Be careful not to add too many details to the drawing; it's about the overall effect, not perfectly crafted details.
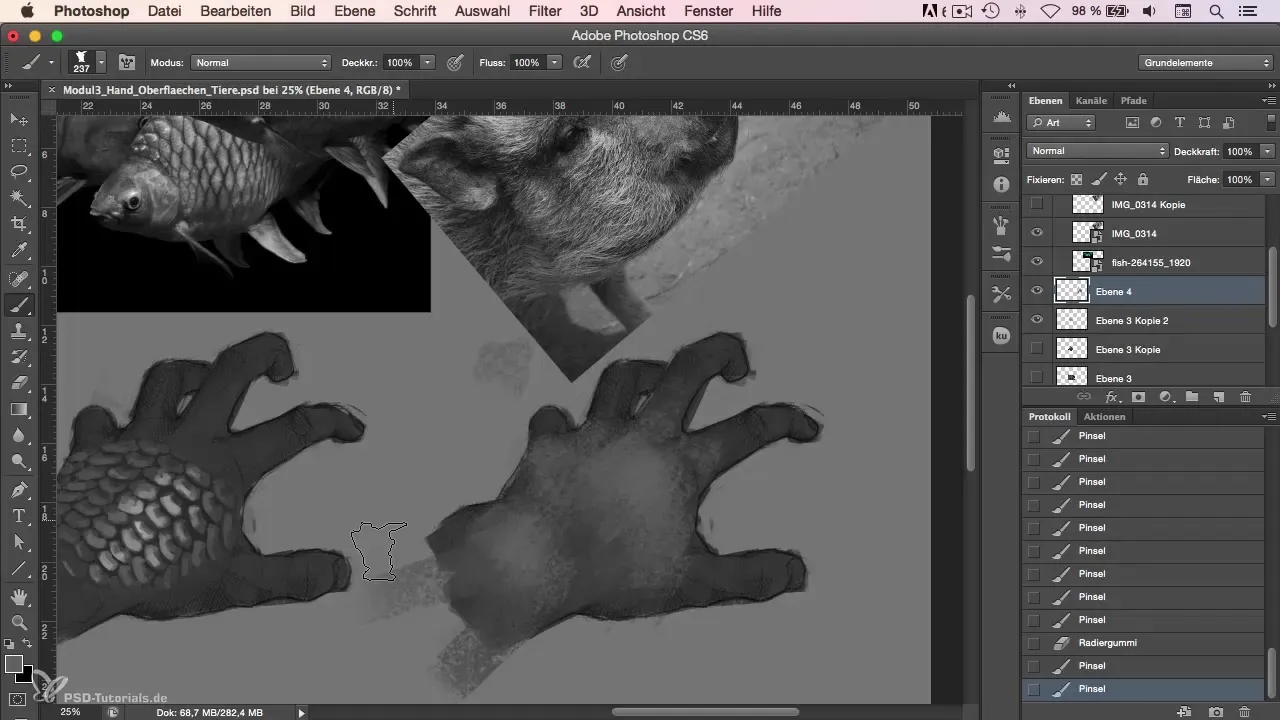
Use a larger brush to set the first main strokes. This allows you to quickly and effectively sketch rough fur areas. Cognitive overload is your enemy here; do not hesitate to make rough but precise strokes. You can always add details later.
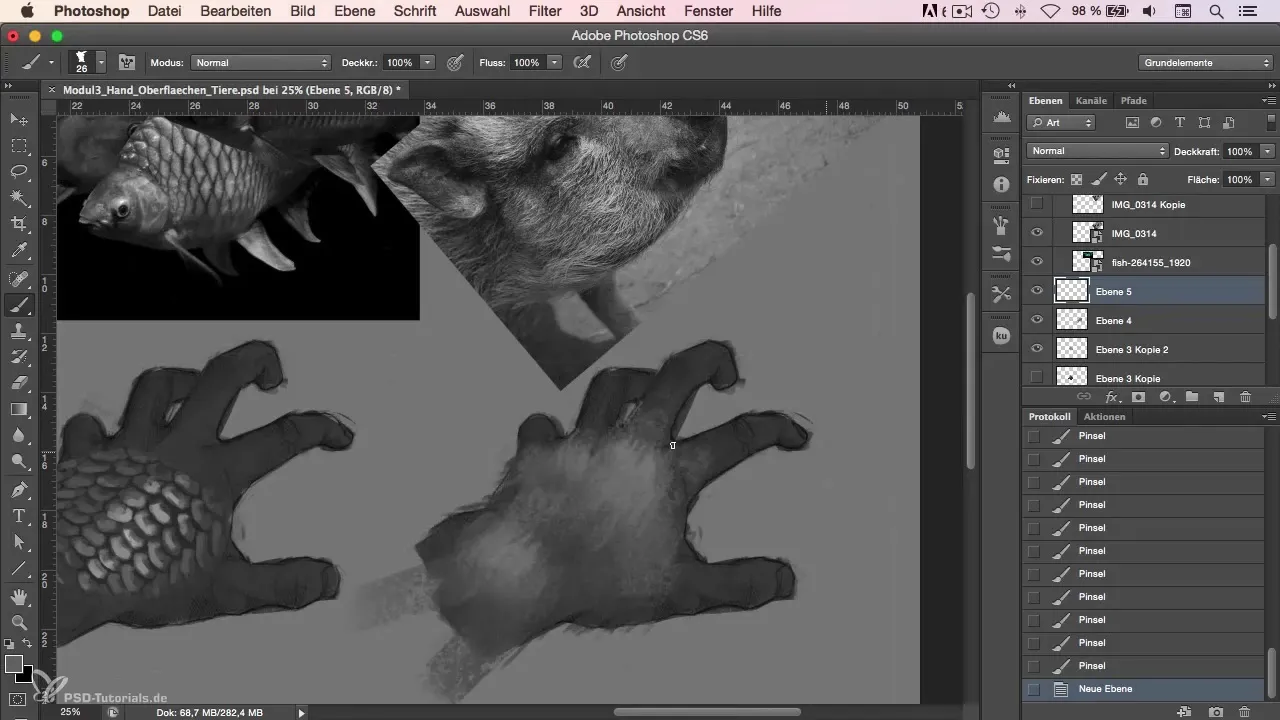
Check the flow of the strokes, especially at the edges, to ensure they blend well into the overall image. A faded end can help make the fur look more natural.
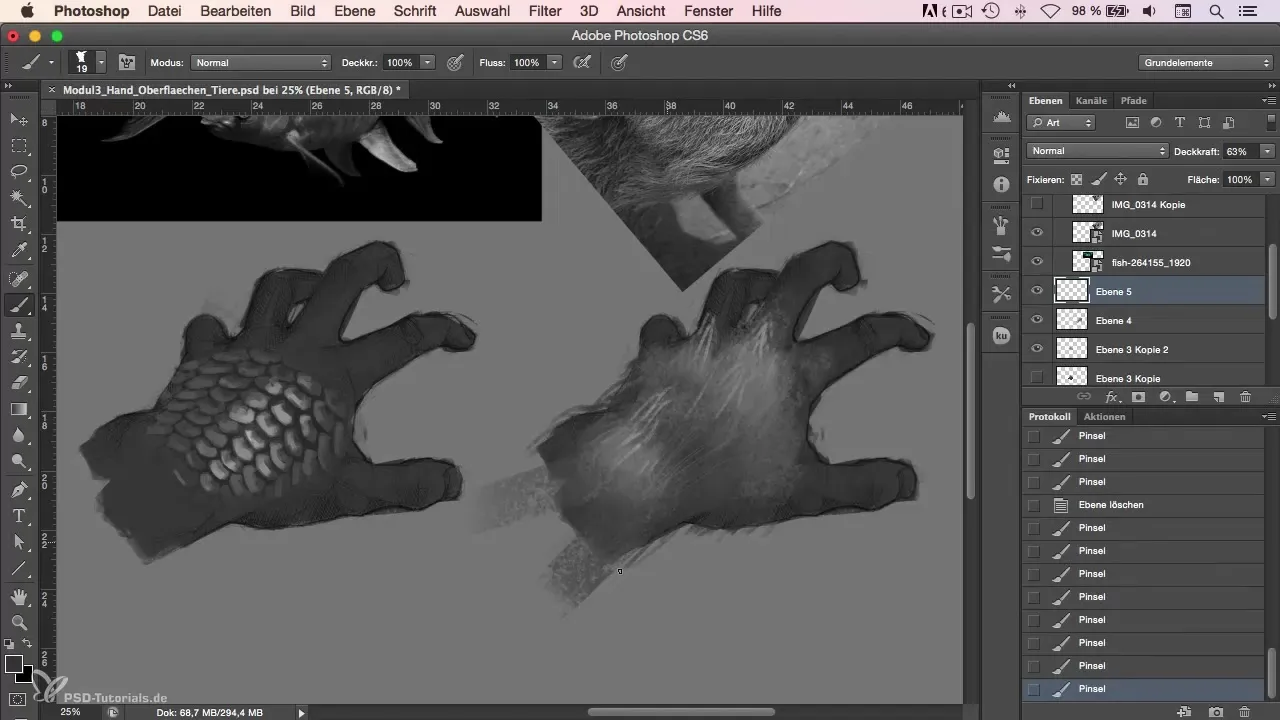
Without getting lost in the smallest details, you can now add some finer hair strokes that complement the main structure. For example, you might add some thinner strokes along the edges where the contrast is higher to enhance the texture.
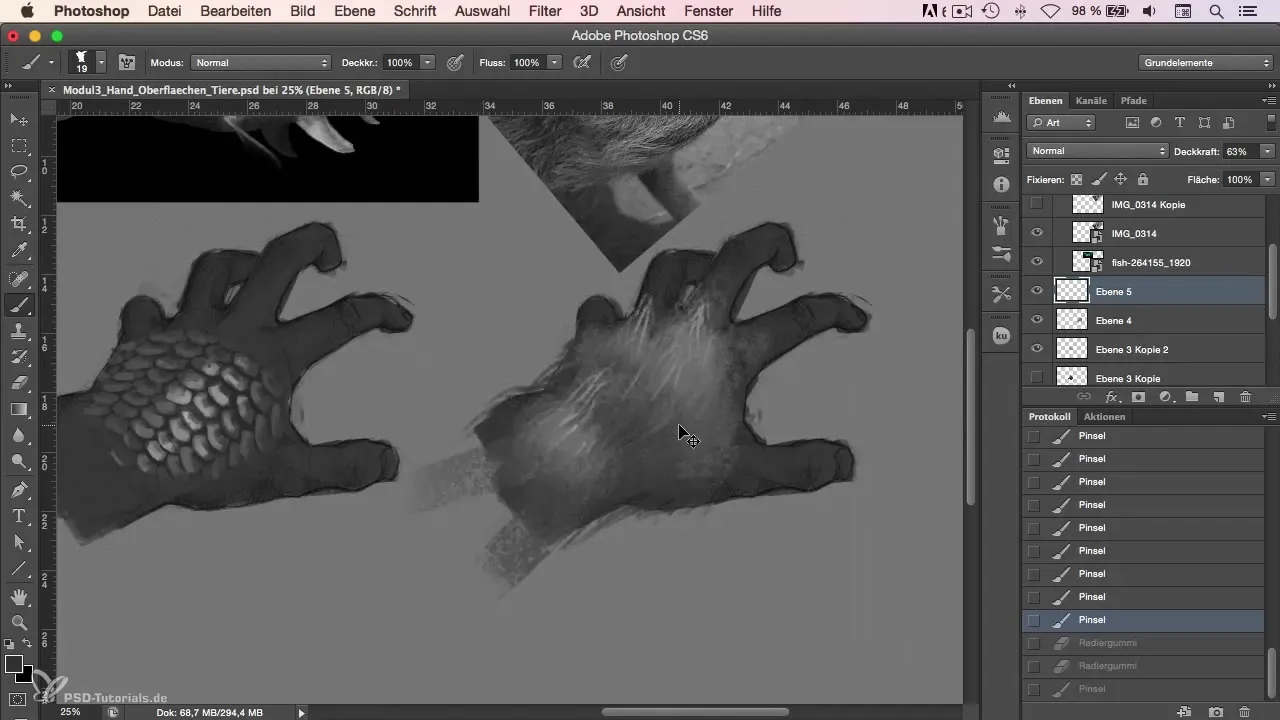
As you review the entire fur surface and the added details, the overall picture should appear coherent. The goal is to represent the textures with logical colors and shapes.
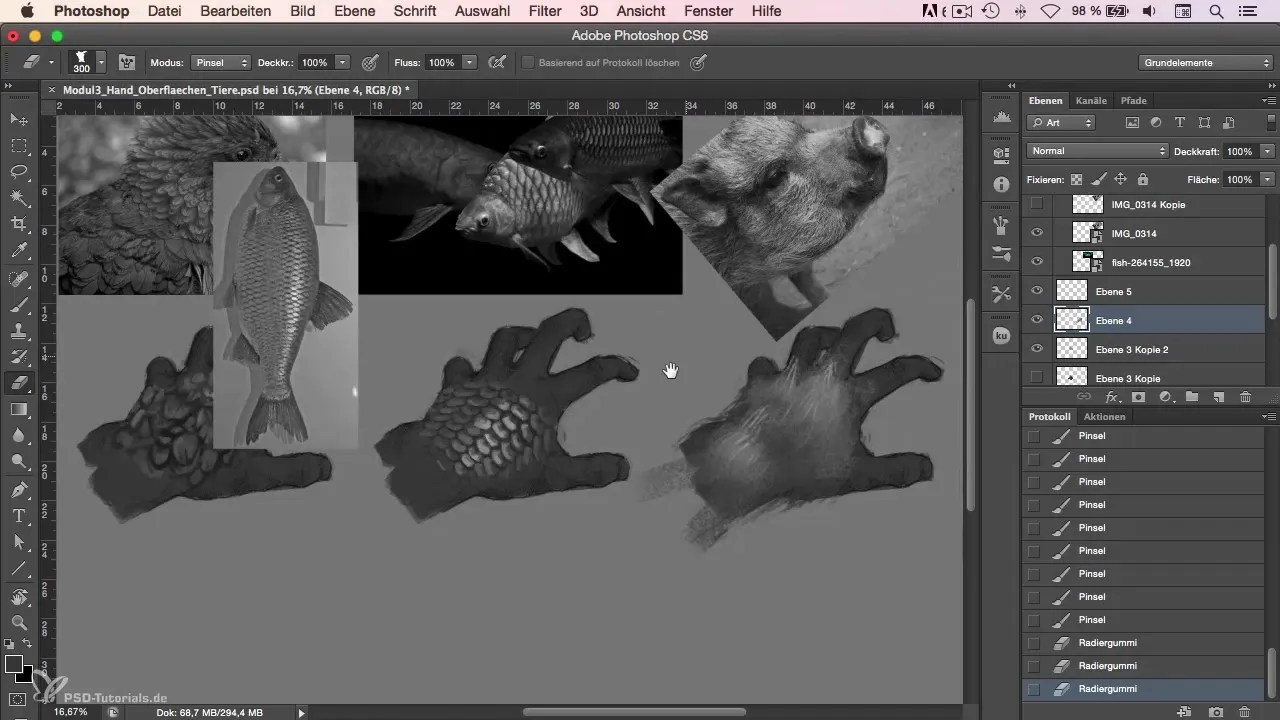
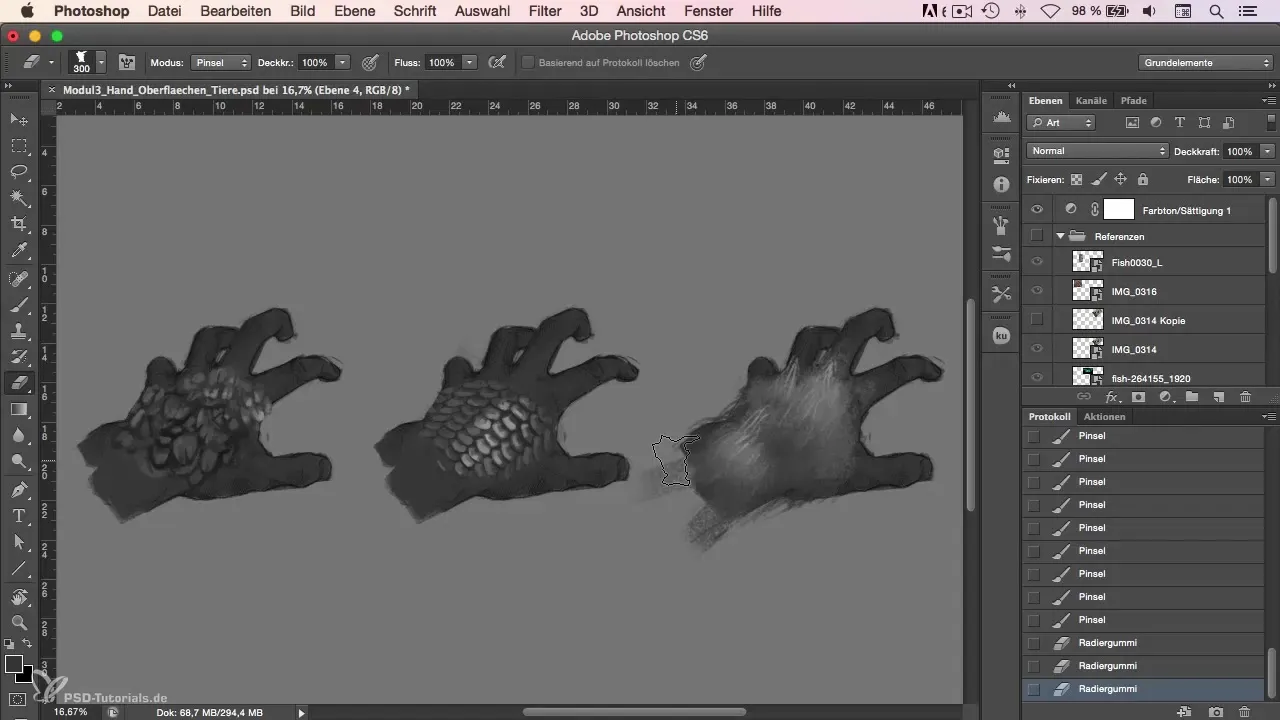
Finally, you have created an appealing fur that impresses with its simplicity and conscious reduction of details. You can apply these techniques to other materials and creatures to explore new surfaces.
Summary
Representing fur in Photoshop requires both technical skills and a good sense of color and composition. By choosing the right brush, taking a rough approach, and considering light and shadow effects, you can create realistic fur textures and elevate your digital painting to the next level.
Frequently Asked Questions
How do I choose the right brush for fur drawing?Choose a brush that provides a suitable texture and has a larger pixel size for more control.
Should I go into great detail when drawing fur?It is better to make rough strokes and add details in a later step.
How can I represent color variations in my fur painting?Use a blur tool to gently blend different shades and create transitions.
How important is the light source in a fur drawing?The light source plays a key role as it helps to depict the texture and three-dimensionality of the fur.
Can I use the same techniques for other textures as well?Yes, many of the techniques are applicable to different materials, such as metal or skin.
