Welcome to this comprehensive tutorial on Lens Correction in Lightroom Classic CC. Often, images can lose quality due to distortions, especially when using wide-angle lenses. But don't worry, Lightroom provides you with the tools to correct these issues easily and effectively. In this guide, you will learn step by step how to make lens corrections to your images to achieve the best possible image quality.
Key Insights
Lens correction is crucial for fixing distortions and optical errors that can occur, especially in wide-angle shots. Lightroom offers automatic as well as manual correction methods to ensure your images look optimal.
Step-by-Step Guide
Step 1: Prepare the Images
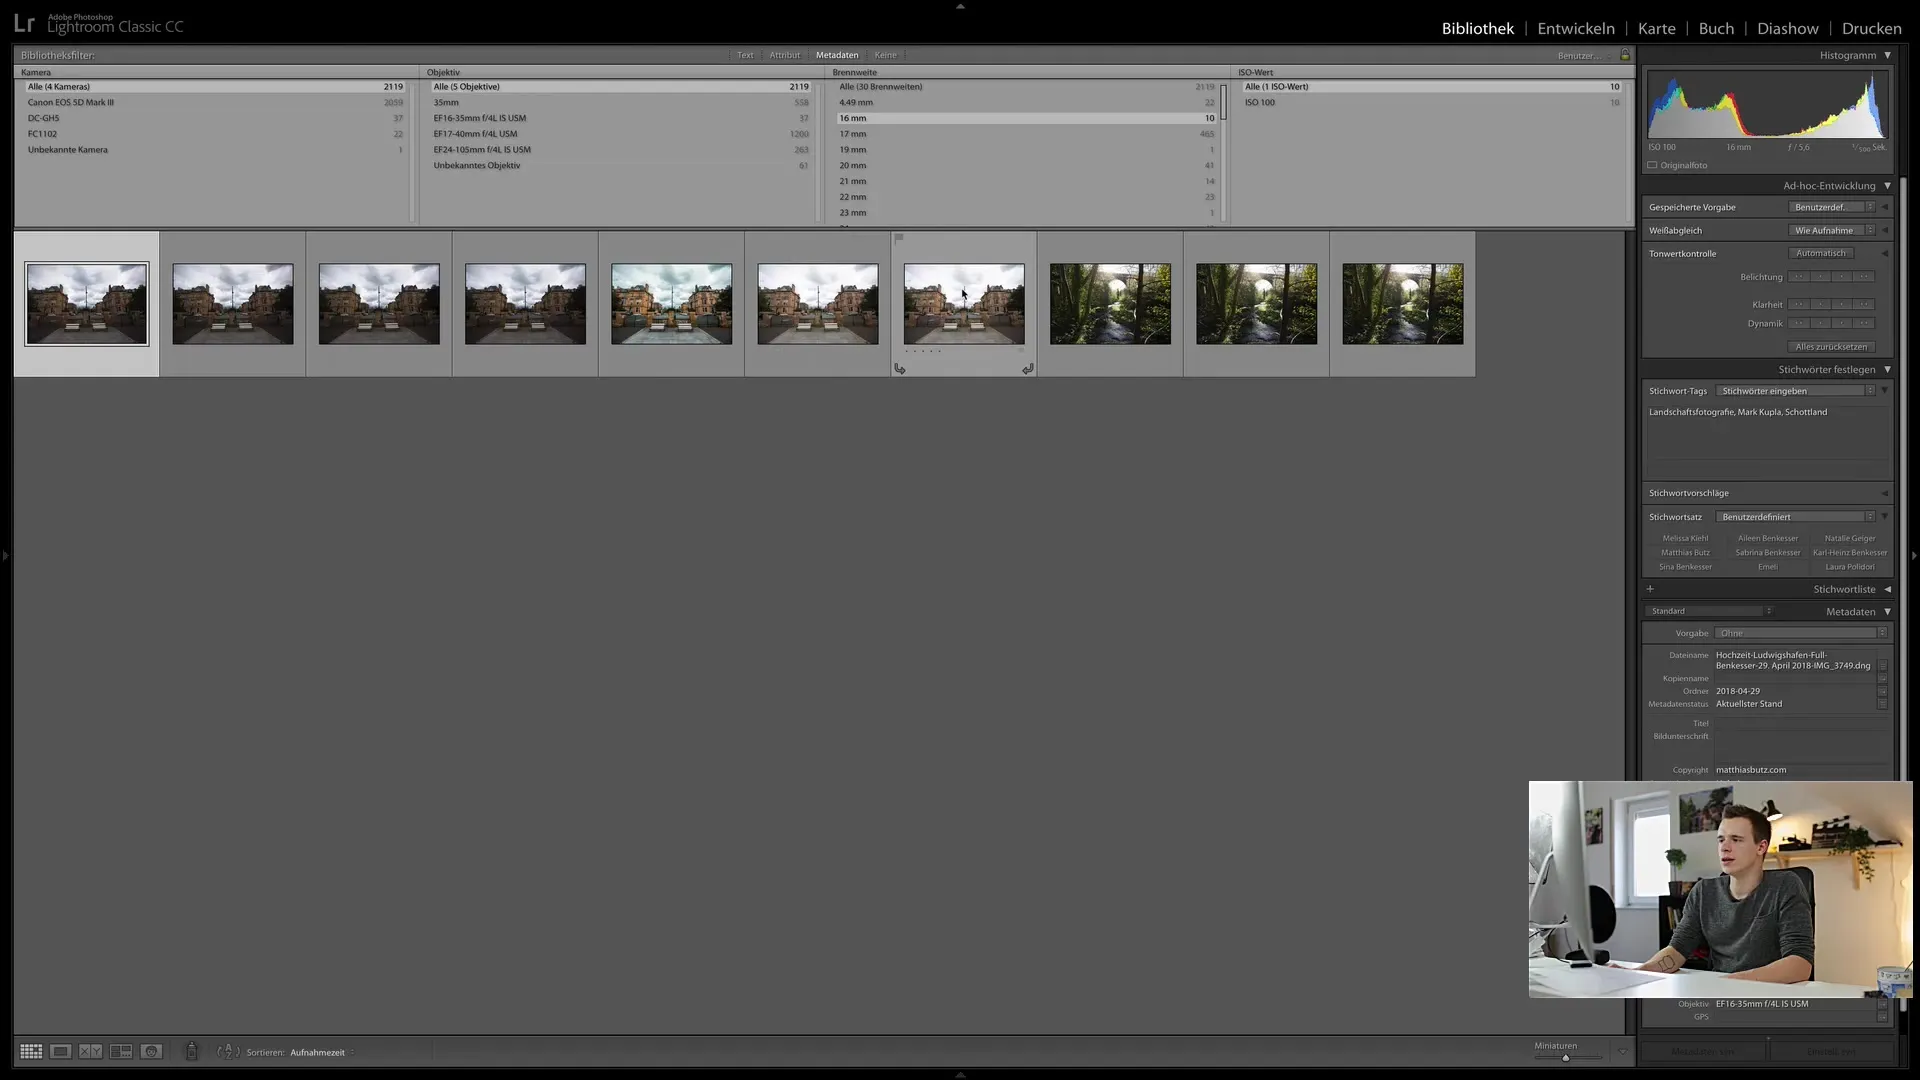
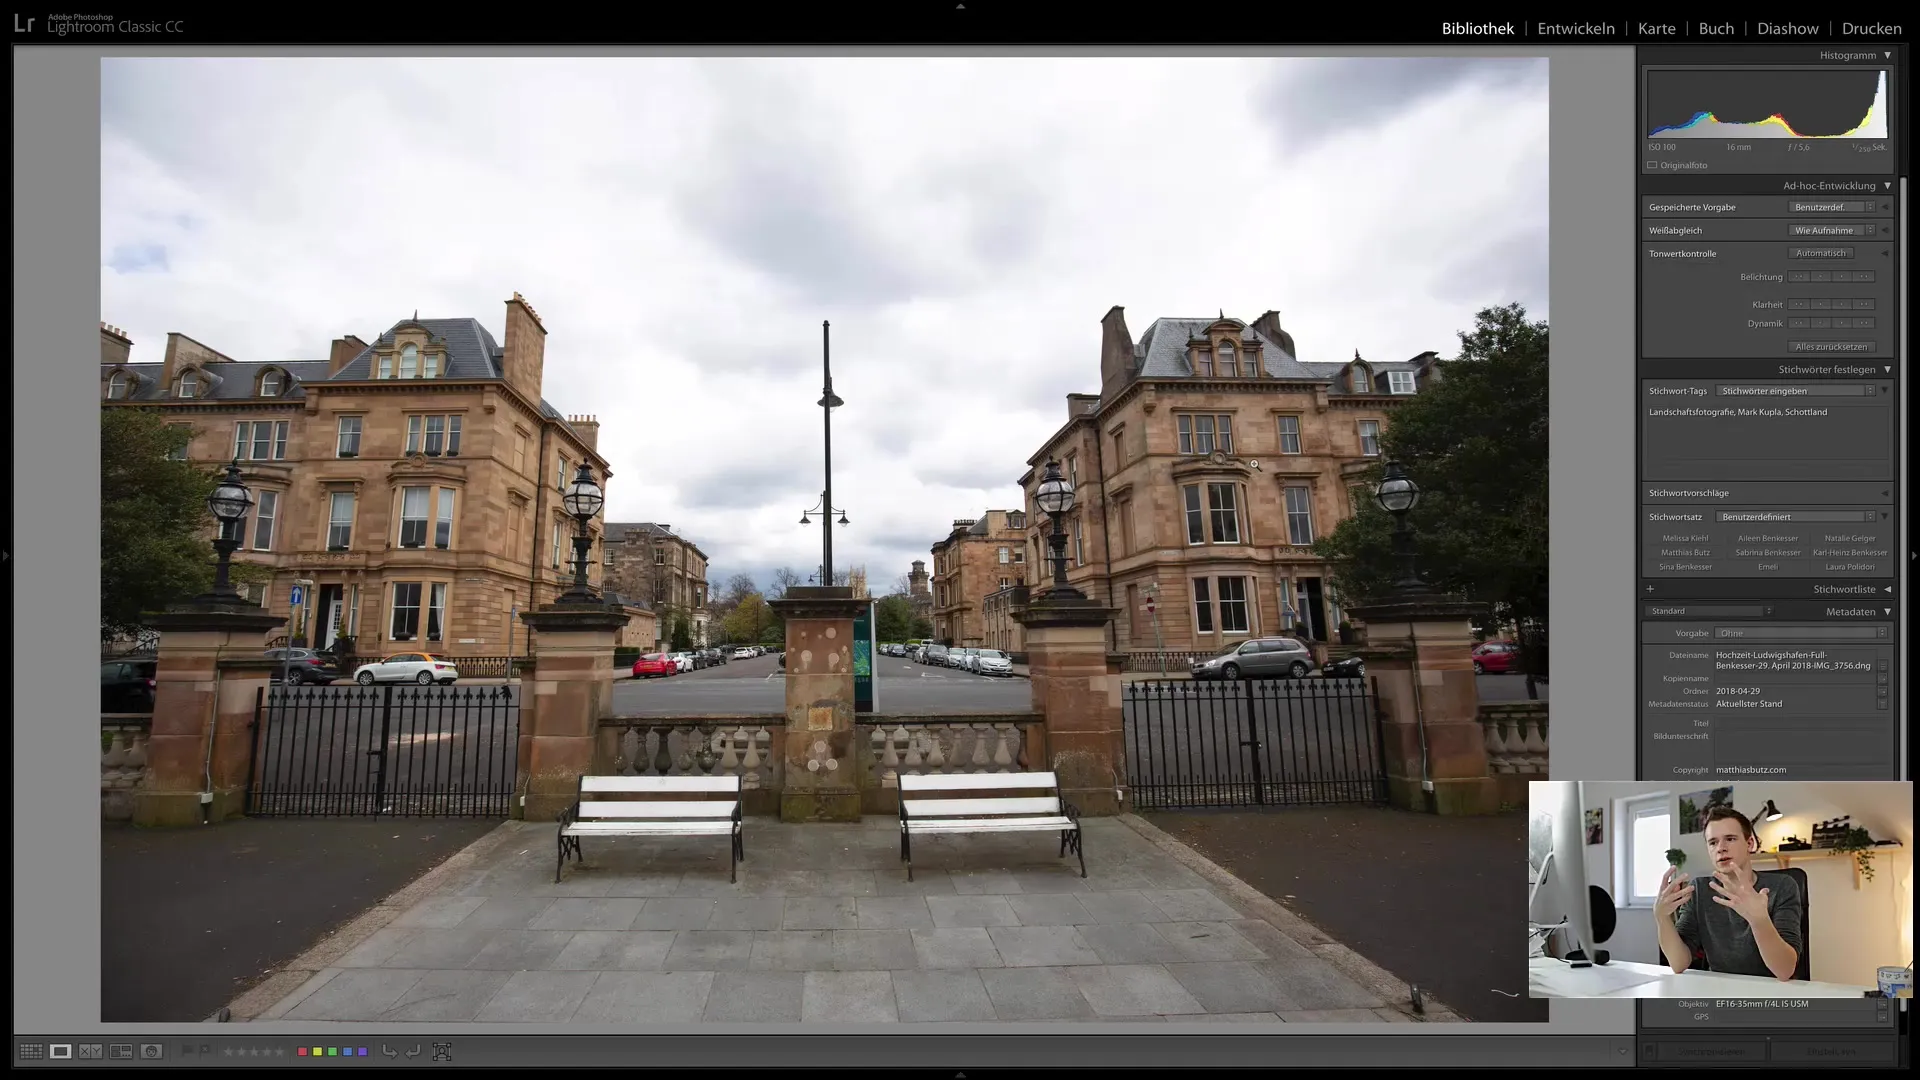
Before you start with lens correction, make sure you have some images that were taken with a wide-angle lens. You need these files for practical application of lens correction, as distortions are more visible here.

Step 2: Accessing the Develop Module
Open Lightroom and navigate to the "Develop" module. You can find this in the top menu bar. There, you have access to all basic editing functions, including lens corrections.

Step 3: Activating Lens Correction
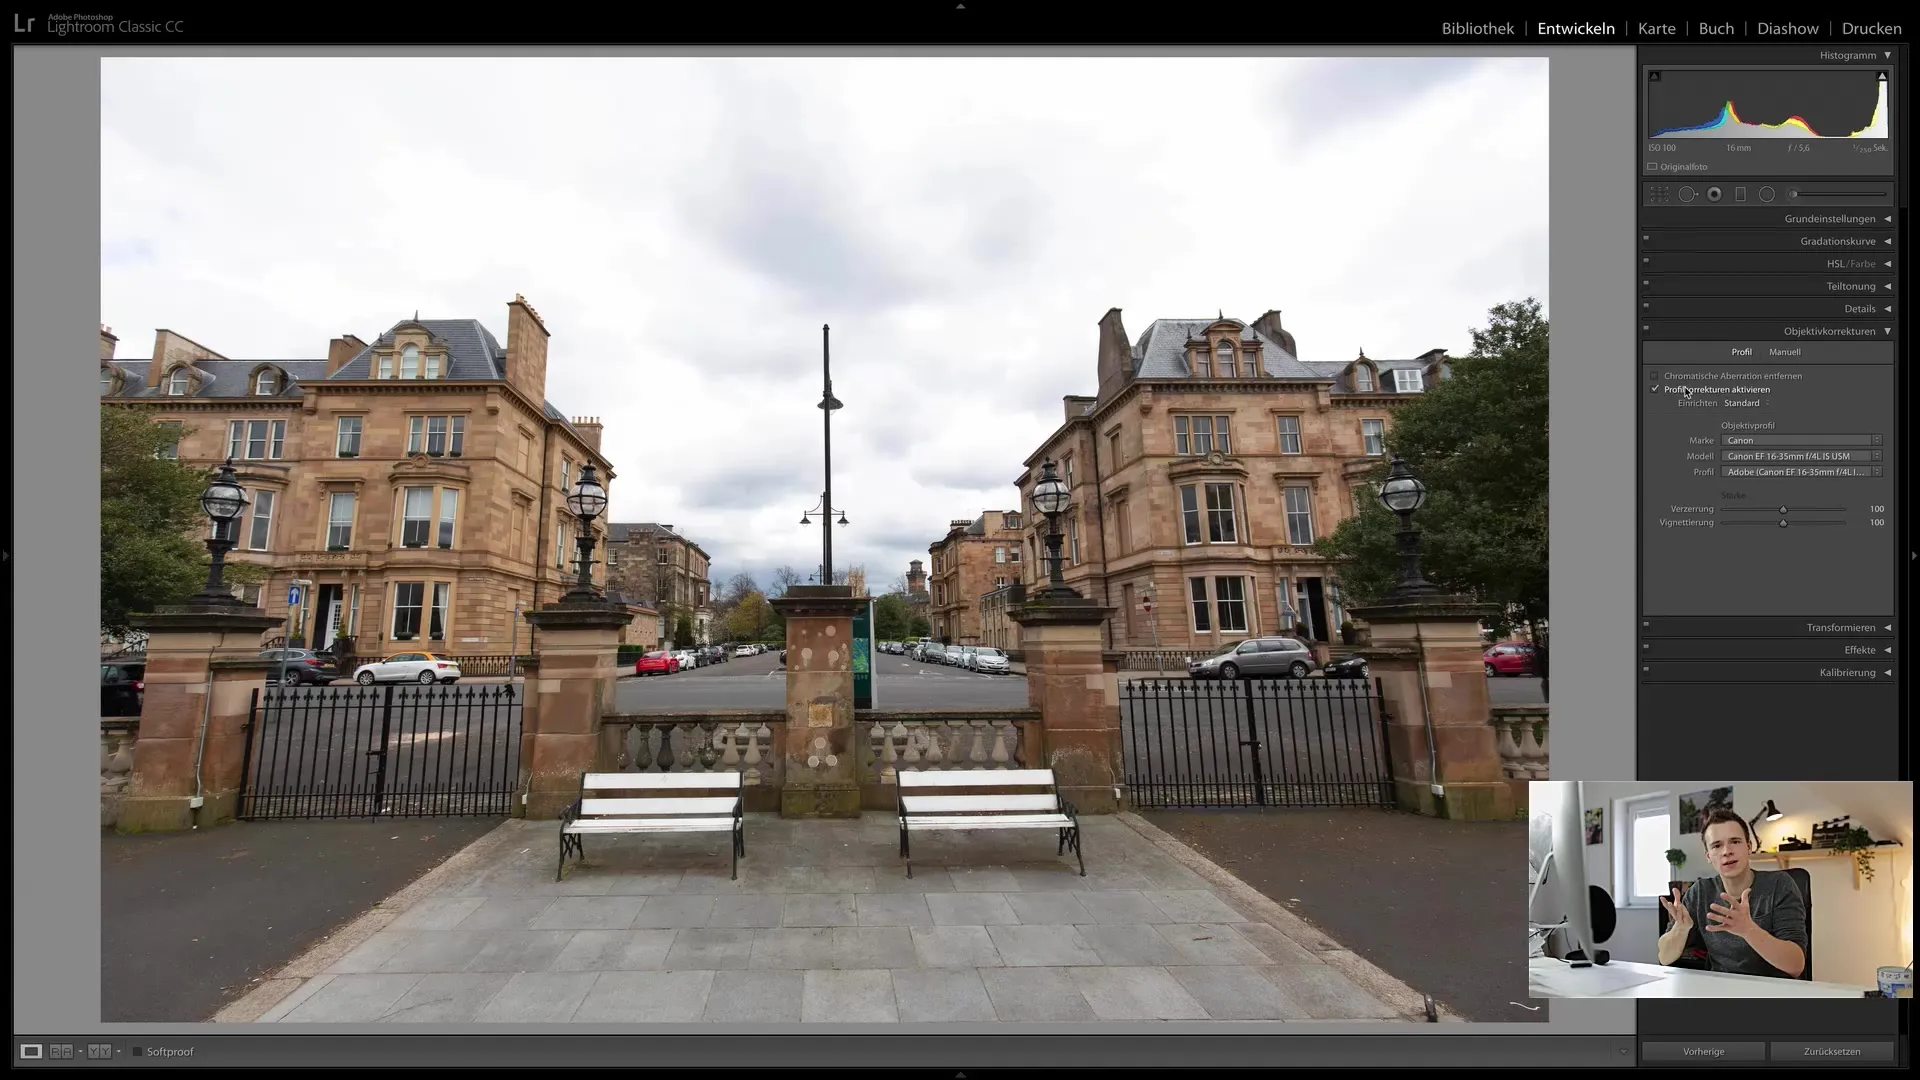
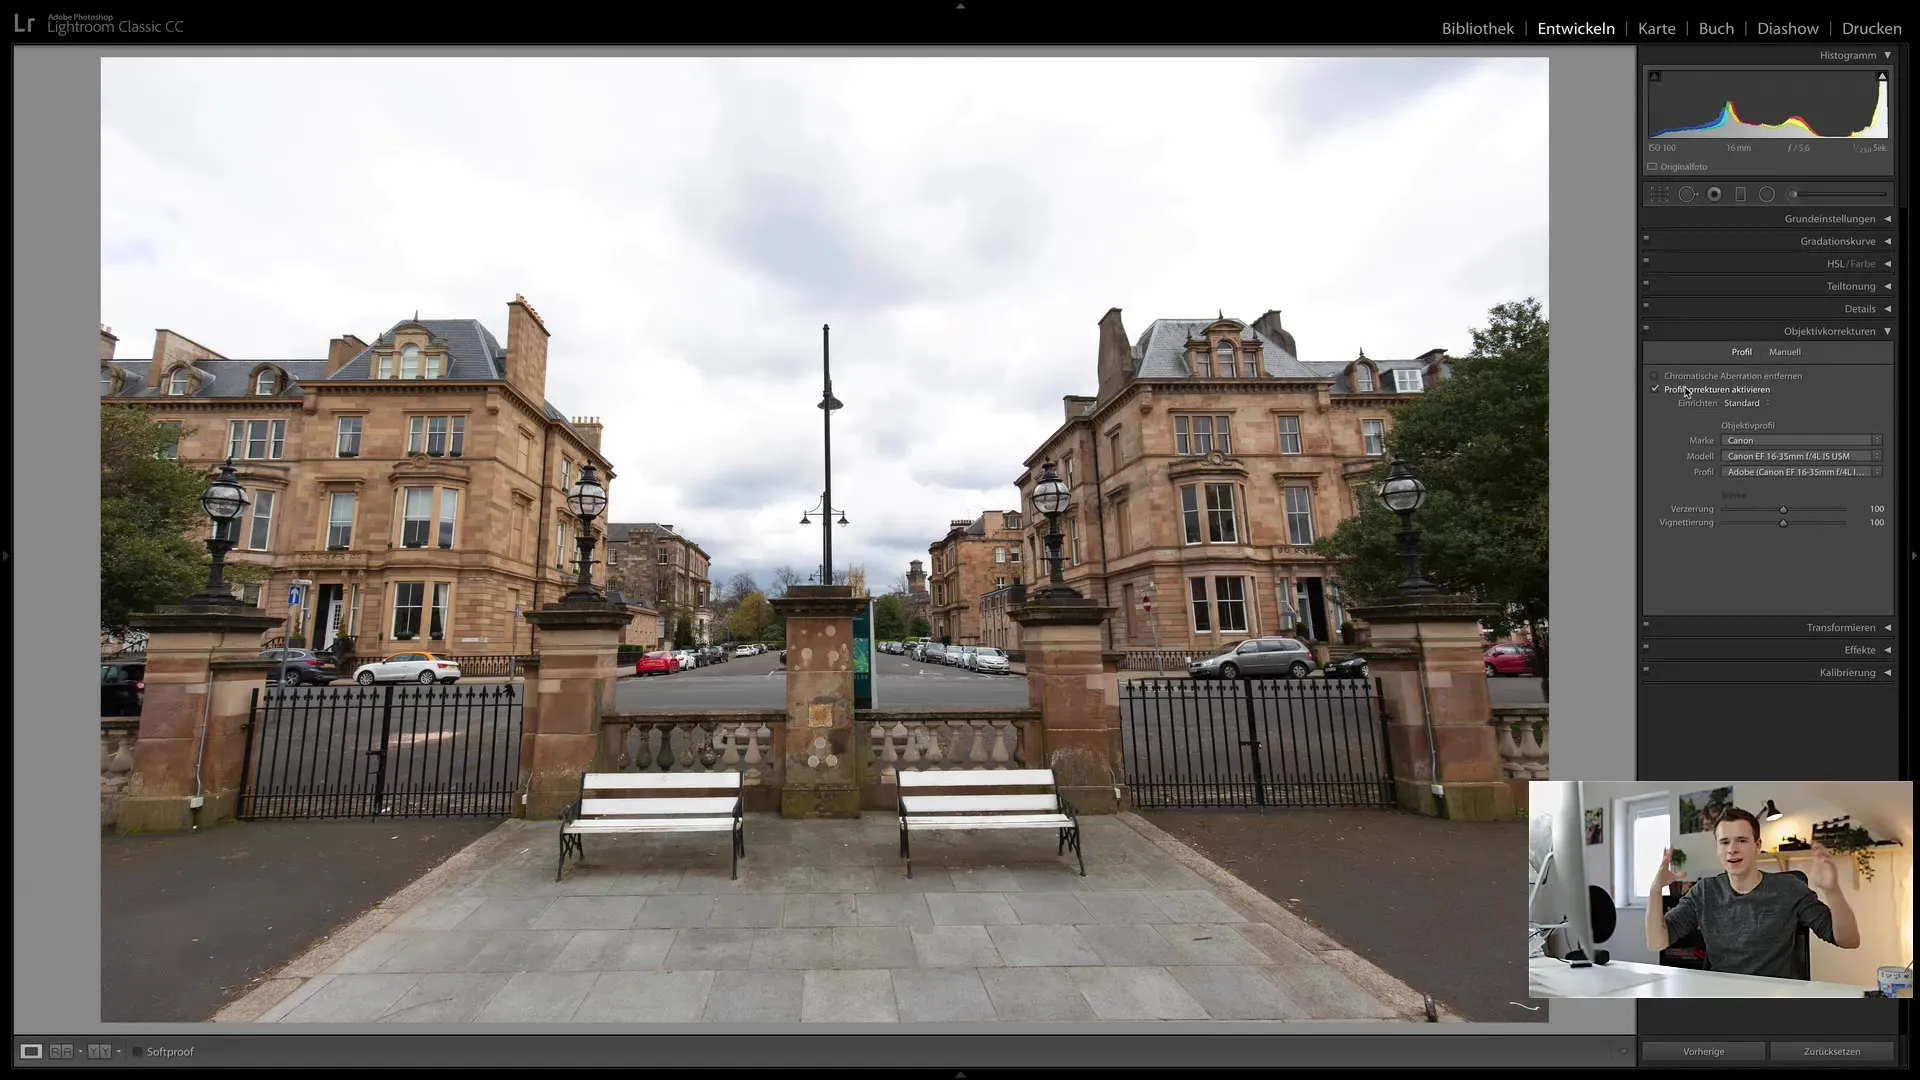
Once you are in the Develop module, scroll down to the "Lens Correction" section. First, activate the option "Enable Lens Corrections". You will immediately notice how your image changes. This is because Lightroom automatically corrects some of the typical distortions created by the lens using predefined profiles.

Step 4: Selecting the Lens Profile
After activating lens correction, there are options to choose the specific lens profile. Lightroom has a variety of profiles for different lens brands and models. Select the equivalent model of your lens to make the best possible corrections.

Step 5: Manually Adjusting Distortion
If you are not satisfied with the automatic corrections or want a specific adjustment, you can manually adjust the distortion sliders. Move the slider to the right or left to adjust the strength of the distortion to your liking. This is particularly useful to reduce the typical wide-angle effect if you want the edges to appear clearer and less distorted.
Step 6: Adjusting Vignetting
Wide-angle lenses tend to darken at the edges, known as vignetting. You can eliminate or adjust the vignetting by using the appropriate sliders in Lightroom. Pay attention to how the image changes as you adjust the settings.
Step 7: Eliminating Chromatic Aberrations
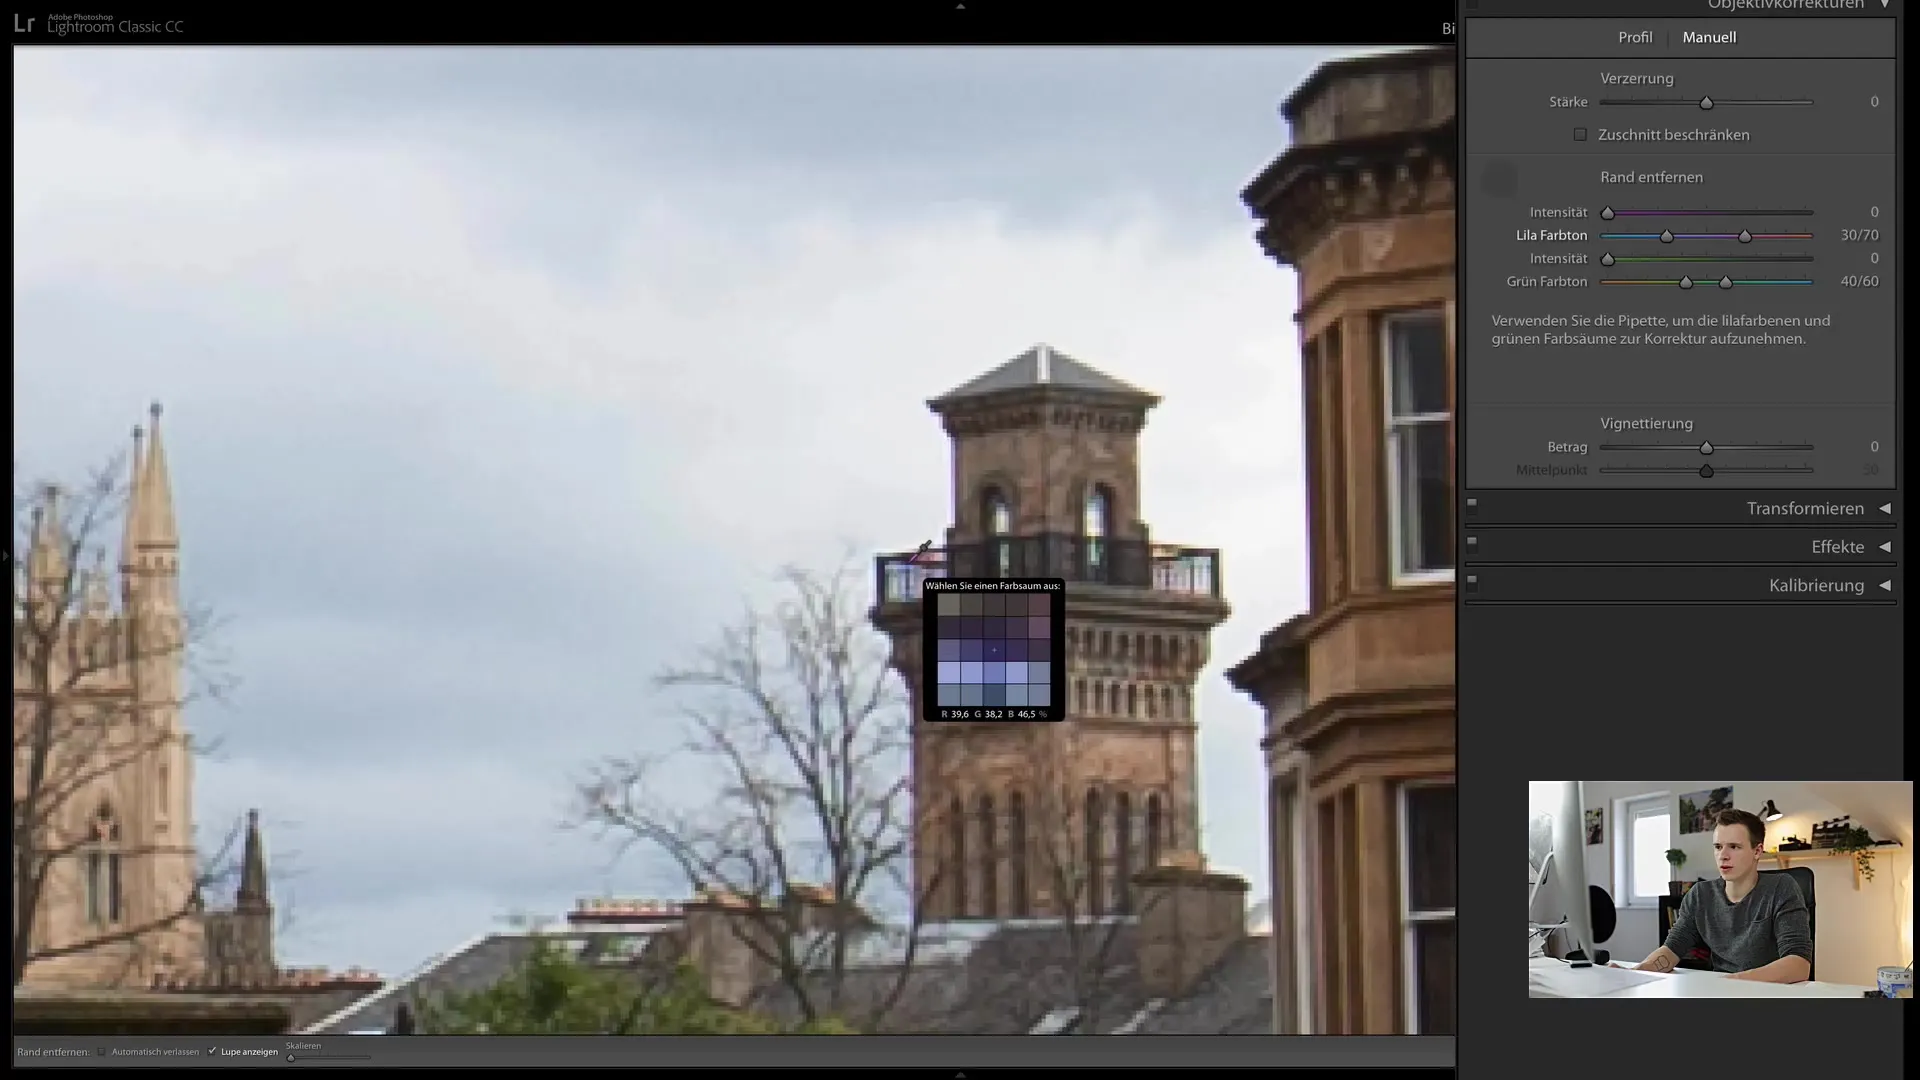
Another common issue is chromatic aberrations. These often occur in backlit shots, where color fringing, such as purple or green, appears at the edges. Choose the option to automatically remove chromatic aberration or use the pipette tool to manually correct specific colors.
Step 8: Making Fine-Tune Adjustments
If you are satisfied with the previous corrections, you can make further fine adjustments. This includes editing the edges or further adjusting the center of the vignette. These steps are optional but can help you refine the image even further.
Step 9: Saving the Changes
After you have made all your corrections, do not forget to save your changes. Lightroom automatically saves these when you exit the image, but it is always a good habit to review and save your work regularly.
Summary
In this step-by-step guide, you have learned how to effectively use lens correction in Lightroom Classic CC. From activating the features to manually adjusting the corrections, Lightroom offers numerous options to fix distortions and other optical errors. By following these steps, you can significantly improve the image quality of your photos and present your shots in full glory.
Frequently Asked Questions
What is lens correction?Lens correction is a process to correct distortions and other errors caused by the lens of a camera's objective.
What settings should I use for wide-angle lenses?Use the automatic corrections in Lightroom and adjust distortion and vignetting manually if desired effects are to be achieved.
Can I undo the corrections?Yes, Lightroom allows you to undo changes at any time or edit them at any time.
Do I always have to apply lens corrections?Not necessarily. It depends on your personal style and the requirements of the photo.
What is the best method to remove chromatic aberrations?Either automatically through the lens corrections or manually with the dropper tool to correct specific colors.


