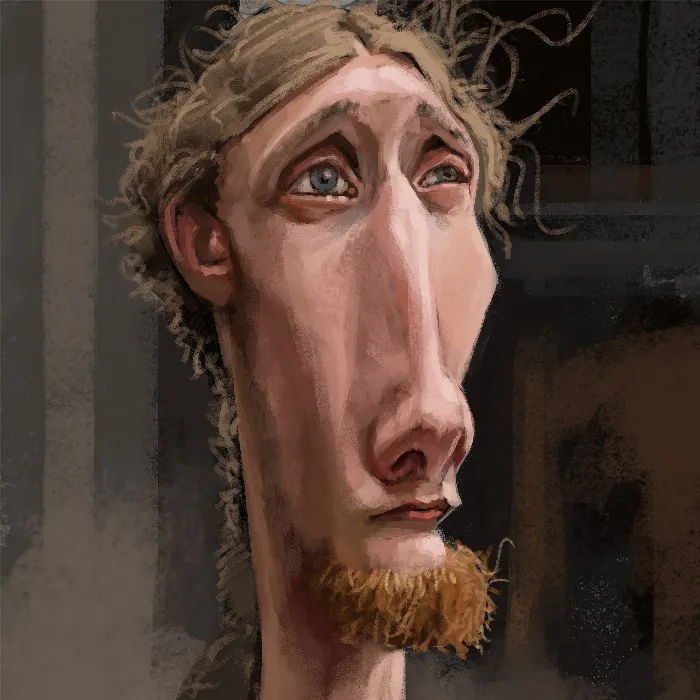
The completion of a digitally painted character is an exciting challenge. In this guide, I will show you how to refine your artworks using various Photoshop techniques and enhance them with creative effects. Step by step, go through the process of final touches with me as we make the image more vibrant and interesting.
Key insights
- Revising simple details can make a big difference.
- The use of light and shadow play adds depth to your work.
- Colors should be chosen carefully to achieve the right expression.
- Effects like blurring and sharpening can enhance perspective and focus.
Step-by-step guide
Before you start the painting process, make sure all your tools are ready and you have a clear idea of the desired changes.
1. Revising the basic shapes
Start by reviewing the basic shapes of your character. Often, it helps to wait a day to get a fresh perspective on the image. You'll be surprised at how many small improvements come to mind.
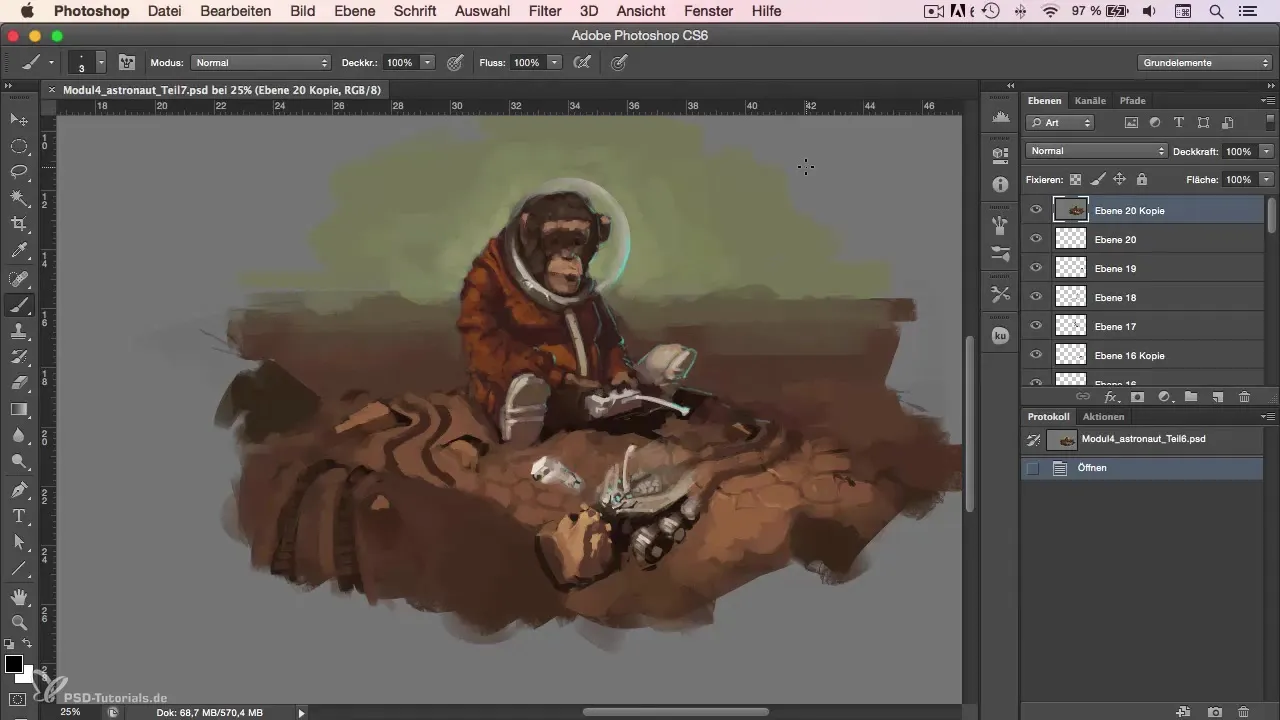
In this step, I want to optimize the design of a rover. The shape and surface are particularly important. Don’t forget to occasionally ask an outsider for additional perspectives.
2. Adjusting the surface structures
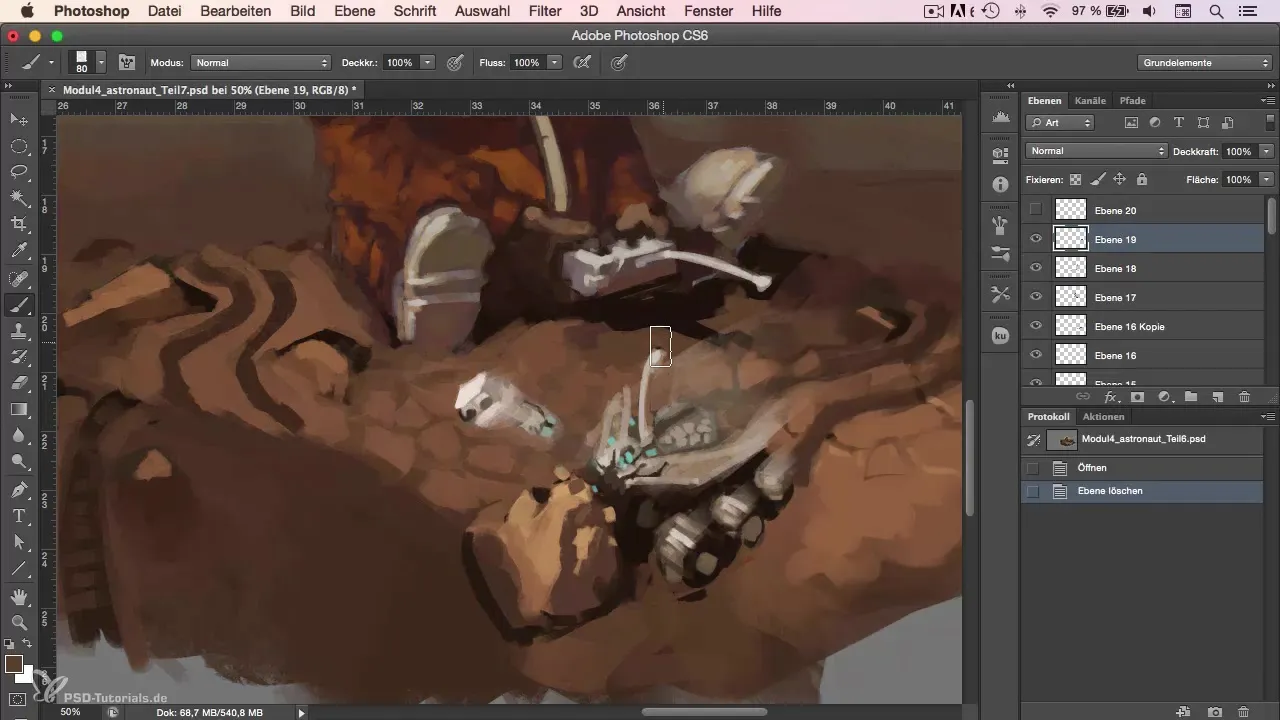
Now, focus on the details of the surface. It may be necessary to revise the color and design of the individual parts of your character, such as the solar panels. Ensure that the textures work properly with light and shadow.
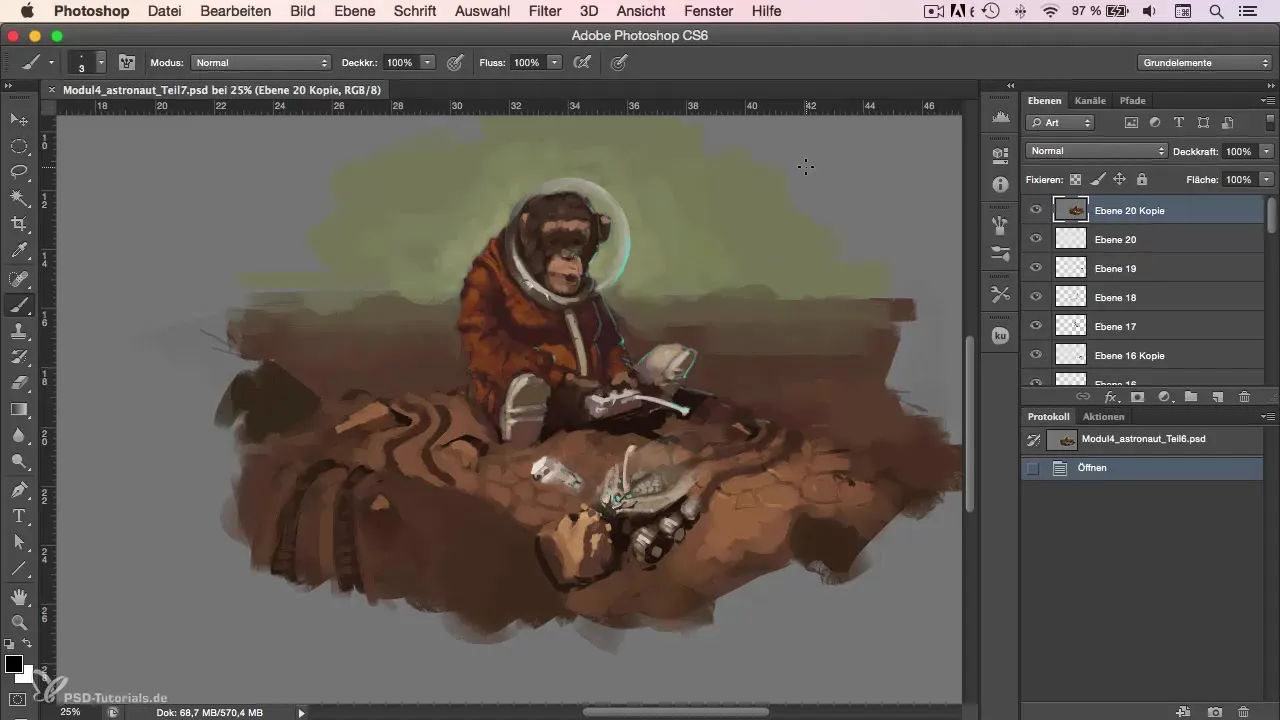
Here, you should create a new layer to make changes safely and non-destructively. Dark tones work well to achieve realistic effects.
3. Creatively using colors and reflections
Take the color palette and see which areas can look fresher. Ensure the image remains balanced and doesn't suffer from color flooding. Balance areas out and experiment with different shades.
A targeted use of color gradients can be helpful here. Revitalize the surfaces so they reflect the feeling of light and create depth.
4. Adding light effects
For a more dynamic look, add a new layer set to "linear dodge". Use dark colors to create light reflections. Be careful not to overdo it – a subtle approach often leads to more appealing results.
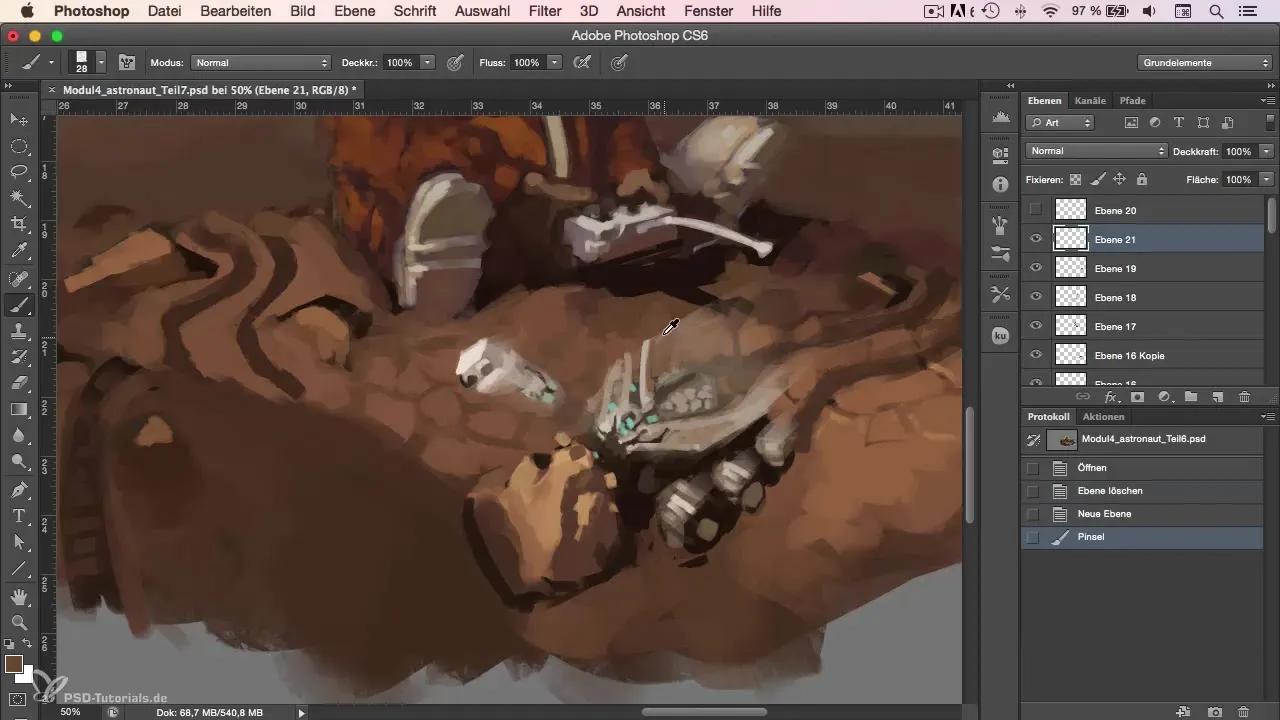
This type of effect can give your work an additional highlight, especially in places that need to stand out.
5. Blurring and sharpening
Use the blur filters to create blurriness in the edges of the image so that the focus remains on the central elements. This can be particularly effective when there are many details that should not distract.
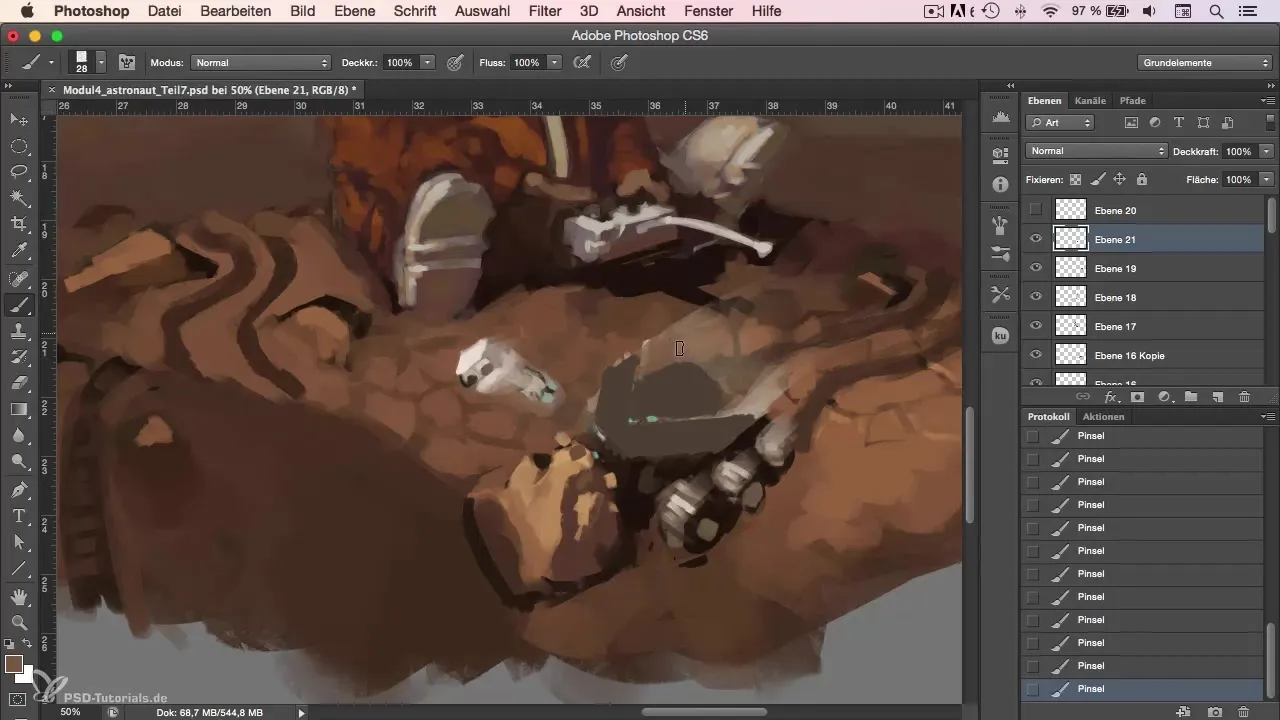
Make sure the effect is not too extreme and does not compromise the overall quality of the image.
6. Final touches and last adjustments
Once the effects are added, check the edges and borders of your work. It may help to adjust the opacity of the overlapping elements to achieve a harmonious overall image.
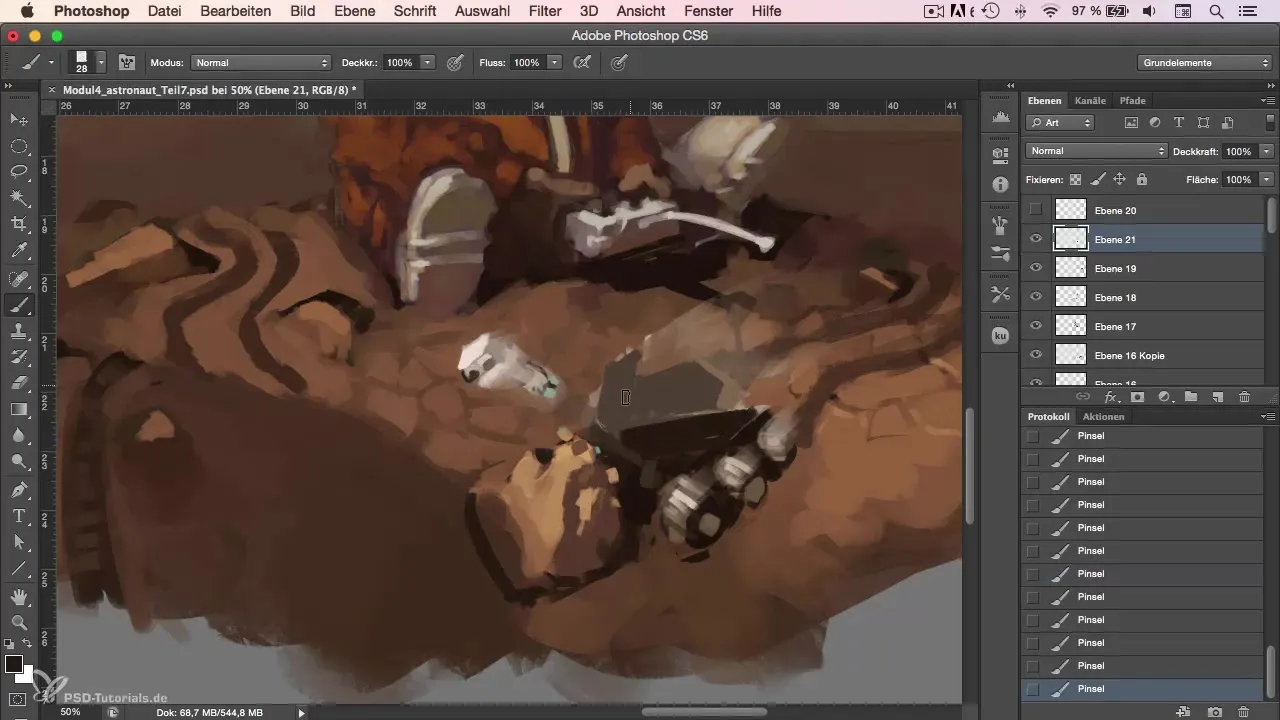
Continue to use varied textures to avoid boredom. Adding small details can make a big difference.
7. Taking it to the next level with tilt-shift effects
Consider applying a tilt-shift effect in the final step to enhance the focus on the main subject and slightly blur everything else. This can help make your work look more professional.
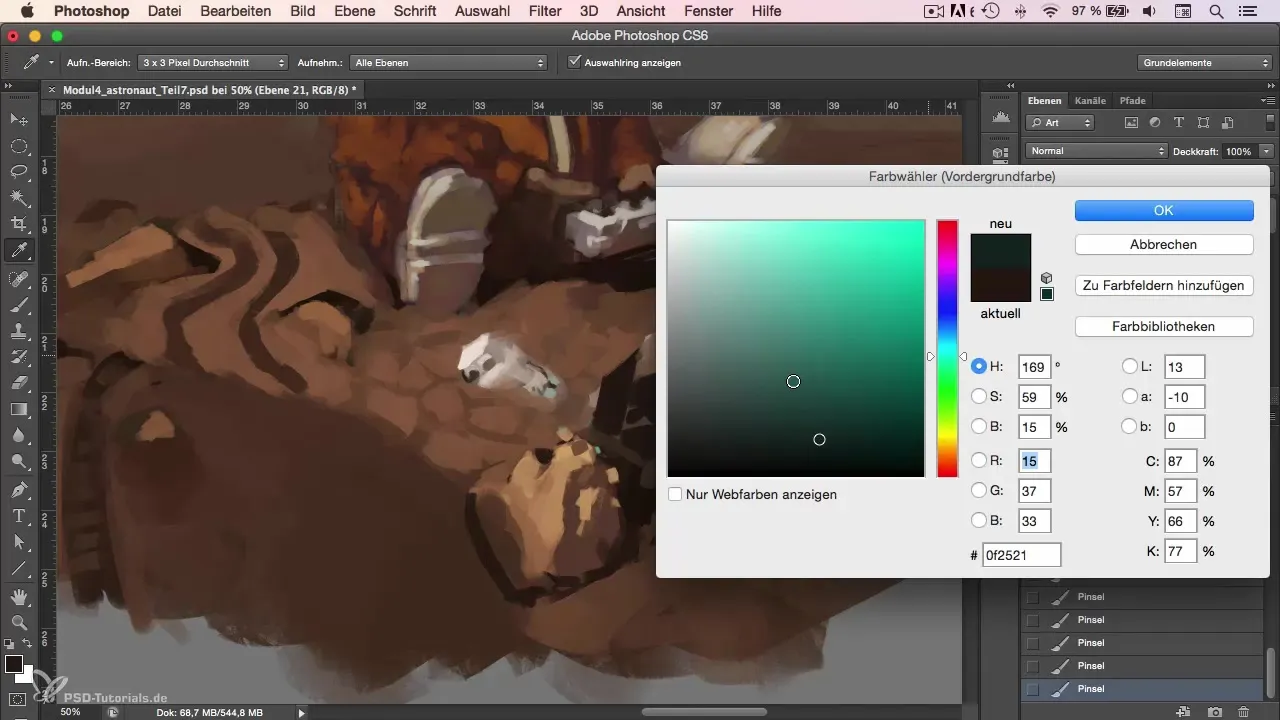
This effect is particularly useful if you want to ensure that the viewer perceives the main features of your character correctly.
8. Signature and final details
Finally, don't forget to incorporate your signature. Place it subtly so that it doesn’t distract from the image but rather completes it.
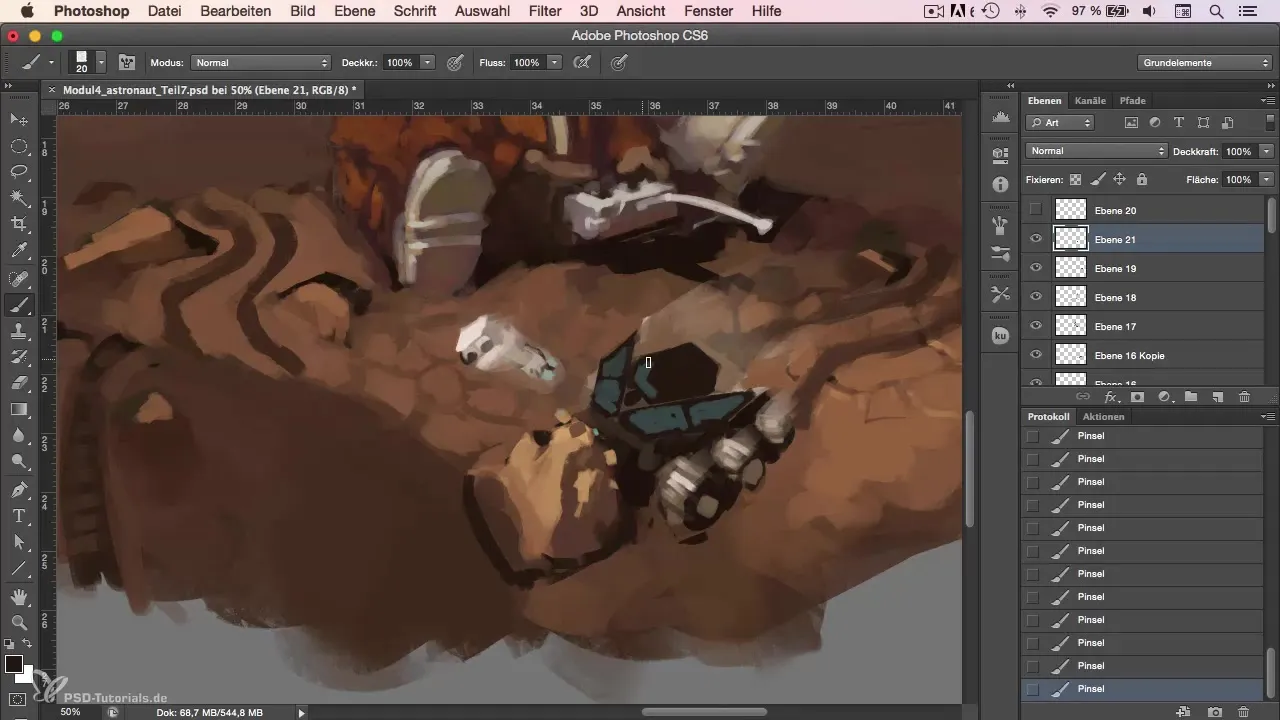
Give your image a final look and make any last corrections before saving and preparing it.
Summary
This tutorial provides you with a step-by-step guide to completion and enhancement of your digital characters in Photoshop. With practical tips on revising, using light effects, and applying blurring and sharpening, you can elevate your work to the next level.
Frequently Asked Questions
How can I optimize the dark areas of my image?By experimenting with different color tones and playing with light and shadow effects.
Why is it important to choose colors carefully?The right color choice can convey emotions and moods in the image and enhance the expressiveness of your art.
What are the best techniques for using light effects?Use a new layer set to "linear dodge" and employ dark colors to create targeted highlights.
How can I apply the tilt-shift effect?Use the blur filter in Photoshop to create blurriness at the edges and focus on the main subject.
What tools should I use for the final touch-up?Use the sharpening and blur filters to optimize the clarity and focus of the image.
