When you edit your photos in Lightroom, you cannot avoid the Develop module. Here you make adjustments that can make the difference between a good photo and a great photo. Below you will receive a detailed guide on how to effectively use the key controls in the Develop module to refine your photos and give them the finishing touch.
Key insights
- The histogram shows the distribution of shadows, midtones, and highlights.
- With specific sliders, you can detail the color and brightness.
- Lightroom stores changes virtually, without altering the original file.
- Vignette and grain effects can give character to the image.
- Removing haze and camera calibration are useful tools for improving image quality.
Step-by-step guide
At the beginning, it is important that you select a photo in Lightroom to explore the controls of the Develop module. Open this photo and use the arrow keys to navigate between the different images in your catalog. The loading of the images happens almost instantly, indicating an effective import preset.
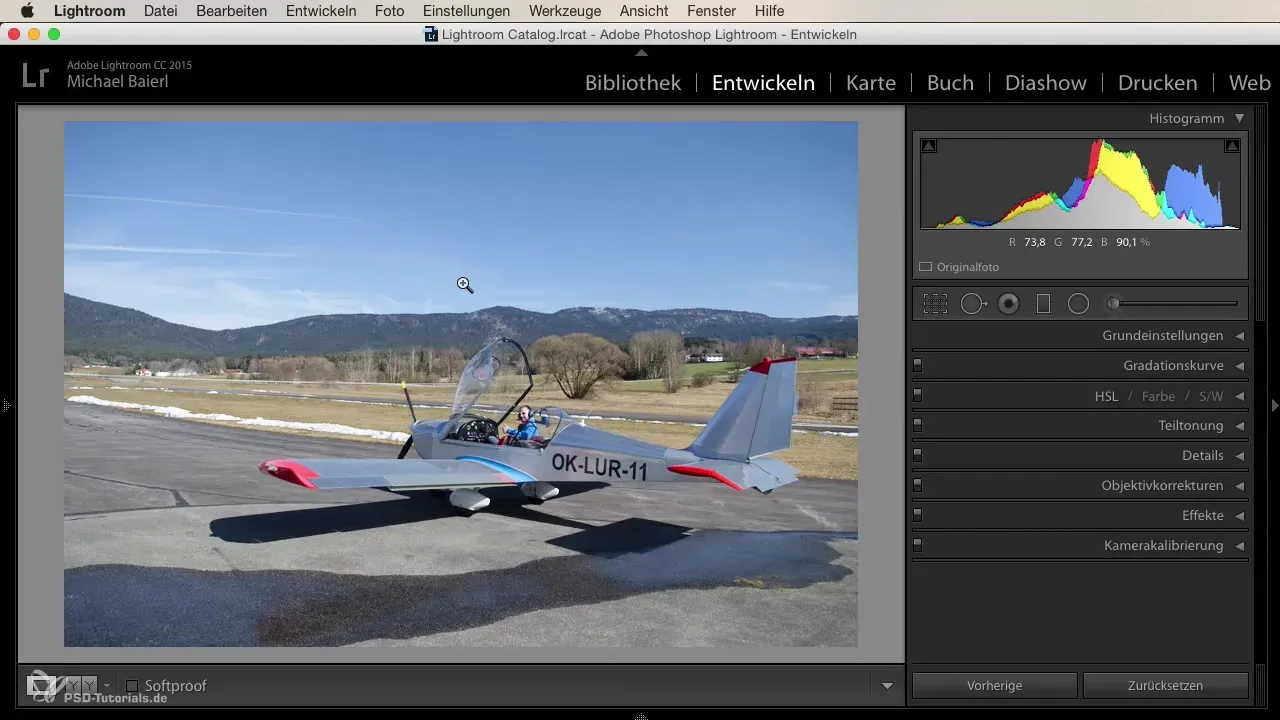
Under the histogram, you can see the distribution of the various tonal values in your image. Here you can identify shadows, midtones, and highlights. Scroll down to view the warning indicators for black and white points. To do this, check the appropriate boxes. If the image is correctly exposed, you will not see any warnings.
In the lower section, there are important adjustment tools that allow you to, for example, crop the image or remove sensor spots. A function that you also have available is the gradient filter. This can be used to edit specific areas of your image.
Now we come to the basic settings of the Develop module. Here you can change the white balance, adjust the exposure, and modify other important values. By double-clicking a slider, you quickly reset the settings to their default values, giving you the freedom for further adjustments.
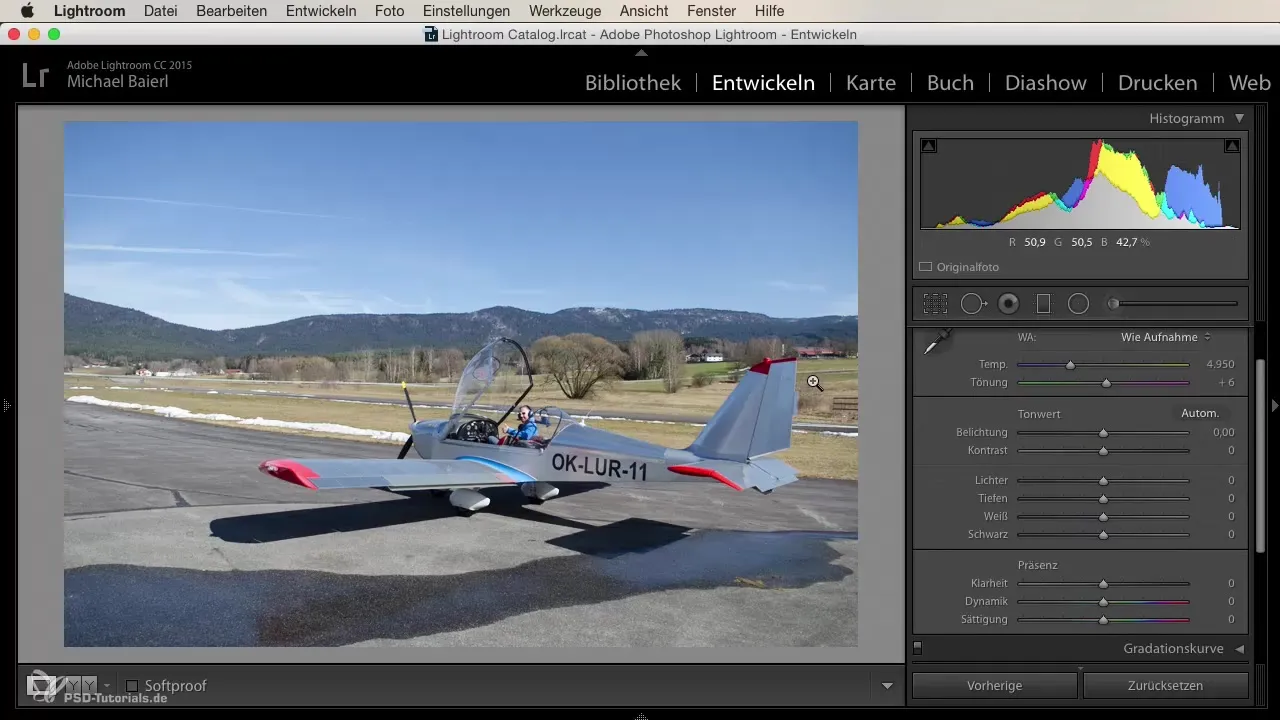
An important point is that you work only with catalog data in Lightroom. Your changes are stored in the catalog file while the original data remains unchanged. This gives you the advantage that you can always restore your original images.
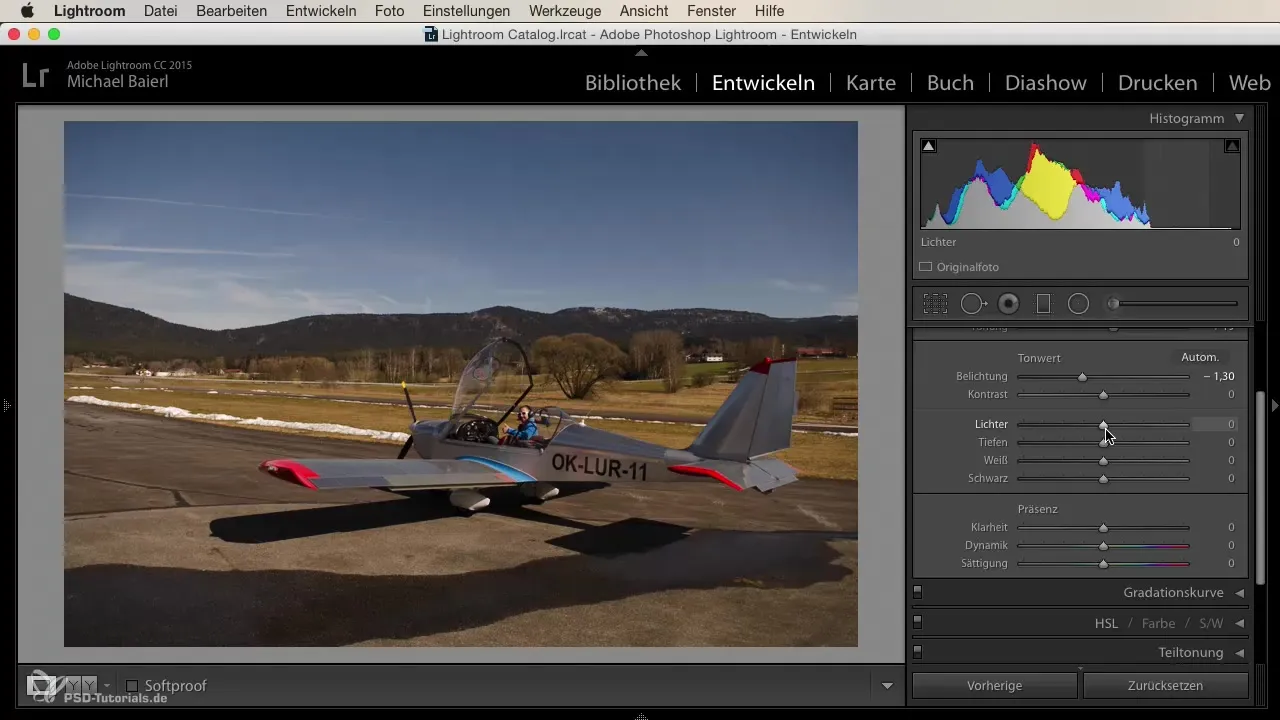
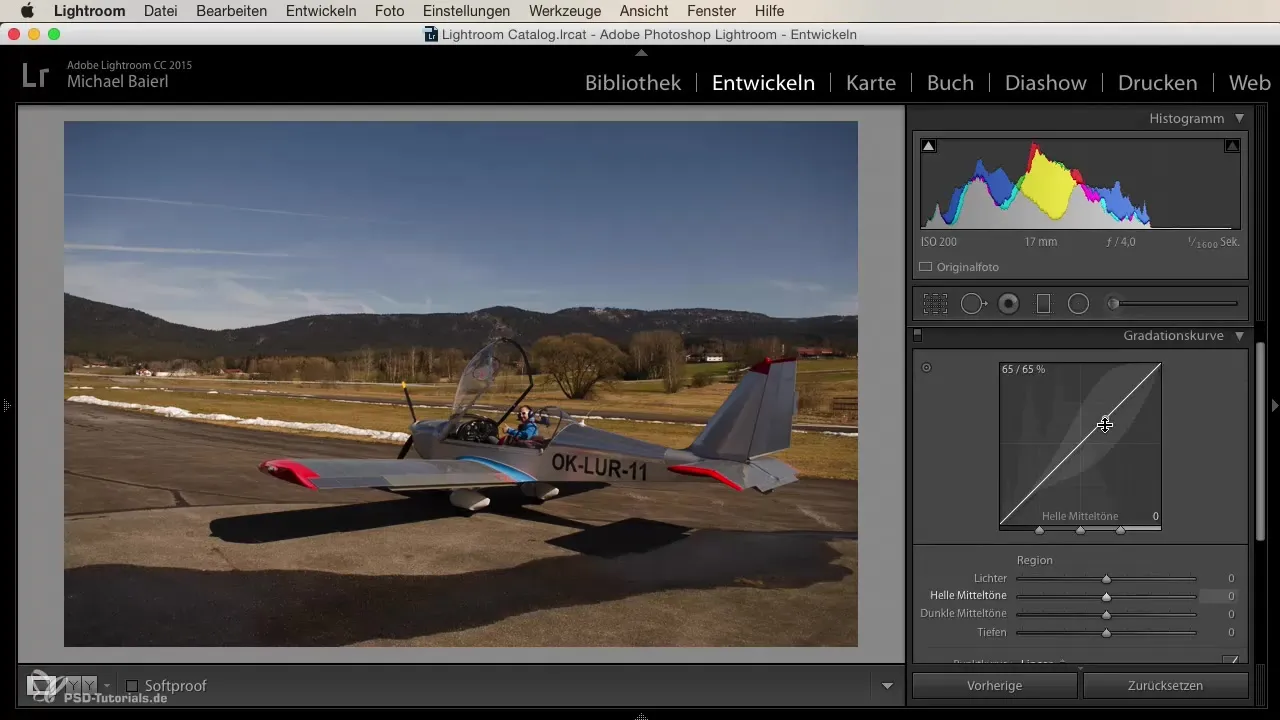
Now we move on to the tone curve, where you can refine the contrasts in your image. It is very useful to control the highlights, midtones, and shadows separately to bring more dynamics and depth to your images.
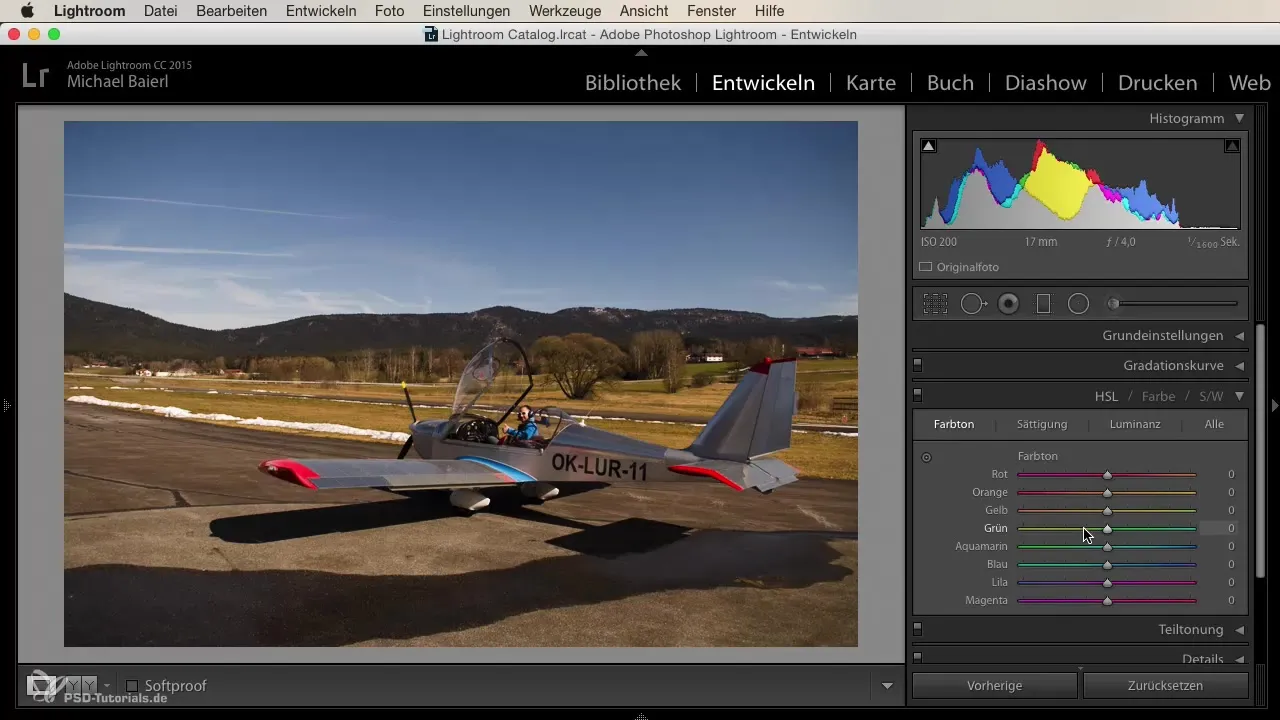
Next comes the HSL section, where you can specifically adjust colors. Here you can, for example, change the saturation of the orange slider and see how it affects the entire image. It is important that you can also adjust the brightness of individual colors to find the perfect balance.
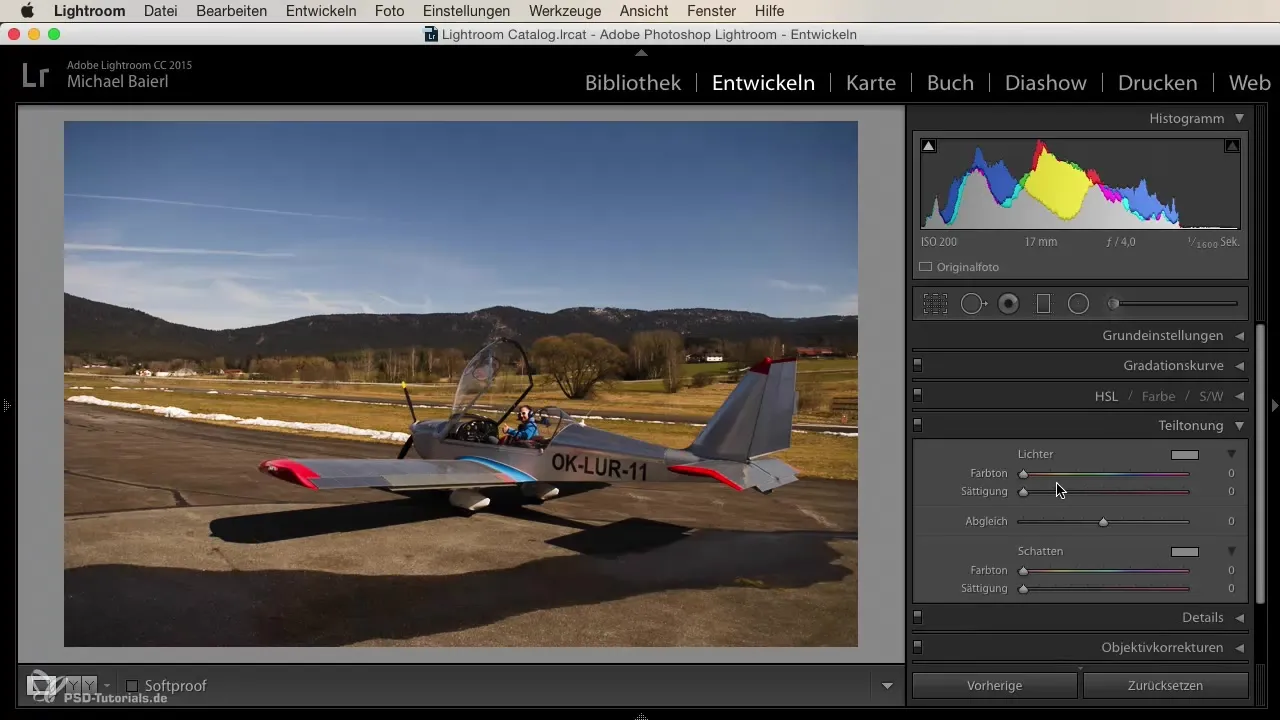
If you are ready to give your image more style and creativity, use color toning to tint the highlights in yellow and the shadows in blue, for example. Such effects give your image a unique look.
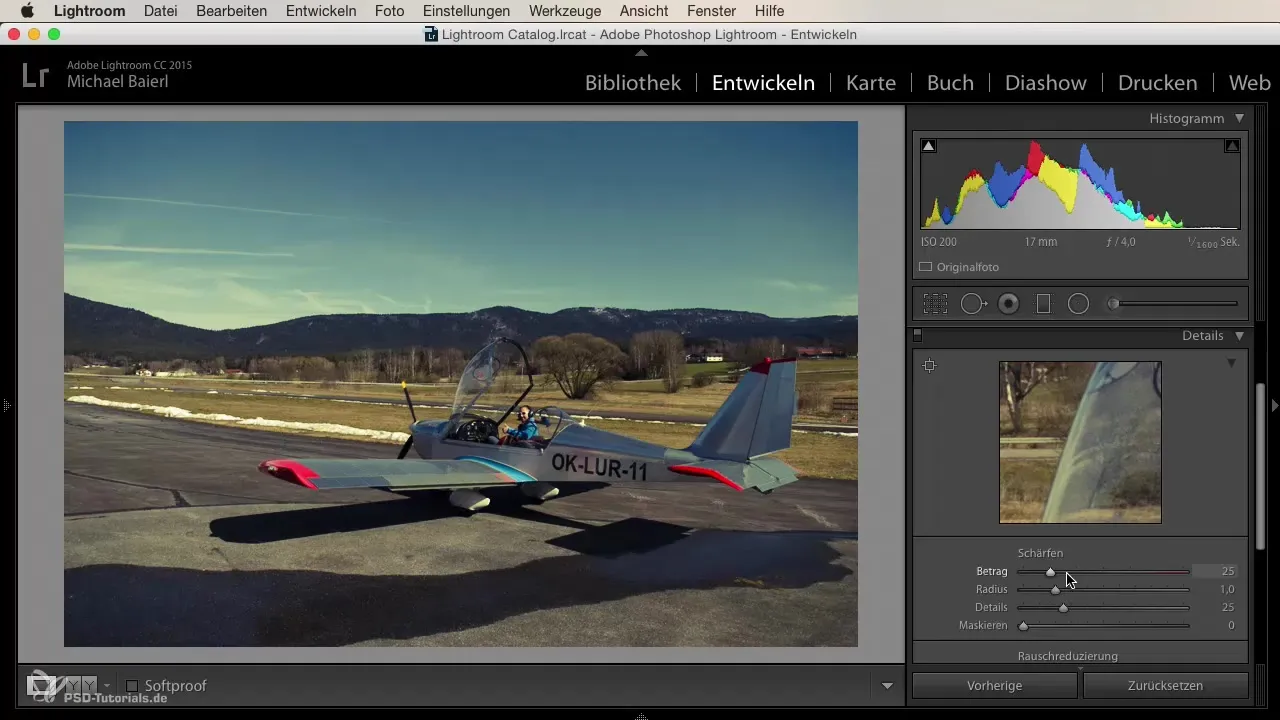
In the next step, you can adjust the sharpness. Be careful not to use the sharpening sliders excessively to avoid unsightly edges. Always proceed cautiously and ensure that you can see in the preview how your settings are affecting.
Another excellent tool is lens correction. By activating the profile corrections, your image is corrected, and the distortions caused by the lens are significantly reduced.
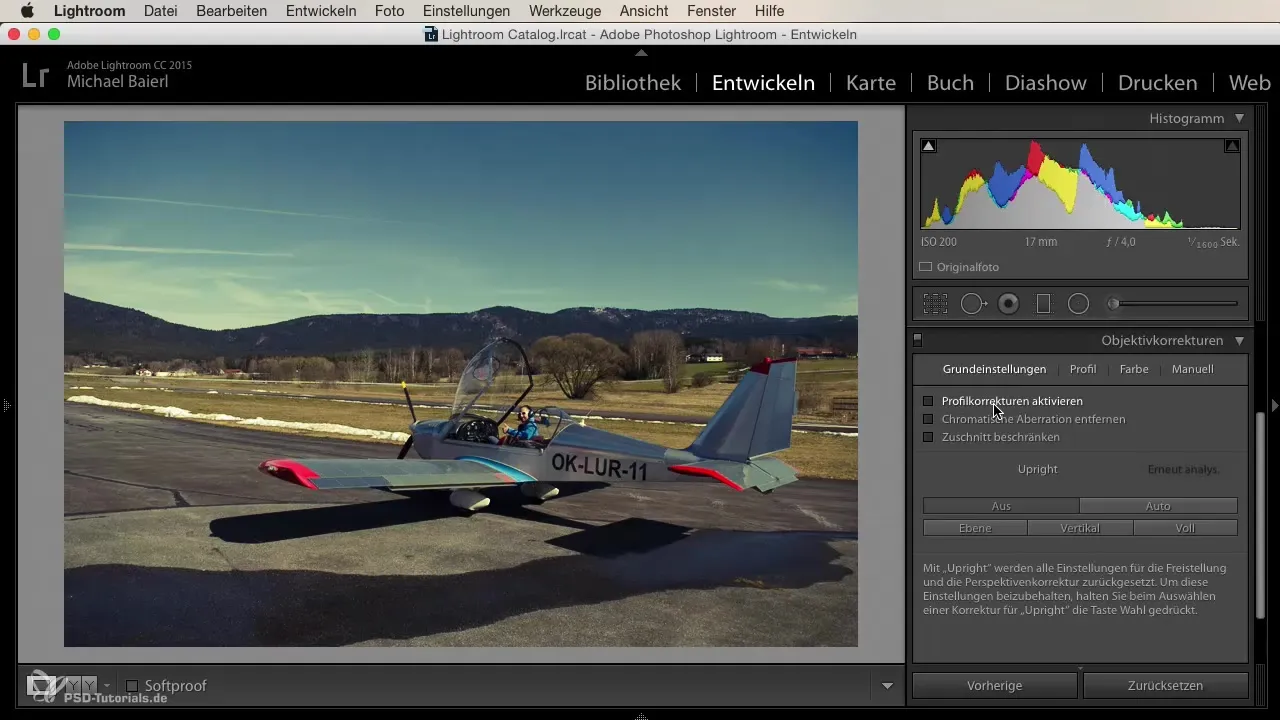
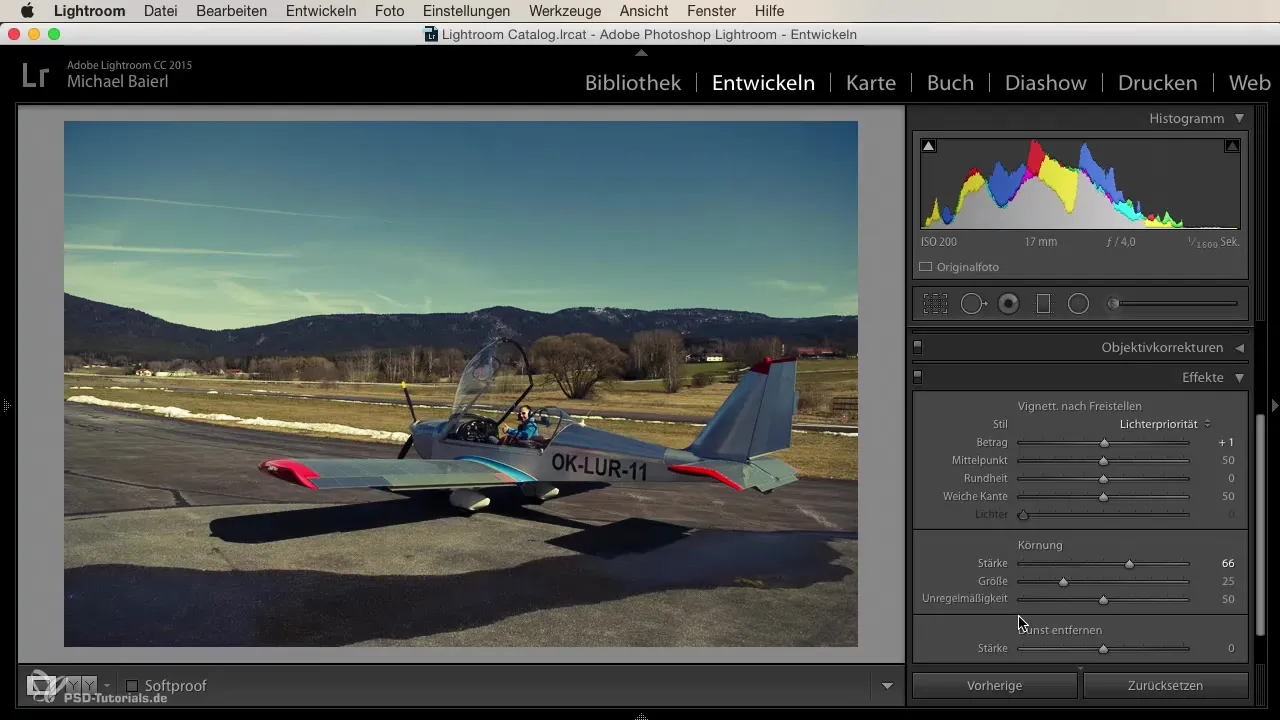
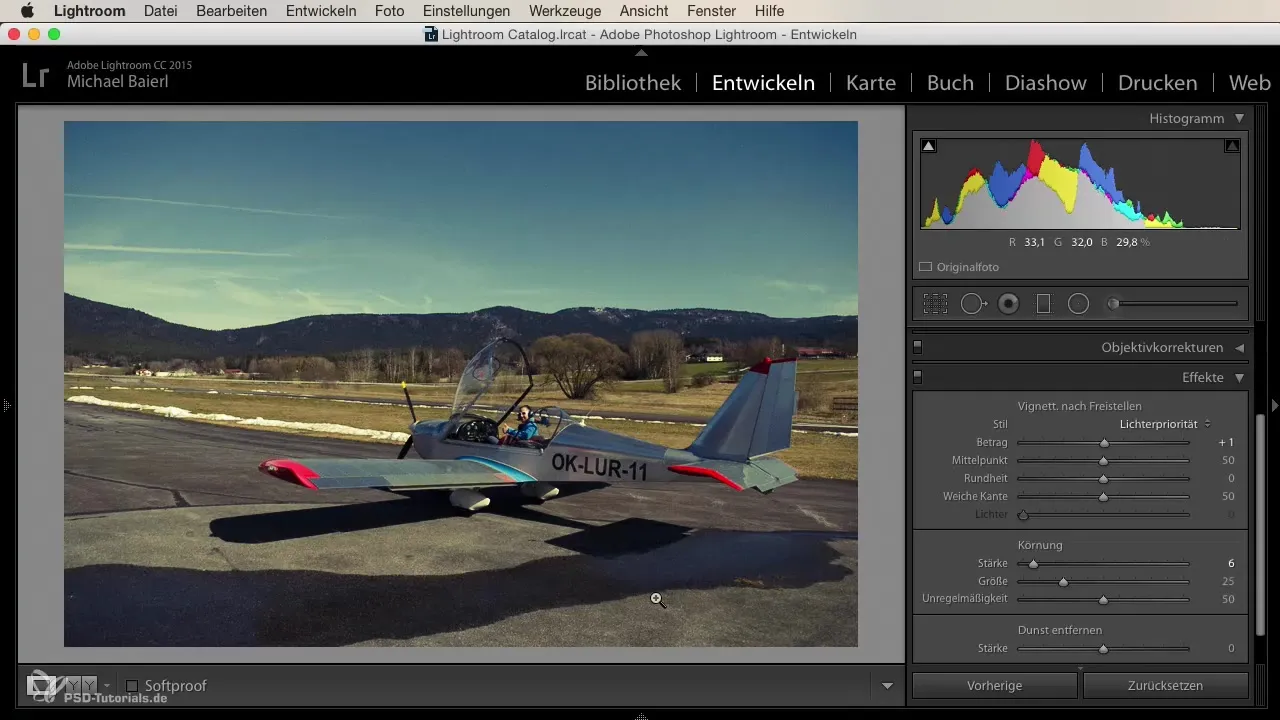
Additionally, you can give vignette a special touch. Adjust the midpoint, roundness, and softness to your liking. Grain can be another creative element to give your images a nostalgic look.
If you want to experiment with the clarity and contrast of your image, try the dehaze slider. Depending on your needs, you can achieve drastic effects that give the image more depth or create a mystical haze effect.
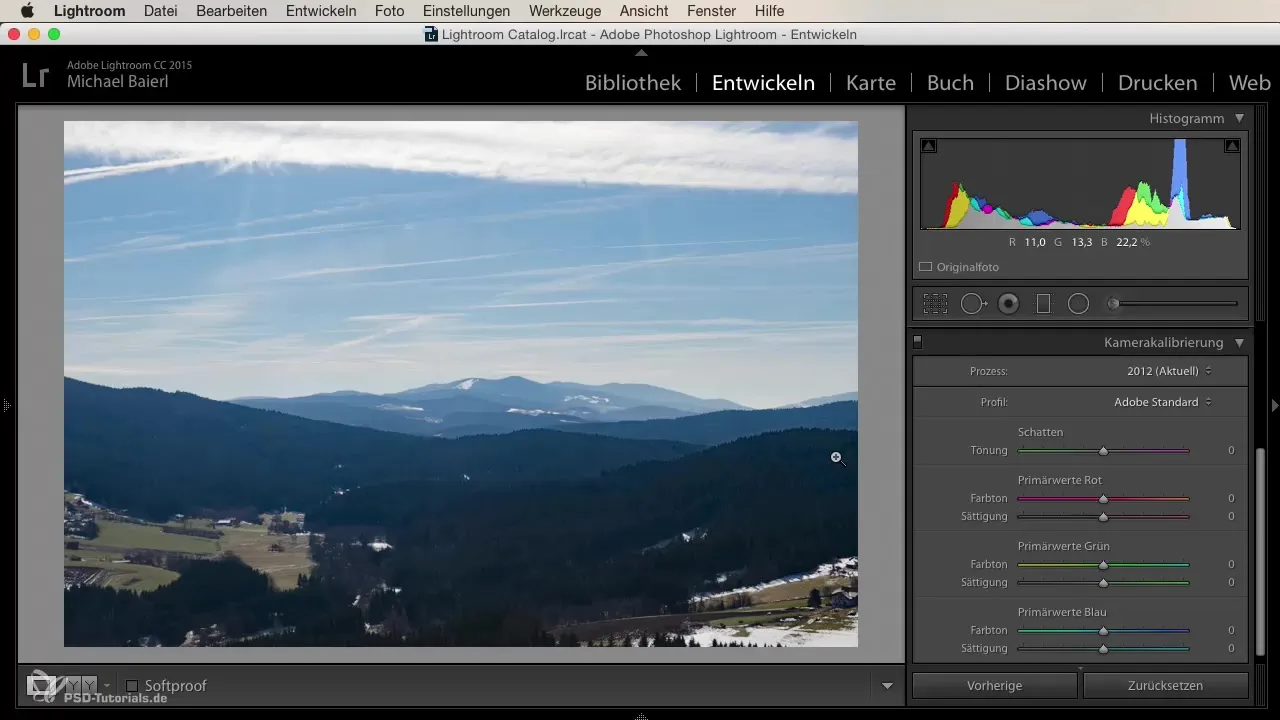
Finally, you should take a look at camera calibration. Here you can adjust color values that are directly generated by your camera. The adjustment is very effective in optimizing the desired color look already in the catalog.
Now you have a comprehensive overview of how to use the various controls in the Develop module of Lightroom to optimize your images.
Summary
In summary, the various tools in the Develop module give you the opportunity to not only technically improve your photos but also creatively shape them. By understanding the sliders and their use, you can achieve high-quality results that showcase your photographic skills.
Frequently asked questions
How can I crop the image in Lightroom?You can find the crop function in the lower area of the Develop module.
What does the histogram do in the Develop module?The histogram shows the distribution of highlights, midtones, and shadows, helping you assess the exposure.
How does Lightroom save my changes?Lightroom saves changes in a catalog file without altering the original images.
How can I undo or reset?By double-clicking a slider, you will reset all settings to the default values.
What does lens correction do for me?The lens correction fixes distortions caused by the lens and improves image quality.
