Welcome to this tutorial focusing on the virtual copies feature in Lightroom Classic CC. The ability to create different versions of an image is particularly helpful when you want to test or experiment with different editing styles without wasting storage space on additional files. In this guide, you will learn step by step how to create and manage virtual copies to bring your creative ideas to life.
Key Takeaways
Virtual copies allow you to create multiple edits of a photo without consuming additional storage space. By creating a virtual copy, you can experiment with different styles and directly compare their results side by side, giving you more flexibility in image editing.
Step-by-Step Guide
First, you should have Lightroom Classic CC open and have selected an image that you would like to edit.
Step 1: Create a Virtual Copy
To create a virtual copy, you can either right-click on the image and select "Create Virtual Copy" or use the keyboard shortcut "Command + T" on Mac or "Ctrl + T" on Windows.

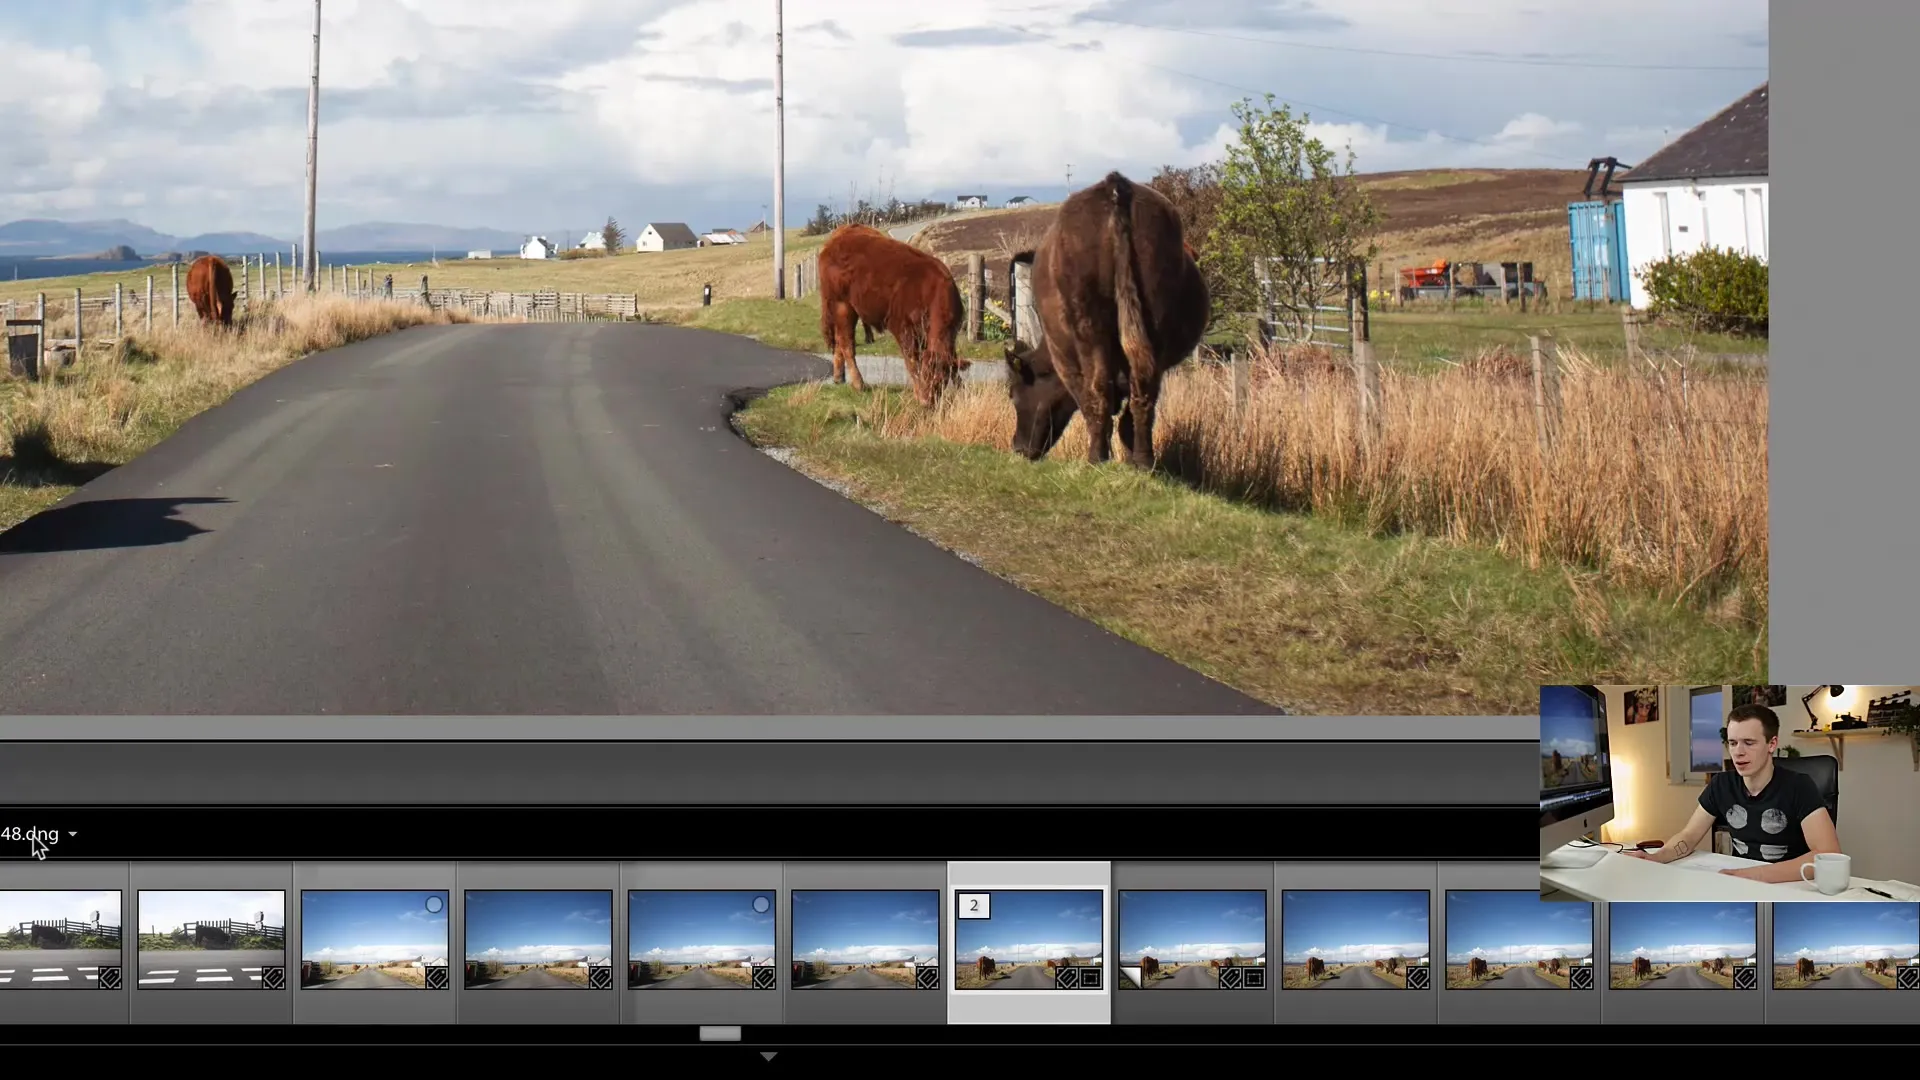
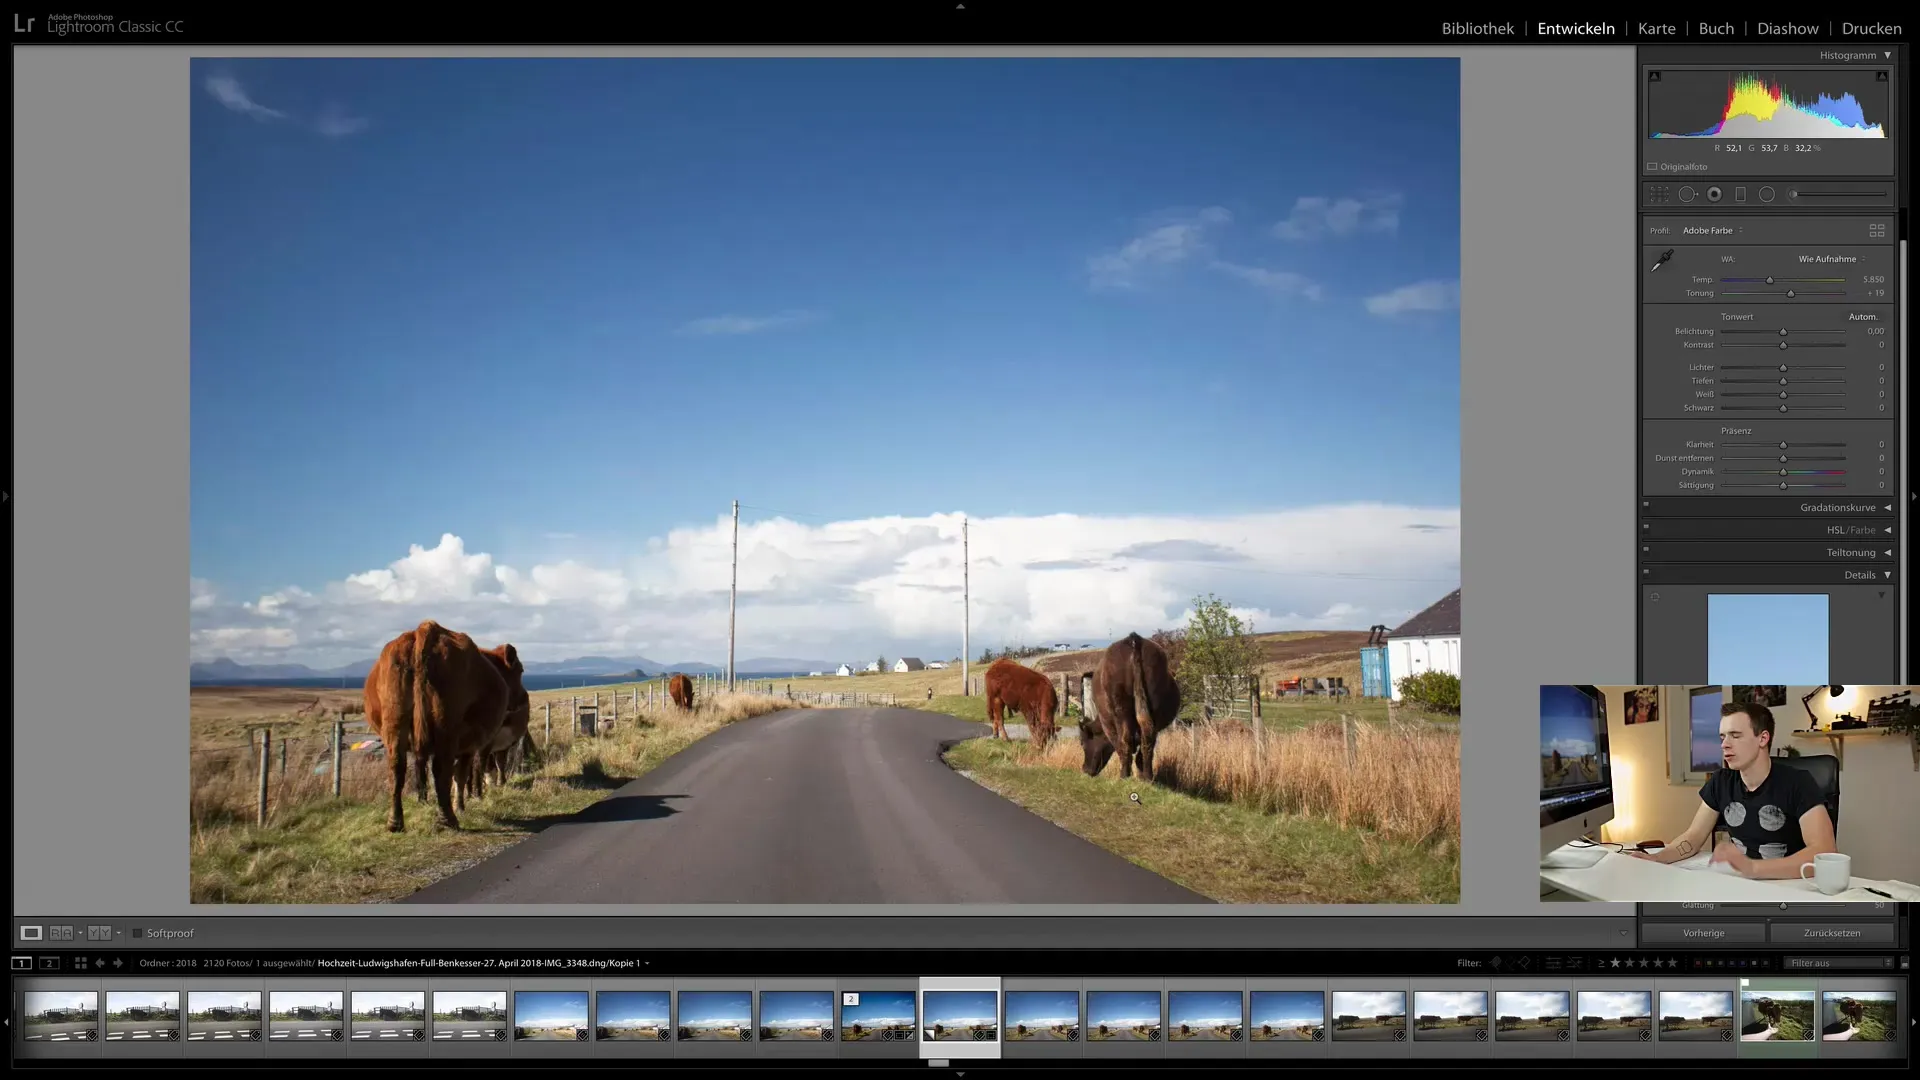
After creating a virtual copy, you will see in your catalog that the copy is named with the addition "Copy 1." The original image remains unchanged, giving you the opportunity to work on different versions of your photography without affecting the original file.

Step 2: Edit the Virtual Copy
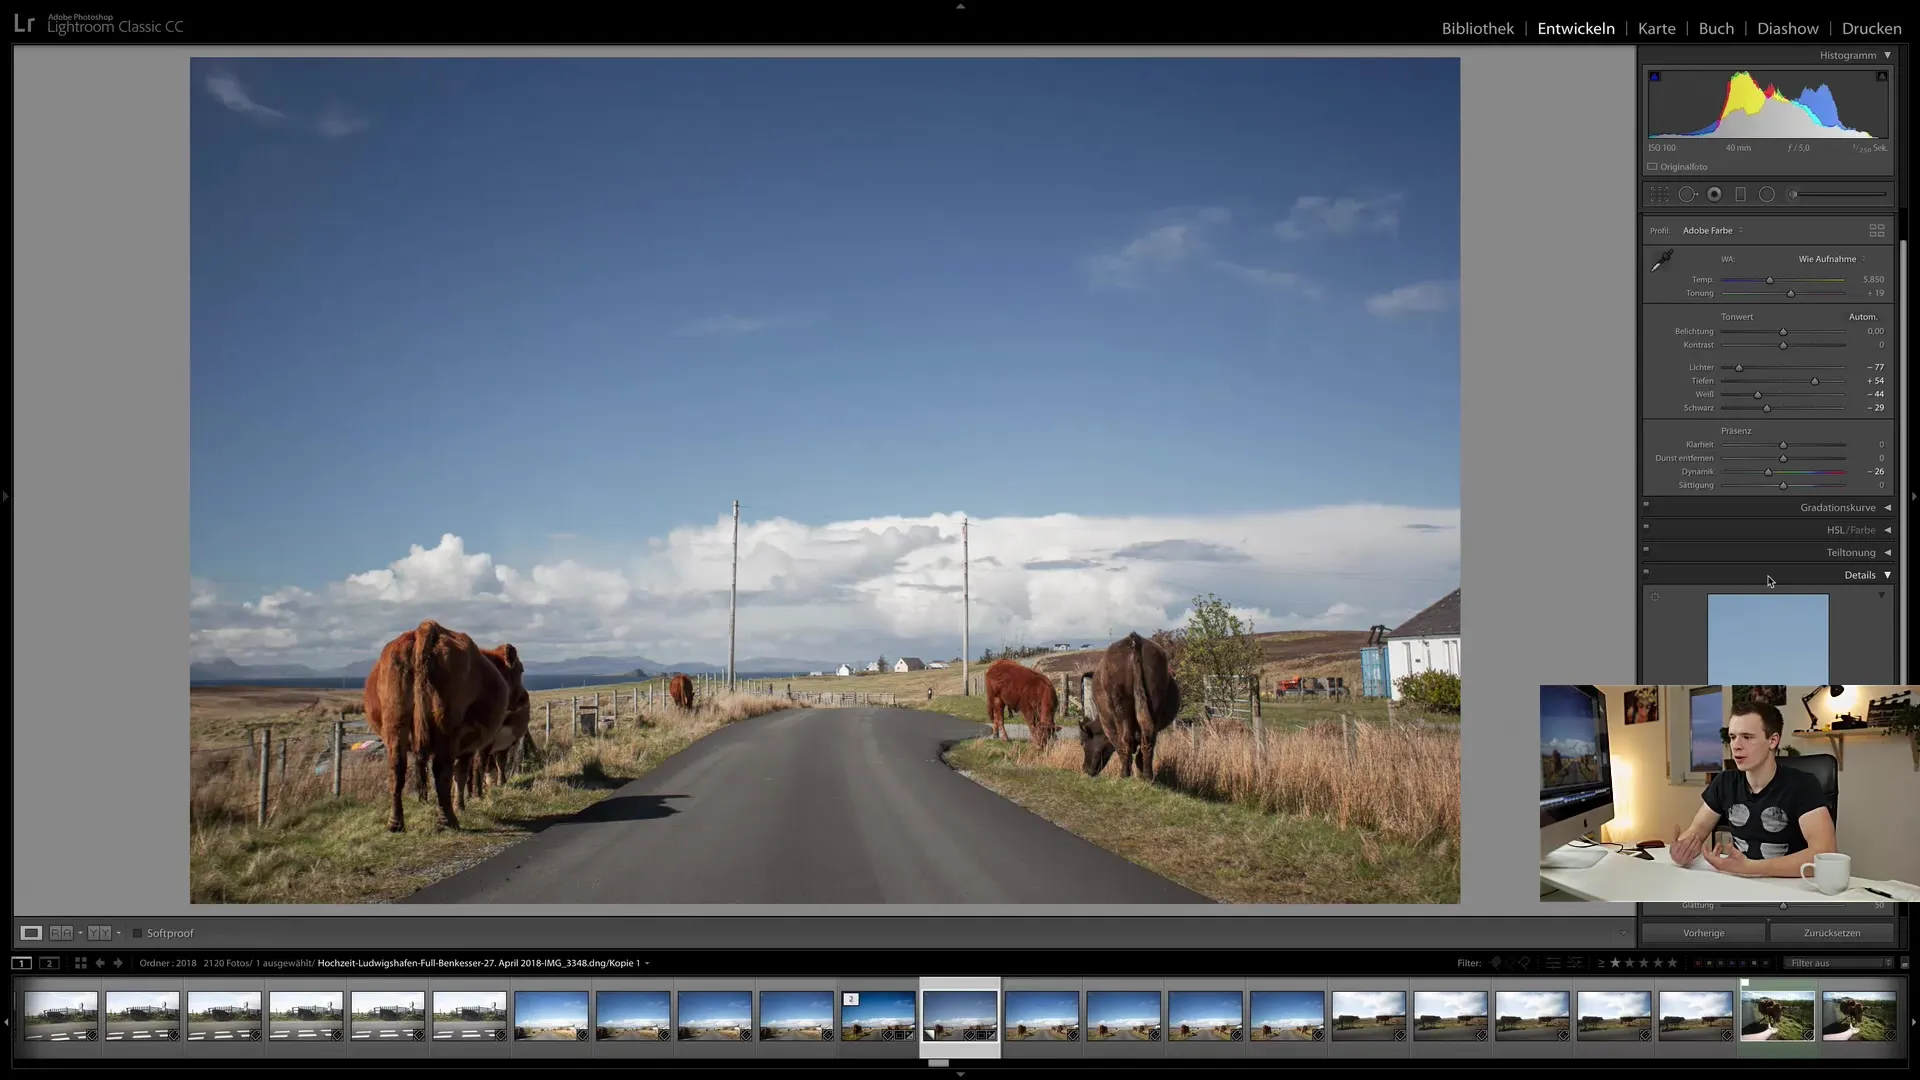
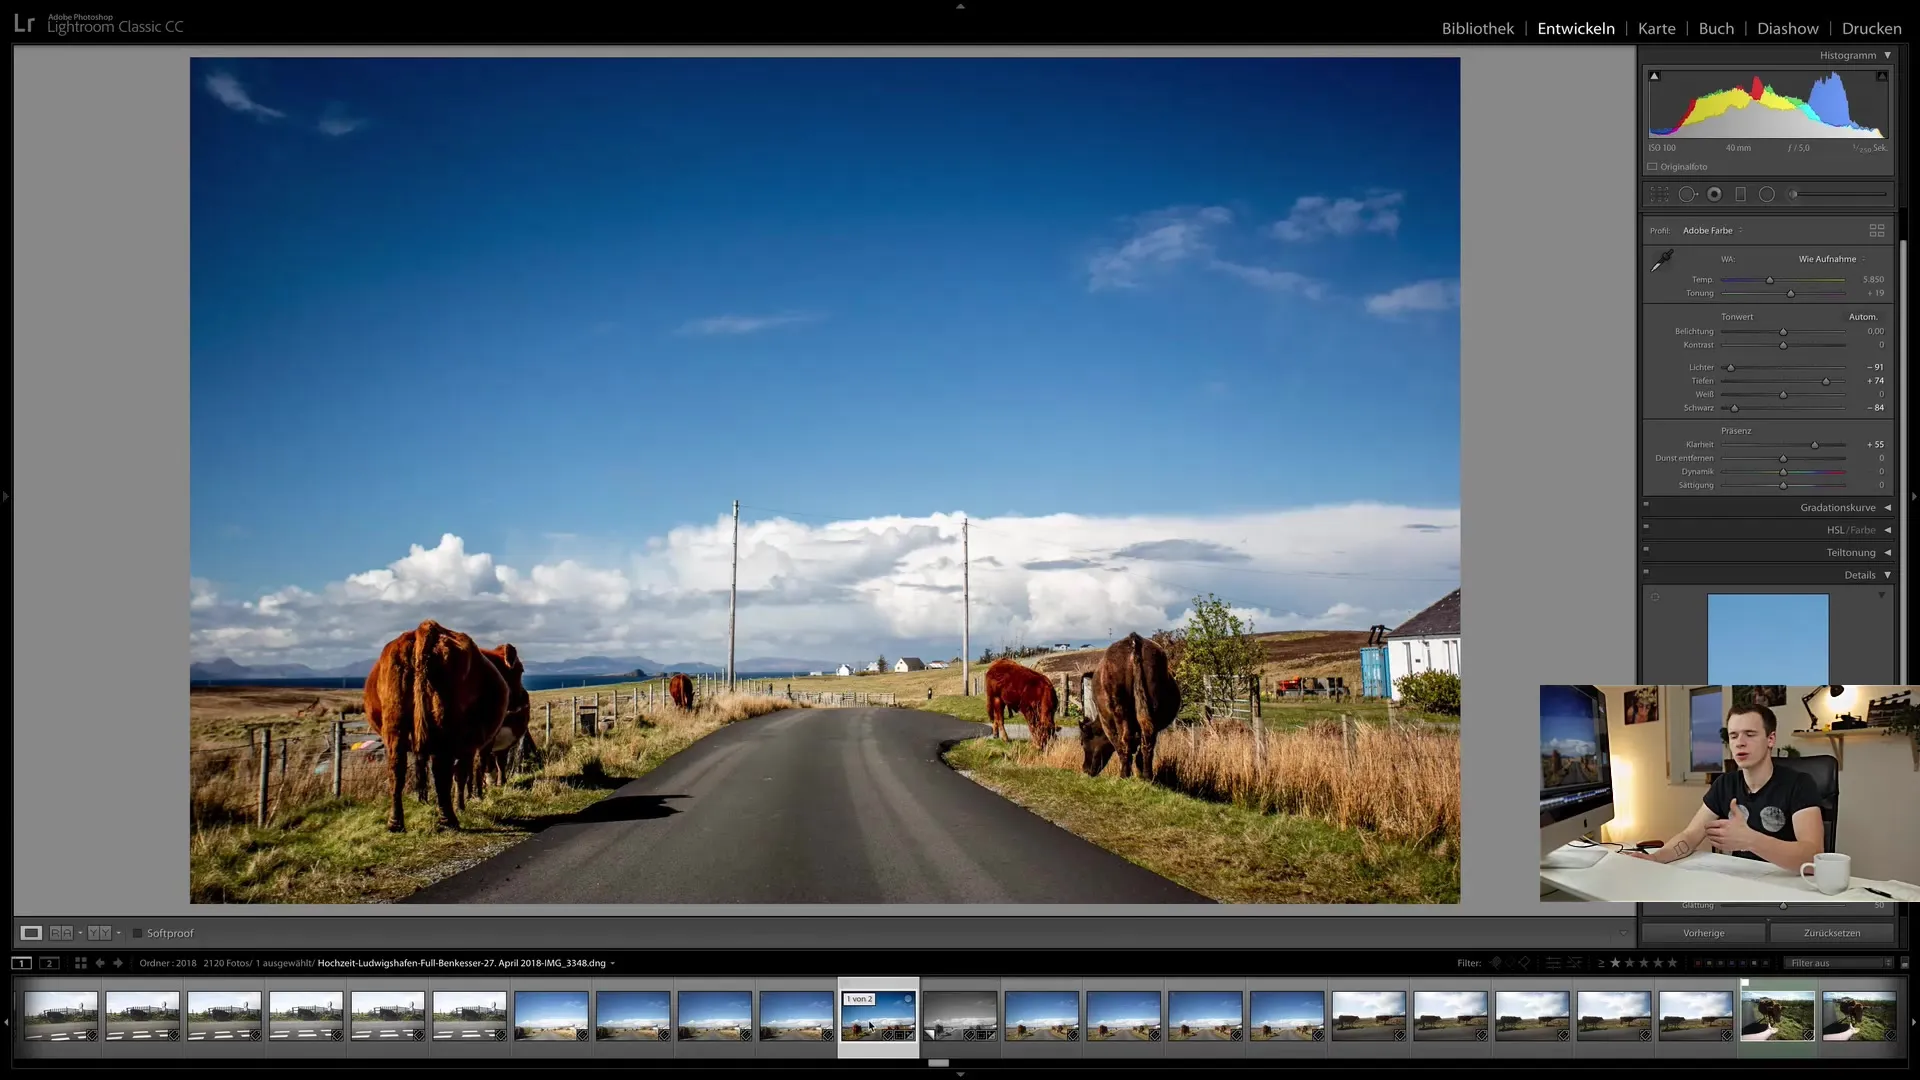
Now you can start editing the virtual copy. You can make various adjustments to clarity, saturation, exposure, and other parameters. For example, you could increase the clarity to give the image more structure. Experiment with the different sliders to achieve the desired result.

Step 3: Create a Second Virtual Copy for a Different Look
To try out a completely different editing style, create another virtual copy of the original. For example, you can experiment with a desaturated look by reducing the color saturation in the HSL panel of the Develop module.
Screenshot_101
This method allows you to be creative and experiment with different directions without committing to one edit.
Step 4: Compare the Edits
Now that you have multiple edits, you can directly compare the virtual copies. You can do this by displaying the two images side by side in grid view and checking them for differences.

Step 5: Export the Best Results
If you are satisfied with one of your edits, you can export it. The great thing about virtual copies is that you can export each version independently as if they were separate images. For example, you can export one version in black and white and the other in color without using extra storage space.

Step 6: Continue to Experiment
Using virtual copies not only makes experimenting with your images easier but also more efficient. If you are working on a specific project and want to try out new ideas, feel free to create more virtual copies. This gives you plenty of room for creative exploration and adjustments without losing track of your original files.

Summary
Virtual copies in Lightroom Classic CC are a handy tool for testing various editing styles without occupying additional storage resources. By simple steps like creating, editing, and comparing virtual copies, you can significantly enhance your photo editing process.
Frequently Asked Questions
What are virtual copies in Lightroom?Virtual copies are alternative versions of an image that you can create in Lightroom without taking up additional storage space.
How do I create a virtual copy?You can create a virtual copy by right-clicking on the image and selecting "Create Virtual Copy" or by pressing "Command + T" or "Ctrl + T".
Can I try out different styles with virtual copies?Yes, you can work independently with each virtual copy and try out different editing styles.
Do virtual copies save storage space?Yes, virtual copies do not use additional storage space as they are based on the original file.
Can I export virtual copies?Yes, each virtual copy can be exported independently as if they were separate images.


