In this tutorial, I'll show you how to use the powerful synchronization features of Lightroom Classic CC to save time on photo editing. Compared to other photo editing software, Lightroom provides an easy way to apply development settings to multiple photos at once. This helps you save valuable time, especially when editing a series of photos with similar exposure and camera settings. Let's go through the process in detail.
Main Takeaways
- Lightroom allows for automatic synchronization of development settings on multiple images.
- You can use different synchronization methods to make precise adjustments.
- Be sure to select the right method to avoid unwanted changes.
Step-by-step Guide
Enable Automatic Synchronization
The easiest way to transfer edits to multiple images is through automatic synchronization. To enable this function, follow these steps:
First, you will find the automatic synchronization button in the lower left corner of the editing screen. Click on it to activate. If the button is up and shows "auto-sync," the function is now active. Make sure that an image is always selected, as the currently selected image serves as a reference for applying all other edits.
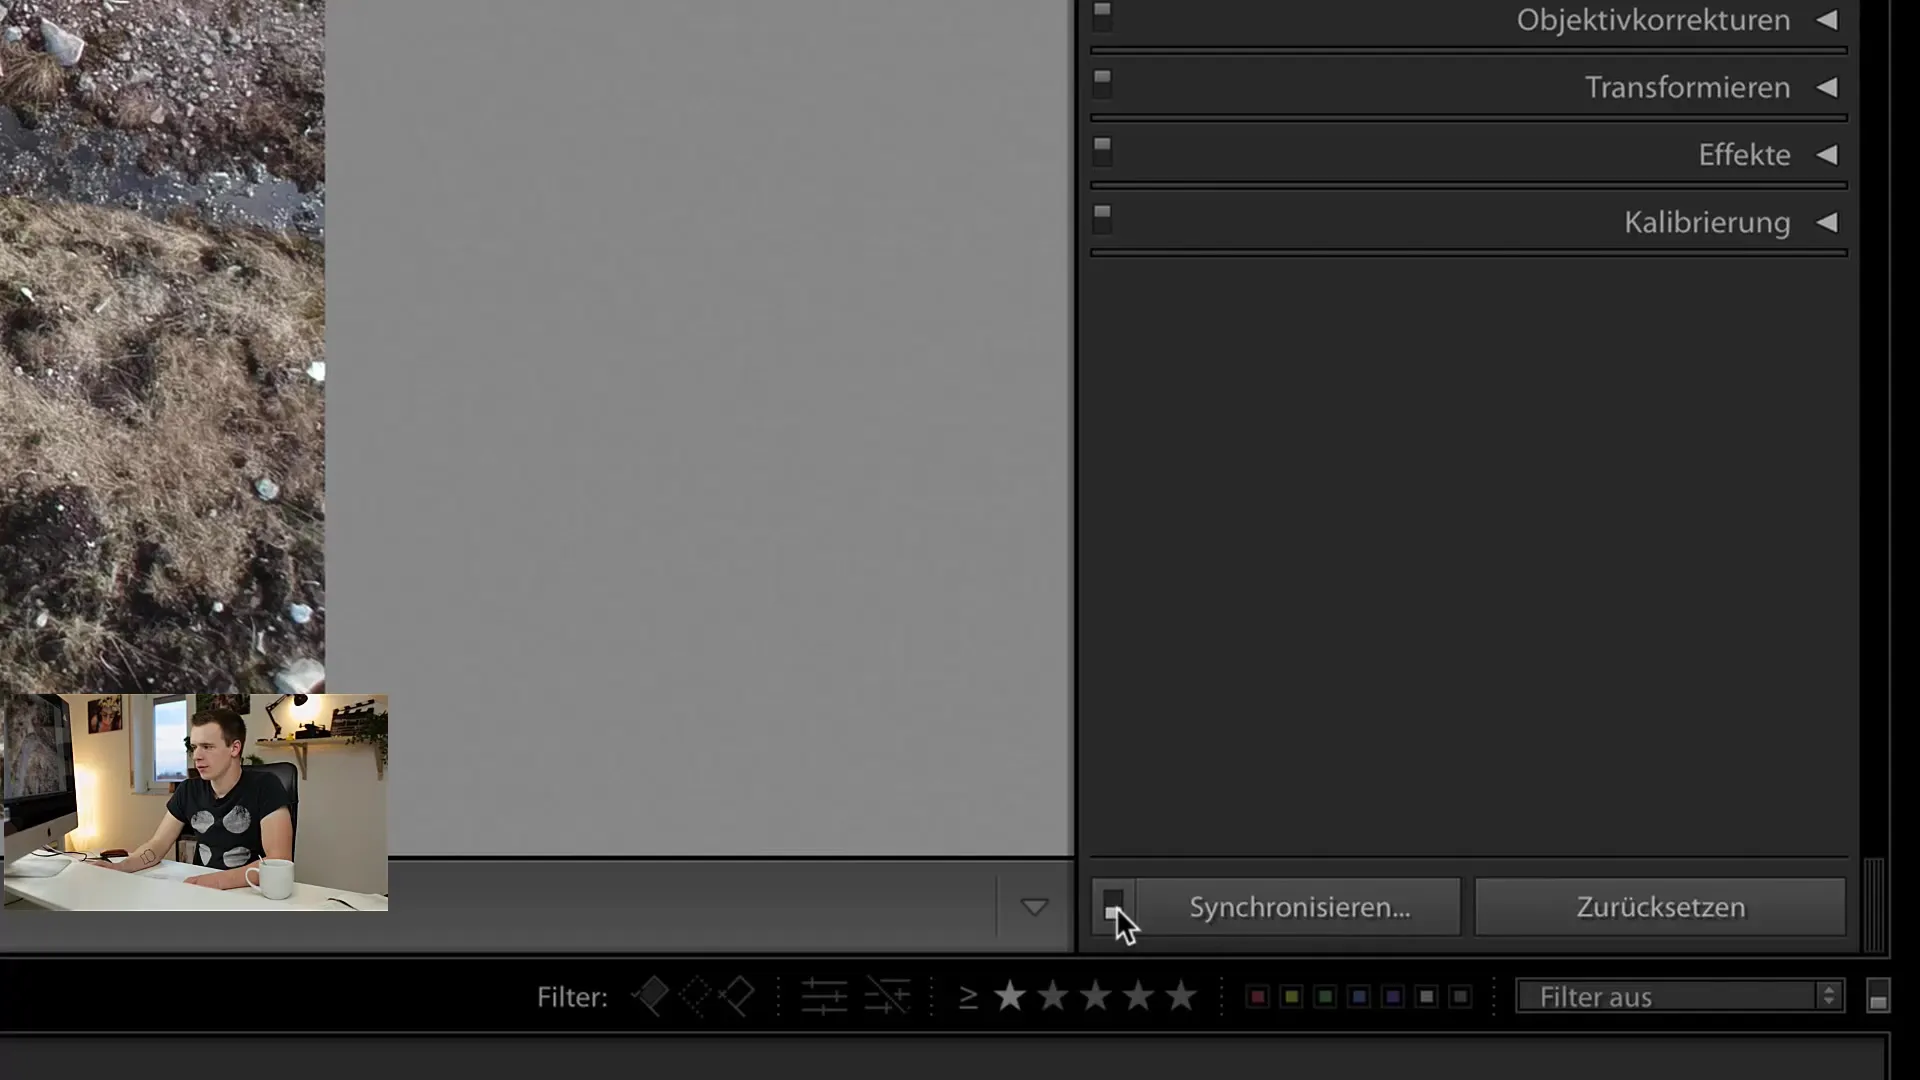
With automatic synchronization active, you can now make changes to the selected image.
Simply select the image you wish to edit and make the desired adjustments. The editing steps will then be applied to all other images you have also selected. For example, if I increase the exposure to "too bright," you will see that the previews of the other images adjust accordingly. This synchronization is displayed in real-time.
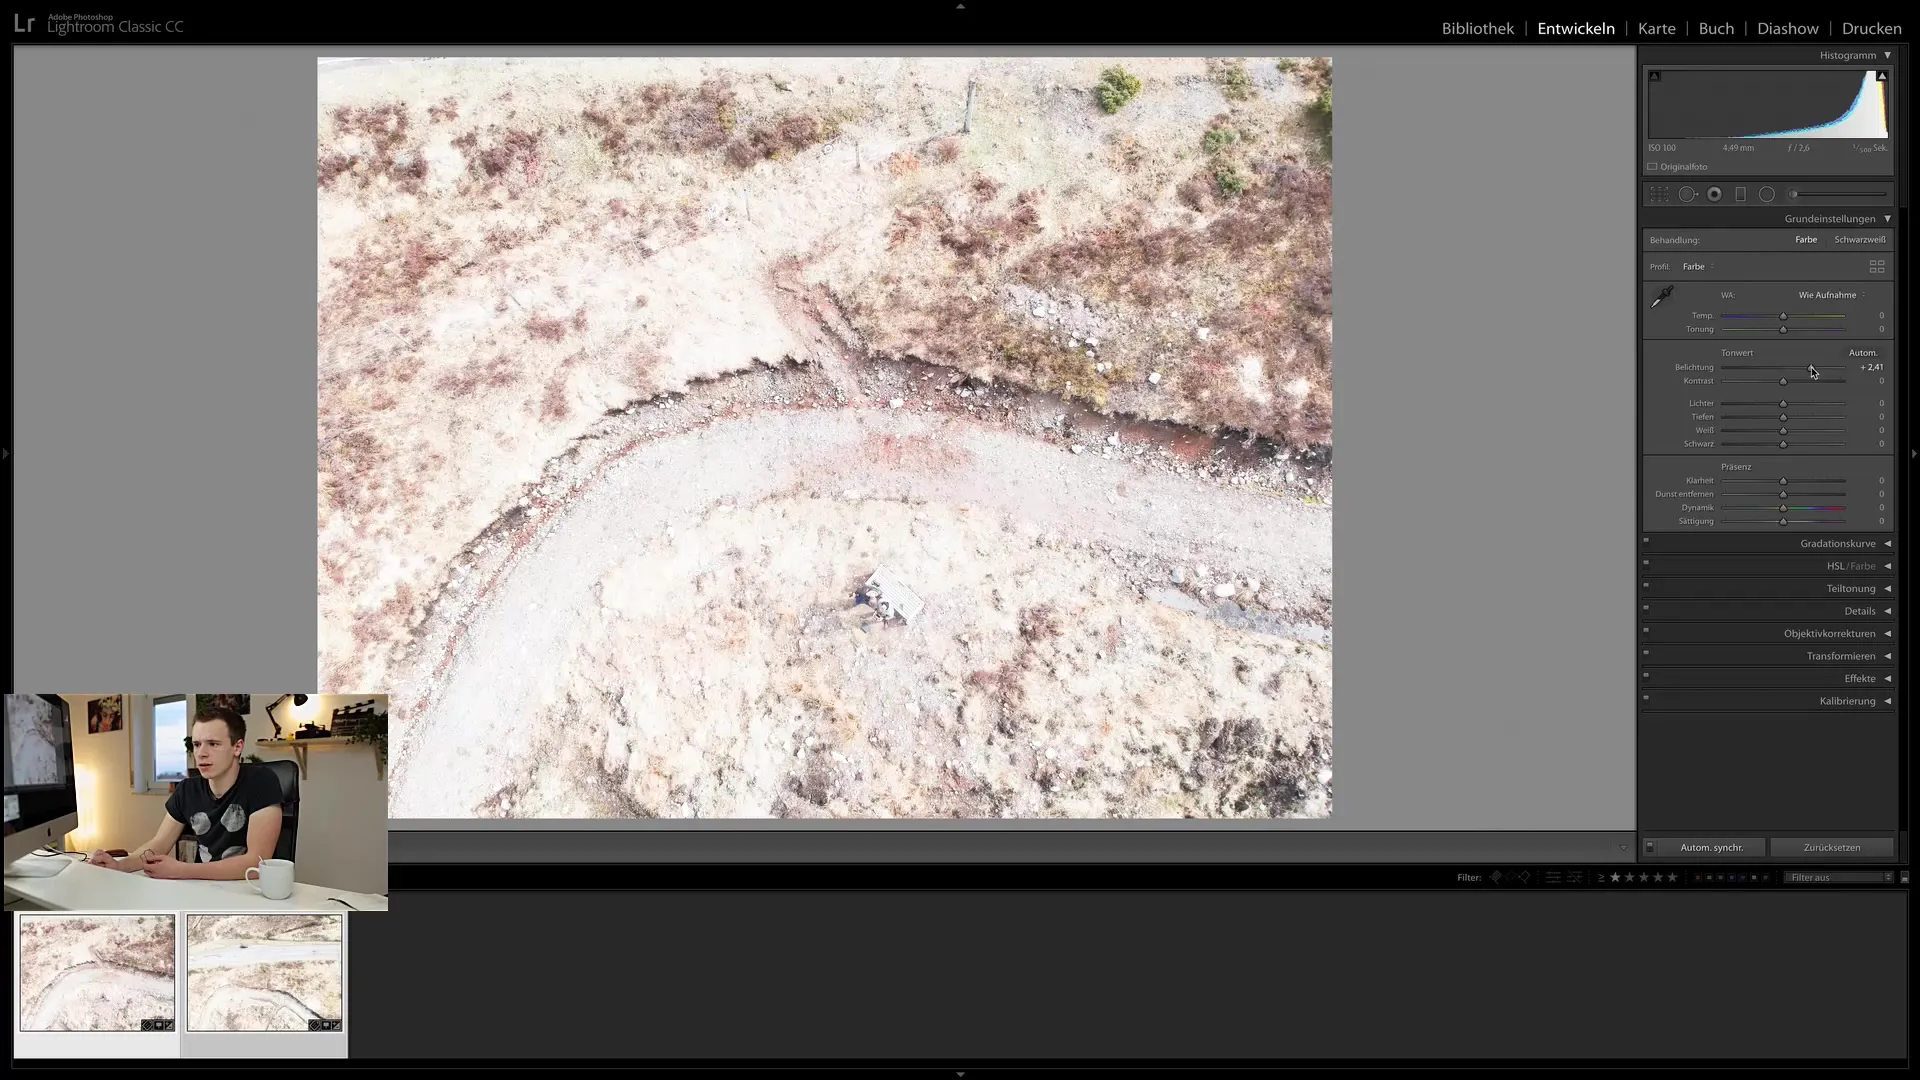
It is important to note that this not only works for a few images but also for entire collections. You can select all photos in a specific folder or a smart collection and perform the same editing steps.
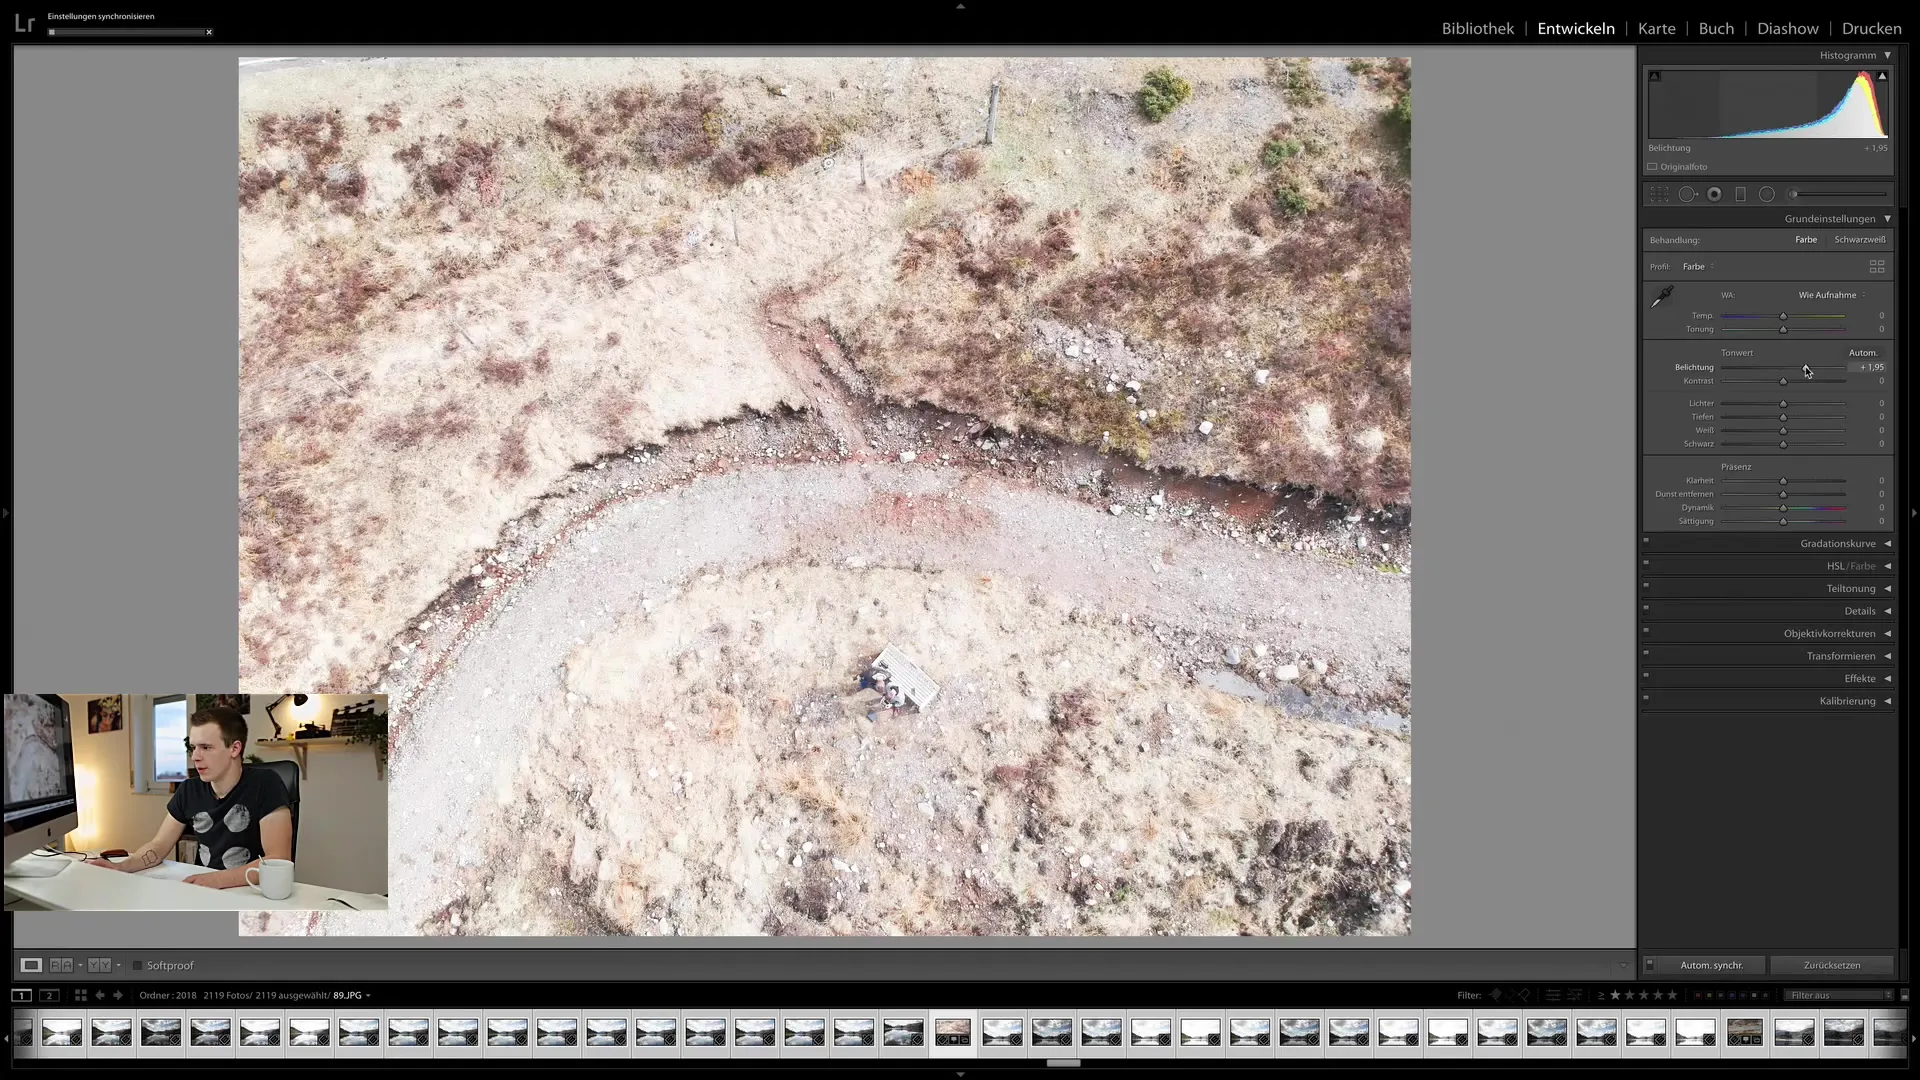
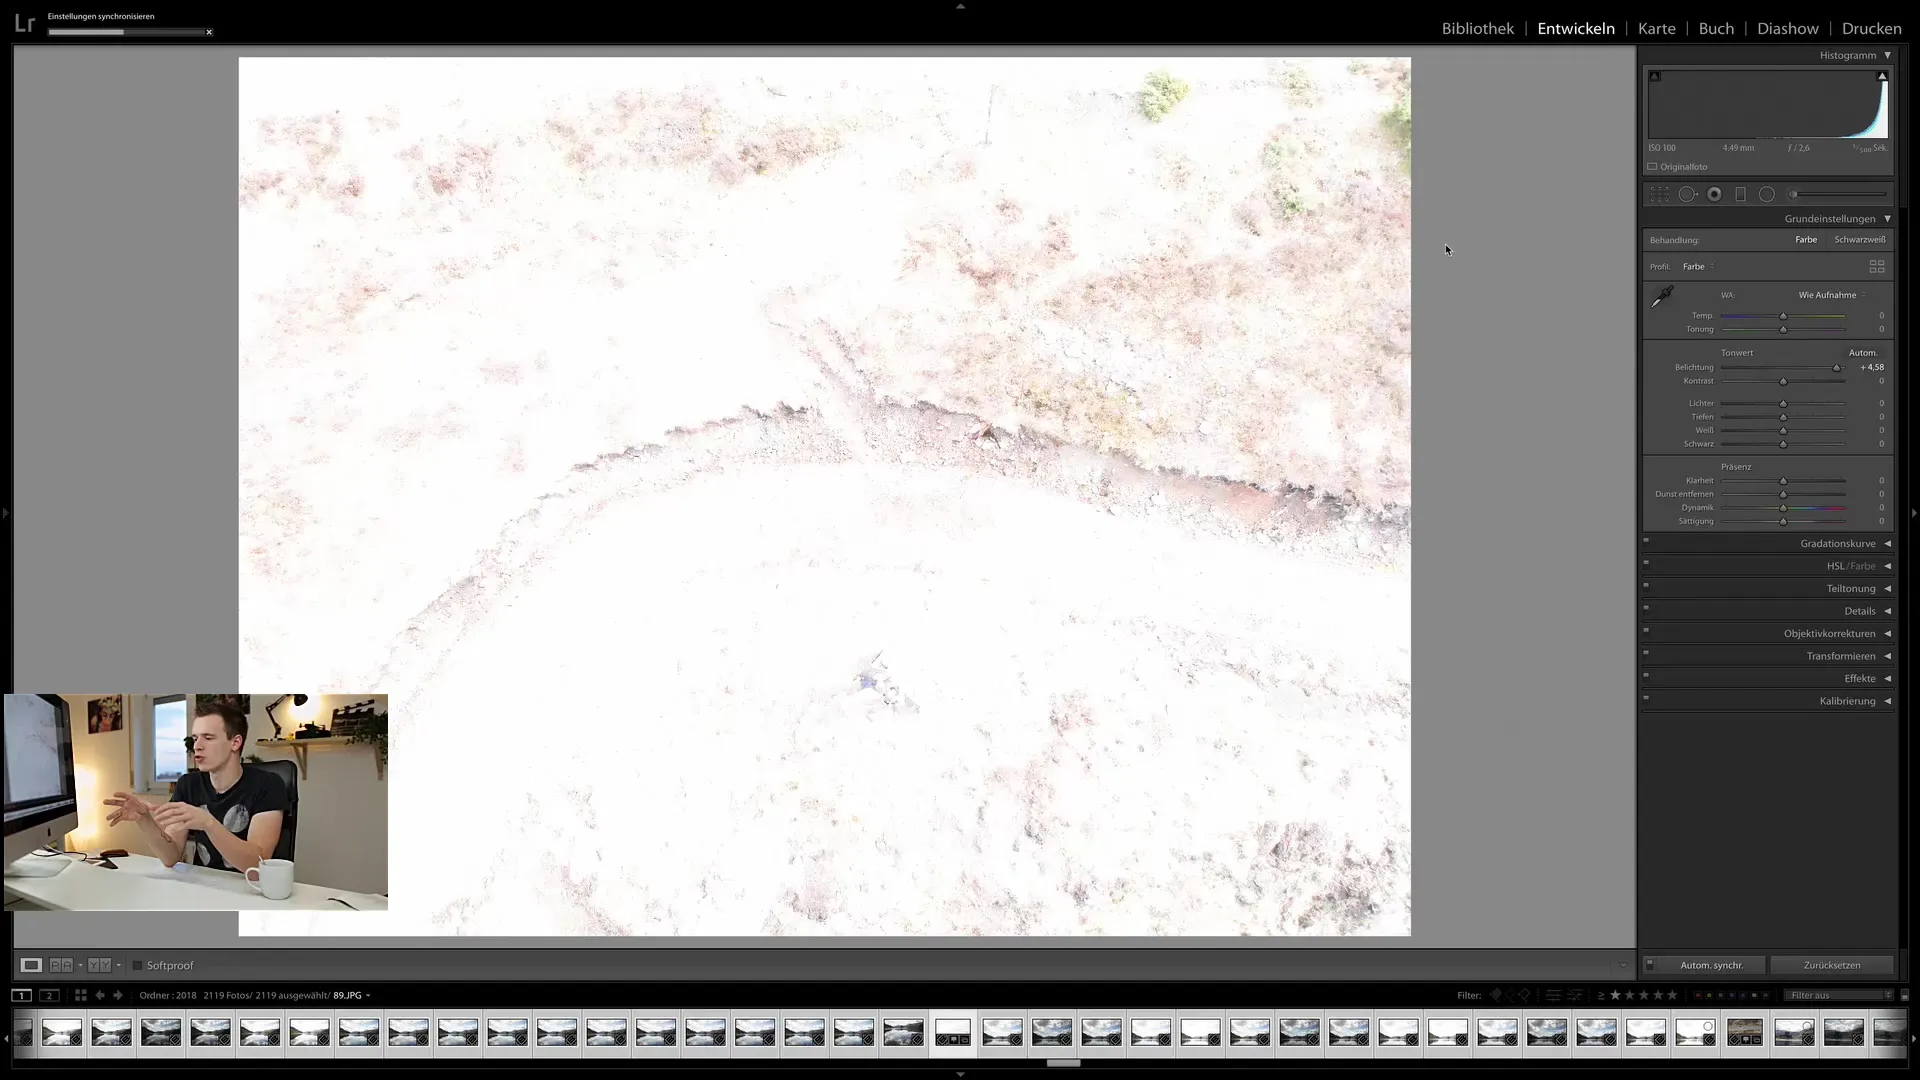
Since this action can take some time, especially if you are synchronizing many images, you will see a loading bar at the top. Patience is required as Lightroom updates the previews.
Synchronize Editing Steps
In addition to automatic synchronization, there is also the option to synchronize specific steps and settings. This allows you to manually apply the changes you have made to other images.
To do this, select an image you have edited and make the desired changes such as exposure or white balance. After making the adjustments, select the other images on which you want to apply these changes. Click on "Sync" to transfer the edits to the selected images.
One advantage of this method is the flexibility to choose individual options for synchronization. A window will open allowing you to determine which settings to synchronize. You can select or deselect basic settings as well as local adjustments as needed.
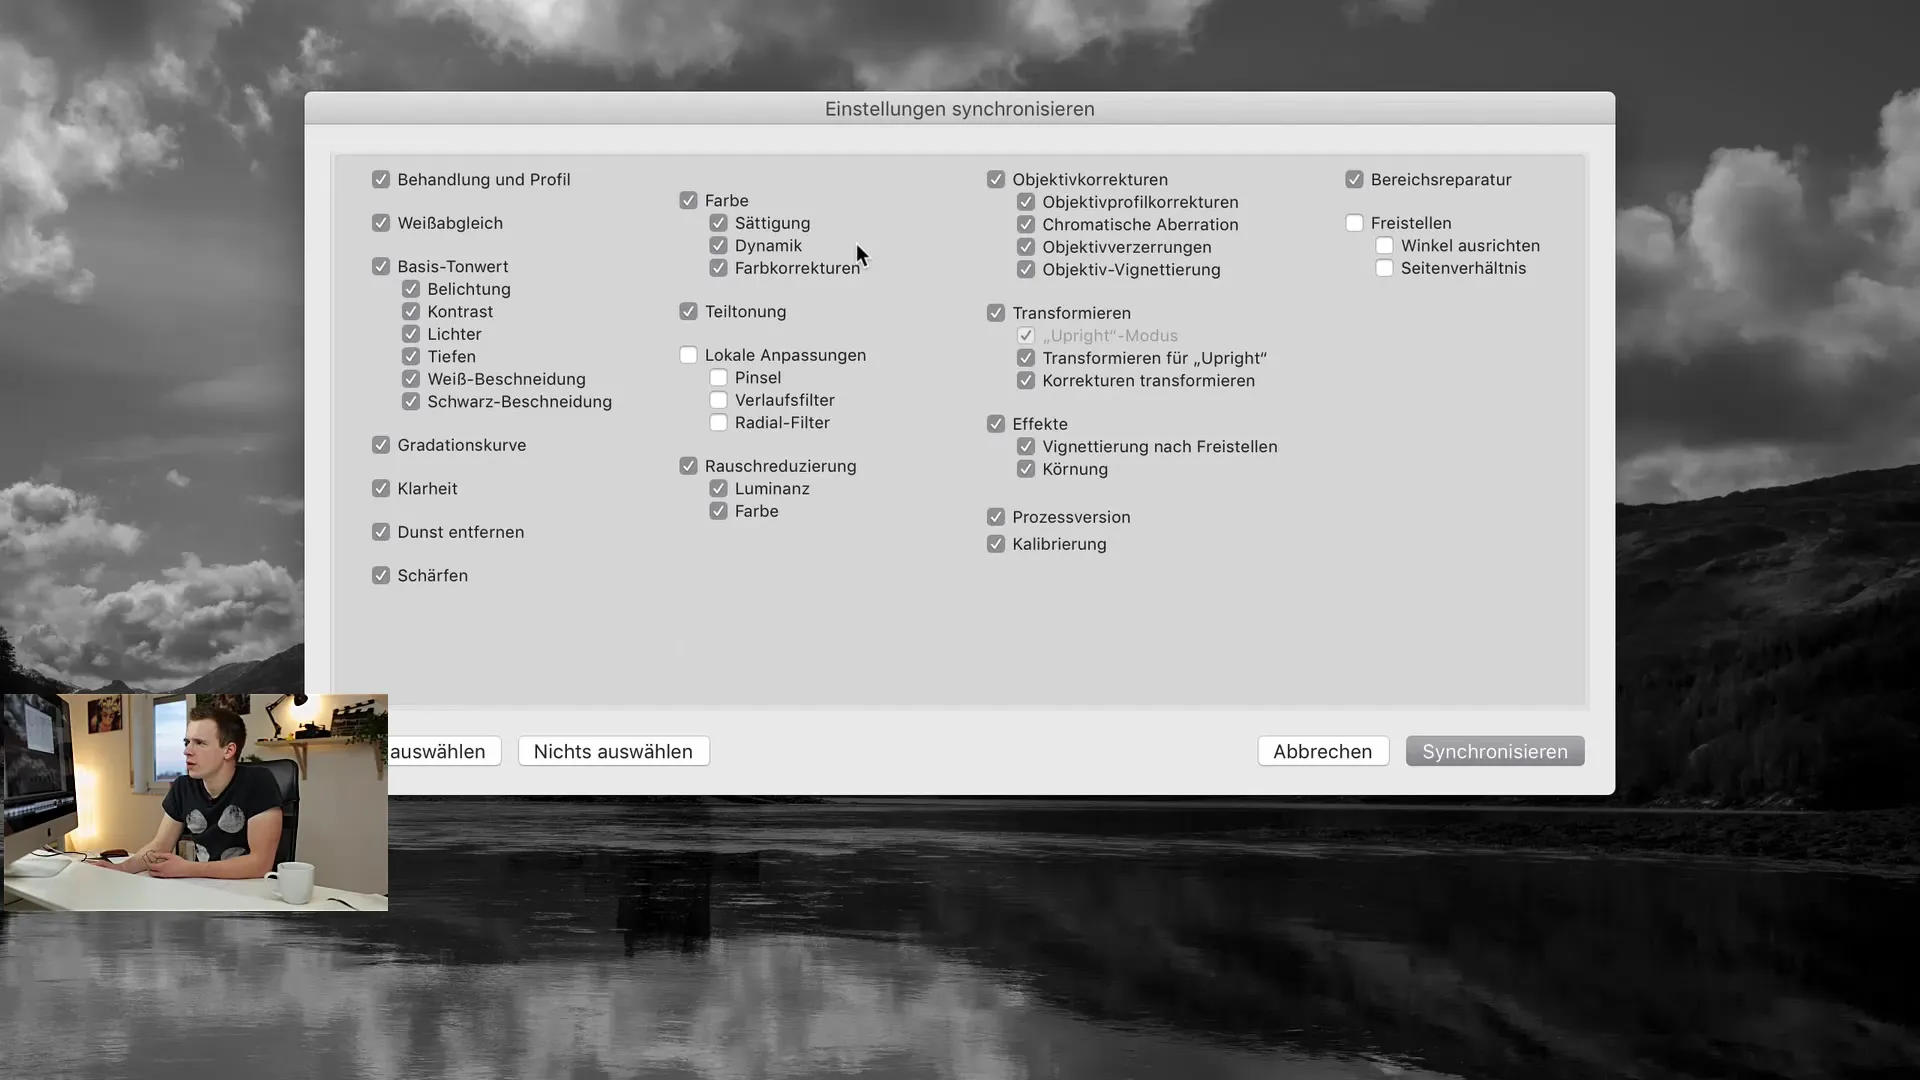
It is worth deselecting local adjustments if you are certain they only apply to that specific image and should not be transferred to the others.
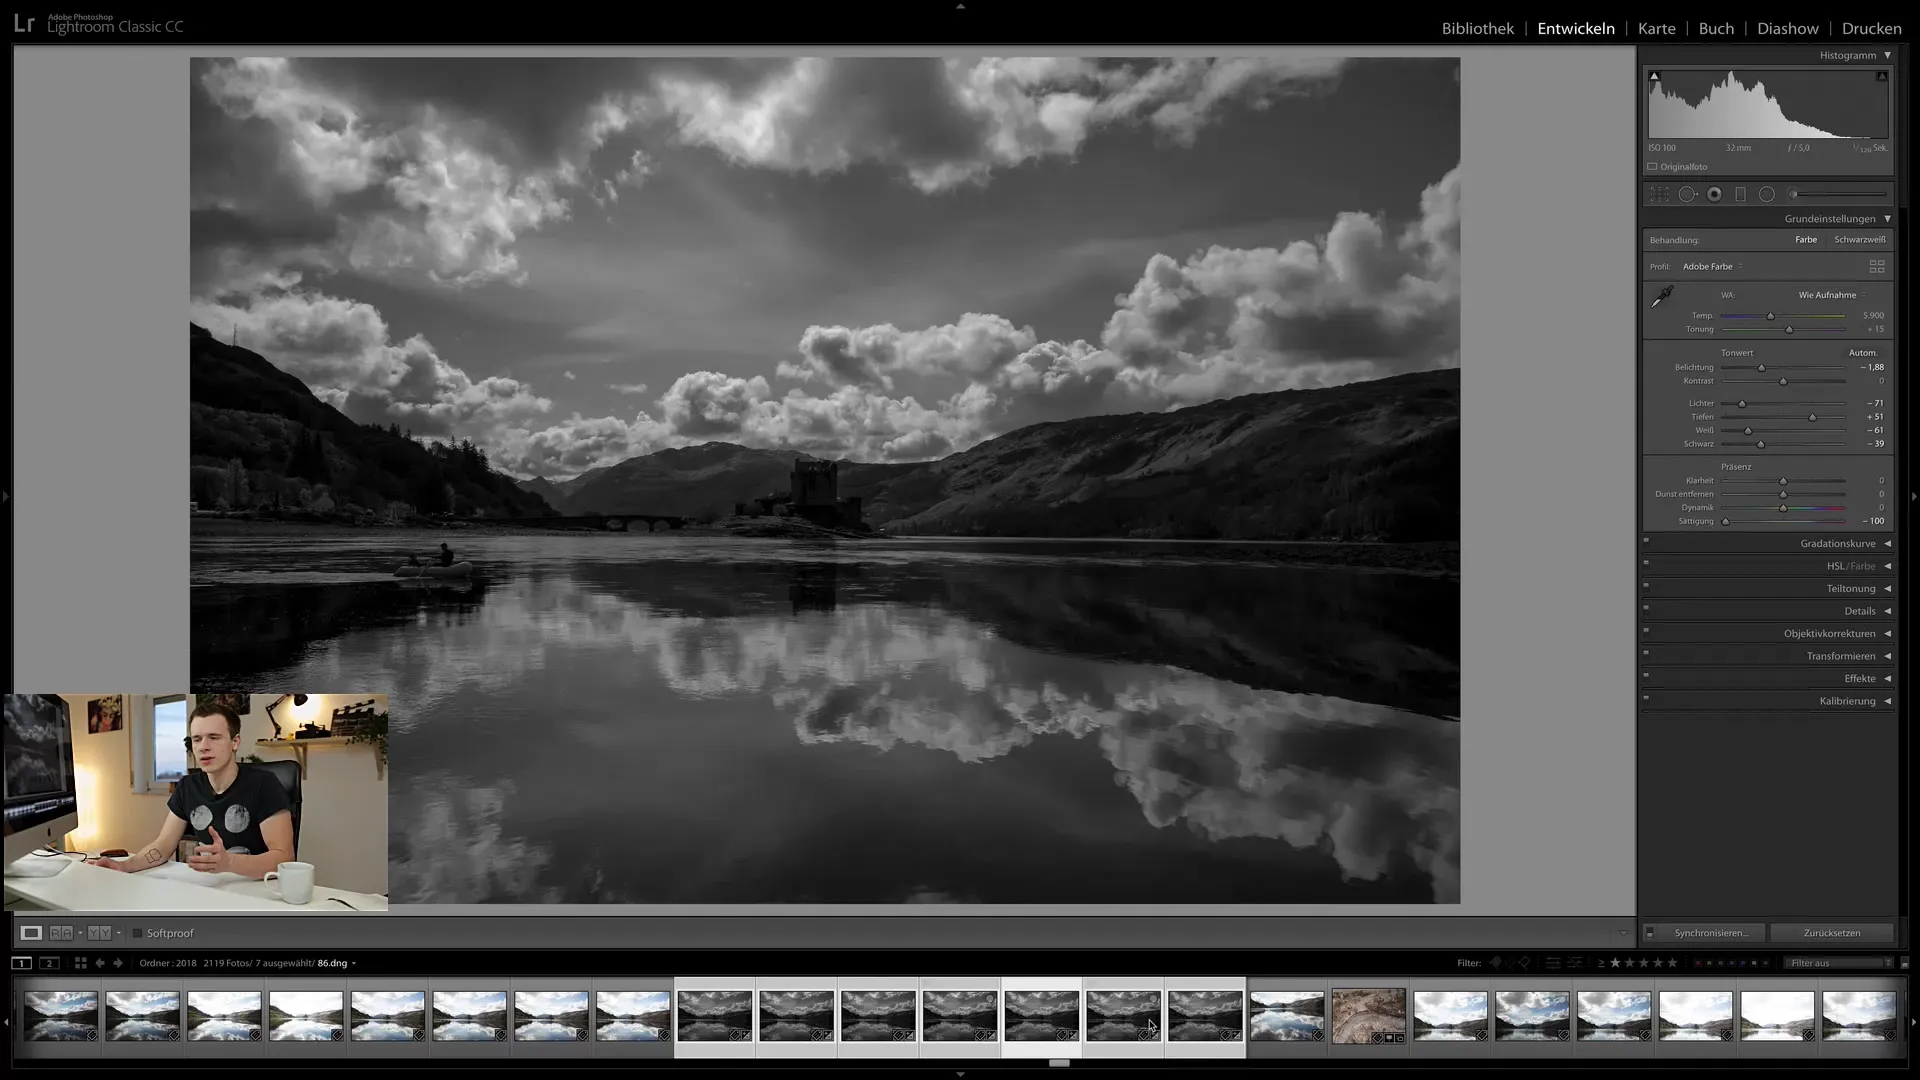
Once the synchronization is complete, you will see all the images that have now adopted the synchronized settings. Sometimes it may take a few seconds for all previews to be up to date.
Resetting Synchronization
If you are not satisfied with the result or have made mistakes, you can also undo changes. Resetting synchronization works similarly to synchronization itself. You can activate the automatic synchronization button and click "Reset." All your previous settings will be reset to "zero," and this applies to all selected images.
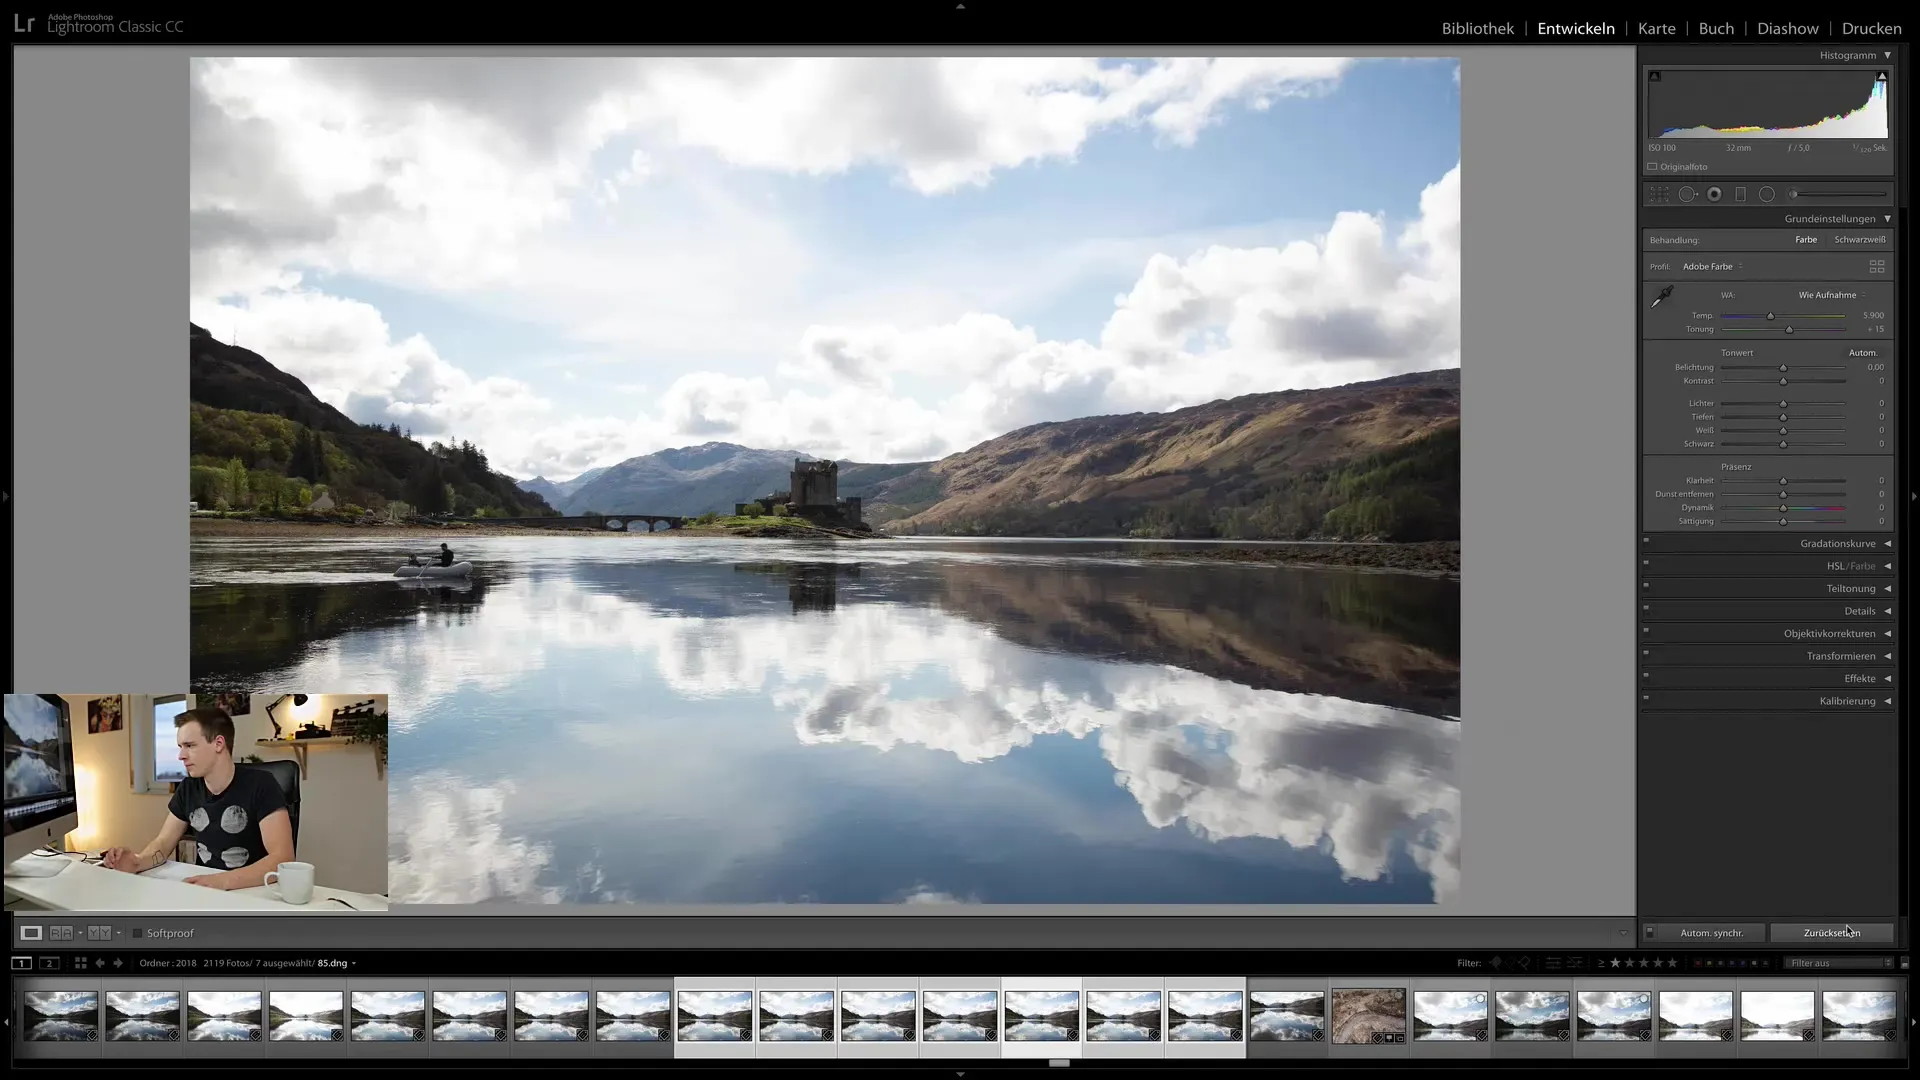
However, if you want to set a custom standard for your images, you can do that as well. Choose an image, define your standard editing, and then click on "Set as Default".
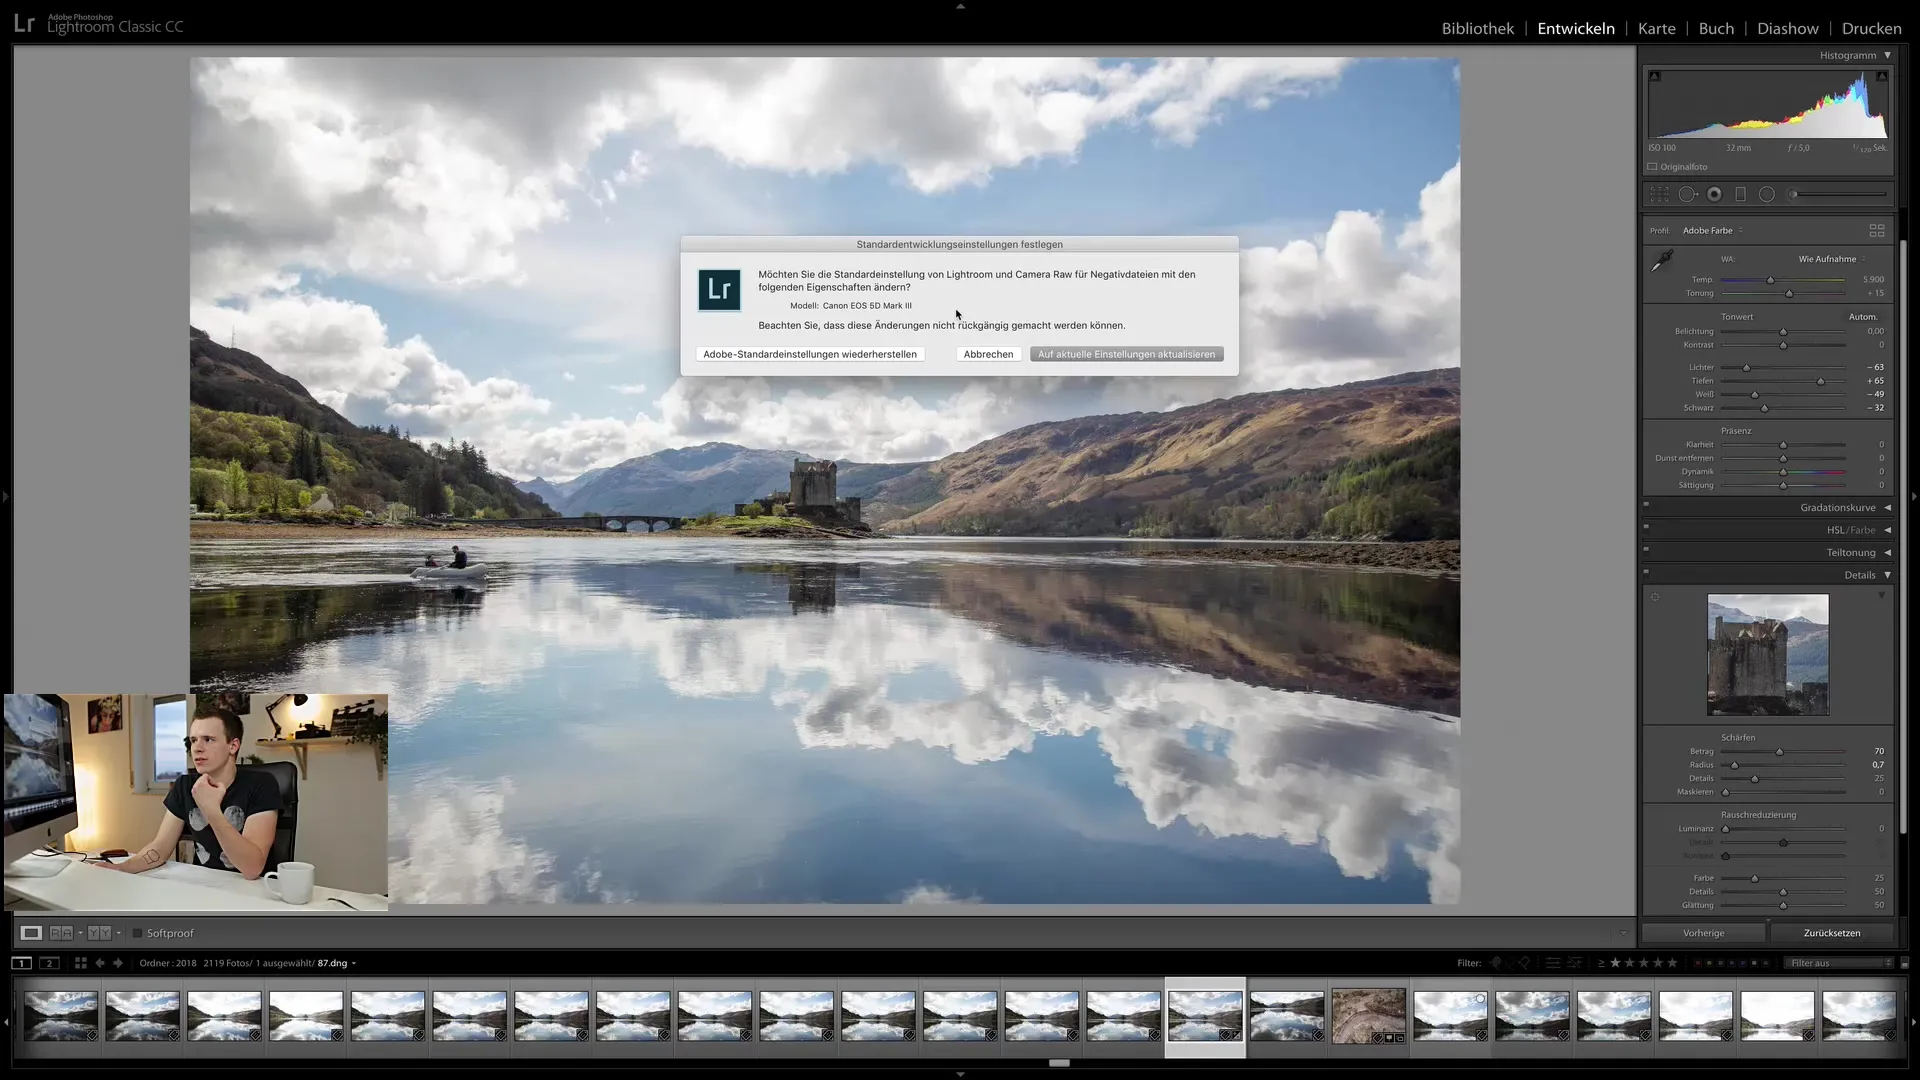
This way, you can customize the default values for your images individually.
Using the “Previous” Function
Another useful trick is using the “Previous” function. For instance, when you are editing an image and have made changes to another image, you might want to apply the previous settings to this image. To do this, go to the image, select it, and click on “Previous”.
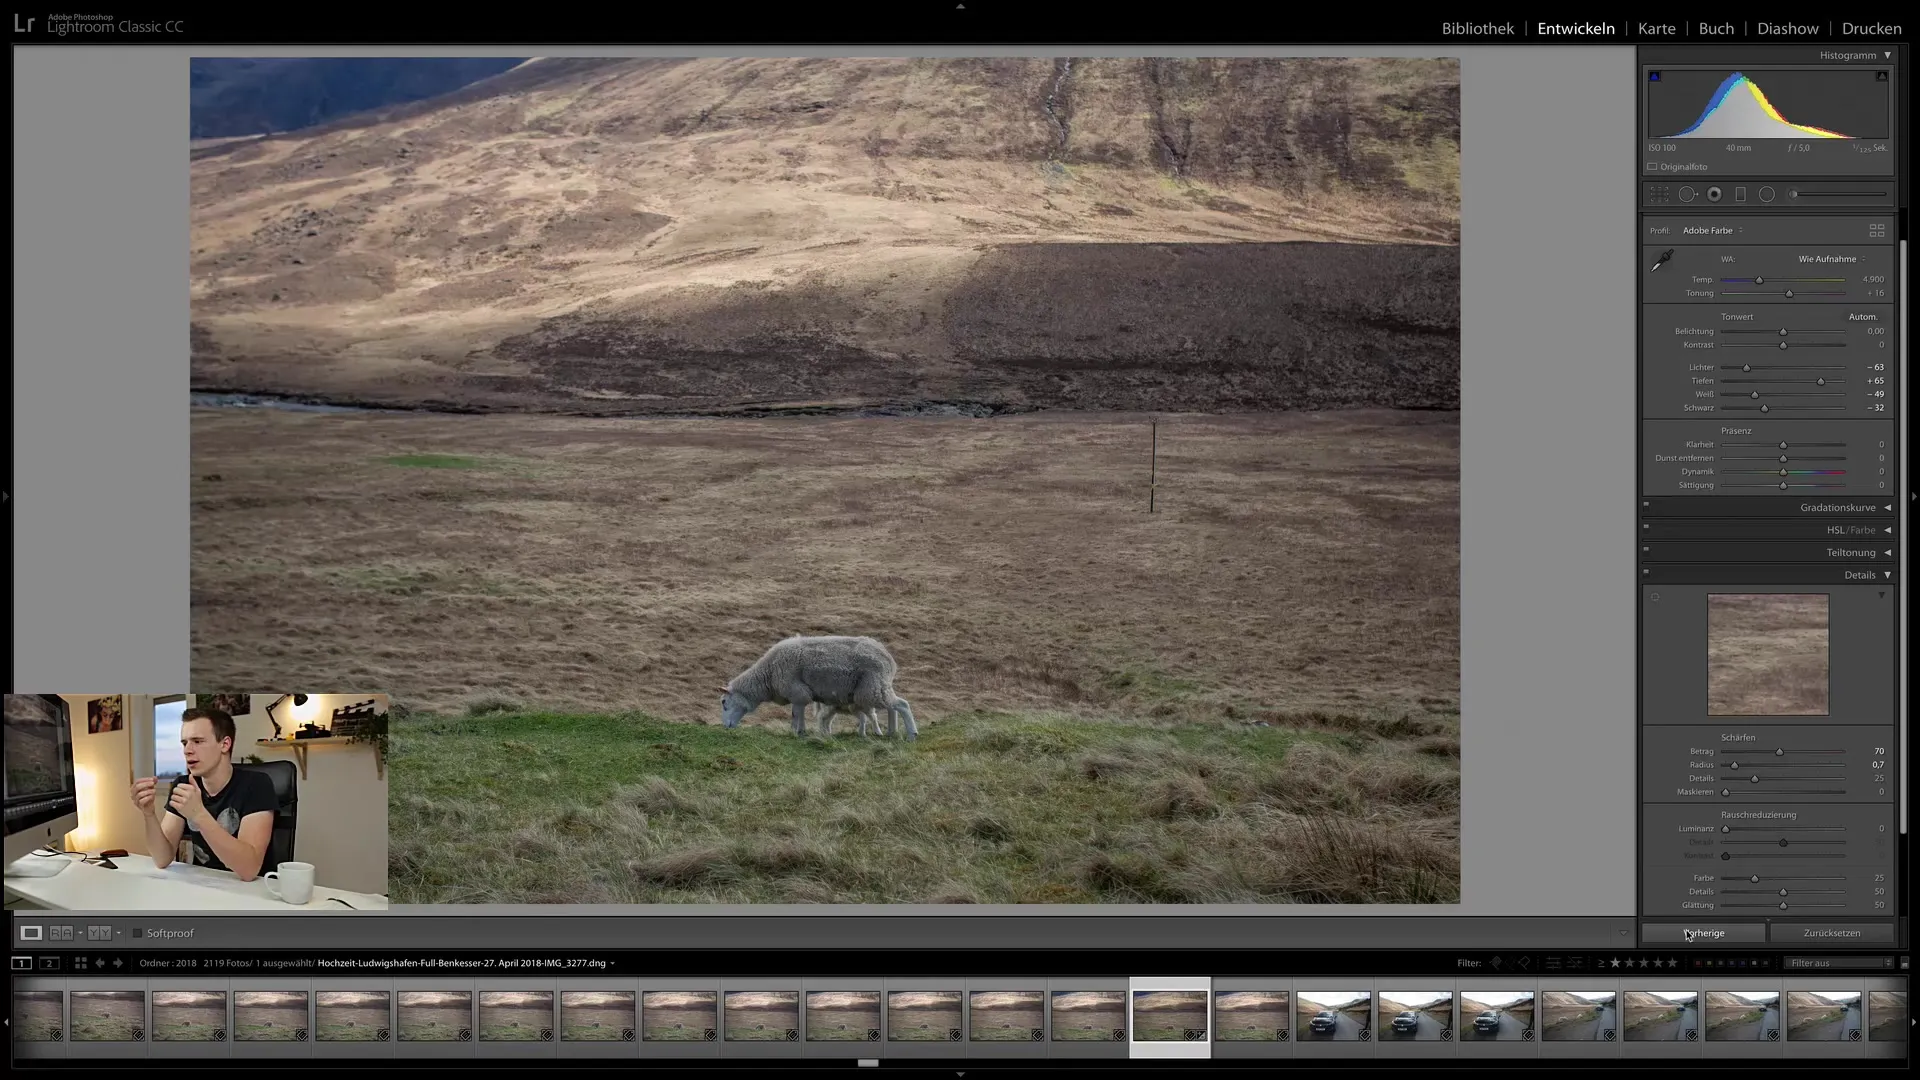
However, the synchronization does not occur from image to image, but rather from the last selected image back. This can sometimes lead to confusion when working with multiple images and the overall appearance of the images does not depend on how they appear in the media library.
Summary – Synchronizing Development Settings in Lightroom Classic CC
In this tutorial, you have learned how to effectively use the synchronization functions of Lightroom Classic CC to apply editing steps to multiple images simultaneously. With automatic synchronization, targeted editing manipulations, and the “Previous” function, you have a variety of ways to optimize your workflow.
With these techniques, you can save a lot of time, especially when working on images with similar settings. Experiment with the different possibilities and find out which method best suits your editing style.
Frequently Asked Questions
What is automatic synchronization in Lightroom?Automatic synchronization allows you to apply edits to selected images simultaneously.
Can I synchronize specific adjustments?Yes, you can perform targeted synchronization by selecting the desired settings and clicking on “Synchronize”.
How do I reset the synchronization?Enable automatic synchronization and click on “Reset” to reset the edits to zero.
Can I set a custom standard for my images?Yes, you can set your standard edits by making an edit and clicking on “Set as Default”.
What happens when I click on “Previous”?The “Previous” function applies the settings of the last edited image to the currently selected image.


