The selection of the right images is a crucial step in the workflow of photographers. To work efficiently in Lightroom, it is important to know the right method for image selection. In this tutorial, you will learn how to quickly and purposefully mark images so that the subsequent editing runs smoothly.
Key insights
- Use the "automatically switch" feature to navigate through your images efficiently.
- Use keyboard shortcuts to select or reject images.
- Make space to better assess the images.
Step-by-Step Guide
Step 1: Open Library
Start Lightroom and go to the "Library" module. Here you can navigate through your images and begin making your selection. Make sure that all your photos are visible and arranged according to your preferences.
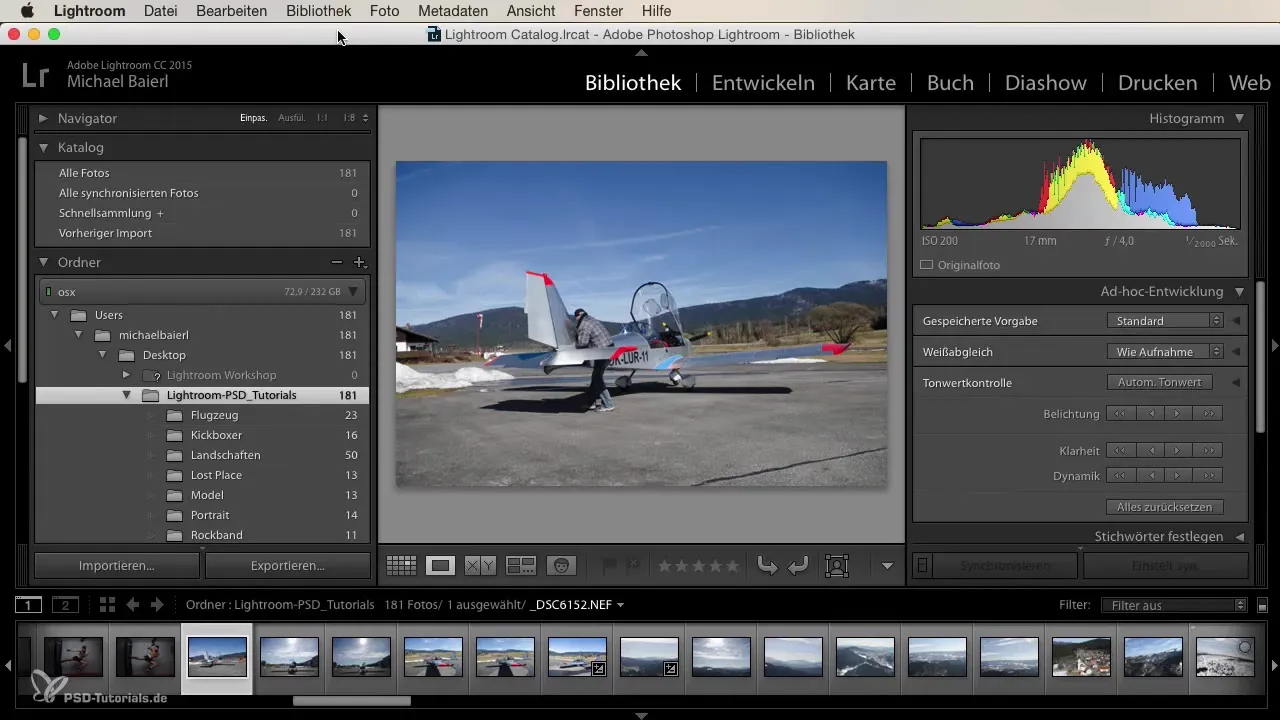
Step 2: Activate Automatic Switching
Activate the "automatically switch" feature located under the “Photo” option. This will automatically switch to the next image after marking an image. This feature saves you a lot of time since you don't have to navigate through the images manually.
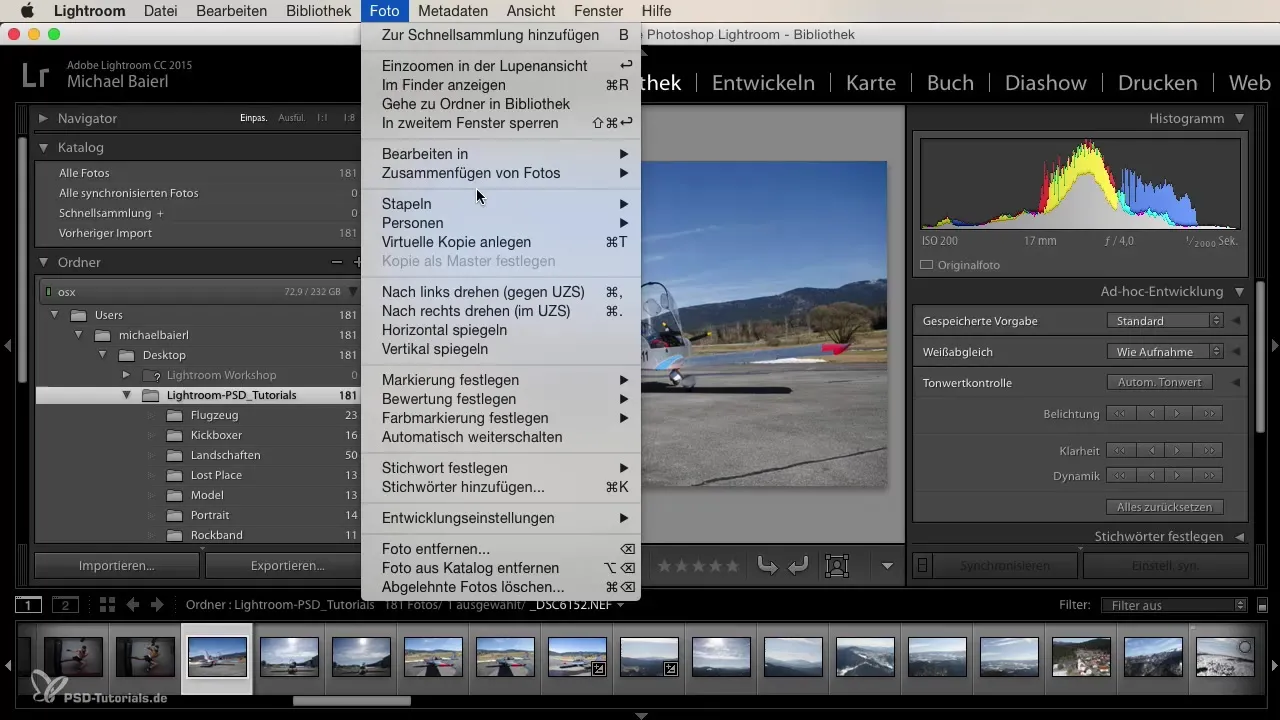
Step 3: Create Space for Assessment
To better assess the images, create a little space. Enlarge the view of the image you want to evaluate, so you can see details better. This helps you make more informed decisions.
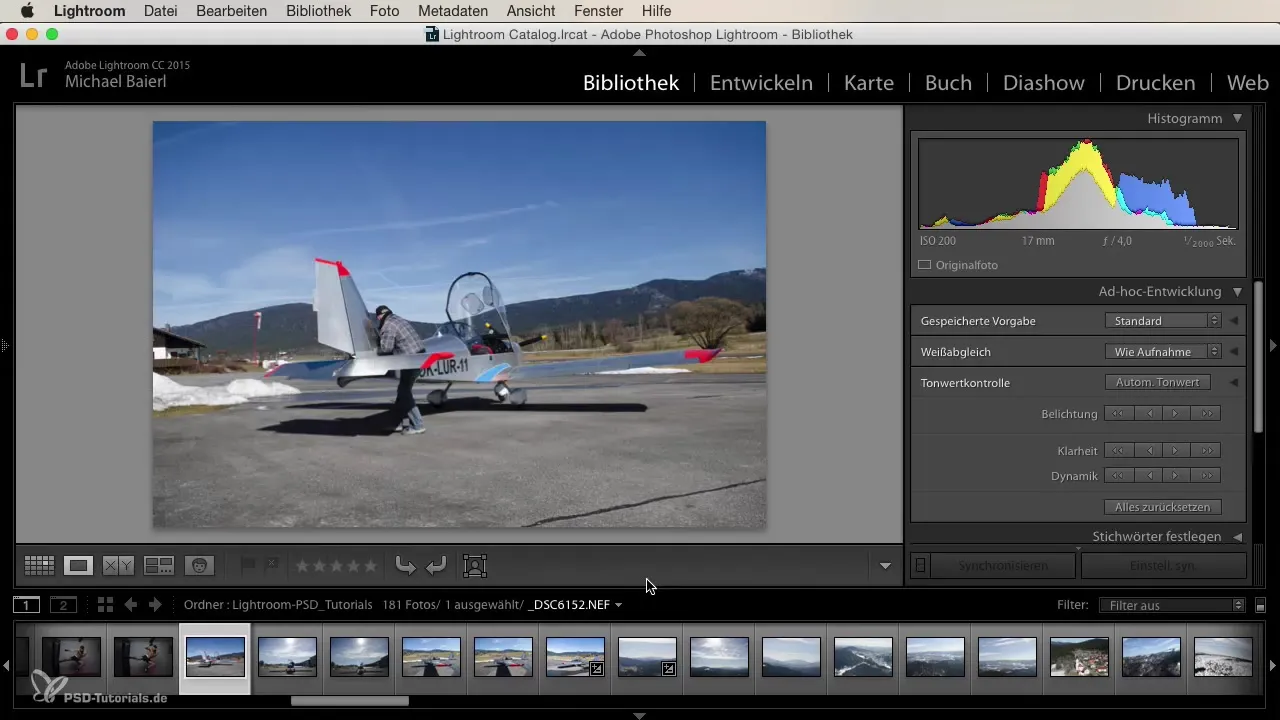
Step 4: Select and Reject Images
Use keyboard shortcuts for faster image selection: Press the "P" key to select an image and the "X" key to reject an image. This allows you to quickly go through your images and mark them accordingly.
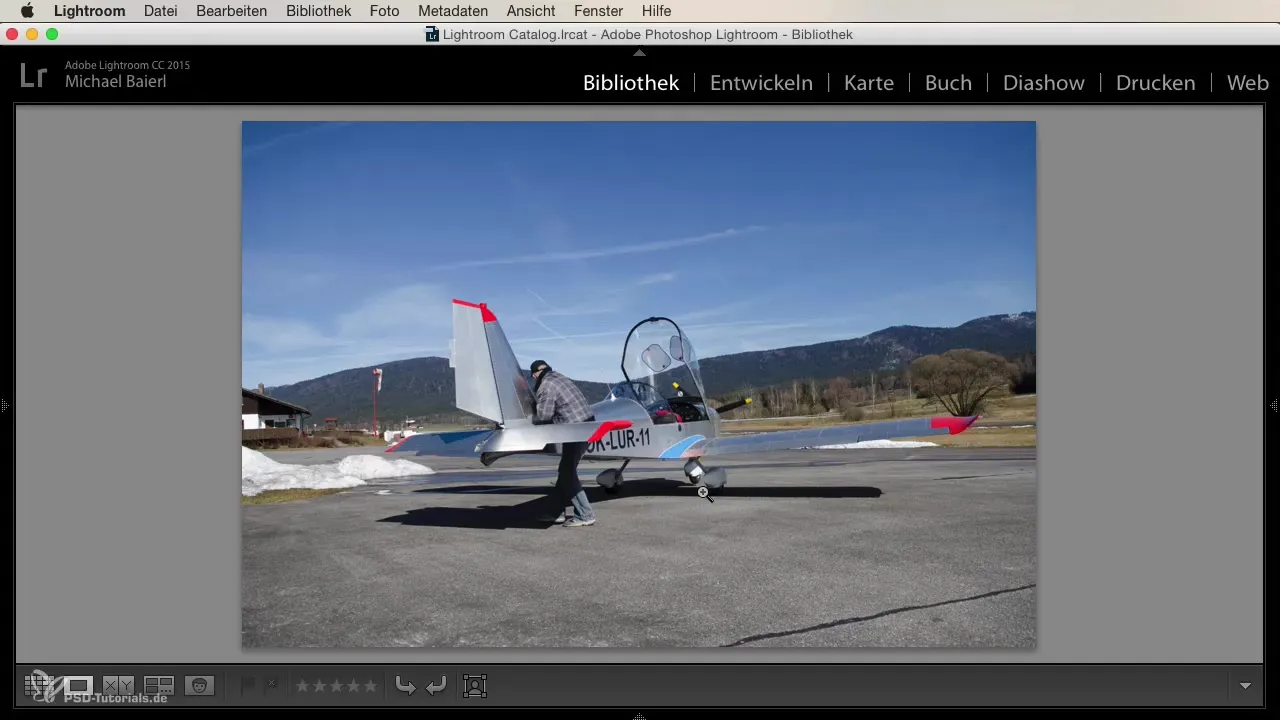
Step 5: Navigate Through the Images
Now you can start going through your images. Mark the ones you like by pressing "P" or reject them with "X". Lightroom will automatically switch to the next image as soon as you make a selection.
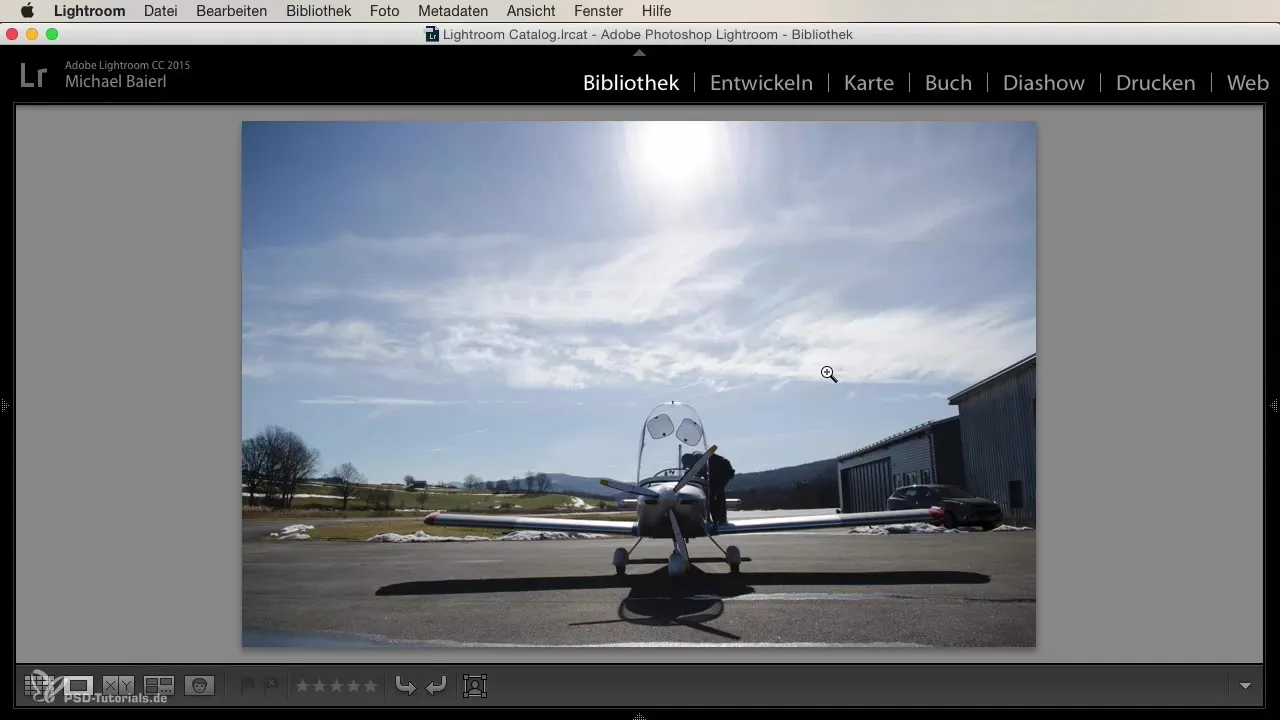
Step 6: Complete Image Selection
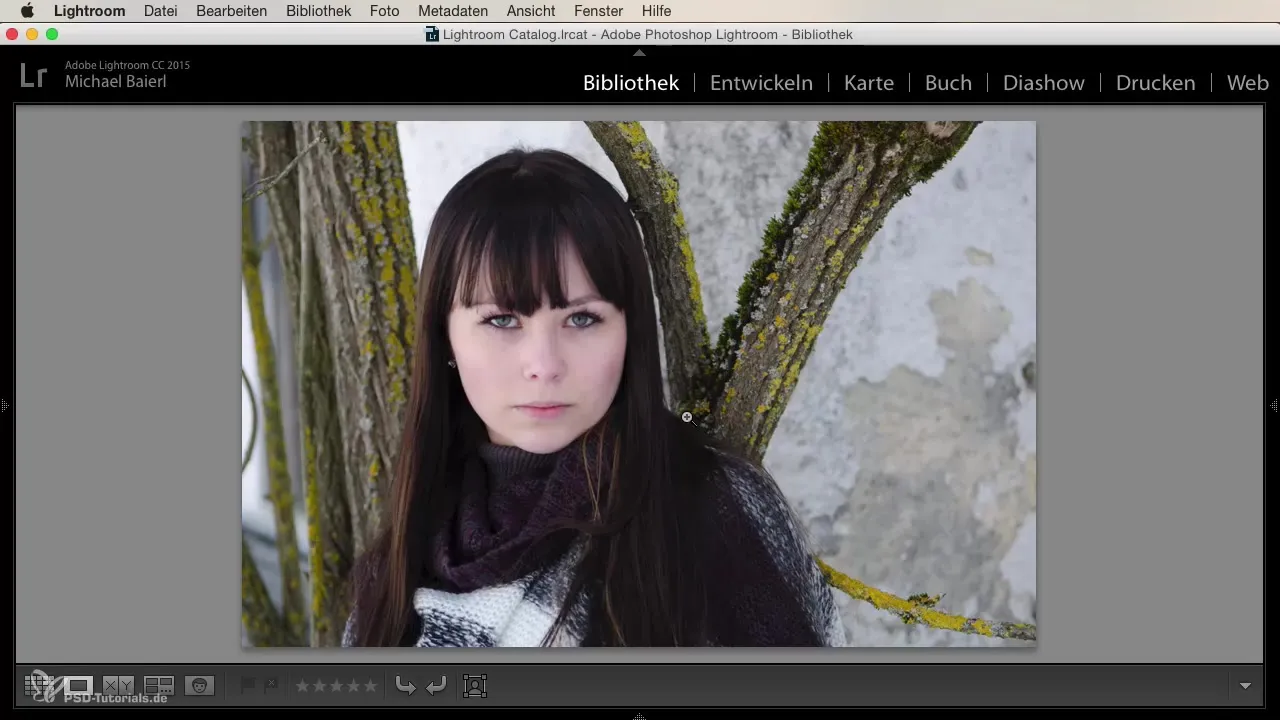
After going through all the images, you should have made a clear selection. The images you have selected are now ready for editing in the Development module. Take one last look at your selection to ensure they are suitable for editing.
Summary
Selecting images in Lightroom is a breeze when you apply the right technique. With the "automatically switch" feature and clever use of keyboard shortcuts, you can speed up your selection and concentrate on editing the best photos.
Frequently Asked Questions
How do I activate automatic switching in Lightroom?Go to the "Library" module, select "Photo," and activate the "automatically switch" option.
What do I do if I want to reject an image?Press the "X" key to reject the image and automatically switch to the next image.
How can I better assess my images?Enlarge the view of the image to be able to see details better.
How can I navigate quickly through my images?Use the "P" key for selection and "X" for rejection to effectively go through your images.
What happens to images I have rejected?Rejected images will not be further edited and can later be removed from the catalog.
