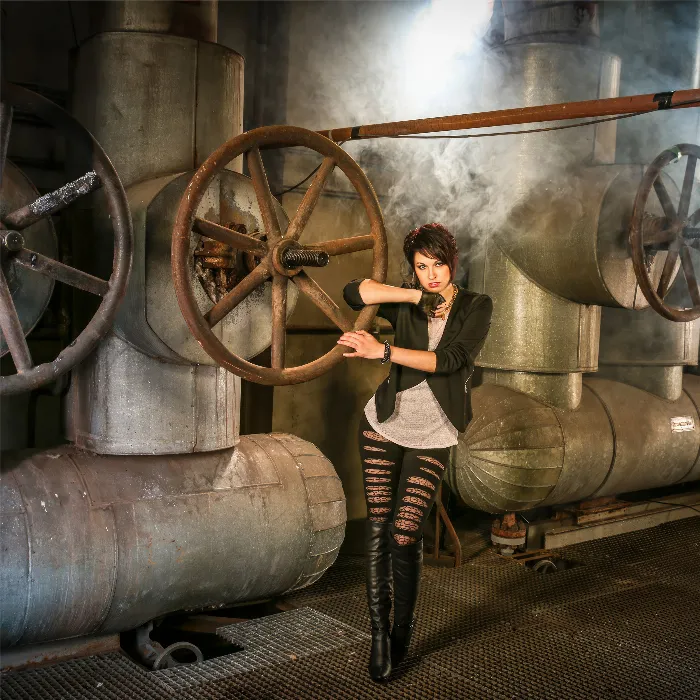
The editing of images can often seem time-consuming and complex. However, with the Lightroom Presets available, applying adjustments is significantly simplified. These pre-made settings allow you to quickly and effectively bring a specific style or desired atmosphere to your photos. In this guide, you will learn how to develop images using presets and what options are available to you.
Key findings
- Lightroom offers a variety of presets that help you edit your images quickly.
- You can create your own presets to maintain your specific style.
- The application of presets is done by simply clicking and can be applied to multiple images at once.
Steps to apply presets in Lightroom
Step 1: Select and prepare images
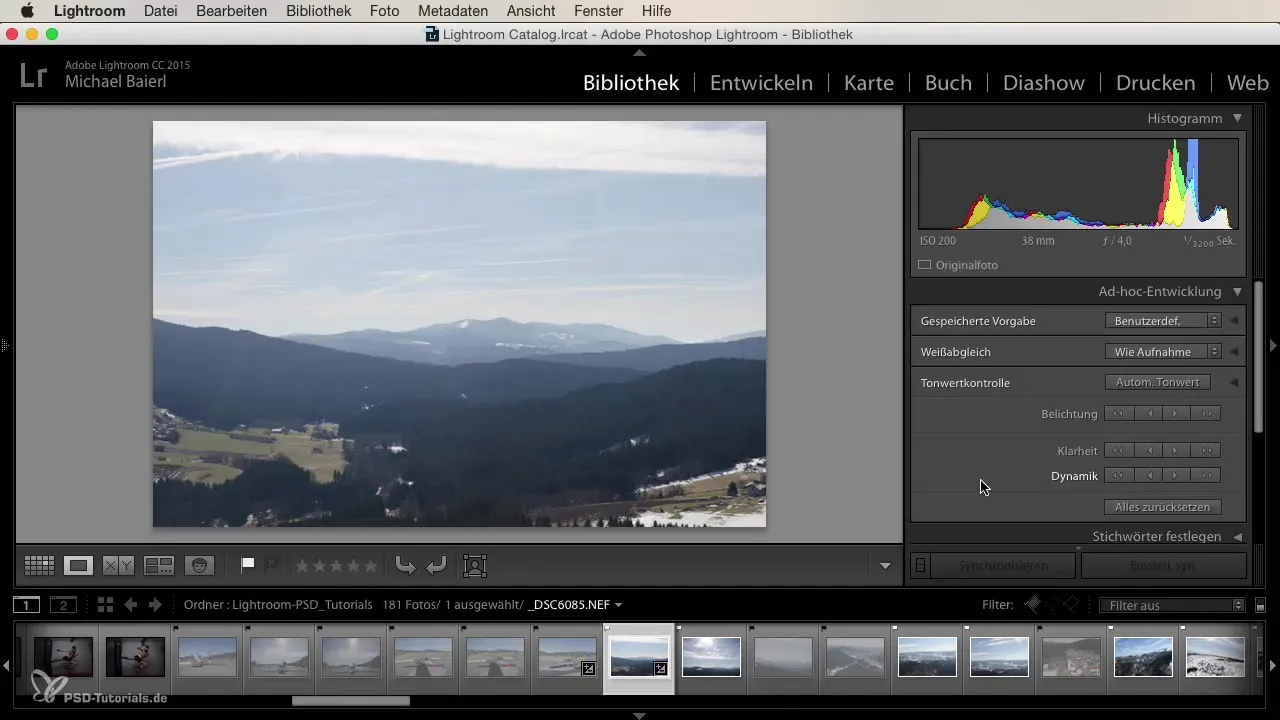
Before you start applying presets, select the images you want to edit. Mark the desired photos in your Lightroom library to work only with those. This simplifies the editing process and ensures that you don’t have to navigate through your entire image collection.
Step 2: Display presets
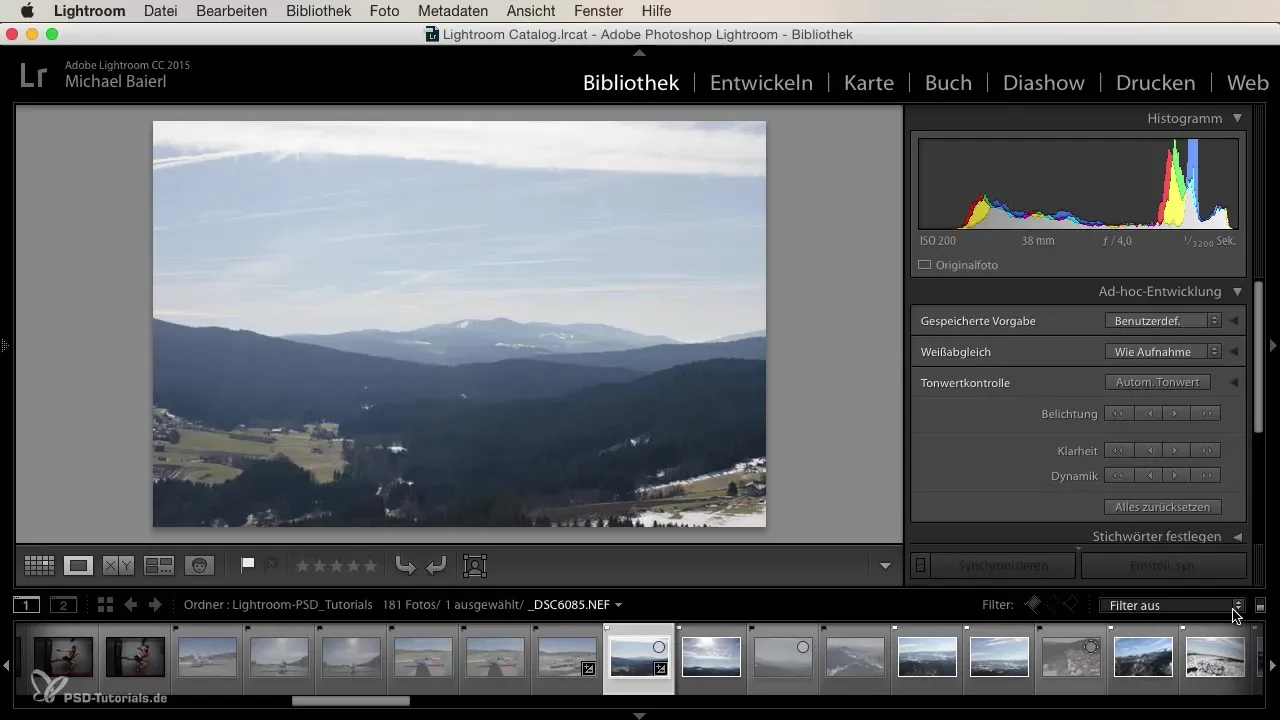
After you have selected your desired images, you will see the category "Presets" at the bottom of the Lightroom workspace. Here, you will find pre-made presets that you can apply. Generally, the default mode is set to "Custom." You can also switch to "Standard" to browse various image editing options.
Step 3: Explore different types of presets
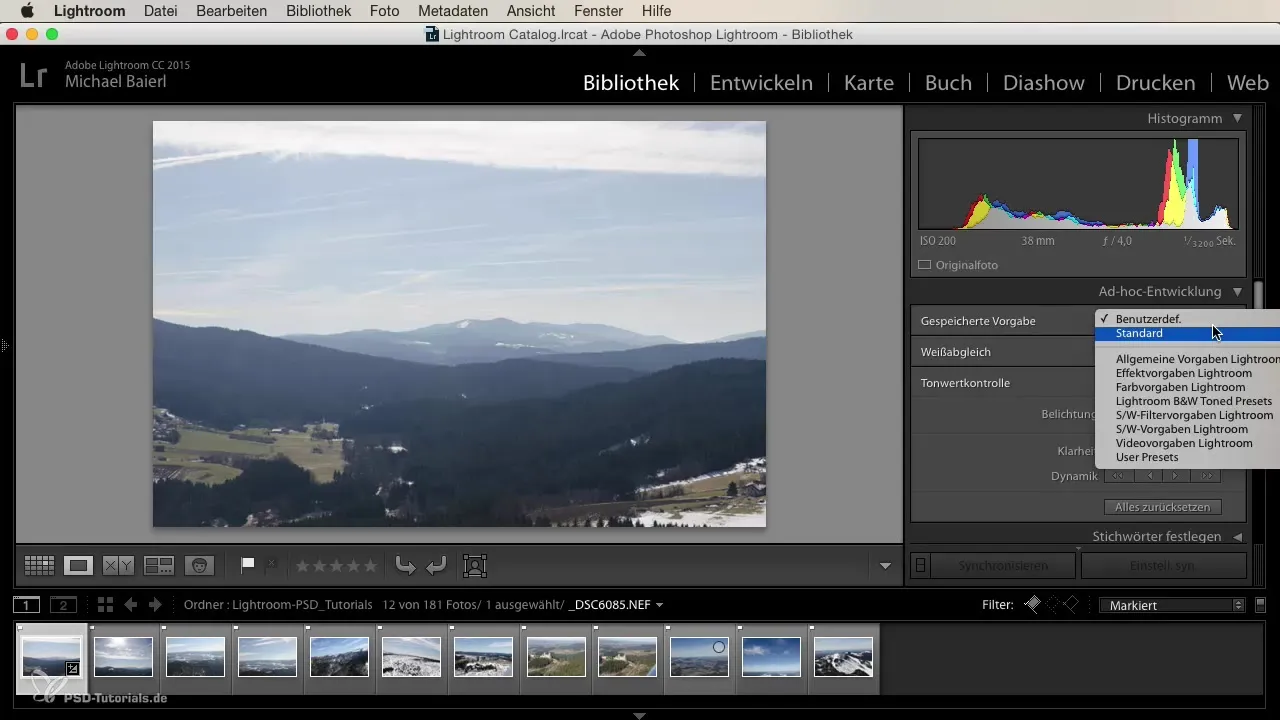
Lightroom offers a wide range of presets, including general presets, effect presets, and color templates as well as black-and-white options. You can also find special presets that help you create a specific atmosphere. This includes vintage or monochrome looks that can give your image the desired appearance.
Step 4: Apply a preset
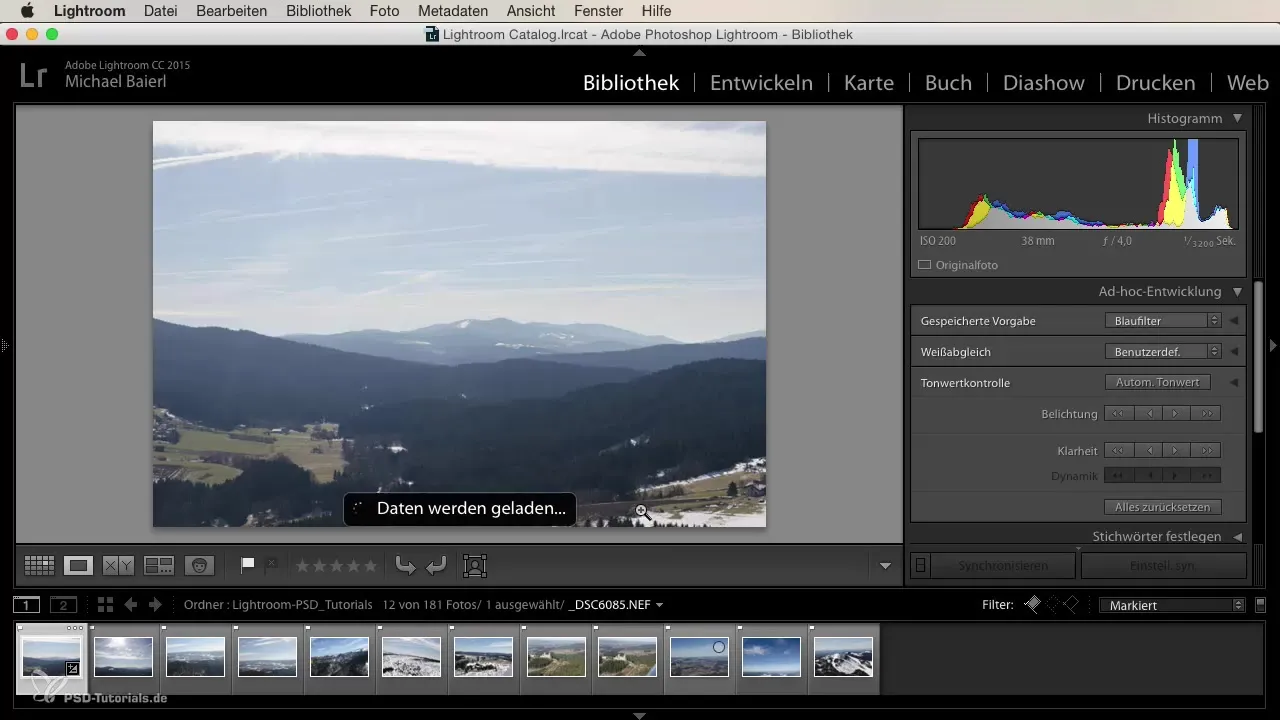
To apply a preset to your images, you only need to click on the desired preset. For example, you can select the “Blue Filter” preset to give your images a special tone. Lightroom will now automatically load the relevant adjustments and apply them to your photo, allowing you to see the result immediately.
Step 5: Edit multiple images simultaneously
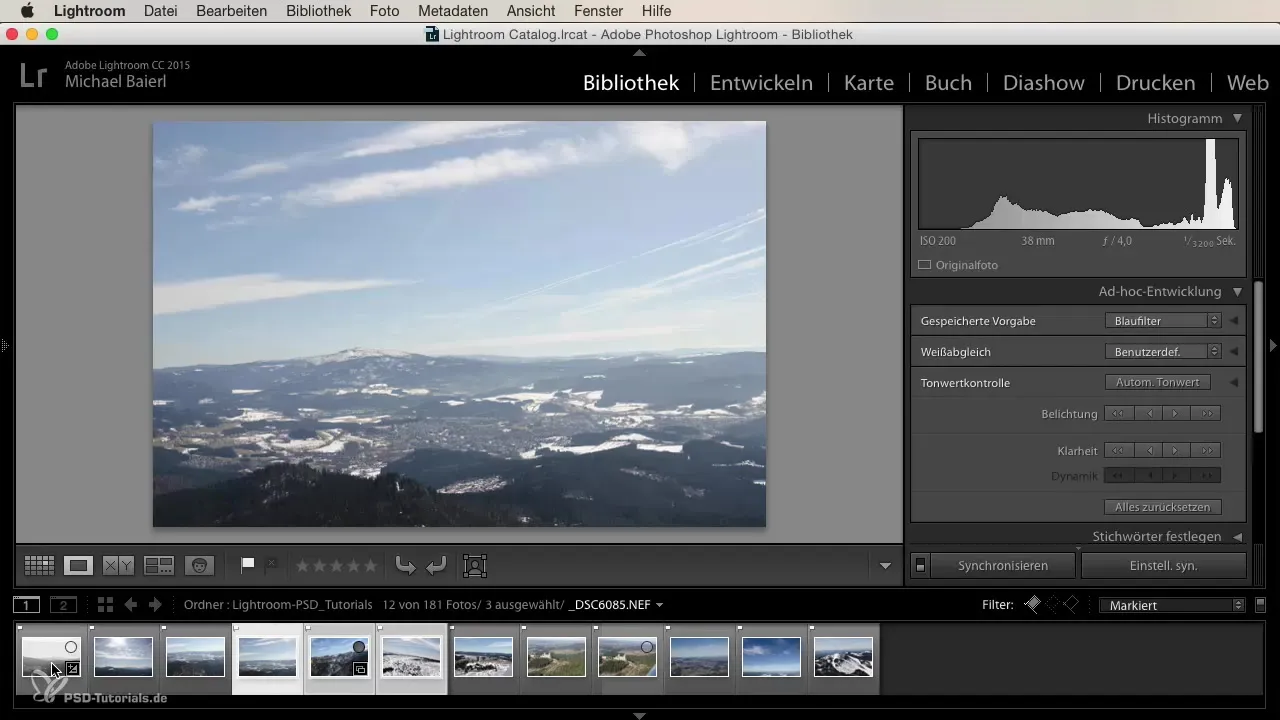
One of the great features of Lightroom is the ability to apply presets to multiple images at once. You can mark several photos while selecting a preset. This way, the preset is applied to all marked images, saving time and providing a consistent style.
Step 6: Customize and create your own presets
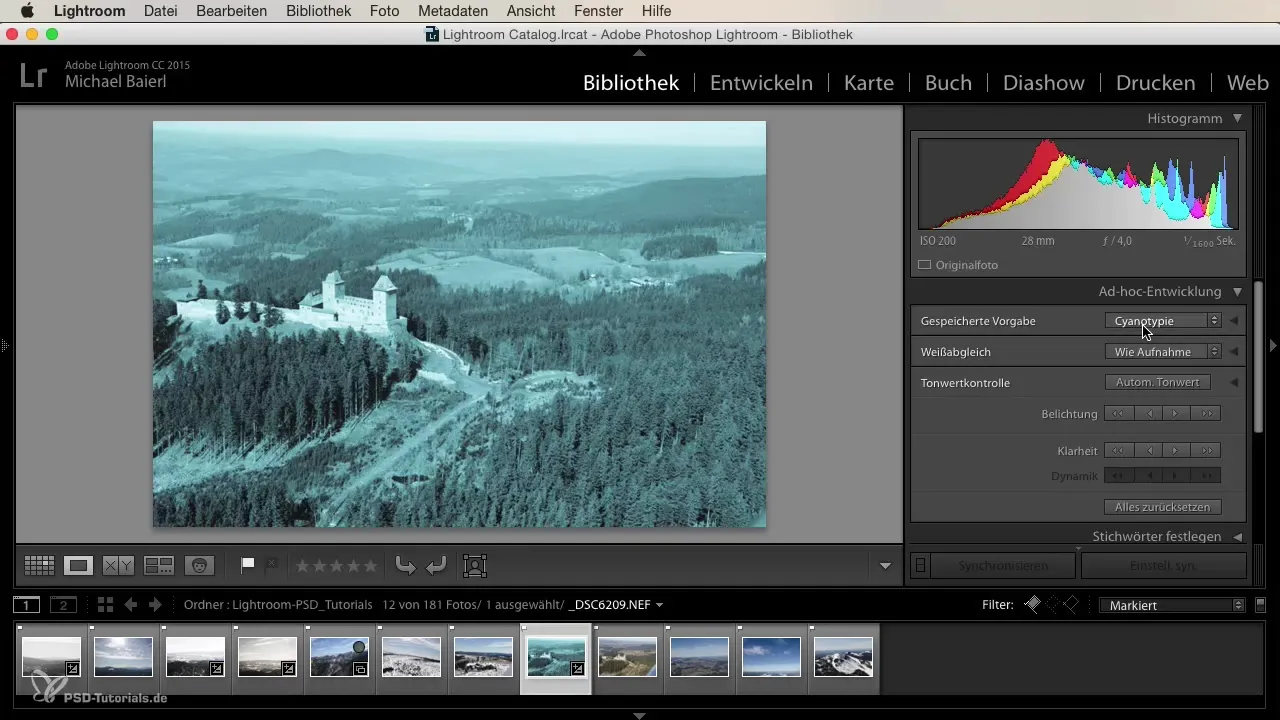
If you make specific adjustments that you particularly like, you can save them in your own preset. To do this, you first develop an image, but you have the freedom to vary the settings according to your preferences. After editing, you can save your newly created preset and easily refer back to your personal preferences in the future.
Summary
By using presets in Lightroom, you save time while still achieving impressive results in image editing. Whether you want to emphasize natural landscapes or create artistic effects, pre-made settings are an excellent aid. Additionally, you have the opportunity to create your own presets to perfect and consistently apply your style.
Frequently Asked Questions
What are Lightroom presets?Lightroom presets are pre-made settings that help you edit photos quickly and achieve a desired style.
How do I apply a preset?Select the image, go to the preset area, and click on the desired preset.
Can I create my own presets?Yes, you can save your own presets based on your edits and use them again later.
How many images can I edit at once?You can apply presets to all marked images at once, making the process more efficient.
Can I customize presets?Yes, you can customize already applied presets and save the settings to create your own preset.
