The post-processing of images is an art that requires a lot of practice and patience. When working in Lightroom, the Before/After Comparison is an indispensable tool to monitor your progress. This function not only helps you assess your corrections but also prevents you from going overboard while editing.
Key insights
- The Before/After comparison serves to continuously review your image editing.
- You can switch between different display modes to better recognize the changes.
- The comparison function is particularly useful for making contrasts and details visible.
Step-by-step guide to using the Before/After comparison in Lightroom
To effectively use the Before/After comparison in Lightroom, follow these steps:
First, open Lightroom and select the image you want to edit. Make sure to be in full-screen mode to get a better view of your edits. You can use the corresponding key on your keyboard for this.
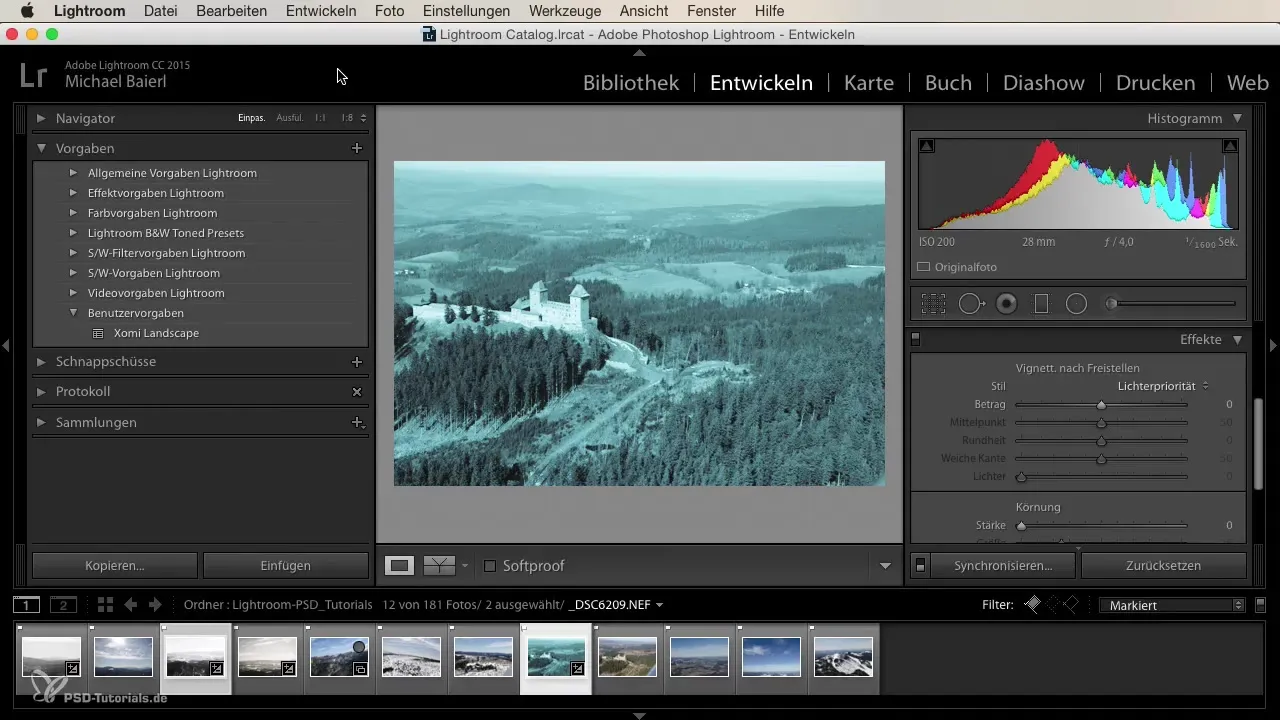
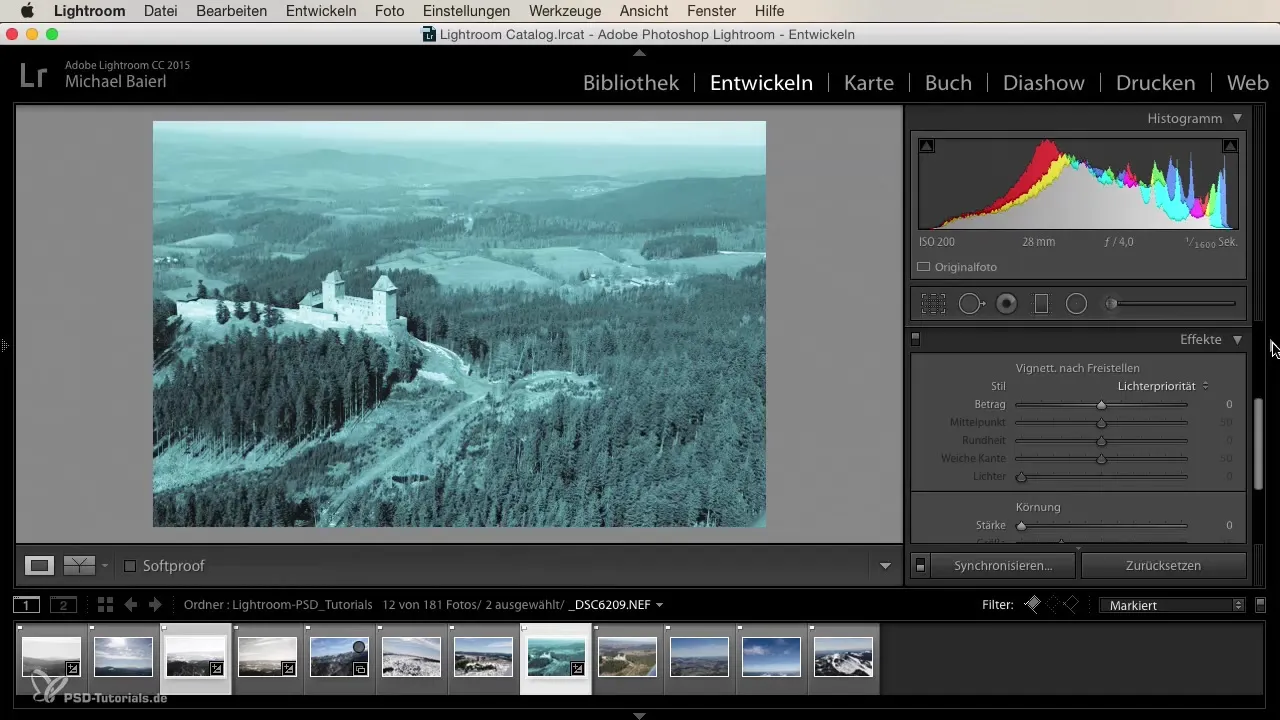
To make space for the image, hide the panels that you temporarily do not need. This allows you to view the image without distractions. Click on the corresponding buttons in the Lightroom interface for this.
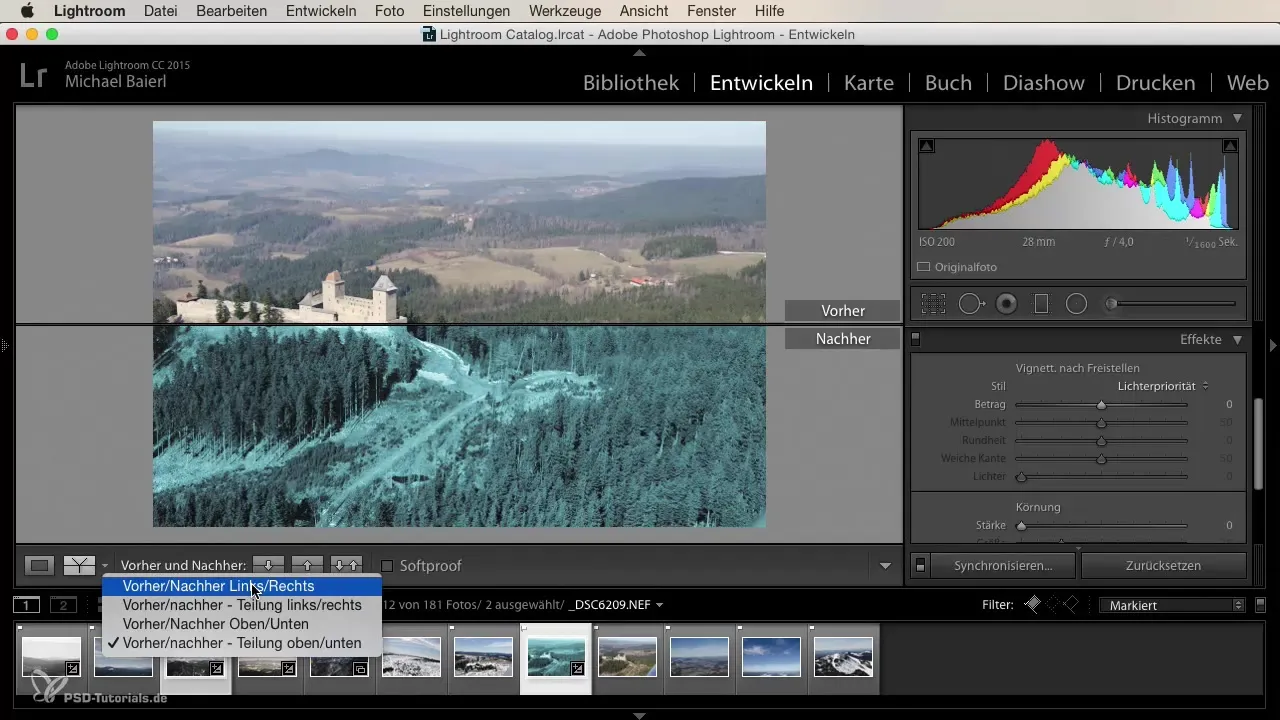
Now you can activate the Before/After function. Go to the option that allows you to make this comparison and select the desired display method. Lightroom offers you several options, such as displaying the previous image on the left and the edited image on the right. This view is particularly helpful when working in landscape format.
Navigate through the images you have edited using the arrow keys. This is a quick way to check how your edits have changed the overall image. Pay attention to details such as hue and contrast created by various edits.
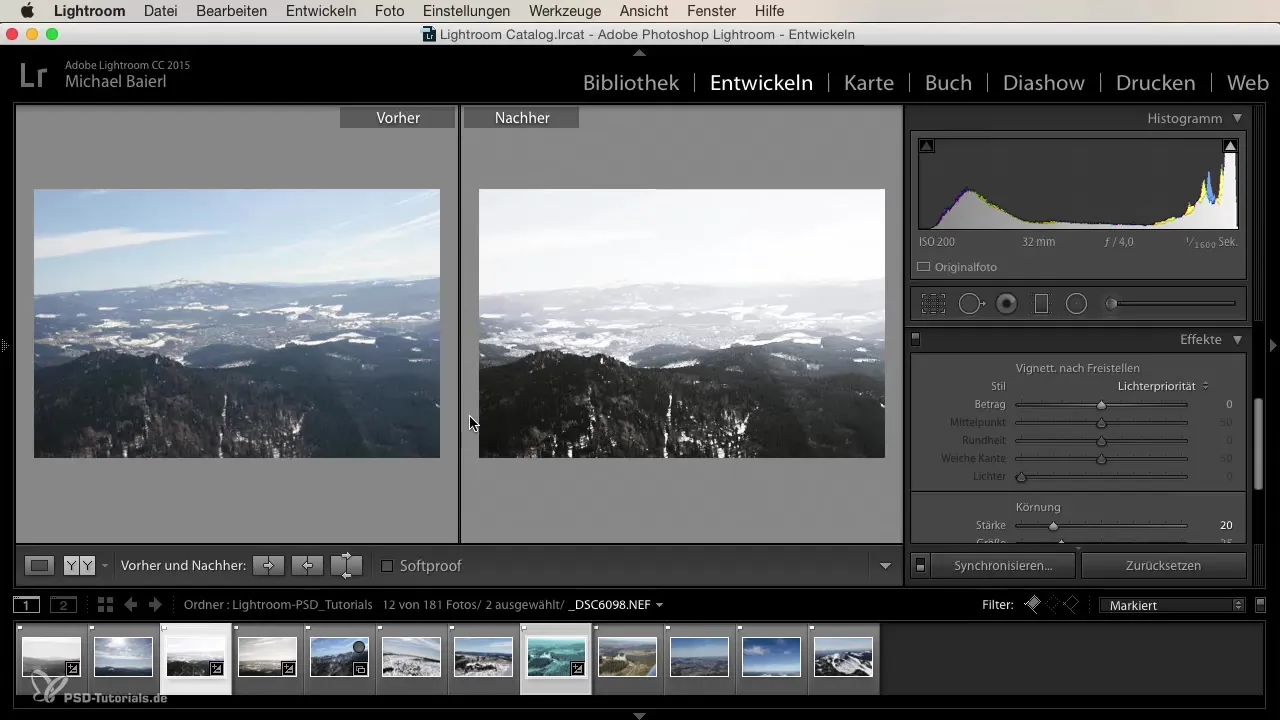
As you go through the images, you can determine whether the contrast is too strong or too weak or if there is still room for improvement. Use the arrow keys to get a sense of whether your current development is heading in the right direction.
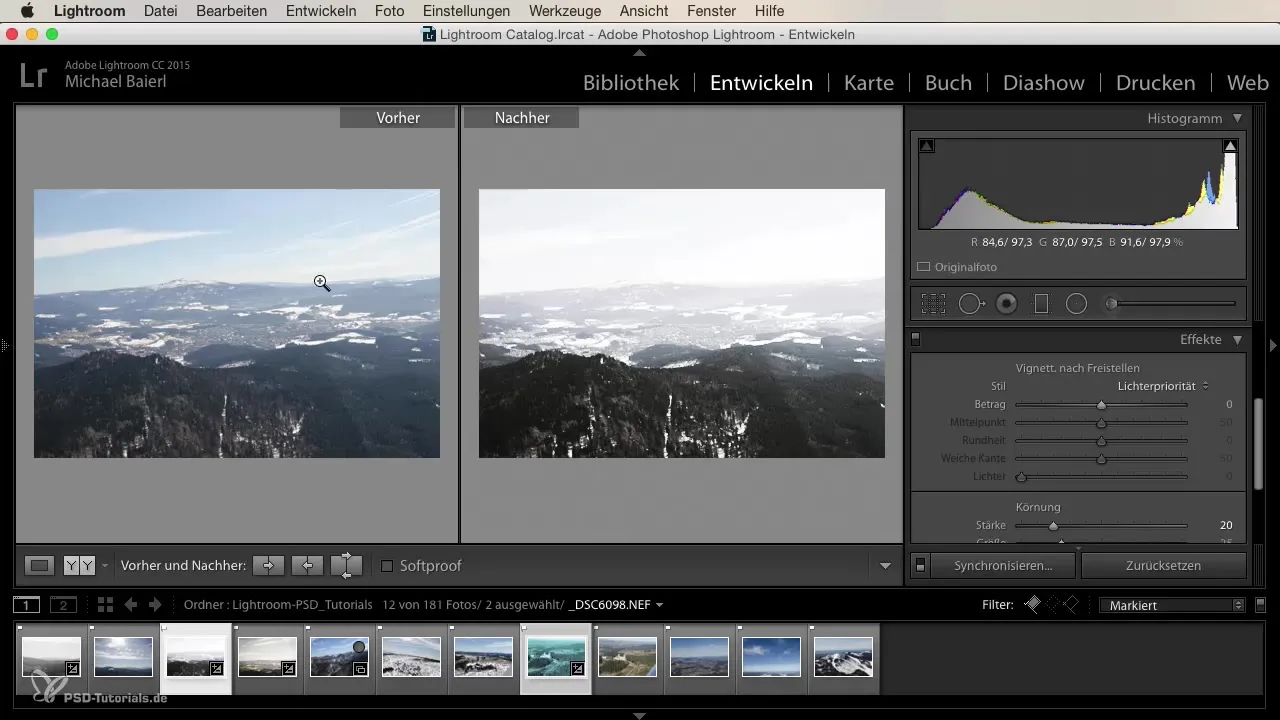
Also consider whether you want to re-edit specific areas of the image, such as the clouds or the horizon. You can continue to refine with the editing tools to bring more detail into the clouds and straighten the horizon.
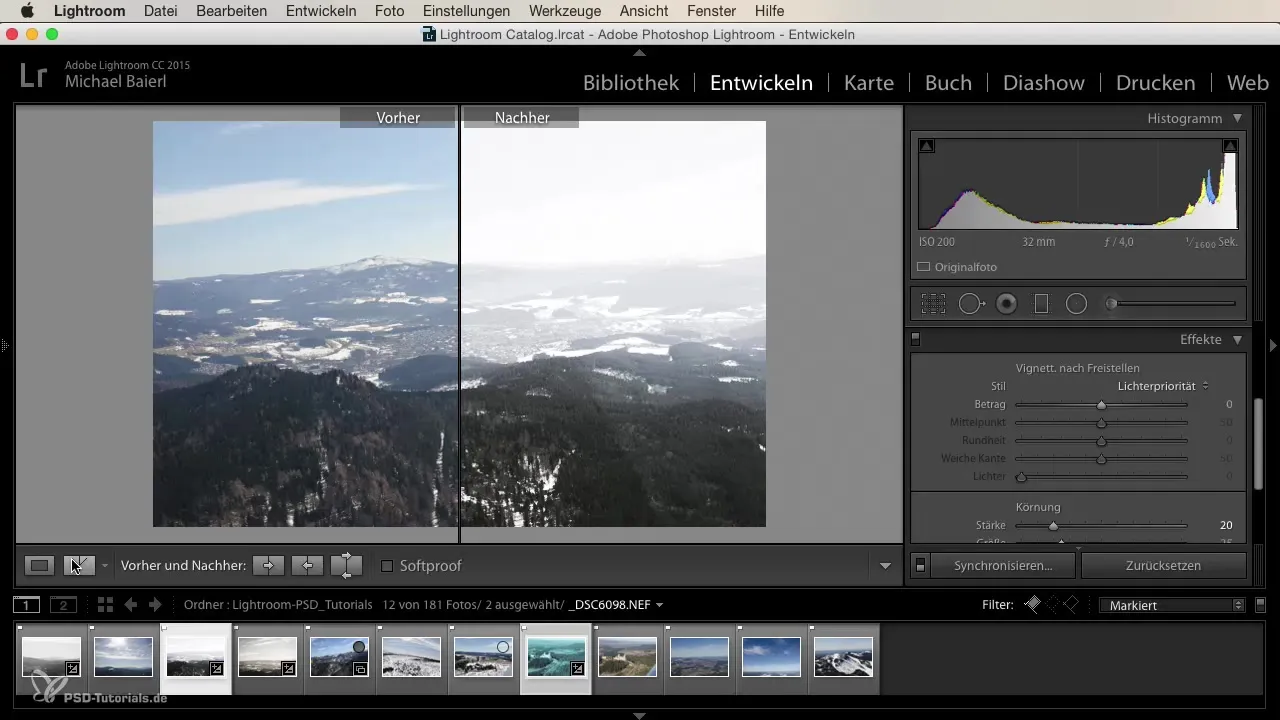
One way to determine if you have made the right adjustments is to use the Before/After mode in split view. This gives you a direct comparison of the two scenarios and helps you see where you might need to compromise or make further adjustments.
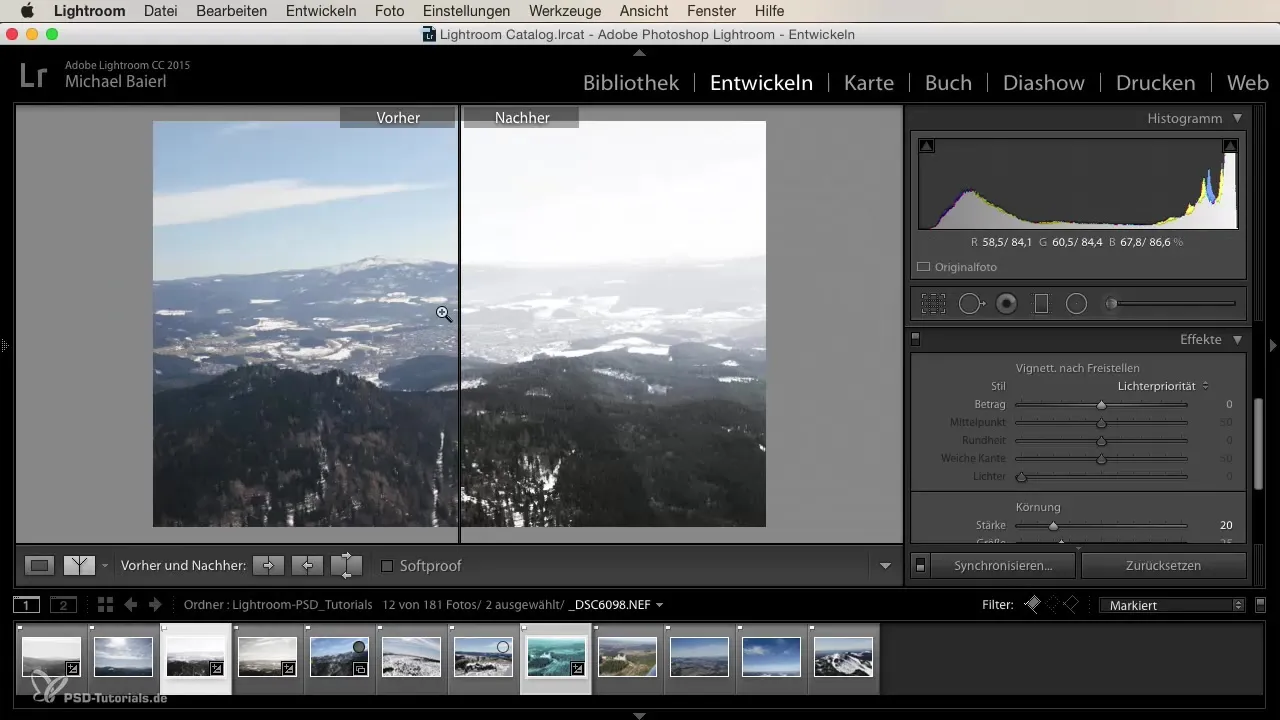
If you use the comparisons regularly, you will develop a better eye for your edits and what is actually needed in an image. It’s important to continuously review and go back if necessary to ensure that you are satisfied with the final result.
Summary
With the Before/After comparison function in Lightroom, you can effectively control your image editing. Use the various display options to track your progress and make targeted adjustments. Make sure to regularly check if your edits align with your vision.
Frequently Asked Questions
How do I activate the Before/After view in Lightroom?You can activate the Before/After view by selecting the corresponding option in the interface and adjusting the display method as desired.
Why is the Before/After comparison important?It helps you review your edits and ensure that you do not overshoot your image and mention the essential details.
Can I switch between different display modes?Yes, Lightroom offers you several display modes for the Before/After comparison that you can switch between as needed to see the best results.
