Lightroom is a powerful tool that offers photographers and image editors a vast range of options for image editing. One of the most notable tools is the Adjustment Brush. This brush allows you to make targeted adjustments in specific areas of an image without affecting the entire shot. In this guide, you will learn how to use the Adjustment Brush effectively to give your image the final touch. Let's get into the details!
Key Insights
- The Adjustment Brush in Lightroom allows for targeted adjustments in specific areas of an image.
- You can adjust the size and brush strength to achieve different effects.
- It is important to understand the basic settings and additional options of the Adjustment Brush to unlock its full potential.
- Effects such as brightness, color, and sharpness can be applied precisely to specific areas.
Step-by-Step Guide
Step 1: Select the Adjustment Brush
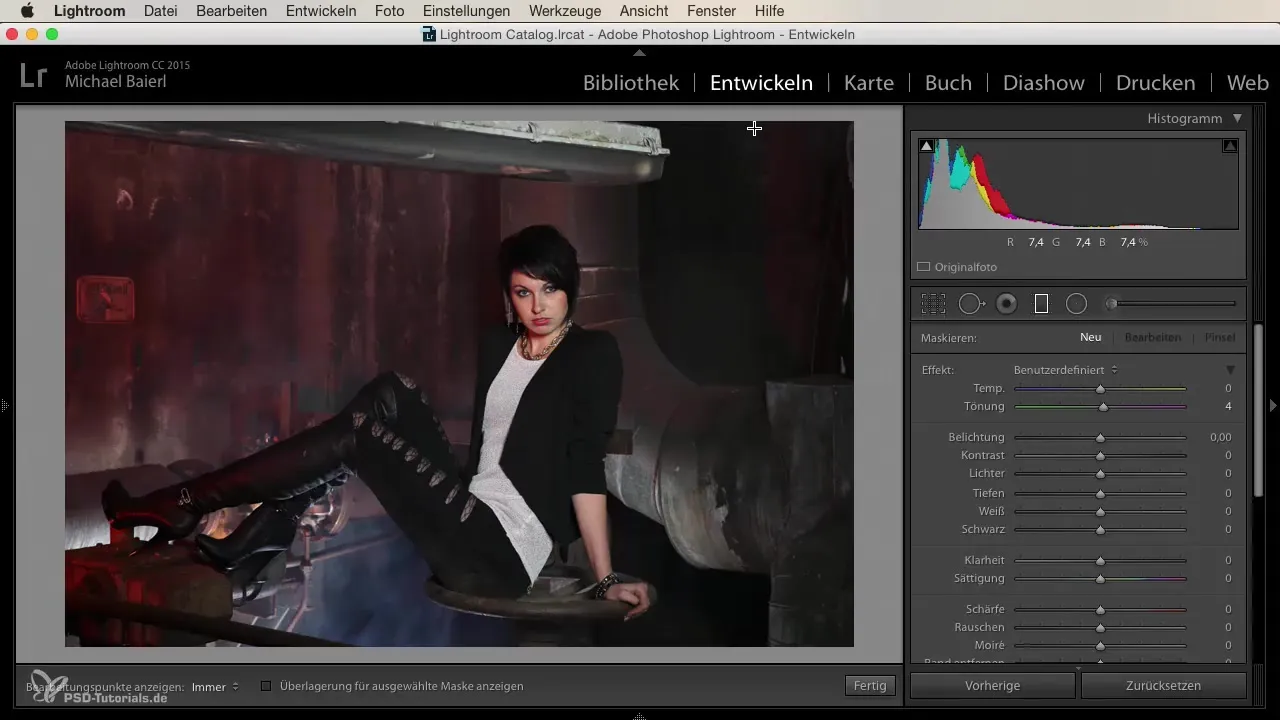
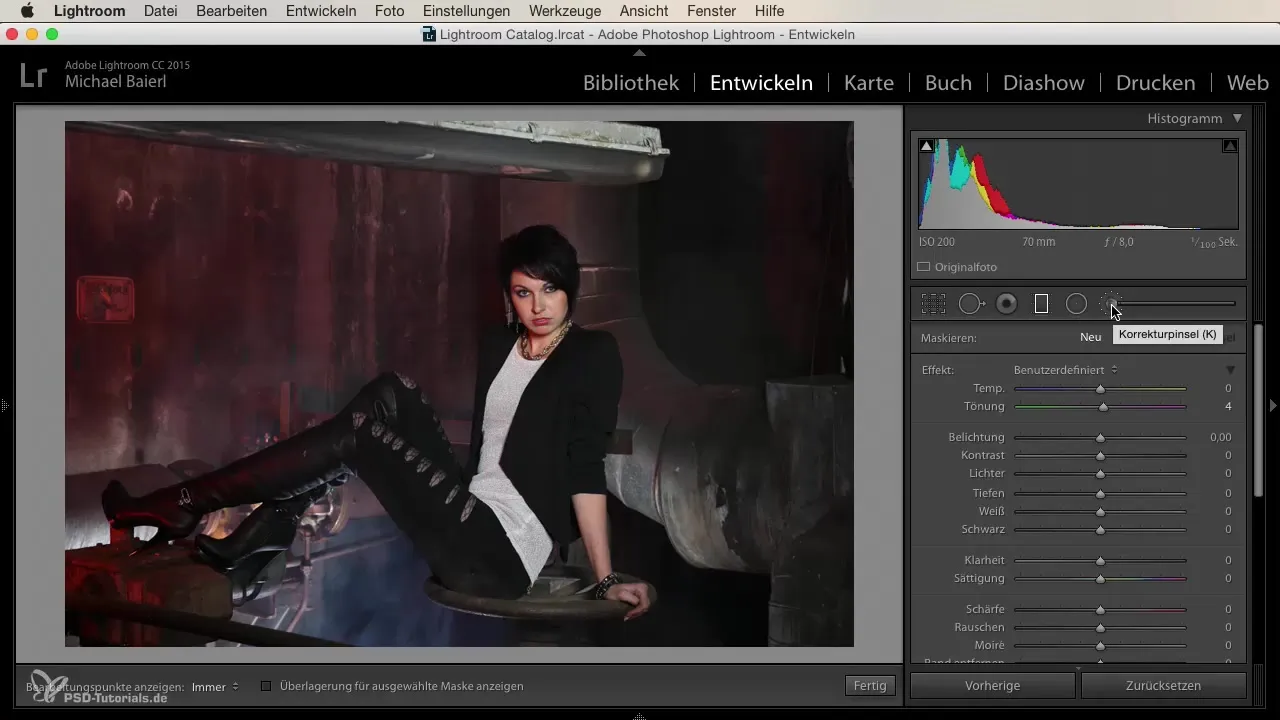
To use the Adjustment Brush in Lightroom, first select the Adjustment Brush from the right toolbar or use the shortcut "K" on your keyboard. Once you click on the Adjustment Brush, you won’t notice much change in the interface, as it looks very similar to the tools for gradient or radial filters.
Step 2: Adjust Brush Size and Settings
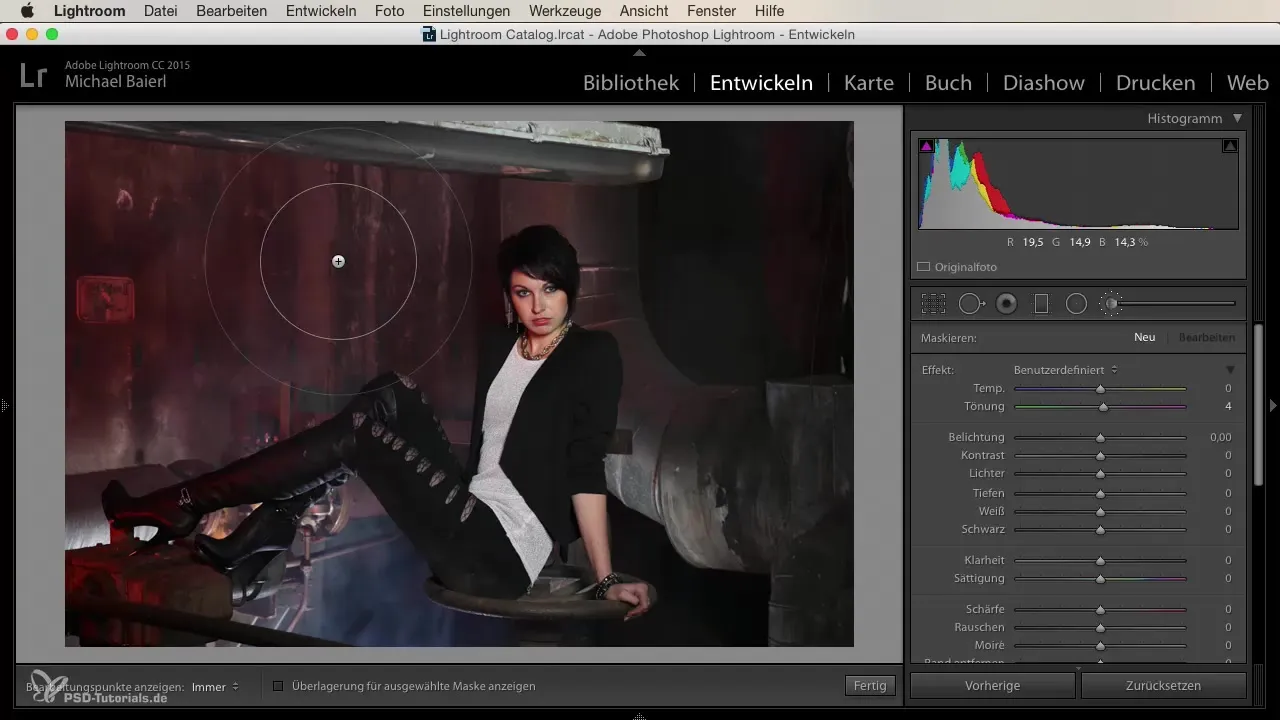
Before you start painting with the brush, you should adjust the size of the brush. Here you can also set the brush strength, softness of edges, and other settings that help you work precisely. Make sure your selection fits the area you want to edit.
Step 3: Make Adjustments
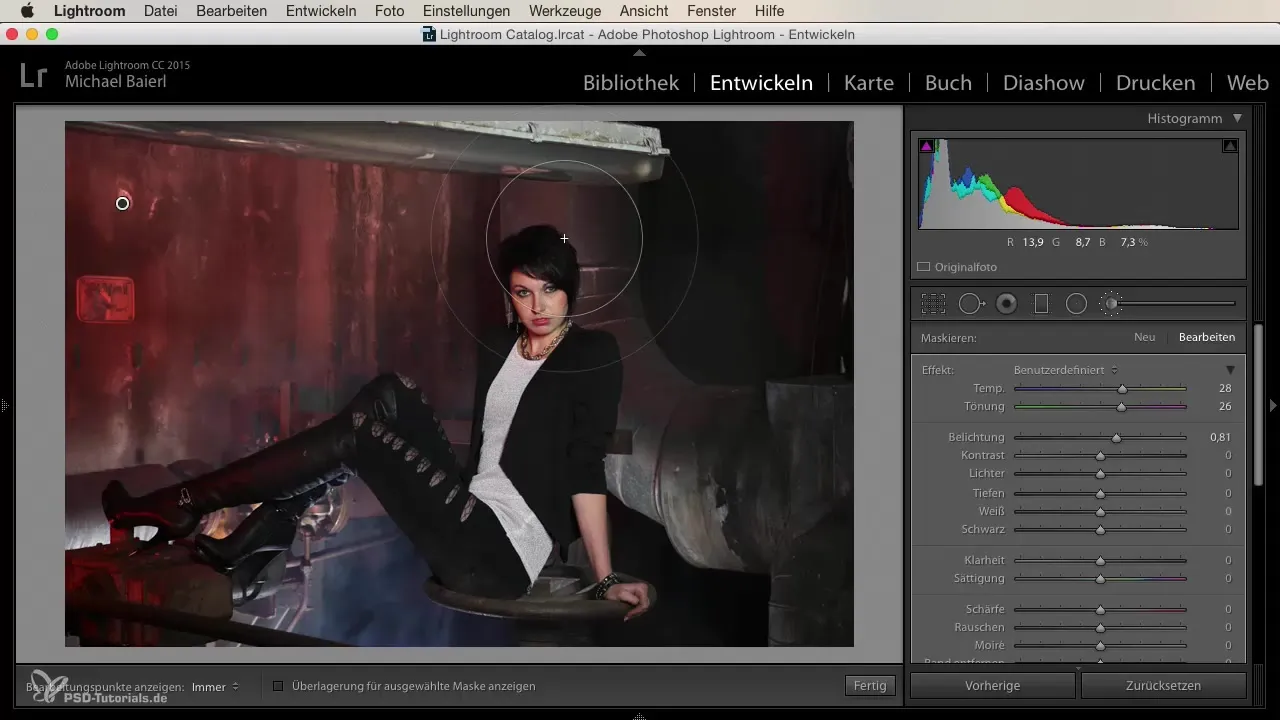
Now it gets interesting. Begin by painting over the area you wish to edit. The Adjustment Brush can apply various adjustments such as lightening, lowering saturation, or changing sharpness. You can think of it like a pot of color: what you put in determines the outcome.
Step 4: Visualize the Brush Strokes
To see where you have already painted, activate the mask. Lightroom will show you the edited areas in a red overlay. This helps you determine if you have covered the desired area or if touch-ups are necessary.
Step 5: Enhance Effects
You can intensify effects to the limit to achieve the desired look. Experiment with the sliders for brightness, contrast, and color temperature to amplify or modify the effect until your vision comes to life.
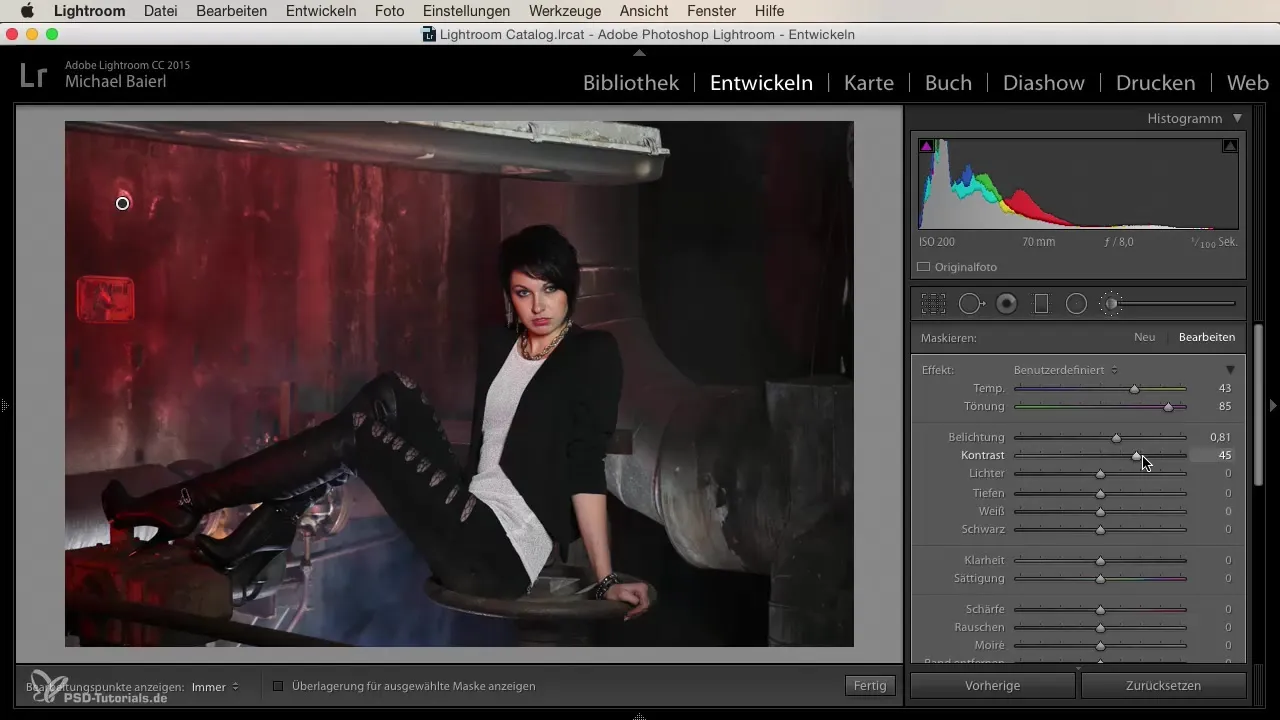
Step 6: Add More Brush Strokes
When you finish with one brush stroke, you can create a new brush to edit other areas. A good technique is to use the same settings and then adjust them slightly. This gives you consistent results and allows for faster editing.
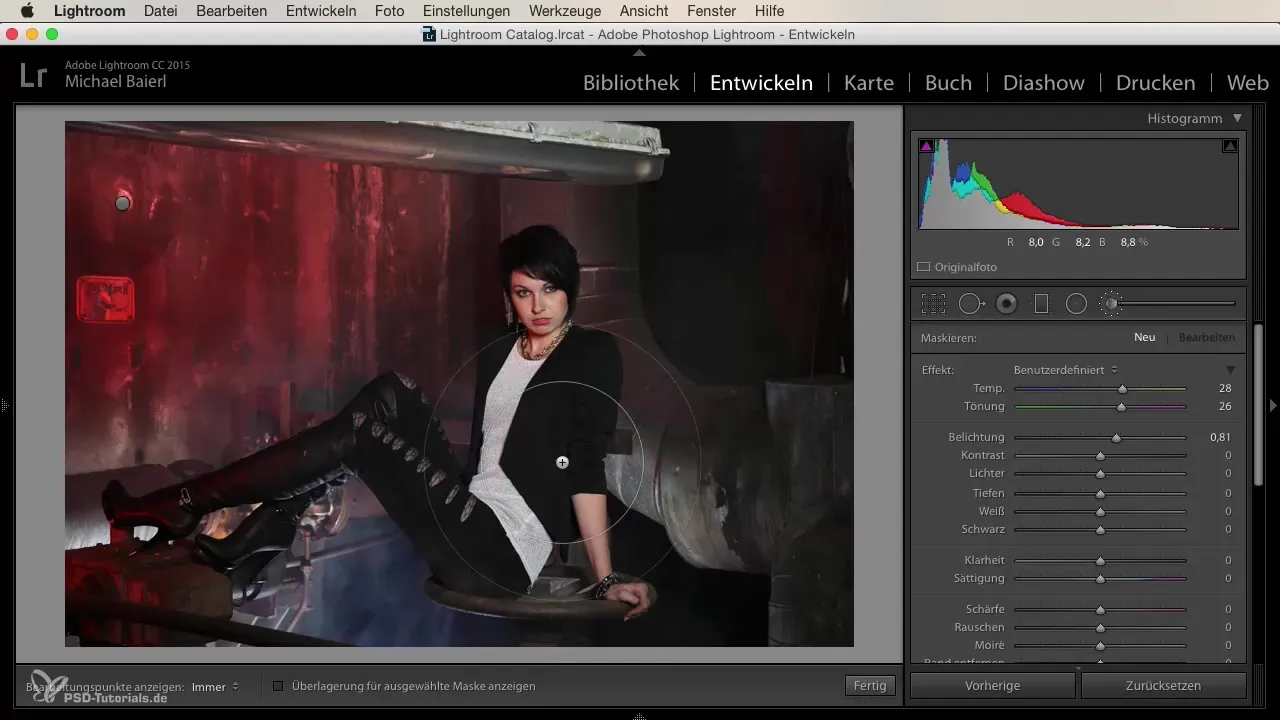
Step 7: Adjust Clarity and Sharpness
An interesting effect you can achieve with the Adjustment Brush is to boost clarity or sharpness in specific areas. Set all values to zero and specifically increase the clarity to bring out textures that add more depth to your image.
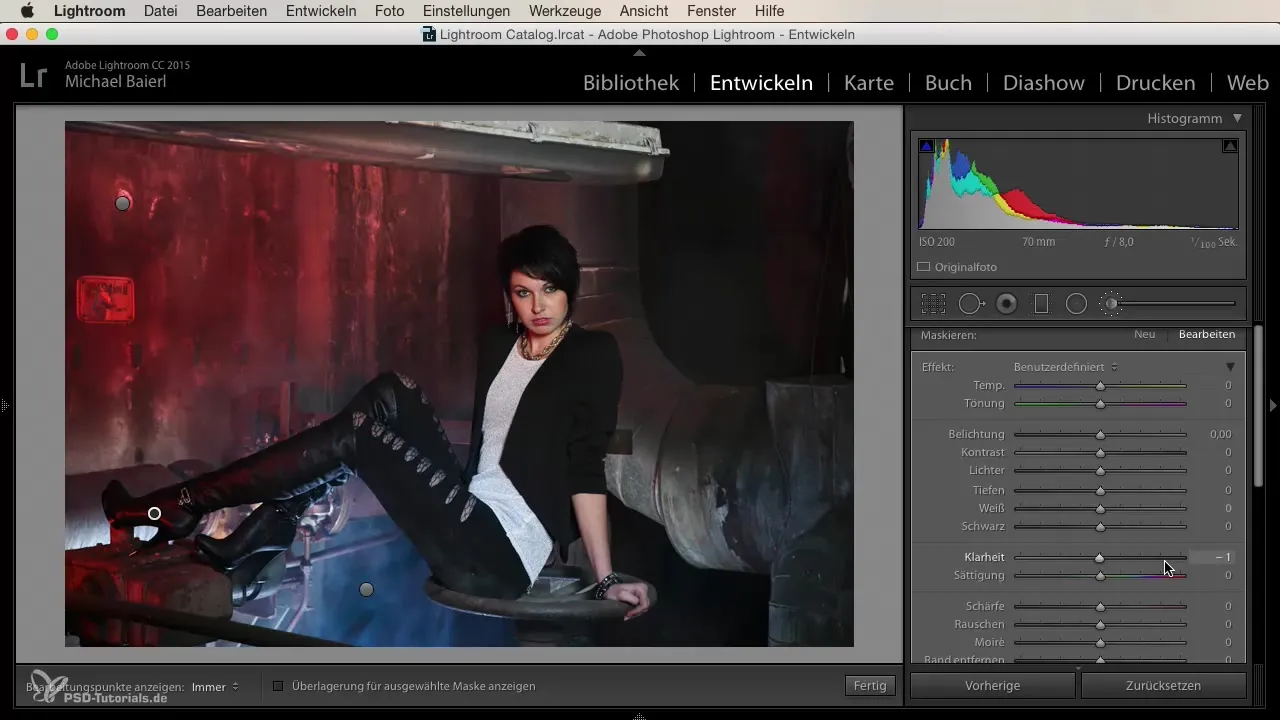
Step 8: Try Variations
If you want to create an impressive look, try out different color palettes and styles. You can also adjust the background exposure or temperature to optimize the mood of the image.
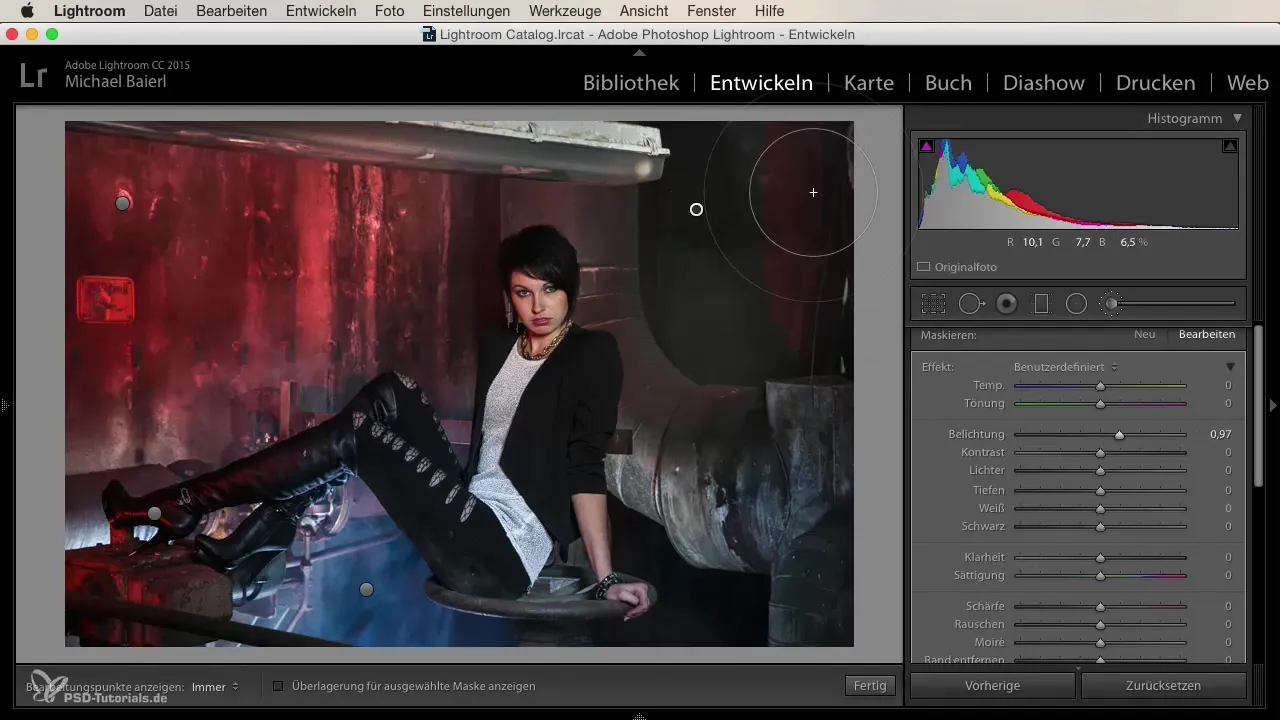
Step 9: Edit Landscapes
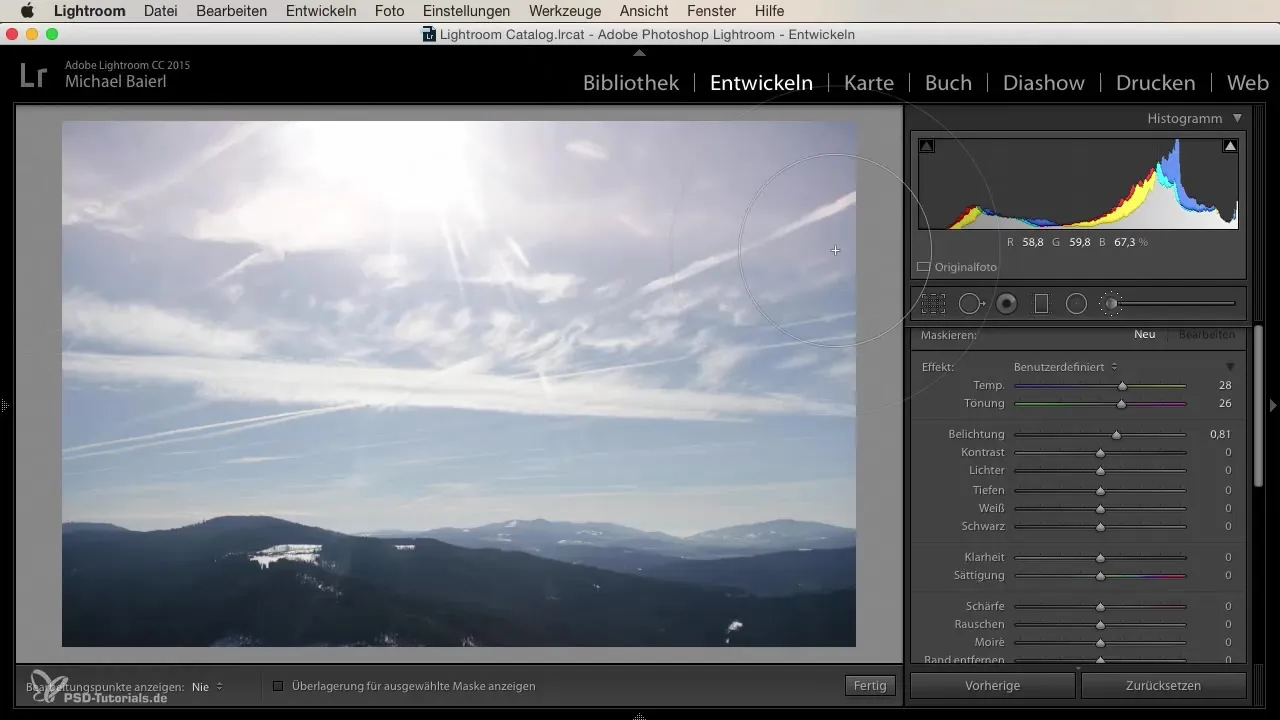
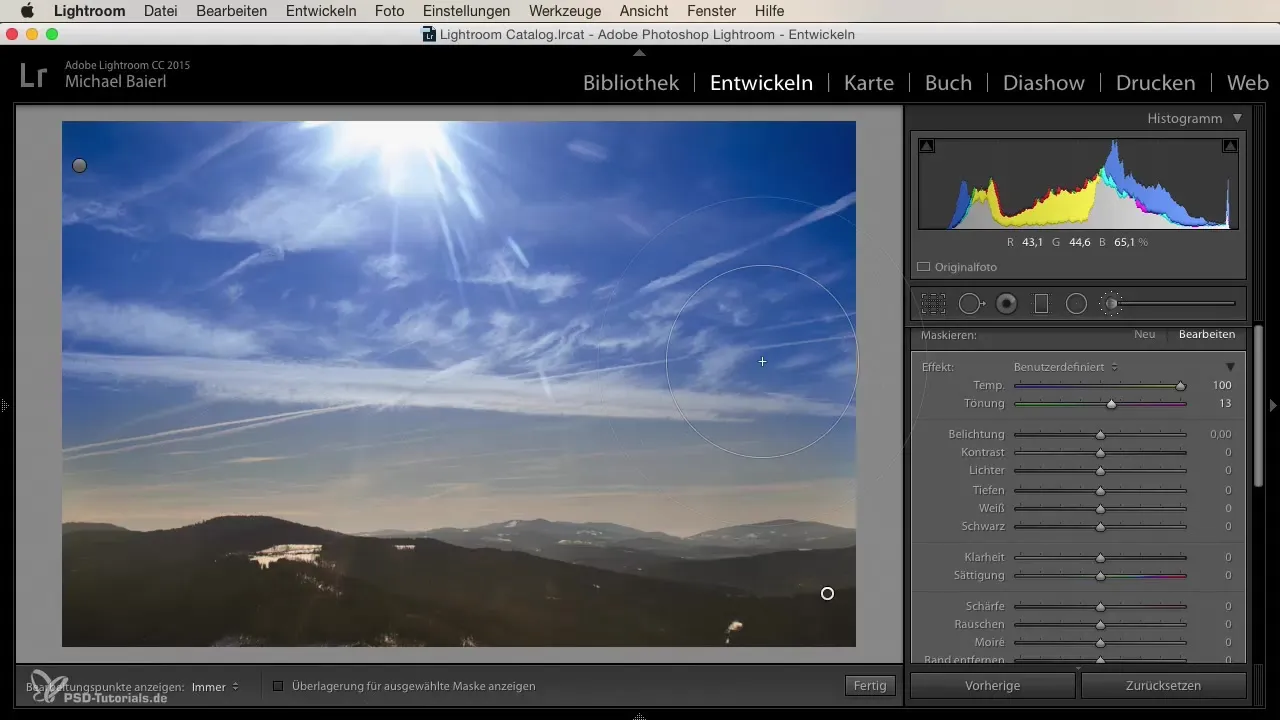
The Adjustment Brush can also be used for landscape shots. For example, if you want to make the sky darker and bluer, you can paint over it. Great effect: the clouds stand out much better and the image gains depth.
Step 10: Complete the Editing
Once you are satisfied with your editing, you can save the image or continue to adjust it if necessary. Keep experimenting to achieve the perfect result. The Adjustment Brush offers you endless possibilities to express your creativity.
Summary
The Adjustment Brush in Lightroom is a versatile tool that allows you to make precise adjustments to specific areas of an image. By adjusting the brush size, clarity, and sharpness, you can achieve impressive results. Experiment fearlessly and discover the fascinating options that the Adjustment Brush offers you!
Frequently Asked Questions
How can I open the Adjustment Brush in Lightroom?You can open the Adjustment Brush by clicking the icon in the right toolbar or using the shortcut "K".
Can I adjust the brush size?Yes, you can adjust the brush size in the Adjustment Brush tool at any time.
How can I see where I painted with the Adjustment Brush?Activate the mask to see your brush strokes as a red overlay.
Can I also edit the sky with the Adjustment Brush?Yes, the Adjustment Brush is excellent for editing skies and other specific areas of an image.
How can I ensure my settings remain consistent?You can create multiple brushes with similar settings to achieve a consistent result.
