Do you want to capture the beauty of a landscape or a cityscape in all its details? A Panorama is the perfect solution for that. With Lightroom, you can easily and efficiently create a panorama from multiple photos. This guide will walk you through the process, from image editing to final presentation.
Key insights
- A good image base is crucial: photos taken with a tripod and minimal movement.
- Lightroom offers various options for creating panoramas.
- It's important to review the results in Lightroom and edit if necessary.
Step-by-Step Guide
First, import your images into Lightroom. The best way to do this is through the "Library" view. Here you can import all the panoramic photos you've taken. Make sure to take the pictures from a tripod to keep the shots as free of shake as possible. When photographing outdoors, there is always the chance that grass or other elements may move, leading to ghost images. However, these can also be edited later.
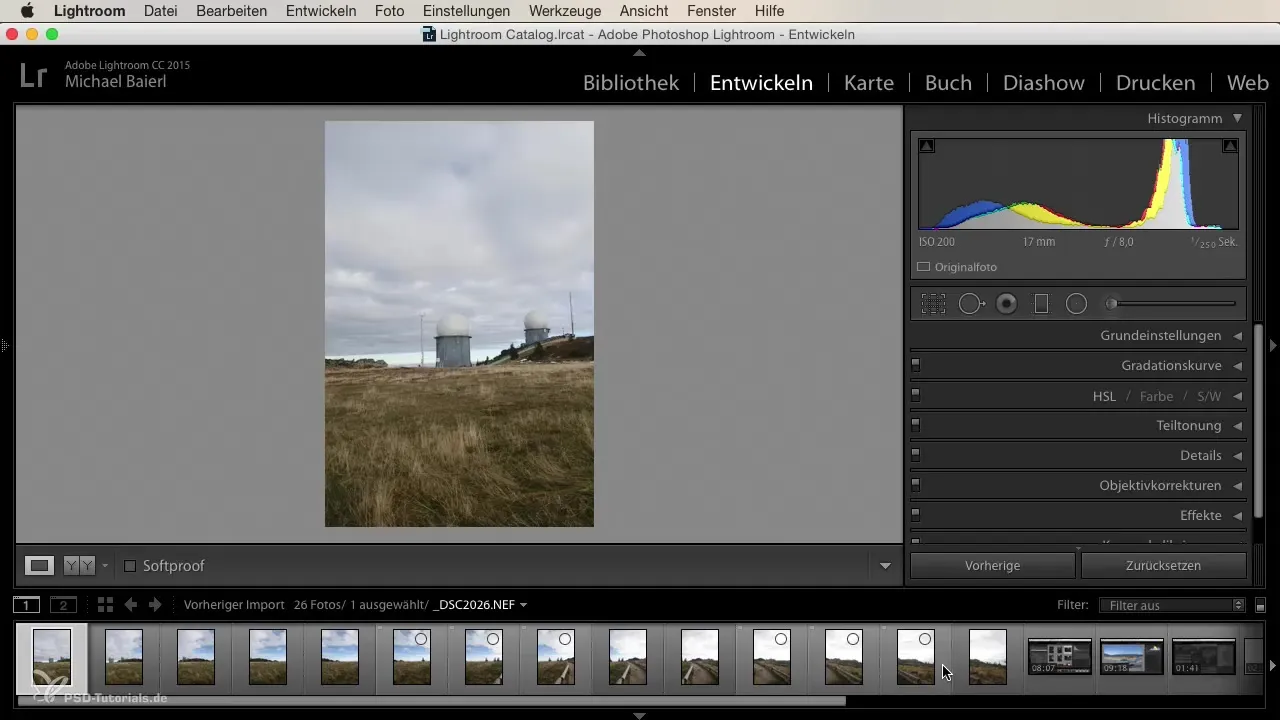
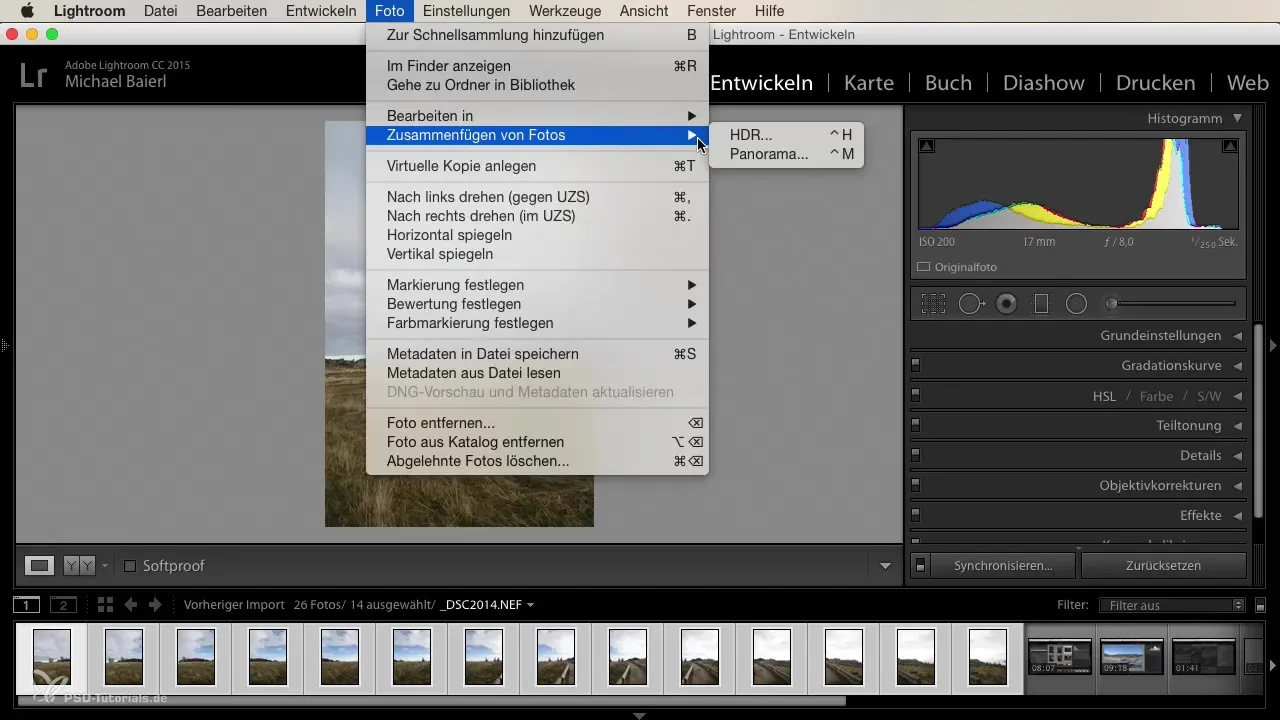
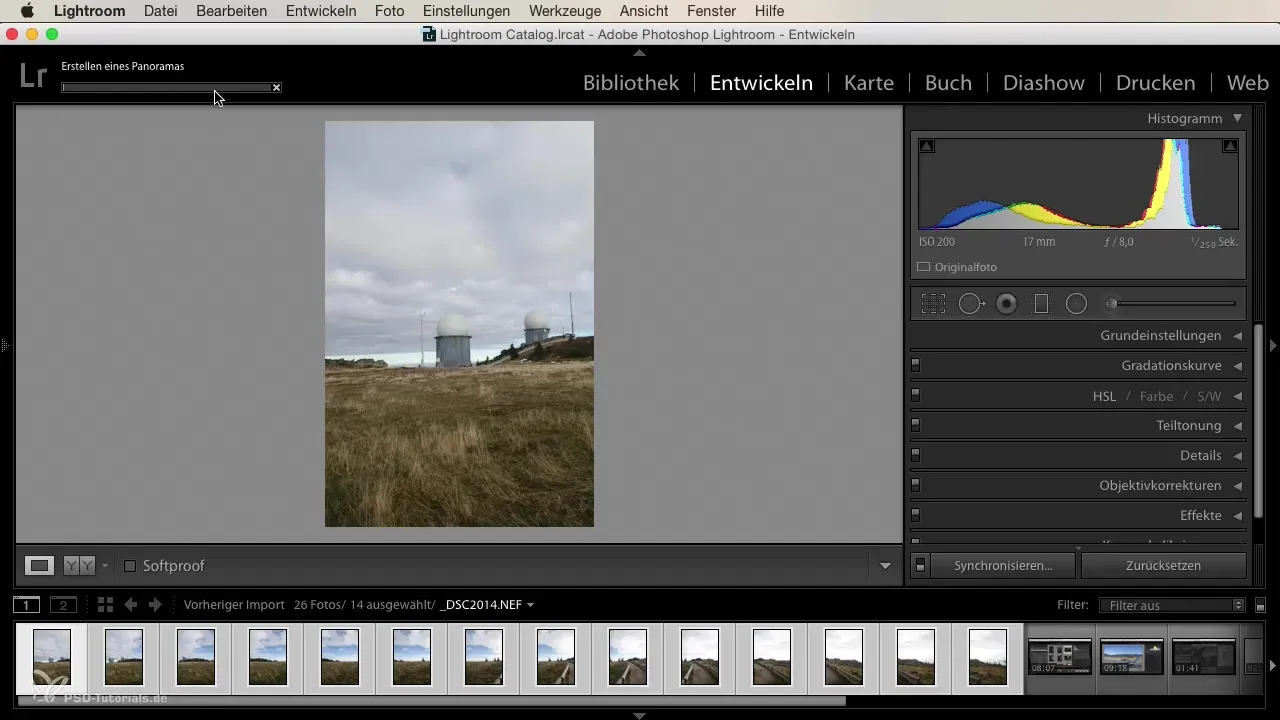
After you've imported your photos, select the first and last image of your series. Hold down the Shift key and click on the corresponding images. Then navigate to "Photos" in the menu and choose "Merge Photos to Panorama." Lightroom will now create a preview of the panorama, with the duration of the process depending on the processing power of your PC. Lightroom automatically selects a projection option, which can either be spherical, cylindrical, or perspective. This choice may vary depending on the images used, and it's advisable to look at the different options to find the best one for your panorama.
Once the preview has finished rendering, click "Merge." Lightroom will now create the panorama from the selected images. This can take some time, especially if you are using many high-resolution RAW files. For me, creating a panorama from 12-13 RAW images took a short moment. You can use the waiting time to attend to other things or simply enjoy a coffee.
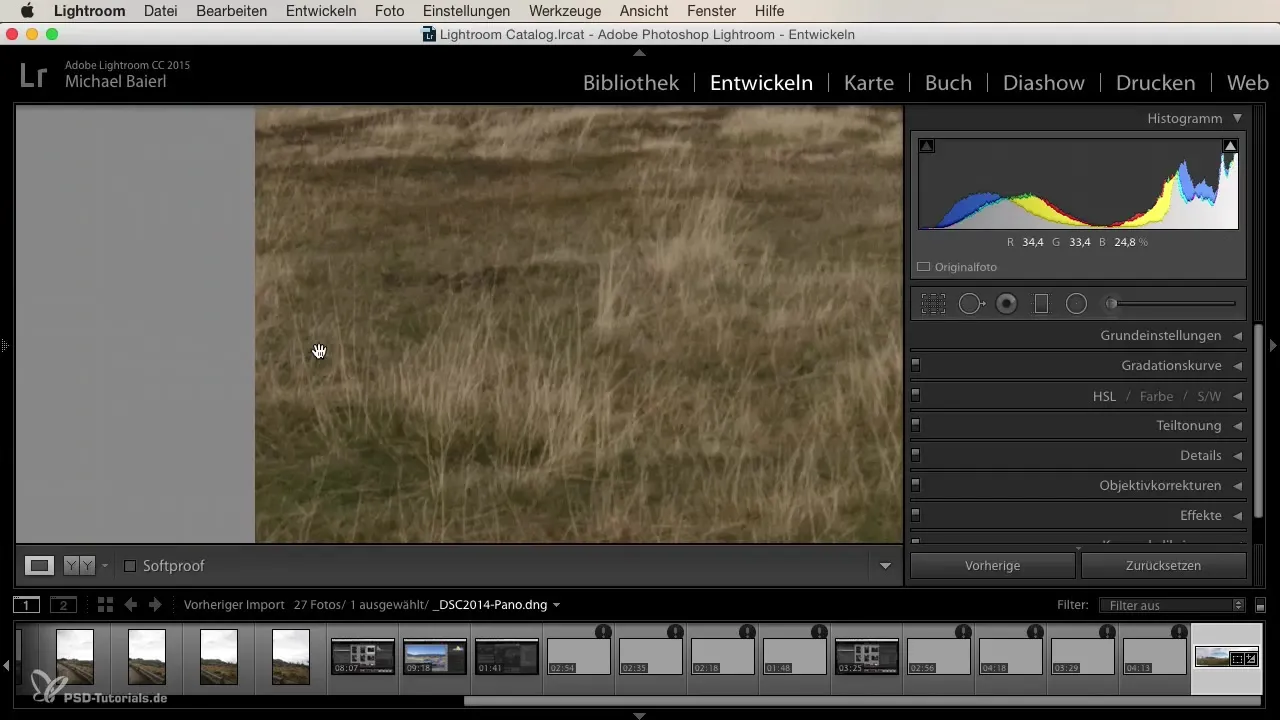
When the process is completed, you will find your assembled panorama in the Develop view. Here, you can conduct a detailed inspection. Zoom to 100% and check from left to right to see if all edges are clean. There may be some areas with errors – errors such as edges that do not align well. For such cases, you can continue editing or later correct in Photoshop. In the Develop view, you also have the option to adjust the white balance and basic settings.
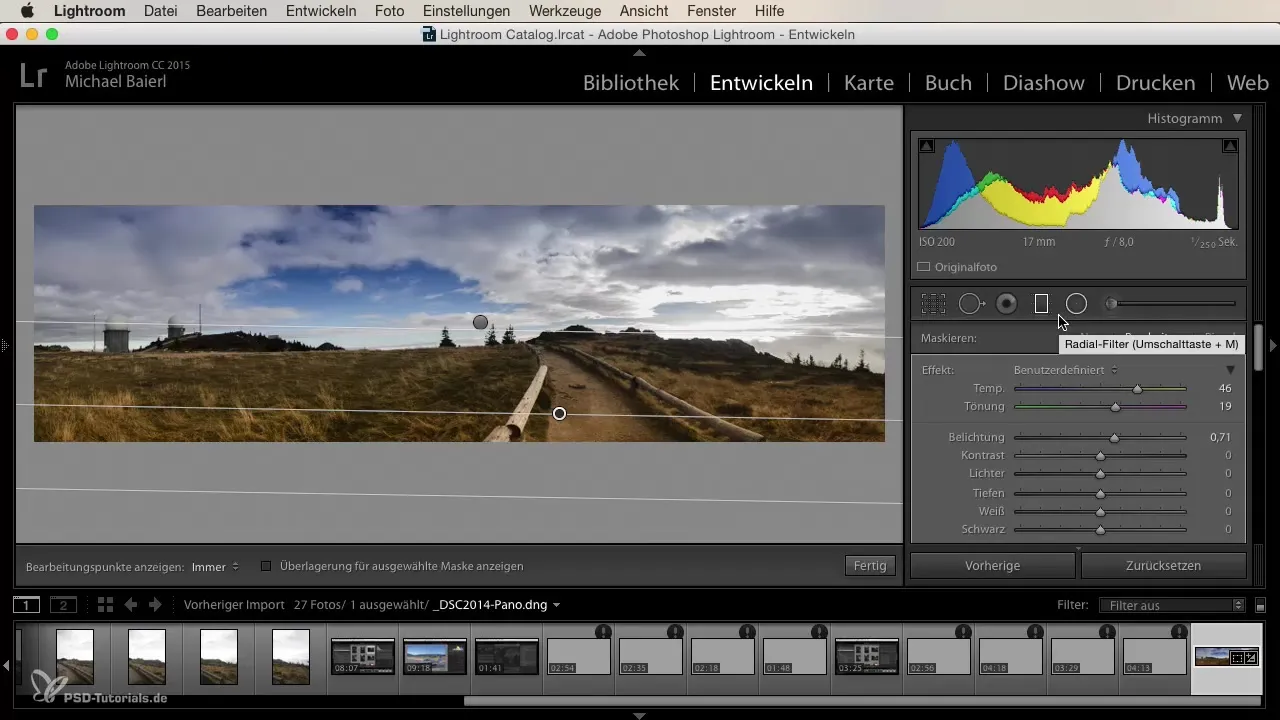
Here you can experiment with the sliders: lower the highlights for more drama, increase clarity to bring out details, and look at color adjustments for a more dramatic sky. Play with the settings to create the ambiance you desire – perhaps a moody, cloudy image or a bright, sunny day? The possibilities are diverse.
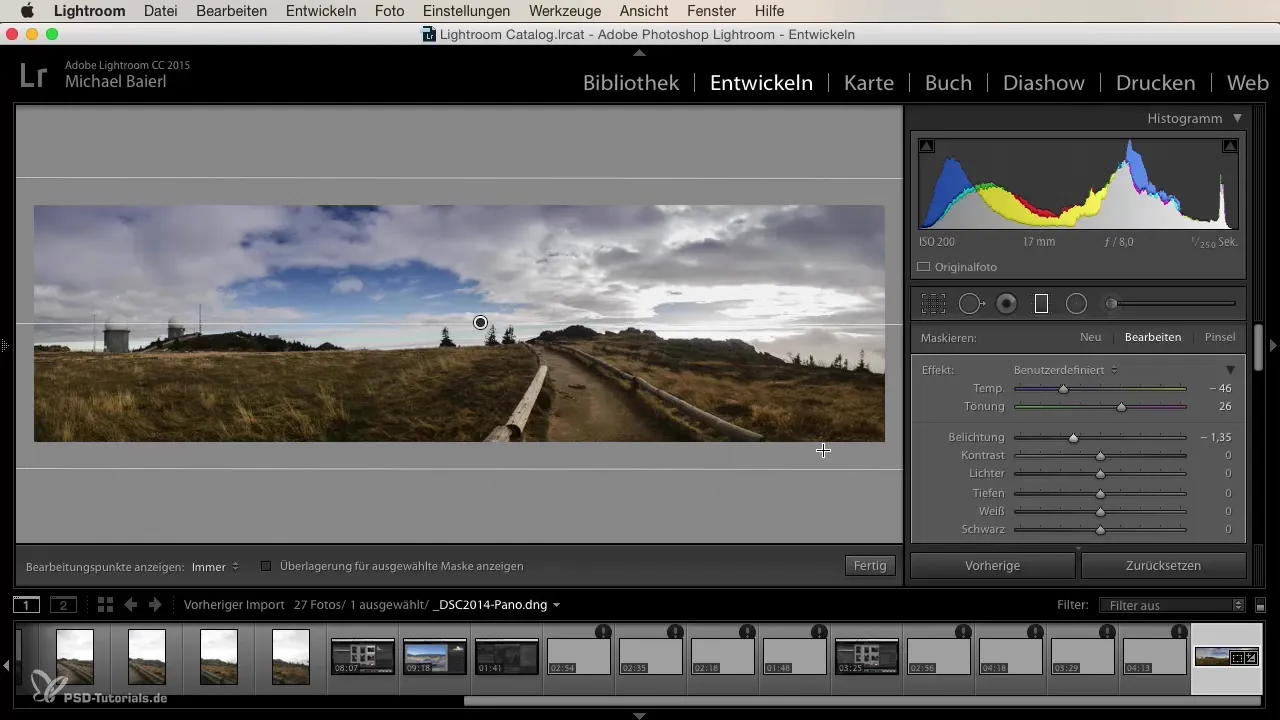
The waiting times can become somewhat annoying with panoramas containing many images, as Lightroom requires a lot of processing power. However, good preparation and the right light are key to an impressive panorama. Once you have found the right settings, you are on the best path to achieving a great result.
Summary
You have now learned how simple and effective it is to create a panorama from multiple photos with Lightroom. Make your shots from a tripod and pay attention to good lighting conditions to achieve the best results.
Frequently Asked Questions
How can I achieve the best result for my panorama?Use a tripod for shake-free shots and pay attention to even lighting.
Which projections can I choose in Lightroom?Spherical, cylindrical, and perspective projections are available in Lightroom.
Can I correct errors in my panorama?Yes, you can make corrections in Lightroom or use Photoshop to fix errors.
How long does it take to create a panorama?The duration depends on the number of images and the processing power of your computer.
