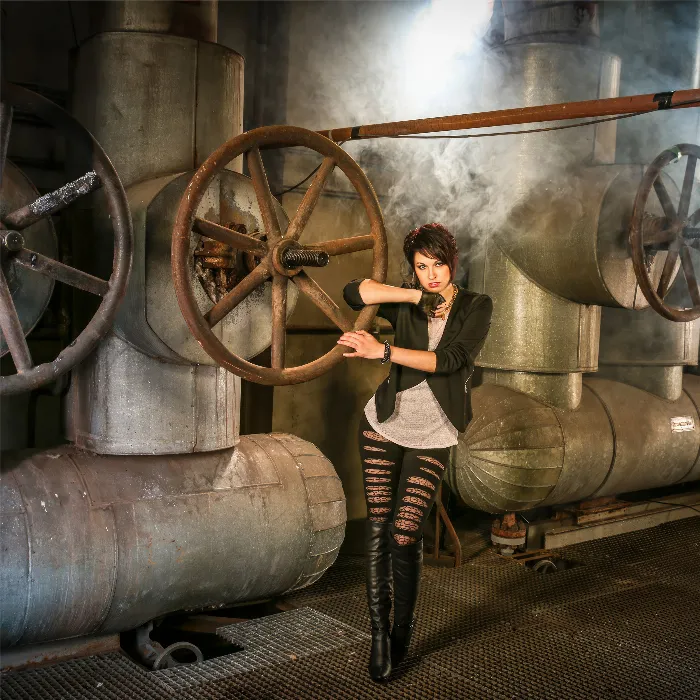
The creation of an HDR image is an exciting technique to expand the dynamic range of a photo. If you want to learn how to create an impressive HDR photo in Lightroom from a series of exposures, then you are in the right place. This guide will help you understand the technical aspects and walk you through the process.
Key insights
- HDR photography combines multiple exposures into a single image with a high dynamic range.
- Pay attention to movements in the image, as these can cause ghosting.
- Using automation in Lightroom can significantly improve the editing process.
Step-by-step guide
Step 1: Basic understanding of HDR
Before you begin, you should be clear about the purpose of HDR. It is an image generated from a series of different exposures to represent both bright and dark areas in a single photo. In this guide, you will learn how to create HDR in Lightroom.
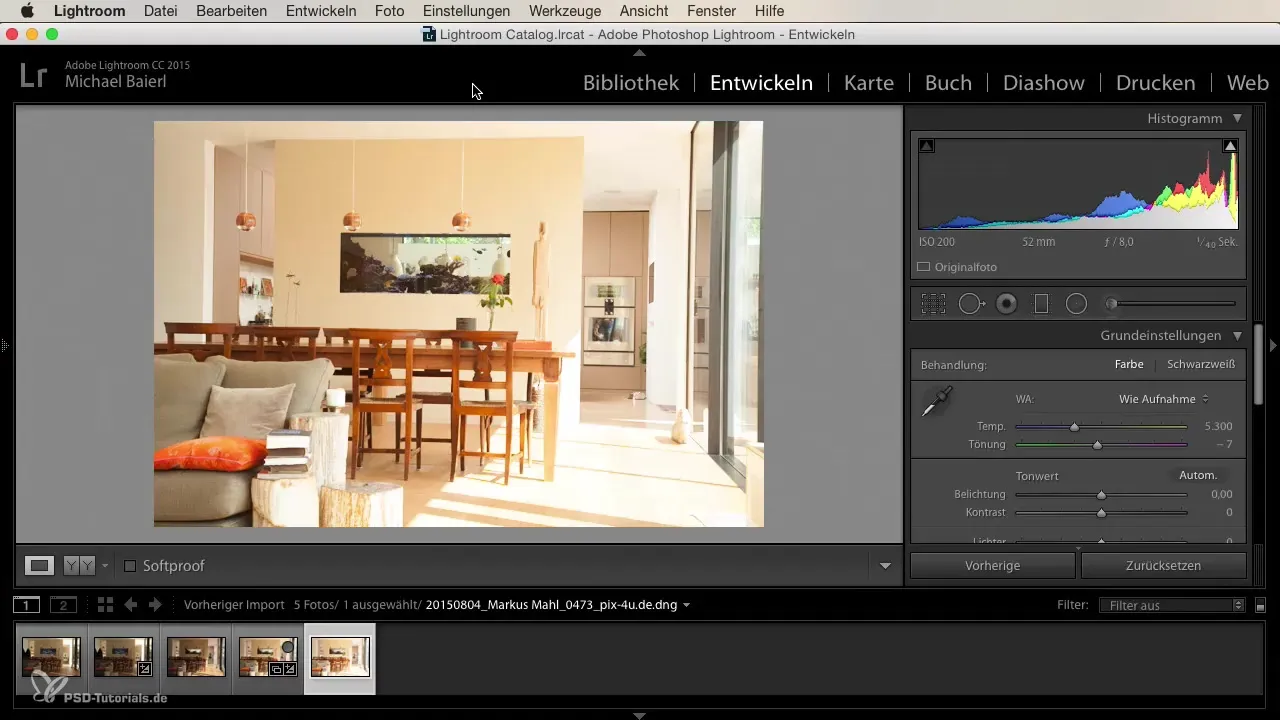
Step 2: Prepare the images
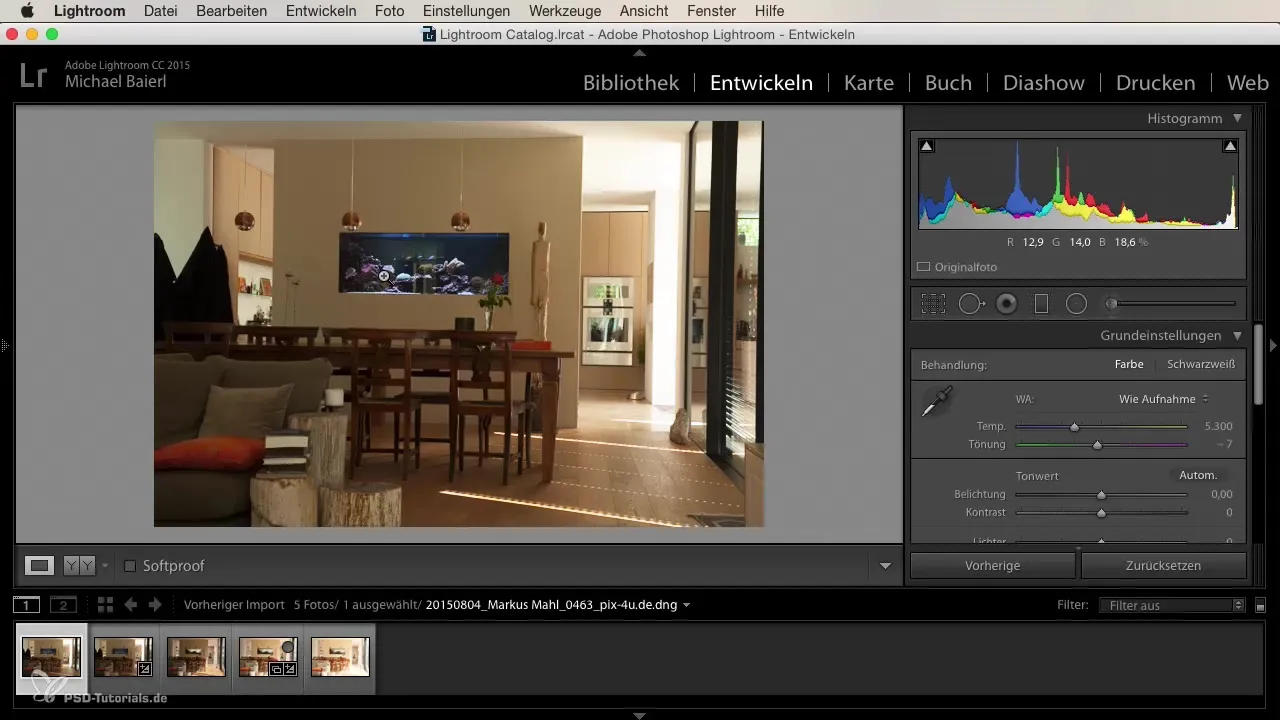
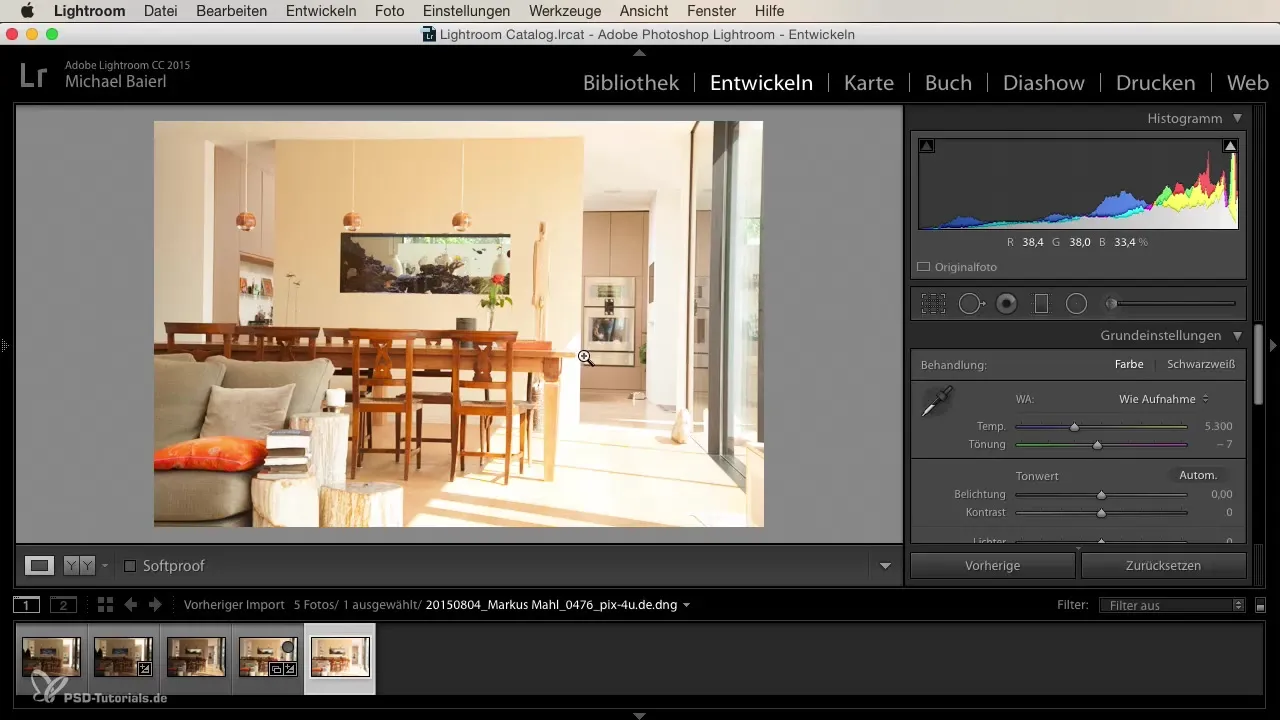
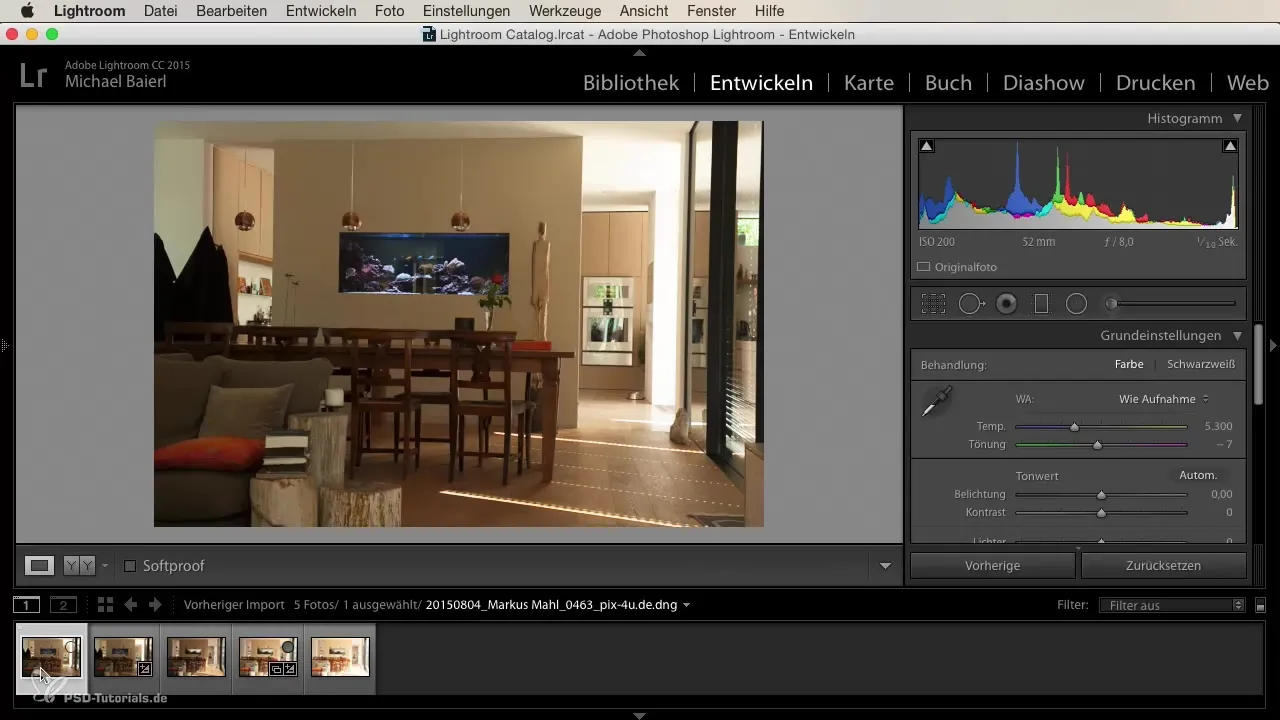
To create an HDR image, you need a selection of photos taken at different exposures. Ideally, you should have at least three images: one underexposed, one normally exposed, and one overexposed. However, if you have an extreme case, more images may be necessary to achieve the best results.
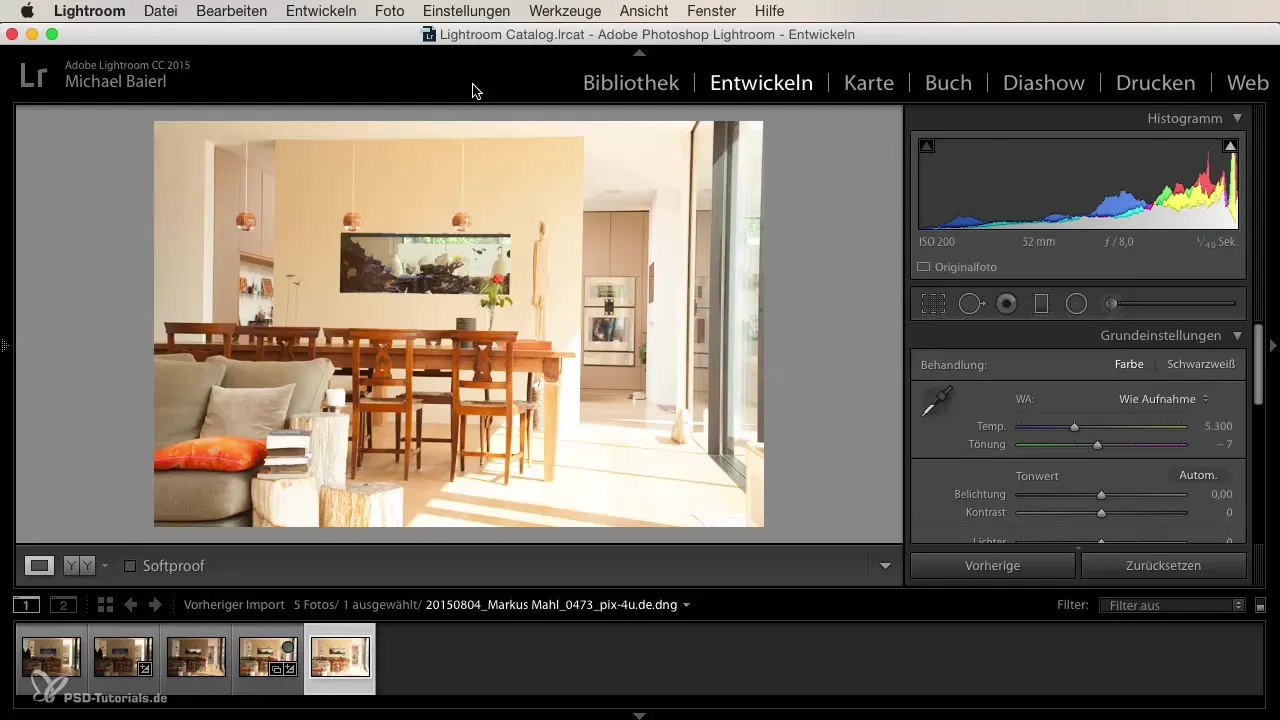
Step 3: Select images in Lightroom
Select all the images you want to use for the HDR photo. To do this, go to the library view and choose the desired photos. You must ensure that these images come from the same location at different exposure levels.
Step 4: Enable the HDR function
After selecting your images, go to “Photo” in the top menu and click on “Merge.” Select the option “Merge to HDR.” This will open the HDR dialog box where you can continue working.
Step 5: Settings in the HDR dialog box
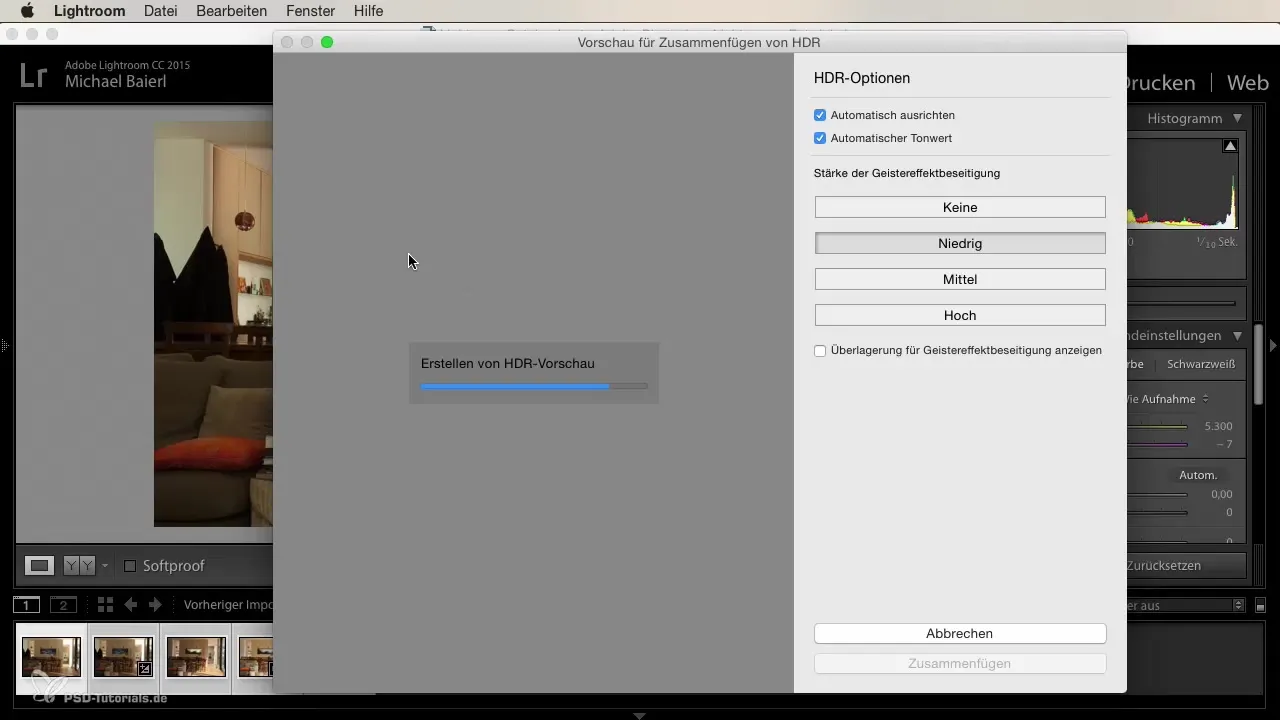
In the HDR dialog box, you can set various options. Enable auto alignment to correct minimal shifts between images. If your camera was not held steady during the capture, this will help achieve the best results.
Step 6: Tone correction
You should enable automatic tone correction. Although I am usually not a fan of automatic adjustments, it is particularly advantageous in HDR photography. It often improves the overall quality of the image.
Step 7: Minimize ghost effects
The ghost effect occurs when there are moving objects in the images. Adjust the slider for ghosting removal. Depending on the moving elements, such as animals or plants in the wind, you may need to vary this. Test it out to achieve the best results.
Step 8: Preview the results
Once you have made all the settings, Lightroom will display a preview of the combined image. Check whether the exposures work well together and if you are getting the desired result. This is the moment to assess how well the different brightnesses and darknesses harmonize.
Step 9: Generate the HDR image
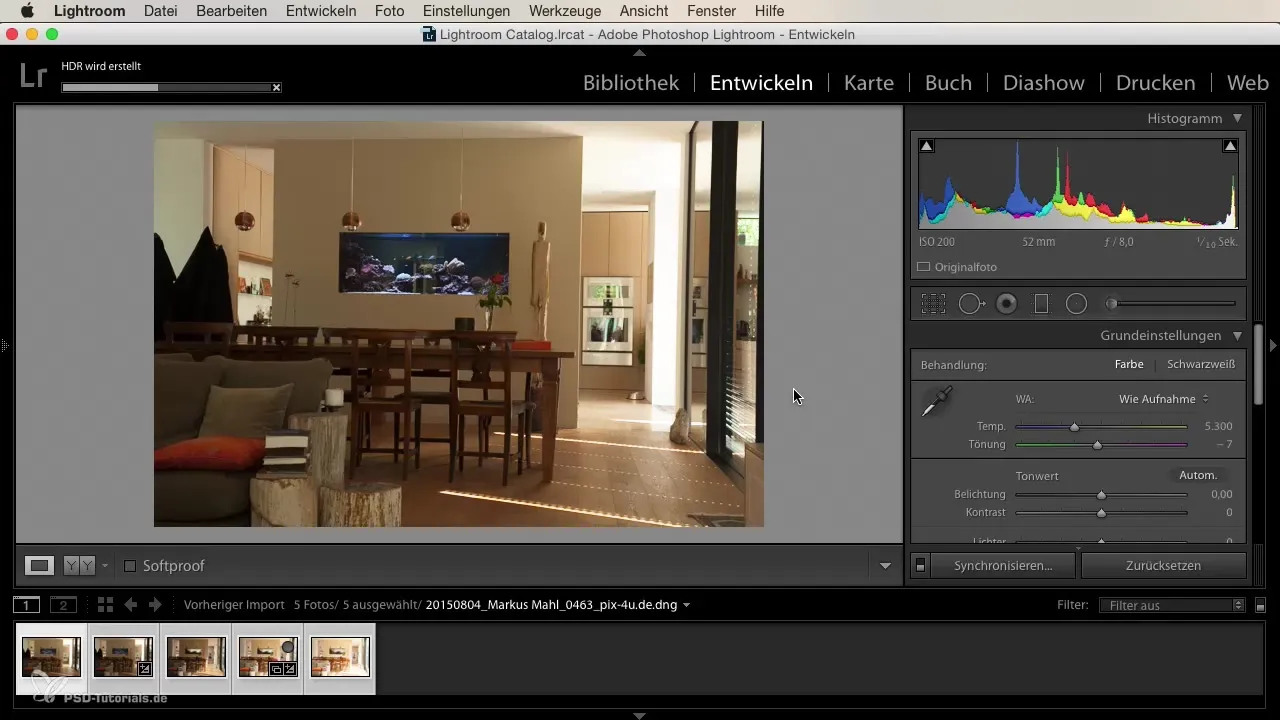
Click on “Create” to let Lightroom do the work. Lightroom will now merge the images and generate the HDR image. This process may take a while, so be patient.
Step 10: Fine-tuning and export
After creating the HDR image, you can do some fine-tuning. Use the various editing tools in Lightroom to further adjust colors, contrasts, and other aspects. Once you are satisfied, export your image in your choice of format.
Summary
You have now learned all the steps to create an HDR photo from a series of exposures in Lightroom. With the right techniques, you can give your images incredible depth and dynamic range.
Frequently asked questions
How many images do I need for an HDR photo?You need at least three images: one underexposed, one normally exposed, and one overexposed.
Can I create HDR images with moving objects?Yes, but this can lead to ghosting. Be sure to adjust the ghost removal settings.
What settings should I enable in Lightroom?Enable auto alignment and tone correction to achieve the best results.
