Lightroom offers much more than just photo editing. Among the various creative options available to you, the slideshow is a particularly appealing feature to present your photos vividly. In this guide, I will show you how to effectively use the slideshow module in Lightroom to create impressive presentations.
Key Insights
- Use the slideshow module to creatively present your photos.
- Customize the slideshow with various layout and music selection options.
- Export the slideshow as a PDF or video to provide your audience with an unforgettable experience.
Step-by-Step Guide
1. Accessing the Slideshow Module
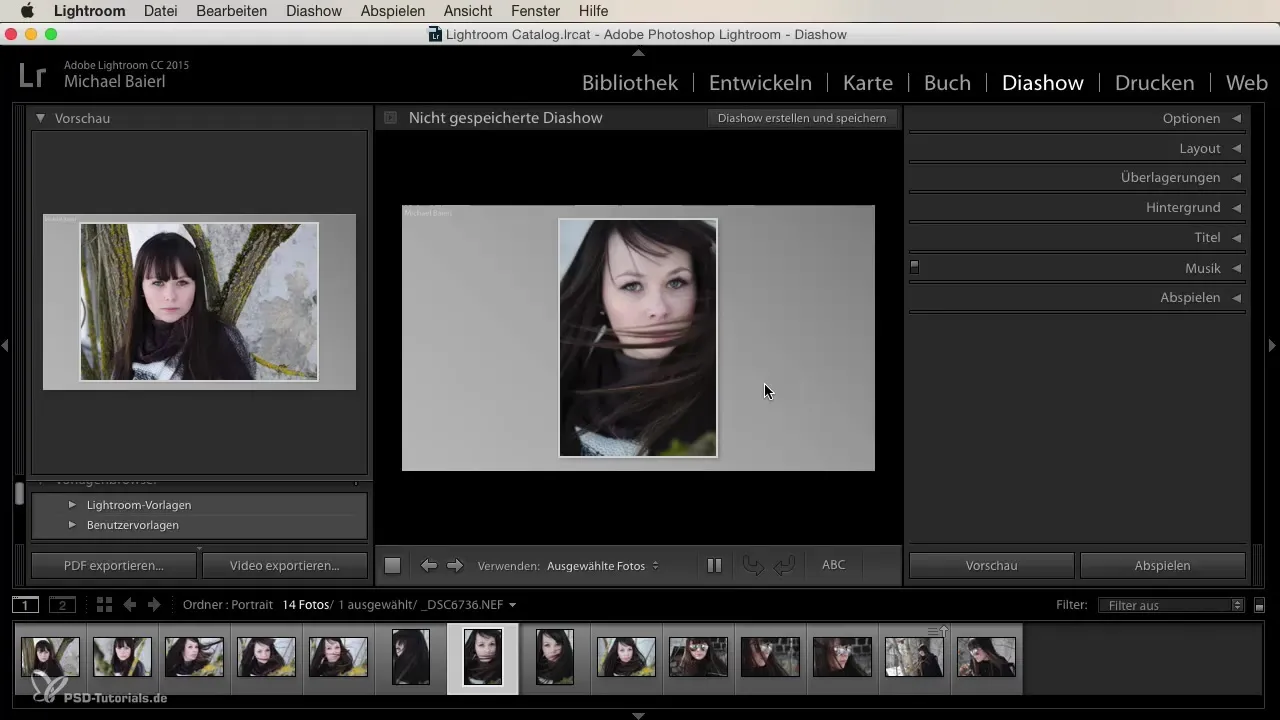
Start Lightroom and select the slideshow module from the module panel on the upper right side of the interface. You will now see a preview of your slideshow content on the left side and in the center. At the top, you can choose whether to create a slideshow from your selected photo set or from the entire film strip.
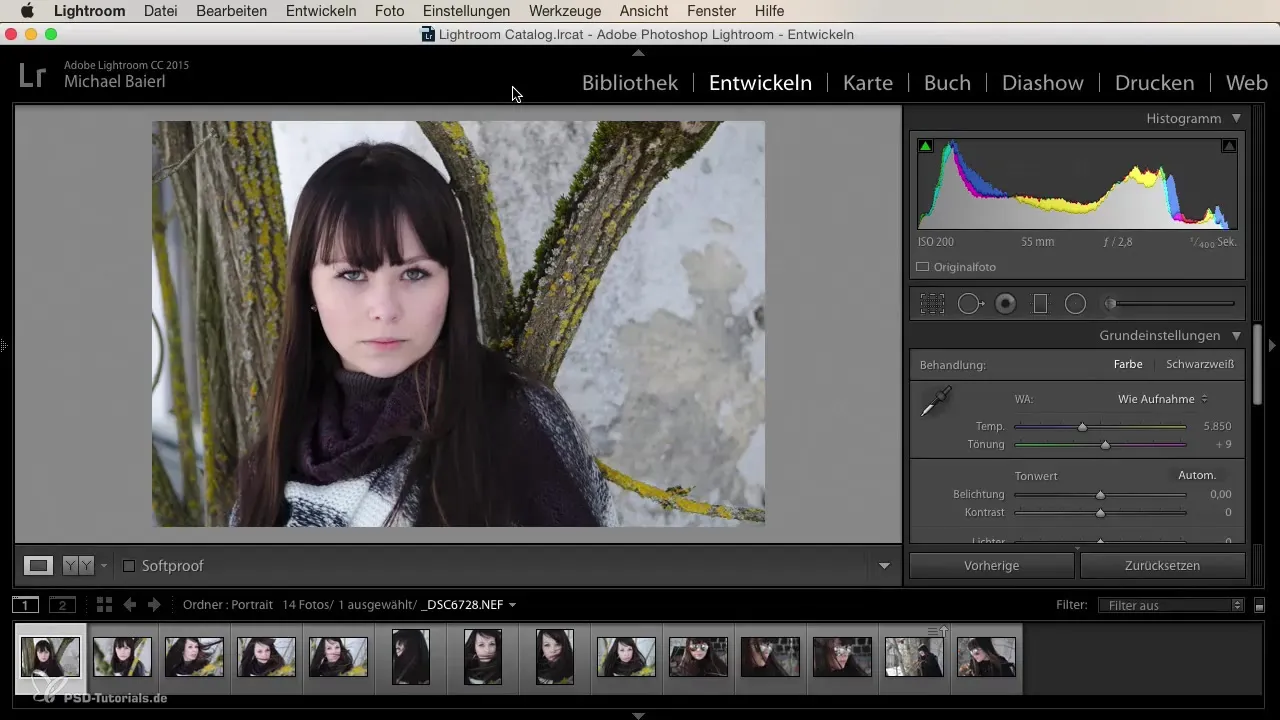
2. Starting the Slideshow
To start the slideshow, simply click the "Start" button. Lightroom will then automatically start playing your slideshow. This is an easy way to get an initial impression of your presentation.
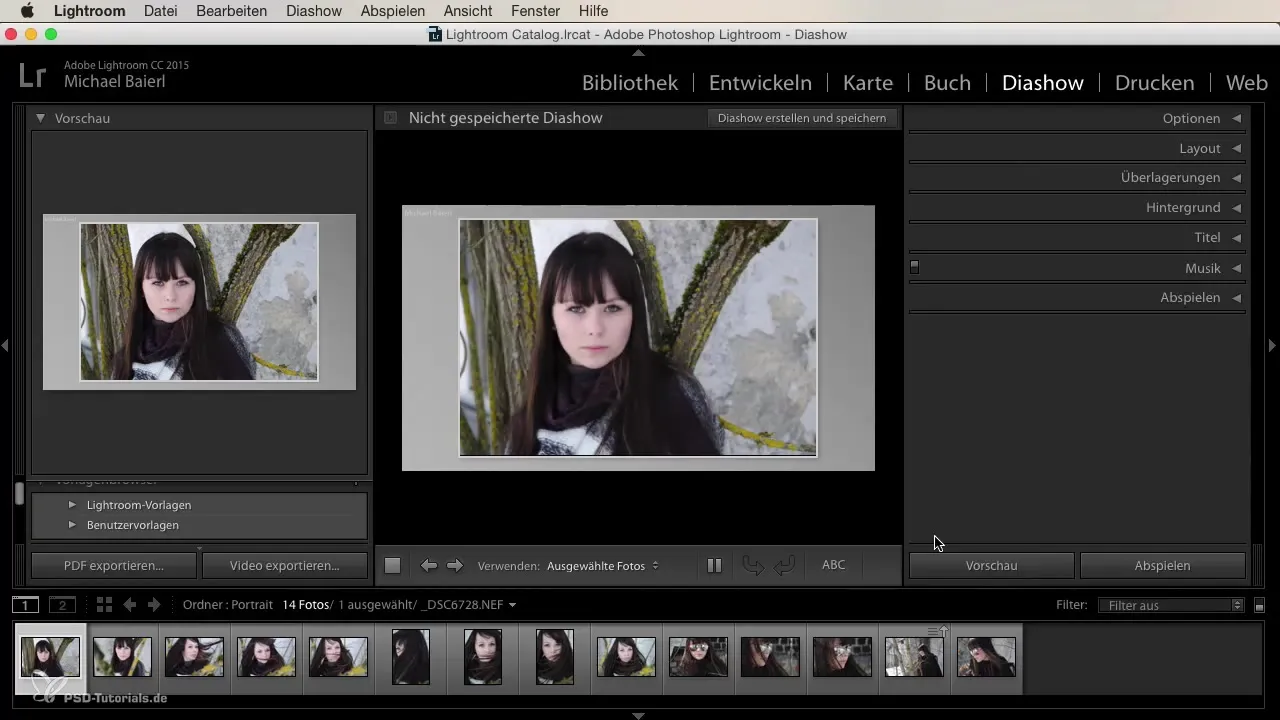
3. Default Settings and Presets
The first slideshow you see uses the default settings. However, these are often sufficient to quickly get an impression, especially when it comes to displaying photos dynamically. You can decide at any time if these settings are enough for your presentation or if you want to make adjustments.
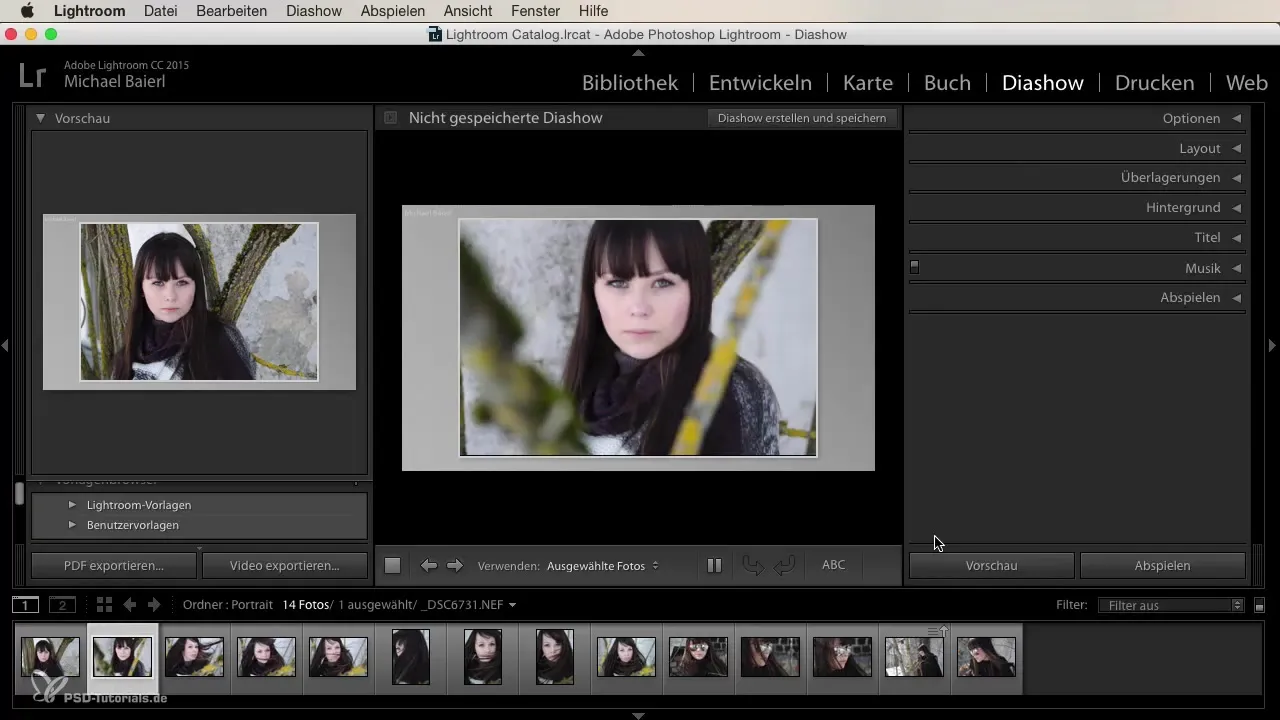
4. Utilizing Customization Options
In Lightroom, you have a variety of customization options to personalize your slideshow. You will find features for layouts, overlays, backgrounds, titles, and music selection, all of which help tailor the slideshow to your preferences.
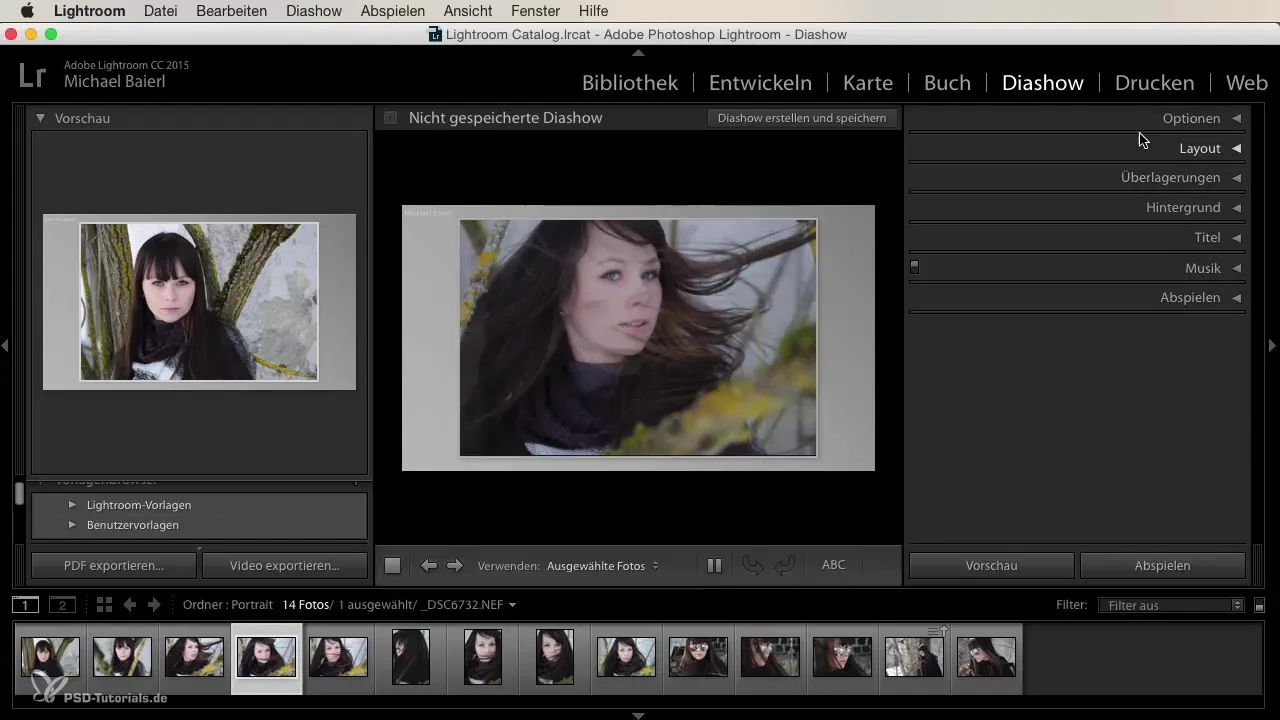
5. Activating Full-Screen Mode
To experience the full effect of your slideshow, you can switch to full-screen mode. This makes your presentation even more impressive and provides your audience with an immersive experience. You can present several images, whether from your family or a client portfolio, in this environment.
6. Export Options
Once you are satisfied with the slideshow, you can export it in various formats. You have not only the option to export as PDF but also to save the slideshow as a video. This makes it easier for you to share the slideshow online or offline.
7. Export Settings
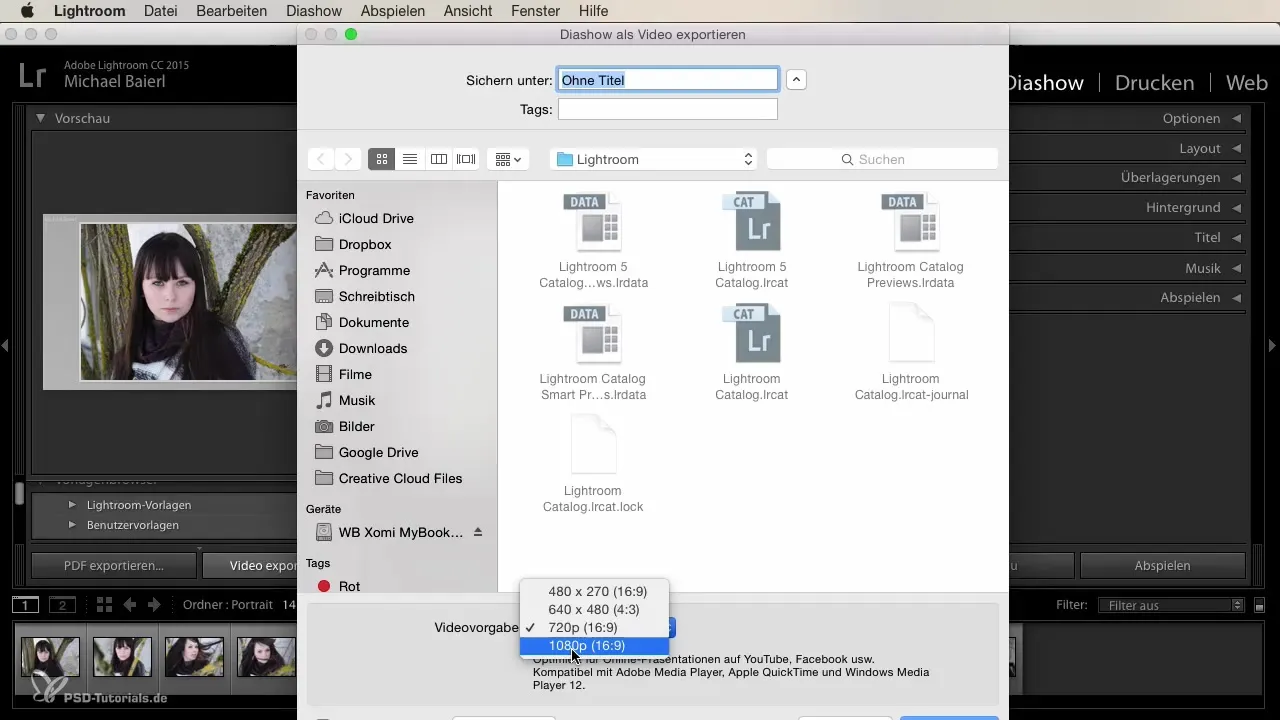
To export the slideshow as a video, the saving dialog will open once you select export. Here, you choose your desired format; for full HD, select 1080p. With a click on "Export," you create an MP4 file of your slideshow.
8. Ease of Use
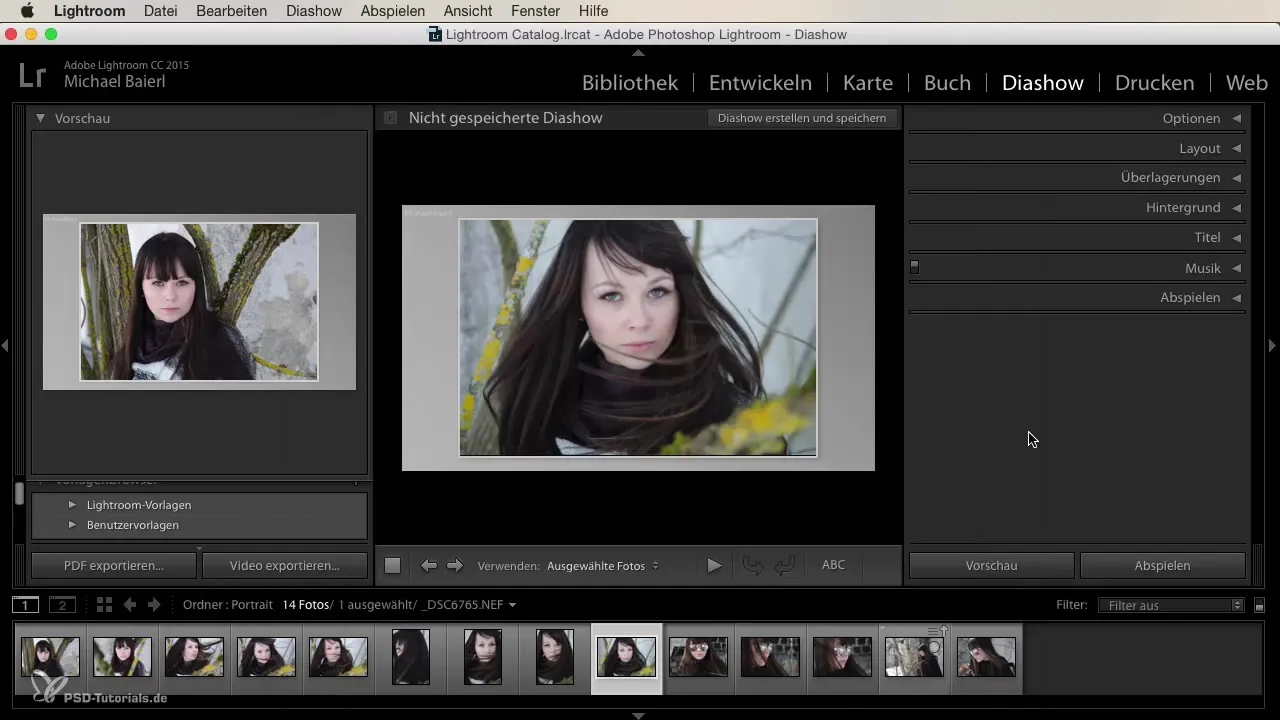
Creating and exporting a slideshow in Lightroom does not require extensive editing knowledge. The tool is designed to be user-friendly and allows you to create impressive slideshows even without much prior knowledge.
Summary
Creating slideshows in Lightroom is excellent for creatively presenting your photography. With just a few steps, you can create an engaging slideshow that showcases your work in a new light and share it with others.
Frequently Asked Questions
What is the slideshow module in Lightroom?The slideshow module allows you to display your photos in the form of a presentation.
How do I start a slideshow in Lightroom?Click on the "Start" button in the slideshow module to begin the slideshow.
Can I personalize my slideshow?Yes, Lightroom offers various options like layouts, titles, and music for personalization.
In what formats can I export the slideshow?You can export the slideshow as a PDF or video in MP4 format.
Do I need a lot of prior knowledge to use the slideshow module?No, the use is very intuitive and does not require specialized knowledge.
