In this tutorial, I will show you how to effectively use the calibration functions in Lightroom Classic CC to creatively edit your images. Many users often overlook calibration and think it is the same as the HSL functions. In reality, calibration hides a powerful tool that offers unexpected possibilities in color editing. Whether you are editing photos for Instagram or simply looking to improve your image editing skills, calibration can help you achieve unique color looks. Let's go through the steps together!
Key Insights Calibration allows you to precisely adjust the color values in your images, enabling you to create unique looks. Unlike HSL: Here you can directly access the main color channels to make much subtler adjustments. Through careful calibration, you can develop a distinctive style.
Step-by-step Guide
Introduction to Calibration
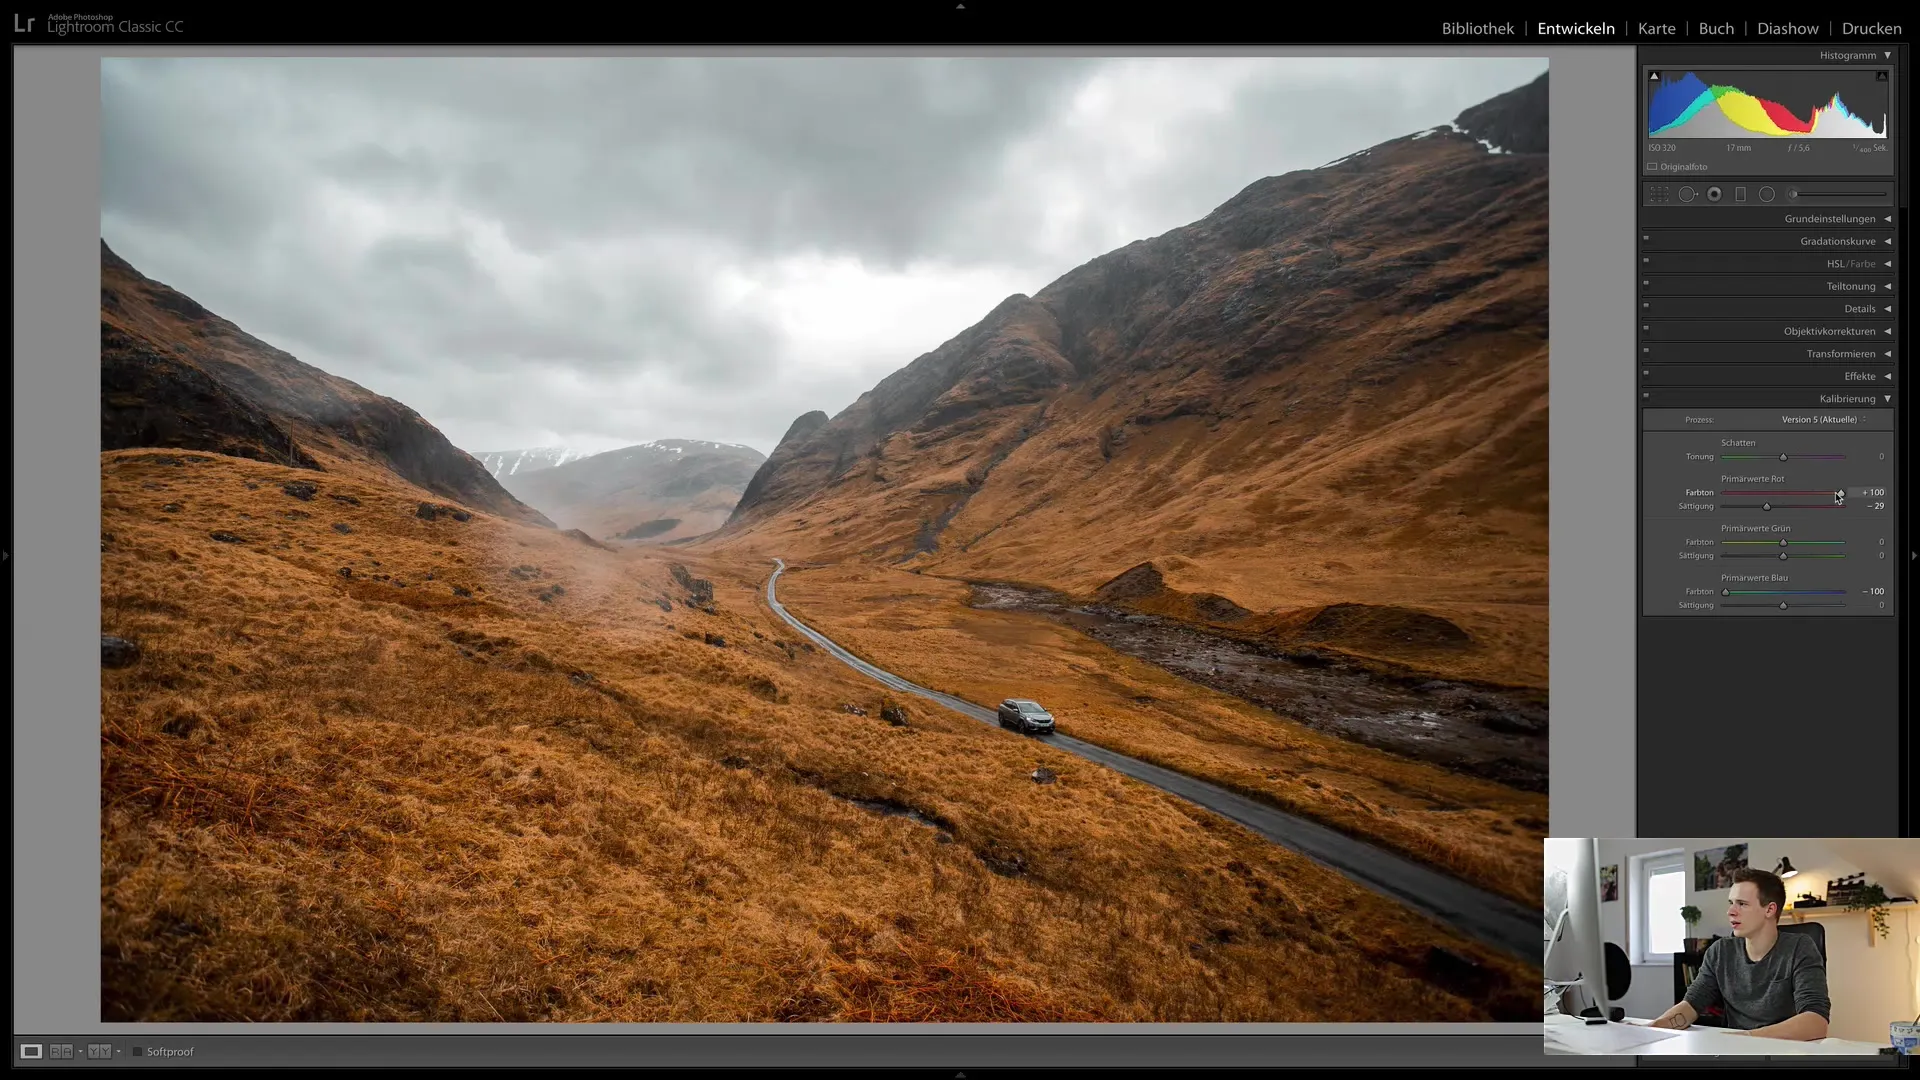
Before starting with calibration, open Lightroom and load the image you want to edit. The Calibration tab is located in the Develop module on the right side. Initially, you should reset the values to their default values. Simply double-click on the sliders to return to the default values.

Adjusting the Blue Values
A first step could be to adjust the blue values of your image. You can move the slider for the blue values to intensify or weaken the blue tone in the image. Moving the slider to the left increases the proportion of greenish blue tones, while moving it to the right increases the bluish tones. This adjustment can give your image an entirely new atmosphere.
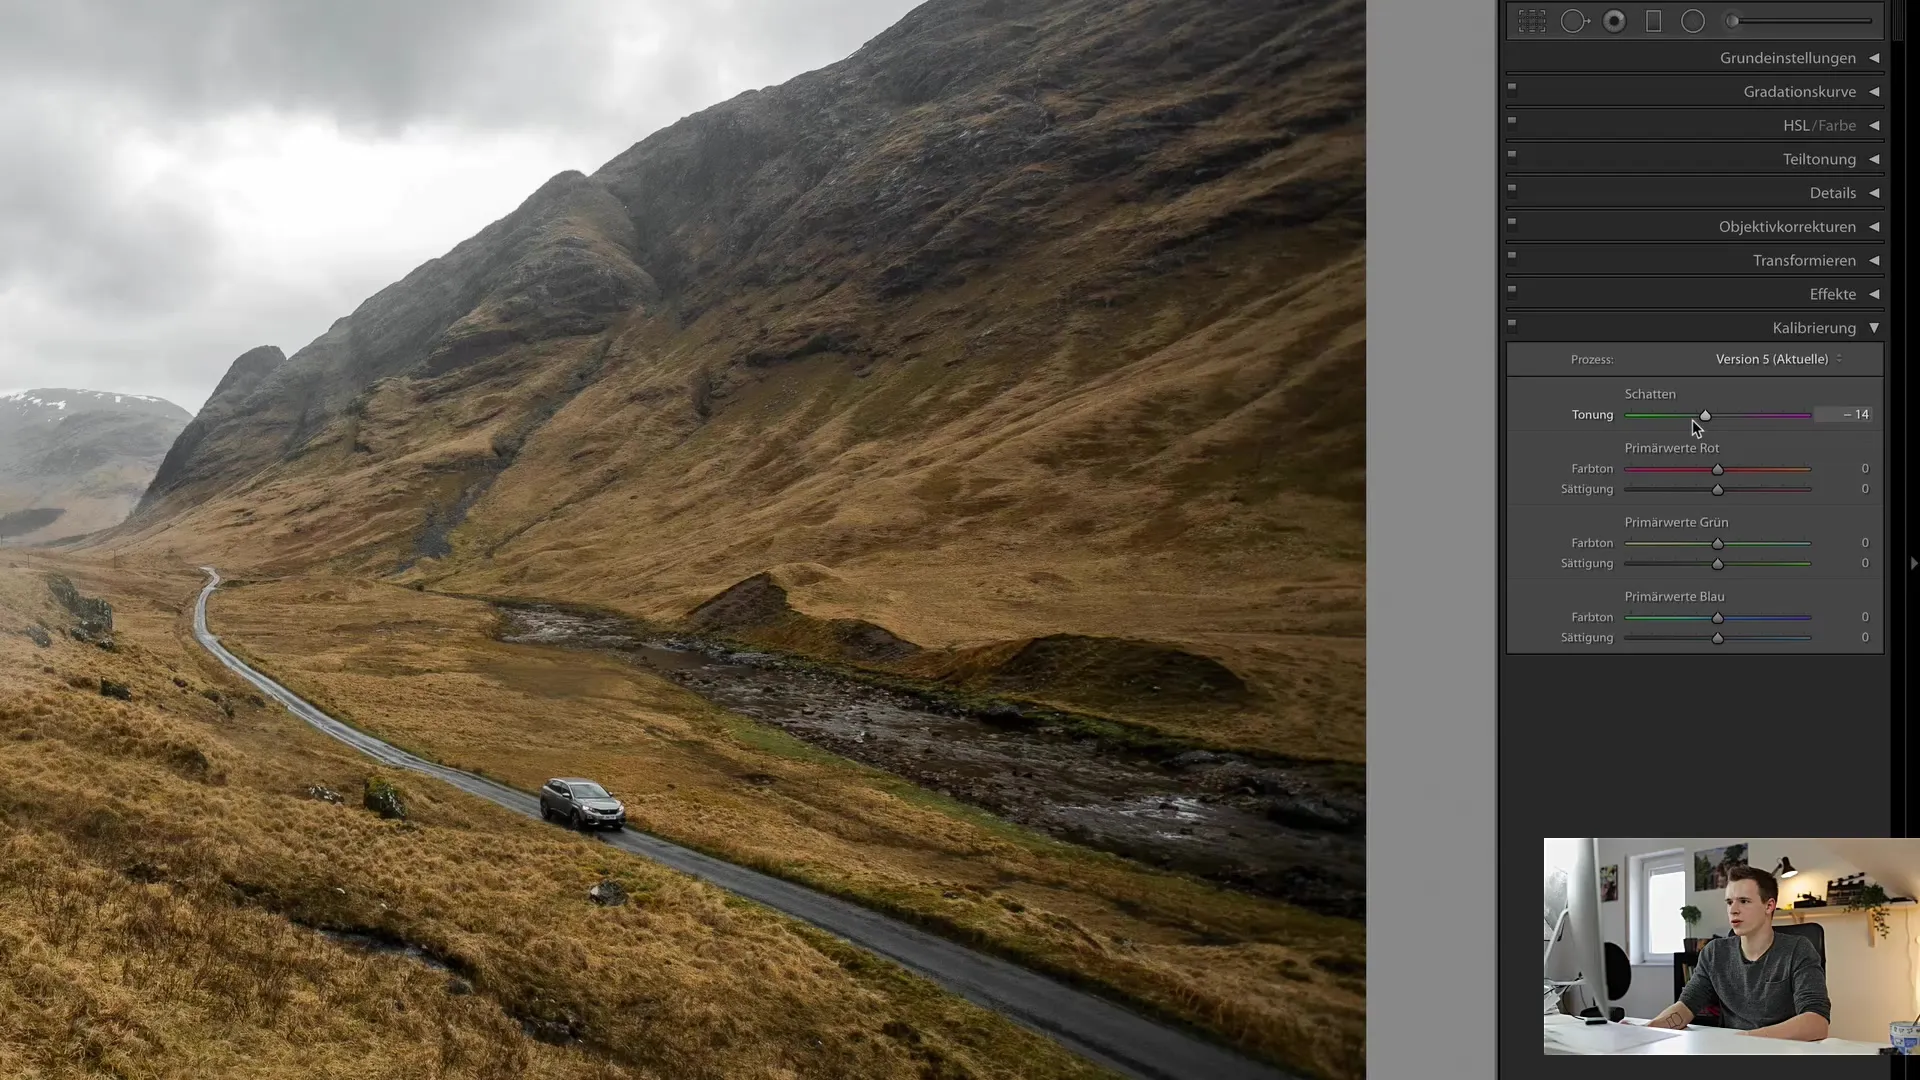
Toning the Shadows
Another useful tool in calibration is the ability to change the toning of the shadows. Toning refers to the dark areas of the image. By moving the slider to the left, you can add a more greenish tone, while moving it to the right adds more magenta. This can create a really cool look that can strongly influence the mood of your photo.
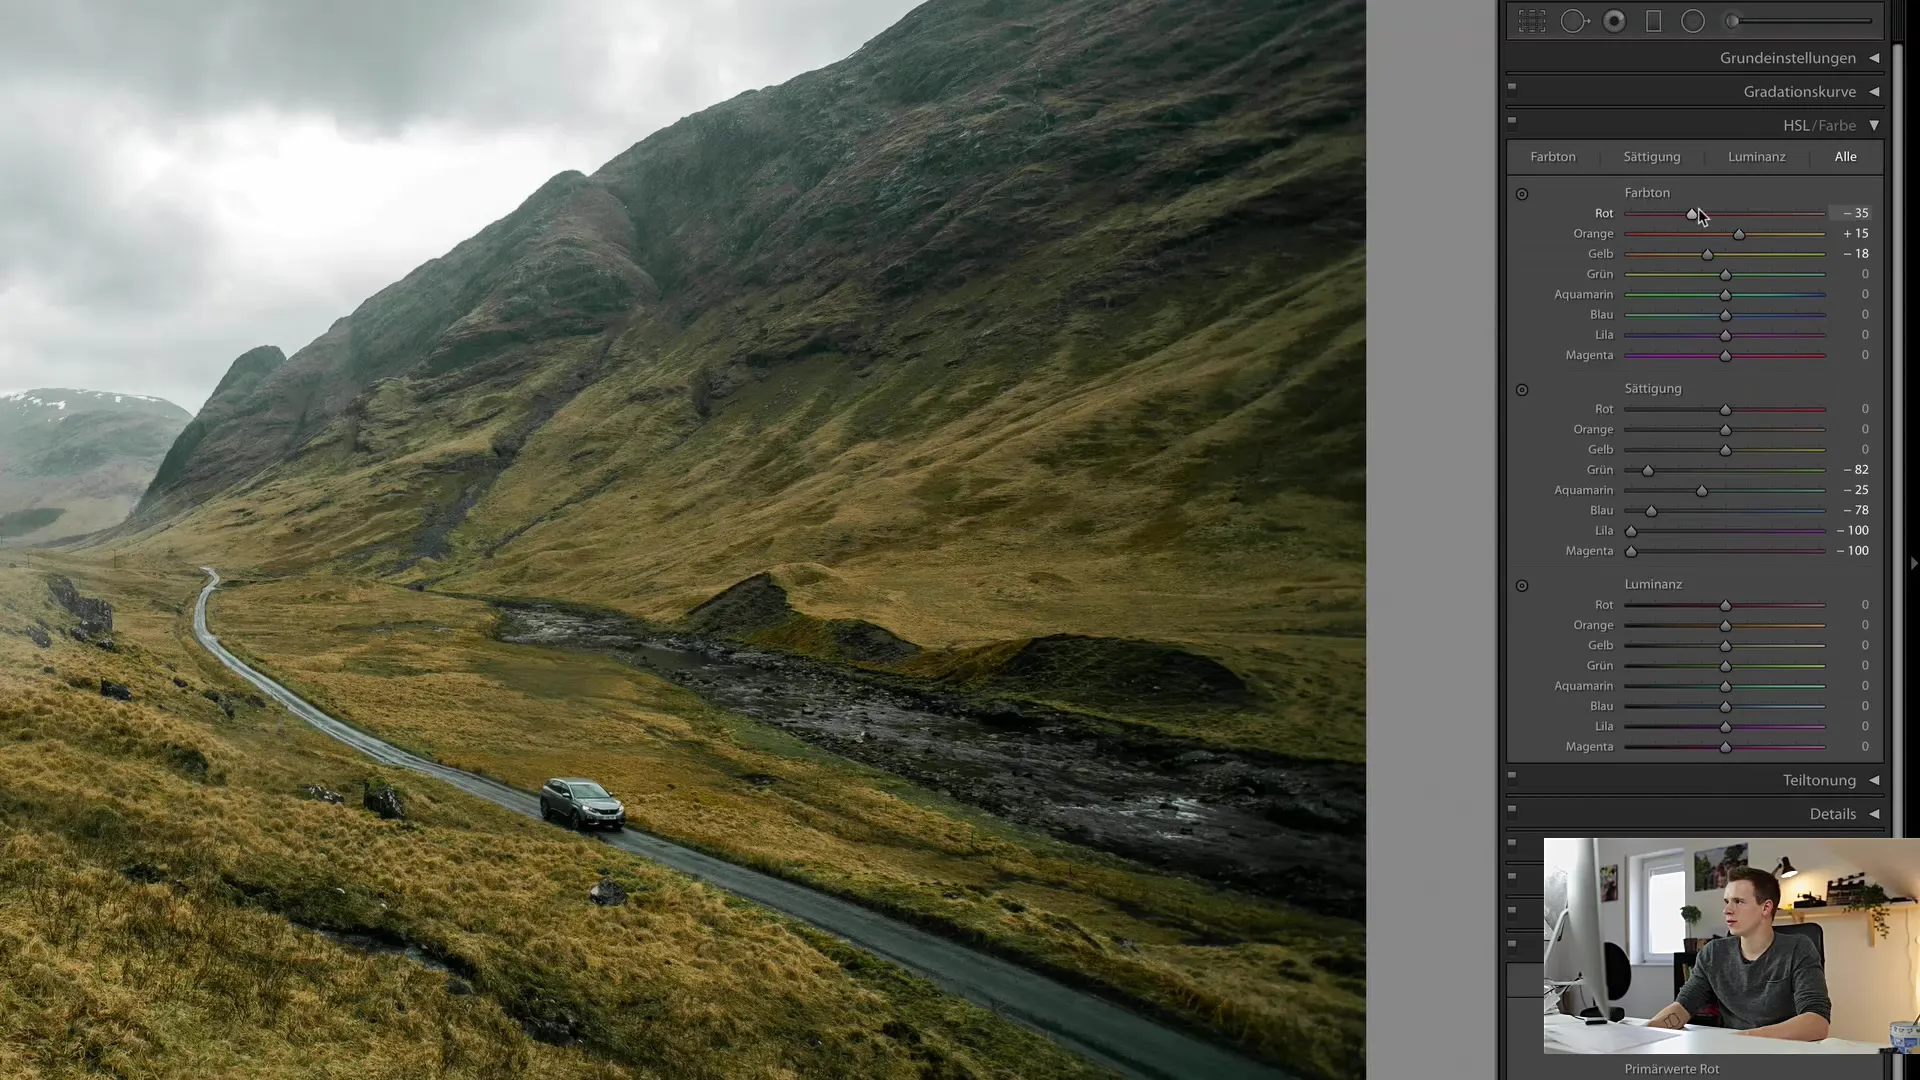
Adjusting the Red Values
The red tones in the image are another important aspect to adjust. The red slider does not refer to the HSL color but to the primary red values in the image. Here you can play with the hue: move the slider to the left to make it more yellowish, and to the right to increase the magenta tint. You can also adjust the saturation of this color channel, leading to interesting changes.
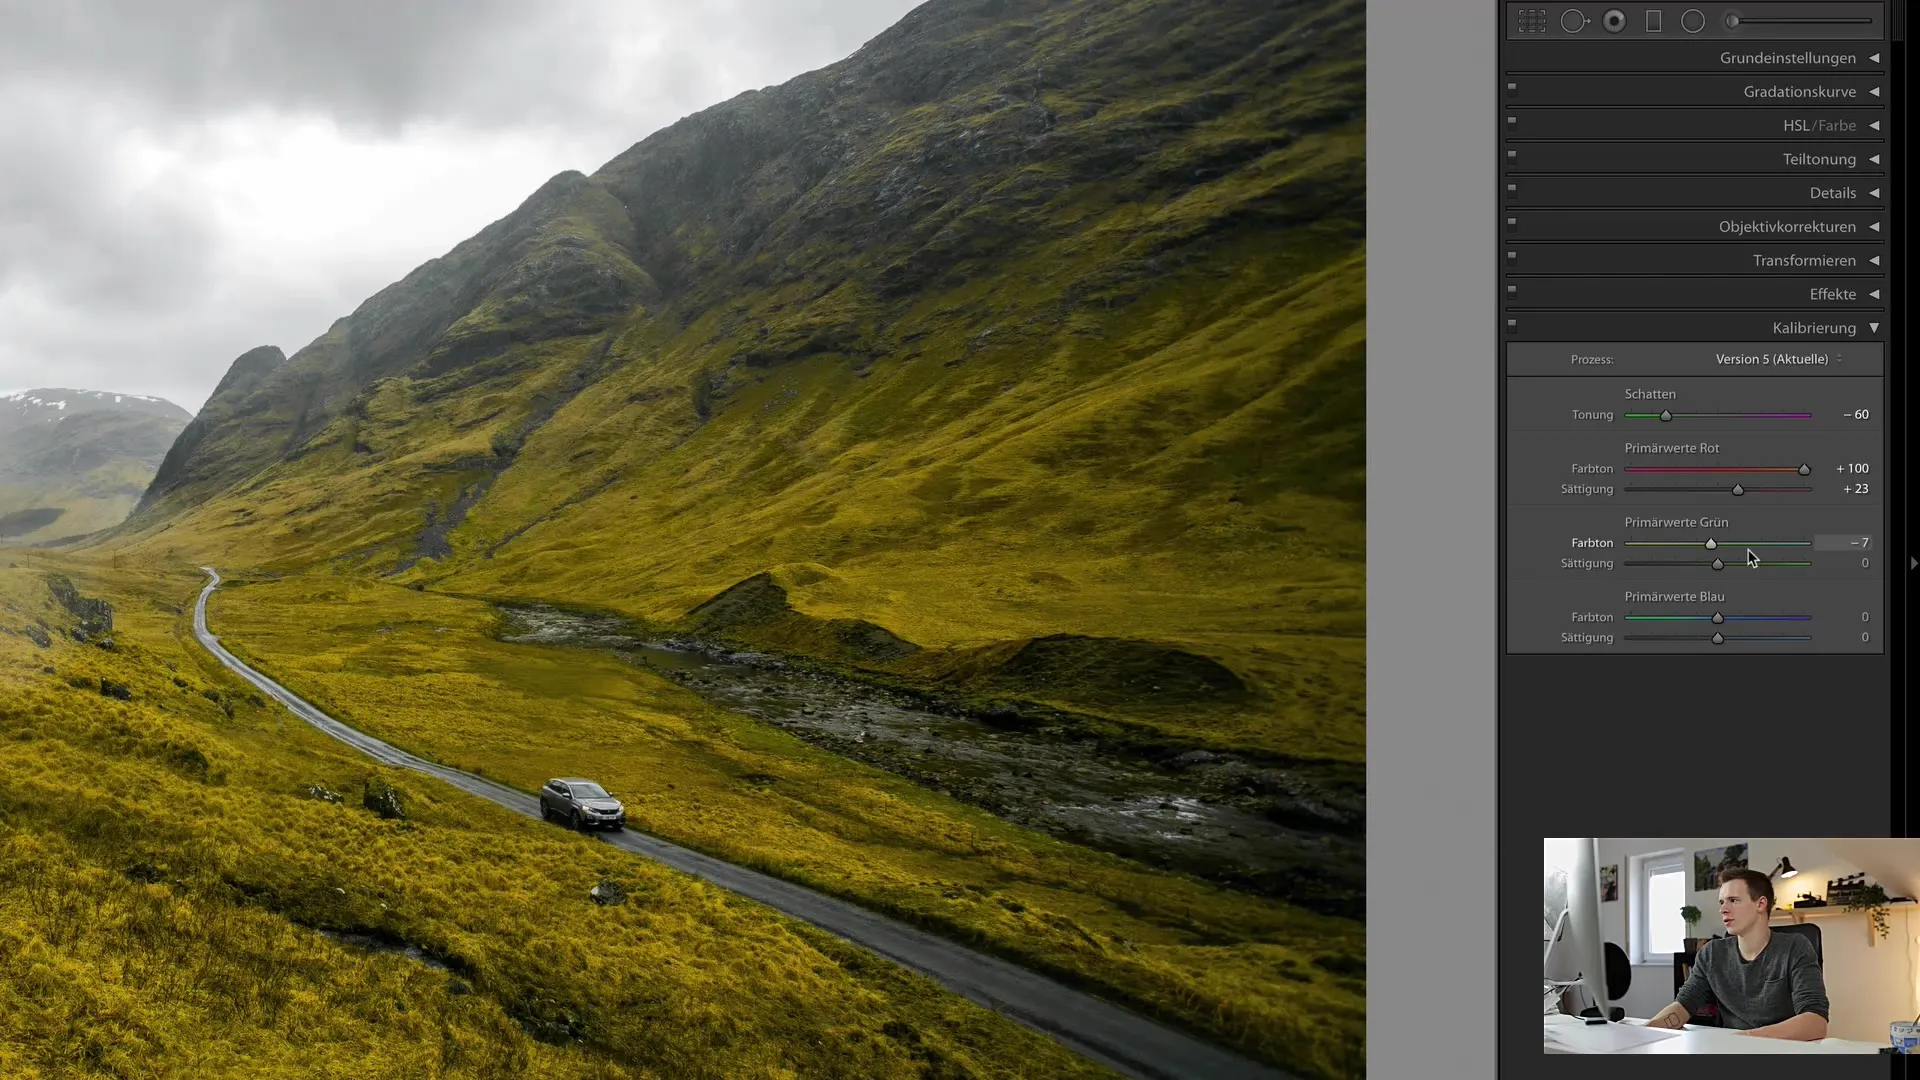
Adjusting the Green Values
The slider for green colors offers similar options to the red and blue values. Here you can shift the hue towards yellow or blue. Also, adjust the saturation to make the green values appear strong or less intense. These adjustments can subtly transform your image.
Adjusting the Blue Values
The same applies to blue values: Changing the hue towards magenta or blue affects the overall effect of the image. Make sure to optimize the saturation to achieve the desired effect. Here you can experiment and increase or decrease the saturation to create the desired mood.
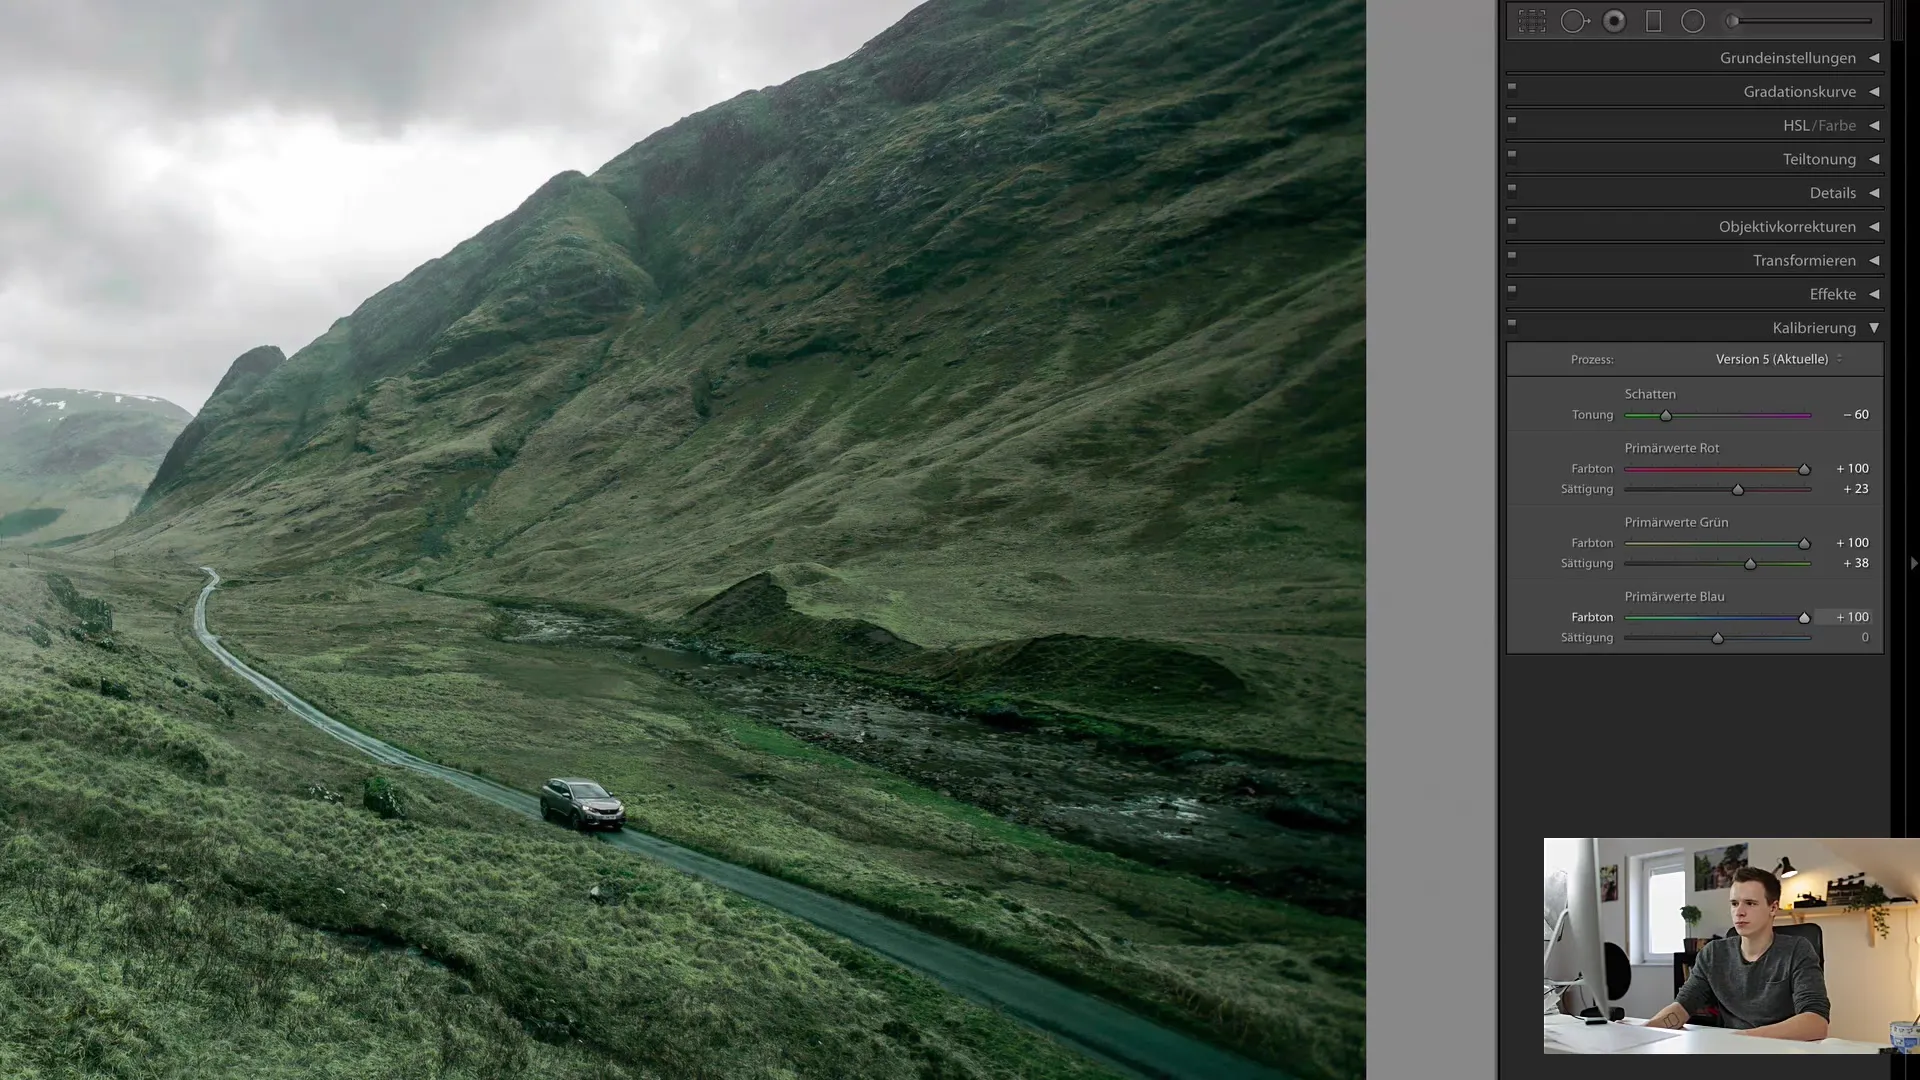
Testing Presets
After experimenting with the calibration settings, I recommend saving your adjustments as a preset. Trying out different combinations can be time-consuming, but once you have found your desired style, you can easily apply it to other images by selecting the preset.
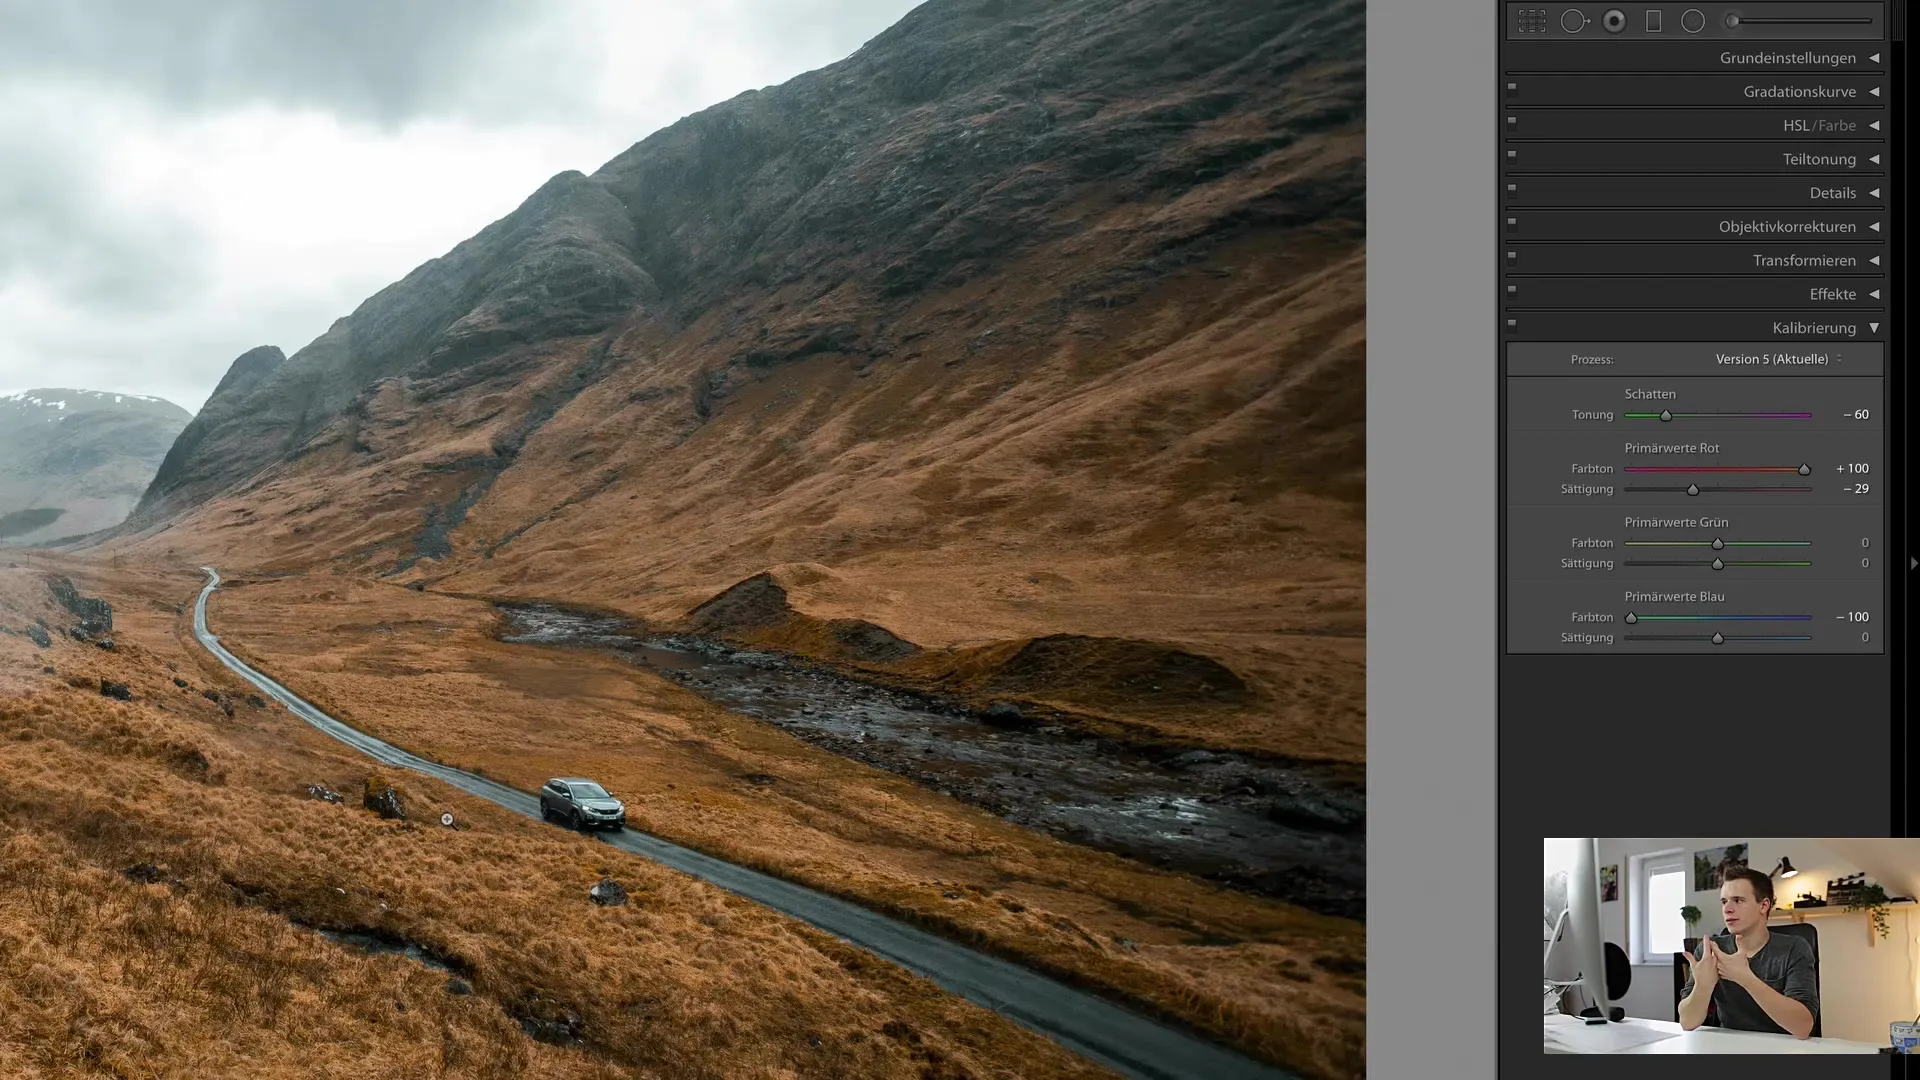
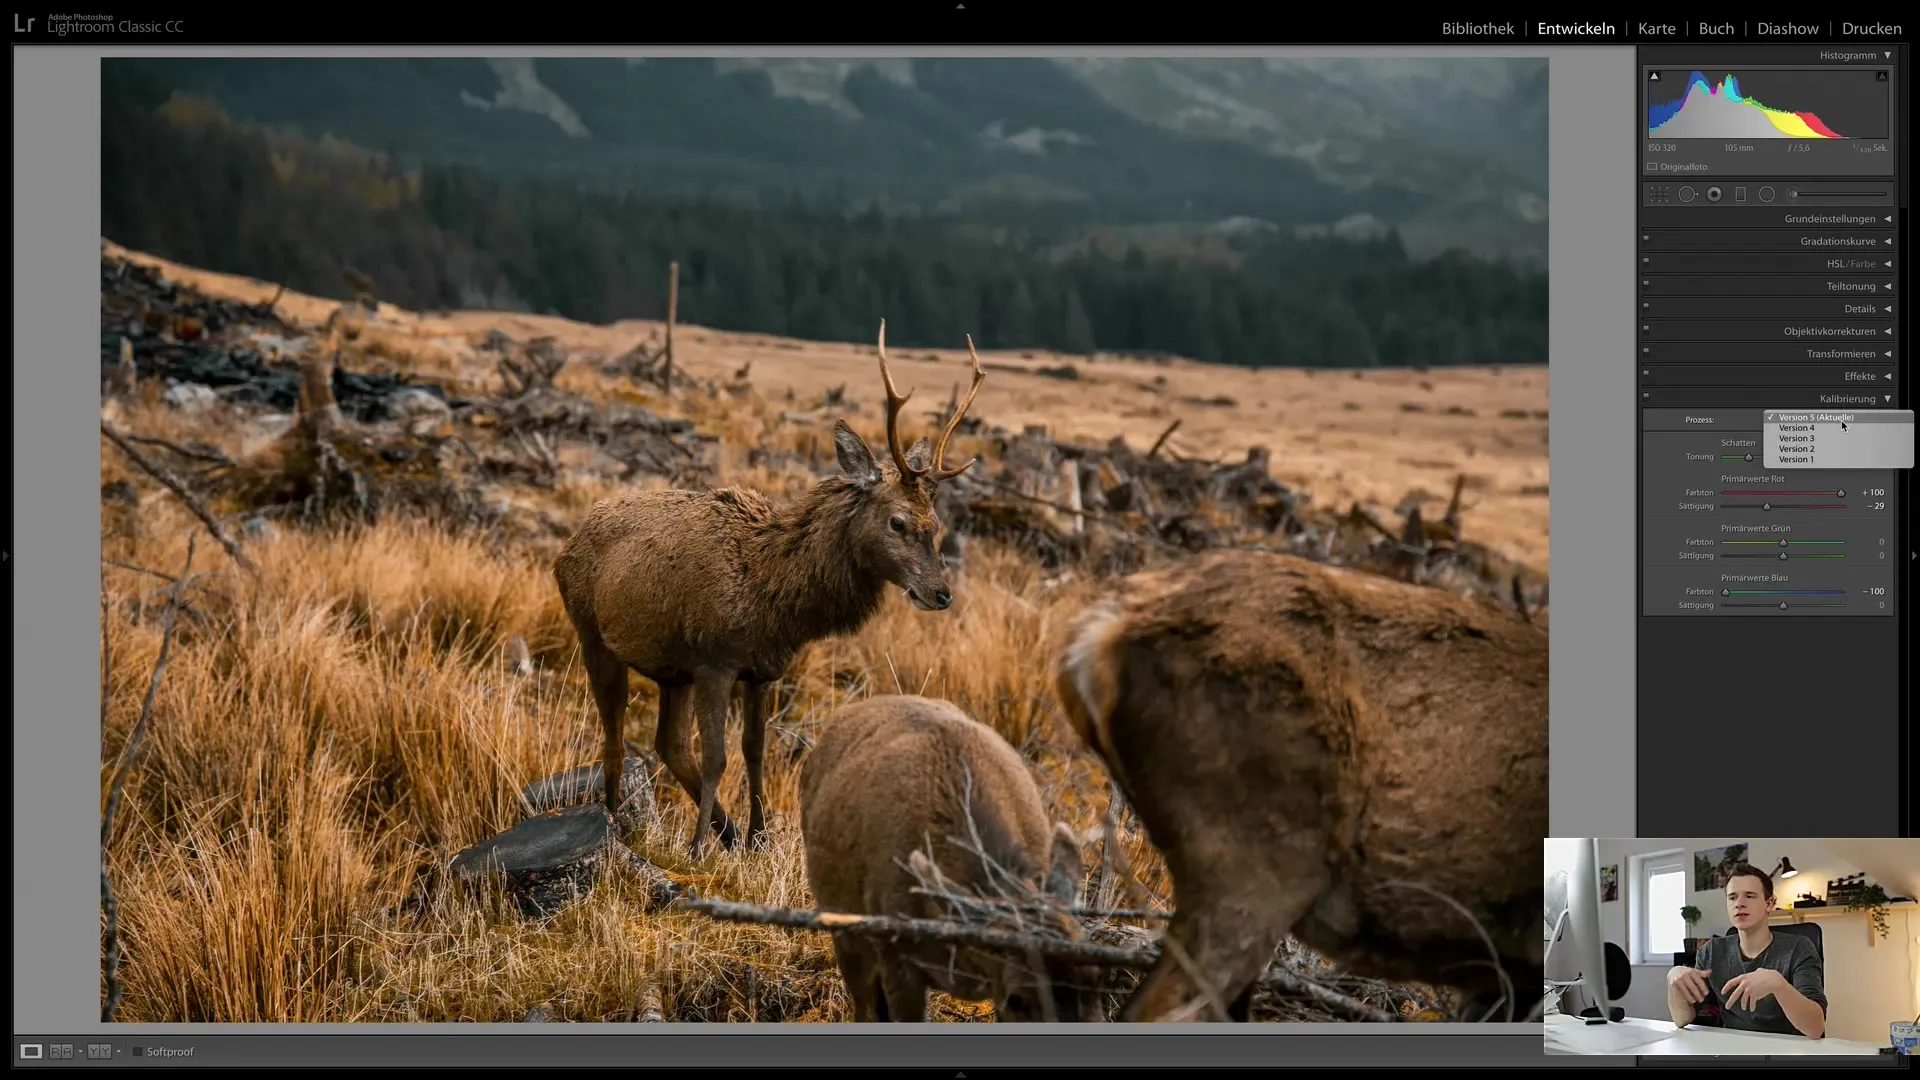
Process Version and Its Significance
Be cautious with the process version in Lightroom. It is advisable to keep the current version to avoid incompatibilities. If you use old versions, parts of the editing may not be transferred correctly. Keep everything up to date to ensure that your adjustments are consistent and efficient.
Local Adjustments
Finally, it is important to also address local adjustments that affect specific areas of the image. In the next tutorial, we will delve deep into this topic, allowing you to make even more detailed adjustments. Take advantage of organizing your workspace to keep the modules most important to you in view.

Summary
In this guide, you have learned how to effectively utilize the calibration functions in Lightroom Classic CC to breathe life into your images. You are now familiar with the central functions and controls that help you create unique styles that make your photos stand out from the crowd. With further exploration and experimentation, you will gradually discover your own signature in image style.
Frequently Asked Questions
How can I reset the calibration values?Simply double-click on the slider to reset it to the default value.
What is the difference between calibration and HSL?Calibration involves the primary color channels, while HSL allows for more detailed adjustments for each hue.
Can I save my calibration adjustments as a preset?Yes, you can save your settings as a preset to apply them to other images.
How do I check my process version in Lightroom?You can find the process version in the basic settings of the Develop module.
Is it important to regularly update Lightroom?Yes, it is important to update to the latest version to avoid issues with image editing.


