With Lightroom, you have the opportunity to not only edit your photos but also to create effective Web galleries. This is especially handy if you want to quickly share your photographs online. Whether for showcasing your work for a model or simply to share special moments with family and friends, a Web gallery can be incredibly helpful. In this guide, I will walk you through the process step by step to create your own Web gallery in Lightroom.
Key Insights
- The Web module in Lightroom offers numerous options for customizing your gallery.
- You can choose between different layouts and views to present the gallery appealingly.
- The upload of your images usually occurs via an FTP server for easy and efficient transfer.
Step-by-Step Guide
First, you should ensure that you have Lightroom open and all desired images imported.
Step 1: Selecting the Web Module
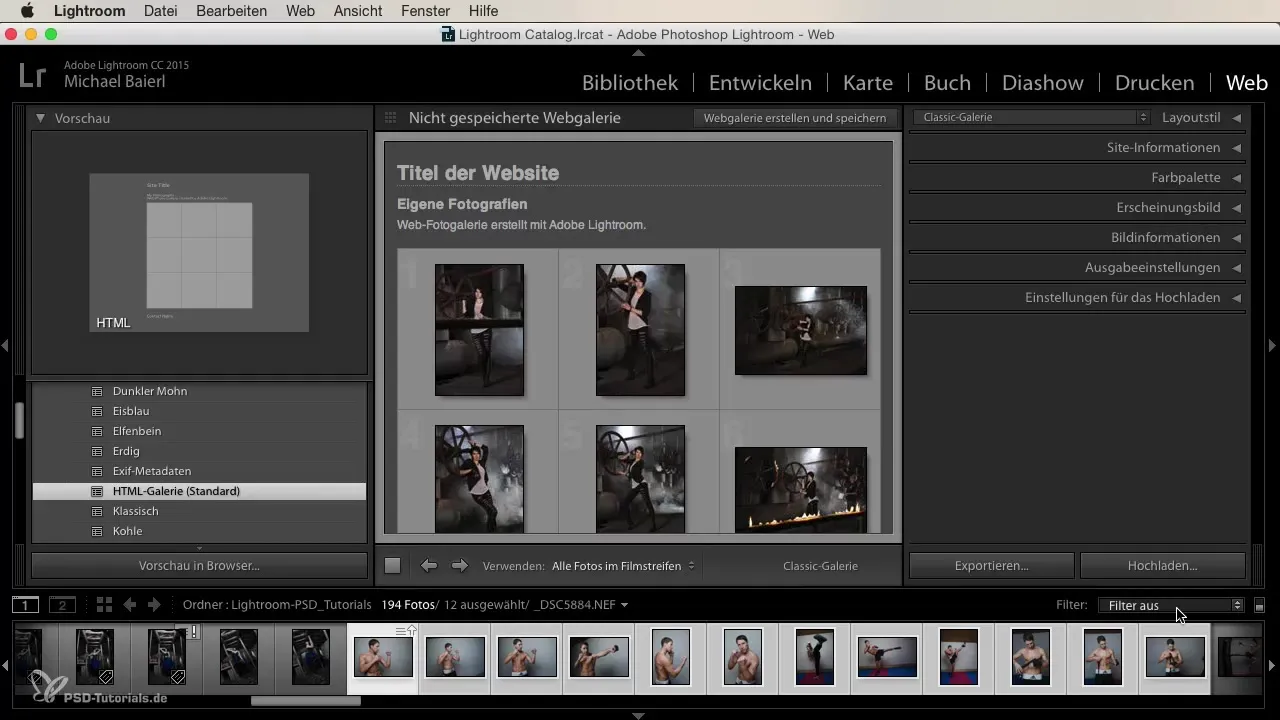
To start creating your Web gallery, you need to access the Web module in Lightroom. Click on "Web" at the top of the module area. This will open the workspace, providing you with all the necessary options.
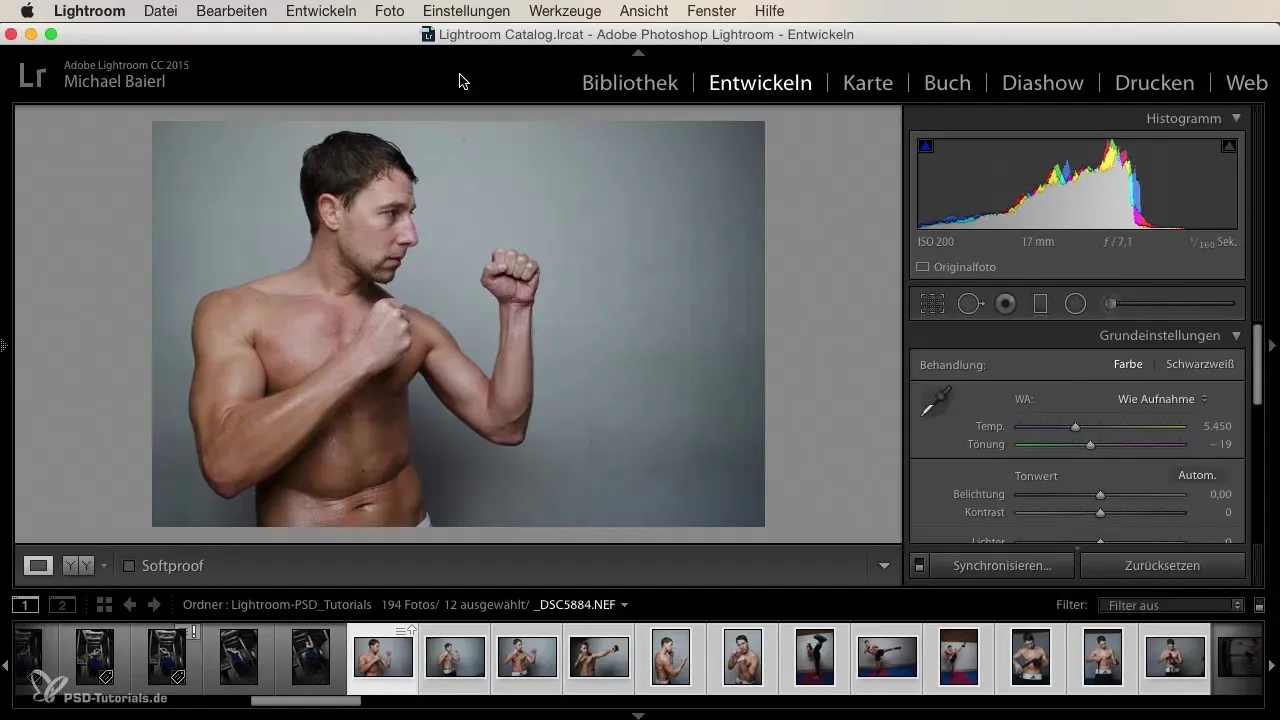
Step 2: Choose Title and Gallery Layout
A central point of your Web gallery is the title. At the top of the module, you can enter the title of your website, e.g., "My Own Photographs". This is the first impression your visitors will have of your gallery. Additionally, you can choose from various layouts that facilitate the design of your gallery. Several presets are available for you to try out.
Step 3: Select Images
You now have the option to make selections of images. Lightroom shows you the images in the filmstrip, allowing you to choose whether you want to include all images or just the marked ones in the gallery. You can refine this selection using various filtering options.
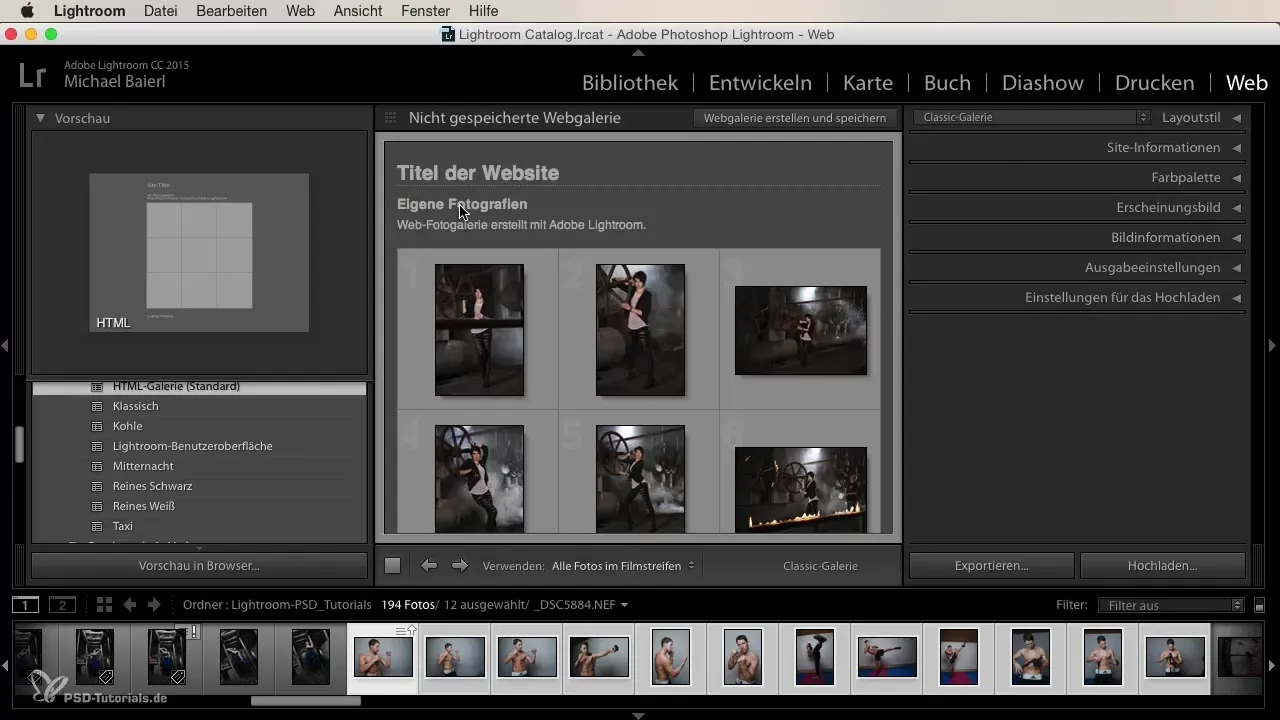
Step 4: Preview the Gallery
To check your design, you can view the gallery in the browser. Click on the corresponding option in the module. This way, you can see live how your images are arranged and whether the selection meets your expectations.
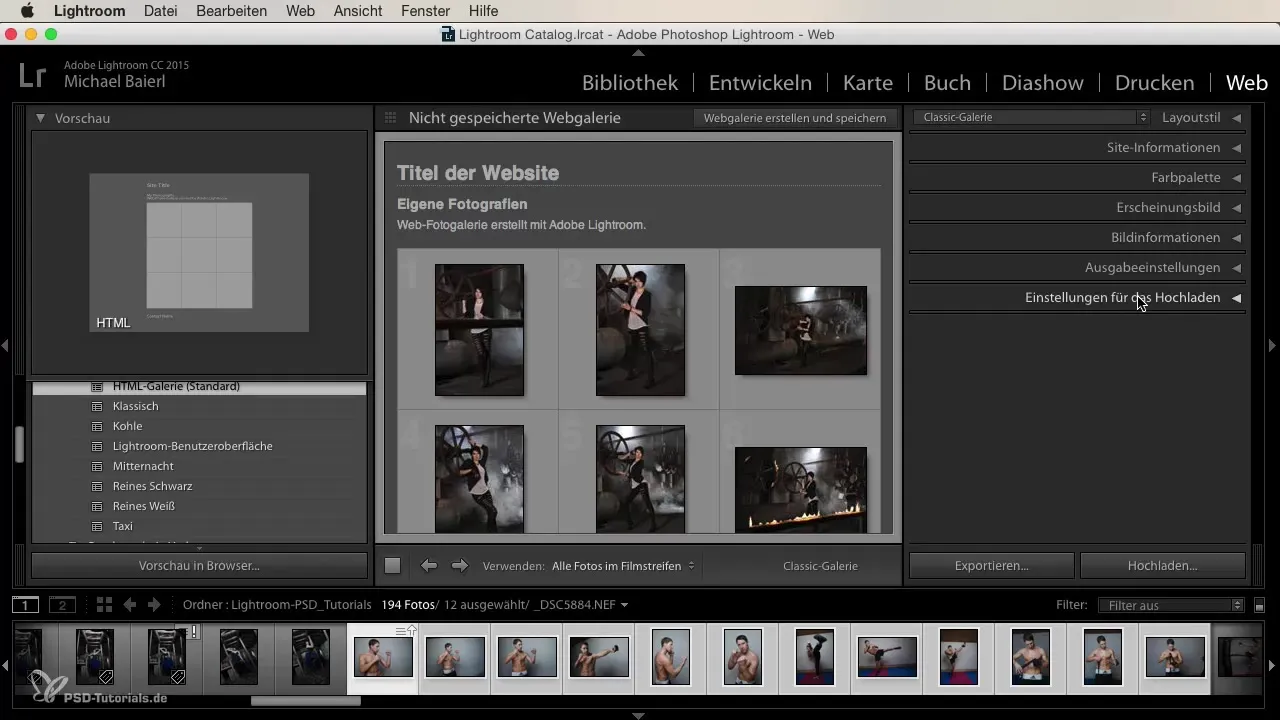
Step 5: Configure FTP Server
Before you can upload your gallery, you need to adjust the settings for the upload. Go to the import settings and enter the data for your FTP server. Here, you provide the server where your gallery will later be hosted.
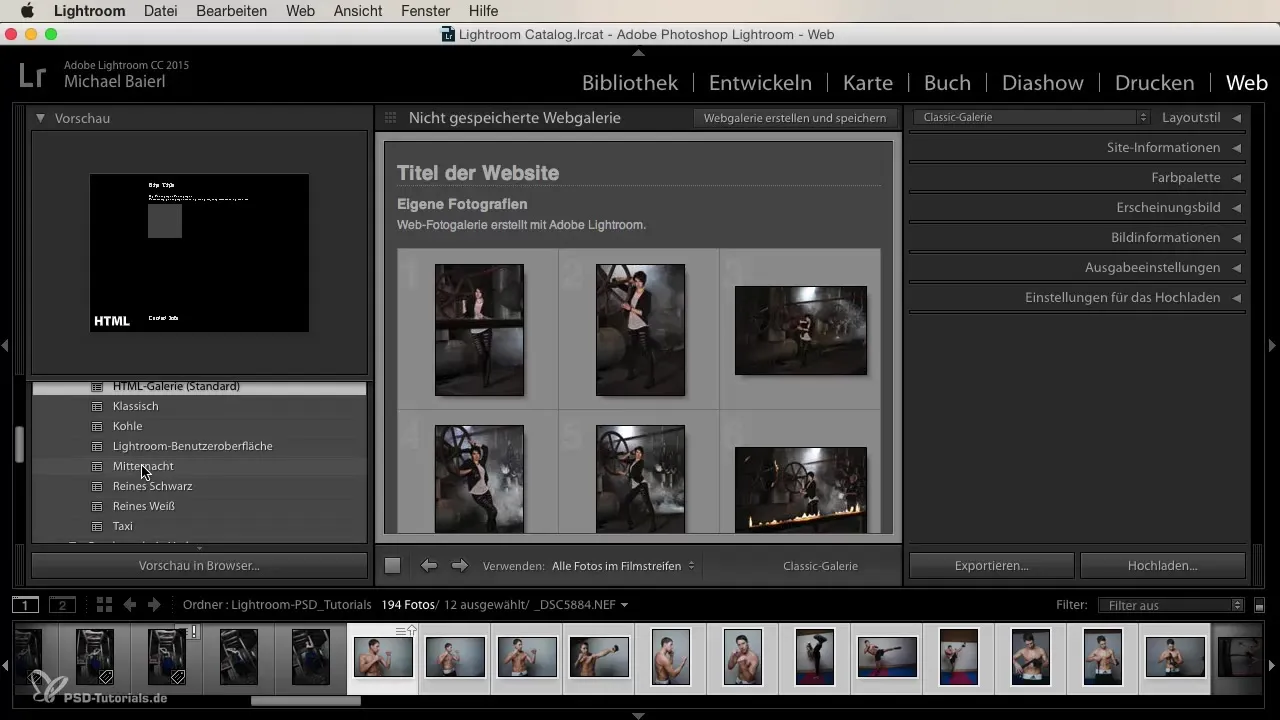
Step 6: Upload Images
The final step is the upload of your gallery. Click on the “Upload” option, and Lightroom will start transferring your images to the selected FTP server. This process may take some time, depending on the number of your images and the upload speed of your internet connection.
Step 7: Share Gallery
Once the upload is complete, you can share the link to your Web gallery with others. Whether by email to your models or through social media, your images are now easily accessible to anyone who wishes to view them.
In this video tutorial, you learned the basics to create your own Web gallery in Lightroom. Use this practical feature to effectively present your work and share it easily with others.
Summary
Creating a Web gallery in Lightroom is a straightforward process. You learned how to use the Web module, select images, design the layout, and finally upload your gallery to the internet. This feature enables you to display your photographs appealingly and make them easily accessible.
Frequently Asked Questions
How do I select images for the Web gallery?You can select all images in the filmstrip or only the marked ones.
How do I change the title of my Web gallery?Simply click on the title area in the Web module at the top and enter the desired title.
Where do I enter the FTP server data?You can find the FTP server settings in the “Upload” area of the Web module.
How long does it take to upload my gallery?The duration depends on the number of images and your internet speed.
Can I customize the layout of my Web gallery?Yes, in the Web module you have access to various presets and layouts for your gallery.
