You have finally decided to capture your most beautiful memories in a photobook? Very good! A photobook can be a wonderful way to present your experiences and preserve them for the future. But where do you start? In this guide, you will learn step by step how to create your first photobook with Adobe Lightroom.
Key Insights To effectively design a photobook, you should especially pay attention to the size, layout style, and selection of your images. Use the auto-layout feature in Lightroom to make the process easier.
Step-by-Step Guide
1. The Basic Settings
Before you start designing your photobook, you need to make some basic settings. Open Lightroom and select the “Book” tab. Here you can set the size of your photobook.
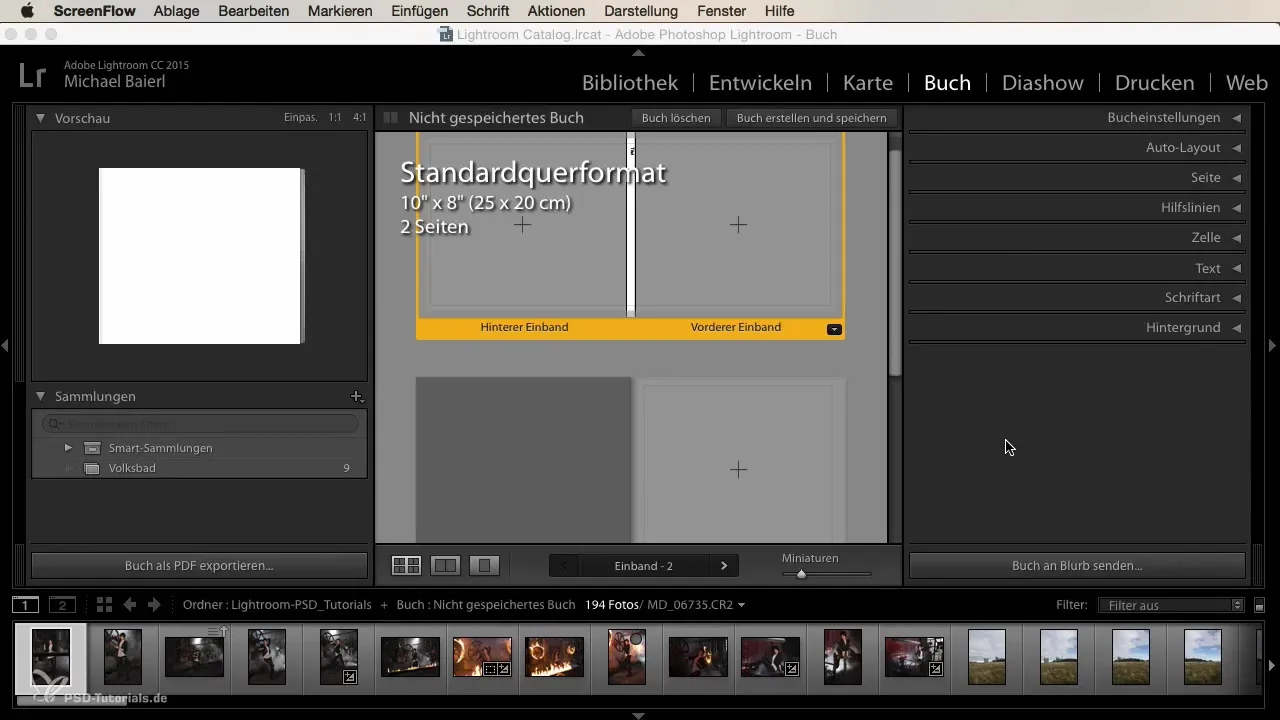
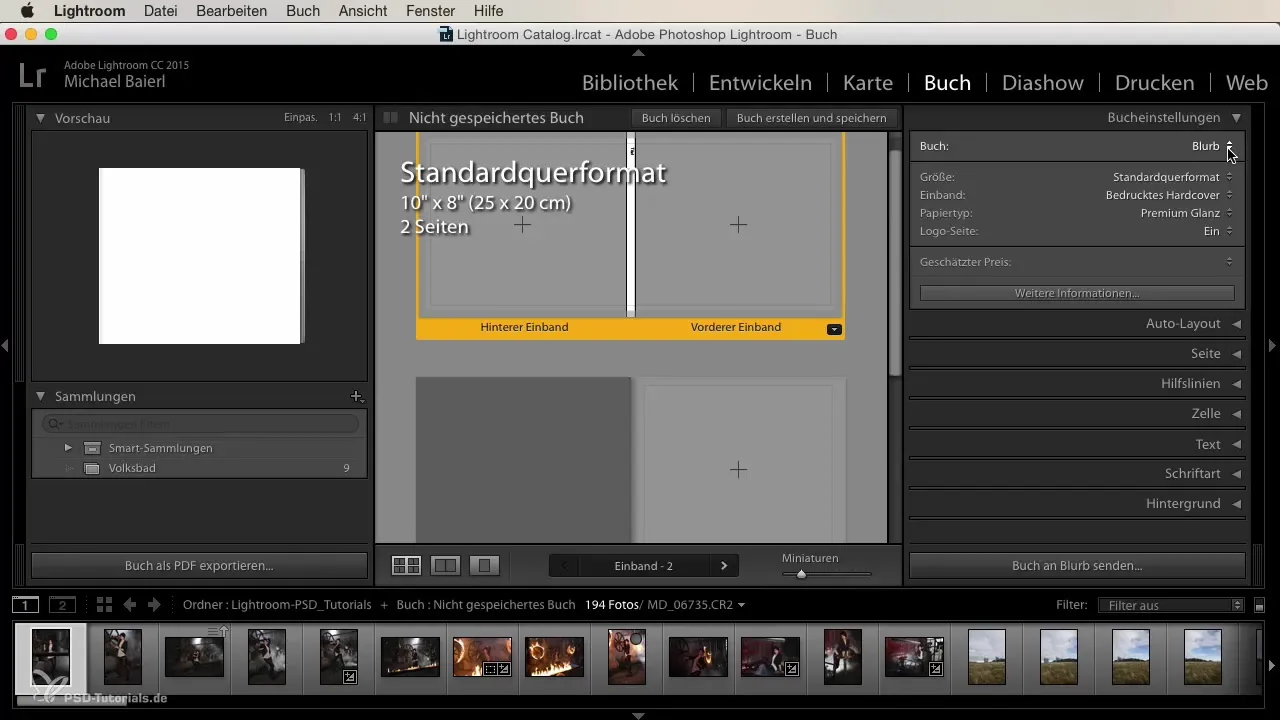
First, select the format that you like best and decide whether you want to print your book online or export it as PDF/JPEG. The selection “Blurb” is important if you plan to print your book through this provider.
2. Use Auto Layout
The auto layout feature is a great help when creating photobooks. When you click on it, Lightroom automatically calculates the layouts for your photos. This saves you time and gives you an appealing result.
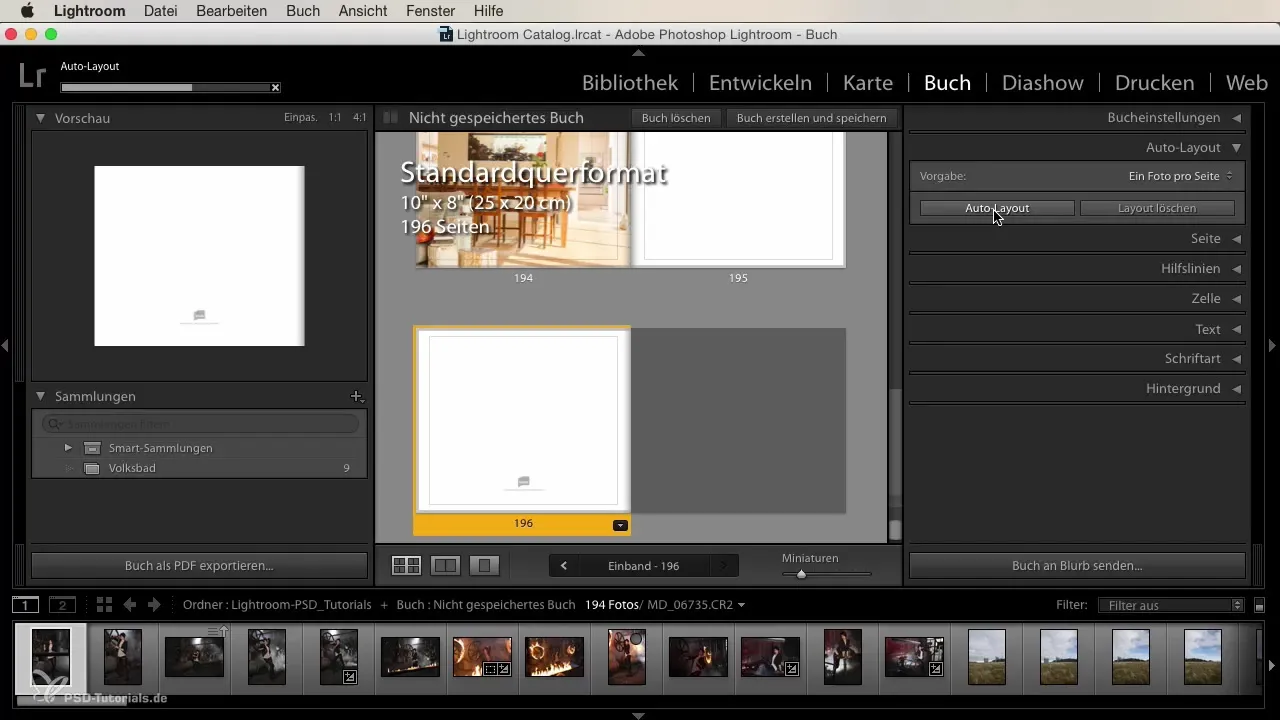
If you are working with multiple images, they may not fit together properly. You can adjust the images using drag and drop or use the “Delete” key to remove unsuitable images.
3. Adjust and Position Images
After you have imported your images, you should ensure they fit well into the layout. Lightroom offers the possibility to adjust the crop of the images so you can display exactly what you want.
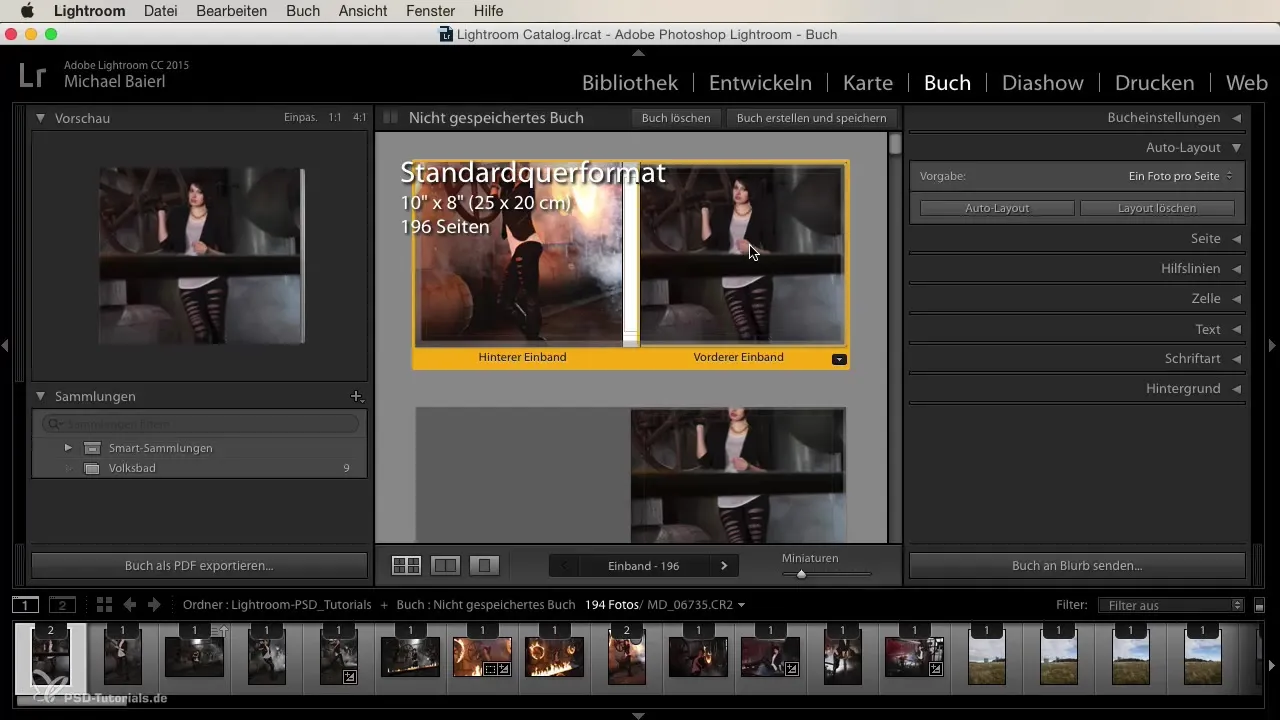
You can grab and move the images to adjust the position according to your wishes. Make sure that the relevant parts of the images are well visible.
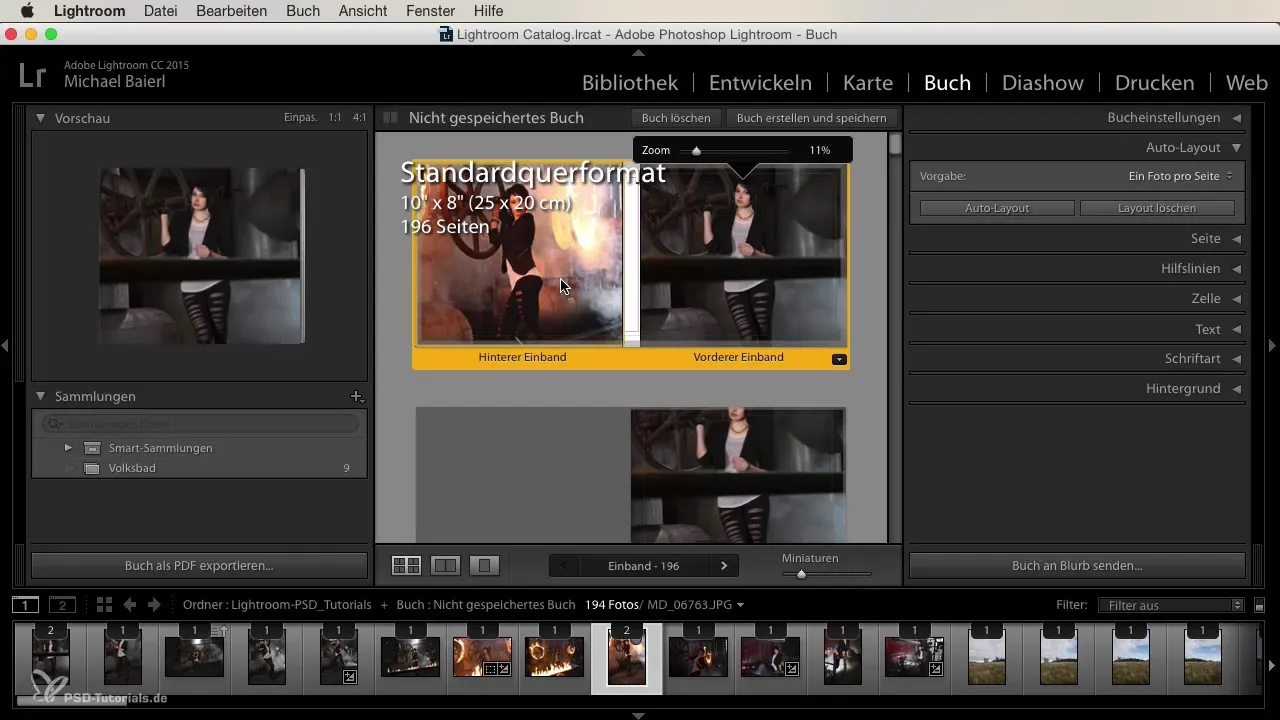
4. Prepare the Images
Optimize your photos in the develop module of Lightroom before integrating them into your book. Select the best images and edit them to make them stand out.
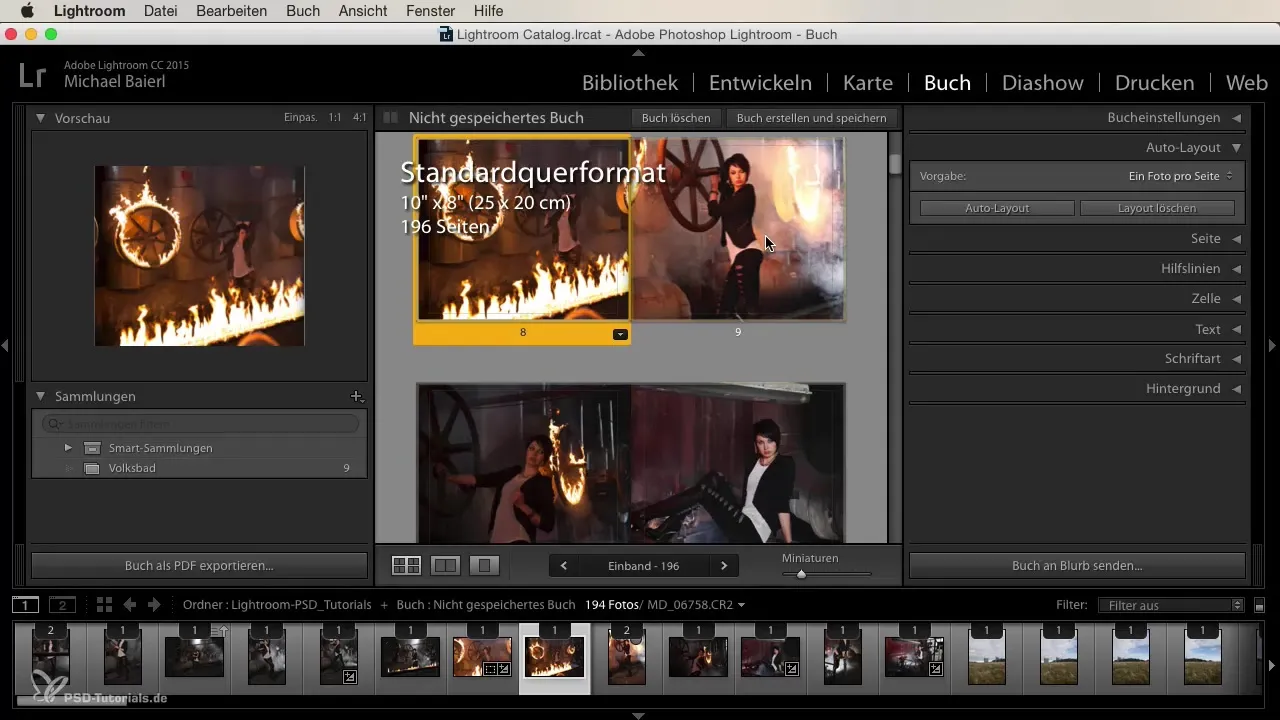
Preparing the images is an important step as it ensures better quality and consistency.
5. Implement Layout Ideas
Decide which layouts you want to use for different pages. Do you want one image per page or a photo collage made up of several images? Experiment with the various options in Lightroom.
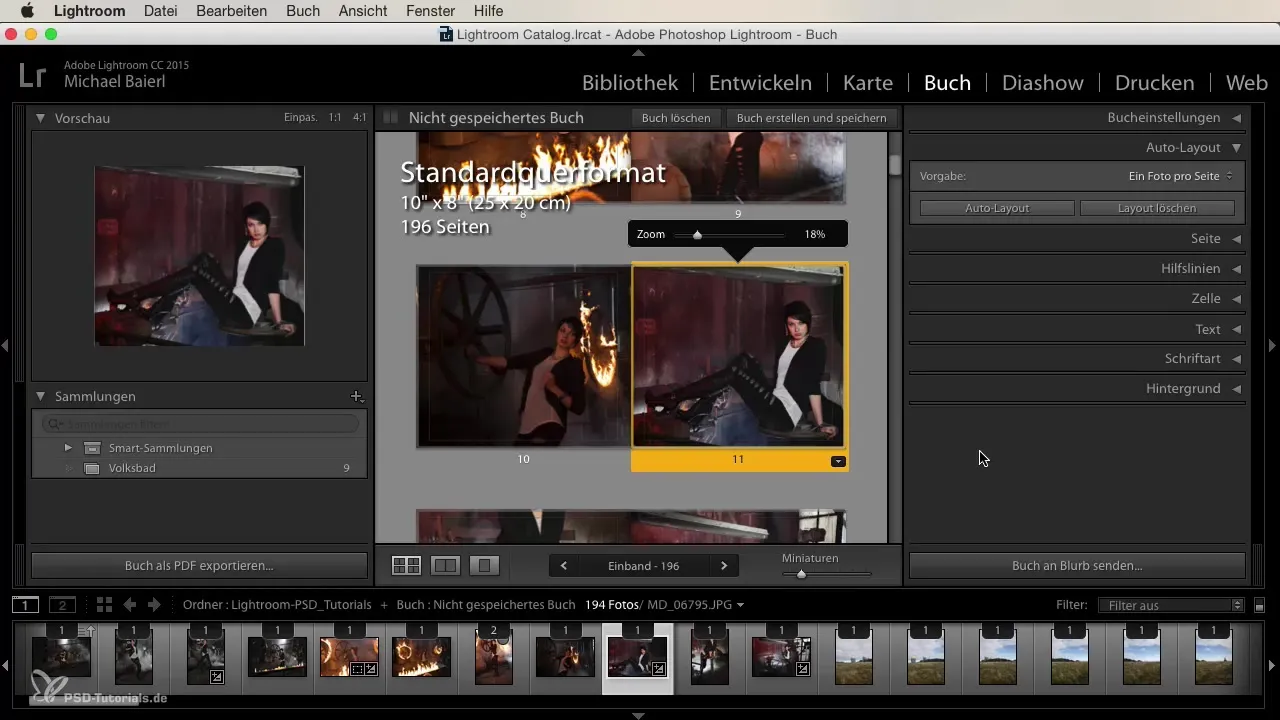
If you want to add text to your images, remember that the layout should be designed in a way that both images and text are well presented.
6. Final Adjustments and Export
Once you are satisfied with the layout and the images, it's time to export your photobook. You can either have it printed directly through Blurb, save it as a PDF for self-printing, or export the pages as JPEGs.
Remember that the quality of the images during export is crucial. Check all settings and make sure everything is as you envisioned.
Summary
Creating a photobook in Lightroom can be an exciting task. By focusing on the basic settings, using auto layout, adjusting your images, and executing the final design, you can create a high-quality and personal photobook. Let your creativity flow and enjoy the process!
Frequently Asked Questions
How important is image quality in a photobook?The image quality is crucial. Make sure all images are well edited before inserting them into the book.
Can I also print the photobook offline?Yes, you can export your book as a PDF and have it printed offline.
What is the best size for a photobook?The best size depends on your preferences. Consider how you want to present your images.
Do I have to adjust each image individually?It is not mandatory, but recommended to get the best out of each image.
Are there design templates available?Yes, Lightroom offers templates that you can use. You can also customize them according to your wishes.
