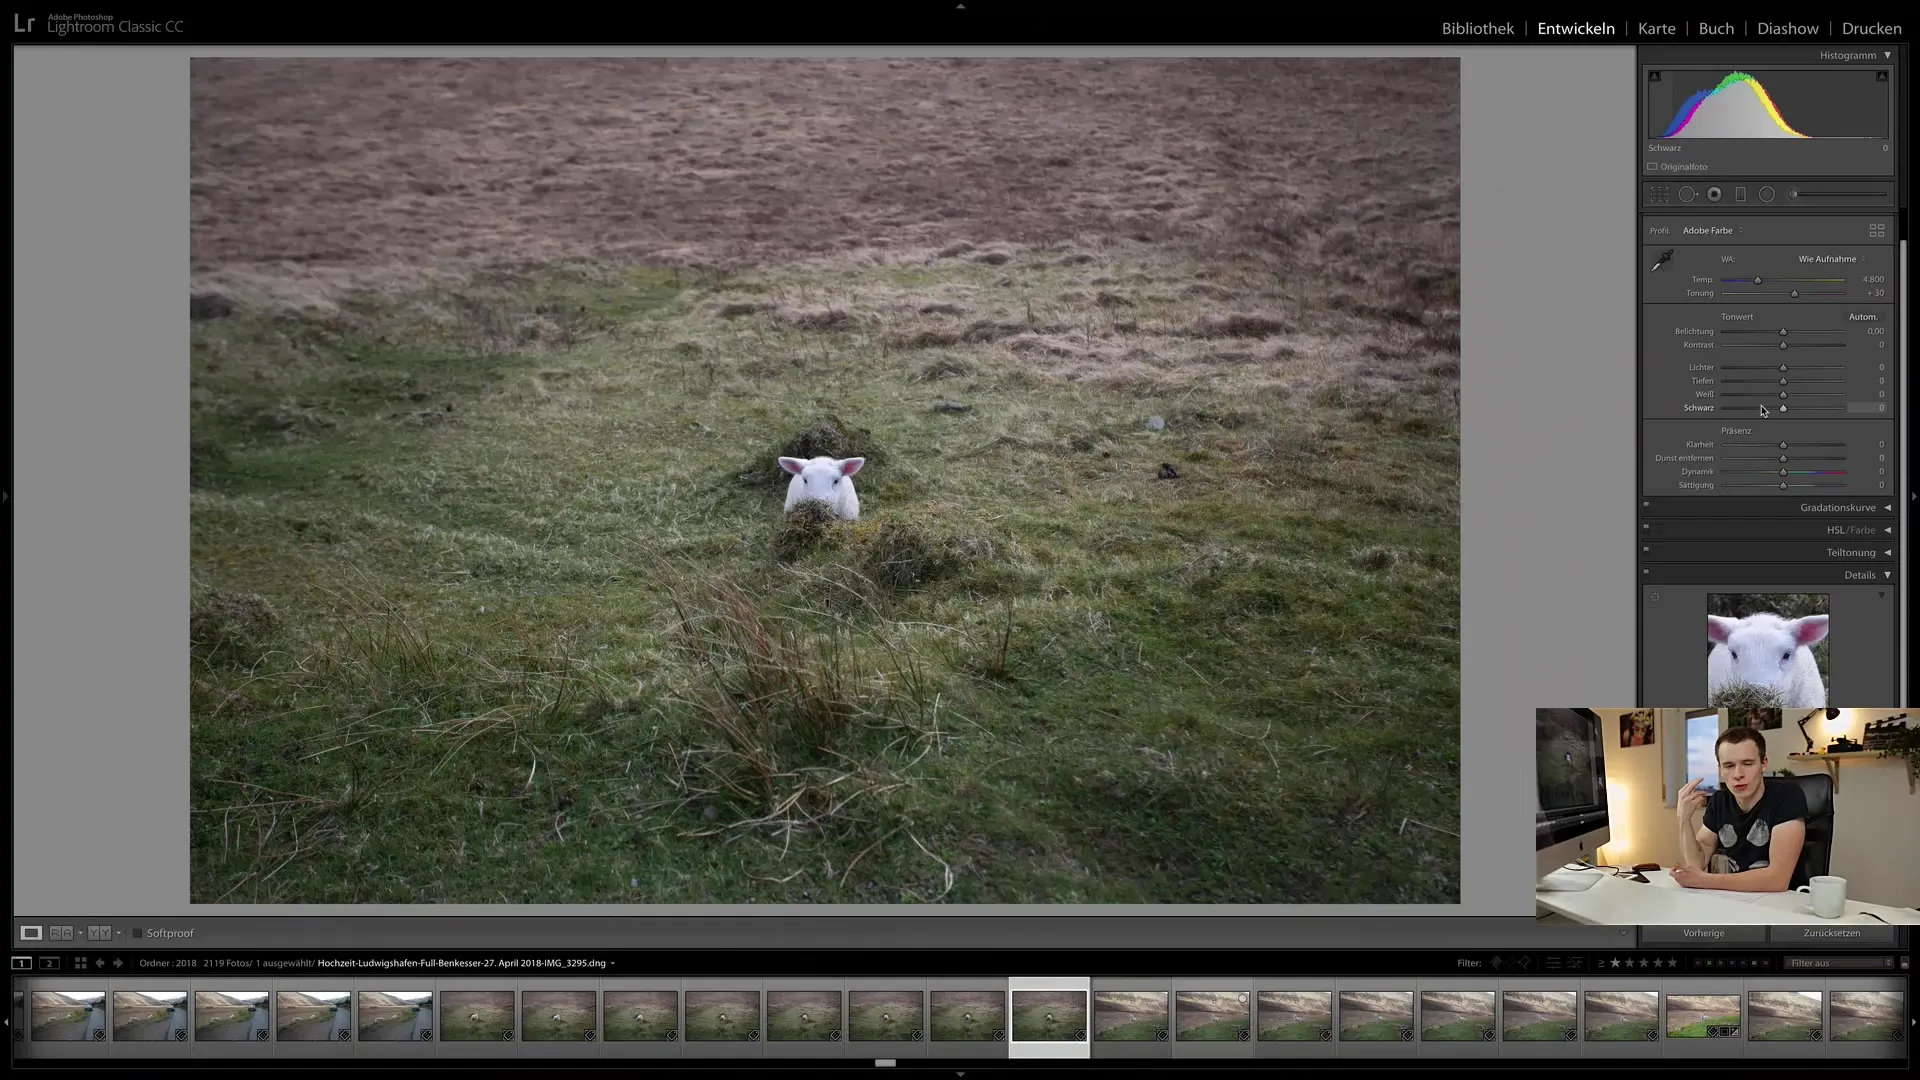
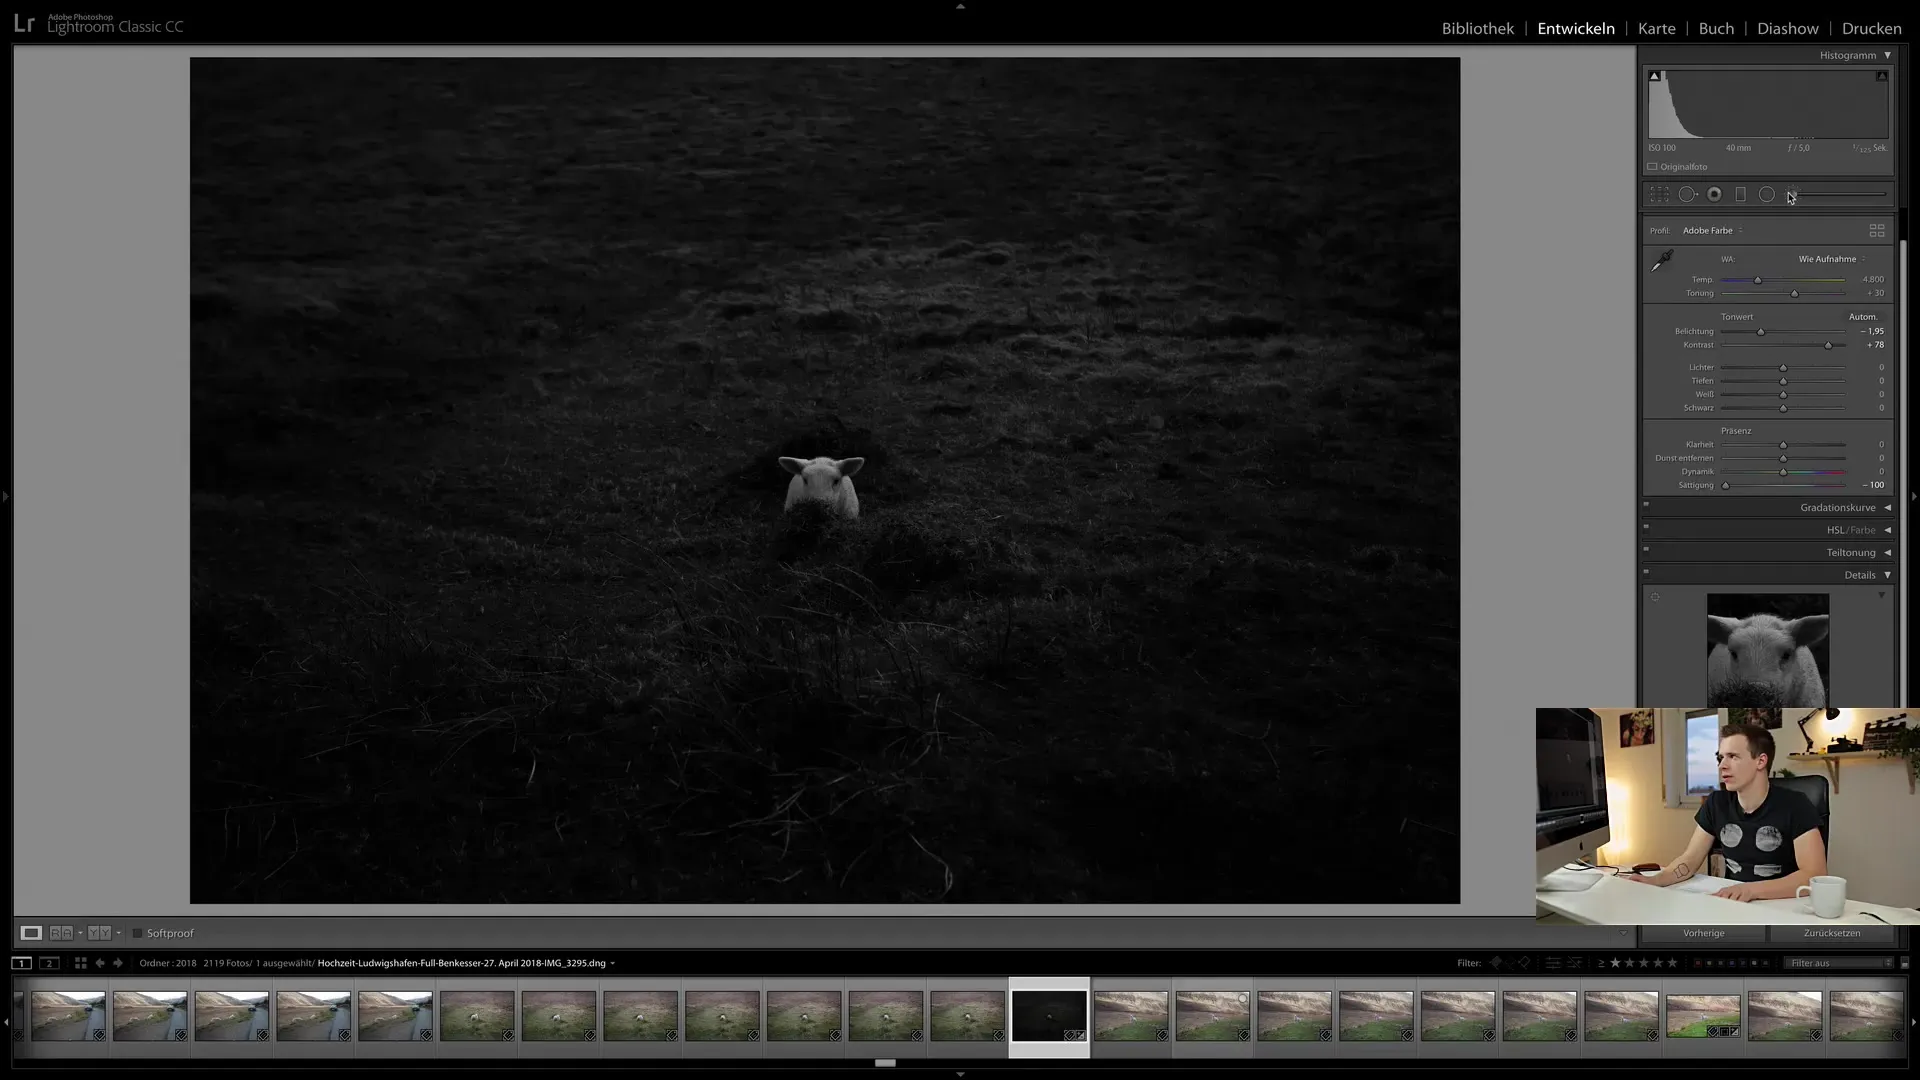
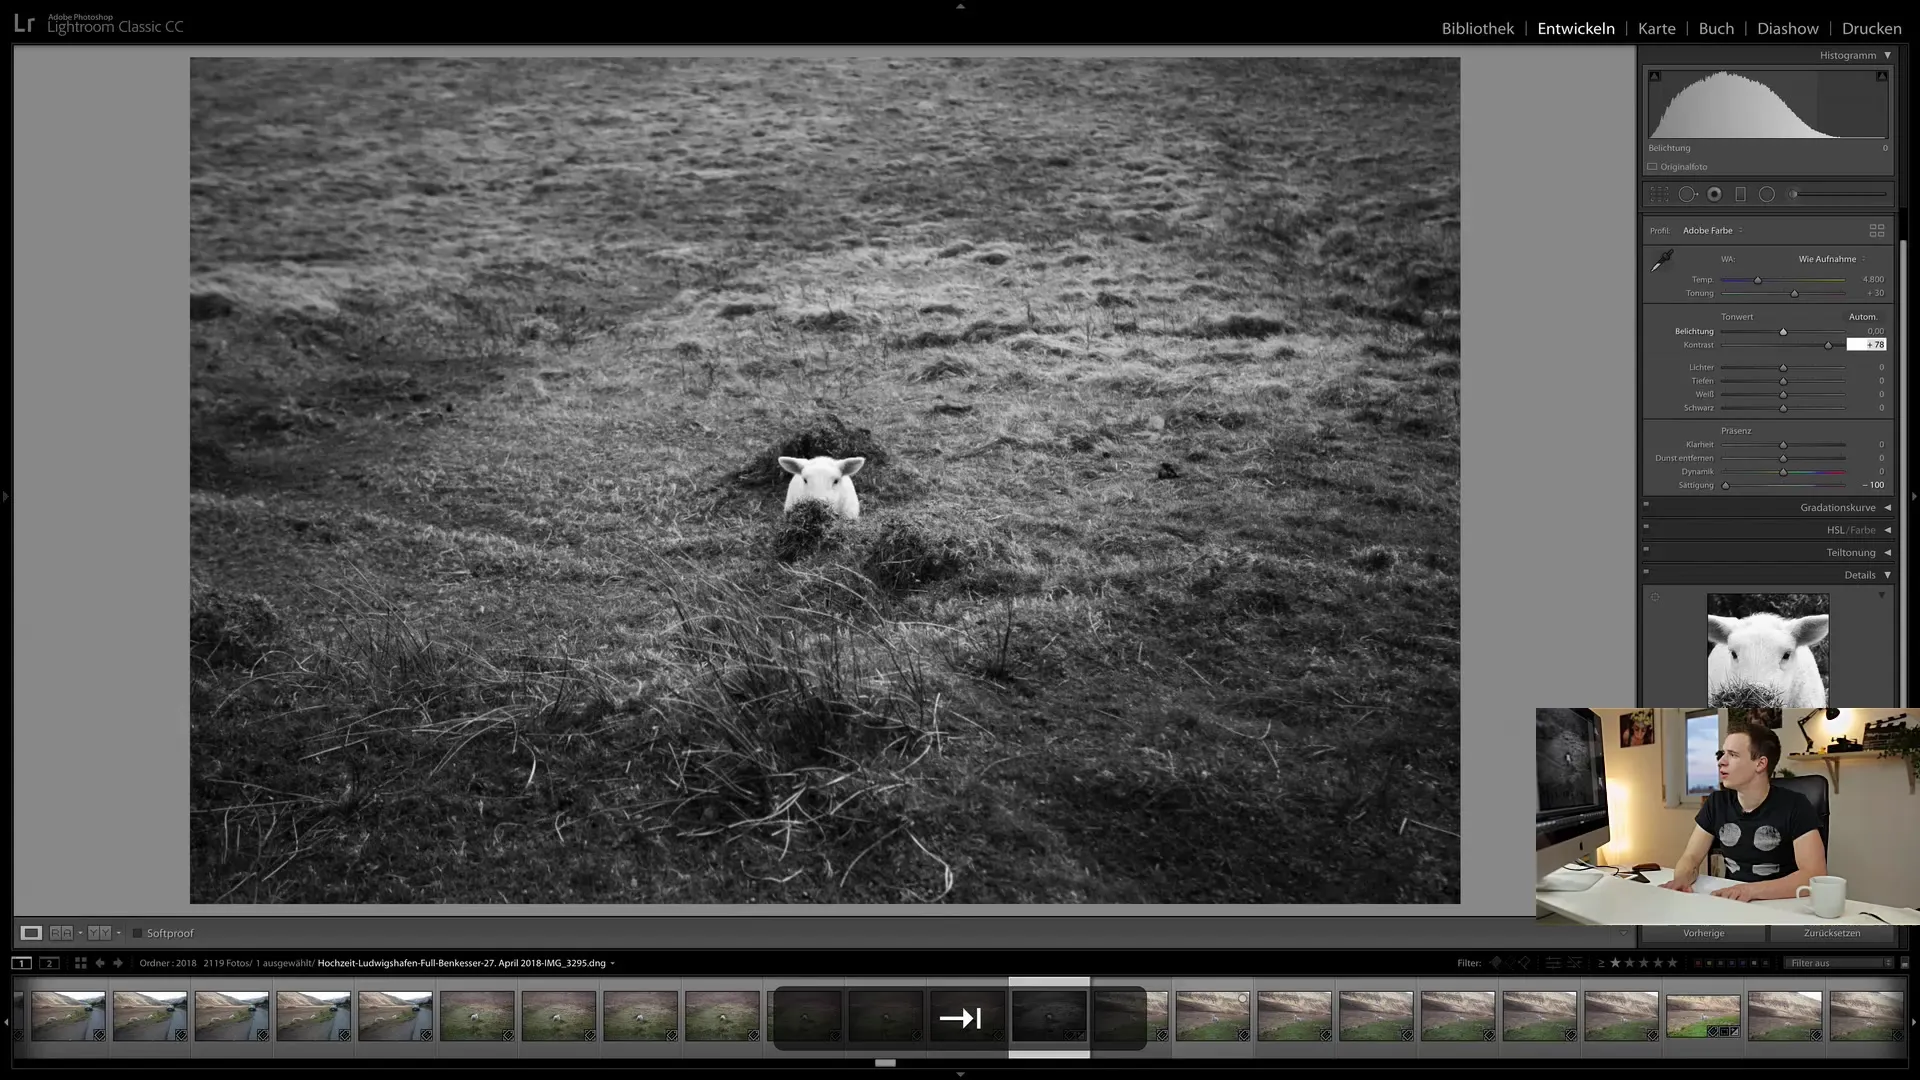
Welcome to this tutorial on local adjustments in Lightroom Classic CC. In this lesson, we will learn how to edit specific areas of an image selectively, rather than just making global adjustments that affect the entire image. Local adjustments are powerful tools that help you make creative decisions and take your images to a new level. Whether you want to increase the brightness of a specific area or reduce the saturation here and there, local adjustments allow you to do just that.
Key Takeaways
- Local adjustments allow you to edit specific areas of an image.
- You can apply adjustments such as brightness, contrast, and saturation only to specific regions of the image. -These tools expand your editing capabilities and open up new creative possibilities.
Understanding the Basics
First, it is important to understand the difference between global and local adjustments. Global adjustments affect the entire image, while local adjustments change specific areas selectively. There are various tools available to you for this purpose.

Global Editing vs. Local Editing
For example, if you want to adjust the brightness of the entire image, you can use the appropriate sliders for global editing. In this case, every change is always applied to the entire image. You can, for instance, increase the brightness, enhance the contrast, or adjust the saturation of the entire image.

Introduction to Local Tools
With the local tools in Lightroom, you have the ability to make targeted adjustments. These tools allow you to edit only selected areas of the image, giving you much more precise control over the final result.

Applying Local Adjustments
Next, let's look at how to activate and apply local adjustments. You can find various symbols for the tools at the top of the program window. Each of these tools is specifically designed to apply certain adjustments only to the selected areas of your image.

Different Tools and Their Functions
There are various types of local adjustment tools available to you, such as the brush, the gradient filter, and the radial filter. With these tools, you can adjust various aspects of your image and highlight or bring back specific areas.

Conclusion
You now have an overview of the functionality of local adjustments in Lightroom Classic CC. The ability to edit specific areas of an image is not only a practical function but also opens up entirely new creative possibilities. Experiment with the local tools to fully unleash your images' potential.
Frequently Asked Questions
How do global and local adjustments differ in Lightroom?Global adjustments affect the entire image, while local adjustments only edit specific areas.
What are the benefits of local adjustments?They offer more precise control over image editing and enable creative work.
What tools are available for local adjustments?Among others, there are the brush, gradient filter, and radial filter.


