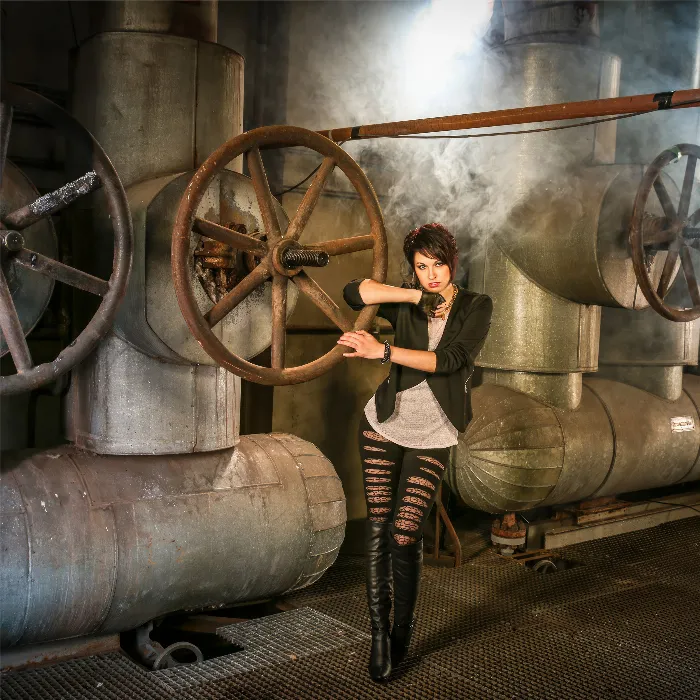
Light and color are essential elements in photography. Effectively controlling these elements can make the difference between an average and an impressive image. If you regularly work with Lightroom, you certainly know how important it is to develop a personal style and efficiently edit your images. In this guide, we will focus on how you can create your own Presets in Lightroom to create your workflow and elevate your image editing to the next level.
Key insights
- Individual presets save time and ensure a consistent image style.
- Each image can be edited with specific settings that you can save as a preset.
- Creating presets is straightforward and can be done in just a few steps.
Step-by-step instructions
1. Getting started with presets
Before you can create your own presets, you should first familiarize yourself with the existing presets in Lightroom. You will find a variety of standard presets that you can apply to your images to see which style you prefer.
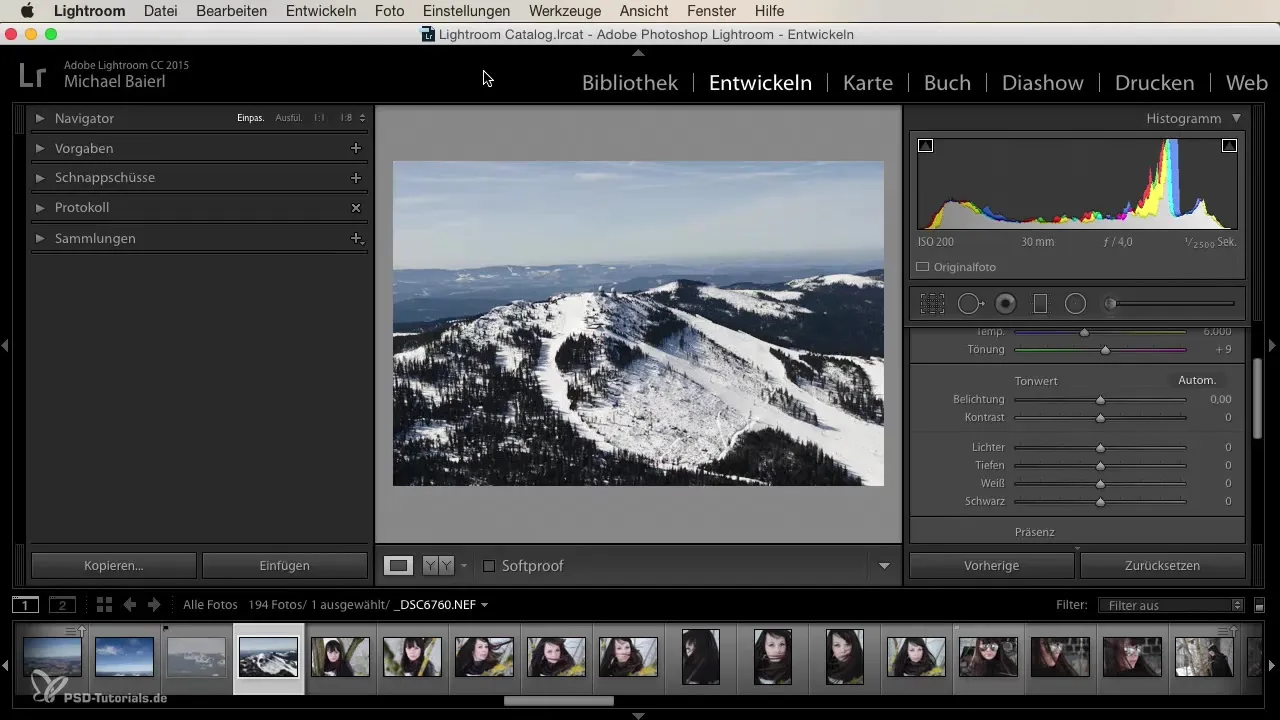
Open an image file to start editing. Look at the different presets and experiment with them to get a feel for which settings suit your photographic style best. Make sure there is a personal expression you want to maintain in your images.
2. Finding ideal settings
Select an image that you want to use as a basis for your preset. Think about in advance what look you want to achieve. You might want to increase the temperature to create a warmer tonal shade, or adjust the contrast to create more dynamic images.
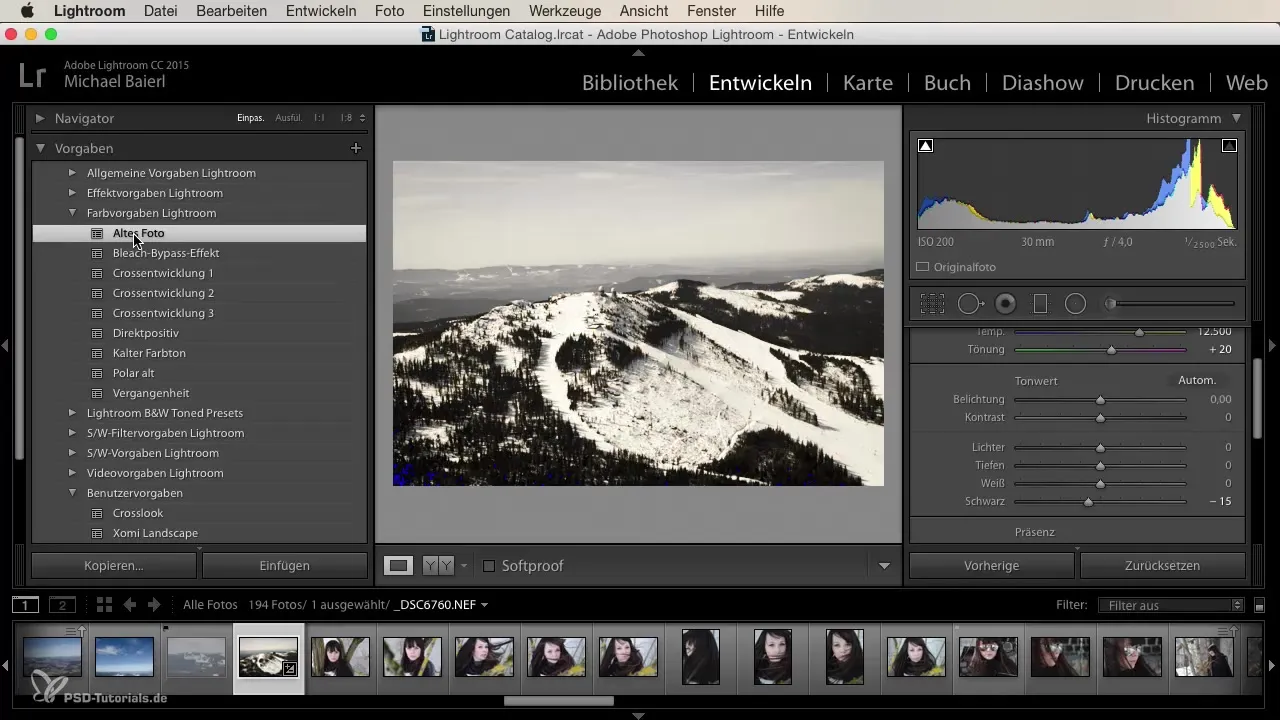
Start by modifying the basic settings in Lightroom. Adjust brightness, contrast, and saturation to achieve your desired result. Here, you can work according to your feelings and give your style a personal touch.
3. Naming the preset
Once you have worked on the images and made the desired adjustments, it's time to save your preset. Go to the upper part of Lightroom and look for the plus sign that gives you the option to create a new preset.
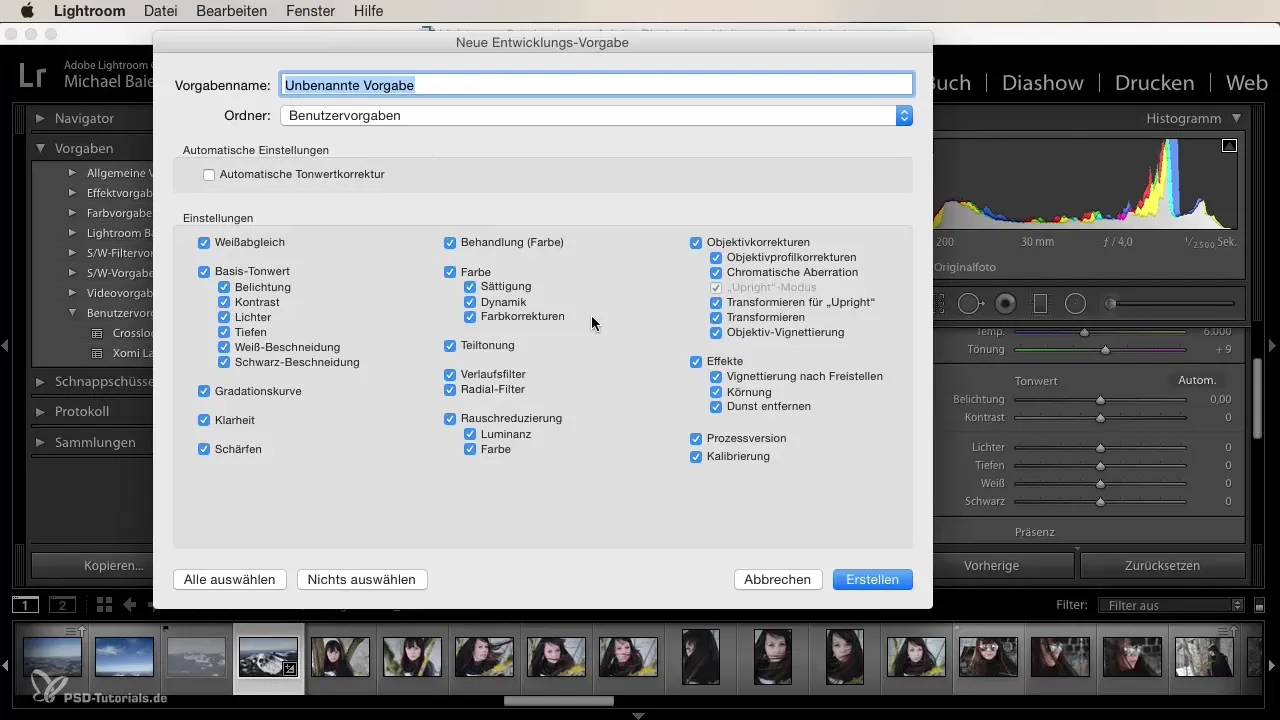
A new window will open where you can name your preset. Choose a memorable name that describes the content of the preset, e.g., “Landscape Warm” or “Portrait Cool.” It is important to activate all checkboxes to ensure that each of your adjustments is saved.
4. Reviewing the look
Before you save your preset permanently, take another close look at the edited image. Check how your image looks with the adjustments made. Play with the settings and see if changes are necessary to achieve the desired look.
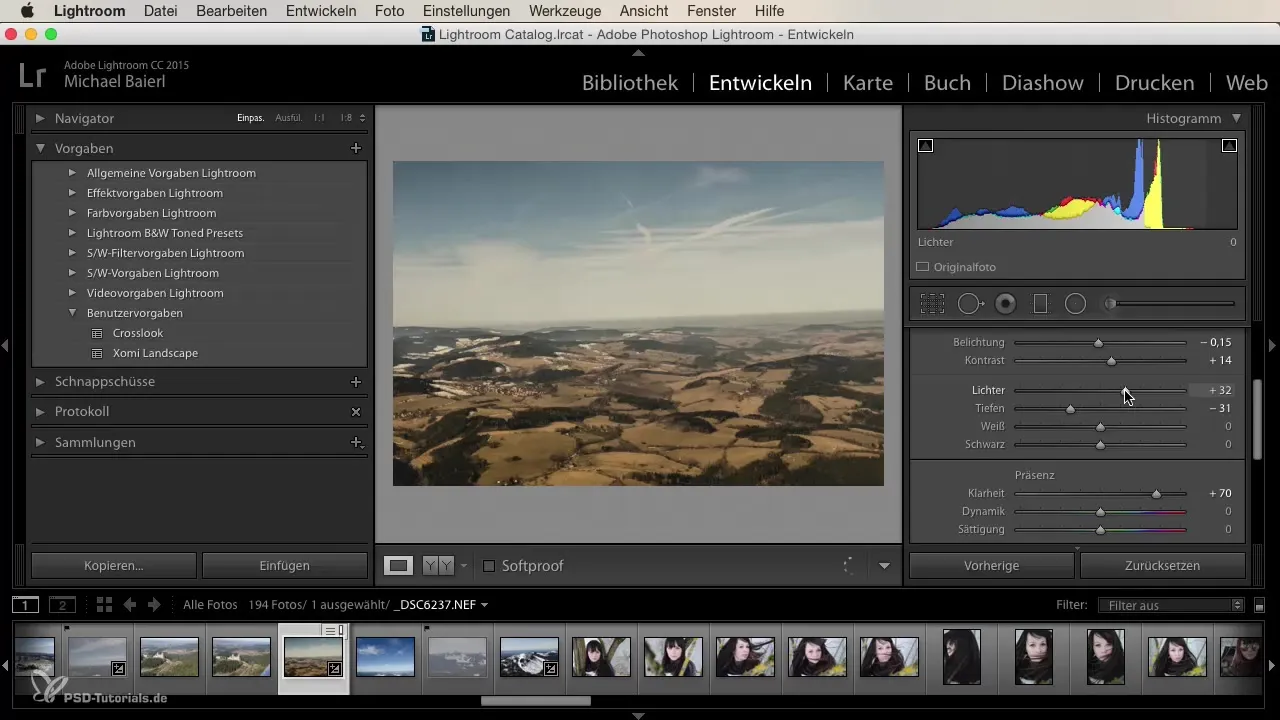
Dynamics and clarity are particularly important. You can try optimizing the white balance or increasing the saturation of the colors to really make the image stand out.
5. Creating and saving the preset
After you’ve made all the final adjustments, go back to the plus sign to save your preset. Choose a folder where you want to place your preset. Impressively, presets can be created for different categories, like Landscape or Portrait.
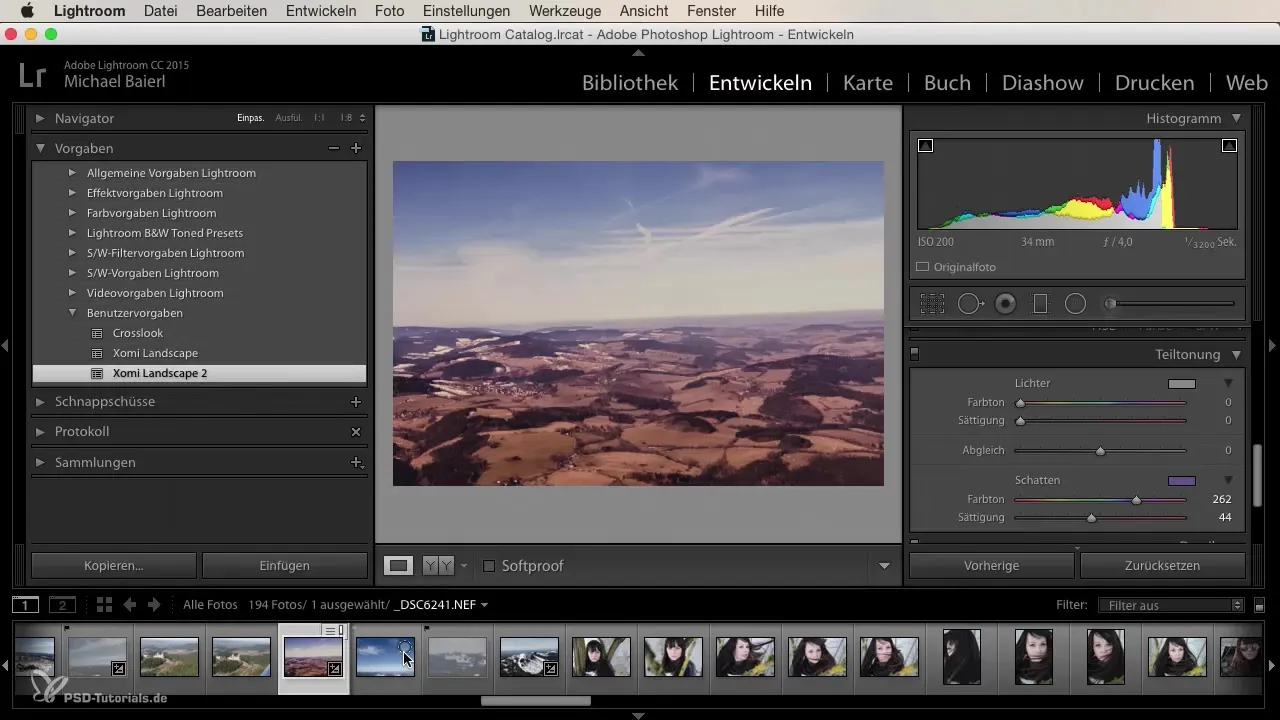
Now you can apply your newly created preset to other images at any time. This significantly enhances the efficiency of your work – especially when editing series that should look similar.
6. Applying and adjusting the preset
Once your preset is saved, you can apply it directly to other images. Select another image and click on your preset to see how it works.
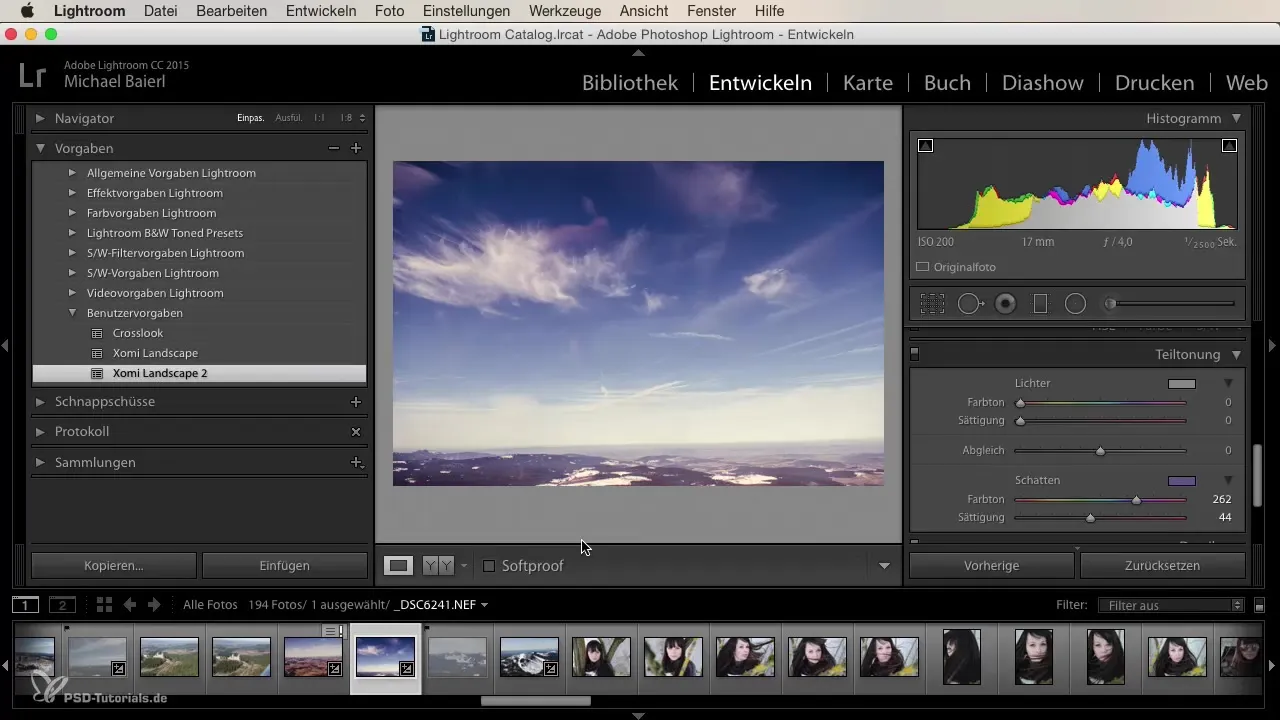
If you are not satisfied with the result, you can still make adjustments. The great thing about presets is that they do not irrevocably change your image – you can always reset or further refine your adjustments.
7. Have fun creating new looks
Continue to experiment with different images and presets. Additionally, you can offer yourself the opportunity to develop truly unique looks. There are no fixed rules for how a preset should look; your creative expression comes first.
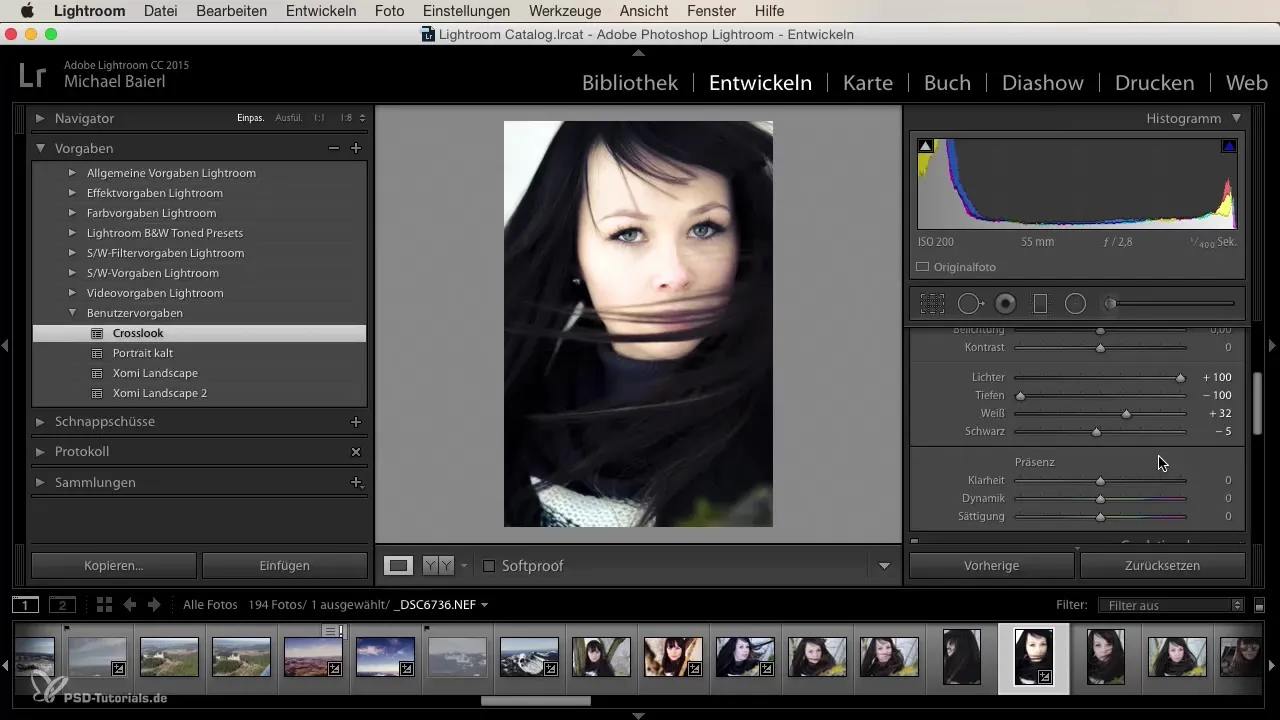
Whether you prefer natural, bright tones or dramatic, dark colors, your presets can help you find your individual style and realize your creative vision.
Summary
Creating your own presets in Lightroom opens up entirely new possibilities in image editing. They save time and help you develop a consistent look for your image series. You can adjust, save, and experiment without losing creativity. Use these steps to develop your personal editing style and improve your photographic skills.
Frequently Asked Questions
How do I create a preset in Lightroom?Go to the plus sign and select "Create New Preset," enter a name, and select the desired settings.
Can presets also be applied to portraits?Yes, presets can be applied to any type of image, including portraits.
How can I manage my presets?You can organize your presets into folders to find and apply them more easily.
Are presets irreversible?No, you can reset or adjust the changes at any time.
Which settings are particularly important for a good preset?Important are white balance, exposure, contrast, and saturation, but feel free to experiment with different values.
