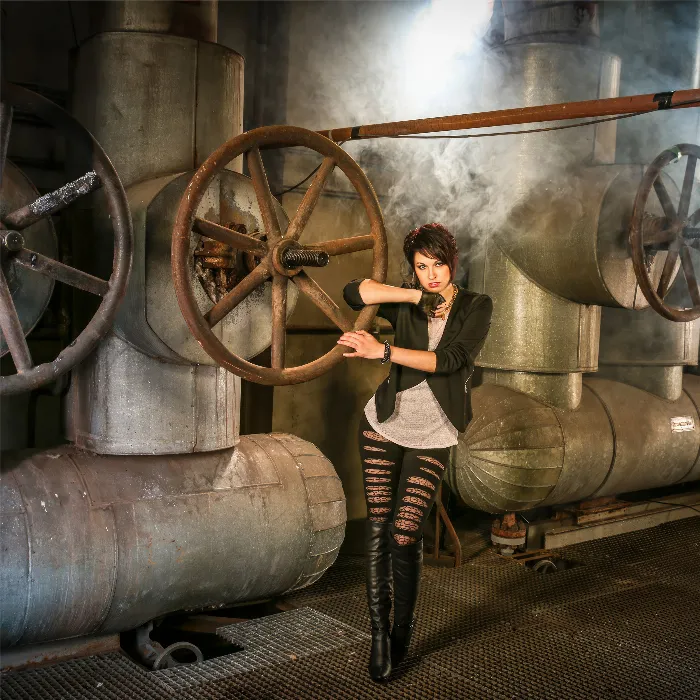
Color casts can be a frustrating issue in image editing, especially when the image loses vibrancy due to unwanted color changes. In this guide, you will learn how to effectively correct color casts in Lightroom. The focus will not only be on how to adjust the basic color settings but also on how to precisely eliminate color deviations using the specific HSL sliders. You will see that you can transform your images into visual masterpieces with just a few simple steps.
Key insights
To correct color casts in Lightroom, you need to work with the basic adjustments and HSL sliders. By enhancing the complementary colors, you can neutralize unwanted tones. Make sure to experiment with saturation and luminance to achieve a harmonious result.
Step-by-Step Guide
To correct color casts, follow these simple steps:
Basics of Color Cast Correction
Start Lightroom and load your image into the Develop module. If you notice that your image has a color cast, it's important to check the original settings. Color casts often occur due to the application of presets or incorrect basic settings.

Adjust Brightness and White Balance
To eliminate a color cast, especially a yellow cast, check the white balance. Pull the temperature sliders to the left to cool down the image. You will see the yellow cast slowly disappear.

Optimize Tint and Color Balance
Once you've adjusted the temperature slider, move to the tint slider. Adjust this slightly to ensure your image doesn't become too bluish. You only want to get rid of the yellow cast, so finding the right balance is important.

Using HSL Sliders
Now you can switch to the HSL sliders. Here, you can specifically adjust saturation and hue. You may need to decrease or increase the saturation for certain colors to achieve a natural look. Pay particular attention to skin tones to ensure they look healthy and not distorted.

Correcting Skin Tones
If you are working with the orange color range, ensure to shift it slightly towards yellow to balance the skin tones. A slight correction of the reds towards orange can also help to rectify unwanted color casts.
Fine Tuning Luminance
To round off the composition, go to luminance and adjust the orange tones so that they become a little darker. This can help make the images appear more vibrant and less pale.
Working with Saturation
Discuss saturation and ensure that the colors remain vibrant without being oversaturated. Here you can make additional adjustments to enhance the expression of your image.
Pay Special Attention to Colors
If you have a specific image with strong color casts, look at the HSL values and adjust the hues of blue and green. Experiment a bit to find a harmonious look.

Check the Result
Once you have made all your adjustments, take a look at your image as a whole. The previous steps should have quickly helped you eliminate unwanted color casts.

Summary
With these techniques, you can successfully correct color casts in Lightroom. Always be ready to experiment with the tools and adjust the fine details to achieve impressive images that you can proudly present. Remember, however, that complementary colors play a key role in neutralizing unwanted tones and improving overall image quality.
Frequently Asked Questions
How can I quickly identify color casts?Look for unnatural color hues, especially in skin tones or landscapes.
Which slider should be adjusted first?It's best to start with temperature and white balance to adjust the base color.
How can I ensure skin tones look natural?Make sure to shift reds and oranges towards yellow and experiment with luminance.
Can I save the result?Yes, after making your changes, you can export and save the image.
What if I don't achieve the desired results?Continue experimenting with the sliders or step back to make larger adjustments.


