The world of 3D modeling offers numerous opportunities for creative expression. Especially in combination with Cinema 4D and plugins like Greebler, new dimensions open up for designing interesting models. In this tutorial, we will look at the Object tab of Greebler to find out how to effectively use Greebles to create interesting and complex structures.
Key Insights The basic settings for the operation of the Greeblers are made in the Object tab. Here you set the starting value and can determine whether the Greebles appear on the inside or outside of an object. It is important to choose the subdivisions carefully to control the polygon count.
Step-by-Step Guide
Step 1: Add Object
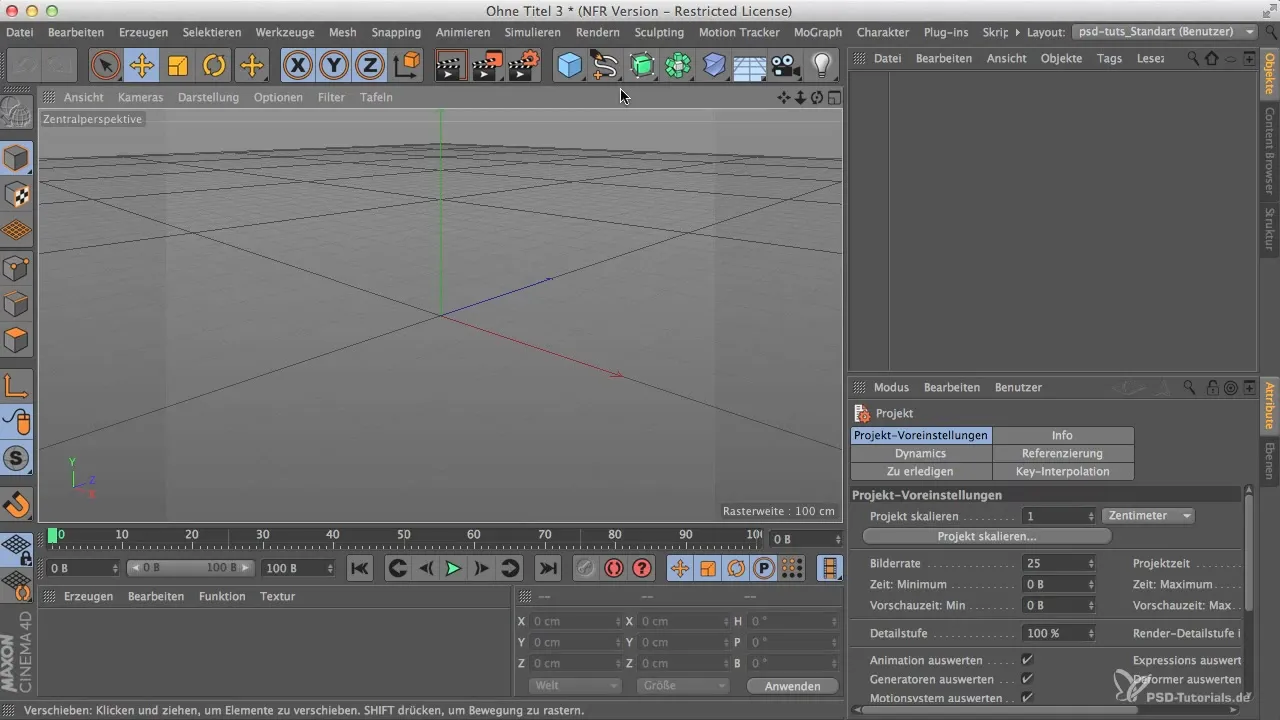
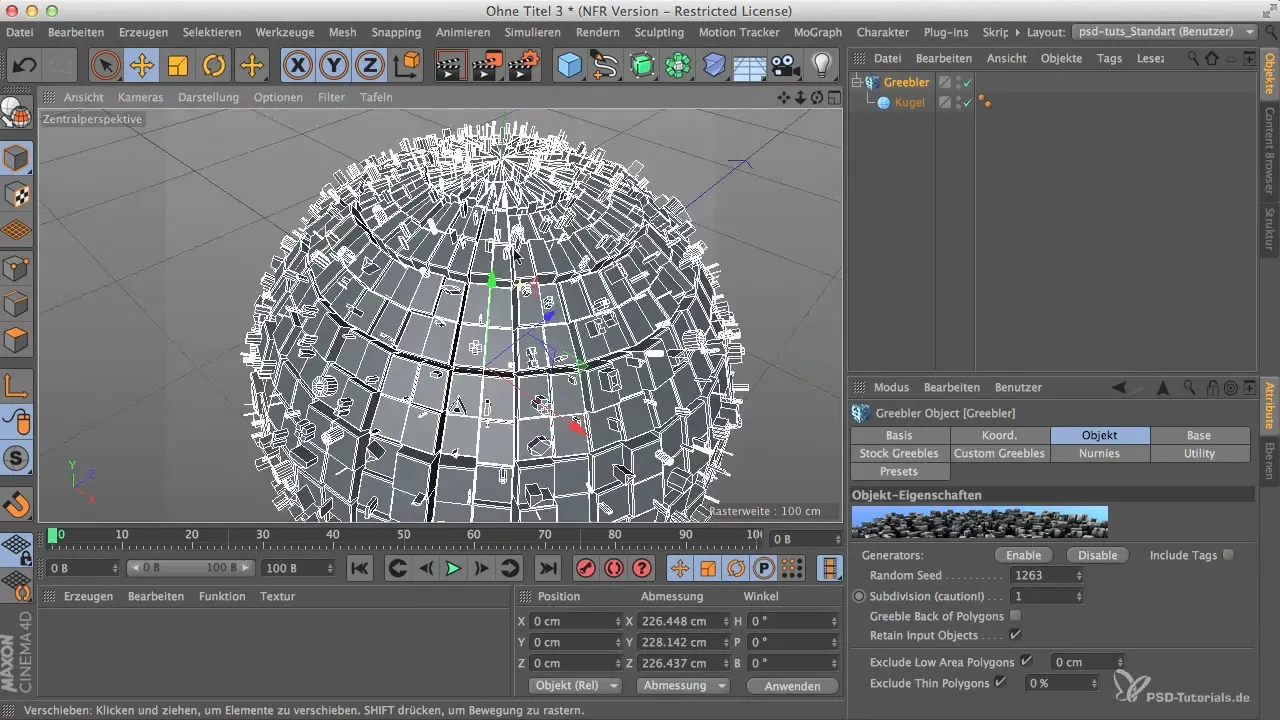
First, add a basic object to your scene, such as a sphere. This is an ideal experimental object since you can achieve many different results with it. With the right plugin, you can then start activating and adjusting the Greebles.
Step 2: Open Object Tab
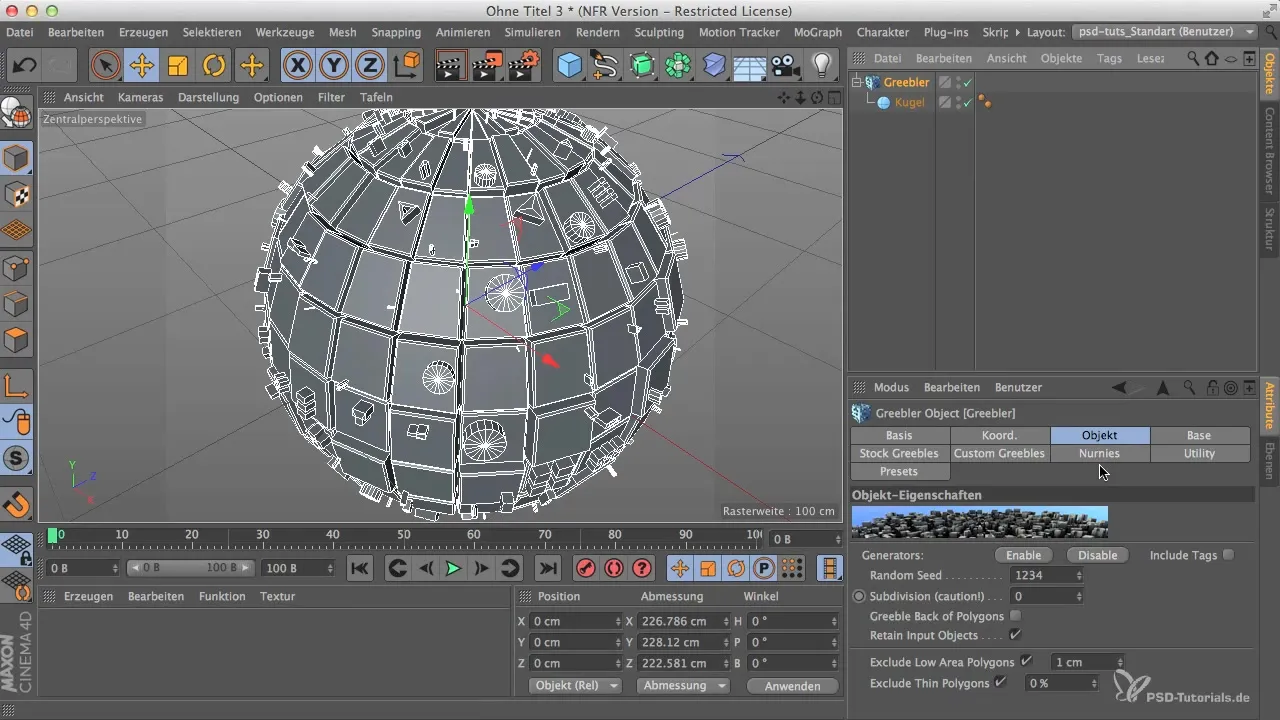
After creating your object, click on the Object tab. This is the area where all necessary settings for the Greebles are made. You begin to understand the basics of the structure here and set the parameters that influence the Greebles.
Step 3: Use Random Seed
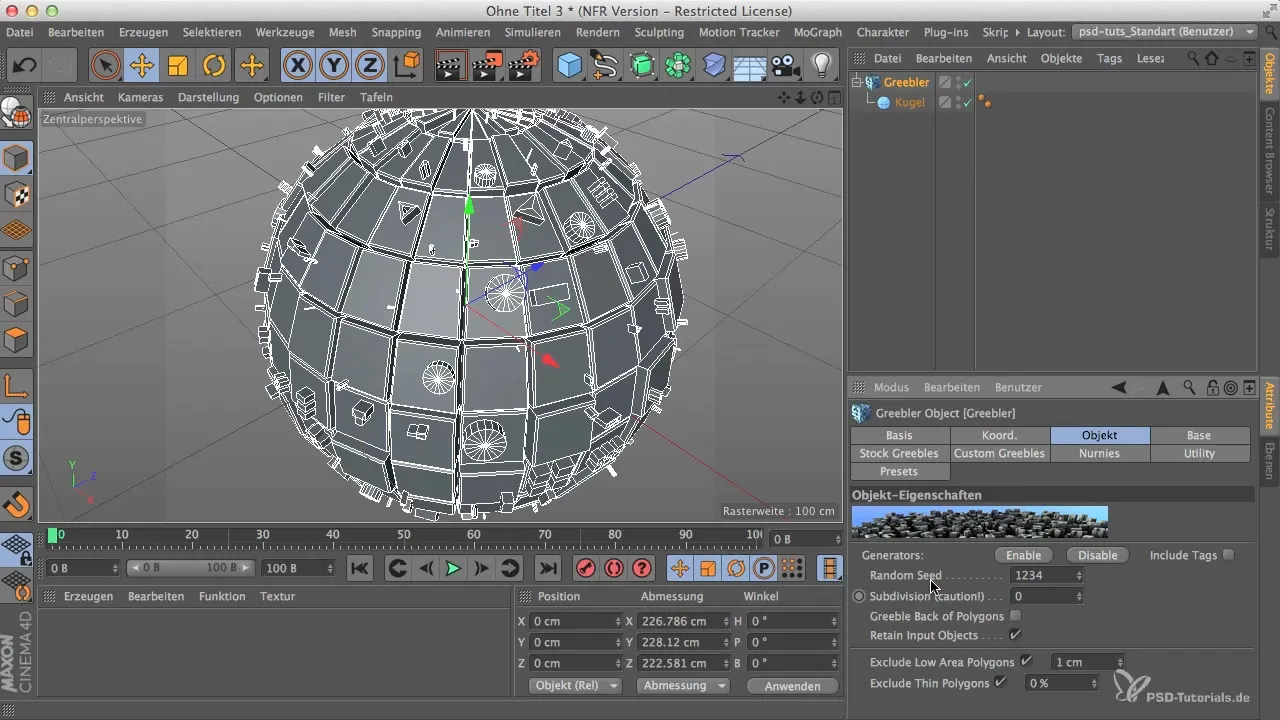
In the Object tab, you will see the option "Random Seed". This value determines where the Greebles are placed. By clicking the "Random Seed" value multiple times, you can produce different distributions for the Greebles, allowing you a lot of creative freedom.
Step 4: Set Subdivision
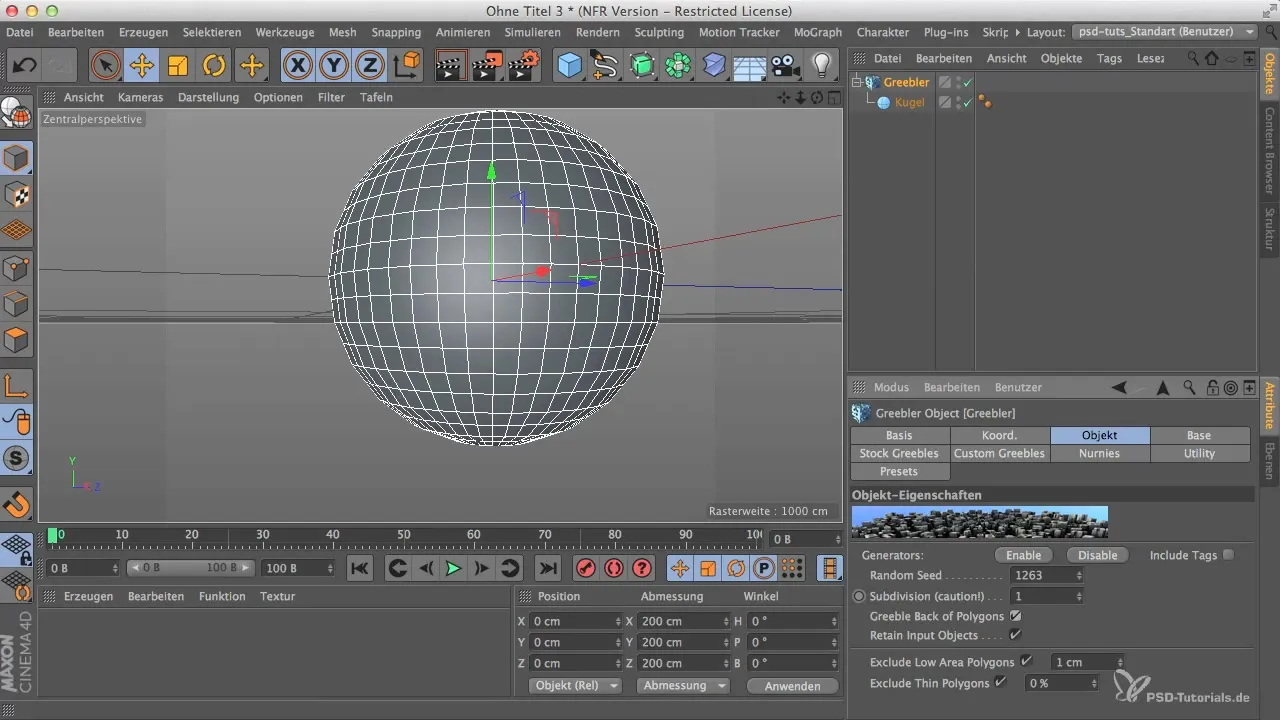
An important aspect when working with Greebles is the subdivision of the object. Here, the sphere itself is not subdivided, but the Greebles can receive additional levels of detail through this function. You should be careful not to make too many subdivisions at once, as this can significantly increase the number of polygons.
Step 5: Show Polygon
When you click the "Polygons" option, the Greebles are initially hidden. Here, you should zoom in a bit closer to see the Greebles better. The purpose of this function is to show how the Greebles interact with the surface of the object when you zoom in closer.
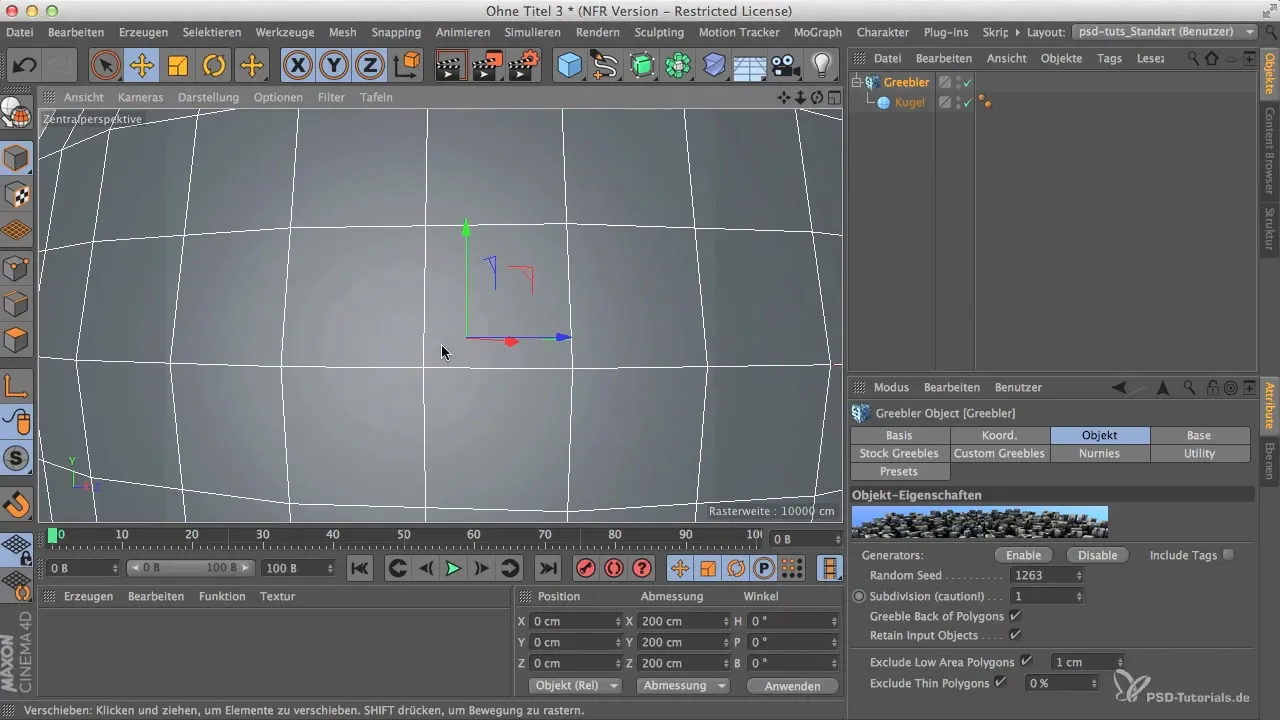
Step 6: Activate Interior View
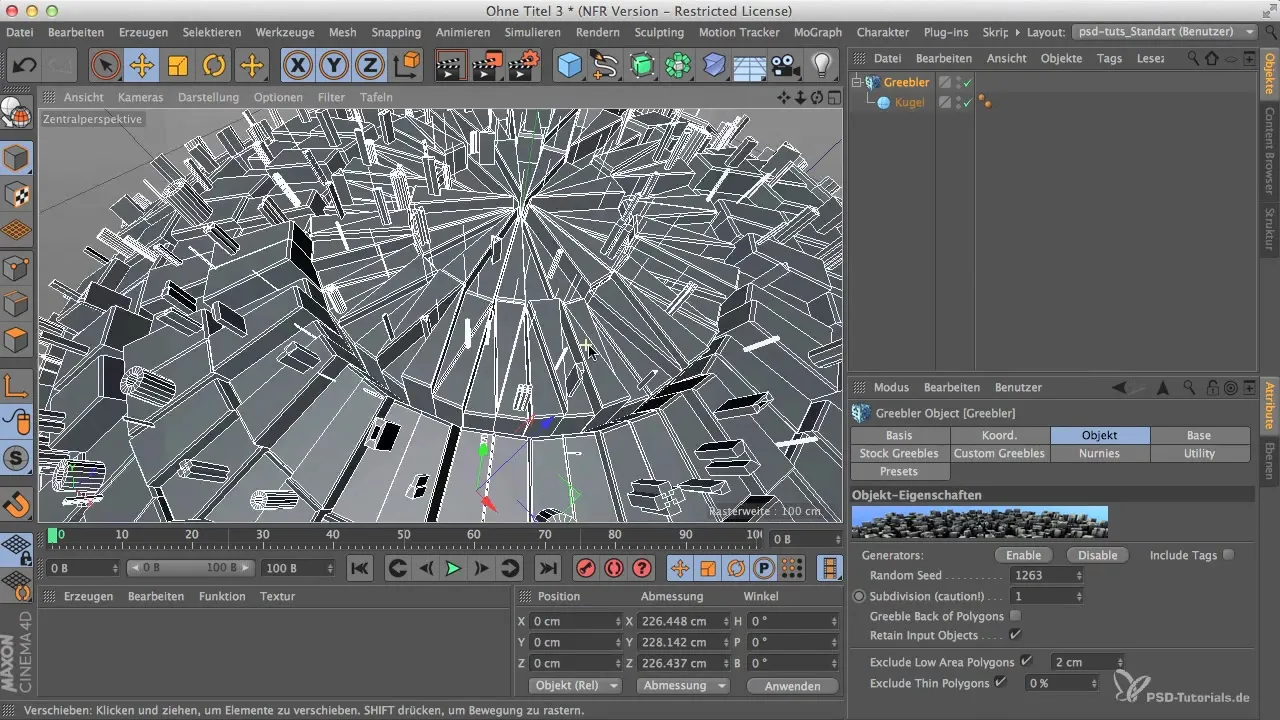
Another useful feature is the "Back of Polygon" option. It shows the Greebles from the inside of the sphere. This function is extremely helpful for designing interiors and using the Greebles there.
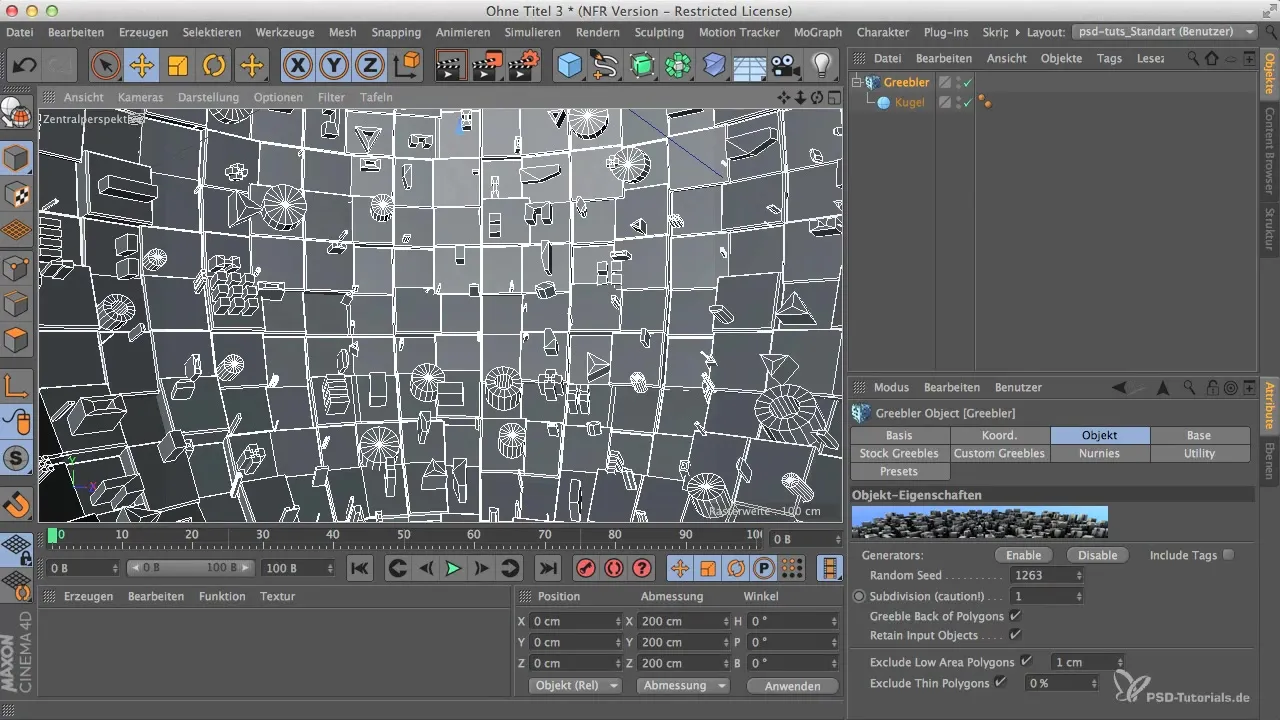
Step 7: Use Retain Input Objects
If you activate the "Retain Input Objects" function, the object itself is retained while the Greebles can be removed or altered. To see the effects of this function, you should adjust the position of the Greebles and closely observe the changes.
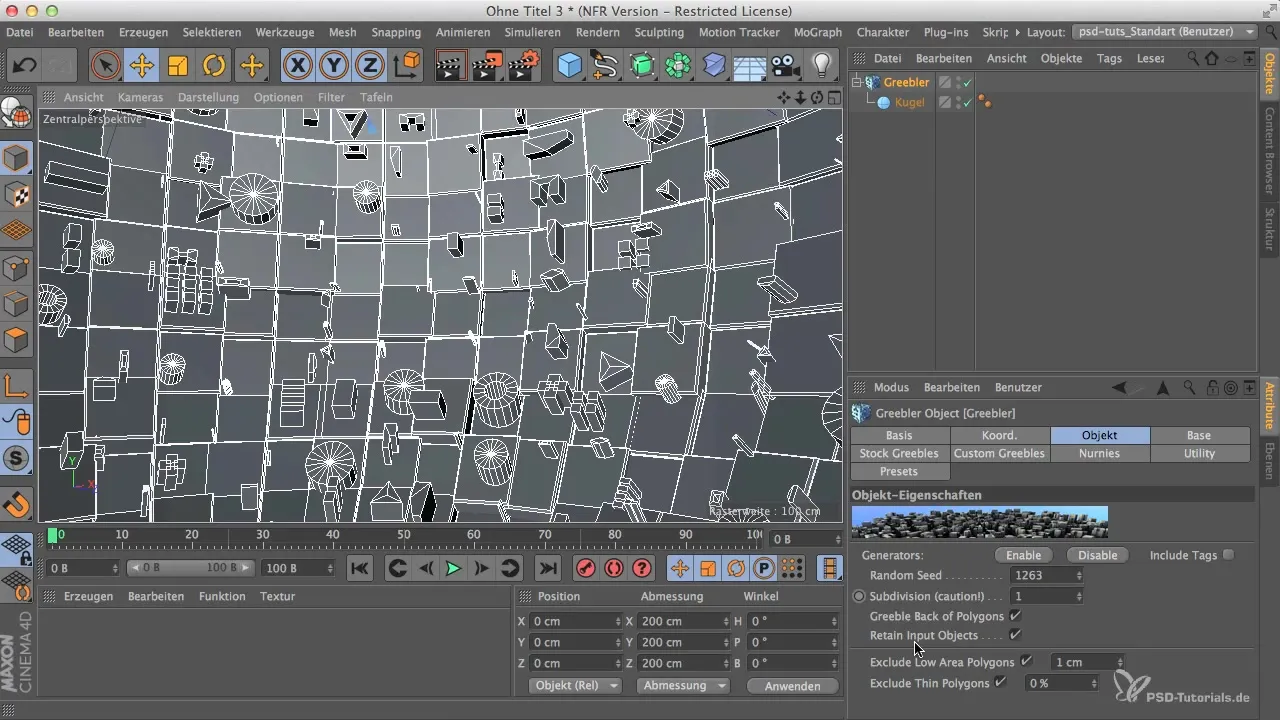
Step 8: Exclude Low Area Polygons
This option allows you to exclude smaller polygons. Depending on the size of the polygons in your scene, more or less of your sphere will be removed. It is essential to test this feature to understand how it affects your Greebles.
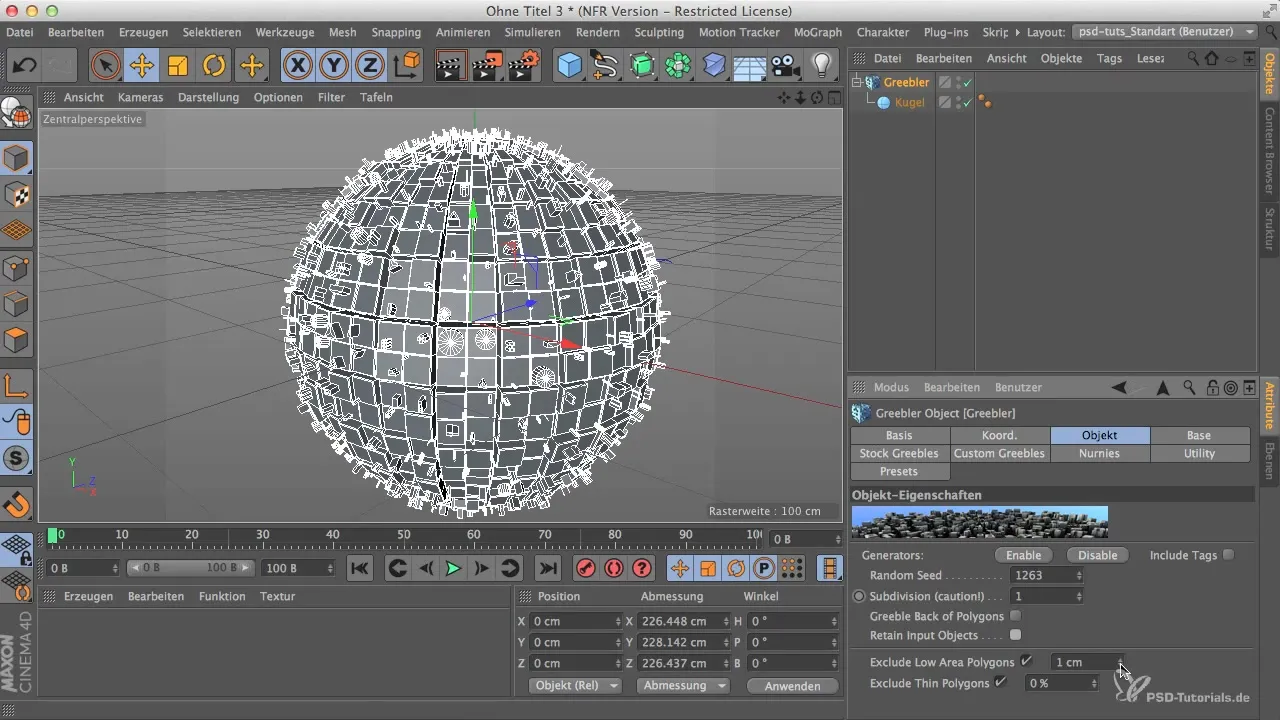
Step 9: Use Exclude Thin Polygons
With this function, you can exclude thin polygons. It has a significant impact on the arrangement of the Greebles, especially in areas with a higher polygon count. The result can vary depending on the object and its shape, so perform some tests to achieve the desired result.
Step 10: Adjust Configuration
After completing all the steps mentioned above, it is time to look at different configurations and their effects on the Greebles. Here, you can continue to adjust the dynamic settings and experiment until you achieve the expected result.
Summary
Using the Object tab in Greebler allows you to create interesting 3D models by effectively applying numerous settings such as Random Seed, Subdivision, and the options for polygon display effectively. The Greebler gives you the flexibility to generate Greebles on both the inside and outside of your objects.


