When working with 3D visualizations, it is crucial to define the right view and the appropriate aspect ratio from the very beginning. The visual impact of a composition is heavily influenced by the aspect ratio used by the camera during modeling. In this guide, I will show you how to set the aspect ratio in Cinema 4D and thus establish the foundation for an appealing image design.
Key Insights
- The aspect ratio affects the image effect.
- Changing the aspect ratio can significantly enhance perspective and image expression.
- The correct camera view ensures better visualization of your project.
Step-by-Step Guide
To set an optimal aspect ratio for your 3D scene, follow these steps:
Step 1: Start Scene Editing
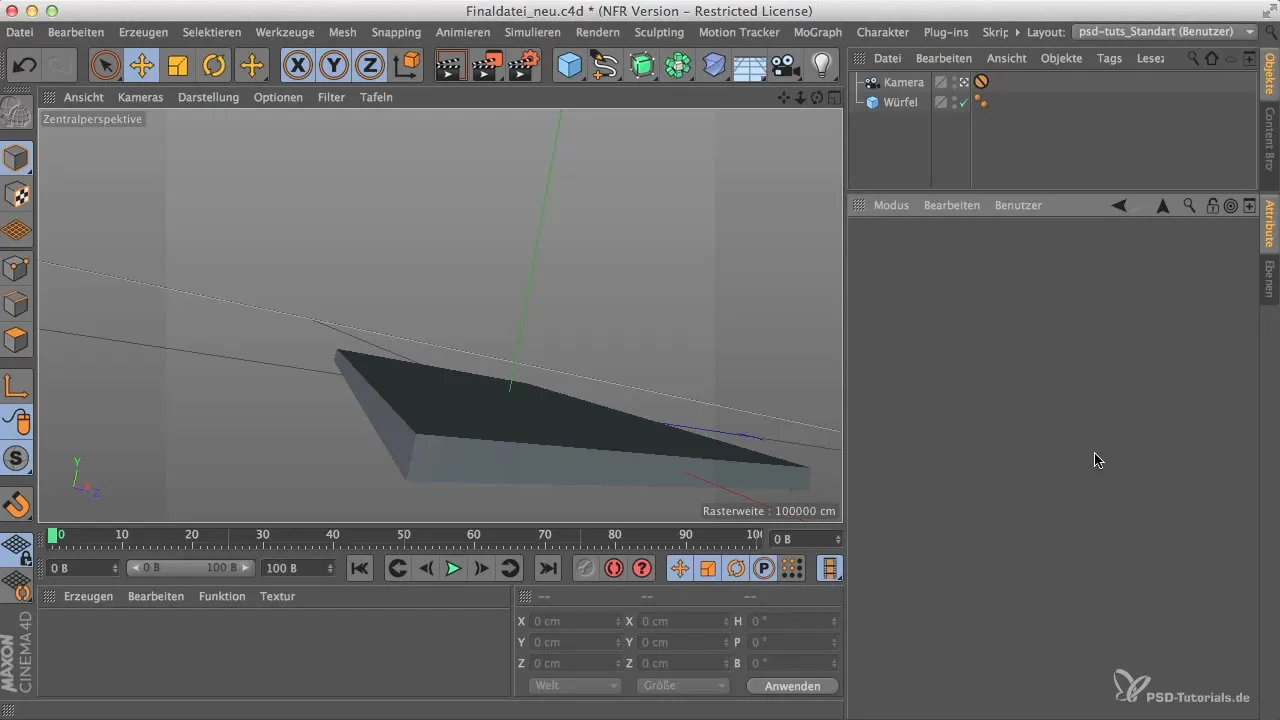
Start your project in Cinema 4D and ensure that you have made the basic settings correctly. It is essential to choose the right view from the beginning to minimize later adjustments. You should already have a camera set up with the correct focal length to effectively create the visualization.
Step 2: Set the Aspect Ratio
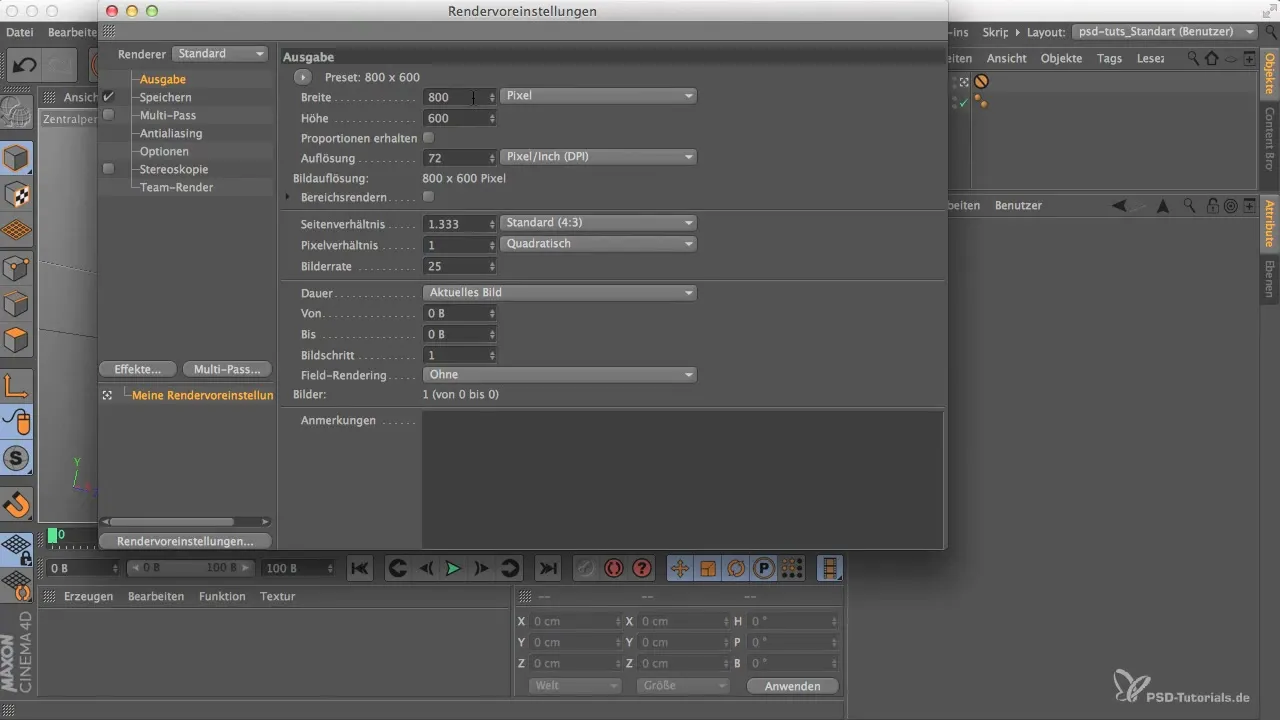
The current aspect ratio in your scene may be outdated or not optimal. To change this, look at the current view. You may find that an aspect ratio of 3:2 (five parts wide and three parts high) can selectively have an unpleasant effect on your image design. Consider using a modern format like 16:9, which appears more dynamic and works better in wider compositions.
Step 3: Access Render Settings
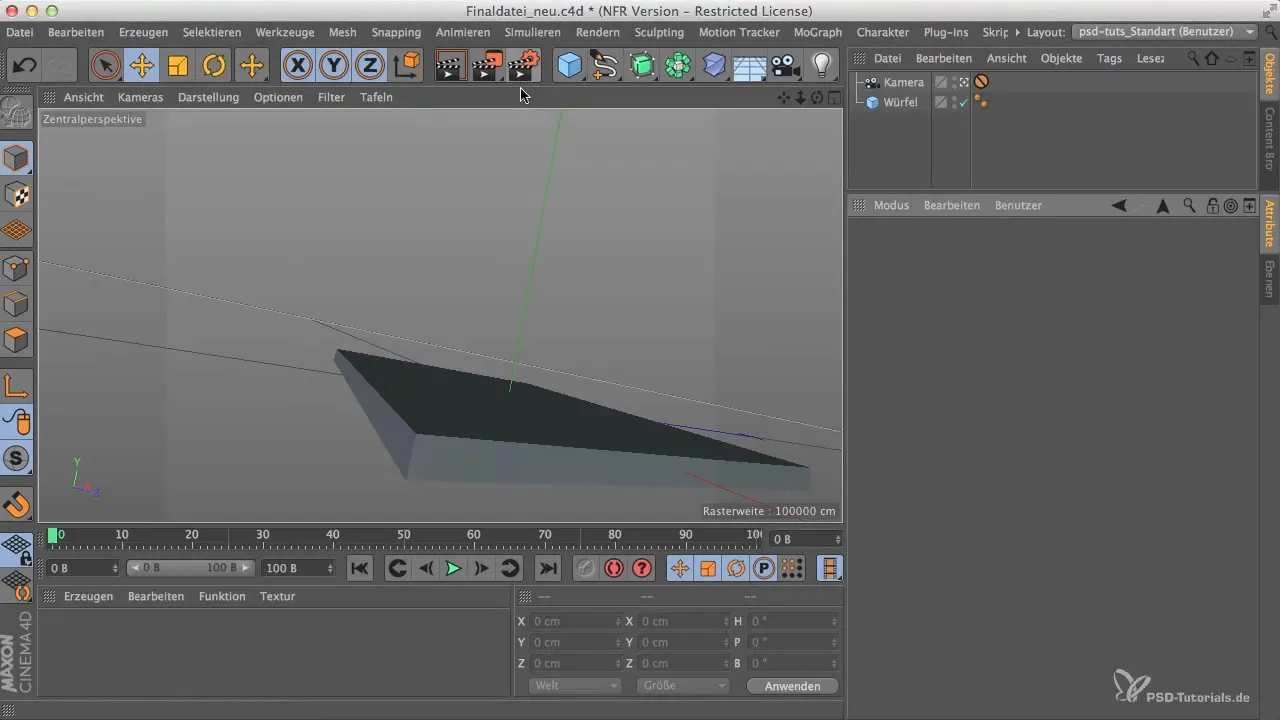
To make the adjustments, go to the render settings. You can find them in the top menu bar; there is a small icon that allows access to these settings. Clicking it opens the necessary options to modify the aspect ratio.
Step 4: Select the Aspect Ratio
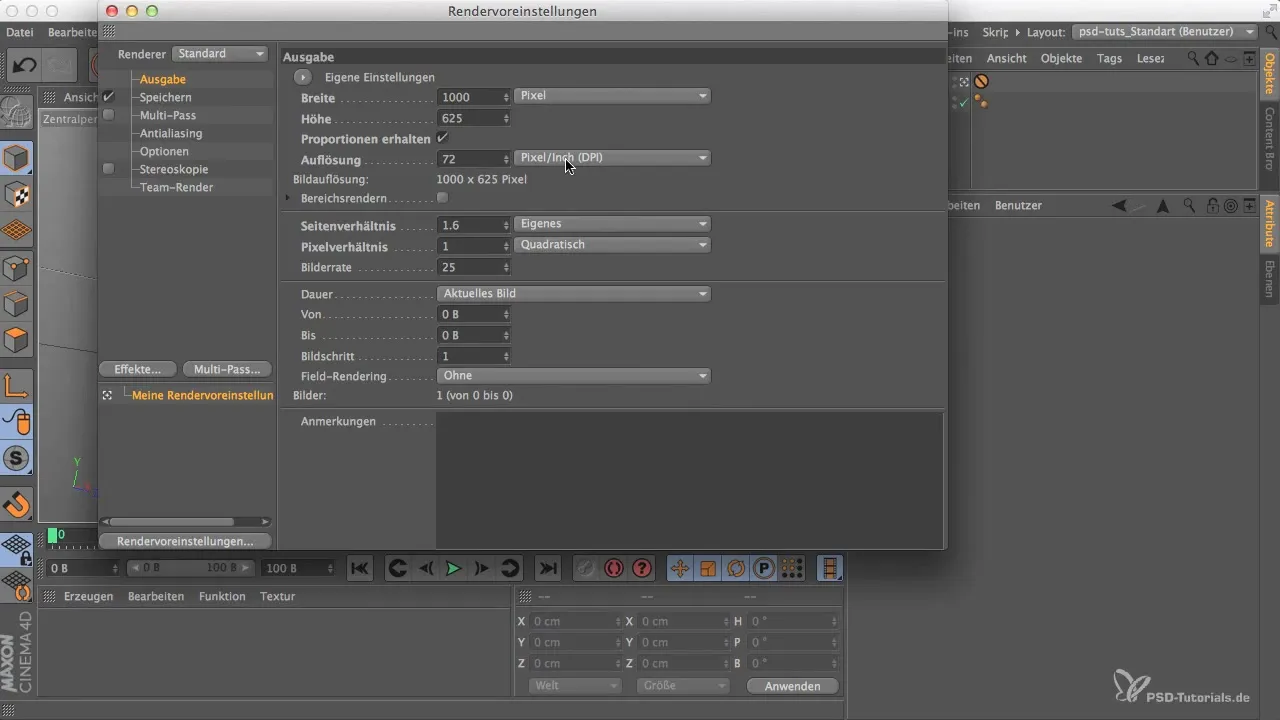
Here, you can set your desired aspect ratio. Choose 16:9 for a broader representation and click on "Maintain Proportions." This way, you can ensure that the aspect ratio remains correct even when adjustments in size are made.
Step 5: Conduct Test Rendering
It is advisable to perform a test render to check if setting the height to 625 pixels is correct and fits into the new aspect ratio of 1:1.6. You will notice that this format differs only slightly from 16:10.
Step 6: Adjust Visibility of Gray Bands
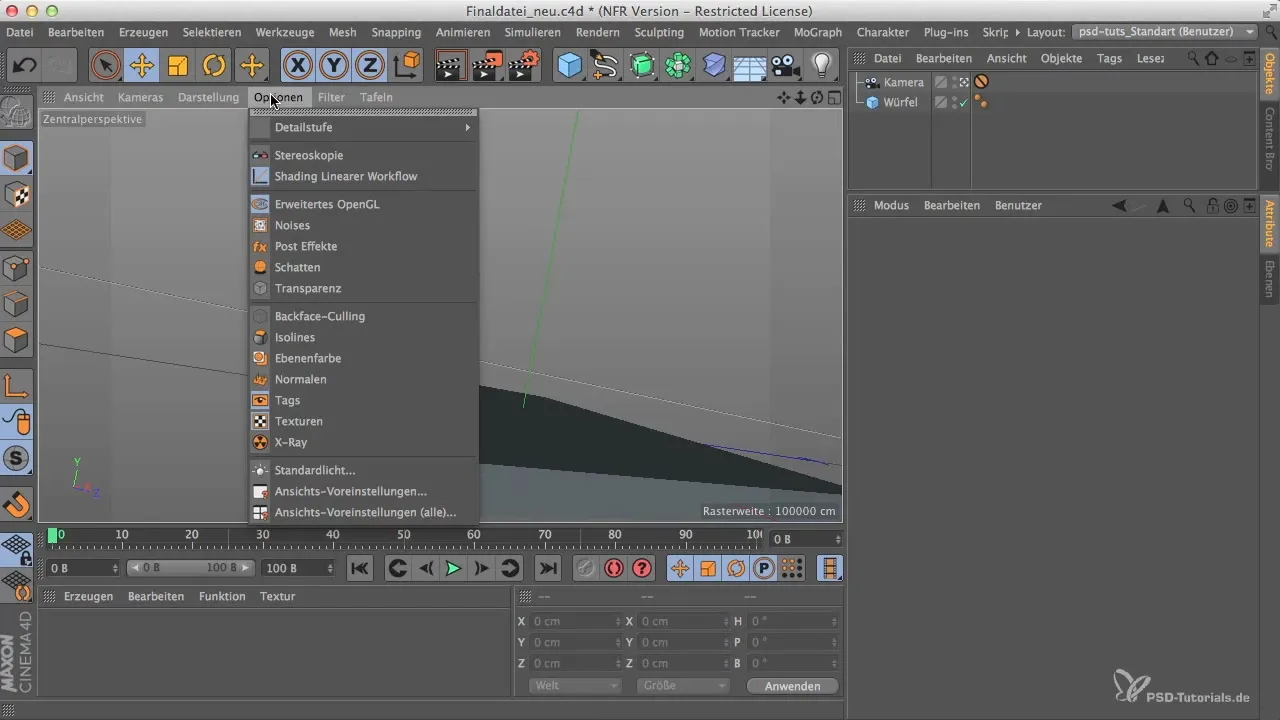
To get a clear idea of the cropped scene, it makes sense to activate the gray bands in the view settings. To do this, click on the view settings and make sure the visibility of the perspective view is correctly set. This helps to define the area boundary of the individual scene components.
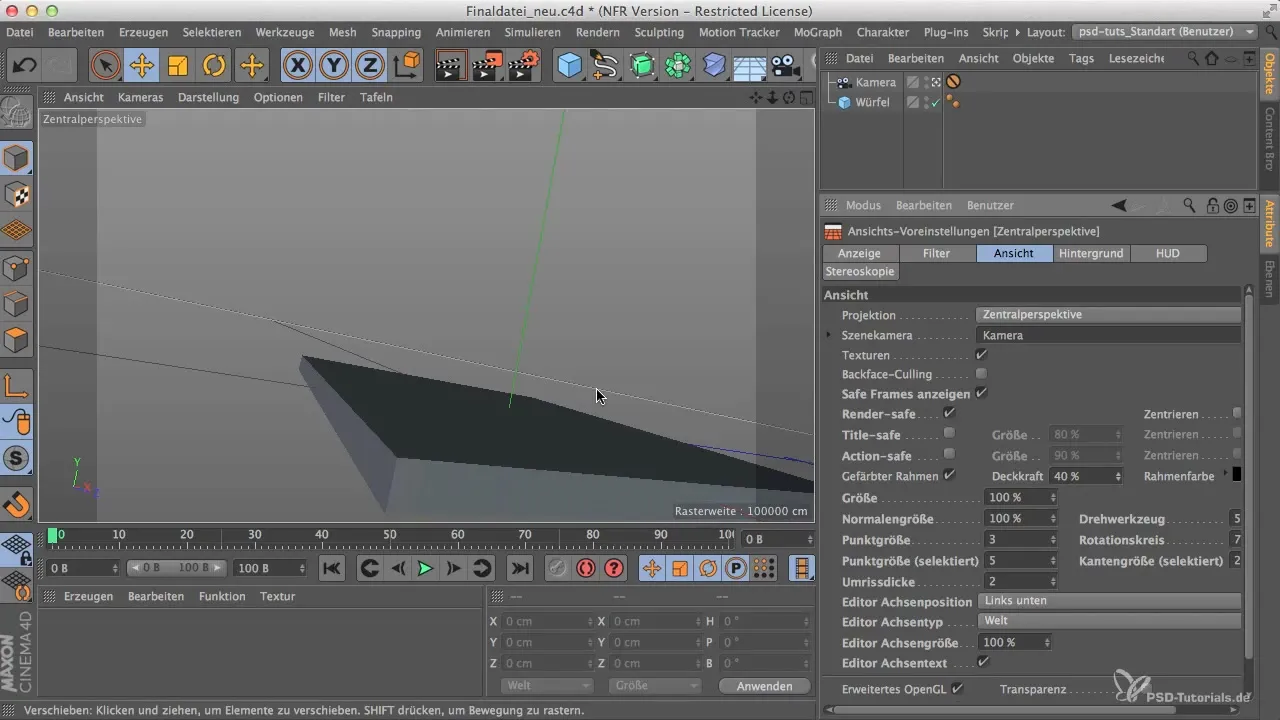
Step 7: Set Opacity of Visibility Bands
After you have activated the view settings, you can adjust the opacity of the gray bands to your liking. A visibility of around 40% gives you a clear overview while not being too intrusive. This setting is significant for the later rendering process.
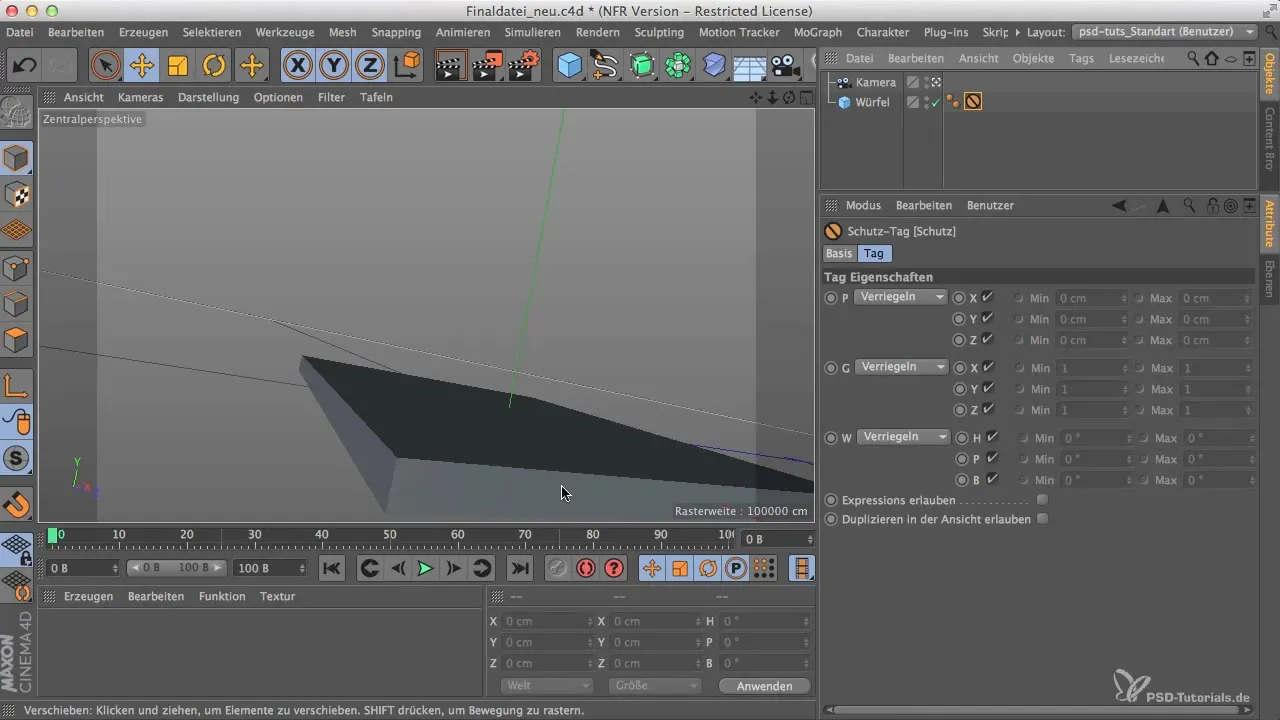
Step 8: Adjust Camera Position
To ensure the camera view is optimal, it may be necessary to move the camera during the process. Move the camera outward to create space, and then pull it back up to ensure that all relevant areas of the scene are well visible.
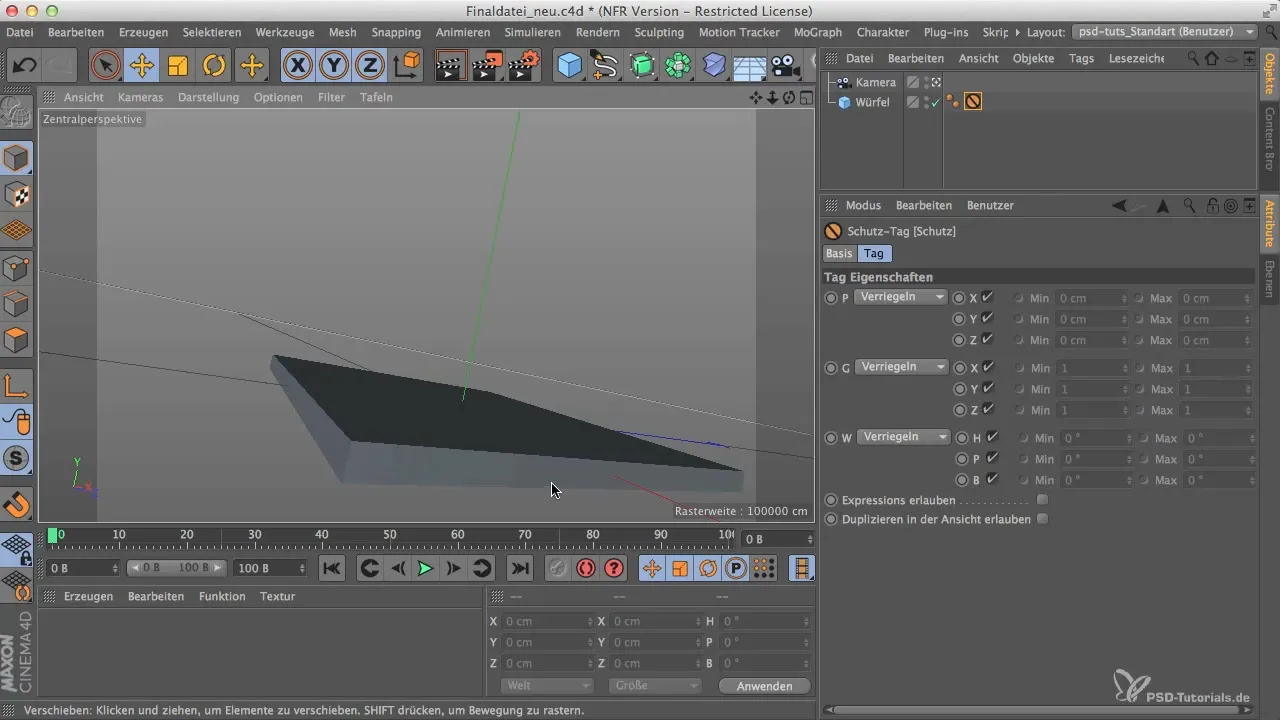
Step 9: Finalize Setting Adjustments
Finally, check whether all settings meet your expectations. It is important that the scene is already as close as possible to the final result before you start the actual modeling.
Summary
Adjusting the aspect ratio is an essential step in 3D design and significantly contributes to the visual perception of the scene. By setting the aspect ratio correctly and positioning the camera properly, you ensure an impressive and engaging visualization.
Frequently Asked Questions
How do I change the aspect ratio in Cinema 4D?Go to the render settings and select the desired aspect ratio.
Why is the aspect ratio important?It affects the image effect and the visual storytelling in your scene.
How can I adjust the visibility of elements in my scene?Use the view settings to adjust the visibility and opacity of the gray bands.


