There are many ways to create impressive designs with Cinema 4D. In this guide, you will learn step by step how to model a detailed tower from a landscape object that acts as a prominent foreground object in your digital project.
Main insights
- The choice of a suitable landscape object is crucial for the level of detail of your tower.
- Modifying elevation and polygon density enhances the aesthetics and appearance of the model.
- Inequalities in the structure provide a more realistic and organic design.
Step 1: Create a new project and landscape object
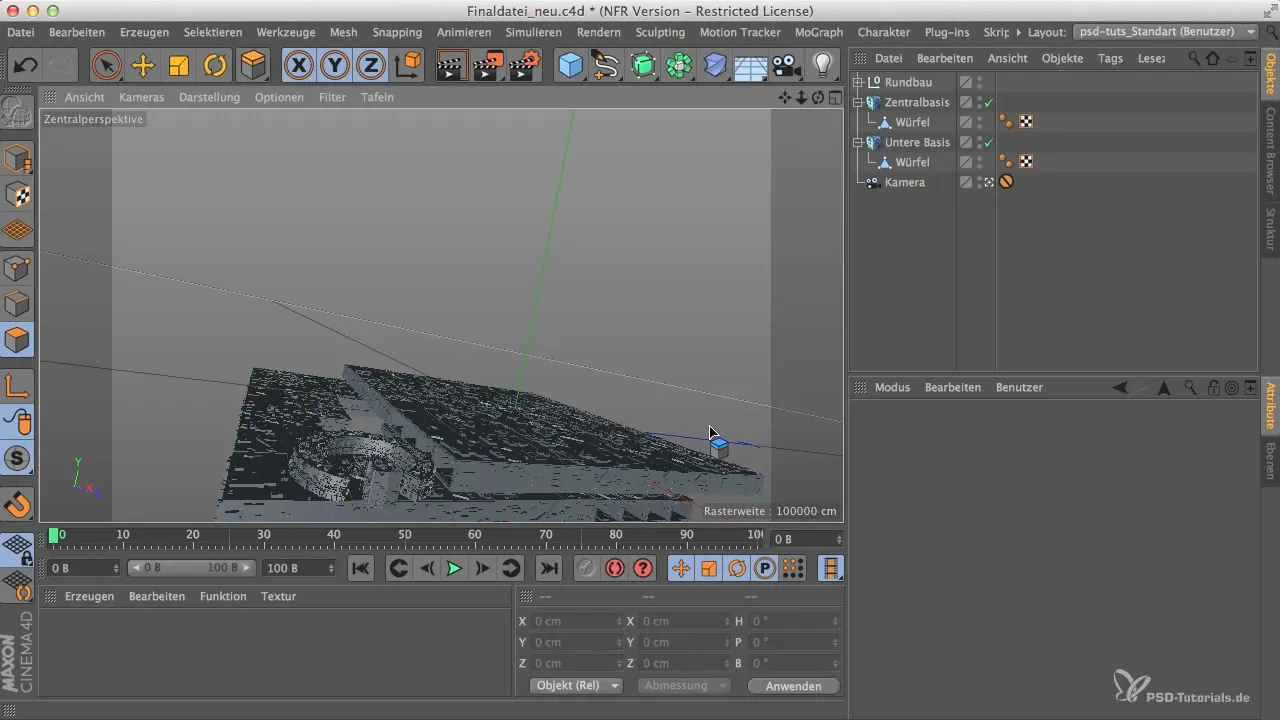
Start by opening Cinema 4D and creating a new project. You will need a landscape object that you can transform into your model. Select it from the objects available to you and place it in the scene. To adapt it to your requirements, you should reduce the size and resolution.
Step 2: Adjust the landscape object
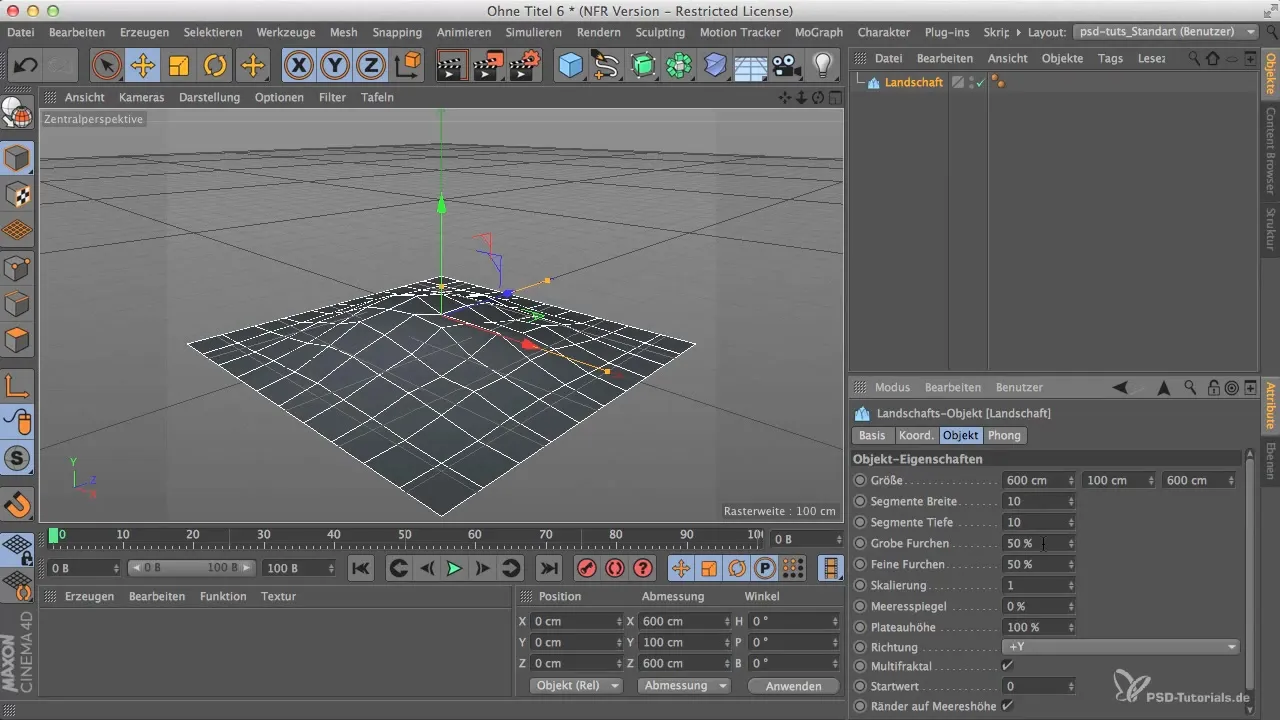
It is important to change the dimensions of the landscape object. Reduce the resolution to a more suitable size of 40 x 80 x 40 cm, so you can achieve the desired depth of detail.
Step 3: Design terrain
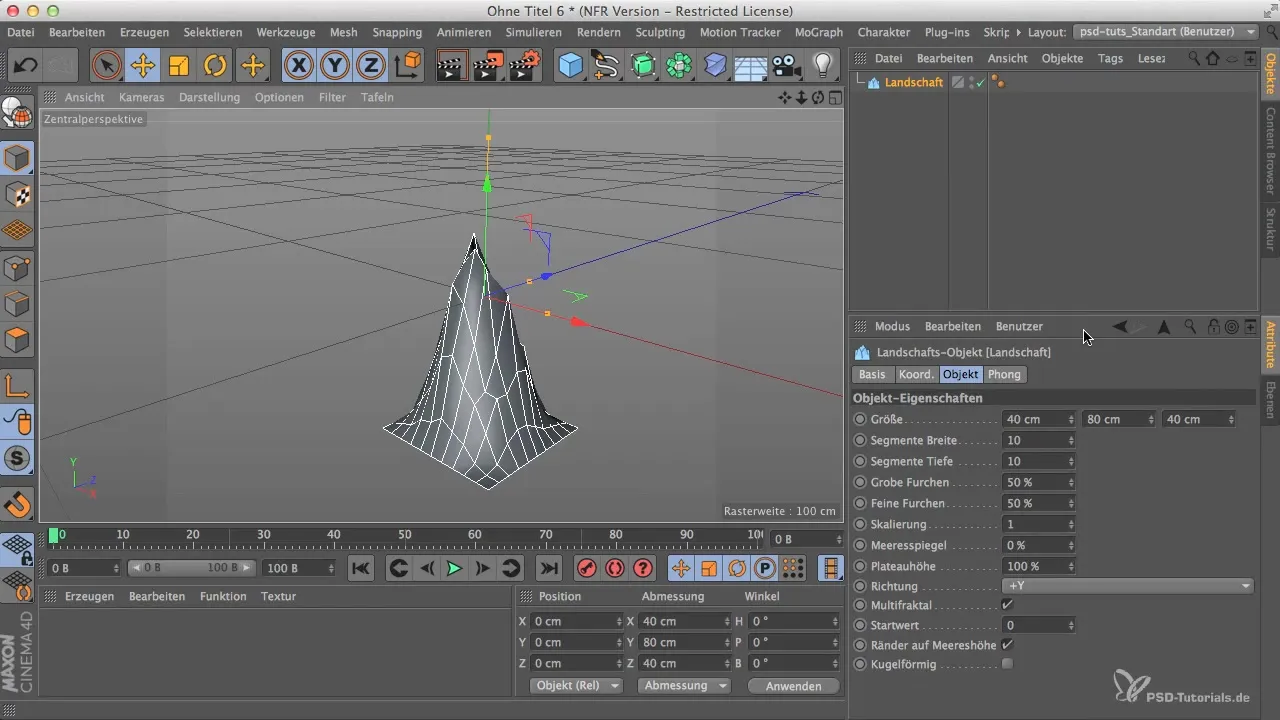
To improve the appearance of your tower, use the multifractal tool and experiment with various settings. This will give your mountain a more vibrant structure. Additionally, you should adjust the sea level to make the terrain visually appealing.
Step 4: Create plateau
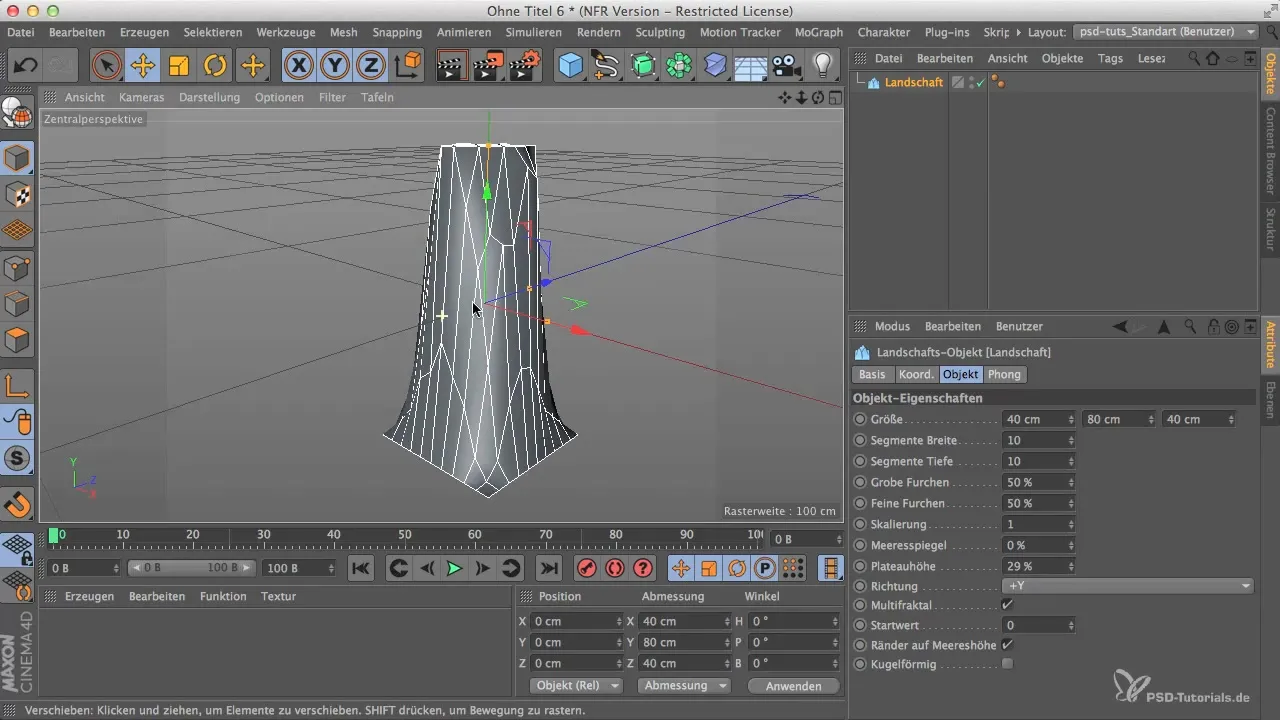
After optimizing the height of the sea level, you can play with the settings to create a plateau. Set this to about 20-24%. The plateau will form the foundation for your tower and create an interesting structure.
Step 5: Optimize polygon distribution
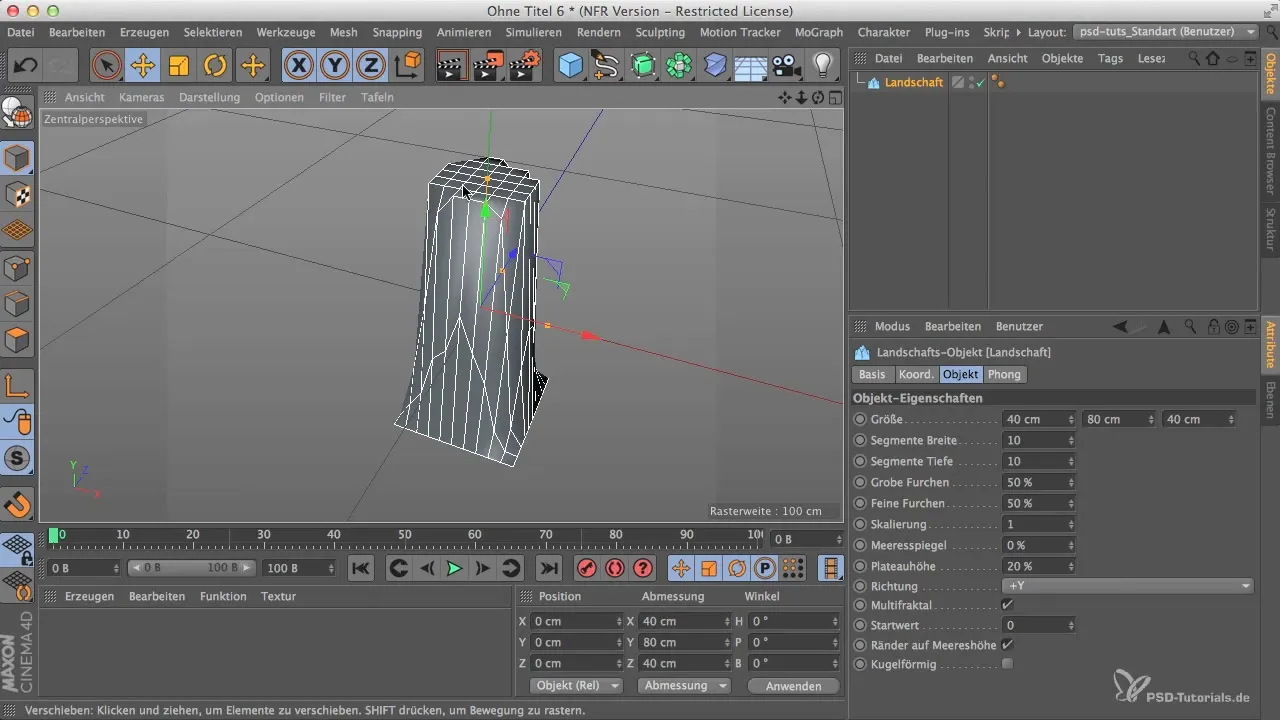
Check the distribution of polygons in your model. There are many polygons on the top of your object, while there are fewer on the sides. This distribution could affect the integrity of your design. Transform your object accordingly to increase the number of polygons on the sides.
Step 6: Edge processing and cuts
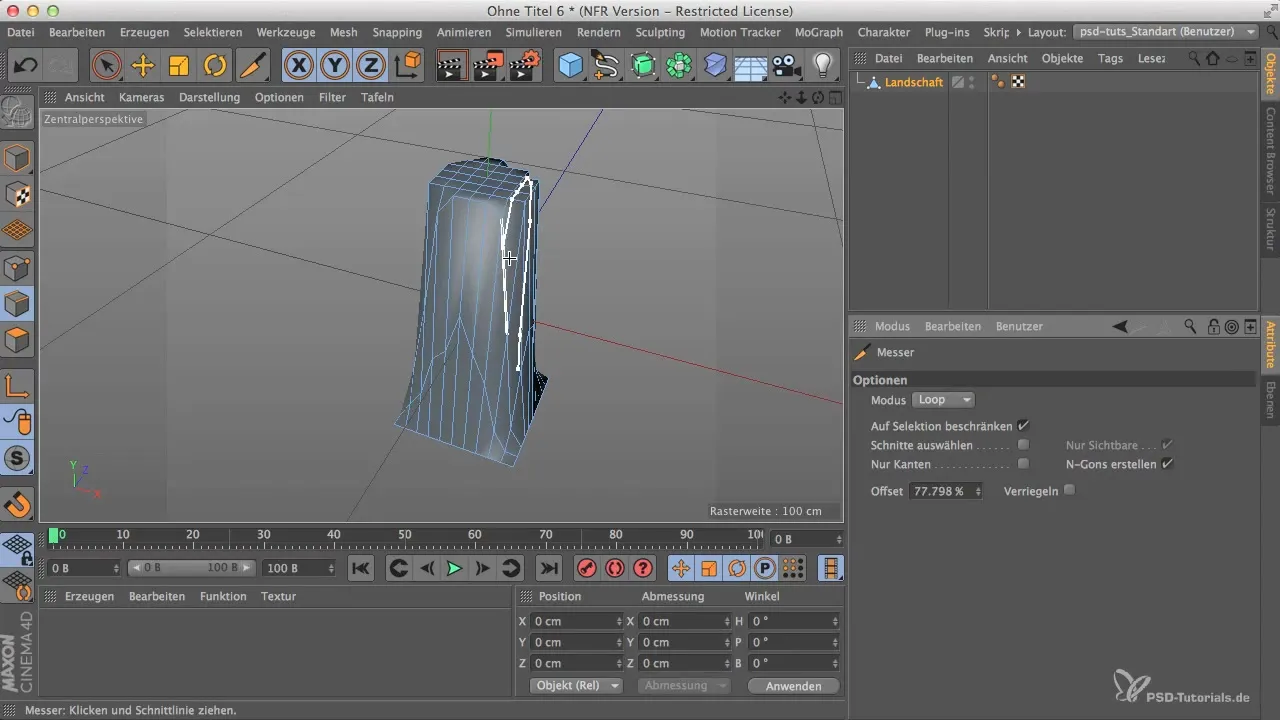
Switch to edge editing mode and create a loop around your object. Make sure that the cut runs evenly around the perimeter. To ensure an organic look, choose irregular cuts.
Step 7: Surface optimization
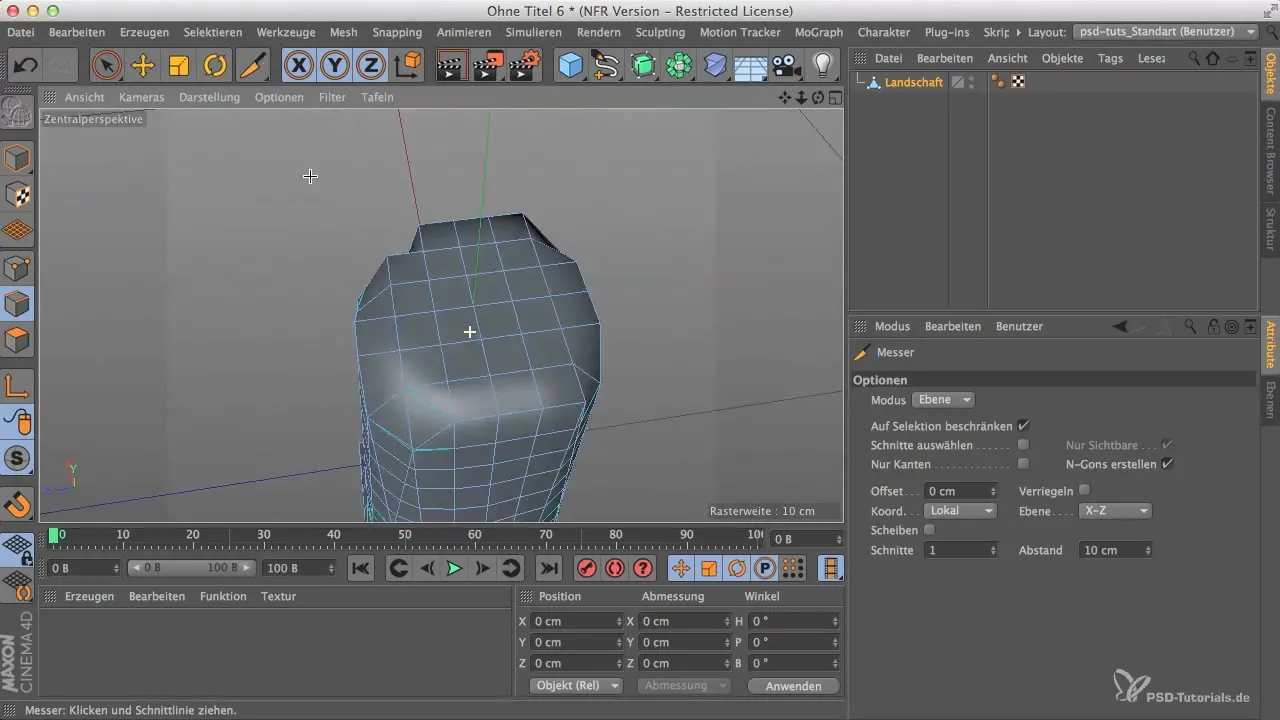
Now you can remove any redundant points and surfaces that have emerged on the upper part of the tower. These leftovers could complicate the modulation of your model, so delete them to create a clean surface.
Step 8: Selection of visible surfaces
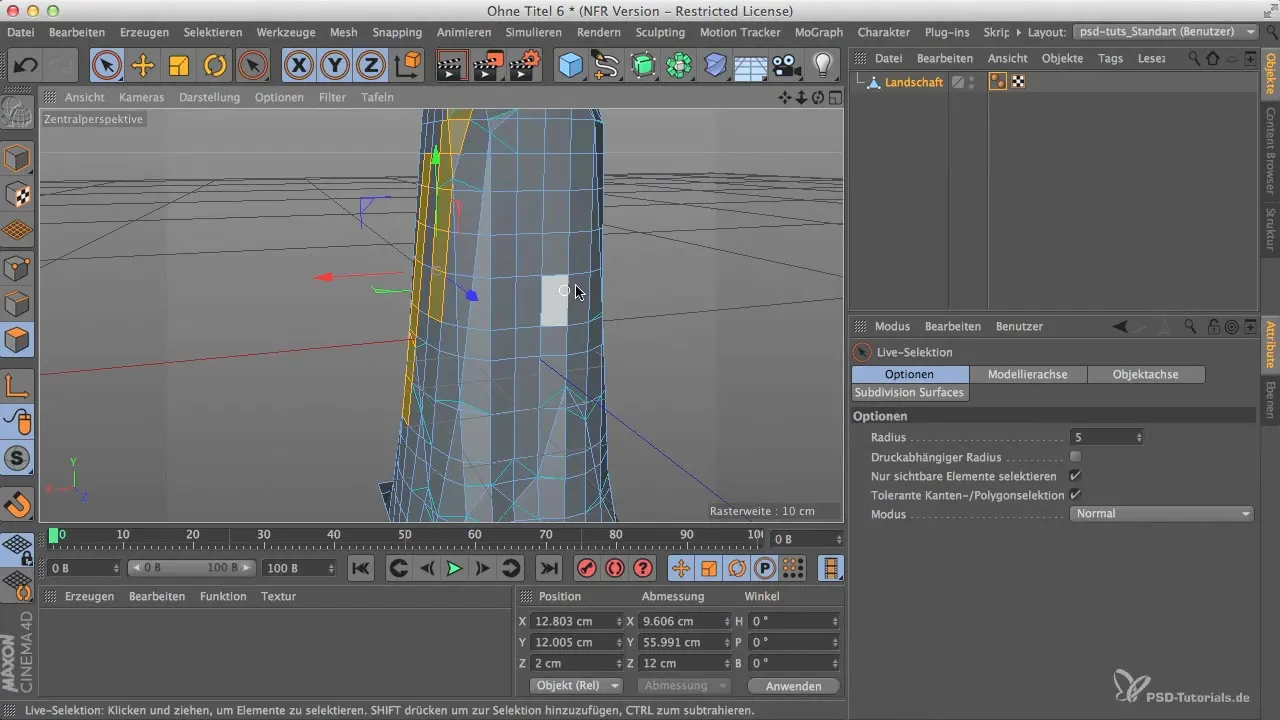
Select the most interesting sides of your model to develop them further. With the live selection tool, you can selectively choose polygon surfaces and edit them further. Make sure that the selected surfaces are meaningful and visible in the final presentation.
Step 9: Add extrusion
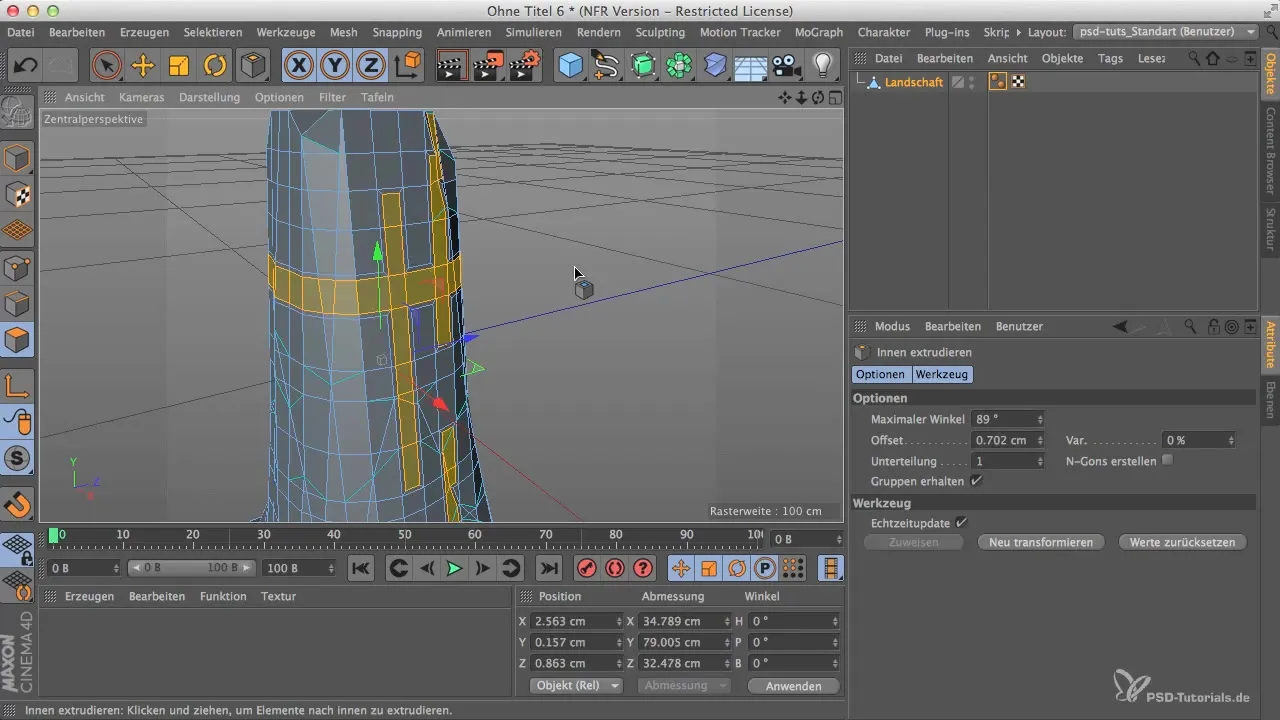
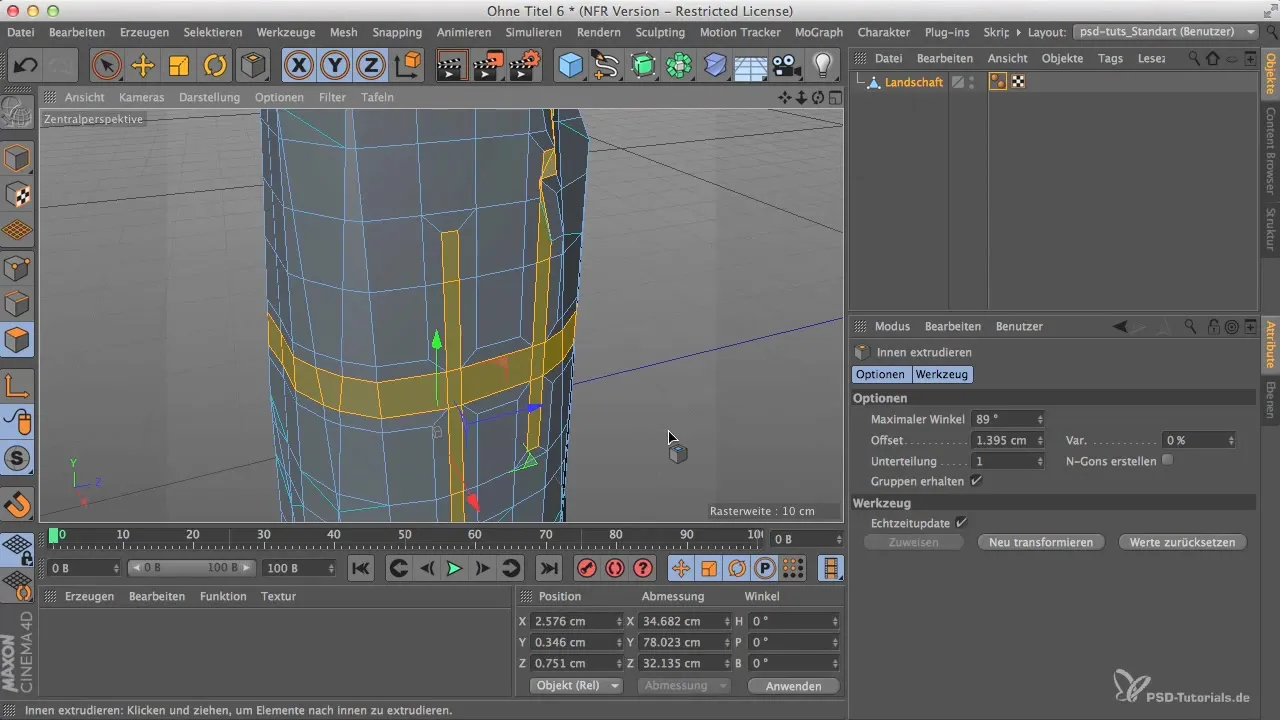
Use the extrusion technique to add more dimension to the selected areas. This increases the polygon density at those points, giving the tower a dynamic look. Be careful not to overload the overall image.
Step 10: Final adjustments
Before closing your model, check the individual points and edges for potential issues. Sometimes it may be necessary to make some last-minute changes to ensure that the model looks good in the final presentation. Take your time to design the model according to your ideas.
Summary
In this guide, you learned how to create an impressive tower from a landscape object in Cinema 4D. The outlined steps will help you shape the structure, adjust the polygon density, and achieve an aesthetic, organic appearance.
Frequently Asked Questions
How do I change the size of the landscape object?You can adjust the size of the object in the attribute manager by modifying the units.
How do I optimize the polygon distribution?Use the transformation tool and make sure to generate more polygons on the sides of your model.
What are some tips for edge processing?Use edge editing mode and choose irregular cuts to achieve an organic appearance.
What features does the live selection tool offer?The live selection tool allows you to easily select and adjust polygon surfaces to make precise changes.
Can I make adjustments to the model later?Yes, you can make further adjustments anytime to optimize the design, as long as you do not cover the base elements.


