Creating organic shapes and elements in 3D software opens up a variety of creative possibilities. Especially when designing fantasy elements, like a mushroom with an exoskeleton, you can let your creativity run wild. In this tutorial, I will show you how to design the exoskeleton of your building using the tools in Cinema 4D and Photoshop.
Key Insights
- An exoskeleton can be created using an atom array that allows for an organic shape.
- The use of magnetic tools allows for intuitive deformations for a more dynamic design.
- Grouping the elements together improves handling in the software.
Step-by-Step Guide
Step 1: Preparing the Model
Before you begin with the exoskeleton, you should prepare the base model of your mushroom. Create a mushroom cap that serves as a base. You can adjust the mushroom stem and cap to achieve more detail.
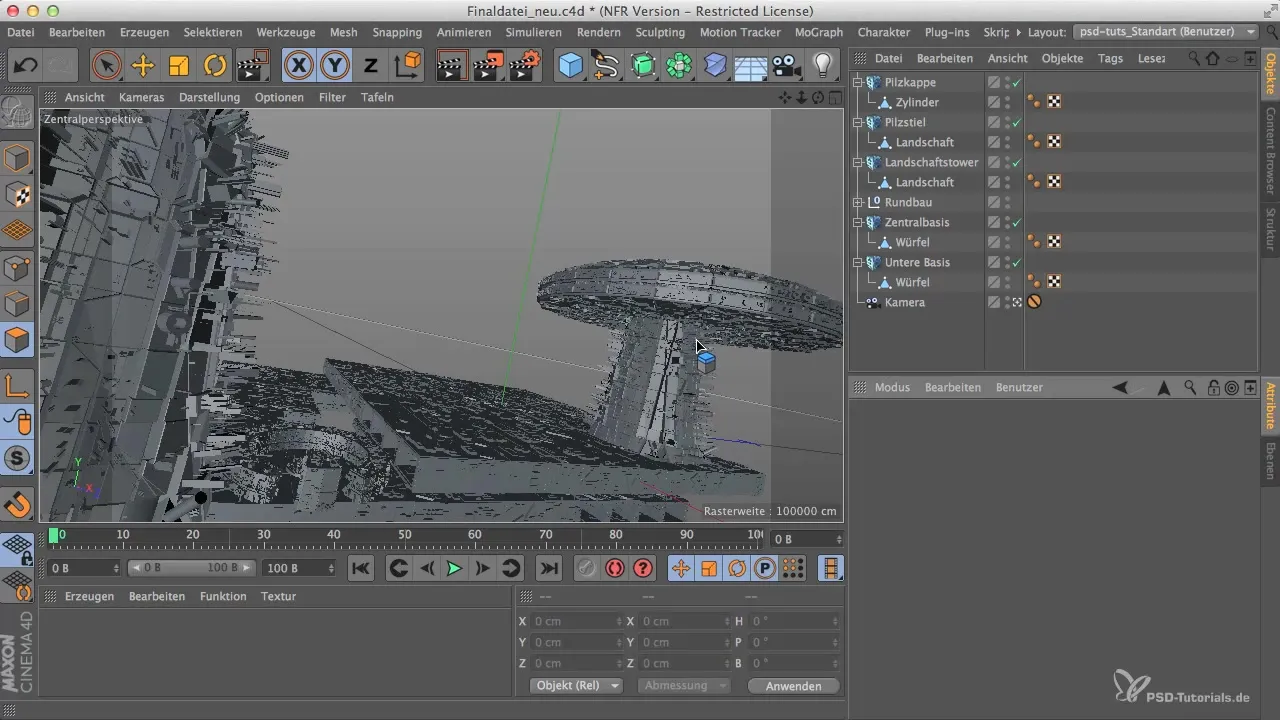
Step 2: Adjusting the Proportions
To refine the appearance of the mushroom, scale the proportions. You can adjust the height of the stem and the shape of the cap to achieve a visually appealing result. Experiment with different dimensions to find the perfect balance.
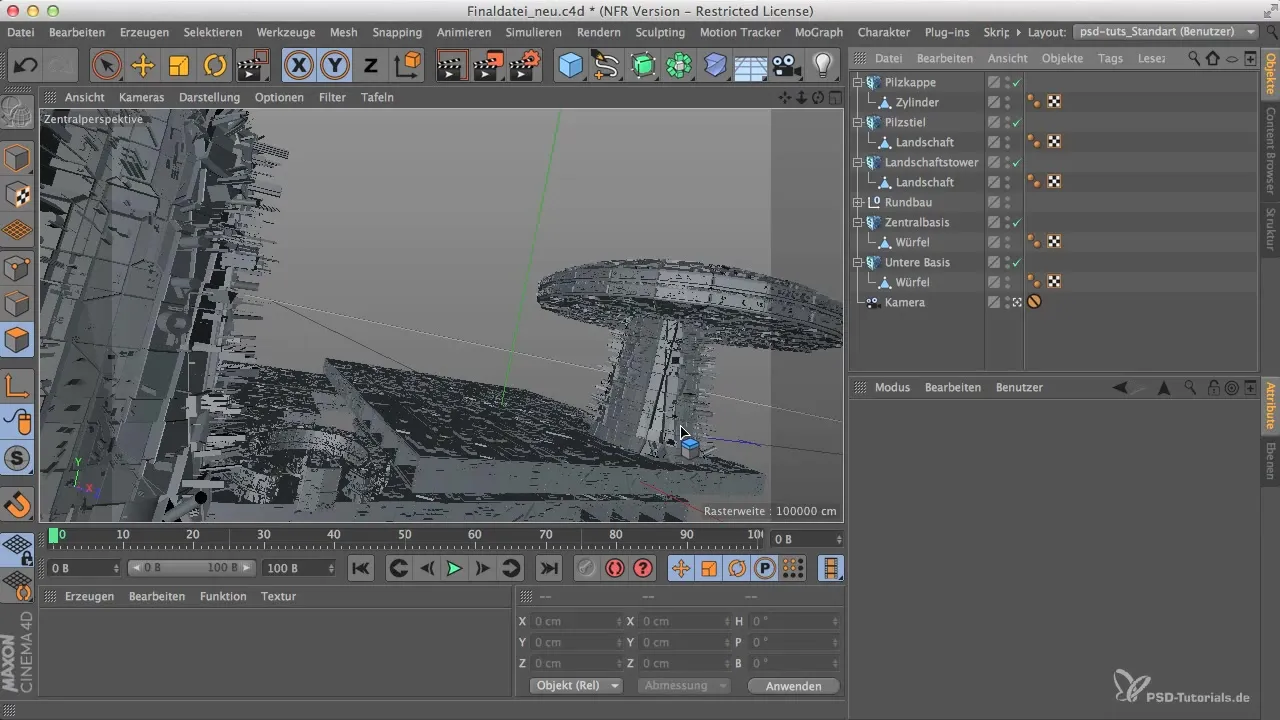
Step 3: Creating the Exoskeleton
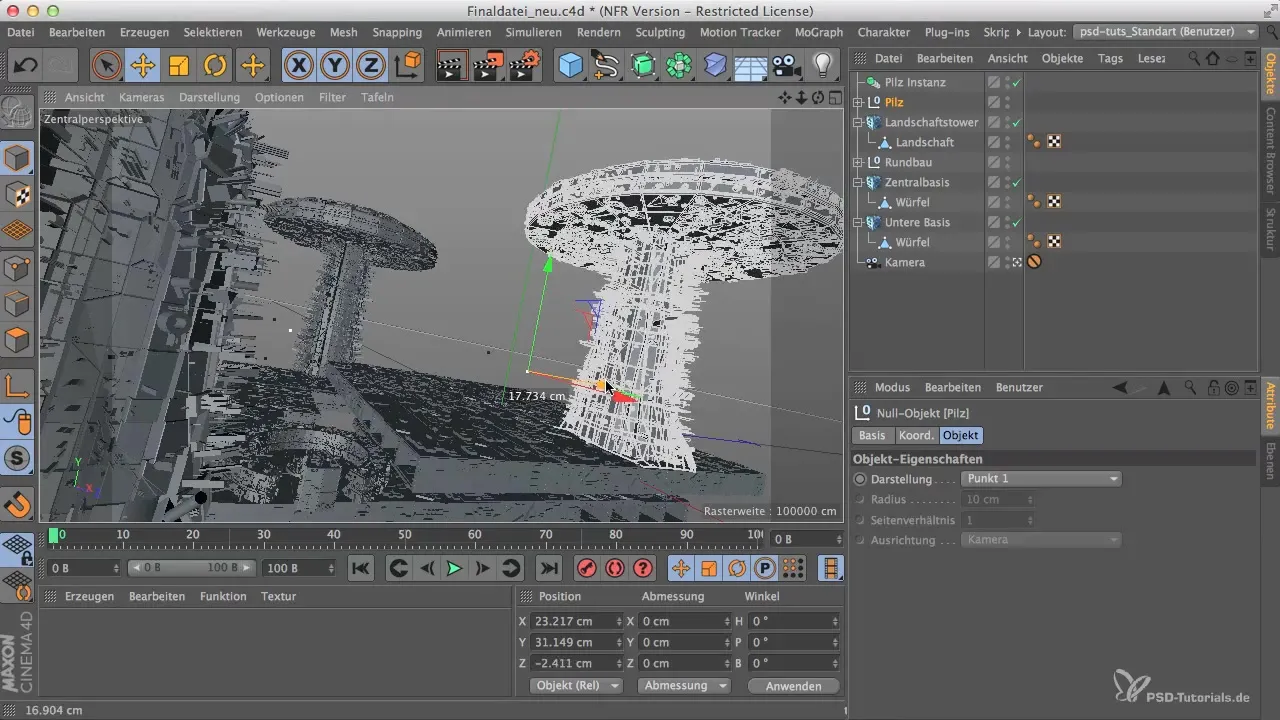
To generate the exoskeleton for the mushroom, duplicate the landscape object and insert it into an atom array. This array allows you to group a variety of elements around the mushroom stem, creating an interesting structure.
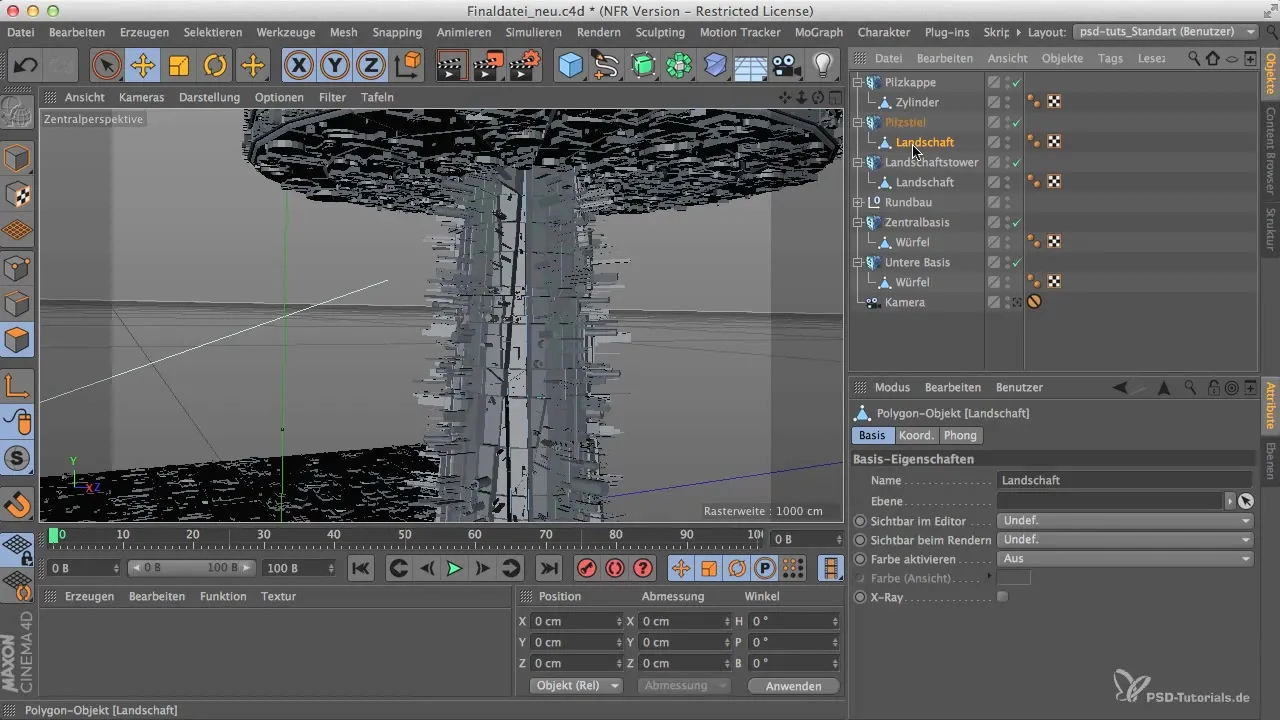
Step 4: Adjusting the Atom Array
Click on the atom array and adjust the sphere radius to change the density of the nodes. Make sure that the radius is smaller than the cylinder radius of the mushroom stem to create a stable effect.
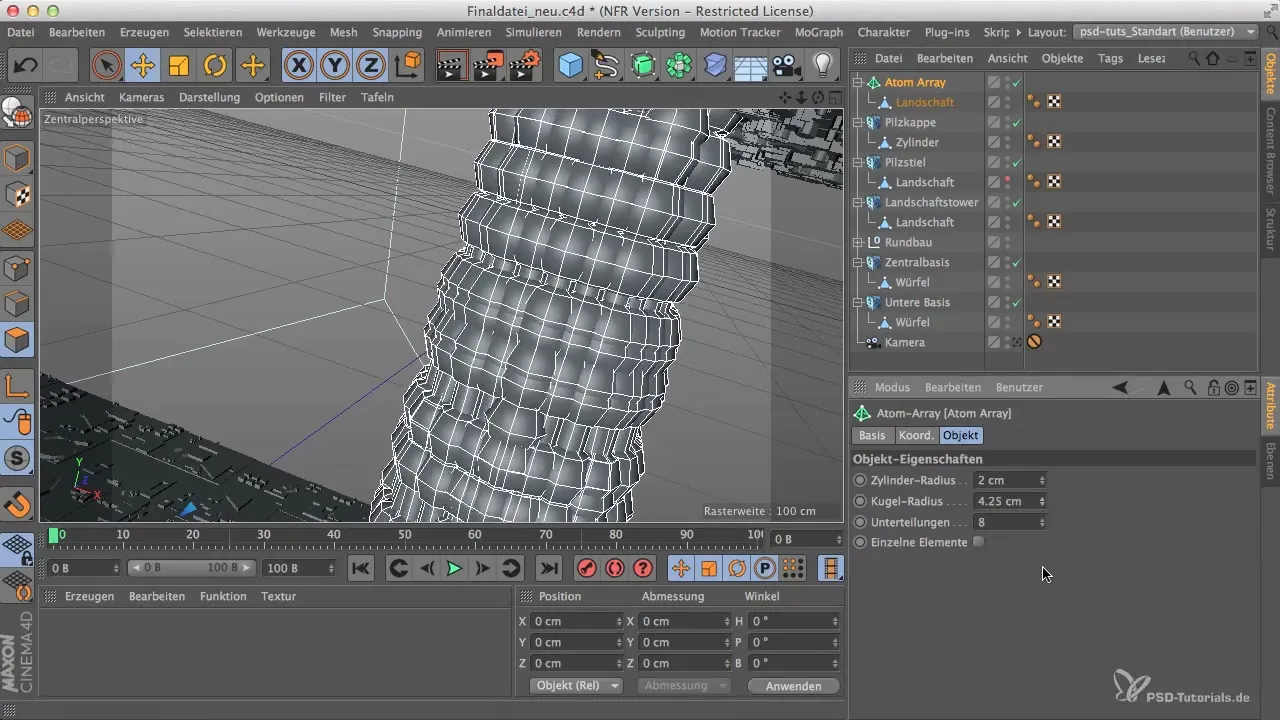
Step 5: Scaling and Shaping
Enlarge the landscape object in the Y-direction to make the exoskeleton more visible. It’s important to keep the organic shape in mind. You can lock the Y-direction and only influence the Z or X direction to achieve the desired height.
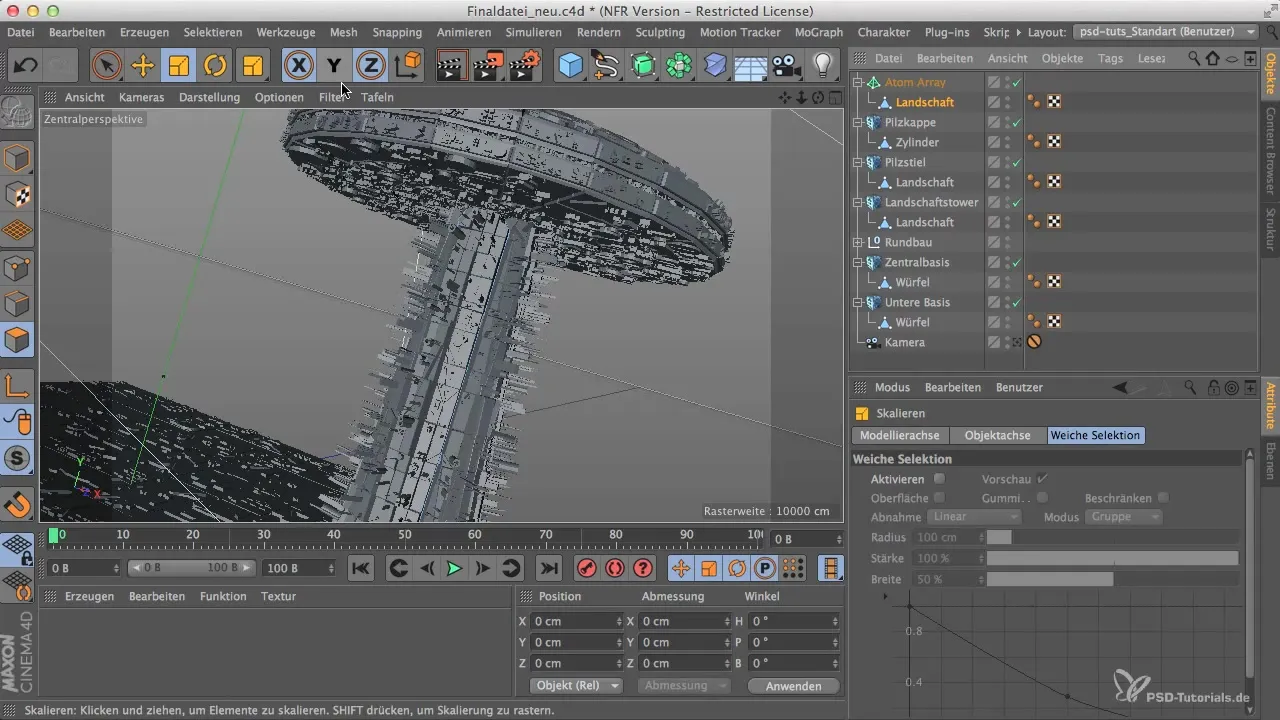
Step 6: Using the Magnetic Tool
To give the exoskeleton a more organic shape, use the magnetic tool. Set the tool's radius to about 20-30 cm to make targeted deformations. Pull at various points of the exoskeleton to give it a more dynamic design.
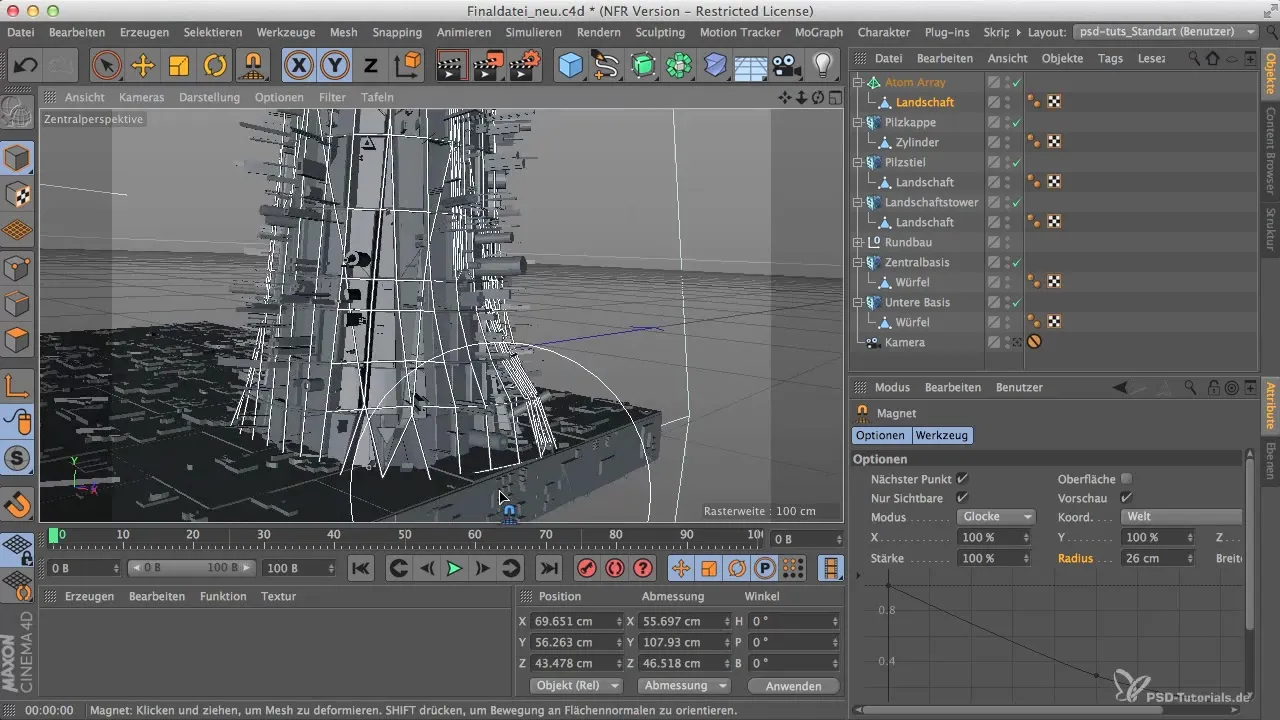
Step 7: Rendering and Grouping
After adjusting the shapes, you can group the entire project together. Select all objects by holding down the Alt key and group them. This way, you keep track of your layout and can position the render instance more easily.
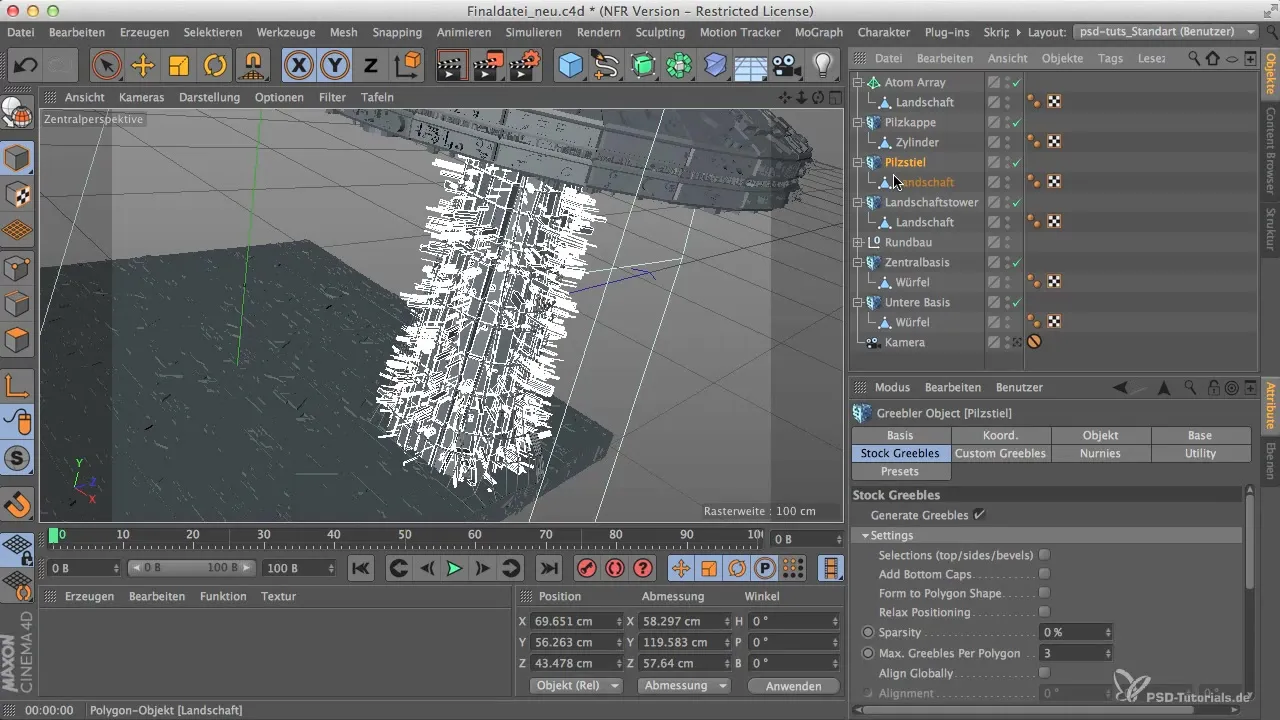
Step 8: Positioning the Render Instance
Place the render instance of the mushroom in the desired location within the scene. Make sure it integrates well into the existing landscape. Experiment with different viewing angles to get the best view of the exoskeleton.
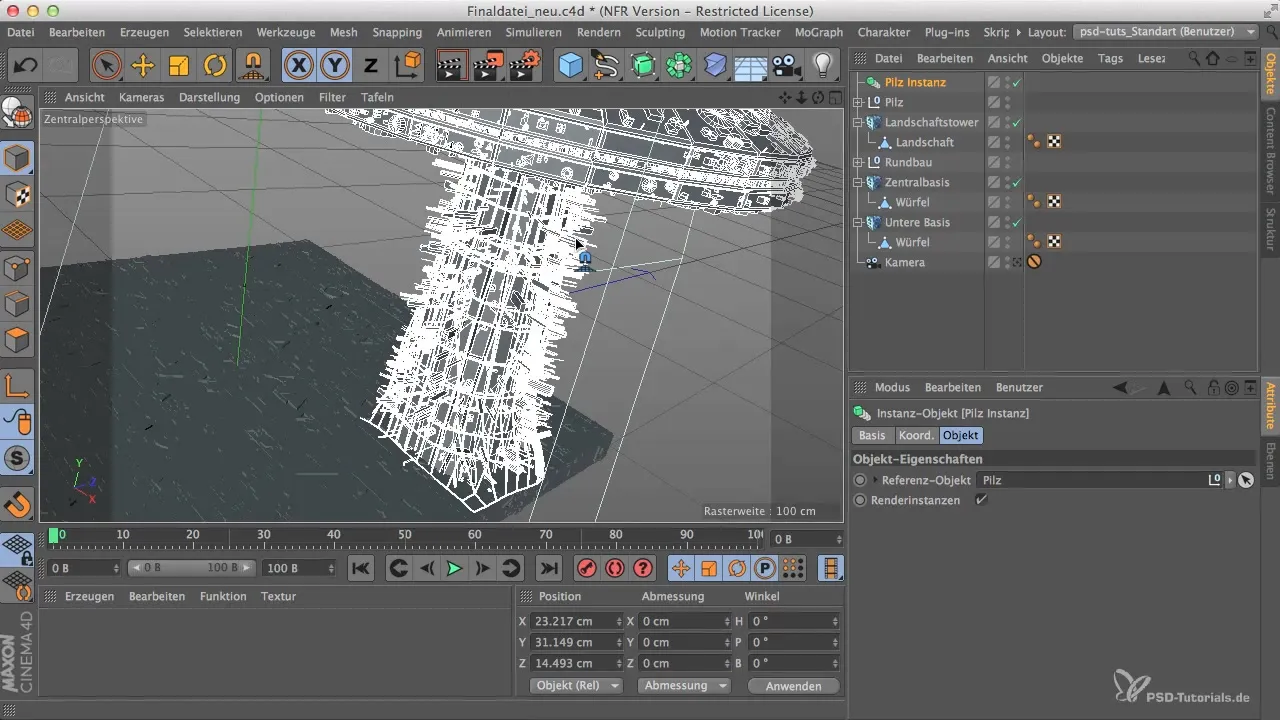
Step 9: Fine-tuning and Final Adjustments
Make final adjustments to the position and proportions to achieve a harmonious overall appearance. It may help to rotate or slightly move the objects to create a natural arrangement.
Summary
In this tutorial, you learned how to create a creative and dynamic mushroom with an exoskeleton in Cinema 4D create. By combining various tools and techniques, you can create uniquely designed 3D models that enrich your project.
Frequently Asked Questions
How does the atom array work in Cinema 4D?The atom array creates a group of objects based on a central point and allows these objects to be distributed within a certain radius.
What effect does the magnetic tool have on the model?The magnetic tool allows specific points of a model to be pulled to create organic shapes and add details.
Can I change the proportions of the model at any time?Yes, the proportions can be adjusted at any time to optimize the appearance.
